When you click on links to various merchants on this site and make a purchase, this can result in this site earning a commission. Affiliate programs and affiliations include, but are not limited to, the eBay Partner Network.
G-100: DIY LED Interior Part VIII: Knee Panel Lights (VSA, Mirror, etc.)
Ok, coming off the high from the doors being completed over the weekend, I was feeling particularly ambitious and decided to tackle the knee panel lights when I got home last night. Only 4 lights, how hard could it be? Well, let me tell ya�FUCKING HARD. Not hard, but much more complex then I would have hoped. I had my suspicions that the lights would shine down instead of out, and yep, sure as anything, such was the case. Rats. But as with anything, necessity is the mother of all invention, and I�m not going to let AZine down in failing to provide a proper illumination of the switches. That being said, let�s jump in.
Thanks go to dwb993 for specifying the exact bulbs to use.
LET'S GO! TOOLS NEEDED
Flat head screwdriver
Soldering Iron
MATERIALS
4 x 3mm bulb to your liking...I am used wide-angle flat headed 3mm bulbs
Solder
FLUX, I CANNOT STRESS THIS ENOUGH
TIME
Plug-and-play method � Whatever time it took from the start of the Game 5 of the World Series to the top of the 7th innning
STEP I - GETTIN' TO THE GOOD STUFF
Ok, you�re going to pull down and out on the bottom black panel and then pull the knee panel out. I did this in pitch black darkness not knowing how to do it�I only broke one clip, thank goodness.
STEP II � THE USUAL SUSPECTS
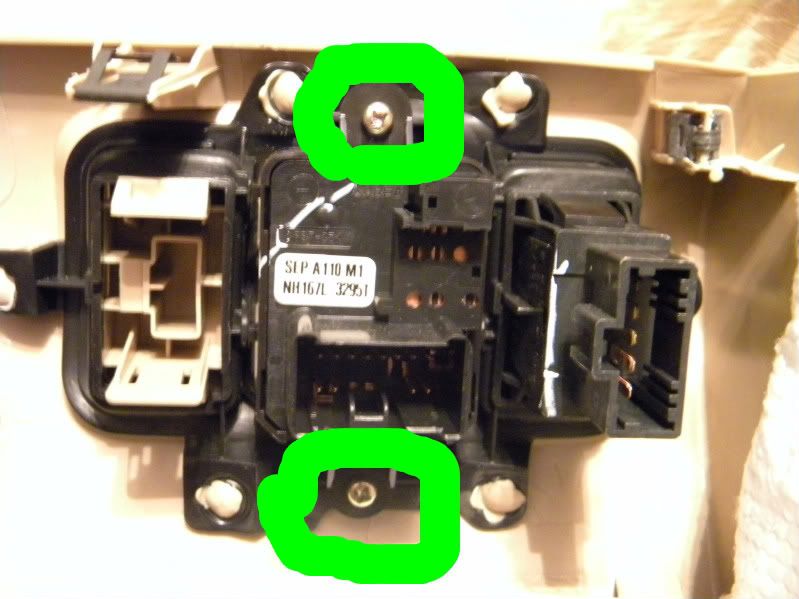
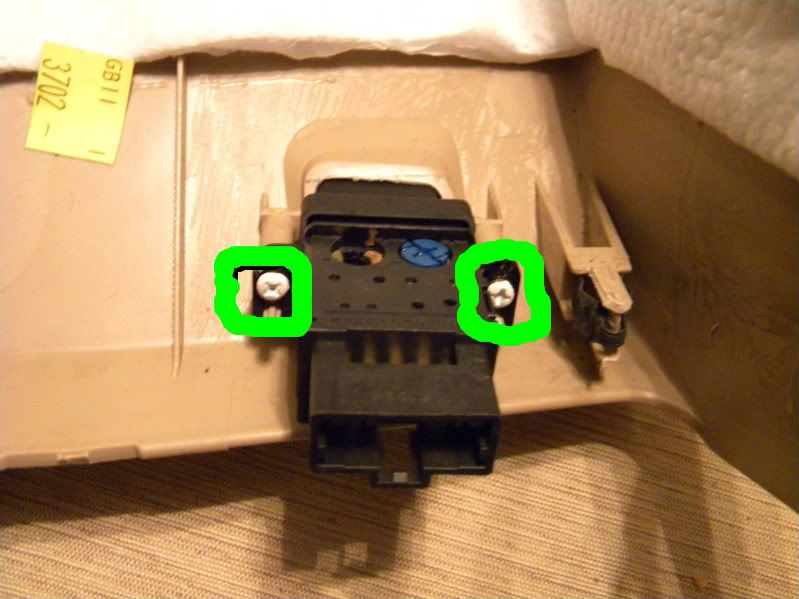
Time to get our boys out. The mirror button module is held in by two little screws, as is the button for the hood. Pop the VSA button out by pushing forward while depressing the clips. Time to get dirty.
STEP II � BENDING IT LIKE BECKHAM, REVISITED
Ok, you remember waayyyyy back when we did the center vent lighting because the bulb was not forward-firing? Well, like that damn itch that never quite goes away, it�s back. Only, there�s a twist this time � we have even less room to work with. (What, did you think this was going to get easier as we went along?). So, that being said, let�s git �er dun. THE SAME METHOD APPLIES FOR BOTH THE VSA AND HOOD BUTTONS.
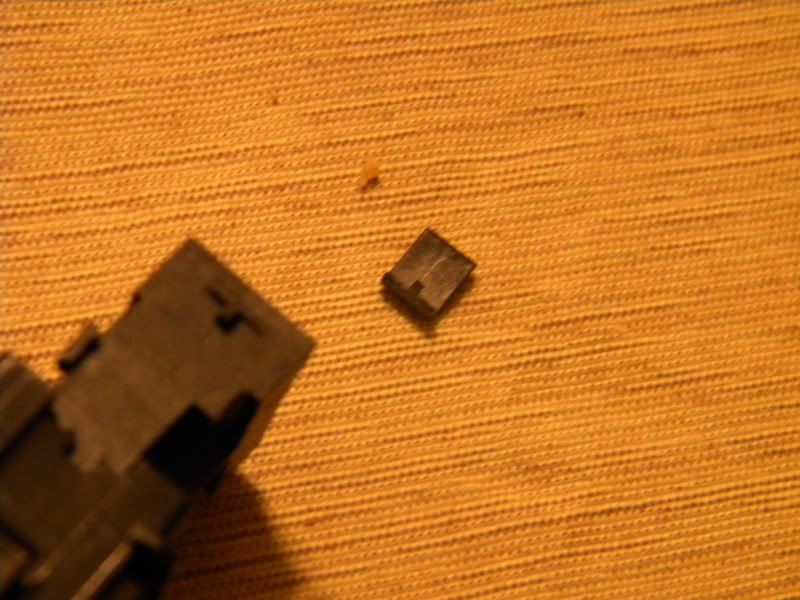
First thing we�re going to do is to pop the cover off of the button. These suckers are on there TIGHT�yeah, I broke a tab opening one up, it happens. Maybe I should have help of on this for the weekend. Whatever.
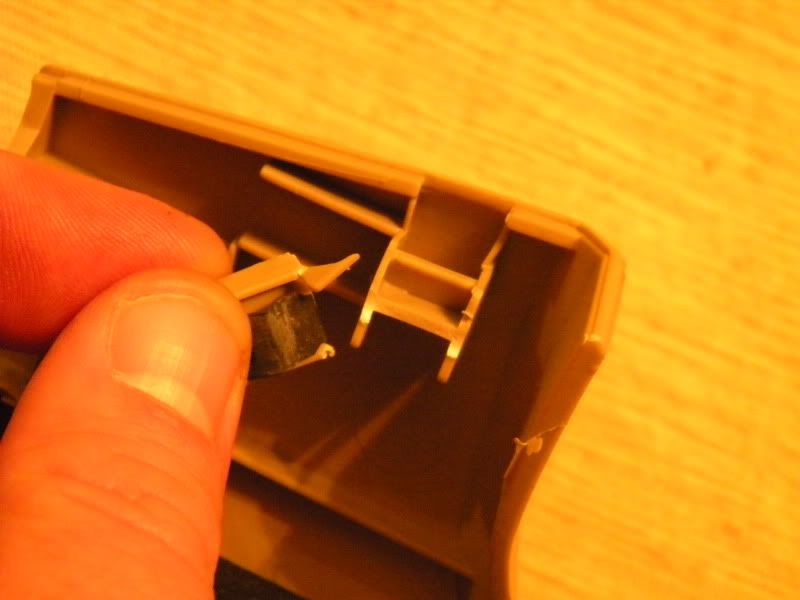
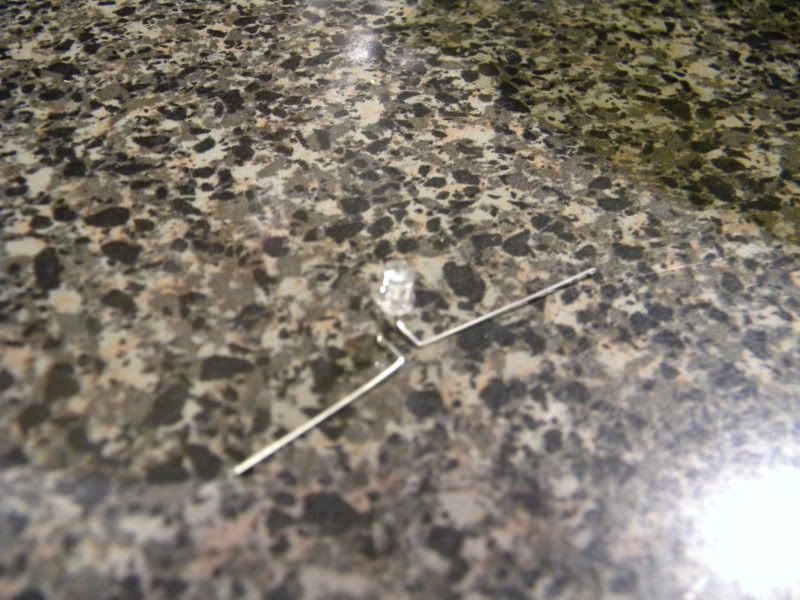
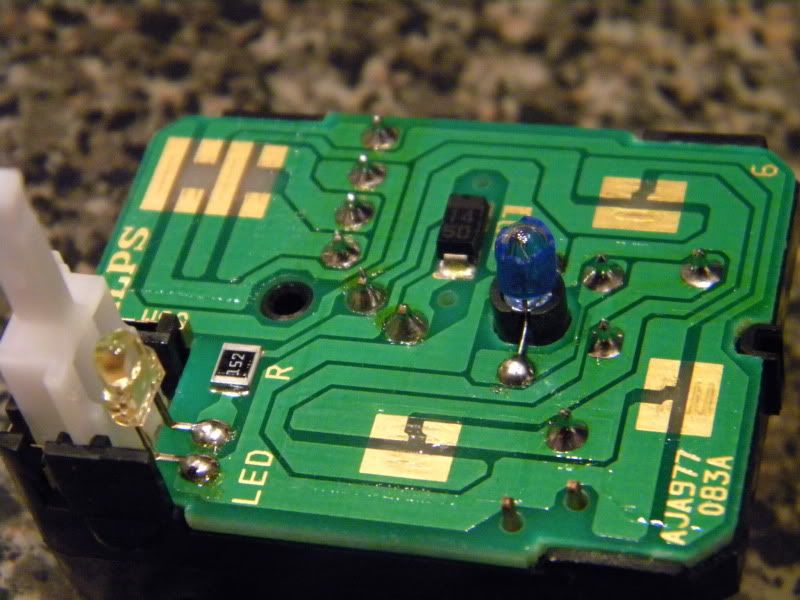
Ok, now we can see the inside of the button, so we can start to size up the centerline and make two bends � one bend at a right-angle to point the LED at the button, and the second to extend the legs through the opening.
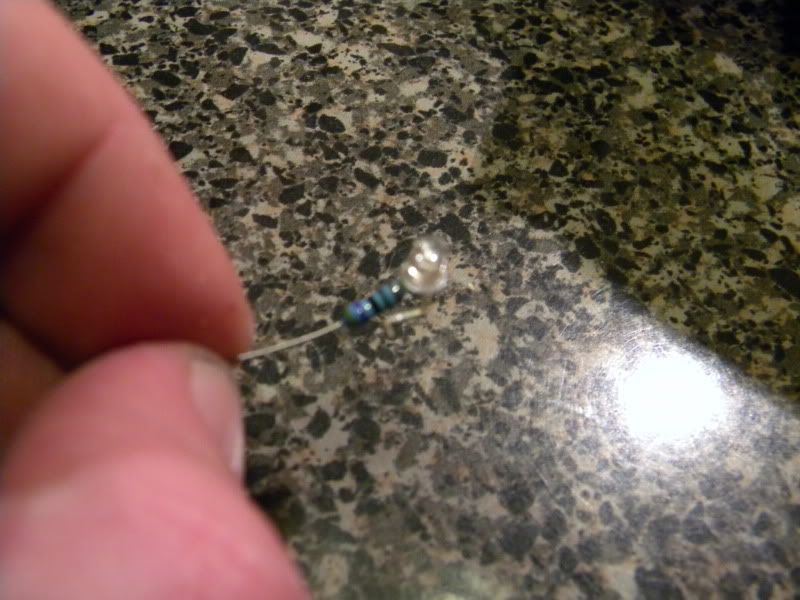
Ok. Hmmm. Lemme think�ah, ok. So we need to add a resistor, but we can�t touch the lead until AFTER the LED connection point (sounds like one of those bridge puzzles with the duck, the feed, and the wolf, huh?) so we�re going to CUT the negative lead to the first base bend, and re-create the lead with the resistor. It�s easier then it sounds. Take a look.
Now, solder the leads to the base of the bulb connector. You�re going to see a little trianglular impression on the housing�make a note of that location, it�s the terminal point for the CATHODE (negative end). Solder away.
STEP III � READY, AIM, FIRE!!!
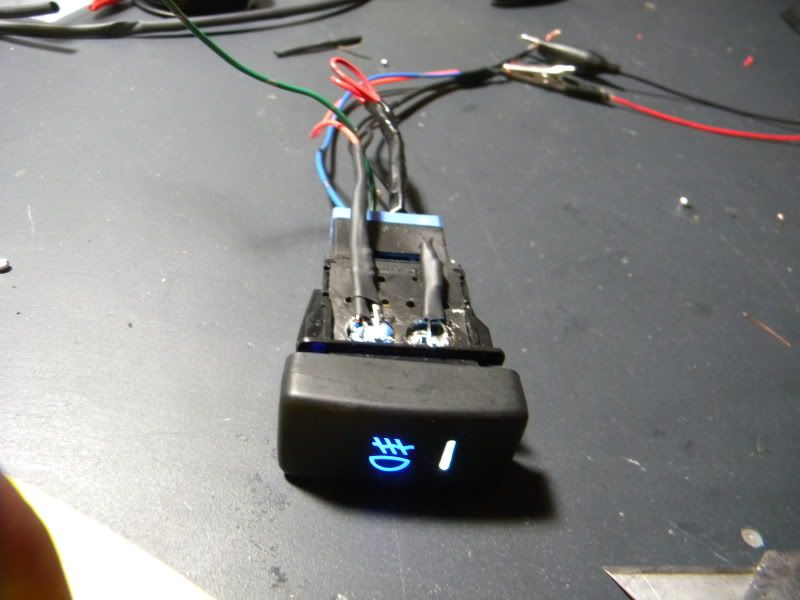
HERE�S WHERE THE MAGIC HAPPENS!!! Ok, with the bulb pointing out, AIM the LED to fire at the centerpoint of the button. Use a toothpick, or for those less endowed, sorry, use what you�ve got.
Make sure you plug everything in to the harness and make sure it�s centered.
STEP IV � MOTHER @#$%*& STUPID GOD#$%^ @#%HOLE
Yeah, that about summarizes this step. I typically will have to revisit any given retrofit once after initial test to ensure proper form, fit, and function of the LEDs�but this�THIS ONE�took 5 attempts. Let�s see why.
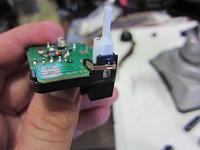
Start by popping the mirrorheater button off, and open. Viola, here�s what we have: one LED and one filament style bulb. Ugh.
Ok, replacement of the mirror heater is easy; polarity remains the same as OE, just braid, cut, bend, solder. NOW, for the mirror button, start by shaving the base�and don�t be stingy with the material removal.
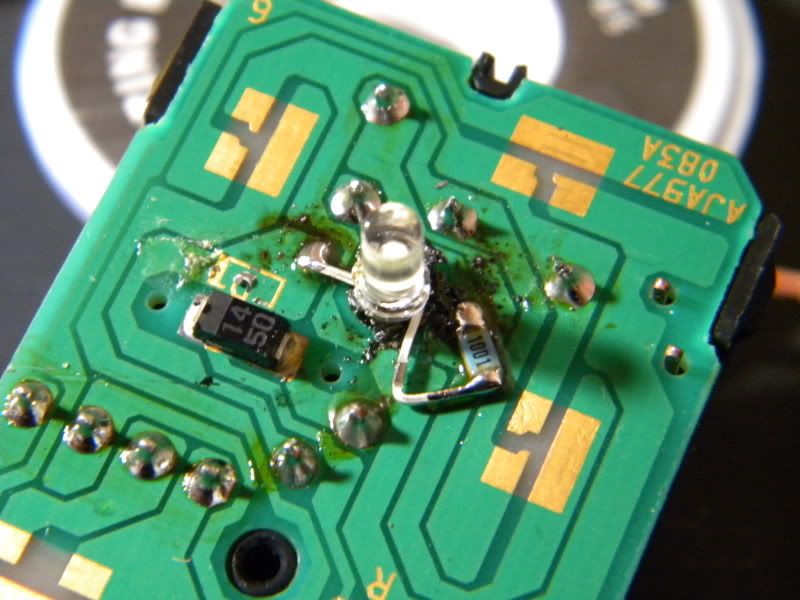
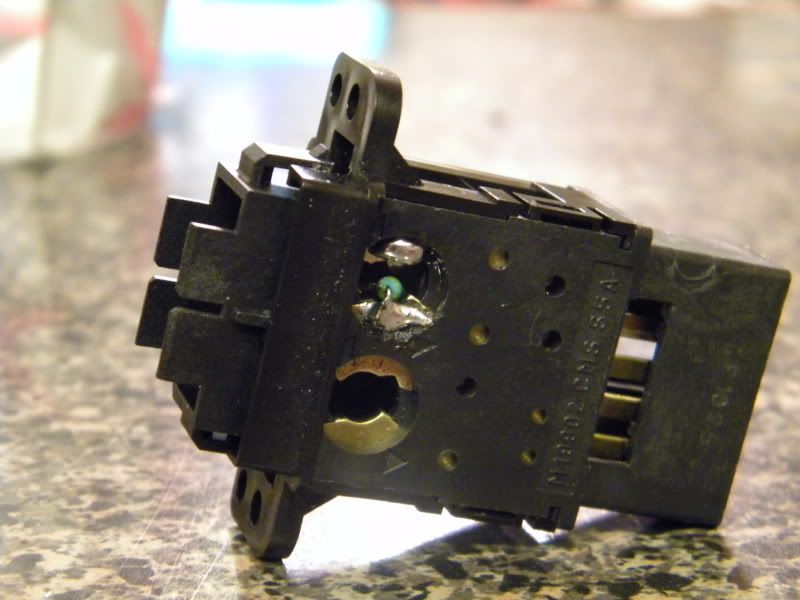
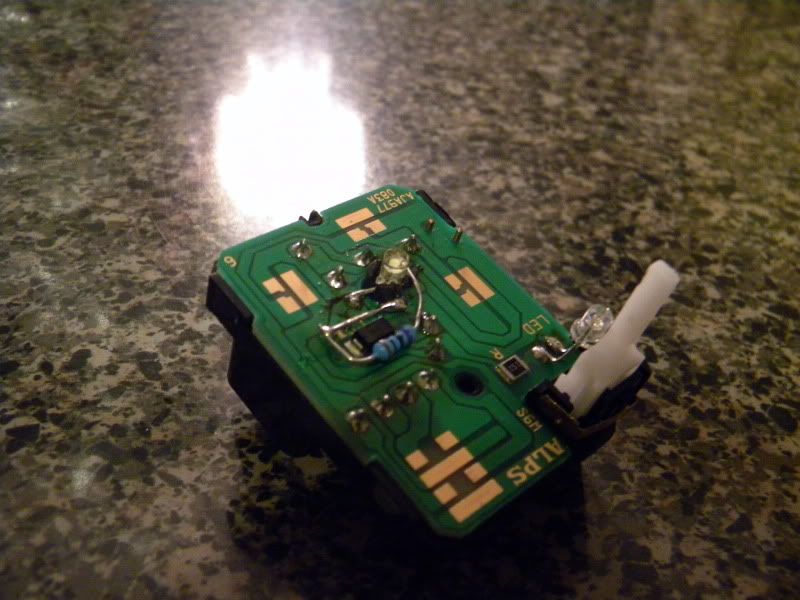
Now, here�s where shit gets crazy. I tried locating the resistor in a few different spots, shaving some of the button internals, when it finally dawned upon me that the ONLY location where I will have space in the button assembly is above the friggin diode. SO, you�re going to have to make a crazy �Family Circus� type run from the LED lead to the board lead, attaching the resistor to the cathode. You CANNOT have any lead touch the other leads or the diode. You CAN let it touch the �LED� copper wording, or whatever it said; this is simply an exposed section of PCB remaining from etch at the factory.
If you wire the resistor in any other fasion, you will likely not be able to properly close the housing, and even if you do, I cannot ascertain you will have full functionality of mirror control. You will if you do it in this location.
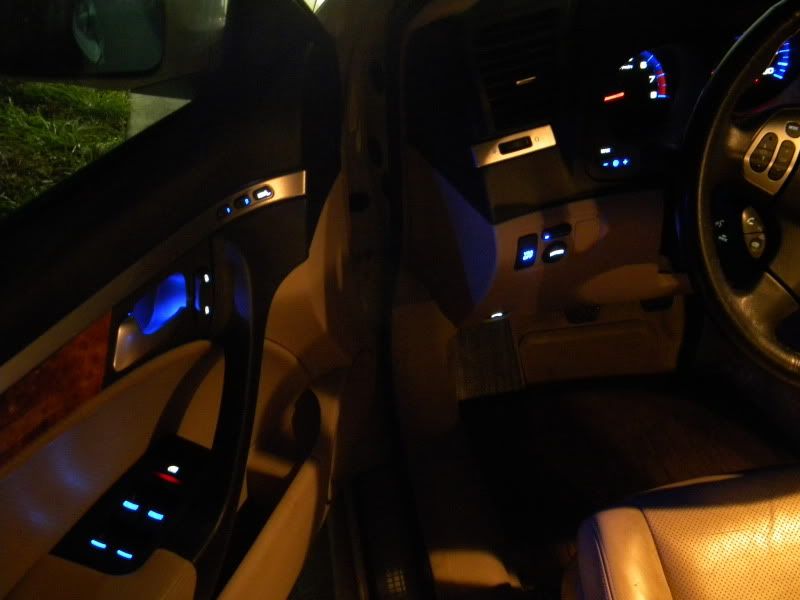
[COLOR="Blue"]STEP V � DON�T LET THE DOOR IT YOU IN THE ASS�[COLOR]
Damn, finally done. What a pain.
hmm very nice but to hard lol, btw y didnt u change those lights out at the bottom by the pedals? I want to change mine out b'c thier not bright enough.
hmm very nice but to hard lol, btw y didnt u change those lights out at the bottom by the pedals? I want to change mine out b'c thier not bright enough.
Nice job DeathMetal. I want to stress that the mirror switch is the absolute most difficult to disassemble this far and then reassemble it and have it work normally. You kind of glance by it a bit, but getting that button to work right is an absolute pain in the ass. There is a pin and spring design that can get nasty.
just did this conversion, and i have to say this was the most difficult conversion ive done so far. the work wasnt that hard because of the great directions but for some reason my bulbs would not adhere to the VSA switch, the mirror light was just a PITA in general, and i ended up breaking the heated mirrors button so now it doesnt stay on now but the blue does look hot when you hold it in.
We tried to warn you!
FYI, this part is $22 new, part #35190-SEP-A11.
I managed to get my heated mirror switch to both light up blue AND work (well, with some cajoling).
^^ he did all the doors already in the DIY hes been putting up for us. DWB did the steering wheel writeup, thats the one i used, it really looks great. the only thing left is the radio project. which im going to be working on either tuesday or wedensday.
We tried to warn you!
FYI, this part is $22 new, part #35190-SEP-A11.
I managed to get my heated mirror switch to both light up blue AND work (well, with some cajoling).
yeah i think im going to buy a new one later on, i have no idea how it broke and y it wont stay engaged. i might open it up and take a look at it one more time to c what the problem is. my main concern right now is the radio and navi screen. thanks for the look up though
have you done the other lights as well, like center console, steering wheel, passenger door etc? it'll look awesome if so.
Not yet. I am aiming to do all of the remaining LED conversions next month, thereby wrapping up the full conversion to a close.
I would be starting this sooner, but I am going to be adding my sound deadener/damping to the doors and OE panels, fixing the dead LEDs, and adding a new, "ambient" LED to the doors before moving on to the center console.
Center console DIY will also feature a DIY for the 3/4-din DVD player installed as rockyfeller did...and I need to install two switches (HID reverse aka tailgate killers and the DVD player button, so there much work to do that weekend.
Originally Posted by maddsiick
^^ he did all the doors already in the DIY hes been putting up for us. DWB did the steering wheel writeup, thats the one i used, it really looks great. the only thing left is the radio project. which im going to be working on either tuesday or wedensday.
I am really, REALLY hoping you noted the polarity of each light and can share this with us.
Originally Posted by maddsiick
yeah i think im going to buy a new one later on, i have no idea how it broke and y it wont stay engaged. i might open it up and take a look at it one more time to c what the problem is. my main concern right now is the radio and navi screen. thanks for the look up though
You will need to dremel some of the internals and route the resistor path as I did in order to get it to fit and function as normal. The dome control completes the circuit for the respective motion path when it comes in contact with the board, so the added thickness from the carbon-composite tube resistor is preventing this from happening.
An easier way of doing this would be to use a PLCC-2 and a thin film resistor...which I should have done in the first place...
I hate to bump all of the threads, but there is an important item that needs to be noted; some of the white LEDs have been burning out, which can be attributed to one thing and one thing only: thermal overload. Therefore,
IT IS HIGHLY RECOMMENDED THAT A 1K-OHM RESISTOR BE USED FOR ALL WHITE LEDS.
I have begun the process of replacing LEDs/resistors for the dearly-departed and can state that the new resistors seem to do the trick.
I am really, REALLY hoping you noted the polarity of each light and can share this with us.
Yeah i noted everything on the board i am using now from the junkyard, what im going to do is take pictures as i do my board and send them to you so you can work from that and maybe correct any errors i make.
Yeah i noted everything on the board i am using now from the junkyard, what im going to do is take pictures as i do my board and send them to you so you can work from that and maybe correct any errors i make.
Sure thing, man. Thanks for making note of this, it's really, rally going to help the community if this is known going in to it.
Yeah i noted everything on the board i am using now from the junkyard, what im going to do is take pictures as i do my board and send them to you so you can work from that and maybe correct any errors i make.
You mean the heater button on the mirror switch? Or the directional button? The L/R switch does not light up.
Also be advised, this unit was absolutely THE most difficult of all the locations in the car. The heater button is spring loaded and you have to get it back together just right. Mine still gives me trouble.
Does anyone know what that blank is for next to the mirror controls? Not really important just wondering.
I plan on getting into mine here soon, no LEDs, just stock replacements. If you're just simply replacing the mirror heater light I assume it's still a PITA? If so I'll let Acura do it for 30 min. labor. lol That way if clips or the switch breaks they have to cover it.
Does anyone know what that blank is for next to the mirror controls? Not really important just wondering.
You can use it as you see fit, most use it for the add-on Accord fogs
Originally Posted by ohsixMTee
I plan on getting into mine here soon, no LEDs, just stock replacements. If you're just simply replacing the mirror heater light I assume it's still a PITA?
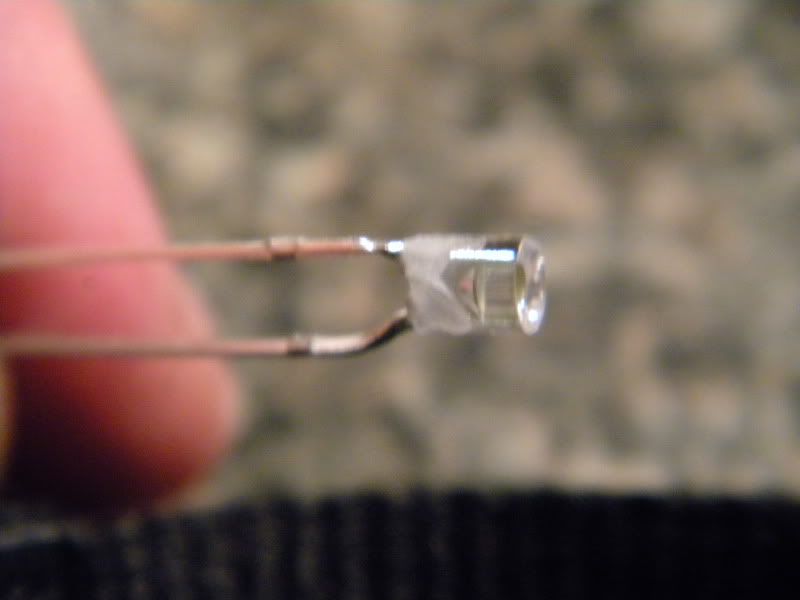
Yes. It's a retrofit of a soldered bulb, not a standard bayonet-style replacement. FYI: The light is NOT normally illuminated, this is a common misconception.
Take a look at the 9th picture on STEP 4...you see that clear, flat bulb? That's the indicator LED (normally amber in color) for when the mirror heaters are energized.
Again, it's an LED, and if it's geniuenly out on your ride, I'd bet they'll simply replace the board.
Ah ok, thanks for clarifying. It just looks like something that would be constantly backlit, appreciate the confusion you guys eliminated there for me! The amber indicator does come on so I suppose all is well there. I bookmarked a few things and just need to replace the select/reset bulb and vsa/trunk release bulbs. For such a nice looking interior I'm surprised everything just basically snaps right apart. lol
Usually when that's the case the interior just looks cheesy, surely not the case for us. I like it though, easy access to quite a large number of things.
You can use it as you see fit, most use it for the add-on Accord fogs
Yes. It's a retrofit of a soldered bulb, not a standard bayonet-style replacement. FYI: The light is NOT normally illuminated, this is a common misconception.
where did you get this fog switch? ive looked up and down i cant find any. i did the accord fog switch but my switch is flatt and it looks out of place and i want one just like this......a part number or website will be greatly apprecited
Obviously this thread is old, but it's still a dandy. I just completed this modification today and it took about 4.5 hours I would say. Anyways, I wanted to share some additional information that may help anyone attempting to tackle this.
As many have already stated, I will also admit that removing the trunk button cap was a pain. I busted one of the two clips during removal. Thankfully, the button cap still stays on perfectly fine with just one clip attached.
Additionally, I wanted to provide a useful technique that I used when removing the heated mirror button. I spent about 15 minutes trying to get this bugger off before figuring this out.
Take two very small flat head screwdrivers and simultaneously push "up" on the button cap from underneath (Refer to the picture below and imagine this cap is still on the button). Carefully apply even pressure with each screwdriver and eventually the cap will kind of pop off. The first time I removed this cap, it actually flew about three feet in the air. It was stuck on there pretty good. I had do do some testing and probably removed this cap three times in total before I finished my final assembly. The initial removal is the hardest. After that, the button cap came off much easier.
I'm making a custom fog light switch and wanted to reference this thread for pictures on how to take apart the VSA switch. It looks like photobucket took another victim. How dare they go after DeathMetal 's posts!

 11-03-2009, 11:53 AM


 The dome control completes the circuit for the respective motion path when it comes in contact with the board, so the added thickness from the carbon-composite tube resistor is preventing this from happening.