
E-121: DIY:Installing a Type-S Aspec rear lip on a base TL bumper.


 03-08-2015, 08:42 PM
#126
thanks for the DIY!
I'd warn people about the other set of hole marks on the bumper. The ones for the reverse sensor. They are above the rear lip holes. I drilled one out before I realized it was way off.
I tried to epoxy the mesh behind the lip and it held but as soon as the lip flexed it popped off. The urethane material doesnt bond well with the epoxy.
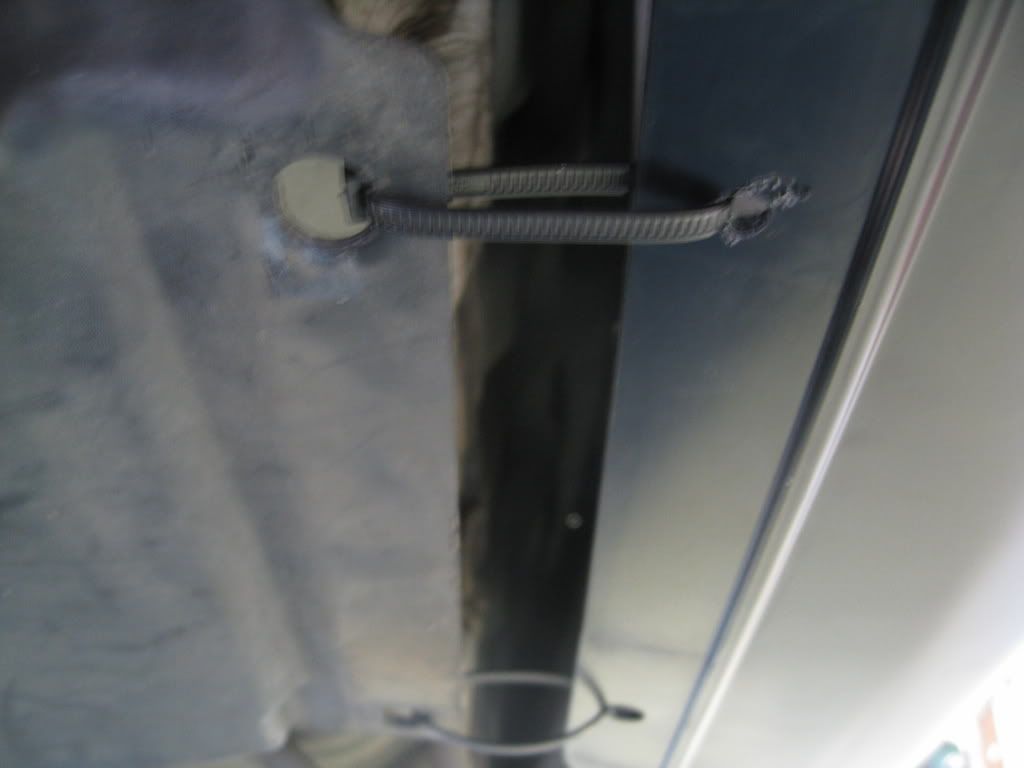
I just used OP's method and cut and shoved in with zip ties.
Attachment 103917
Attachment 103918
Attachment 103919
Attachment 103920
Attachment 103921
I'd warn people about the other set of hole marks on the bumper. The ones for the reverse sensor. They are above the rear lip holes. I drilled one out before I realized it was way off.
I tried to epoxy the mesh behind the lip and it held but as soon as the lip flexed it popped off. The urethane material doesnt bond well with the epoxy.
I just used OP's method and cut and shoved in with zip ties.
Attachment 103917
Attachment 103918
Attachment 103919
Attachment 103920
Attachment 103921

 06-23-2016, 01:38 AM
#131
Great write up. I used it to do mine last night. I did change one thing and thought it would be helpful for others.
1. The part that is cut off -

Keep this piece and cut the curved part off but leave the 4 holes.
2. Instead of using the zip ties -
You can take the piece that was cut earlier and fit it to hold the Lower lip.
The ends of the trimmed piece will need to be shortened to fit inside the lip kit as well.
With the lip installed, hold the trimmed piece up and line it up on the factory holes that held the OEM bumper in place. You will want to mark the holes from the lip on the trimmed piece. Once the holes are marked, pull the part back down and drill the holes with a 1/2 drill bit ( I actually used a unibit that went up to a 1/2" size and recommend the unibit as it is a cleaner hole).
You can then use the supplied nuts and bolts to attach the trimmed piece to the lip and use the push tabs that you removed to reattach it back to its factory location.
Sorry OP for using your pictures, but did not have the time to take any of my own. Again, this is just another option for those that are doing this install.
1. The part that is cut off -
Keep this piece and cut the curved part off but leave the 4 holes.
2. Instead of using the zip ties -
You can take the piece that was cut earlier and fit it to hold the Lower lip.
The ends of the trimmed piece will need to be shortened to fit inside the lip kit as well.
With the lip installed, hold the trimmed piece up and line it up on the factory holes that held the OEM bumper in place. You will want to mark the holes from the lip on the trimmed piece. Once the holes are marked, pull the part back down and drill the holes with a 1/2 drill bit ( I actually used a unibit that went up to a 1/2" size and recommend the unibit as it is a cleaner hole).
You can then use the supplied nuts and bolts to attach the trimmed piece to the lip and use the push tabs that you removed to reattach it back to its factory location.
Sorry OP for using your pictures, but did not have the time to take any of my own. Again, this is just another option for those that are doing this install.
Attachment 101564
Attachment 101565
https://acurazine.com/forums/3g-tl-p.../#post15784181
10-16-2016, 10:29 AM
#132
3.2Seeno
How big would you say that box is? I'm trying to let another member send me his Rear lip via UPS. With a dimension of 60x10x15 UPS Is $69 But I cant guesstimate that box size.
 10-20-2016, 08:46 PM
#134
Instructor

its a lot bigger than that, its considered oversized for UPS. i had a lip i wanted to ship and it was costing like $150 because of this... the box is huge... i forget the exact measurements but its something like more like 70x30x12
10-20-2016, 08:52 PM
#135
Instructor
04-06 and 07-08 rear bumpers are not the same...
11-05-2016, 02:29 PM
#136
Instructor
So myth busted that you have to cut out the whole lower portion of the bumper to install the type s lip, at least for 07-08 base bumper, but i dont see why there woul dreally be a difference for the 04-06 either. Did this today, check it out..


11-05-2016, 10:07 PM
#137
Instructor
I wish you could edit your posts here... anyway, another tip and perk of not cutting the whole bumper is that you can use the holes on the bottom of the bumper to align for the holes u have to drill for the lip... you go directly up from the middle (no hole but easy to eyeball, plus the 07 bumper insert helps see the middle) and 2 outer holes and thats where you will drill for the lip.. just have to get the height right


Thread
Thread Starter
Forum
Replies
Last Post
handsom-hustla
Car Parts for Sale
70
11-13-2015 05:04 PM
obsessedmotors
Car Parts for Sale
5
09-10-2015 10:49 AM

