E-115: DIY (Improved) - Installing '07/'08 Mirrors on '06 TL
#41
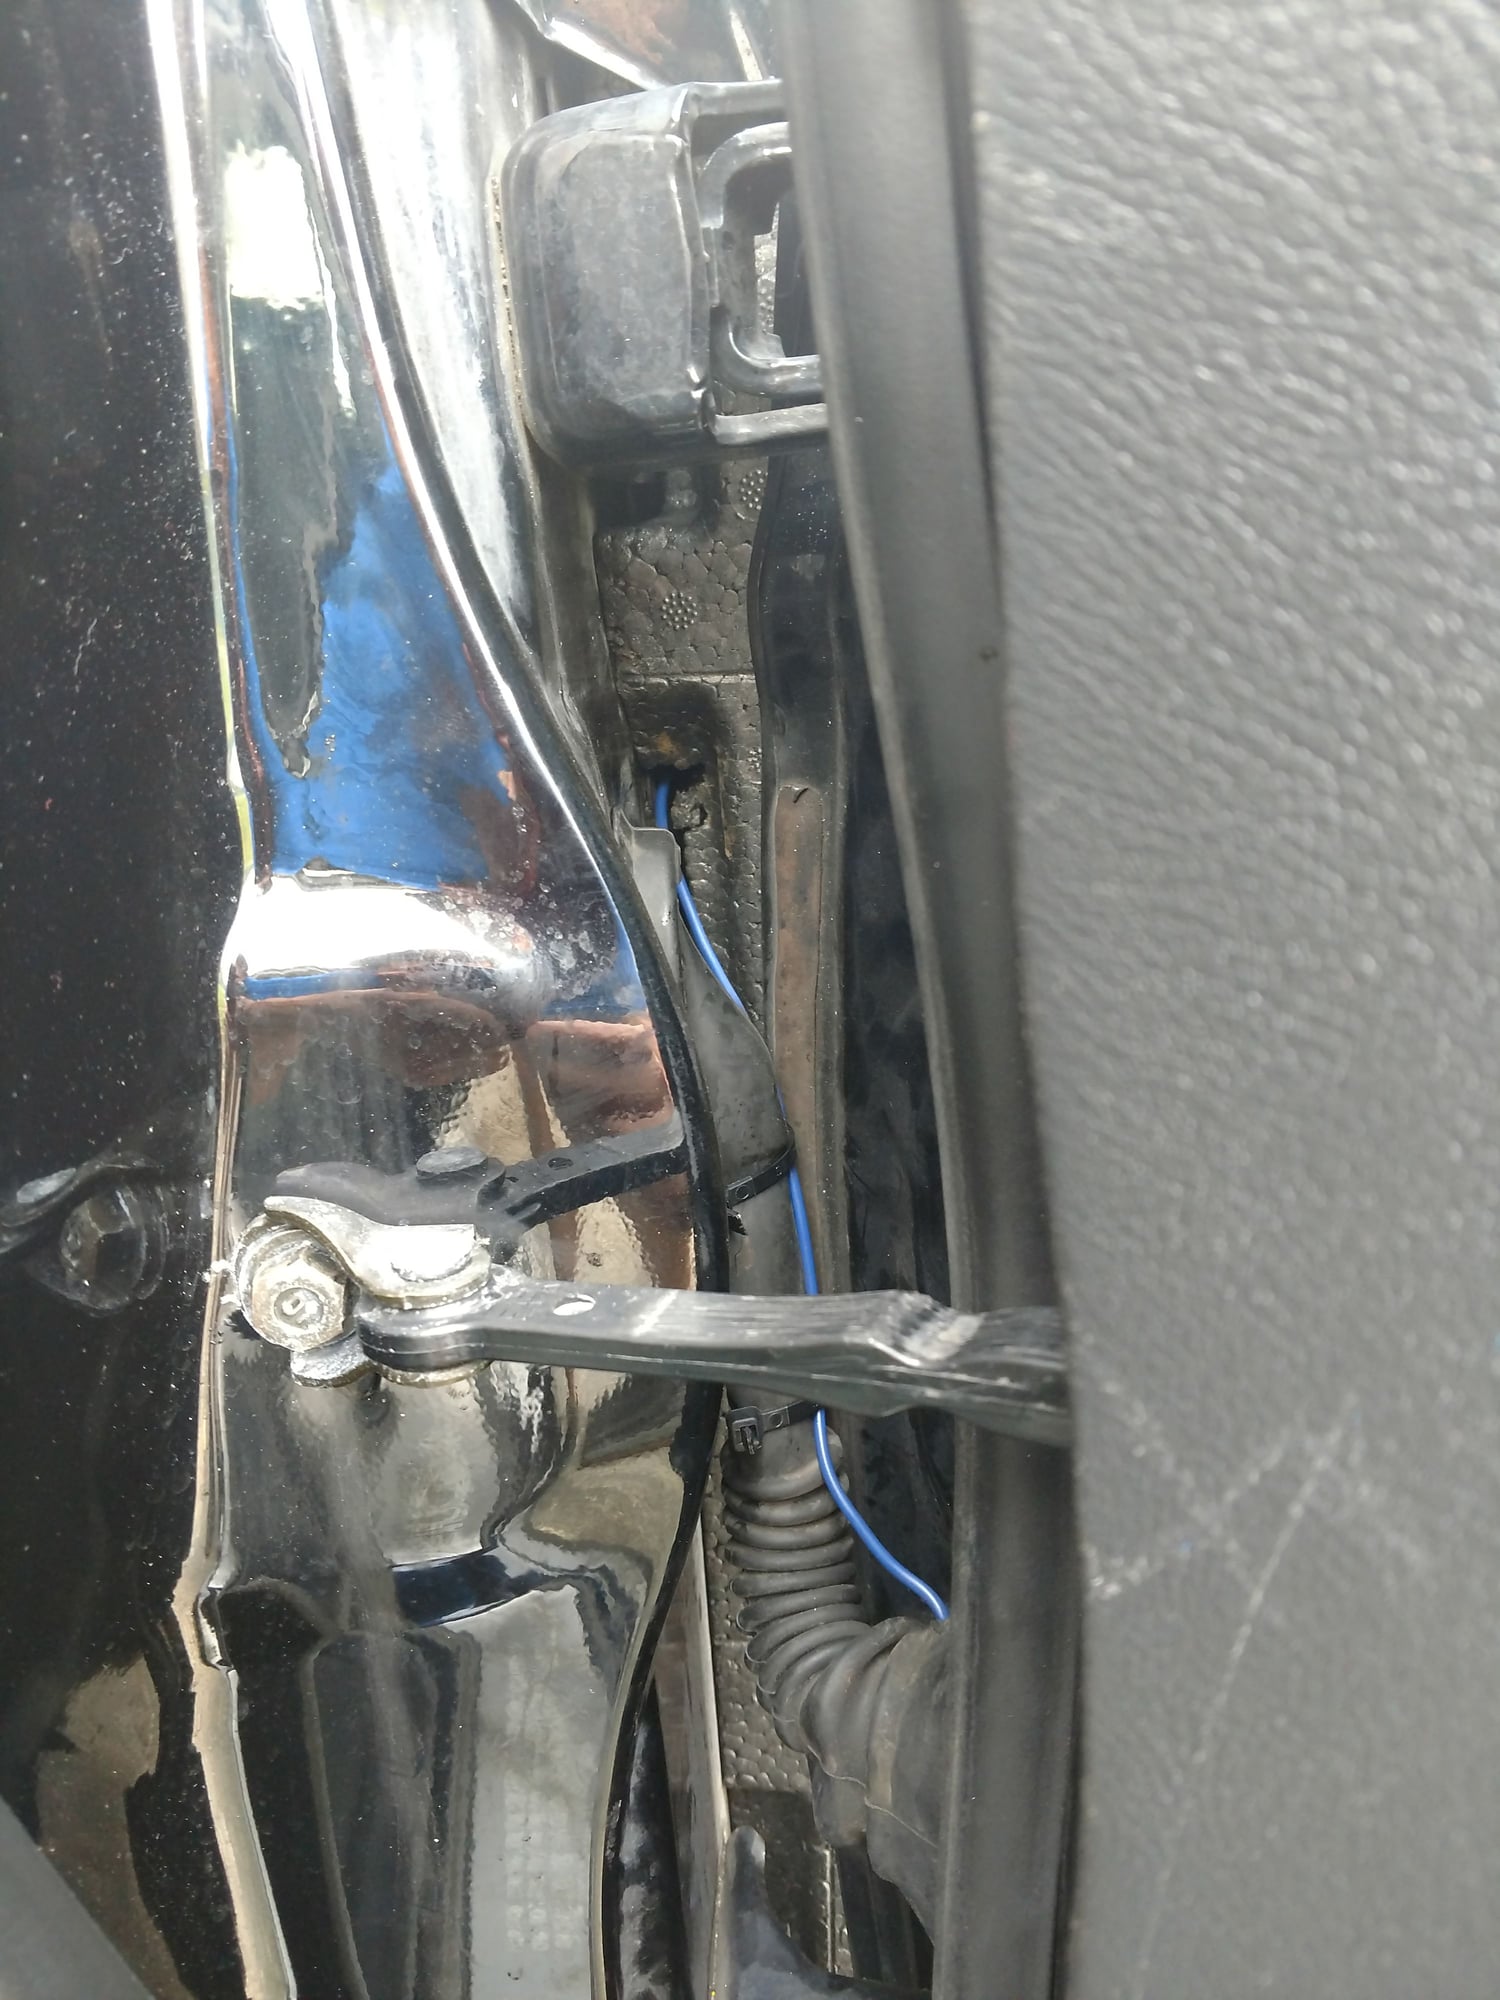
Thanks man. I ended up doing it this way and what a pain in the ass! I had to take the rear seats out just to put the rear panels back in properly. And unfortunately, my 05 is not prewired for the driver side so I also had to do that side too and running the wires through the door jam was a pain.
The following users liked this post:
David_BNSF (01-08-2021)
#42
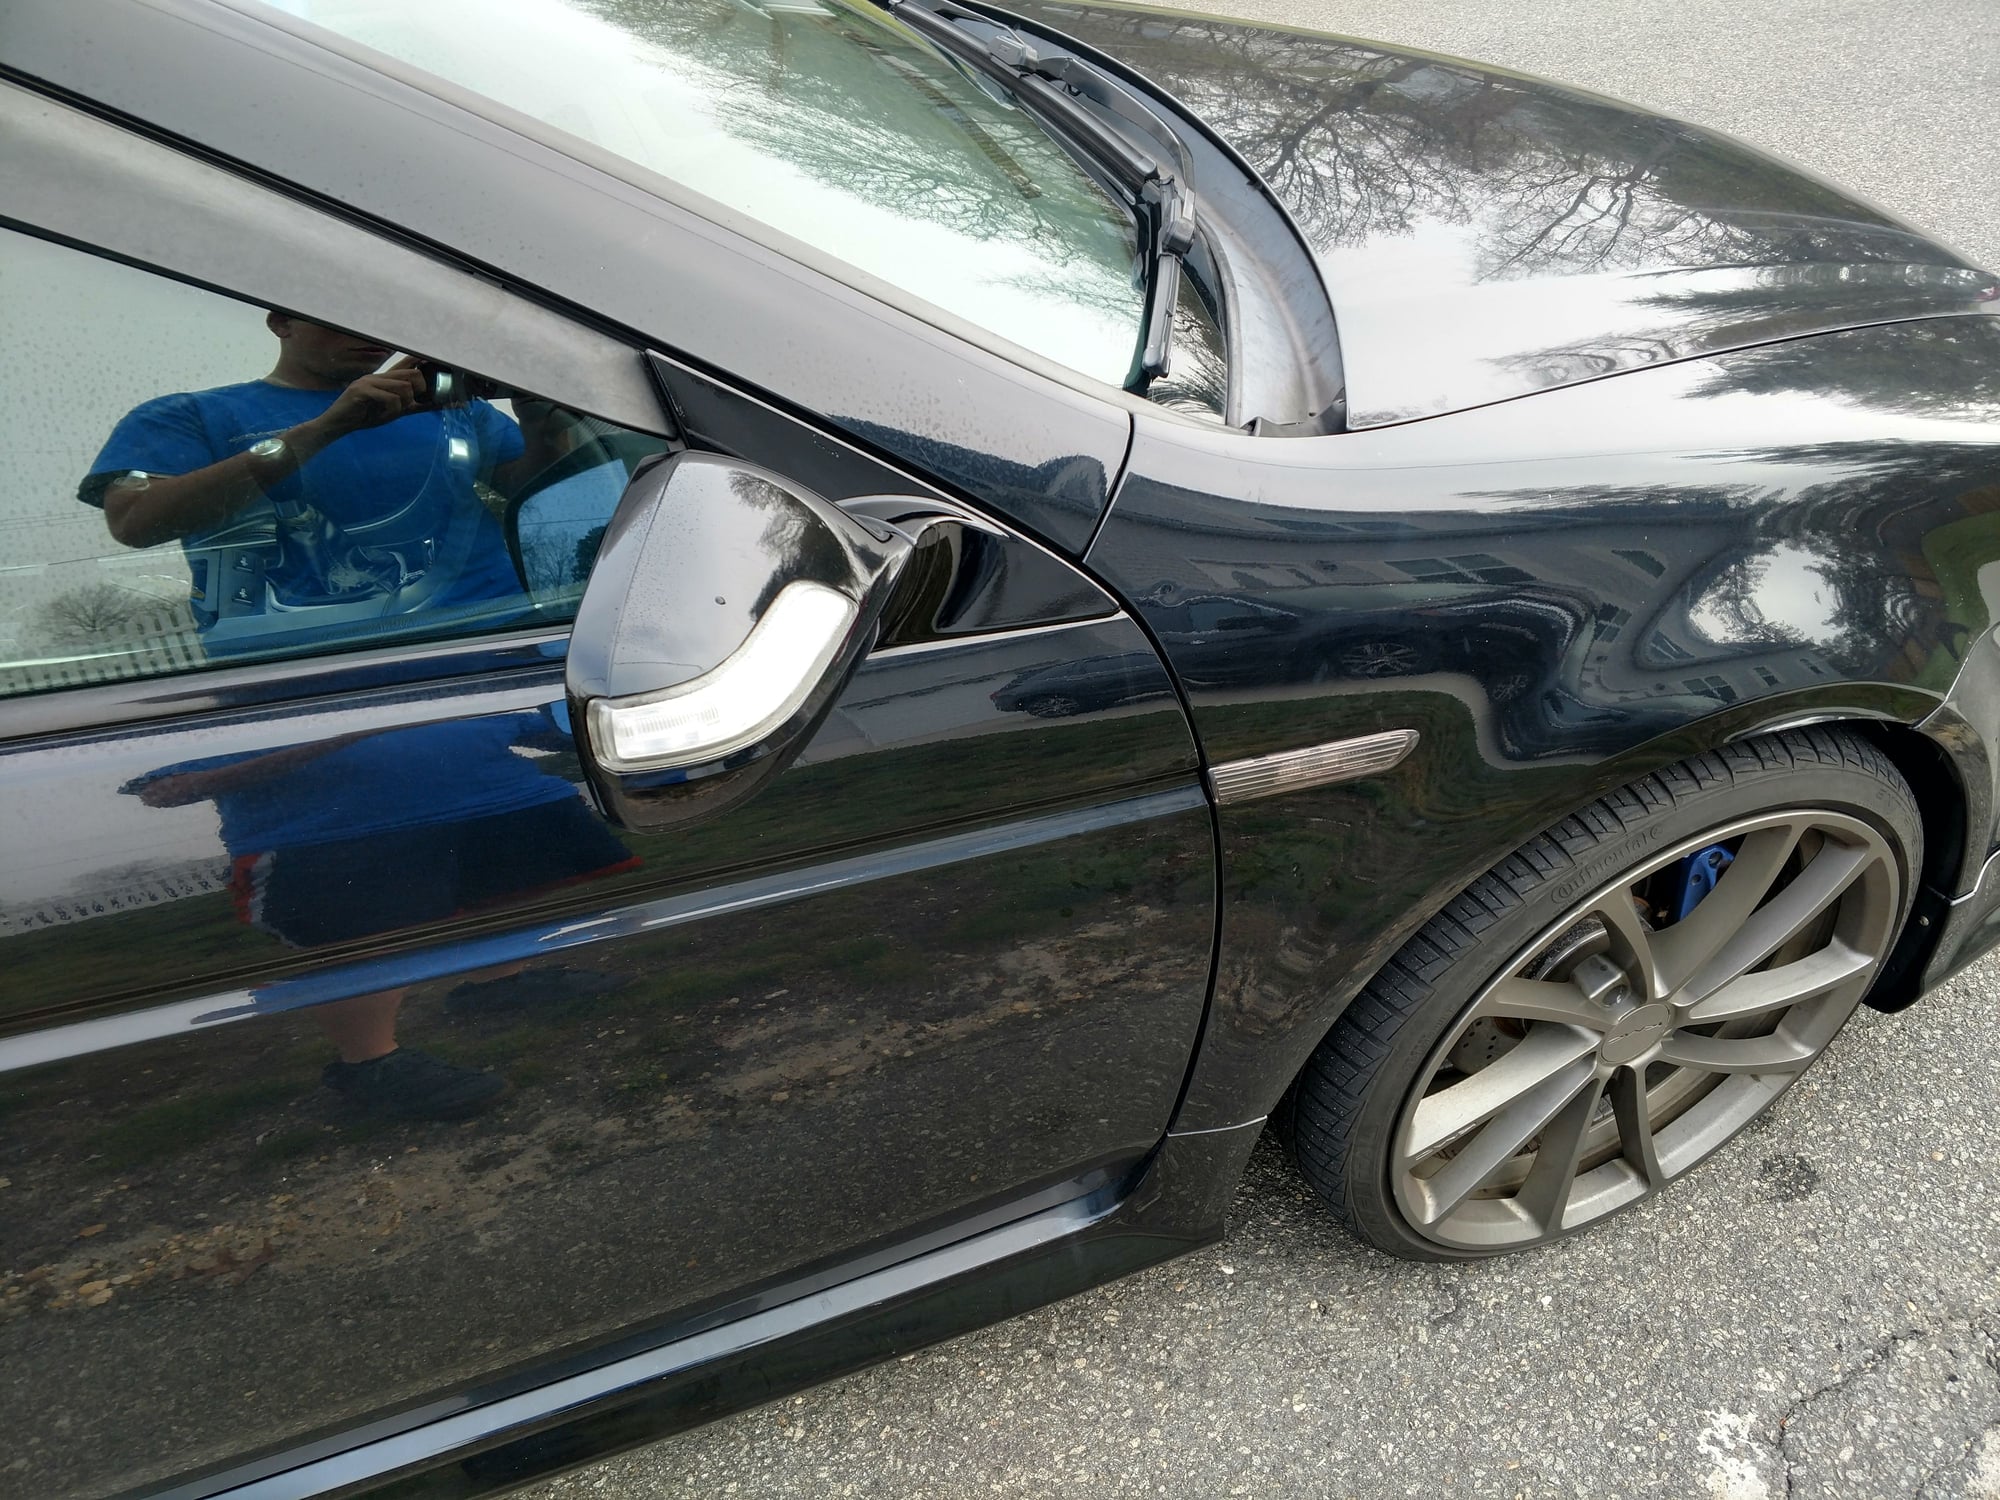
I have a marker light just in front of the passenger door that's a blinker. I spliced into that and spliced into the loom in the door jam. It works perfectly on the 4 ways but when I have just the passenger side blinker on it blinks really fast. Anyway I can slow it down?
#43
I have a marker light just in front of the passenger door that's a blinker. I spliced into that and spliced into the loom in the door jam. It works perfectly on the 4 ways but when I have just the passenger side blinker on it blinks really fast. Anyway I can slow it down?
The following users liked this post:
L-Matic (11-04-2020)
#44


The following users liked this post:
David_BNSF (01-08-2021)
#45
Burning Brakes
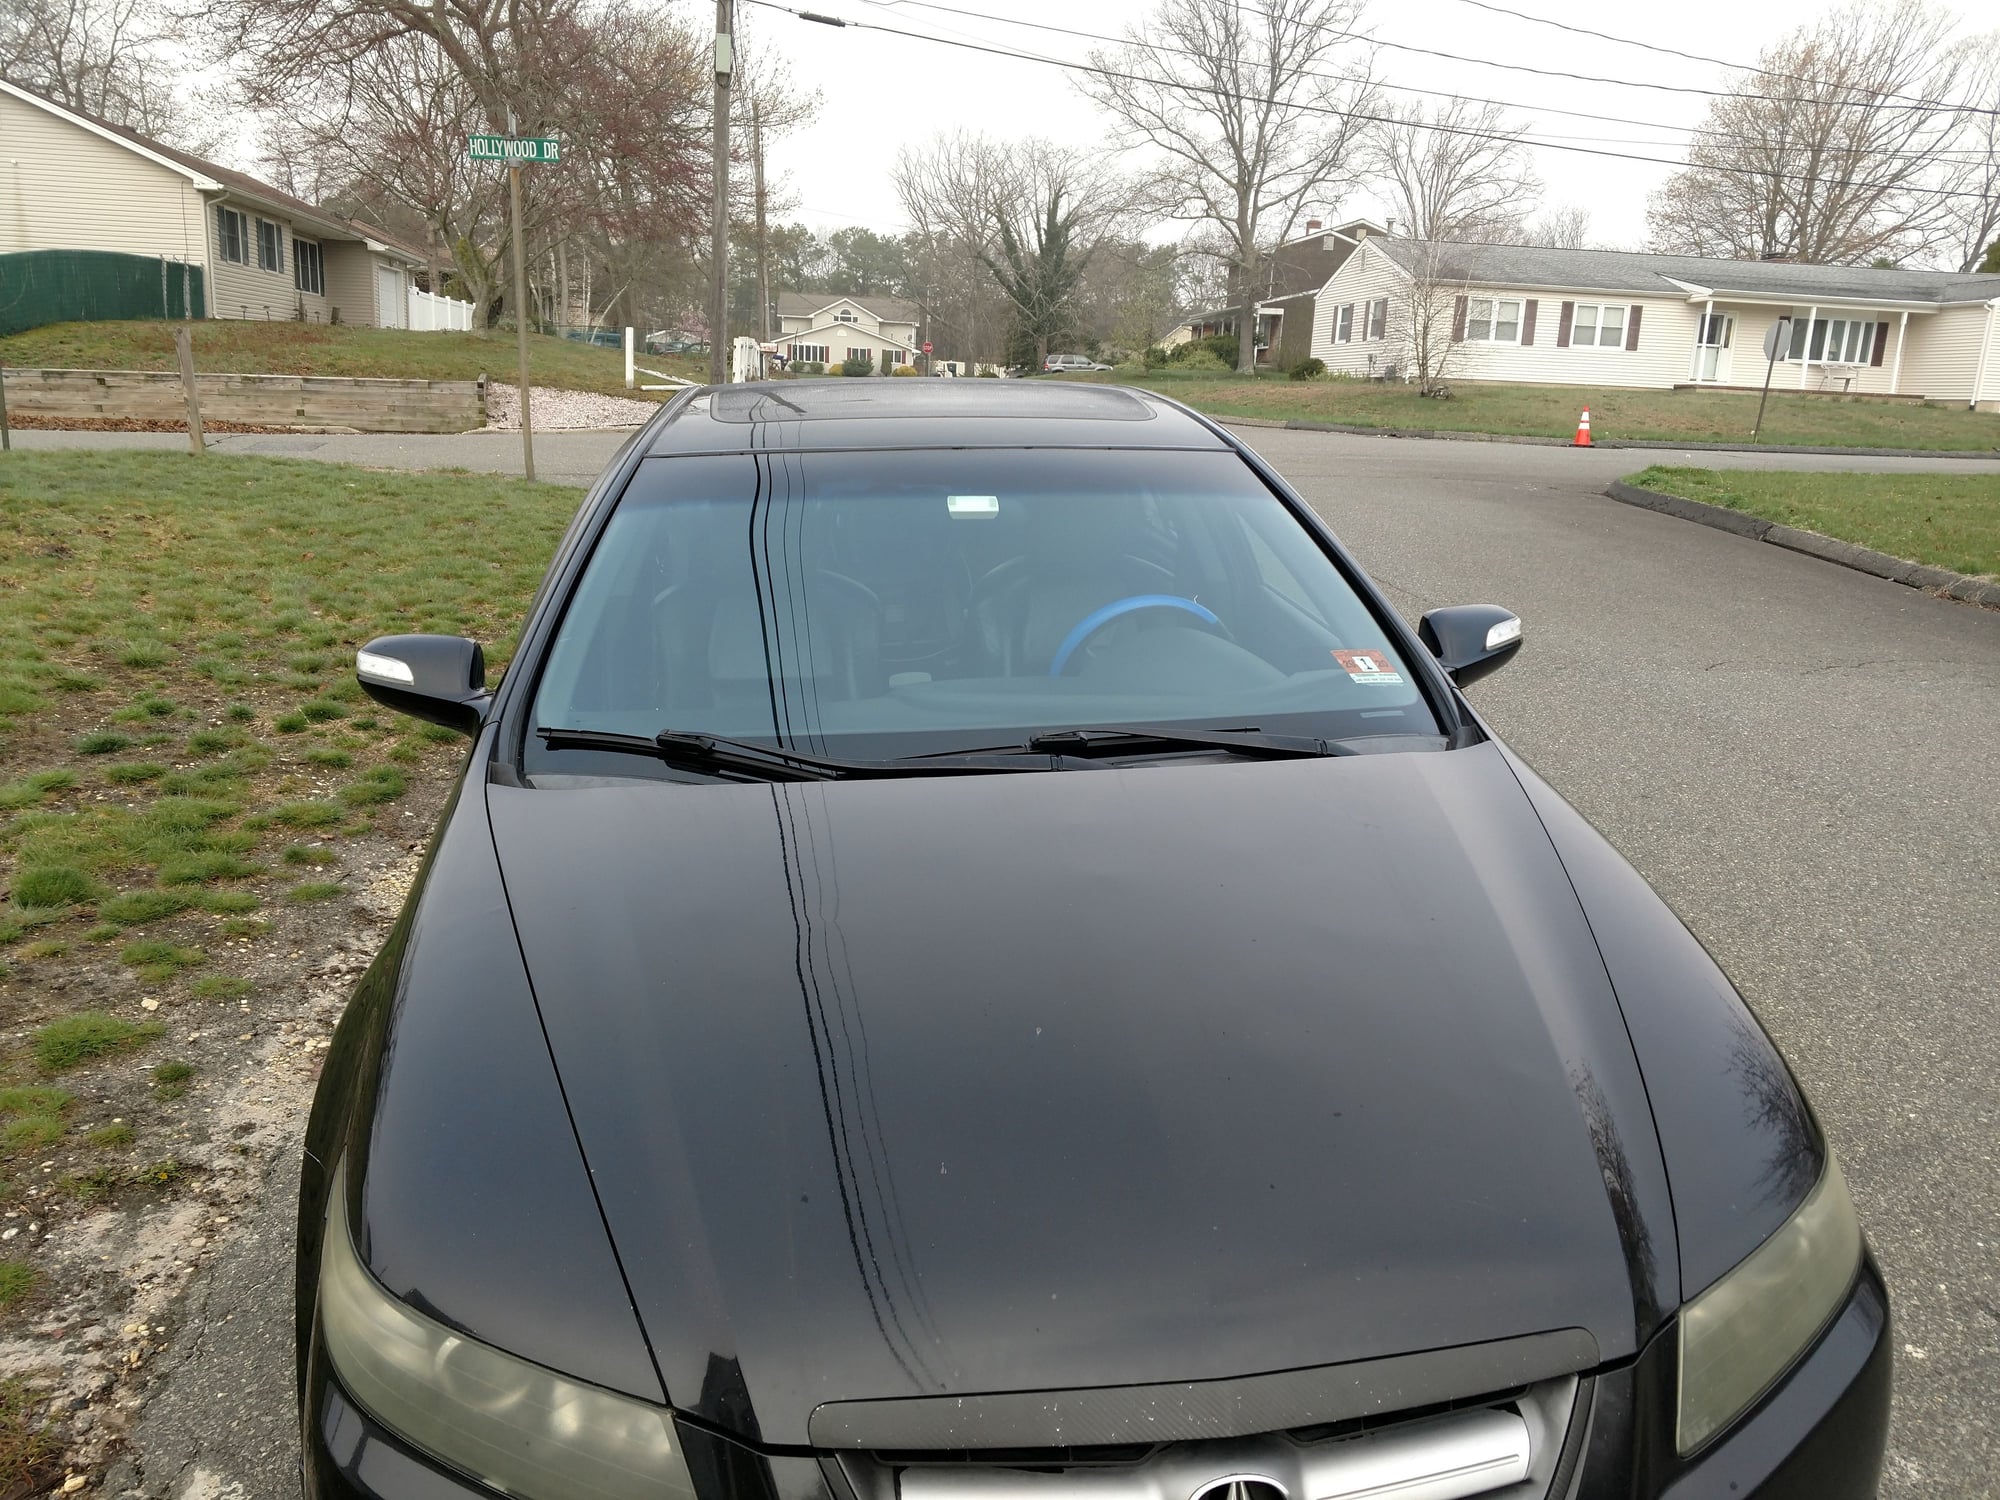
I’m assuming for this to work, you probably have aftermarket side markers as the OEM ones do not blink when the turn signal is engaged (hard to tell from the pics). I agree that wiring into that trigger wire would be a heck of a lot easier due to its close proximity. I’m glad to see it is working for you.
Now get started on restoring those headlight lenses
Now get started on restoring those headlight lenses

#46
Iím assuming for this to work, you probably have aftermarket side markers as the OEM ones do not blink when the turn signal is engaged (hard to tell from the pics). I agree that wiring into that trigger wire would be a heck of a lot easier due to its close proximity. Iím glad to see it is working for you.
Now get started on restoring those headlight lenses
Now get started on restoring those headlight lenses

#48
Burning Brakes
I think I have to agree. It looks like UV fading/yellow hazing to me, not necessarily condensation.
I've used the 3M headlight restoration kit as well as Meguiar's. I've found that I like the Meguiar's Heavy Duty Headlight Restoration best. The 3M kit left a lot of swirl-like scratches in the plastic when I used it twice before. The Meguiar's method by hand was noticeably better in my opinion.
I've used the 3M headlight restoration kit as well as Meguiar's. I've found that I like the Meguiar's Heavy Duty Headlight Restoration best. The 3M kit left a lot of swirl-like scratches in the plastic when I used it twice before. The Meguiar's method by hand was noticeably better in my opinion.
The following users liked this post:
David_BNSF (01-08-2021)
#49
I think I have to agree. It looks like UV fading/yellow hazing to me, not necessarily condensation.
I've used the 3M headlight restoration kit as well as Meguiar's. I've found that I like the Meguiar's Heavy Duty Headlight Restoration best. The 3M kit left a lot of swirl-like scratches in the plastic when I used it twice before. The Meguiar's method by hand was noticeably better in my opinion.
I've used the 3M headlight restoration kit as well as Meguiar's. I've found that I like the Meguiar's Heavy Duty Headlight Restoration best. The 3M kit left a lot of swirl-like scratches in the plastic when I used it twice before. The Meguiar's method by hand was noticeably better in my opinion.
#51
Personally I used the drill attachment. I don't know what the shop used but it's an aftermarket like rim shop. I was a little busy so I didn't look into the Meguiar's. Is that one better?
#52
Some kits are more "complete" than others. What really matters is that you use one with sanding discs in several grits. The drill attachment is a final polish step with very little cutting ability.
#53
Burning Brakes
Absolutely... if you want great results, don't by the cheap-o kit for 10 bucks with a tiny bottle of polish and one drill attachment. The whole process should involve 3 or 4 steps of sanding/polishing.
Like I said, the 3M kit, I referenced, highly emphasizes the use of drill attachment sanding (They do offer a hand version as well). There are 3 stages of cutting disks, but found that I had less control and poorer results when using the drill. This left a lot of swirl-like micro scratches on the plastic headlight lenses. The lenses are indeed clear, but in certain lighting, you will see what I'm talking about. I do have a picture that I can share if anyone is interested, but I will have to track it down after work. Let me know.
With the Meguiar's kit, the micro scratches were not present and the results were far better in my opinion. The whole process takes about an 60-90 minutes if done thoroughly.
In the end, you will just have to see what works best for you. Reviews are great, but personal experiences sometimes trump what crazy people like us say on the internet.
Thread
Thread Starter
Forum
Replies
Last Post
tradz
3G TL Audio, Bluetooth, Electronics & Navigation
37
07-17-2022 09:39 PM
guitarplayer16
3G TL (2004-2008)
108
02-09-2022 06:15 PM
cameradude
3G TL (2004-2008)
3
11-24-2020 06:33 PM
guitarplayer16
Car Parts for Sale
15
11-29-2015 02:03 PM
Monte561
3G TL Audio, Bluetooth, Electronics & Navigation
8
03-15-2013 08:23 PM


