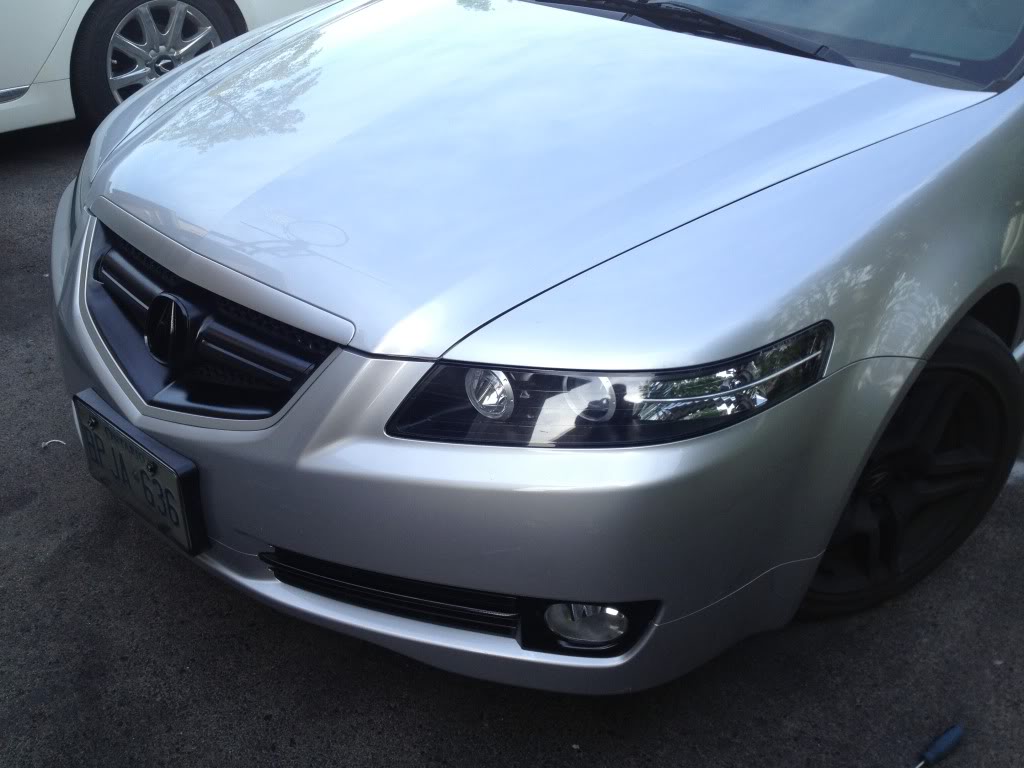
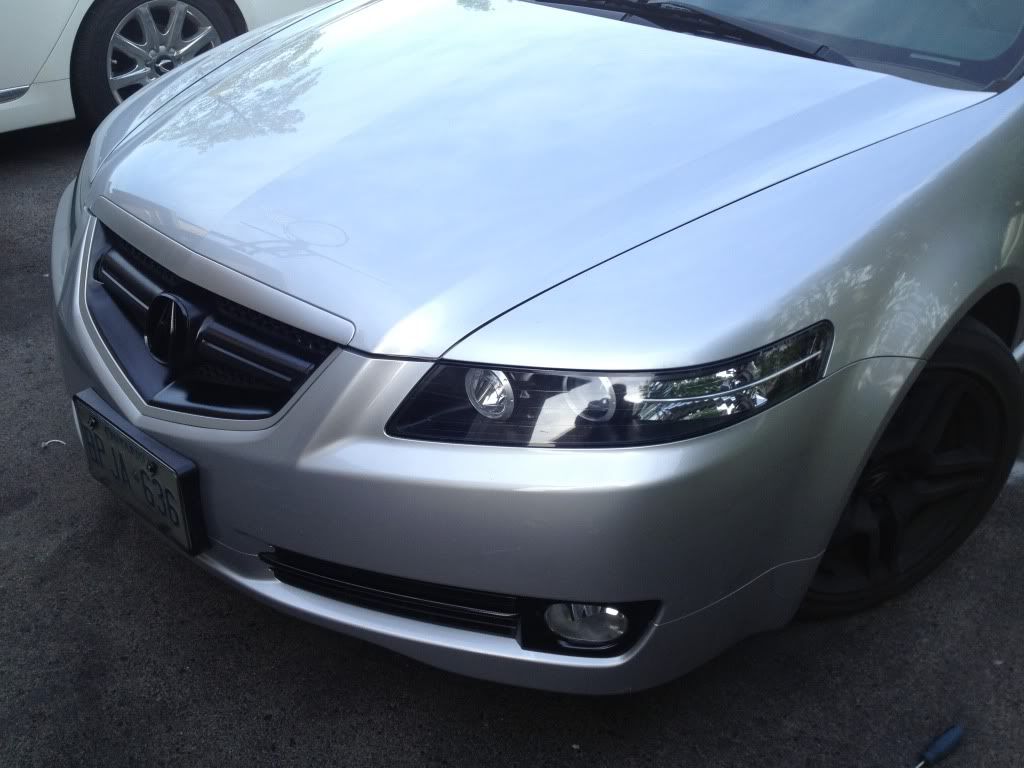
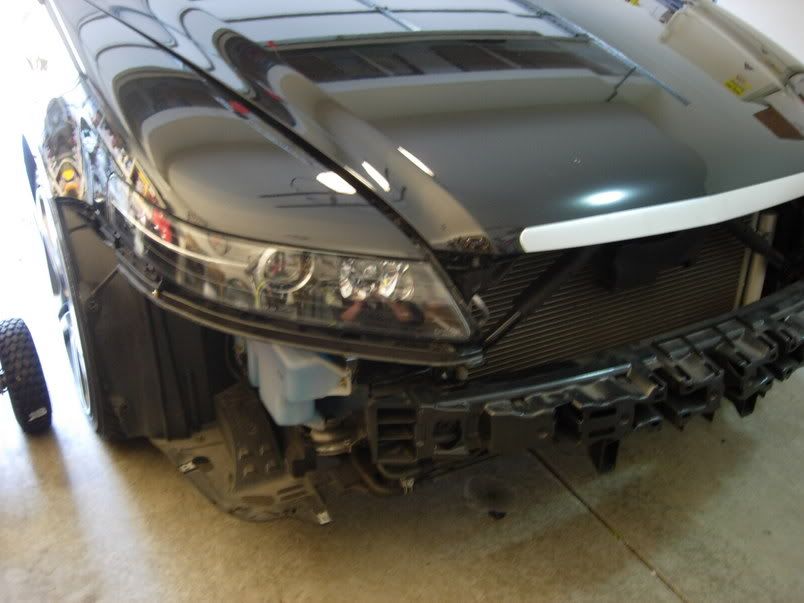
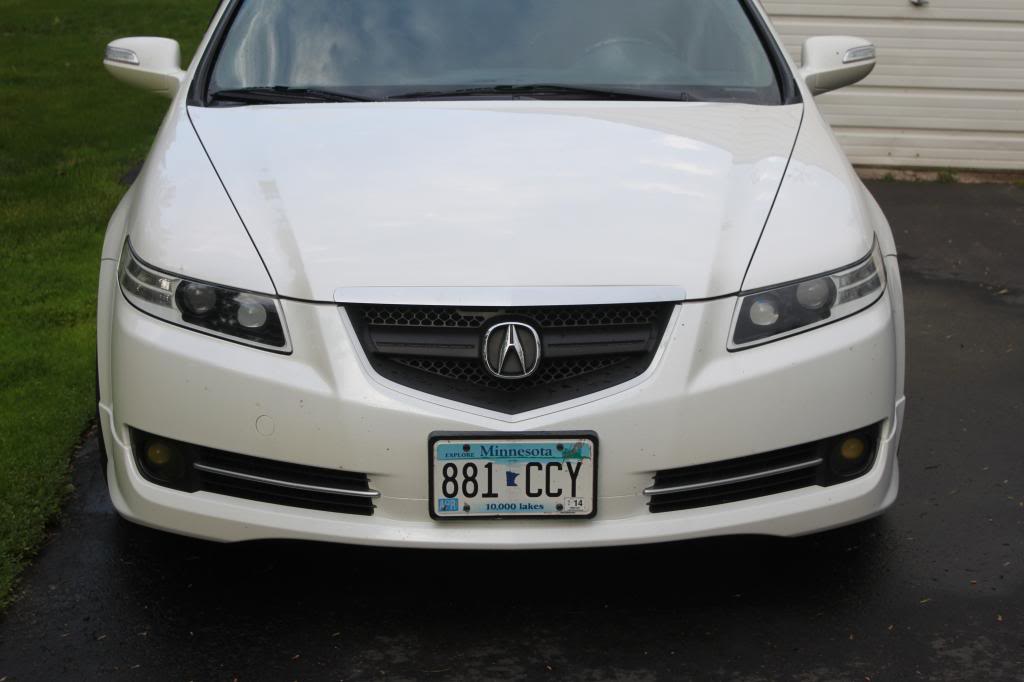
DIY: Blacked/Cleared Headlights 3G Garage #G046
#522
Instructor
To make your lives easier when it comes to removing the orange lense off of the chrome strip, use a soldering a gun, melt the plastic ends and it'll pop off with no issues. No need to use epoxy as well to keep the chrome strip from staying, use soldering gun.
The following users liked this post:
guitarplayer16 (10-23-2013)
#523
Burning Brakes
Whoever is thinking of doing this, it's a super easy job. Takes a good chunk of the day, but really easy and straight forward. Butyl is amazing stuff, it rained incredibly hard the very next day and I have zero fog or leaks. Just wanted to bump this because before doing it, I read this whole thread and there are a couple discouraging posts that made me question whether I wanted to try it or not. Just wanna encourage those who are on the fence about it, it's not bad at all!


#528
i can honestly say from experience that this isnt hard, its just a PITA lol. dont be scerred to do it.
some tips that i felt set some of my concerns at ease:
1.use a hair dryer/heat gun to loosen the clips on the lights before any oven time.
2.directly after the lights release from each other(i separated mine from the non blinkers side), use your fingers to roll the sticky sealant back into the grooves it came from as best you can while its still warm and gooey.
3.take your time releasing the interior plastic light housings.
4.when reassembling the plastic housing-especially the bezels-use great care because you may scrape off or scratch the paint on the plastic housing when you snap the bezels back into place.
5.after you reseal, and before you reinstall, use a pot of lightly boiling water and move the lights left to right, lenses down to see if any condensation forms inside the lights. tape off the bulb openings to make this easier.
6.use something soft on top of something firm to compress your lights back together. like a piece of cardboard on your kitchen floor. you should hear the popping of the butyl when you compress well.
7.SIDE NOTE-try using a long and if possible, offset 10mm wrench for the airbox and windowcleaner container cuz its a tight awkward angle/fit. i ended up having to take out my battery and cram my hand under some awkward metal to unscrew and partially release the airbox so i could push it down far enough to get to the bolts behind the airbox. nightmare to reattach.
8.HAVE A WHOLE DAY TO DO THIS JUST IN CASE.
9.brag a lot after you do it and make it seem like its easy. lol. jk.

[Blank]
some tips that i felt set some of my concerns at ease:
1.use a hair dryer/heat gun to loosen the clips on the lights before any oven time.
2.directly after the lights release from each other(i separated mine from the non blinkers side), use your fingers to roll the sticky sealant back into the grooves it came from as best you can while its still warm and gooey.
3.take your time releasing the interior plastic light housings.
4.when reassembling the plastic housing-especially the bezels-use great care because you may scrape off or scratch the paint on the plastic housing when you snap the bezels back into place.
5.after you reseal, and before you reinstall, use a pot of lightly boiling water and move the lights left to right, lenses down to see if any condensation forms inside the lights. tape off the bulb openings to make this easier.
6.use something soft on top of something firm to compress your lights back together. like a piece of cardboard on your kitchen floor. you should hear the popping of the butyl when you compress well.
7.SIDE NOTE-try using a long and if possible, offset 10mm wrench for the airbox and windowcleaner container cuz its a tight awkward angle/fit. i ended up having to take out my battery and cram my hand under some awkward metal to unscrew and partially release the airbox so i could push it down far enough to get to the bolts behind the airbox. nightmare to reattach.
8.HAVE A WHOLE DAY TO DO THIS JUST IN CASE.
9.brag a lot after you do it and make it seem like its easy. lol. jk.

[Blank]
#529
Moderator
Chapter Leader (South Florida Region)
Chapter Leader (South Florida Region)
iTrader: (6)
I would add to that, wet your fingers when dealing with the butyl...it won't stick to you.
Wear clothing you don't care about...
Run some hot air through the finished assembly via hair dryer then immediately pop all bulbs back in place. I use some teflon or painter's tape on the bulb bases to ensure it's not that loose.
For ease of removal down the line, I leave the ballast bracket that attaches to the car, off.
The following users liked this post:
[Blank] (11-05-2013)
#530
I would add to that, wet your fingers when dealing with the butyl...it won't stick to you.
Wear clothing you don't care about...
Run some hot air through the finished assembly via hair dryer then immediately pop all bulbs back in place. I use some teflon or painter's tape on the bulb bases to ensure it's not that loose.
For ease of removal down the line, I leave the ballast bracket that attaches to the car, off.
Wear clothing you don't care about...
Run some hot air through the finished assembly via hair dryer then immediately pop all bulbs back in place. I use some teflon or painter's tape on the bulb bases to ensure it's not that loose.
For ease of removal down the line, I leave the ballast bracket that attaches to the car, off.
#531
BANNED
iTrader: (33)
^not at all.
just more, meaningless pointless 10mm bolts.
just more, meaningless pointless 10mm bolts.
The following users liked this post:
[Blank] (11-05-2013)
#533
Advanced
Whoever is thinking of doing this, it's a super easy job. Takes a good chunk of the day, but really easy and straight forward. Butyl is amazing stuff, it rained incredibly hard the very next day and I have zero fog or leaks. Just wanted to bump this because before doing it, I read this whole thread and there are a couple discouraging posts that made me question whether I wanted to try it or not. Just wanna encourage those who are on the fence about it, it's not bad at all!


#535
Chapter Leader (Eastern Canada)
#539
Intermediate
i can honestly say from experience that this isnt hard, its just a PITA lol. dont be scerred to do it.
some tips that i felt set some of my concerns at ease:
1.use a hair dryer/heat gun to loosen the clips on the lights before any oven time.
2.directly after the lights release from each other(i separated mine from the non blinkers side), use your fingers to roll the sticky sealant back into the grooves it came from as best you can while its still warm and gooey.
3.take your time releasing the interior plastic light housings.
4.when reassembling the plastic housing-especially the bezels-use great care because you may scrape off or scratch the paint on the plastic housing when you snap the bezels back into place.
5.after you reseal, and before you reinstall, use a pot of lightly boiling water and move the lights left to right, lenses down to see if any condensation forms inside the lights. tape off the bulb openings to make this easier.
6.use something soft on top of something firm to compress your lights back together. like a piece of cardboard on your kitchen floor. you should hear the popping of the butyl when you compress well.
7.SIDE NOTE-try using a long and if possible, offset 10mm wrench for the airbox and windowcleaner container cuz its a tight awkward angle/fit. i ended up having to take out my battery and cram my hand under some awkward metal to unscrew and partially release the airbox so i could push it down far enough to get to the bolts behind the airbox. nightmare to reattach.
8.HAVE A WHOLE DAY TO DO THIS JUST IN CASE.
9.brag a lot after you do it and make it seem like its easy. lol. jk.

[Blank]
some tips that i felt set some of my concerns at ease:
1.use a hair dryer/heat gun to loosen the clips on the lights before any oven time.
2.directly after the lights release from each other(i separated mine from the non blinkers side), use your fingers to roll the sticky sealant back into the grooves it came from as best you can while its still warm and gooey.
3.take your time releasing the interior plastic light housings.
4.when reassembling the plastic housing-especially the bezels-use great care because you may scrape off or scratch the paint on the plastic housing when you snap the bezels back into place.
5.after you reseal, and before you reinstall, use a pot of lightly boiling water and move the lights left to right, lenses down to see if any condensation forms inside the lights. tape off the bulb openings to make this easier.
6.use something soft on top of something firm to compress your lights back together. like a piece of cardboard on your kitchen floor. you should hear the popping of the butyl when you compress well.
7.SIDE NOTE-try using a long and if possible, offset 10mm wrench for the airbox and windowcleaner container cuz its a tight awkward angle/fit. i ended up having to take out my battery and cram my hand under some awkward metal to unscrew and partially release the airbox so i could push it down far enough to get to the bolts behind the airbox. nightmare to reattach.
8.HAVE A WHOLE DAY TO DO THIS JUST IN CASE.
9.brag a lot after you do it and make it seem like its easy. lol. jk.

[Blank]
#541
Advanced
freaking awesome write up. and everything looks amazing. a few questions though. after you took them out of the oven did you remove the old glue and use new or did you reuse the glue (by heating it back up so it was tacky) and put more sealant (silicone) on and around where the two pieces meet.
#543
I'm new to this whole blacking out the housing thing so I'm quite concern that I might mess up. Whats the worse that can happen if i do it wrong? Also, what parts do I actually paint?
#553
PDX
Thanks man! That looks good! I was about to buy a WDP when I posted that, and ended u buying a 04 AM two days ago. Now I think I'm gonna go the blacked out look. Thanks for the post though.
#556
Team Owner
Question for you fine folks- this may have been covered somewhere in this thread, but it's soooo long!
Anyway, I will be opening up my headlights soon, but i have two concerns I'd like addressed before I get in too deep:
1. I was thinking of using butyl tape to seal up the lense after I'm done everything (as per recommendations in this thread), however, the only butyl tape I can find locally is for "windshield installation". Will this work? it is only 3/8" thick, so size wise I'd imagine it is acceptable. I know there are places like lightwerks that sell butyl tape, but I don't want to have to wait for it to be shipped north of the border if I don't have to. Thoughts?
2. Is it possible to remove all of the original butyl on the headlight housing? Or do I HAVE to reheat and reuse the stuff on there? It seems it would be easier, in terms of doing a proper seal, to just use new butyl rather than using a combination of old and new.
#557
Land of 10,000 lakes
iTrader: (2)
I've used stuff that Napa sells but found out it doesn't harden very well and my lens actually pushed out in some spots.
I always remove all old butyl by warming up the black plastic housing and use either a flat head screwdriver and or Popsicle stick. You may have to re heat a few times to keep it soft, if you have a heat gun that works a little better.
I always remove all old butyl by warming up the black plastic housing and use either a flat head screwdriver and or Popsicle stick. You may have to re heat a few times to keep it soft, if you have a heat gun that works a little better.
The following users liked this post:
TacoBello (10-07-2014)
#558
Team Owner
I've used stuff that Napa sells but found out it doesn't harden very well and my lens actually pushed out in some spots.
I always remove all old butyl by warming up the black plastic housing and use either a flat head screwdriver and or Popsicle stick. You may have to re heat a few times to keep it soft, if you have a heat gun that works a little better.
I always remove all old butyl by warming up the black plastic housing and use either a flat head screwdriver and or Popsicle stick. You may have to re heat a few times to keep it soft, if you have a heat gun that works a little better.
Hmmm... So is there stuff I can buy without having to order from online vendors? I'm surprised the Napa stuff failed so easily.
#560
Team Owner
Is it possible to reuse the current butyl? There must be a sufficient amount, no?


 [/QUOTE]


