When you click on links to various merchants on this site and make a purchase, this can result in this site earning a commission. Affiliate programs and affiliations include, but are not limited to, the eBay Partner Network.
I. Introduction
In 2016, I completed my first 3G Acura TL headlight modification. But looking back, I wasn’t completely satisfied with the outcome. A few years ago, I was an automotive novice and I felt like the entire process was rushed. This bothered me and if I were given more time, I think I would have been able to perform a far better job. You can reference my original DIY here:
Regardless, I learned from many of my original mistakes and I made sure to highlight some of them in this post. However, the real purpose of my thread is to document one chapter in my journey. Like so many others, I spend a lot of time researching and working on various projects, but rarely take the time to document my progress. That is the goal for me here.
Given that this was my second attempt at modifying a set of 3G Acura TL headlights and that I had also purchased a “spare” set to work on, my inherited knowledge and infinite timeframe allowed me to produce the outcome I desired. Unfortunately, this process took about 6 months, but we don’t need to get into those details J. We all know that life gets in the way sometimes. Am I right?
With that said, here is my lengthy, and probably overly-descriptive headlight modification journey.
II. Restoring Headlight Lenses (Step 1)
I bought a spare set of 2007-08 Acura TL headlights (Non Type-S) that I found on eBay, which were in decent quality. However, before proceeding with any of the modification steps, I wanted to use a restore the lenses to bring back some of the clarity. In normal circumstances, I recommend restoring the lenses after all modification steps are complete. However, in this case, I wanted to restore the outside of the lenses first, so that I could accurately inspect the lenses for any internal damage that might need correcting.
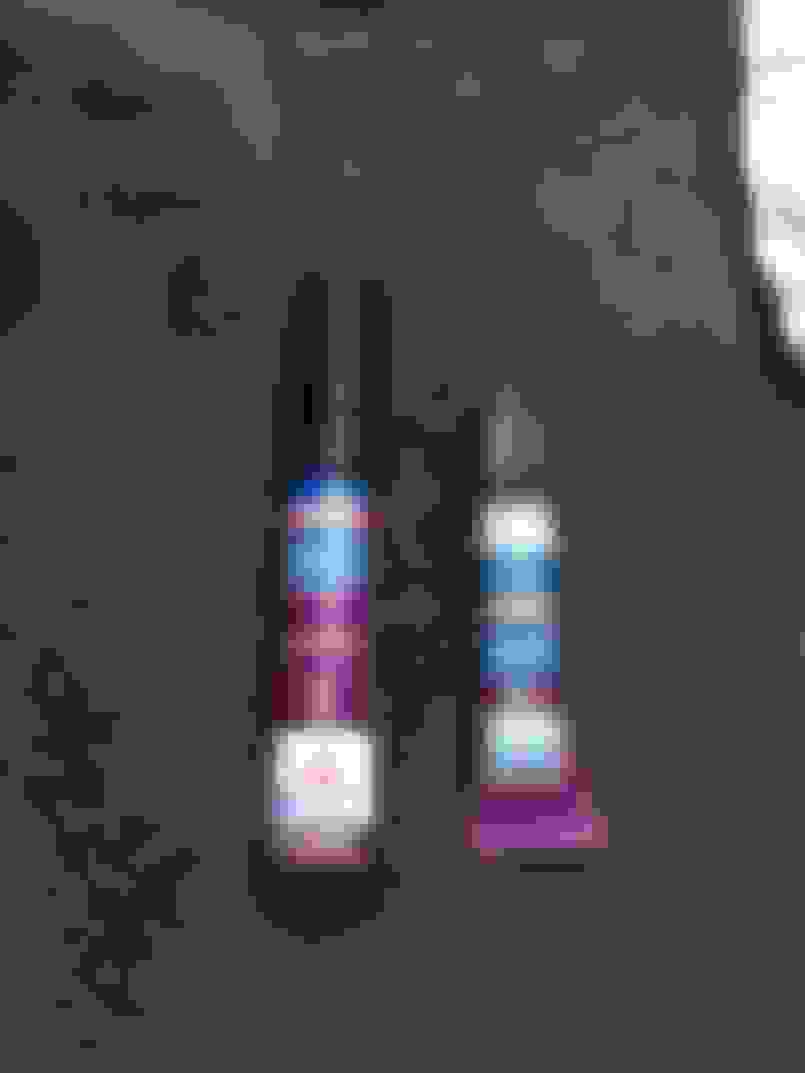
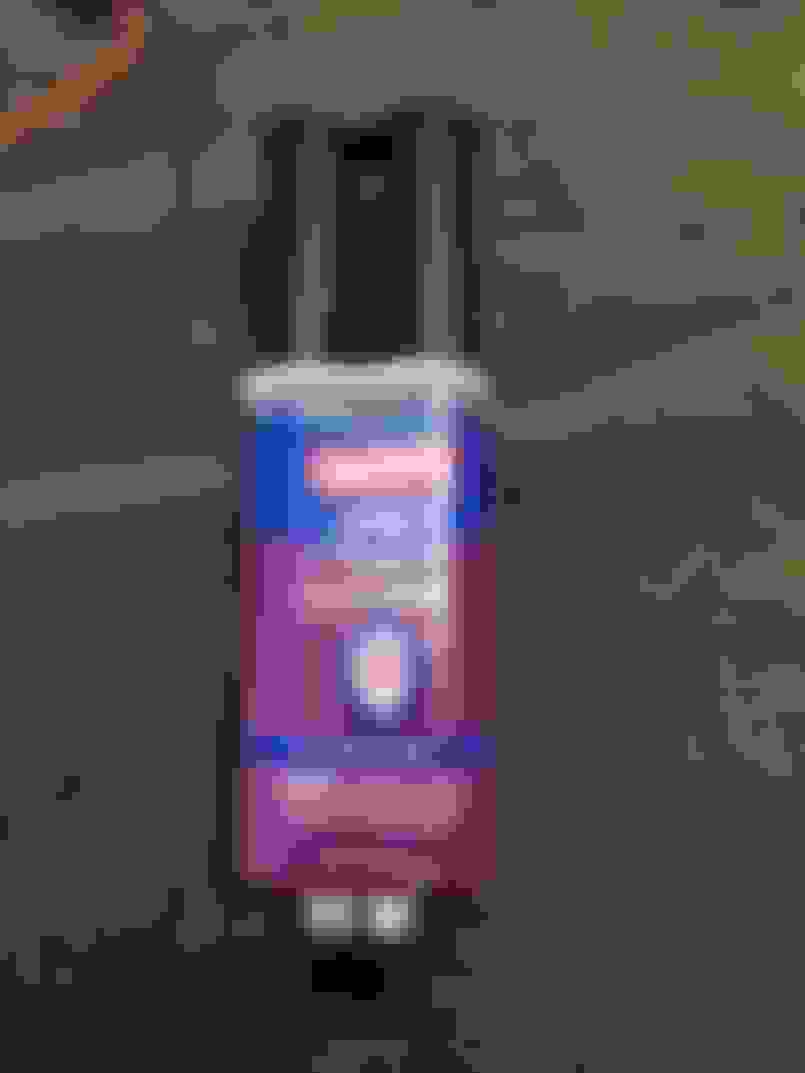
A. 3M Headlight Restoration System
To start, I used the 3M Headlight Lens Restoration System (Part #39008) to restore the lenses. This kit has been recommended by many Acurazine users and many detailing enthusiast have also seen great results with this product. I use many 3M products in my home and I love brand continuity, so this seemed like a sho-in.
I’m not going to go into the specific details of how I completed each step (You can read the directions on your own), but I can assure you that I followed each step meticulously. The entire restoration process took me two hours (one hour/lens). After completing the final step, I was pretty satisfied with the results. See the below images for before/after references. Once I baked and opened my headlights, I quickly became more and more disappointed with the results from the 3M kit. In improved lighting environments, I could clearly see that the lenses actually had thousands of swirled micro-scratches.
The clarity of the lenses were undeniably much clearer as approximately 95% of the oxidation and hazing had been removed. However, this was my second go-around and I wanted the lenses to look as flawless as possible.
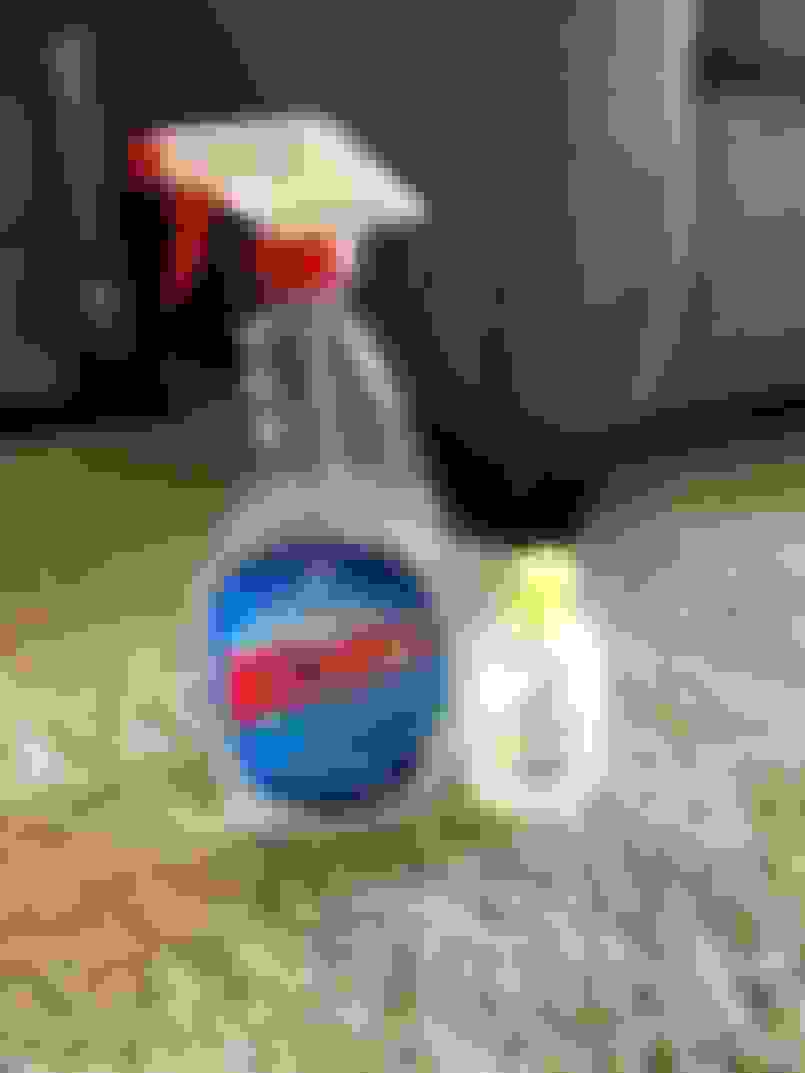
A. Meguiar’s Heavy Duty Headlight Restoration Kit
With that said, I moved onto another reputable band, Meguiar’s. I love Meguiar’s products and I’ve also heard great things about their Heavy Duty Headlight Restoration Kit (Part #G2980).
After working through each step carefully, I achieved better results, but the scratches stll remained.
This became frustrating, but I was satisfied with my results for the time being. Therefore, I decided to move forward.
III. Removing Bulbs (Step 2)
Before proceeding with the baking/opening process, I removed all bulbs from each headlight. When I performed my first headlight modification, I didn’t have a tamper-proof torx bit to remove the HID bulb and left all bulbs intact. However, electrical components’ biggest enemy is excessive heat, so I didn’t want to take any uncessary chances and removed everything before baking.
I purchased a Craftsman tamper-proof torx bit at Sears for about $10.00. This tool was needed in order to remove the T20 tamper-proof torx bit screw that held on a plastic cover behind each HID bulb. After removing the screw, I was able to turn the covers slightly and pull them off.
Once the covers were removed, I had access to un-clip the wiring harnesses (white clips) and disassemble the metal “P-shaped” tabs that held each HID bulb in place.
The daytime running light bulbs and the parking light bulbs were easily removed with the use of a half counter-clockwise twist-and-pull motion. After each bulb was securely removed and placed aside, I moved onto easily the most scary step of each headlight modification…baking them in the oven.
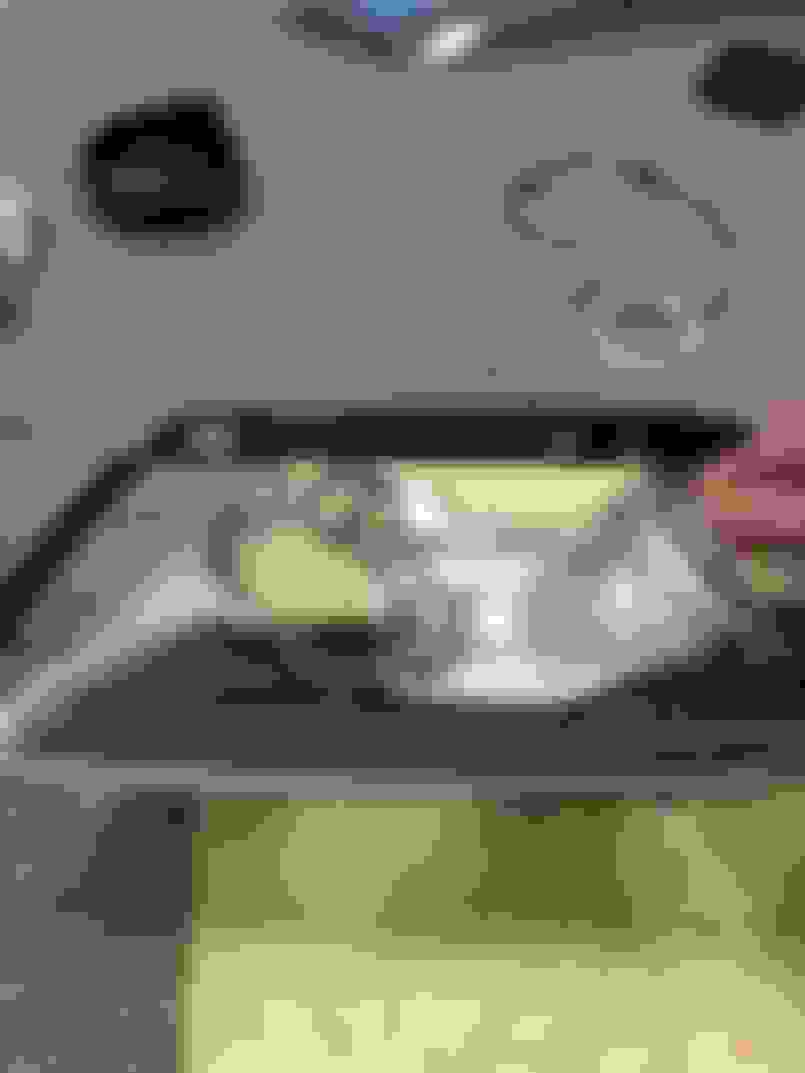
IV. Baking/Opening Headlights (Step 3)
During this step, I placed each headlight in the oven for 20 minutes at 200 degrees şF with no pre-heat. I also used a cookie sheet with a damp towel, which I placed underneath each headlight. The use of the cookie helps eliminate the risk of melting the plastic housing during the baking process and the damp towel introduces a small amount of moisture into the oven’s cavity, which helps aid with softening the old butyl.
I used extra precaution and taped each lens with 3M painters tape as well to help minimize the risk of inducing stress cracks from transpiring during the baking/opening process. Increased heat and excesive torque on the lenses has a tendency to produce stress fractures in plastics, so I wantd to take additional measures to ensure a safe disassembly.
After 20 minutes of baking, I removed each headlight from the oven and began separating with a flat head screwdriver and my fingers. The butyl was insanely hot and I had to use a great deal of force to separate the two pieces. If my wife was home at the time, it would have made the job much easier, but I was still able to manage cracking them open
V. Disassembling Headlights & Removing Internal Components (Step 4)
Once each headlight was safely opened, I had access to disassemble the internal components.
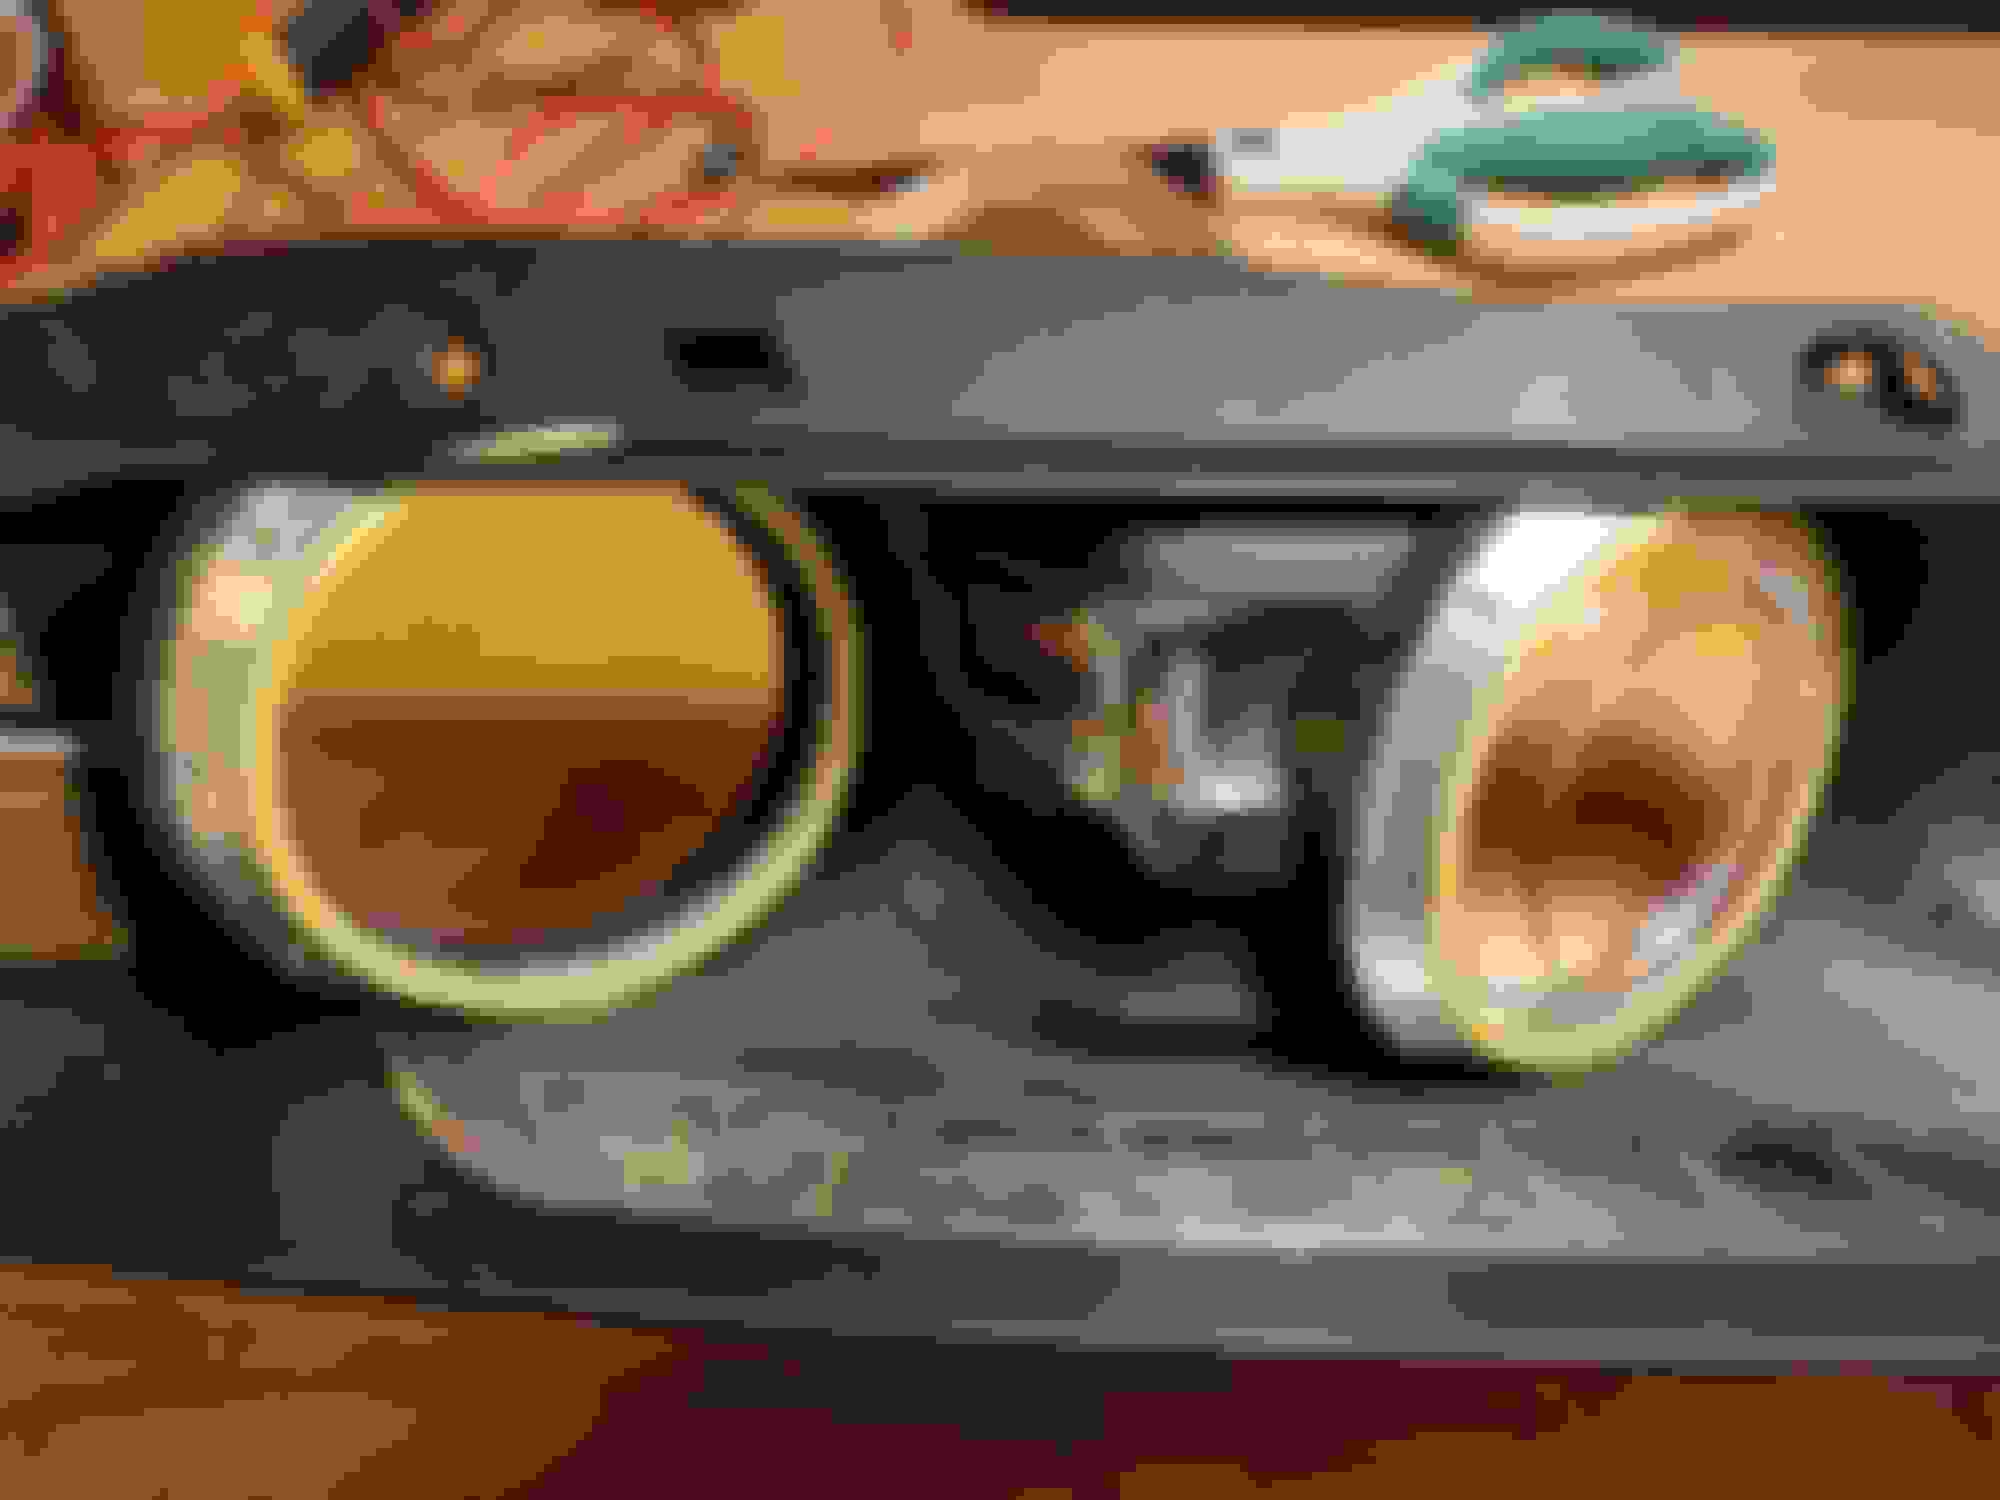
A. Removing Amber Diffuser
Each amber diffuser was held in place with four plastic tabs and one Phillips-head screw. Each tab had to be snapped/broken off with a needle nose pliers and I found that it was much easier to break them while the black housing remained attached to the front lens (The screw that holds the amber diffuser to the lens also holds the black housing to the lens).
Once the amber diffusers and black housings were removed from the lenses, this is what I was left with:
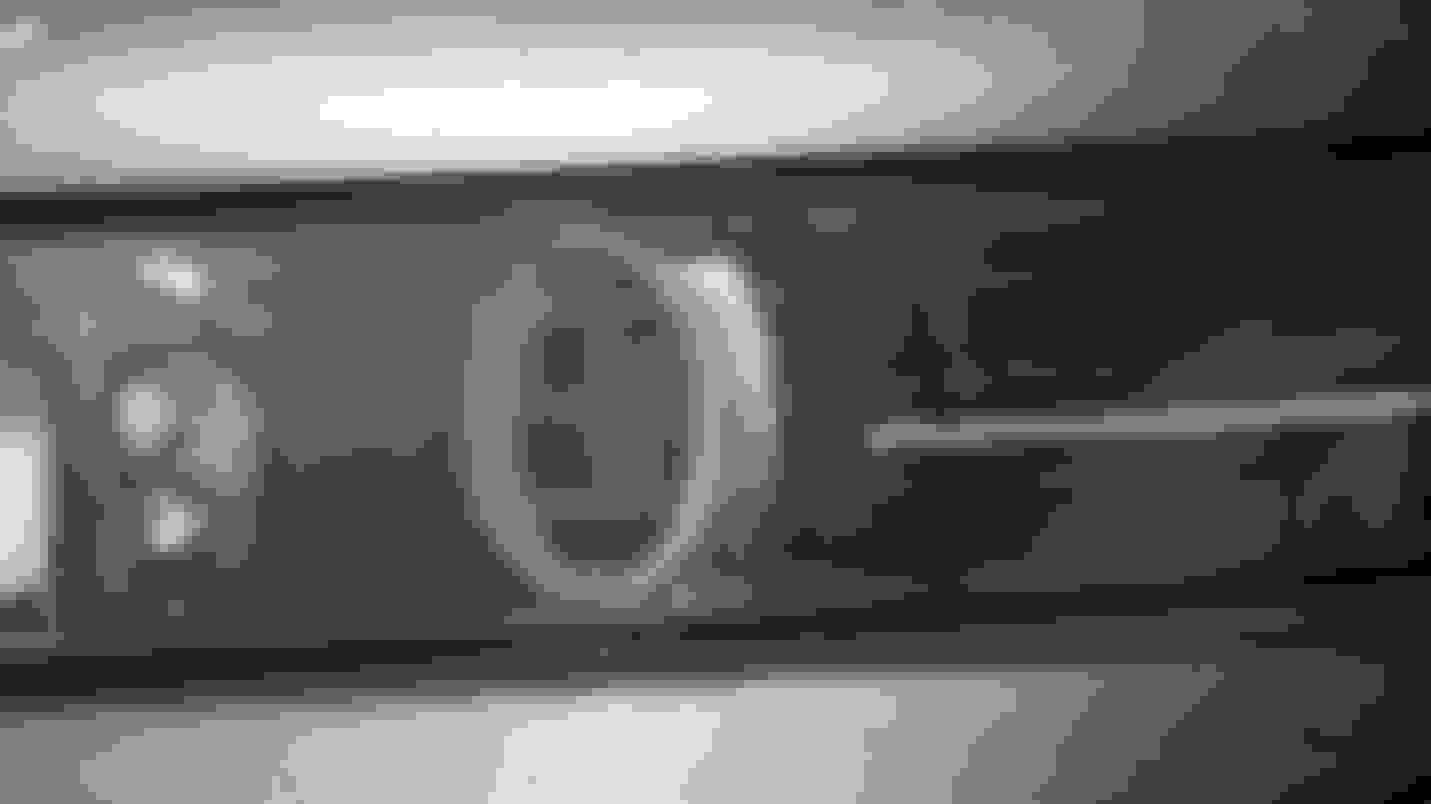
A. Removing Daytime Runing Light and Main Beam Housings
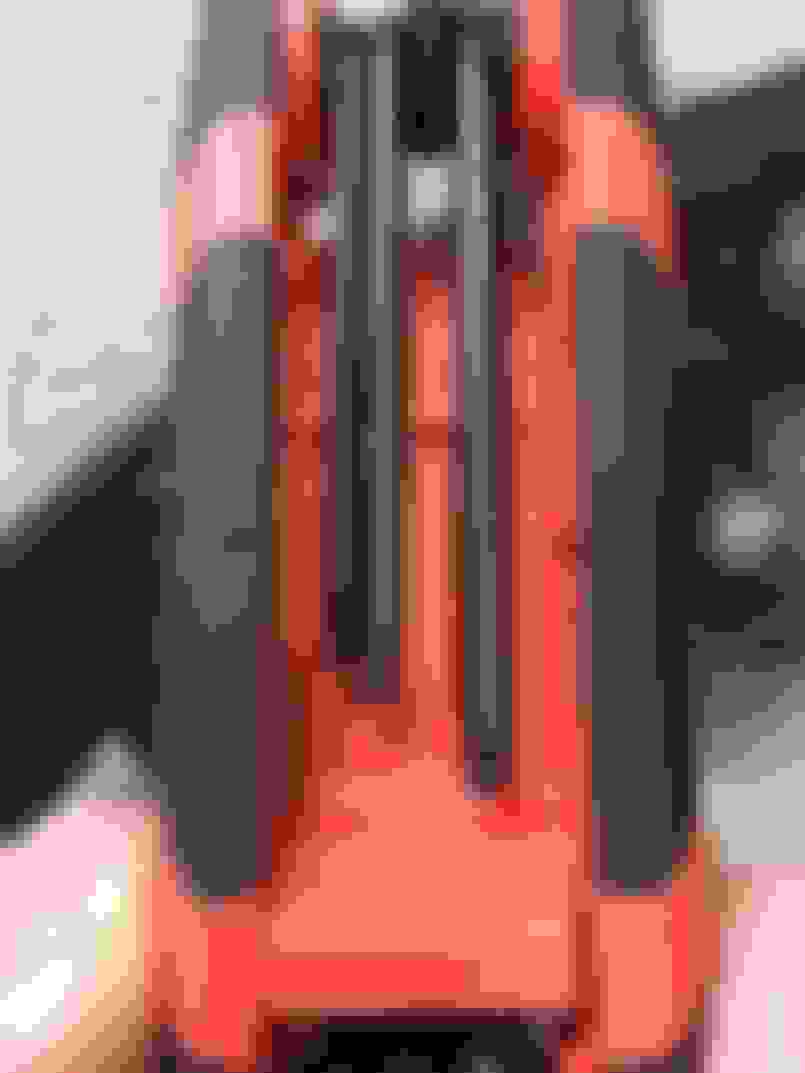
After removing the amber diffusers, I needed to remove the chrome housings. Above the circle openings each main beam, one clip had to be disassembled.
There were also three push clips at the bottom of the chrome housing that I disassembled by simply pulling outwards in a gentle, yet firm motion. You can see the three protrusions in the image below.
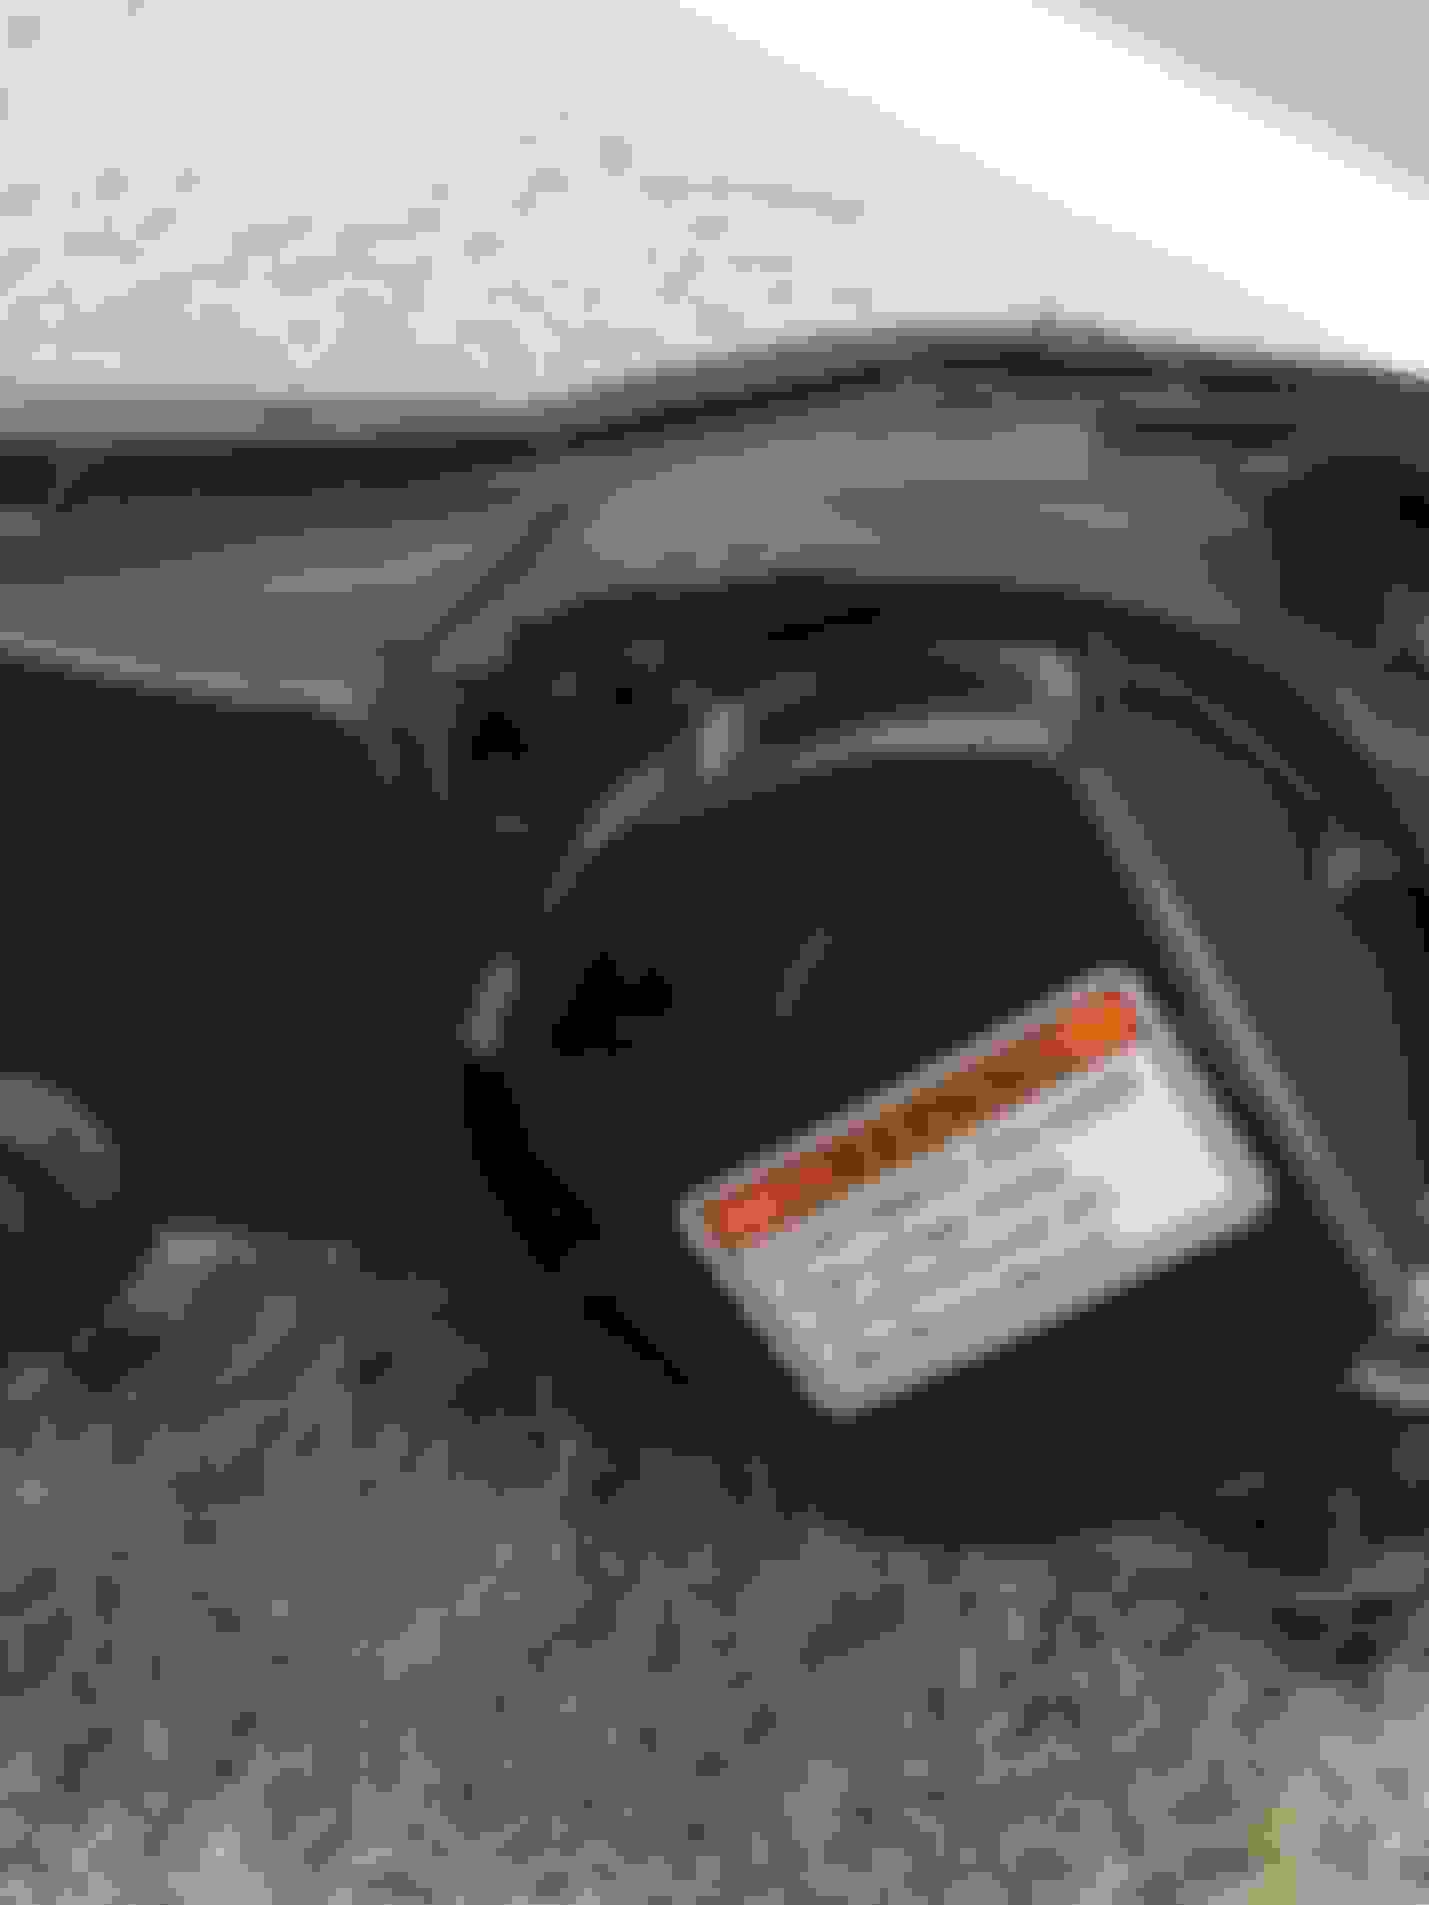
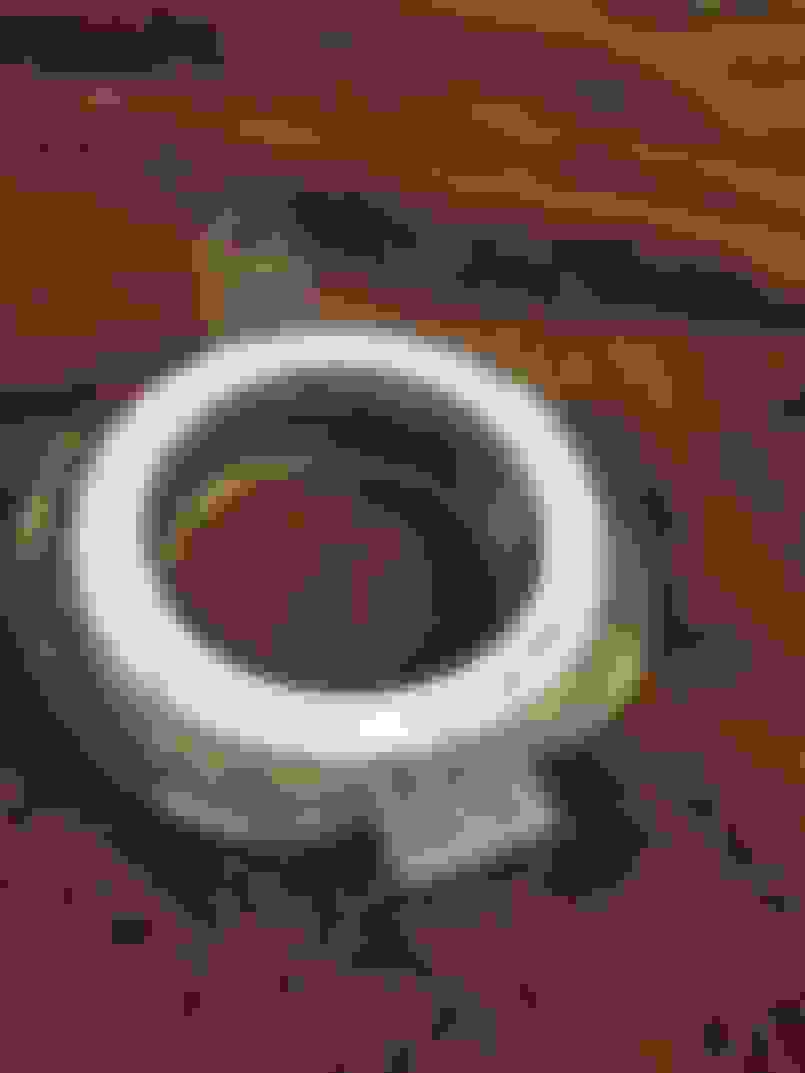
A. Removing Circular Frames
I wanted the circular frames to remain silver to add some contrast. Therefore, I had to remove each frame from the chrome housing before I advanced to the painting stages. On each housing, the main beam’s frame was held in place by another clip as seen below. It was an easy clip to unfasten and the frame came off easily.
A. Removing Clear Plastic Casings
Additionally, in order to remove the silver frame around the daytime running light openings, I had to remove the plastic casings first.The clear plastic casings were held in place with one Phillips-head screw and a notch-style insert. Once I removed the screw from the top of each plastic casing, I pulled upwards on the casing to disengage the bottom insert. The rest of the silver frame was removed afterwards.
This was what I was left with: A. Removing Chrome Strips
The last internal components to be removed were the chrome strips. Once the amber diffusers were removed (and all clips were broken), the chrome pieces no longer stayed clipped to the black bezel. I planned to add carbon fiber vinyl wrap to the black pieces as well, so I gently pulled on the chrome strips in an outward motion and set them aside, so that I would not damage them. I planned to re-install them later with epoxy once everything was ready to be reassembled.
Here’s a picture of my home office where the craziness was transpiring.
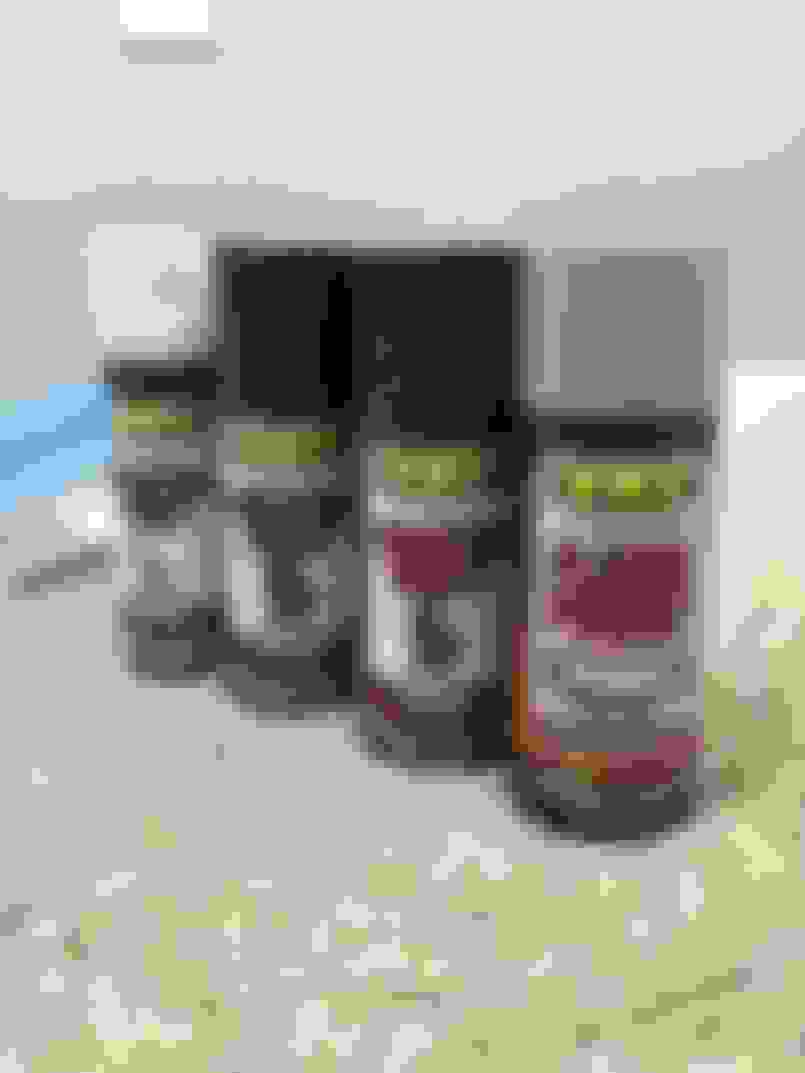
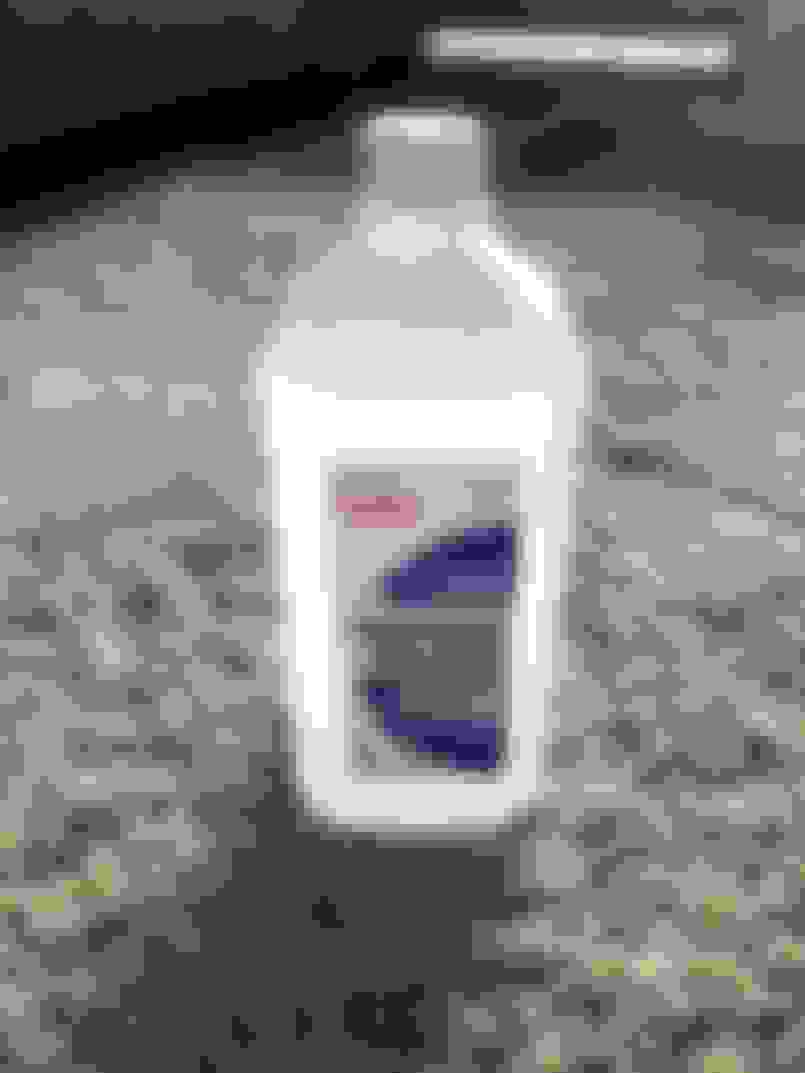
A. VHT Brake Caliper System
For this step, I followed the same three-step system from VHT that I’ve used in the past for painting my brake calipers. The three products I used are listed below:
A. Painting
Unfortunately, I did not take any pictures during the painting process, but I followed the instructions on the cans and applied about four coats of each product. One tip that I found useful was to insert a twist tie into the top screw opening of each housing. This allowed me to freely rotate the plastic pieces without fear of adding fingerprints or smudges to the finish.
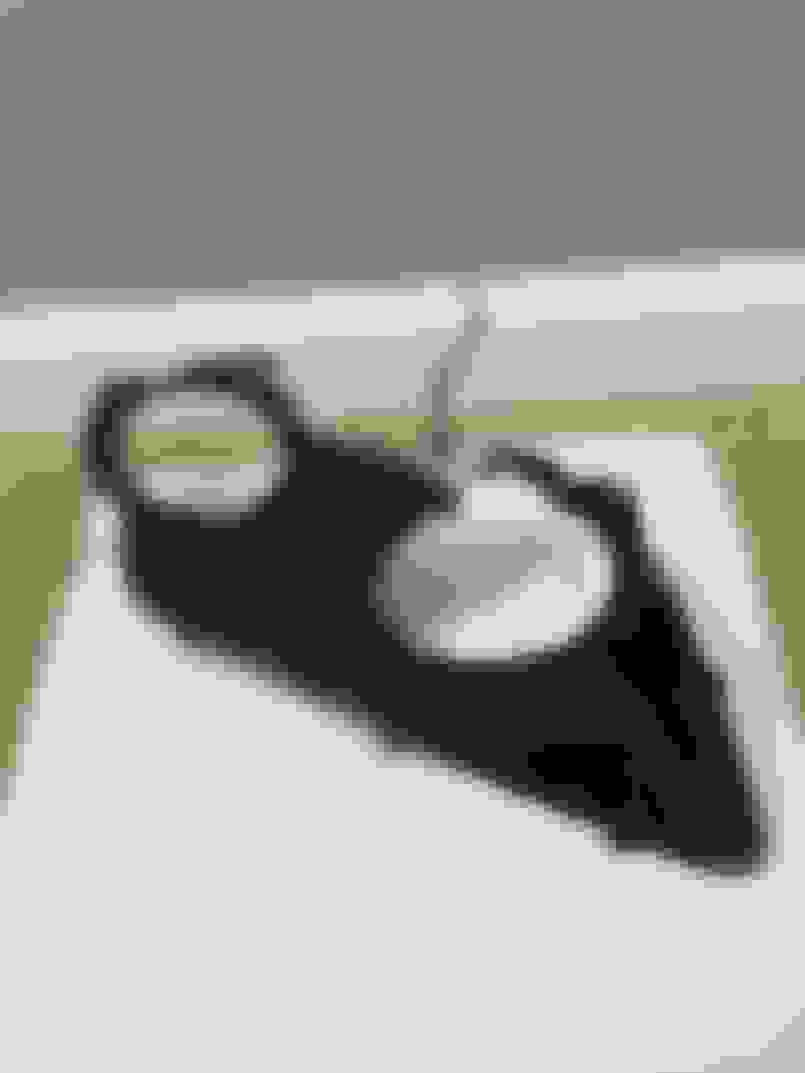
VII. Mounting Angel Eyes to the Housings (Step 6)
After the clear coats had adequate time to dry and cure, it was time to mount the angel eyes.
A. iJDMToy LED Angel Eye Halo Rings Kit
During my first headlight modification, I used a kit from iJDMToy Autmotive Lighting. Their prices are reasonable and they make many quality products. I performed a lot of research, and for what I wanted, the 70mm rings fit perfectly. Here is a link to the product’s web page:
B. Choosing How to Mount Angel Eyes
There are several options when it comes to mounting angel eyes to 3G Acura TL Headlights.
Some, like jptl04 have mounted their angel eyes by using a custom-made metal bracket.
While others, like robotsnakes, mounted their angel eyes by using fishing line.
A. Gluing Angel Eyes
The angel eyes are plastic and the housings are plastic. Therefore, I wanted to find an approach that focused on bonding, rather than mounting. After reviewing several products, I chose the Loctite Plastic Bonding System for my installation
I added a layer of the Activator to the outter perimeter of the housing, followed by a liberal amount of Plastics Bonder, but only after I positioned the angel eyes. Obviously, I didn’t want glue on the face (front) of the angel eyes, so I had to position them in place and then add glue only to the outside edge of the angel eyes. Once the angel eyes were positioned and the glue was layered, I held each part in place firmly for a few minutes.
I followed the same procedure for the daytime running lights, but installed the angel eyes to the plastic casings instead. This proved to be a much better fit.
For additional security, I also added a layer of Loctite’s Expoxy Plastics Bonder. This provided me with more piece of mind to ensure a secure bond.
D. Adding Carbon Fiber to Hide the Epoxy
Unfortunately, the epoxy wasn’t as aesthetically pleasing as I hoped for. The thick epoxy from the backside left a very noticeable layer of glue that could easily be seen through the front sides of the clear plastic casings.
In order to combat my visual repulsion, I installed a layer of 3M Di-Noc CA-421 Carbon Fiber around each angel eye once the glue cured.
You could argue that this was an unnecessary step, but I was taking my time and I wanted to complete this modification to the best of my abilities. The glue could no longer been seen.
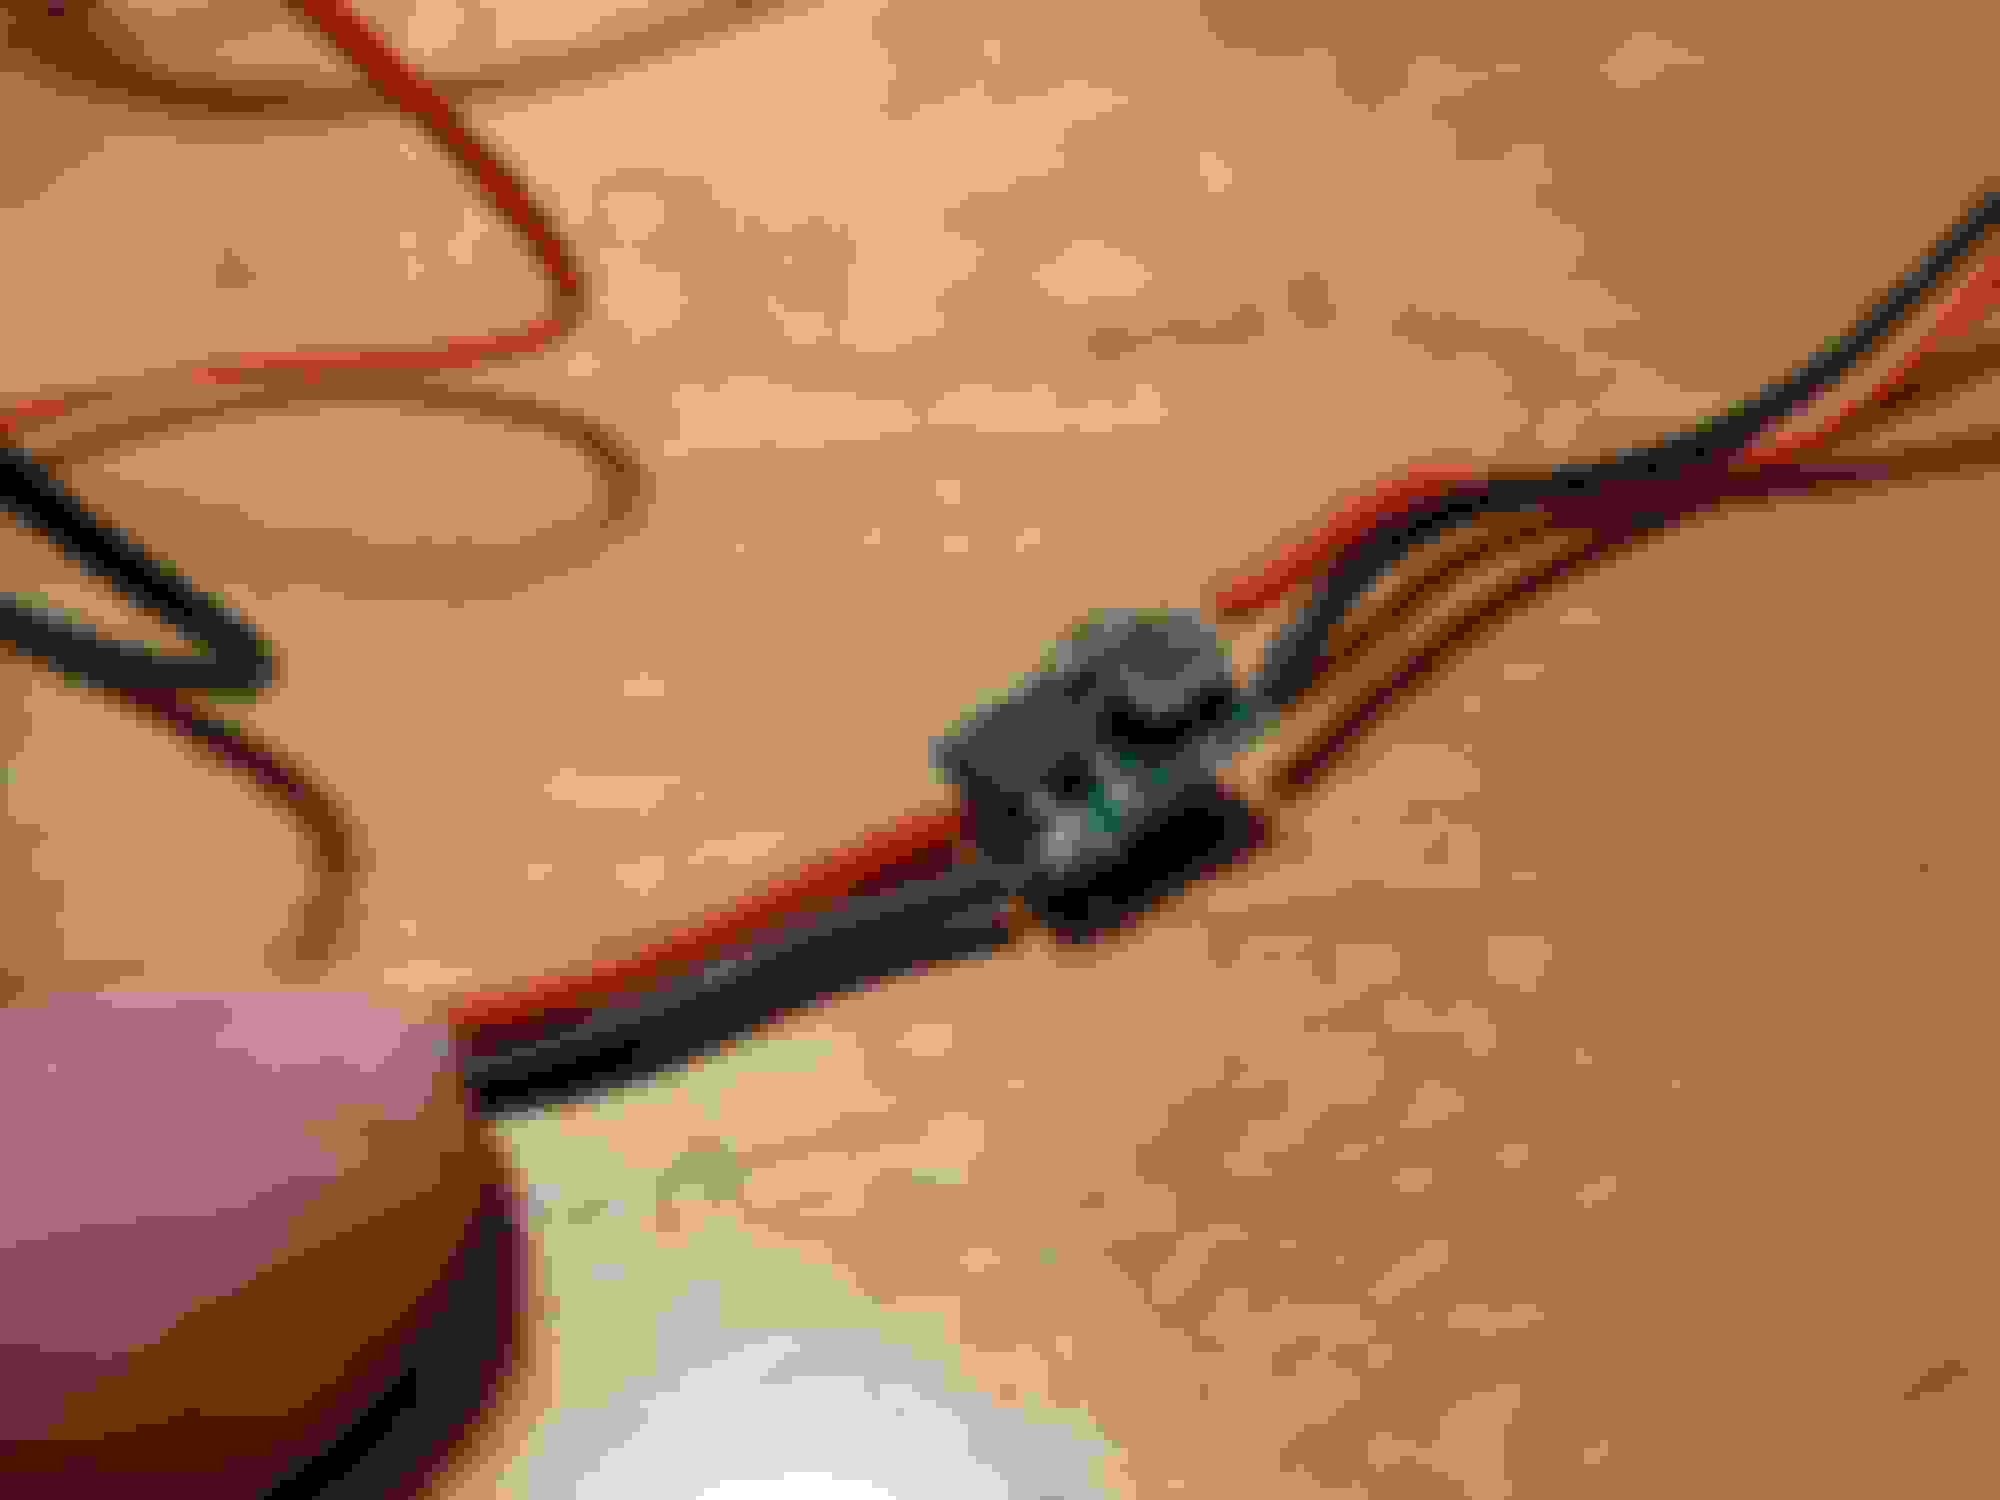
E. Drilling holes for Angel Eye Wiring
After I had each angel eye securely mounted, I proceeded to drill holes in the headlight housings, so that when the time came, I could feed the angel eye wires through an opening in each headlight (which I later would cover with butyl). I drilled holes for each headlight housing an area that lies between the main beams and daytime running lights. I also made sure to mount my angel eyes in such a way, so that their wires were aimed upwards and in a direction that aligned with the drilled holes.
VIII. Wrapping Headlight Housings & Internal Components (Step 7)
Several of my interior dash pieces are wrapped in 3M Di-Noc carbon fiber vinyl and I wanted to incorporate the same concepts with these headlights. Therefore, I decided to wrap the bottom portion of the internal housings and the sidewalls of the turn signal reflectors.
A. Wrapping the Internal Headlight Housings
Wrapping the housings took significantly longer than I anticipated. I would estimate that I spent about an hour on each piece. To my dismay, I cracked one of the plastic housings during this step, which caused additional delays. To repair the crack, I used the same Loctite bonding procedure (minus the additional epoxy) that I used previously when I mounted the angel eyes.
After the plastic bonding cured, a thin layer of white residue became noticeable. Luckily, I had a small bottle of Testors Gloss Black car model paint laying around, so I used a small paint brush and applied a thin layer of paint to the damaged area. From the naked eye, this is completely unnoticeable.
This was the end result:
B. Wrapping the Turn Signal Reflectors
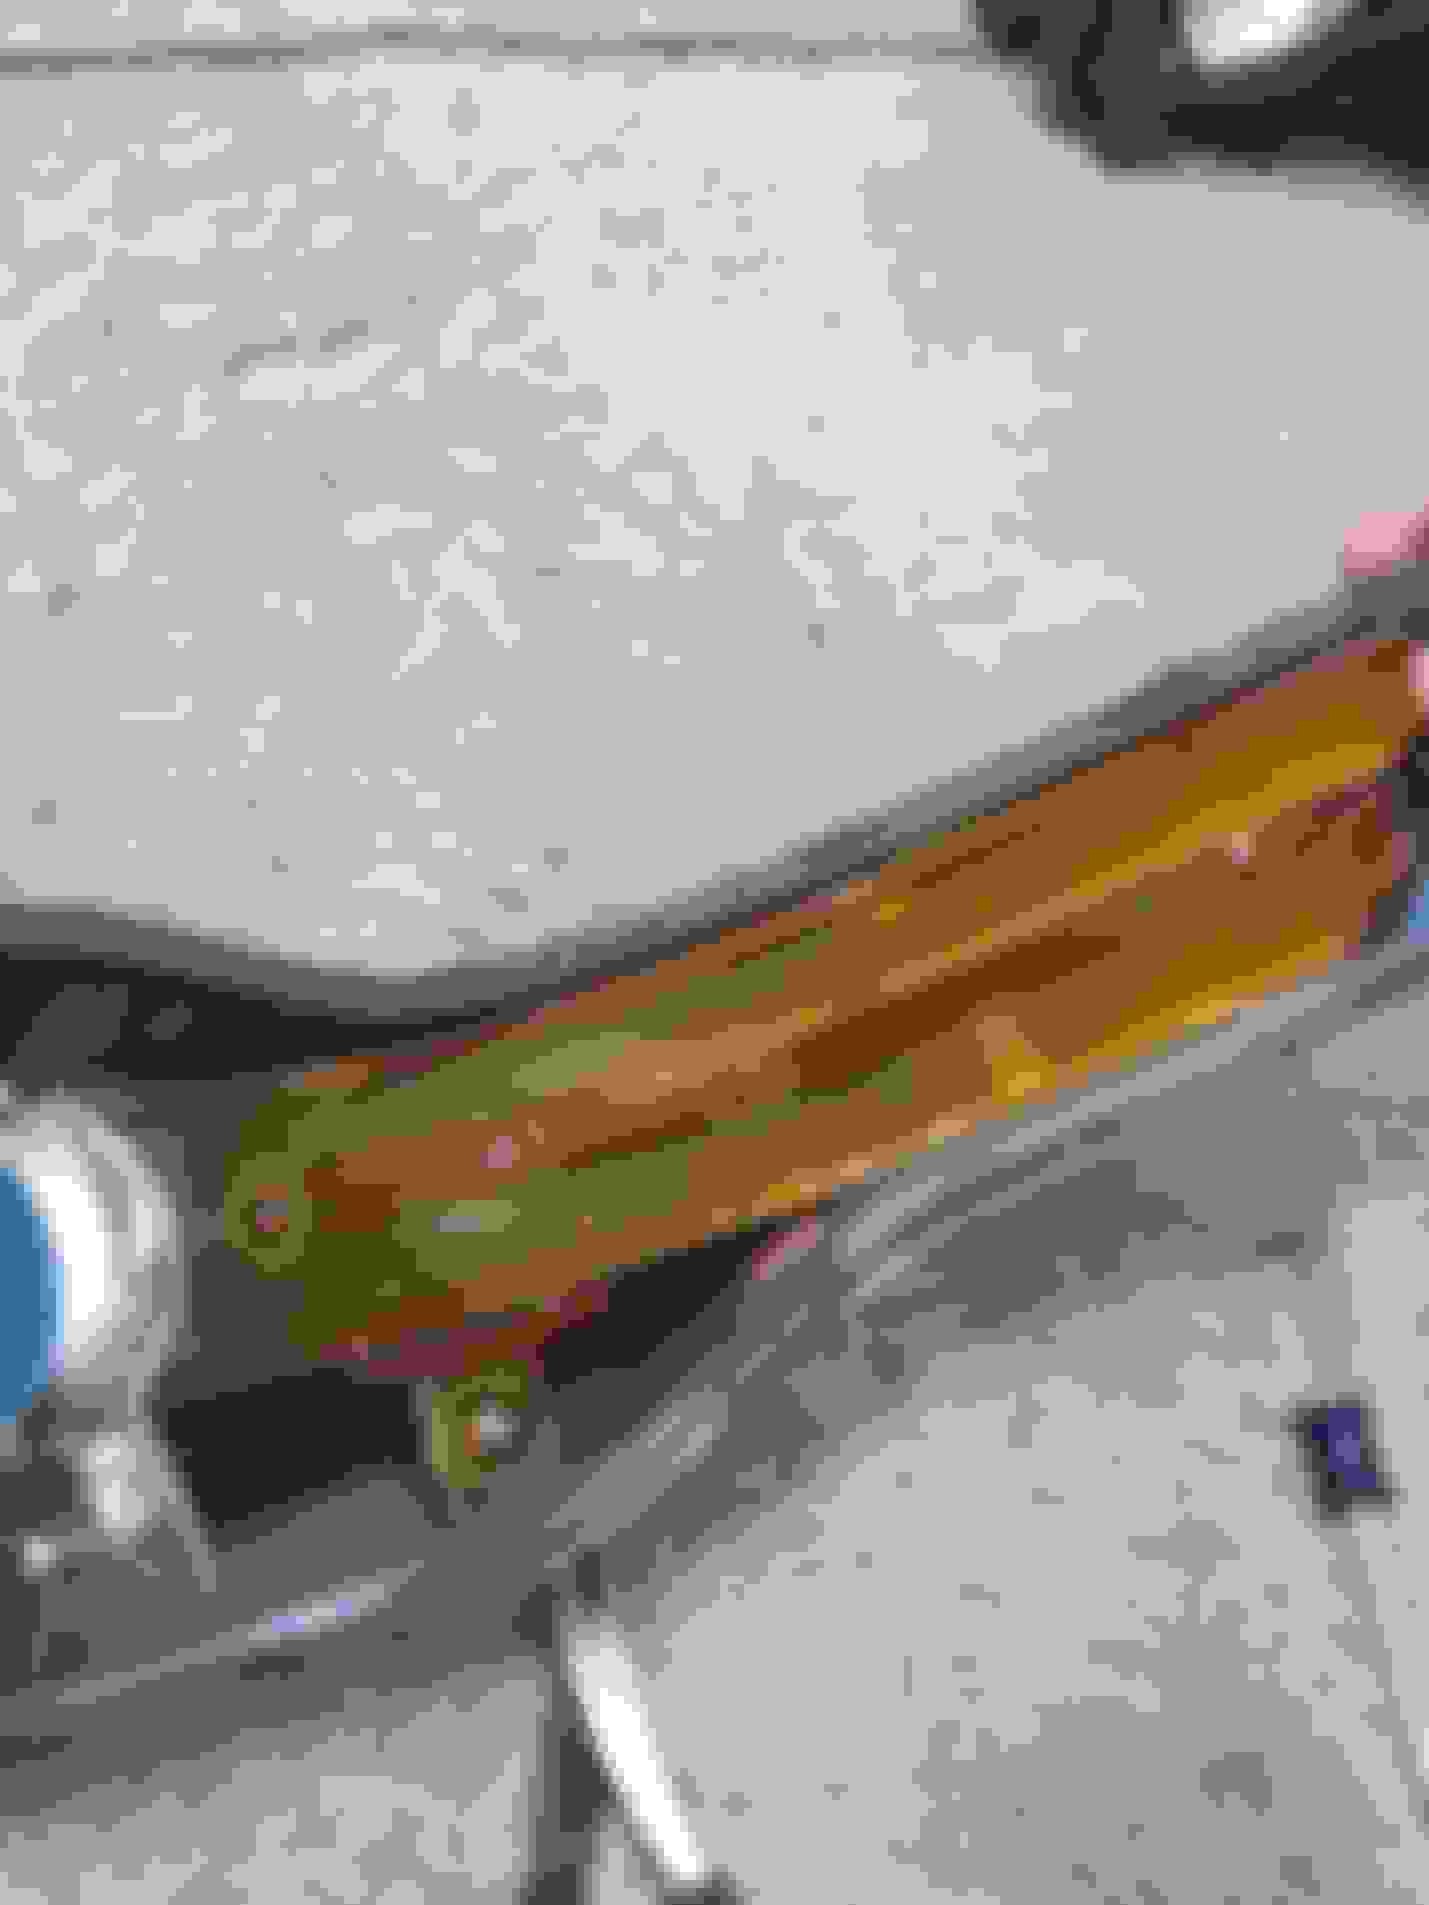
I wanted the carbon fiber vinyl cuts to match the jagged contour of the turn signal reflector sidewalls. As you can see in the pictures below, there is a “point” in the middle of the curvature that I accounted for. I probably peeled up and re-positioned the vinyl wrap dozens of times before I was finally satisfied.
*Please note that the chrome finish on the turn signal reflectors easily peels off! Originally, I masked off the turn signal reflectors with painters tape and painted the sidewalls with the same VHT black paint I used before. However, the painters tape stripped off large sections of the chrome finish and the reflectors became useless. Therefore, I had to find two replacements, which took months to do. A huge THANK YOU to AckTL05for coming through and having two spare reflectors that I was able to purchase. I couldn’t have completed this without his help.
C. Using 3M Tape Primer 94 Pens (For Vinyl Di-Noc)
3M Di-Noc carbon fiber wrap is a great product. However, edges have a tendency to peel up over time, especially when there isn’t a large edge to wrap around. After about a week, I noticed that some areas of the vinyl started to peel. After researching, I came across 3M’s Tape Primer 94 Pens.
This liquid adhesive is made specifically for vinyl wrapping and is exactly what I needed. I applied this adhesive liberally on all edges of the headlight housings and since adding the adhesive, all wrapped edges have remained intact and no peeling has occurred to-date.
While the headlights were disassembled, I also replaced the original silica packets with new ones that I purchased from The Retro Fit Source. I used a strip of 3M double-sided tape and added two packets to each headlight.
X. Re-Baking/Sealing Headlights (Step 9)
Before I re-sealed the headlights, I used compressed air to blow out all traces of dust and that may have settled on the internal components.
Then, I placed each headlight in the oven for about 20 minutes at 200°F again with no pre-heat. I found that having a partner during this step was mandatory. It was nearly impossible to re-clip all of the tabs while also trying to push the lens into the housings crevices
XI. Restoring Headlight Lenses Again (Step 10)
At this point, the headlights lenses have been through a lot. They were not exposed to the sun and its harmful UV rays, but they were still sitting for several months and the lenses were continuously being handled and moved. Additionally, I mentioned before that I was not completely satisfied with the results I received from neither the 3M or Meguiar’s headlight restoration kits.
I did a LOT of research and found that certain steps in each kit (3M = Trizac Pad, Meguiar’s = PlastX) are almost too abrasive for certain plastics and will cause scratching/marring. Unfortunately, I had to find this out the hard way and I think that Honda lenses may be susceptible to this due as a result of their softness. Please note that this is just my observation based on my experiences.
On autogeekonline.net, one user mentioned that he used Meguiar’s Mirror Glaze Ultra-Cut Compound to remove all traces of swirls and scratches left after the PlastX polishing step, so I tought I would give it a shot. I could not be happier with the way the finish came out.
You can really see the micro-scratches when the lighting hits at just the right angle
But BAM!, look at how the clarity just pops after the Meguiar’s 105 Ultra-Cut Compound was applied.
XII. Applying Headlight Lens Protection (Step 11)
For added protection (and also so I wouldn’t have to restore the lenses again in six months), I cut and installed a layer of 3M Scotchgard Clear Paint Protection to the face of each headlight:
I followed the manufacturer's instructions and cleaned each surface with 70% Isopropyl rubbing alcohol first and then used the recommended combination formula of water and Johnson’s Baby Shampoo for a wet application.
XIV. Installing Wiring Harness and Pulse Timer Delay (Step 13)
I don’t want to go into great detail, regarding my wiring setup due to the fact that I already addressed most of the details in this thread:
XV. Re-Installing Headlights (Step 14)
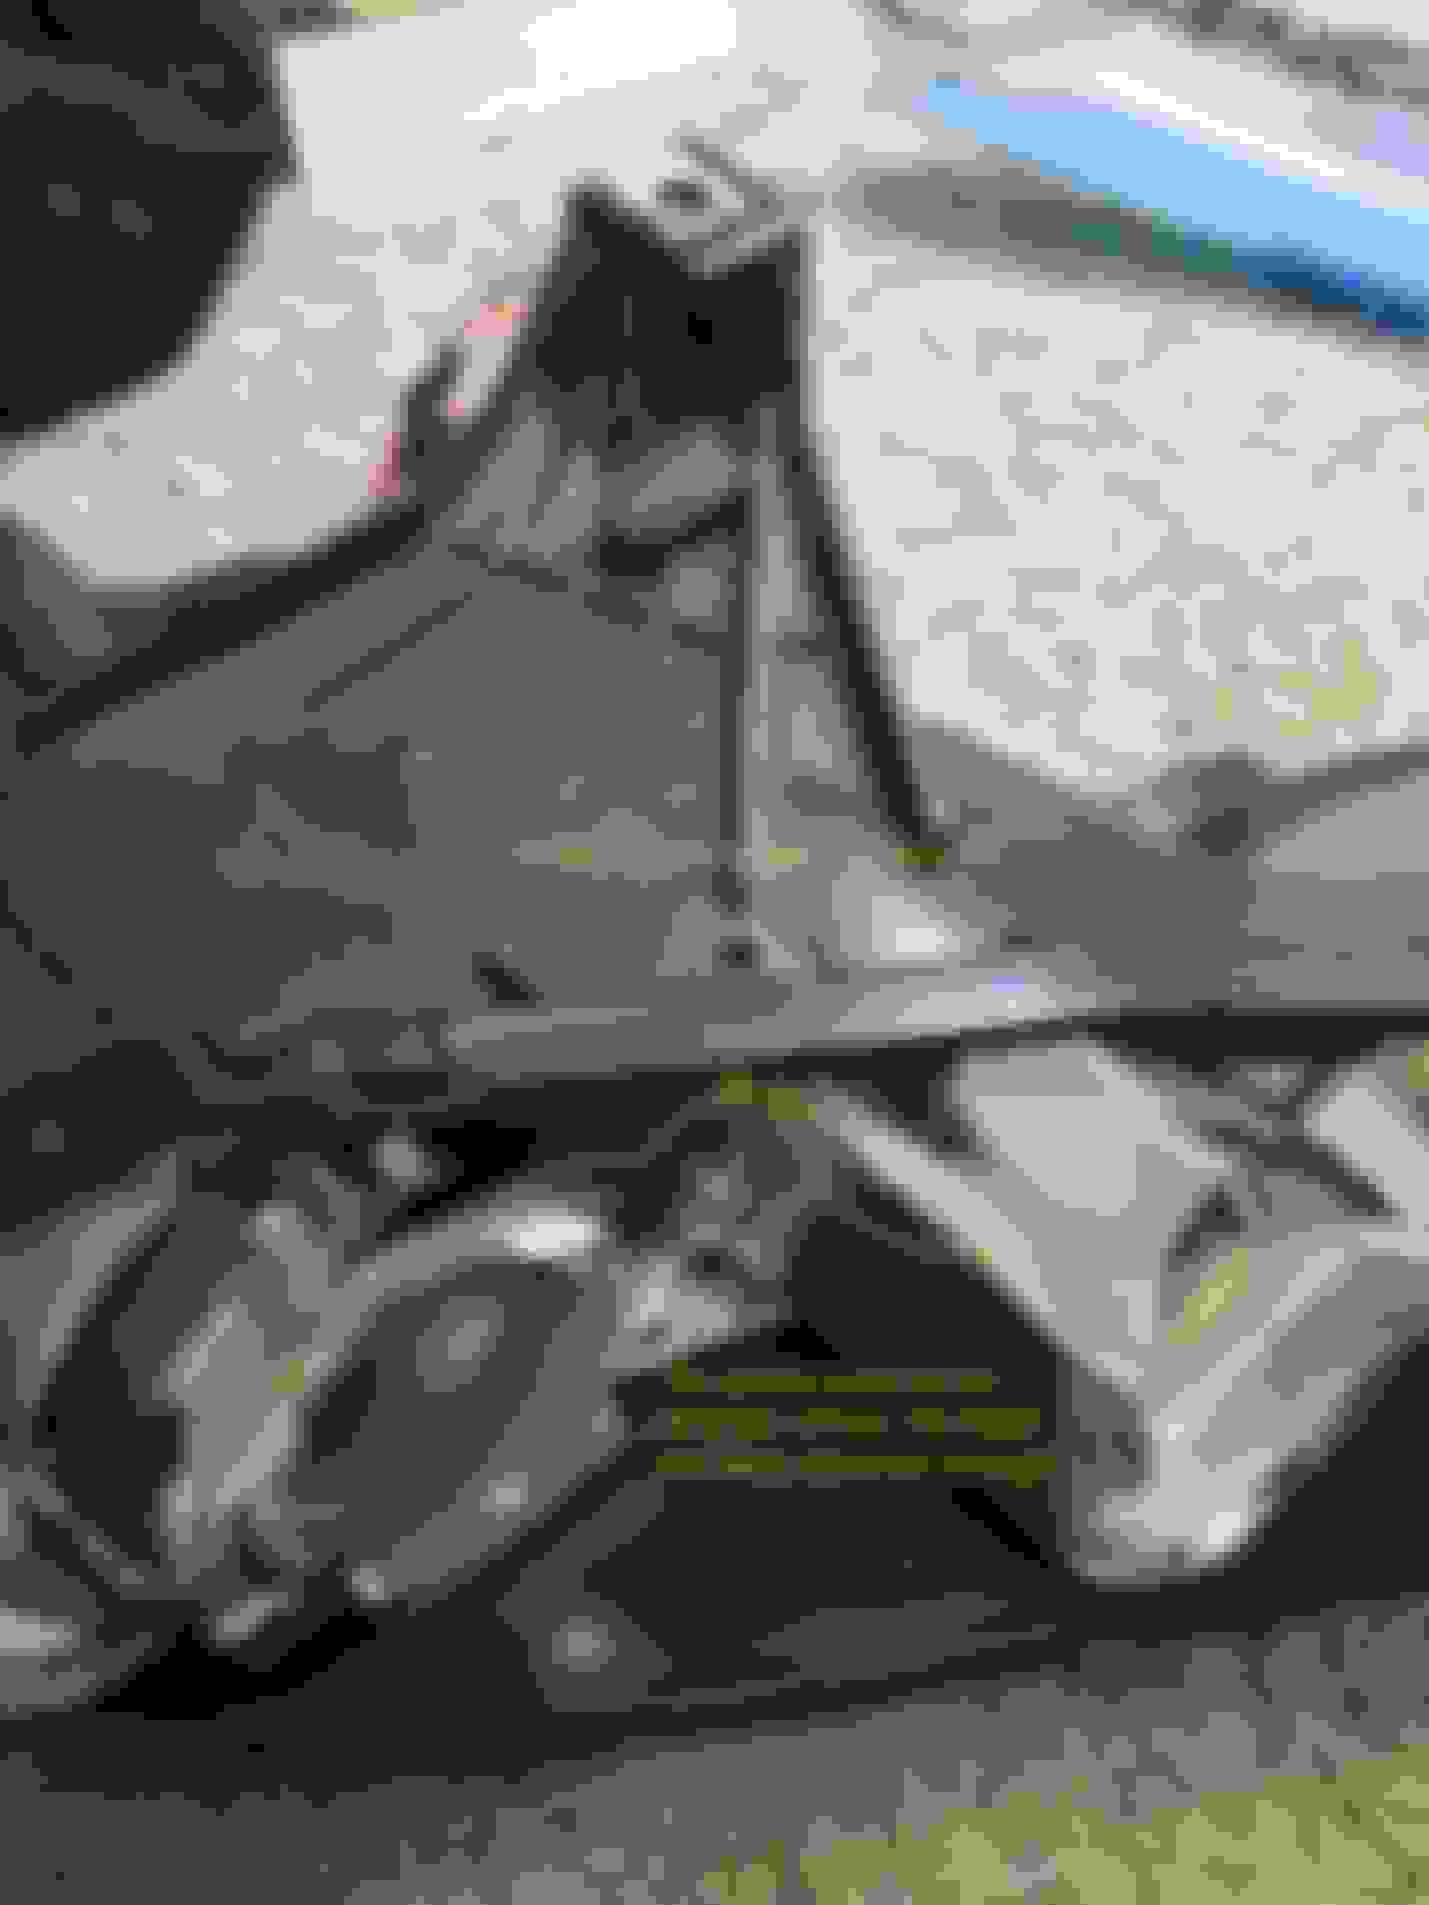
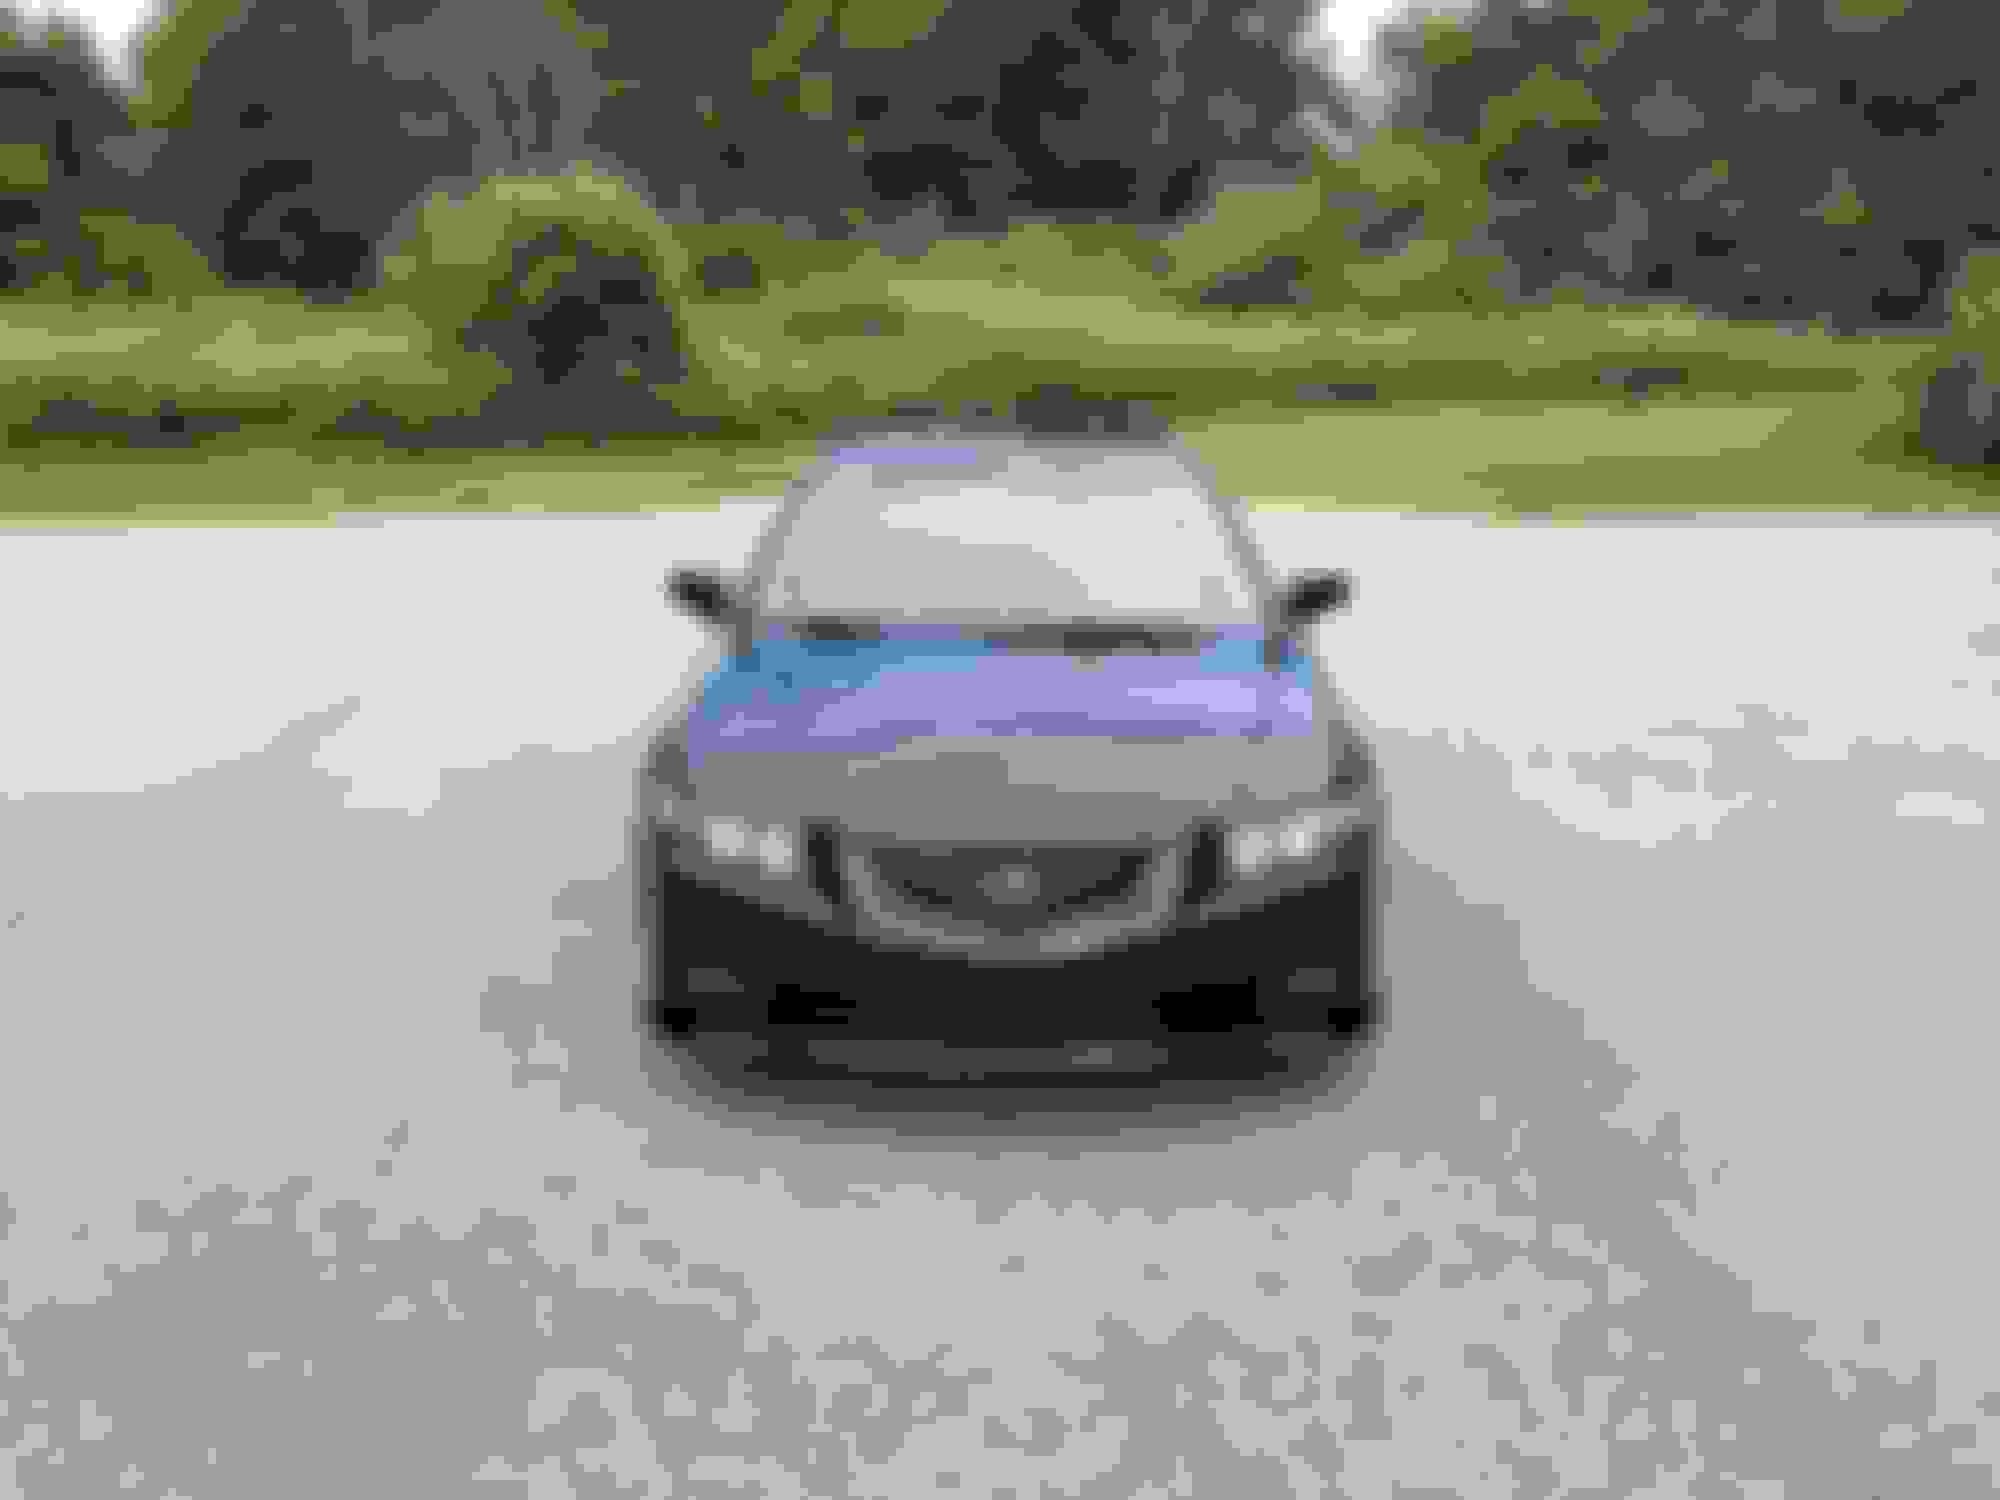
After everything was completed, it was time to reinstall the headlights and put my my car back together. I should caveat and mention that while my bumper was off, I also added a shark mouth front grill, installed an A-Spec lip kit, and retrofit Honda Inspire fog lights. I will probably document my journey with each of those projects separately, but here are a few pictures of the final product.
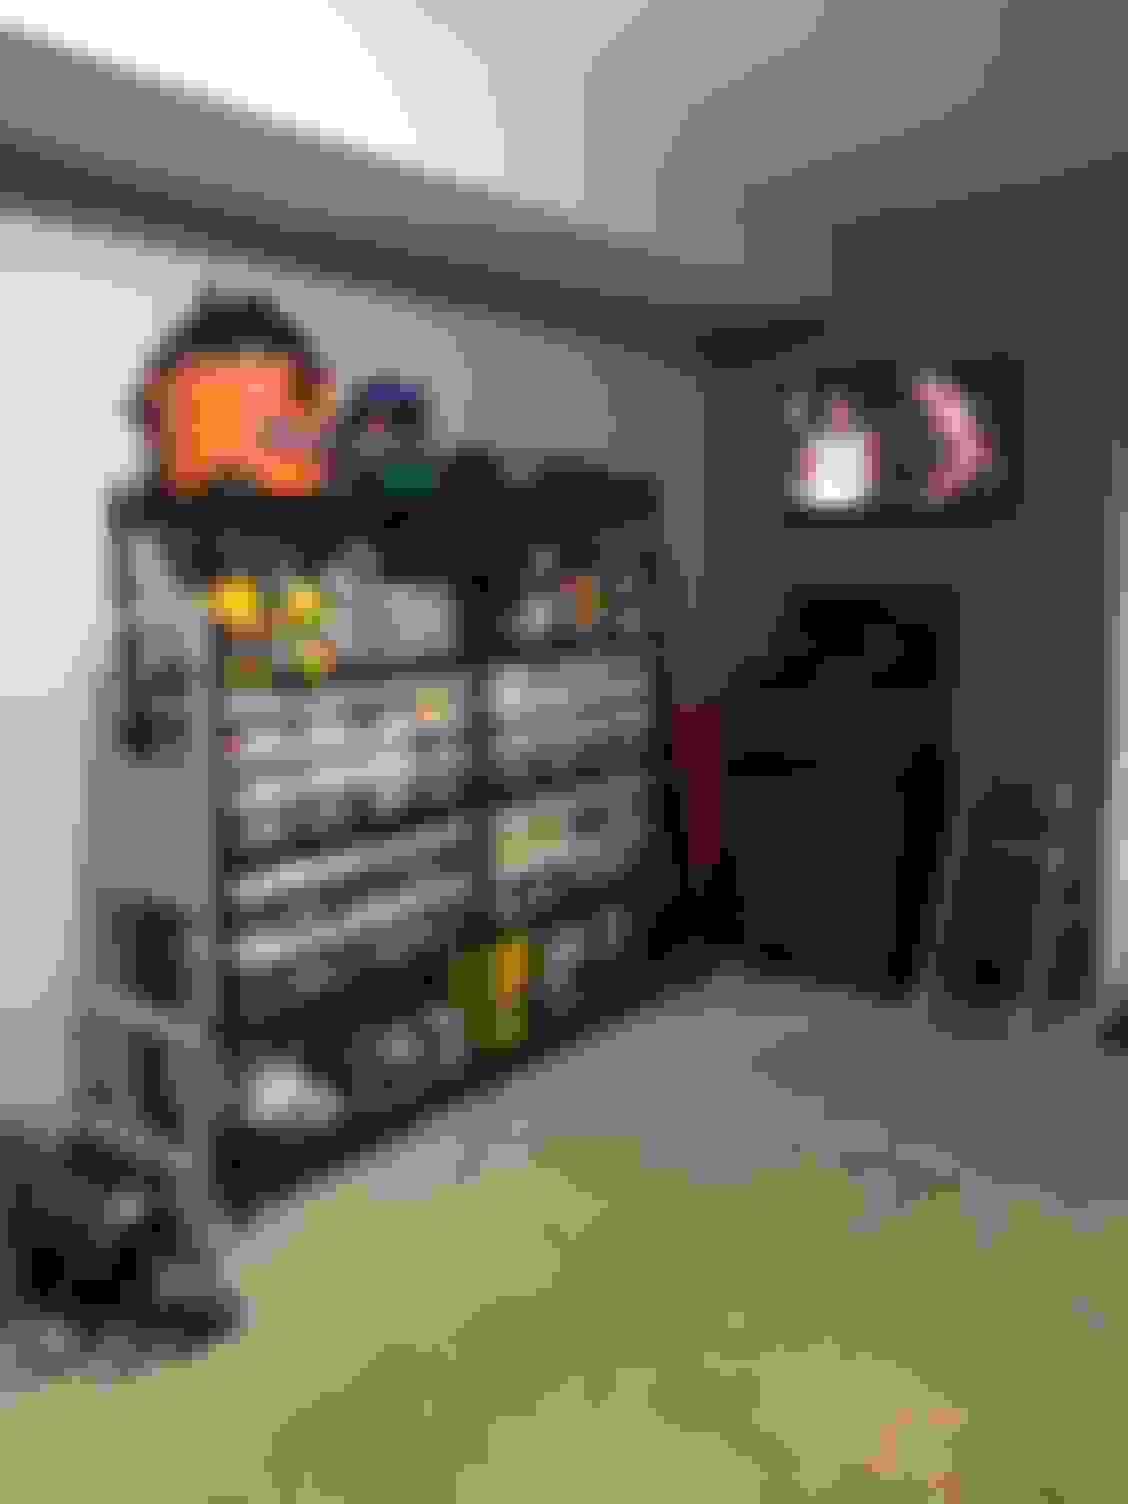
It was nice being able to put my garage back in order as well
Indeed, it does seem backwards! That's why it was so frustrating to me. I finally found a useful thread that explained a very similar situation that I was experiencing:
Hey! Amazing post. So I have had an 07' TL Type S since 2007. I've randomly inquired a couple of times over the past ten years or so about installing the same angel eyes halos in my headlights. The few times I asked auto mod places they said they do not do it...the latest being yesterday. The guy recommended checking acurazine for somebody that has done it. Would you have any interest in doing the modification for $$$ for me since you have experience doing it? I'd really be pumped if you took this on.
By the way, I really like the black caliper paint touch you put on the inside housings. I literally just had my original wheels repaired/re-powder coated due to all the curb rash that was there. I used that caliper paint to coat the central hub (after buffing with a mini grinder steel wire wheel) of the front brembo rotors and rear rotors since they both accumulated a thick rusted surface over the years being that they were bare steel. Looks a ton better.
Thank you for the kind words. Due to the fact that I am not a registered vendor on acurazine, I will have to defer you. If you are looking for modified headlights, you should check out endlessrpm.com. Bruce O'Shack is the owner and you can reach him at the following email address: endlesrpm@gmail.com. He builds custom headlights all the time and should be able to help you out!
It was definitely a lengthy process, but I was very happy with the way they turned out. I don't know if I would want to do it a third time lol.
I did a projector retrofit on our old Kia back in summer 2014, and after the first couple of months, I had so many electrical problems with the HID kit I gave up and pulled it out after a year of fixing it, but it was cool though!
I love your car, wusty!
So glad to see so much love put into a 2005 car! I'm happy to see that the 3G following is still very strong after 15 years. It makes me feel good knowing that years from now, the 3G will still be a popular car among enthusiasts!!!
You have taken no short cuts! How many mikes are on her?
Last edited by Midnight Mystery; 12-23-2018 at 03:47 AM.
Reason: Stron aftermos b though!!!#;
Thanks for the thread. I used it for reference when doing my mod. Since halos are pretty expensive ($100 for couple LEDs?), and some of them are known for failing (despite high price), I decided to risk it all and get some cheap halos from Amazon. Got 4 of them in 80mm, for $11 for a pair.
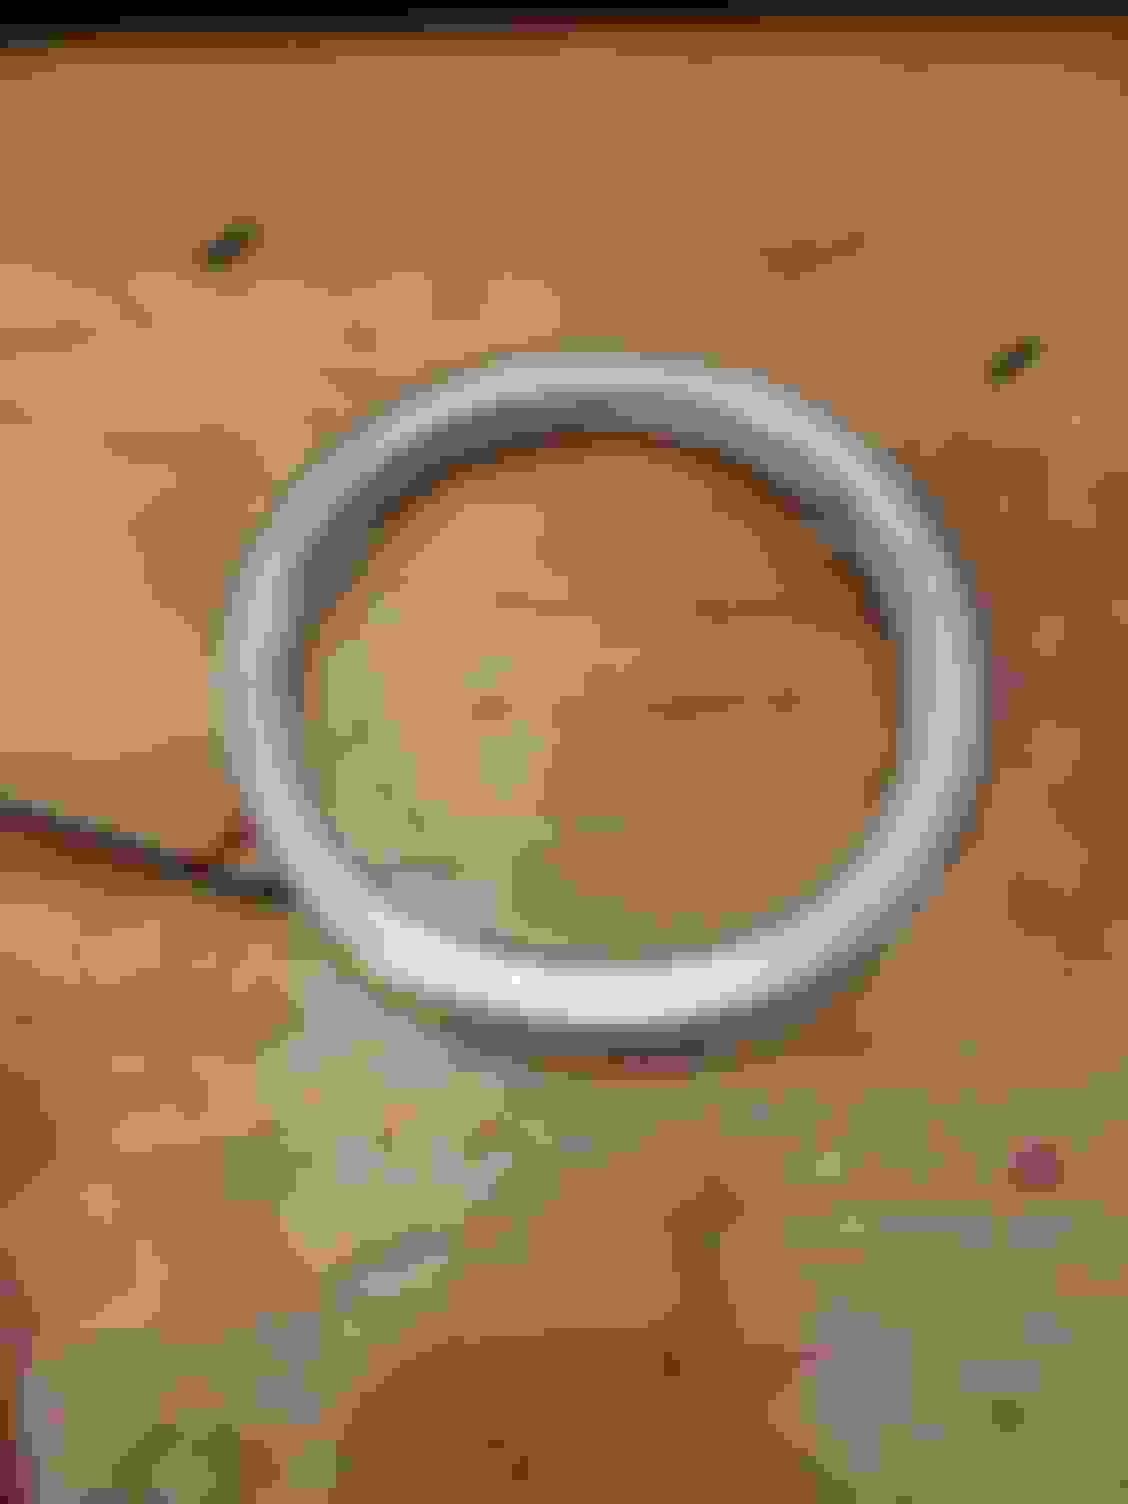
They came with those plastic reflector things, making them actually bigger than 80mm.
I decided to get rid of those semi-transparent covers. Better heat dissipation, and smaller rings will be easier to mount in headlights.
They had constant current drivers with them. That's good as that is a proper way of driving LEDs.
The plan was to change one of the resistors and run those rings at lower current. They are plenty bright anyways and I wanted to make them more reliable. In the end I decided to simply connect two rings to one of those boards, cutting current going through each of them by half. Still bright enough for me and hopefully now they will last a pretty long time.
Since those are 80mm I needed to cut a bit more of the housing. I decided to trim upper portion, as it won't be visible when headlights will be on the car.
80 mm halos sit pretty nicely in there. They are on the outside of silver trim rings. I secured them with clear epoxy. You can see epoxy if you look at the headlight from close distance. Oh well...
I made some custom connectors from cutting off old LED bulbs ends, to plug the halos into factory DRL connectors. This together with my DRL LED mod that I done some time ago and I'm left with:
You can actually see halos sticking out at the top of the headlight. Not a big deal. If I would care more about that I would put piece of black tape over the top of the headlight.
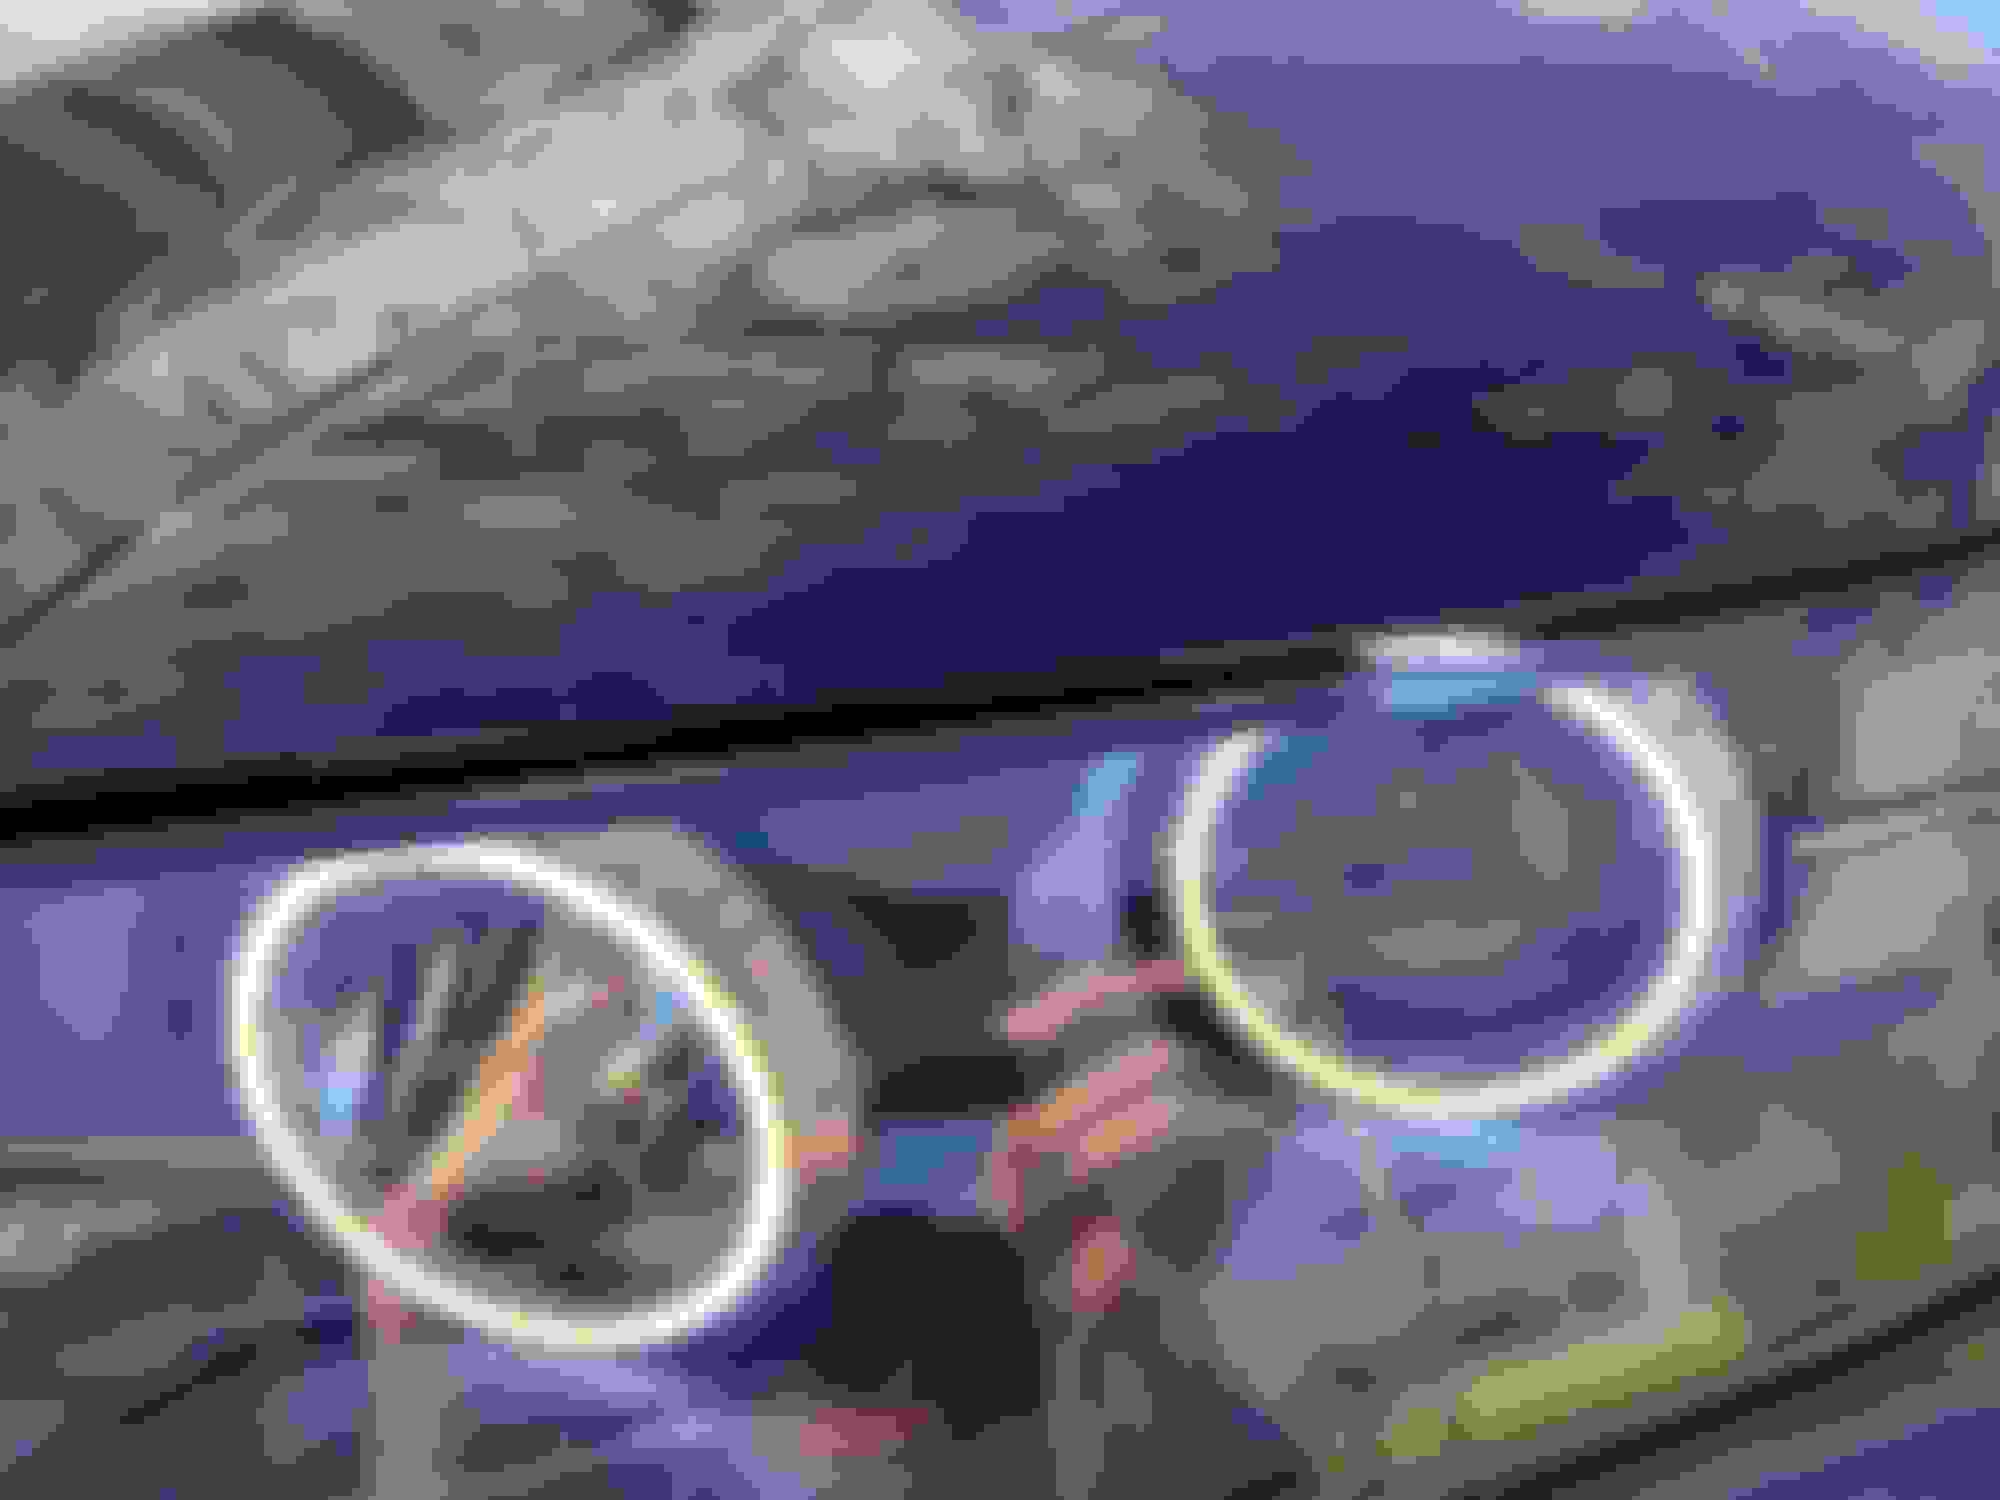
When OFF you can see they are yellow - and honestly I kinda like that. When ON they are pretty bright. Harder to see when in full sun but hopefully more reliable.
They will turn OFF when main headlights will be turned ON - again that is to not run them when headlight is hot. Another measure to get much more lifetime from this ~$25 mod.
Old DRL on the inside are LEDS that will turn ON with side markers (to have whole housing lit up at night - I think it looks better). Ofc I reduced the brightness of LED bulbs used in old DRL spot by modifying their driver (very similar to one found in halos).
If anybody interested there are datasheets for those common chips/modules used in LED drivers. They also give you a formula for current and resistor values.
Hey, those look excellent: It's good to see a comparison between my 70mm ring setup and your 80mm rings. I love how much better your angel eyes mount and disperse light with the semi-transparent diffuser removed. The only thing I wouldn't like is seeing the yellow color, but if you're okay with that (and actually like seeing some yellow), then great, even better!
peter6, you're kind of an electrical genius. Would you have any idea why my angel eyes still flicker when I turn the ignition to ACC 2? I installed a pulse timer relay, which works, but the lights still flicker before the timer delay. I documented my problem here and was wondering if you had any input:
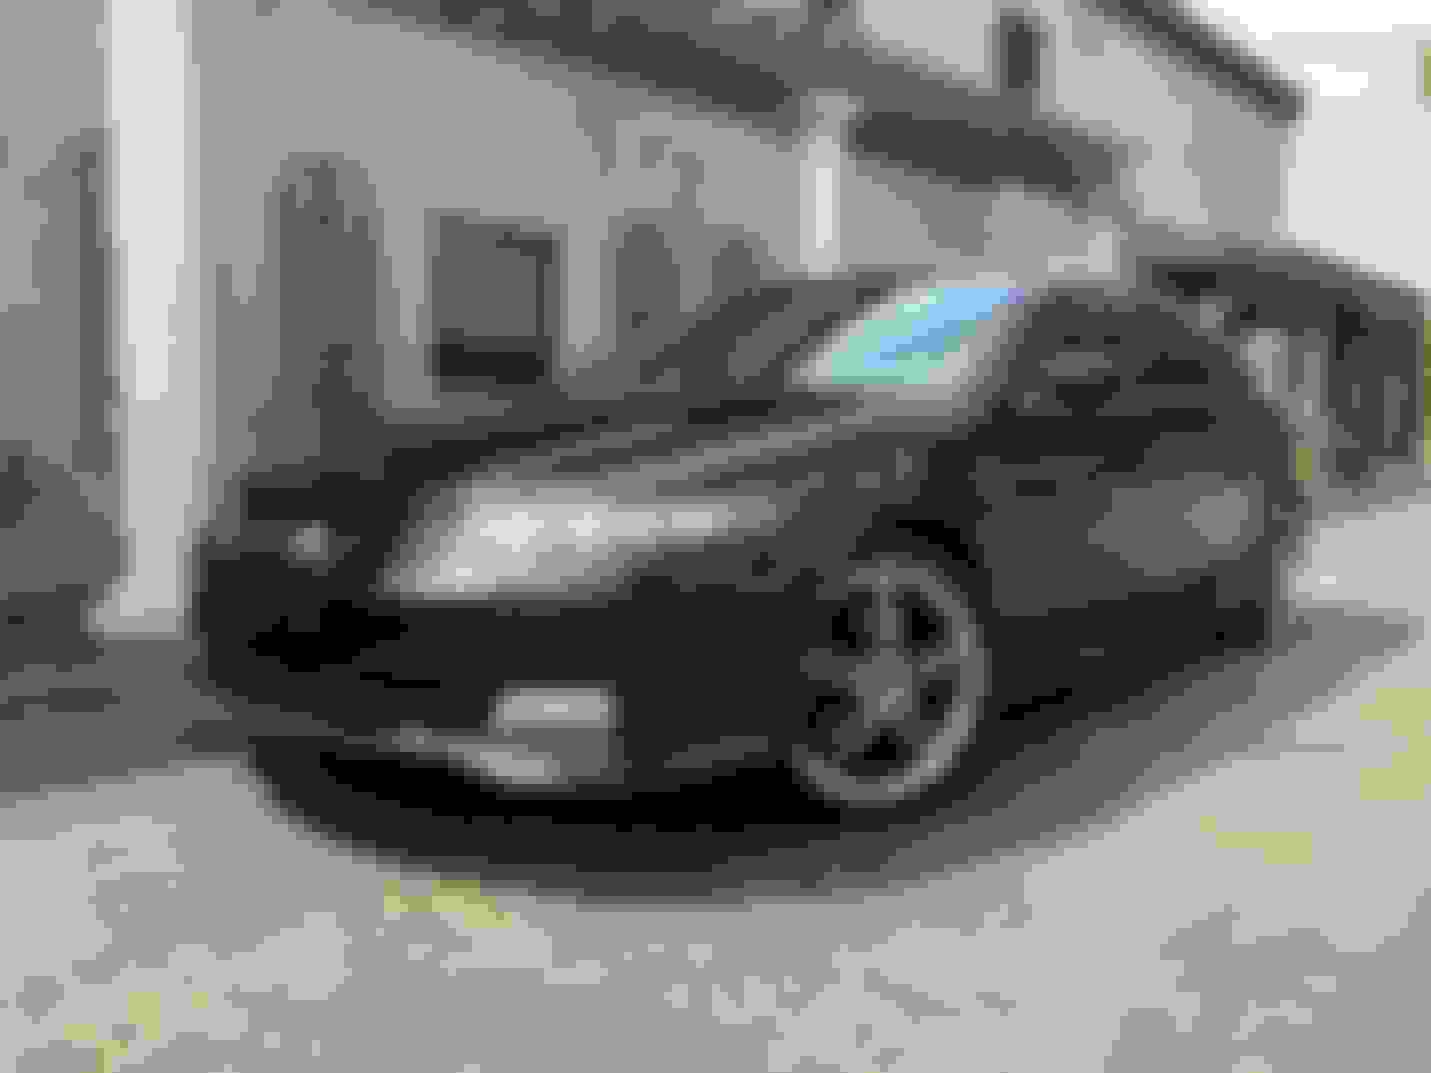
I've also made a few cosmetic changes to the exterior of my car, recently. I'm trying to make the angel eyes and shark mouth "pop" a bit more with the front end. Here is my current setup.
Your car look great. Not a big fan of black on black but it works here.
Anyways, about your question...
My wife recently noticed that when I first turn my key to the ACC position, the angel eyes will flicker for about 1/10 of a second. Then after about 8 seconds they will turn on (and stay on) as they should due to the the timer delay.
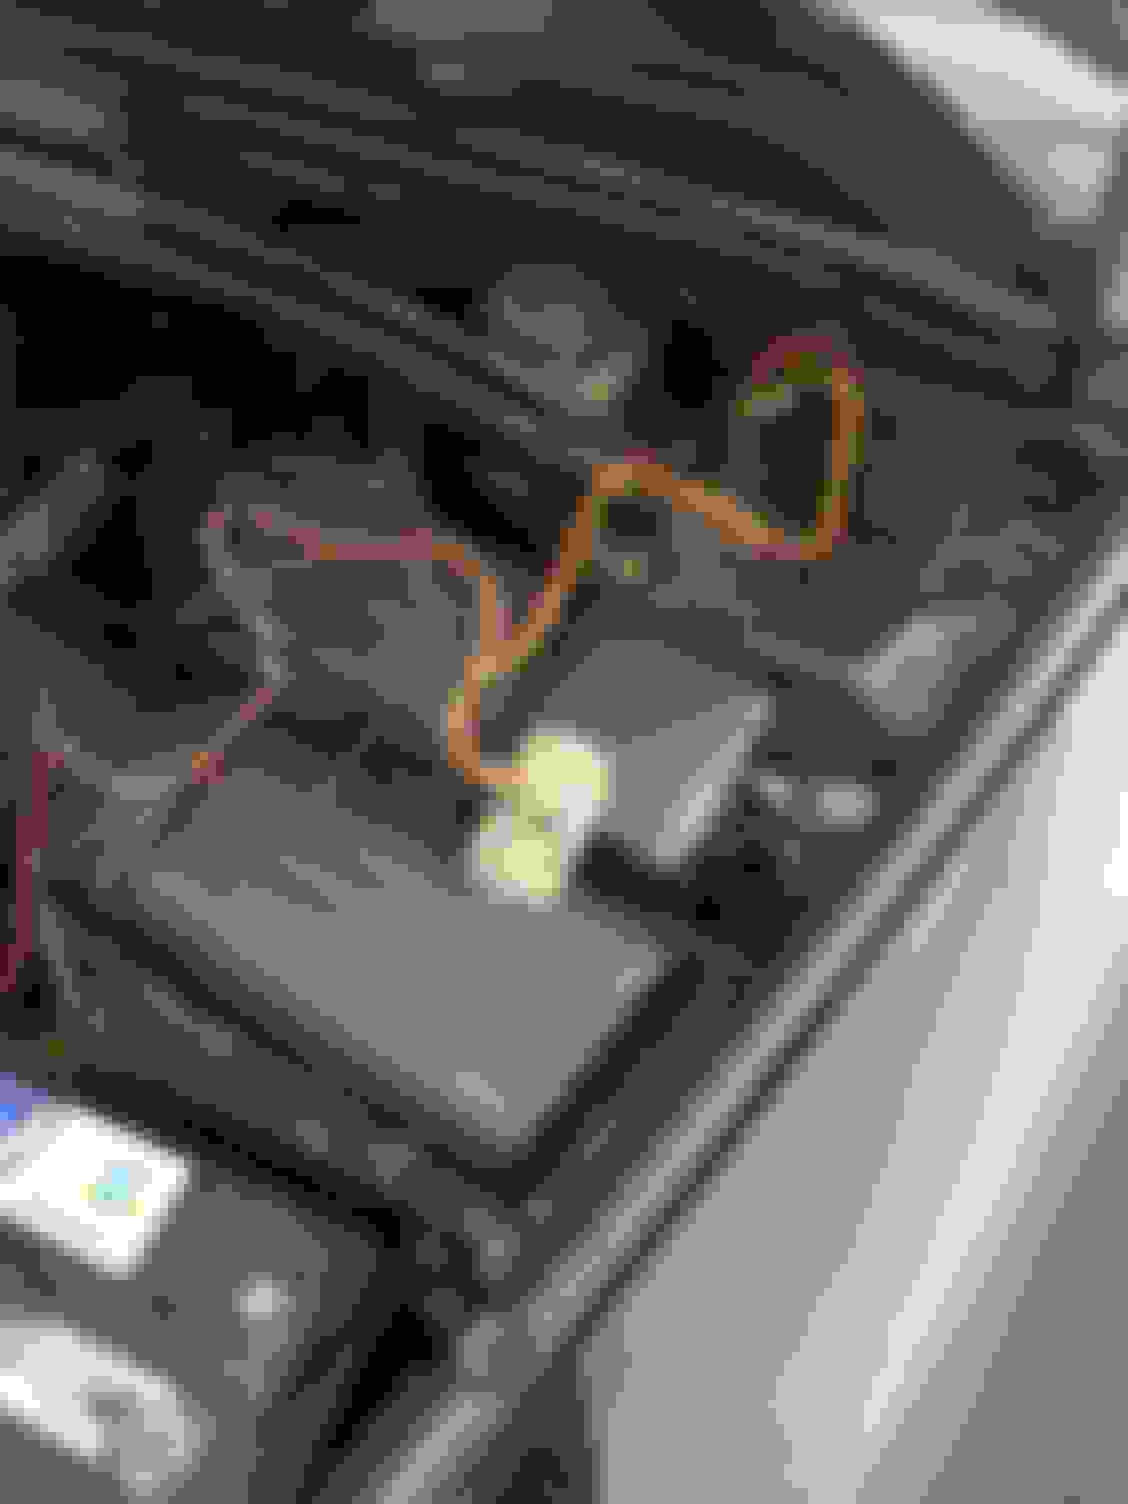
About that relay harness that you used. It gets power and ground directly from the battery. Red to orange is a wire that powers relay's coil and turns it ON. What is the white wire?
They flicker only when powered from dome wire, right? If you would disconnect/disable the timer, and let door open so dome wire is pulled to ground all the time, would halos flicker all the time?
Maybe during "dome startup" when dome wire is gradually pulled from high to ground, and there is like 0-5V of difference between high and dome wire, it's simply not enough for halo drivers. Kinda like using non-dimmable LED bulbs and dimmers.
Hey, thanks for the compliment. Historically, I've always hated "blacked-out" vehicles myself, but I took a few chances and am pretty happy with how it currently looks.
Fading Feature
My understanding is that the white wire (from the relay) is the trigger wire that enables the fading feature for the angel eyes. As you can see in the diagram, I connected this to the dome supervision wire. I noticed that when I hit the unlock button on my key fob, the angel eyes barely flashed, like almost non-existent. I had to be a few inches away from my headlights, but I did actually see the tiniest amount of light from the LEDs, so I believe it was wired correctly, but maybe the voltage difference is just not providing enough power like you said. Either way, this whole process was annoying to me, so I just disconnected this wire altogether several months ago and I don't really care if I have the fading feature or not. That's not really an issue I'm concerned with anymore.
Flickering
The flicker actually occurs whenever my key is turned into the ACC 2 position. All four angel eyes will flash at full brightness and then turn off right away. This maybe lasts for 1/10th of a second. Then after about 5 seconds (or whatever time interval I setup on the device), the timer delay will function properly and send power to turn the lights on. Of course, the lights remain on until I turn the car off/kill the power.
The whole reason that I installed a pulse timer delay, was to avoid flickering during startup.I want to avoid unnecessary wear and tear on my LEDs. I am bewildered as to why the angel eyes are still getting a surge of power, even when the pulse timer is installed.
I believe halos turn ON for an instant because relay in timer is default ON. When timer receives power, it takes couple ms for timer to turn ON, and turn OFF the relay, but that's enough for LEDs to turn ON.
Your lights are connected to "Normally closed" output. If you connect halos to "Normally open", and set timer to close that output after couple seconds, then there won't be any flickering.
I can't find any datasheets for the timer, just bunch of paint-made schematics of how to connect it, so no idea how to set it up. Is it possible for it to close "normally open" output after couple seconds, and keep it close indefinitely?
I would probably solve that problem with arduino - simply because I'm better at programming than electronics.
Peter - How are your Qasim halo rings holding up? I developed moisture in each of my headlights, so I will be re-opening and fixing things. While in there, I'm flirting with the idea to install switchback halos instead of just standard DRL halos. Qasim offers a set of switchback halos that I have my eye on, so I'd love to hear your thoughts.
First set that I put in started failing, but when I was putting second projector to each headlight I bought another set and so far they are working. It wasn't anything really bad, just couple of LEDs stopped working but rest of the halo was fine.
Once again I'm running them at half the current, and I have second set from around July 2020. Hard to tell run time but I on average I would guess they run at least 40 minutes a day.
Ah shoot, I'm sorry to hear that. Thanks for sharing the info.
I contacted IJDMTOY directly and despite what their website says, they actually have 70mm switchbacks in stock, so I will be ordering two sets of those.

 08-07-2018, 10:58 PM