When you click on links to various merchants on this site and make a purchase, this can result in this site earning a commission. Affiliate programs and affiliations include, but are not limited to, the eBay Partner Network.
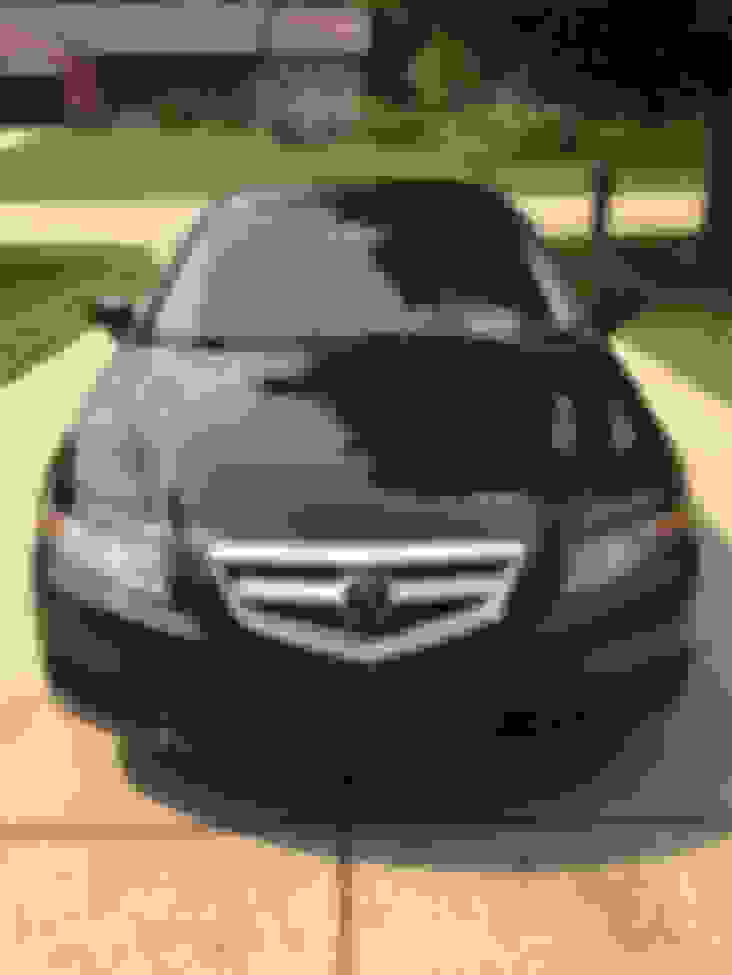
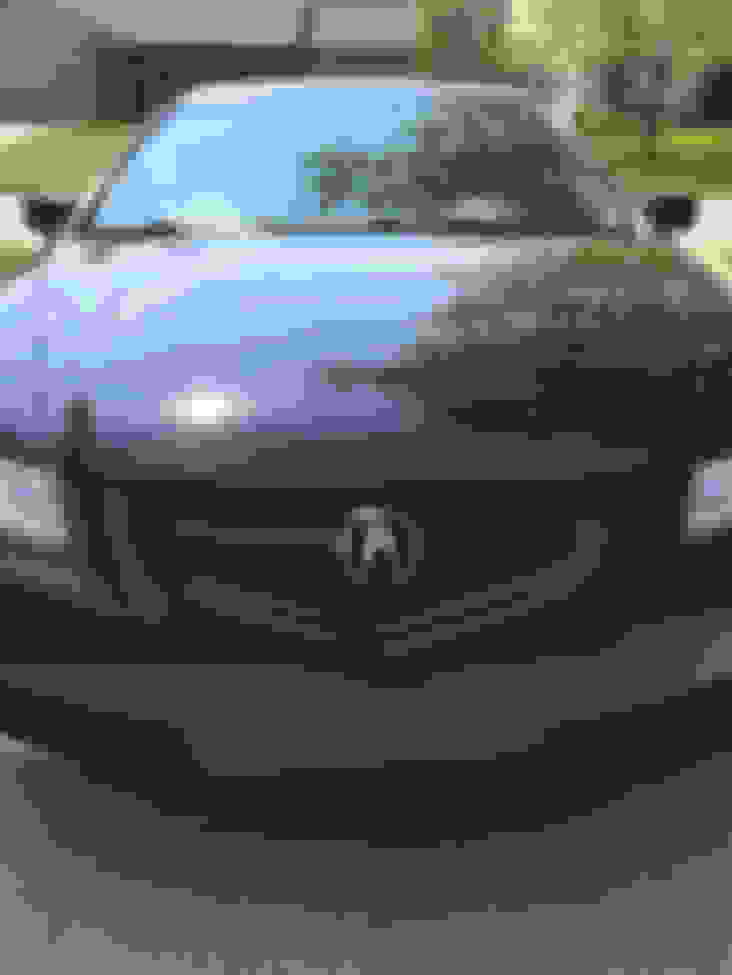
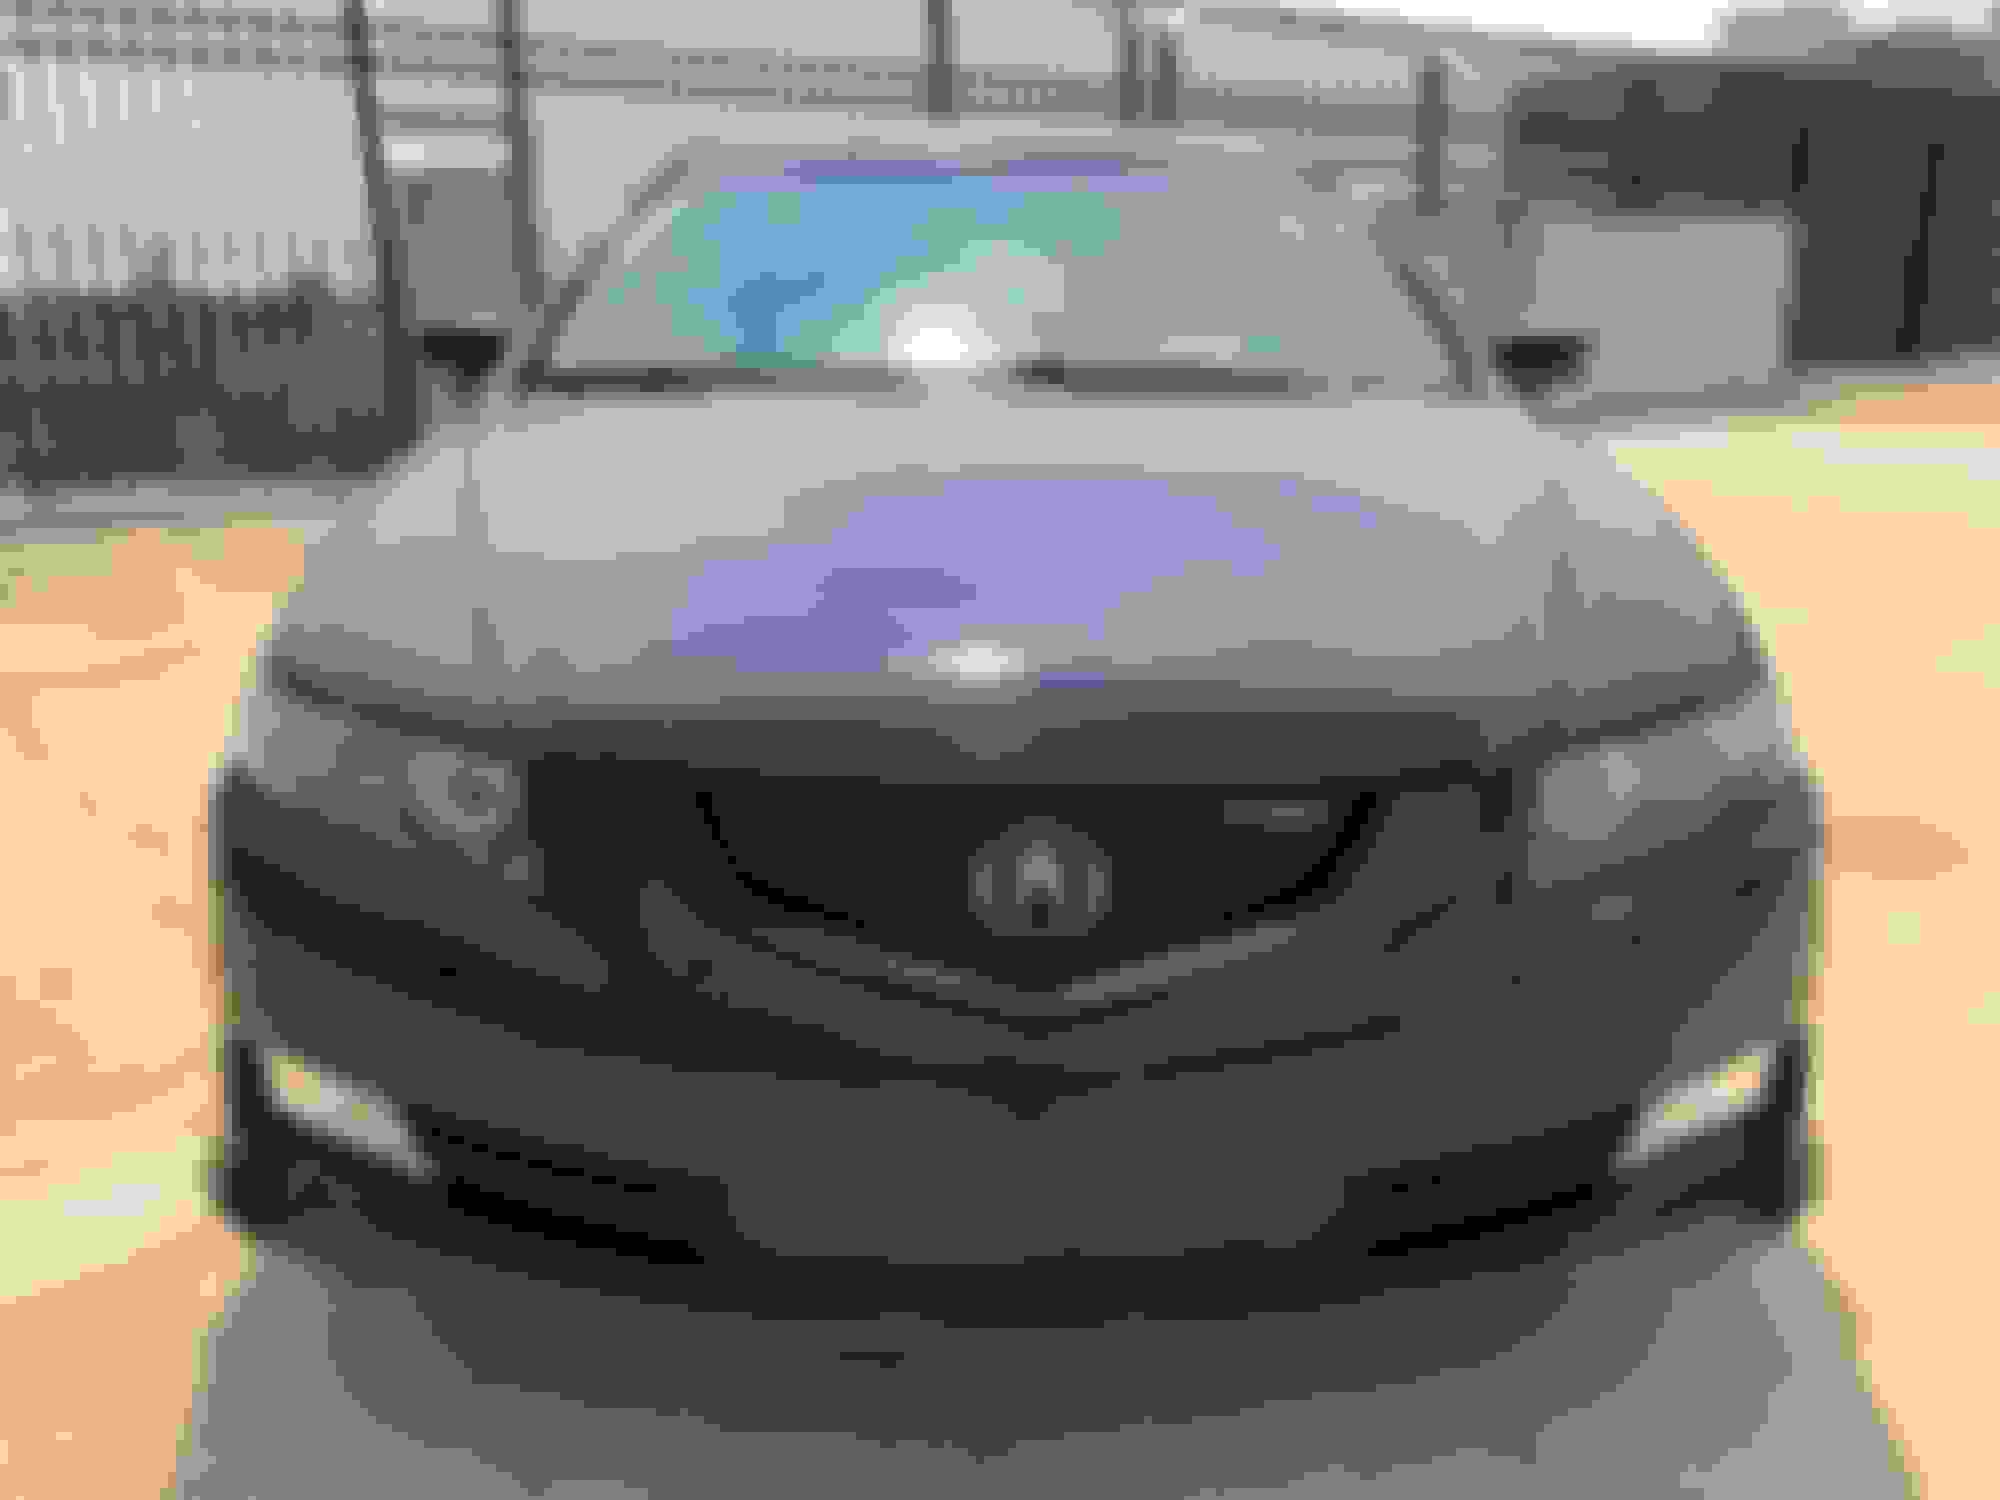
For the time being, I was happy with the results. However, after seeing various members either create their own (or install an aftermarket) shark mouth grill, I decided to change the look of my front end once again. Here is where I landed:
If you would like see how completed this modification, please feel free to keep reading. I�ll take you through my journey and highlight each step that I completed along the way.
*Please note that this is a DIY for installing an aftermarket EndlessRPM shark mouth grill. Although the steps to be completed are very similar, I cannot guarantee that these steps will be exactly the same for other aftermarket shark mouth grill installations, such as those you can find on eBay or the C-Mod grill swap.
*Additionally, please note that installing an aftermarket shark mouth grill is different than creating your own. The below thread show the steps you can complete if you would like to create your own version, using the vehicles the existing grill:
II. Purchasing Shark Mouth Grill (Step 1) A. EndlessRPM Custom er Service
I purchased my shark mouth grill from endlessrpm.com. Bruce O�schack (ack) is a long-time Acura TL enthusiast and has many great products for sale on his website. He comes highly recommended and I cannot emphasis enough how great Bruce�s customer service is. I ran into a few installation issues along the way and he responded to my emails almost immediately. I can trust him for everything Acura TL-related and have made several purchases from him as a result of my excellent experiences.
B. Original vs. Carbon Fiber
I debated for a long time if I was going to purchase an original shark mouth grill (and vinyl-wrap it) or purchase a carbon fiber shark mouth grill. I have many 3M Di-Noc carbon fiber accents, but no �true� carbon fiber pieces. I was afraid that the contrast would not flow. In the end, I ended up purchasing the original shark mouth grill. Each option can be found here:
*Please note that there are two different versions of each grill style. The 2004-06 grills are slightly smaller and the 2007-08 versions are not interchangeable. Full product descriptions can be found using the above hyperlinks.
C. Unboxing
I was very satisfied with how well everything was packaged. Every square inch of the grill and hood trim was securely wrapped in protective bubble-wrap to ensure no product damage occurred during shipping. I also received a free EndlessRPM lanyard, so that�s kind of cool!
III. Selecting Grill Mesh (Step 2) A. Grill Mesh Ideas
When I finally made the decision to purchase a shark mouth grill, I knew that while my bumper was off, I also wanted to retrofit and install a set of Honda Inspire fog lights. To keep the style of my front end consistent, I planned to replace the lower bumper grill inserts with the same mesh that I planned to use behind my shark mouth grill. However, I cannot take credit for this idea. My inspiration derived from the following thread (so thanks to mzilvar for the idea): https://acurazine.com/forums/3g-tl-p...talled-872984/
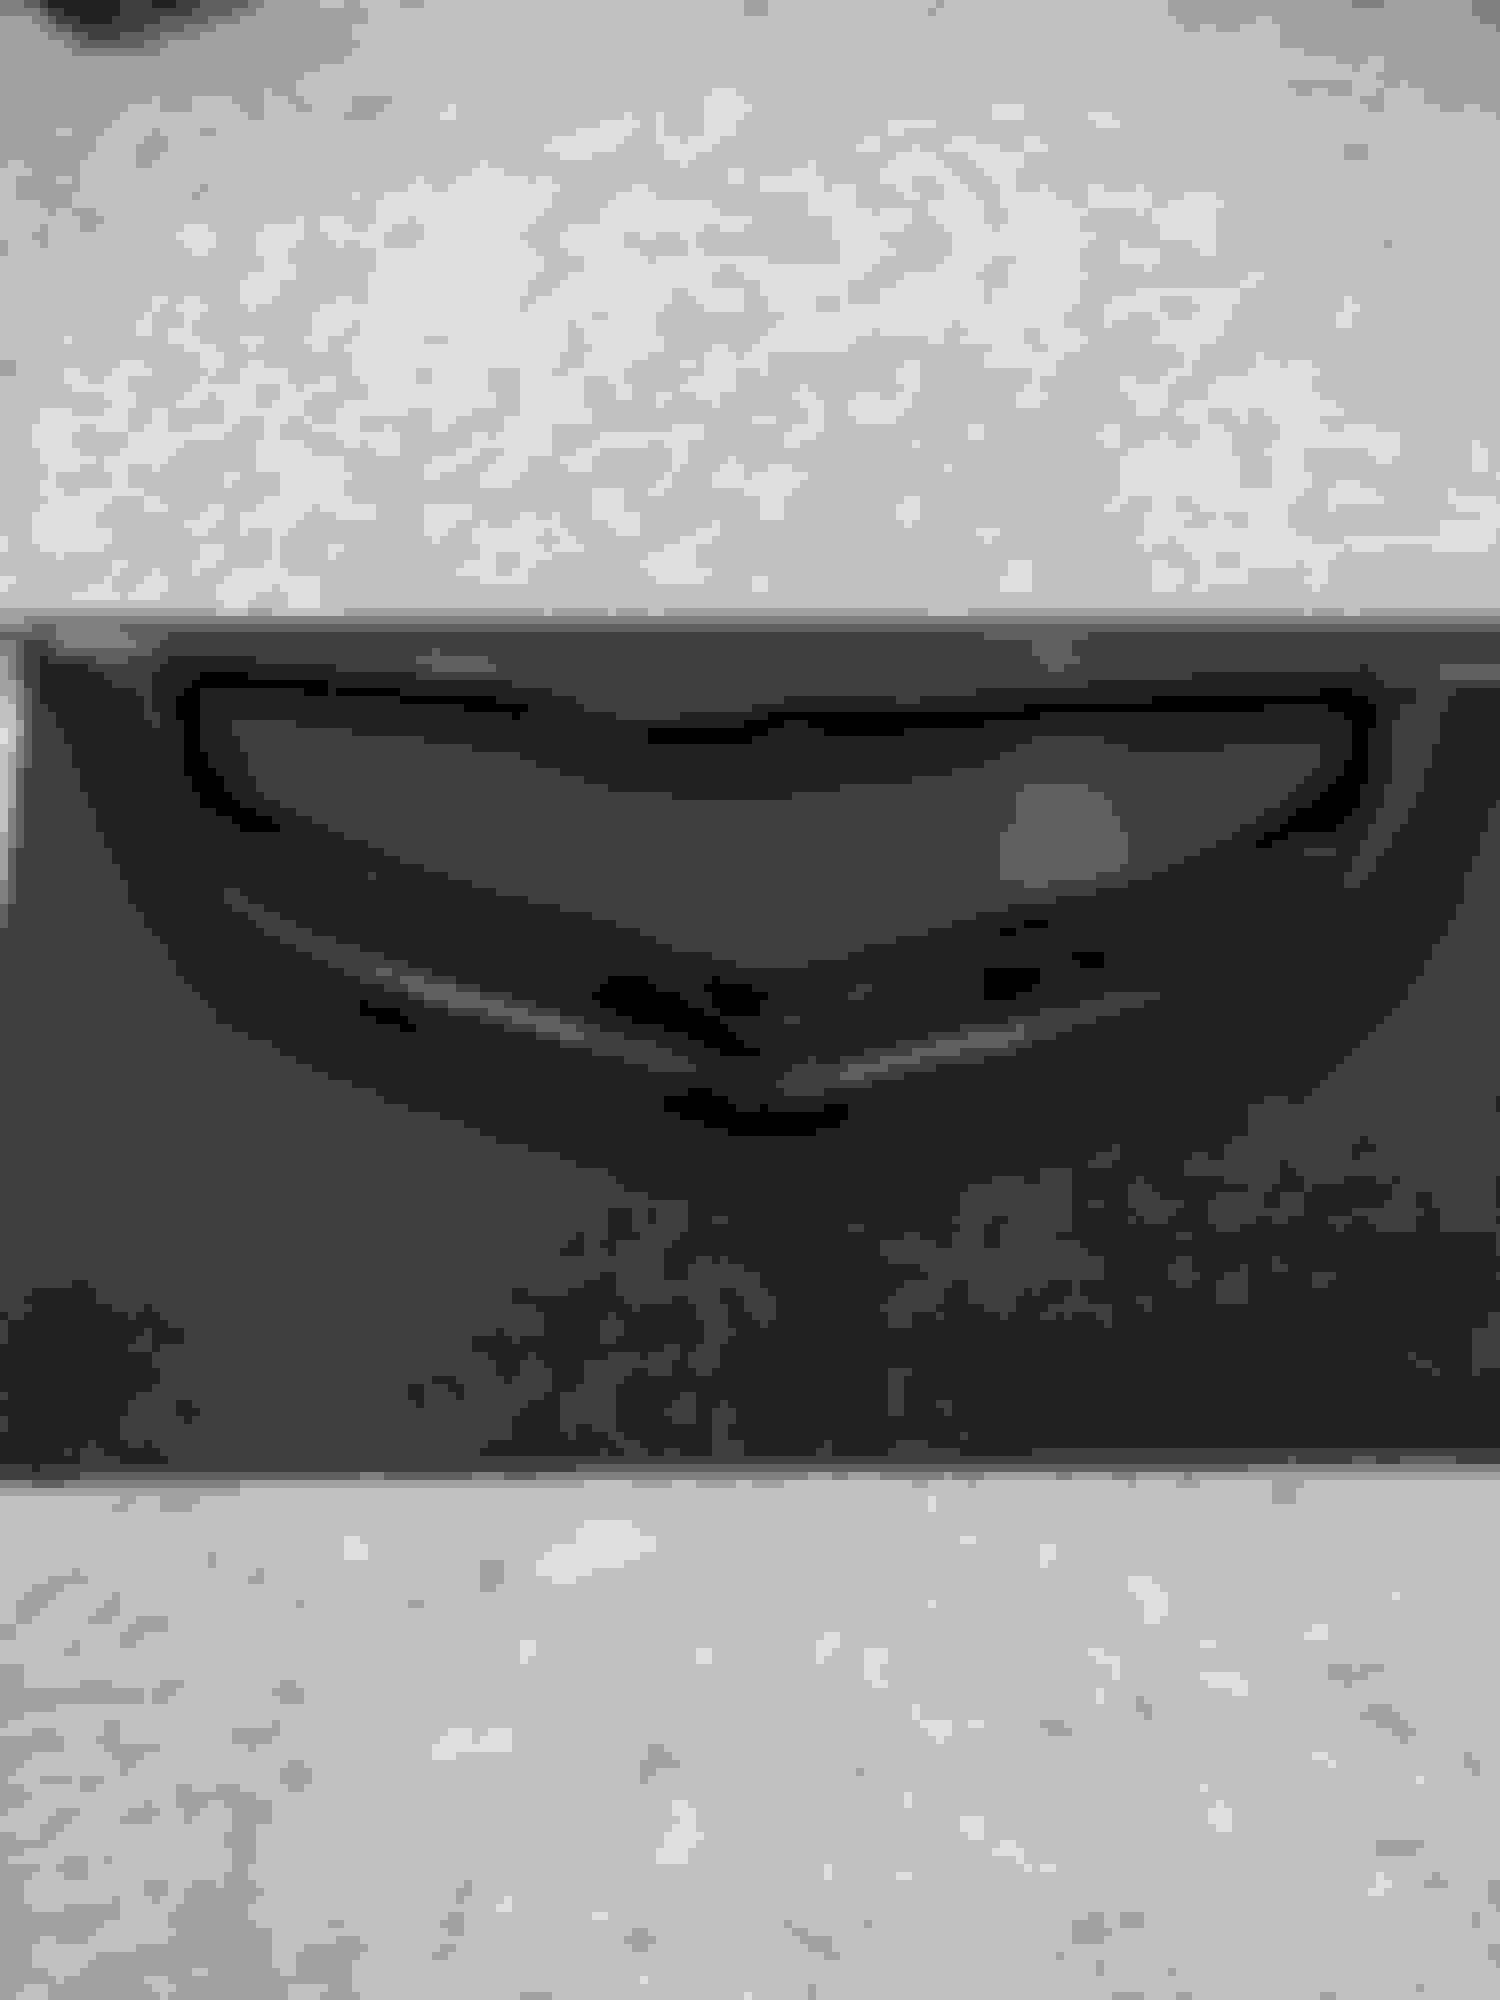
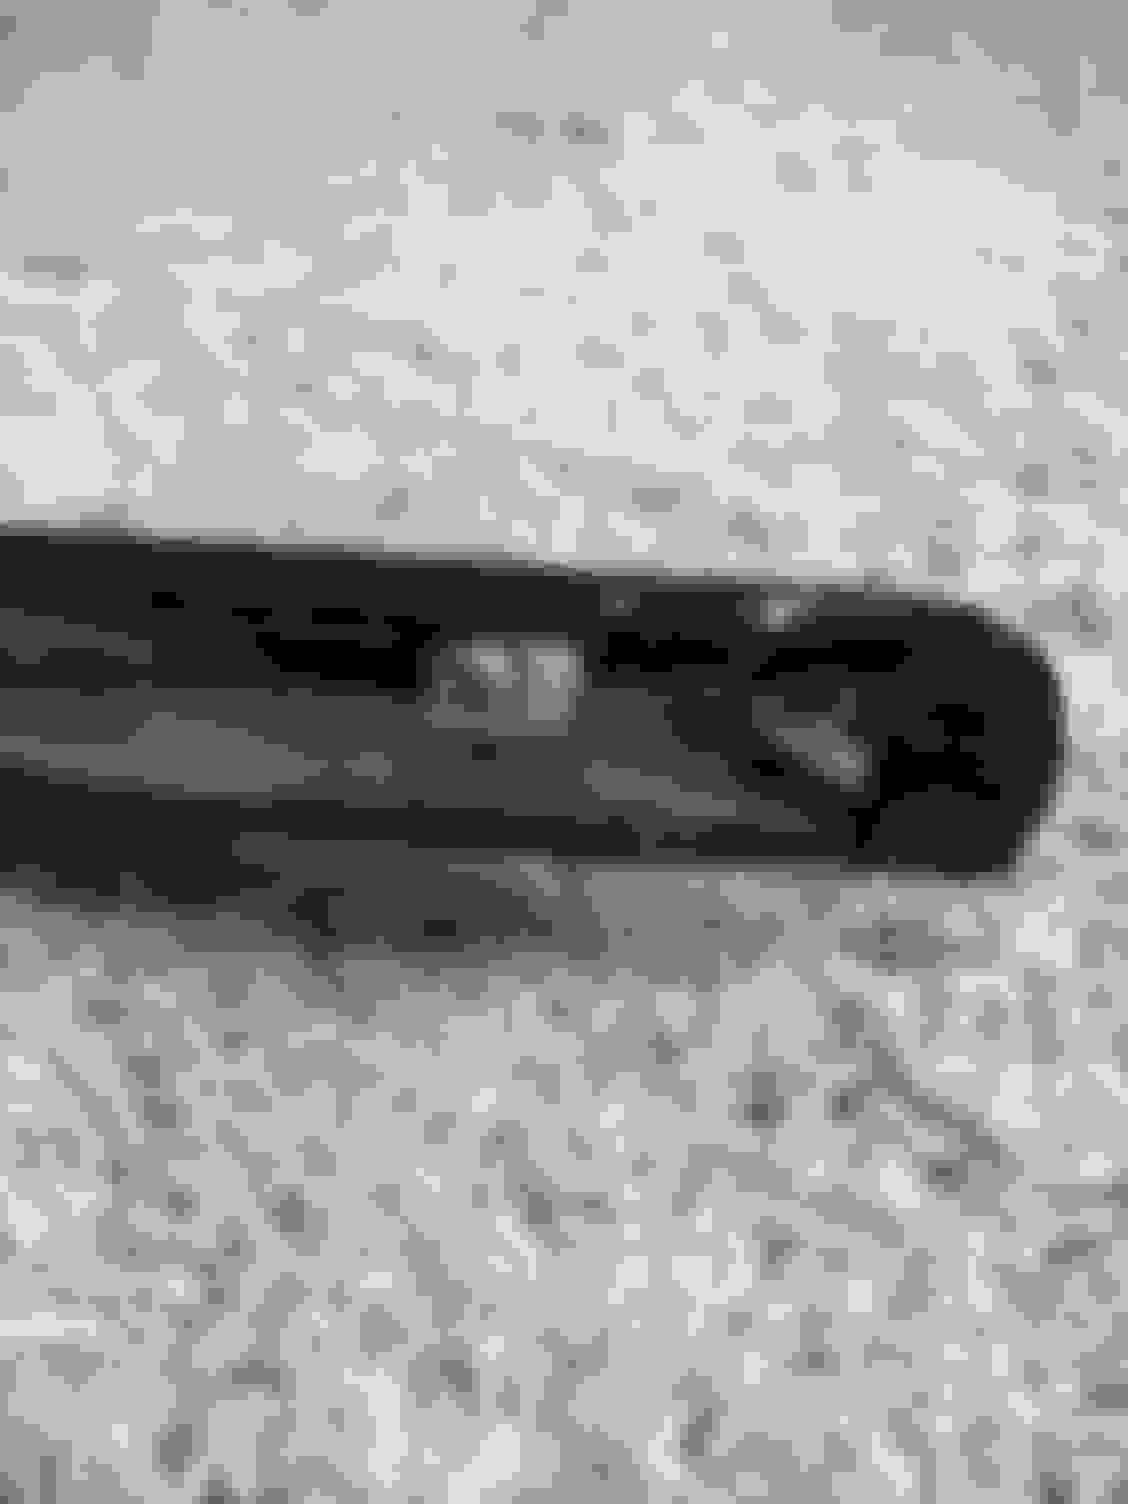
Here is a picture of the original EndlessRPM grill mesh and a shot from behind. The grill mesh is pre-cut and bent to accurately follow the contour of the grill. It is held in place with eight bent wires that protrude from the fiberglass.
A. CustomCarGrills.com is Awesome!
Like mzilvar, I purchased a Black Powder Coated 24� x 48� Diamond XXL Aluminum Grill Mesh Sheet from https://www.customcargrills.com for replacements. Within one hour of making my purchase, I received a personal text message from Matt, who I later found to be the owner of the company. Without me knowing, Matt informed me that his shop was stationed within a few miles of my personal residence. He told me that he could swing by and drop off the metal sheets within a few hours and waive the shipping charges. Wow, more great customer service!
When Matt arrived, we chatted for a few minutes and I told him of my plans. He liked the idea and passed on a few tips and tricks that he has learned over the years. I mean he has only been creating and installing custom car grills for about 20 years, so he knew a thing or two J. He even offered to help me during my installation. He told me to give him a call if I ran into any issues or needed help with anything. You can�t get better service that that!
After sitting with the mesh sheets for a few days, I didn�t know if I liked how large the diamond openings were, so I texted Matt back to see if I could swap out the grill sheet for a new one. He told me that was not a problem and invited me to swing by his shop, so that he could show me various styles in person. I was there for about an hour and Matt showed me his full setup. Guys, let me tell you, this guy does not mess around. Just look at his website and the pictures speak for themselves. He uses laser cutting technology and custom made brackets for dozens of cars. It was pretty cool to see his process.
After viewing various patterns, I finally made my selection and chose the HD Small Diamond Aluminum Grill Mesh Sheet. After everything was installed, I texted Matt a few pictures and he told me that he might be uploading a few snap shots of my installation on his Customer Pictures section.
His company is also on Facebook and Instagram. Go and give him a follow!
IV. Wrapping Shark Mouth Grill (Step 3) A. Selecting Vinyl
I performed a lot of research as to what black vinyl wrap would most accurately match Nighthawk Black Pearl paint. In the end, I purchased Avery Dennison�s SW900-190-0 Gloss Black Supreme Vinyl Car Wrap Film, which can be found on Amazon:
B. Wrapping Shark Mouth Grill (Attempt 1)
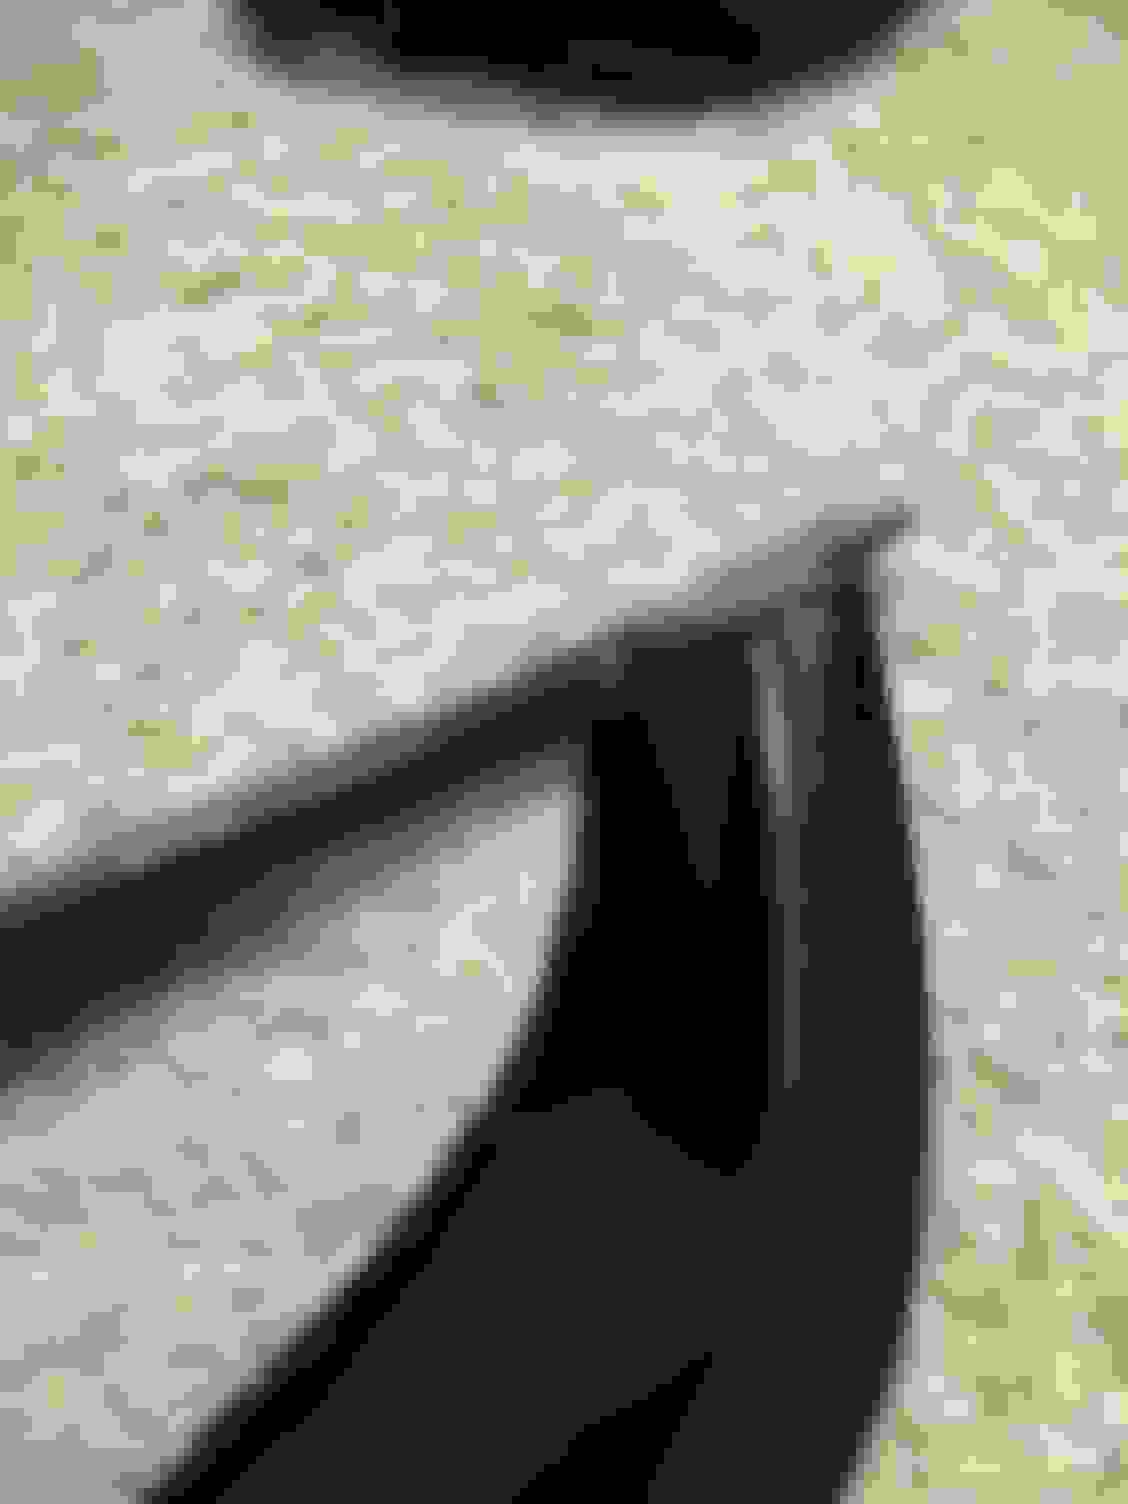
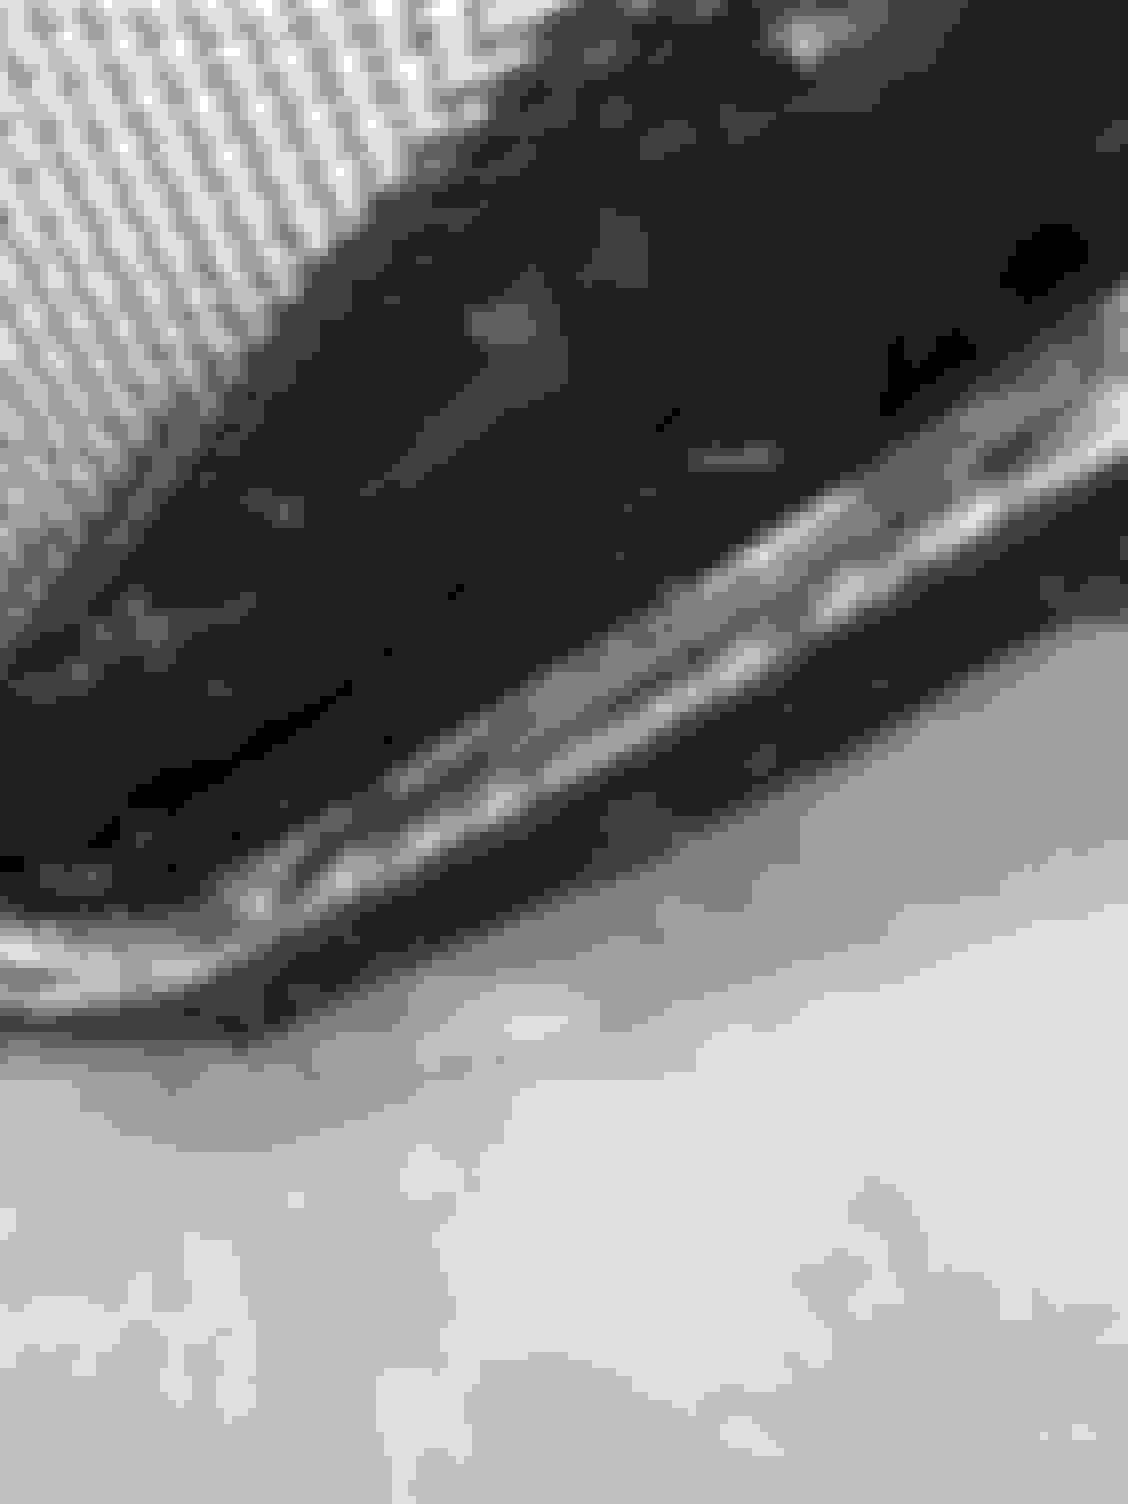
I knew that I was going to run into difficulties during this step, because my goal here was to wrap the entire grill with one piece of vinyl. After my first attempt, I achieved pretty good results. I did not have to use my heat gun and the vinyl was very stretchy. The only trouble areas I had were in these two crevices.
C. Wrapping Shark Mouth Grill (Attempt 2)
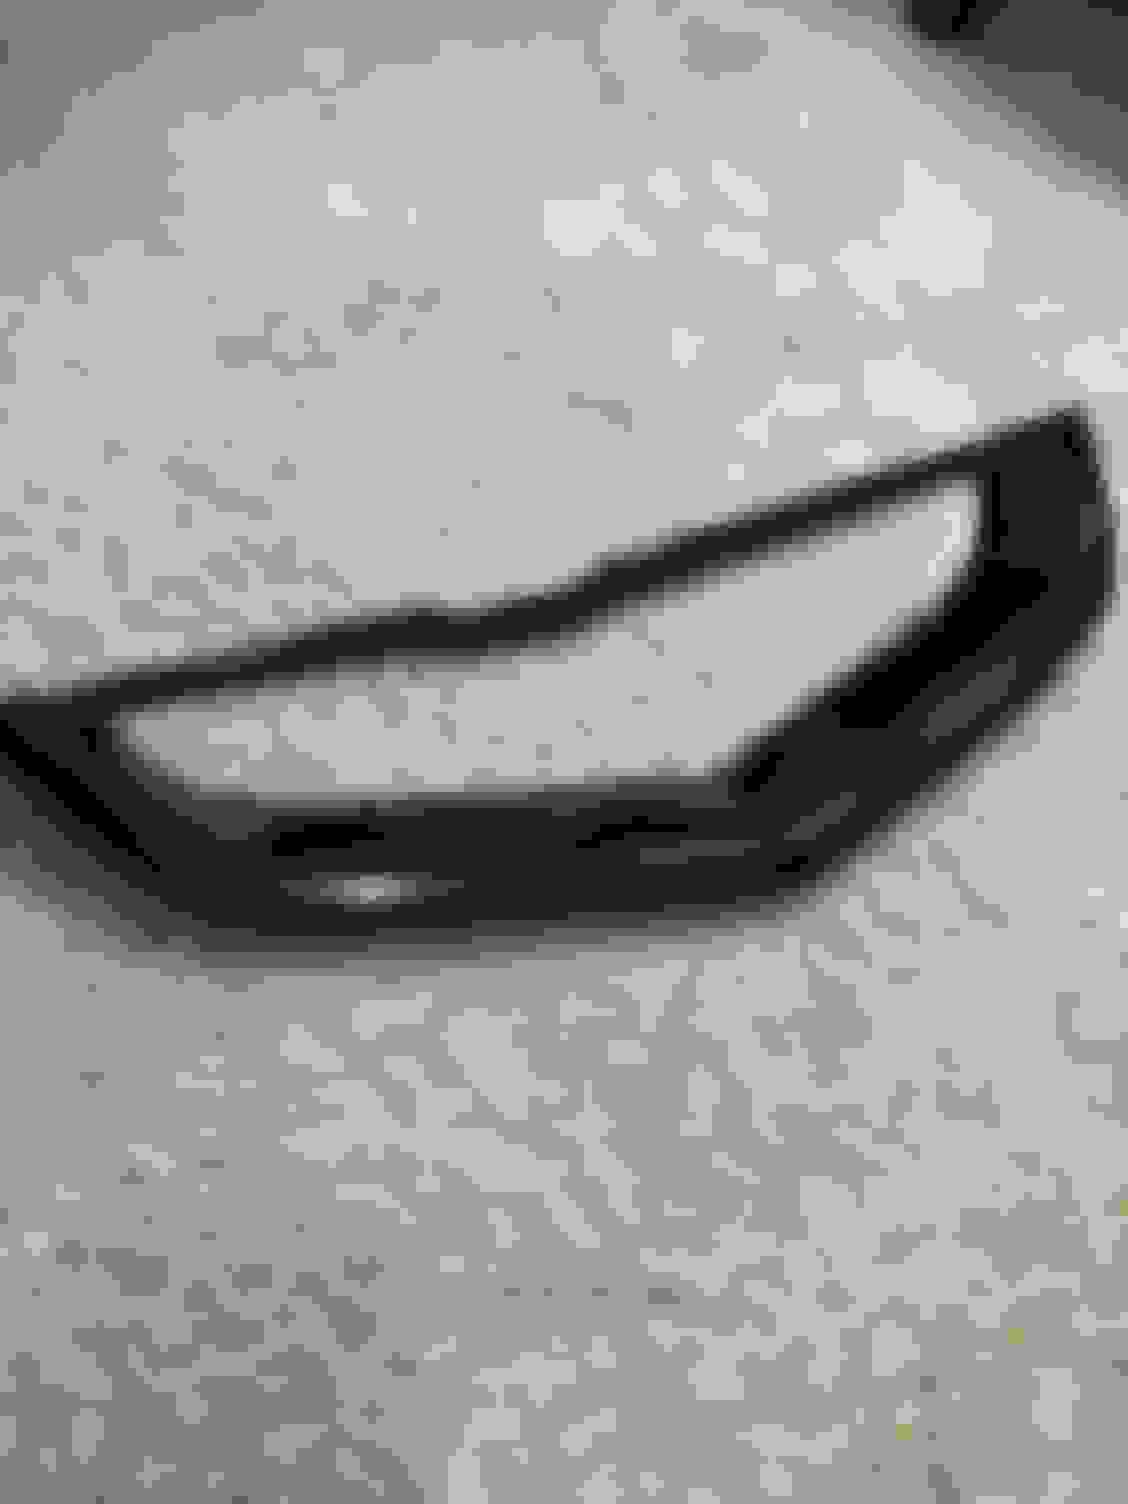
Due to the fact that I wasn�t in a time-pressured situation, I figured I would try wrapping the grill again with a new sheet to see if I could remove the wrinkles. I�m happy I did, because the results came out flawless after my second attempt. No wrinkles !
D. Wrapping OEM Front Grill Hood Trim
The EndlessRPM Shark Mouth Grill does come with an aftermarket hood trim piece as well, which is made out of fiberglass. However, I decided to re-use the OEM front grill hood trim instead and wrapped this piece as well.
V. Cutting & Bending Grill Mesh Sheet (Step 4)
I didn�t take any pictures during this stage, so I apologize in advance. In order to cut and bend the metal sheets properly, I used tin snips and bought an Irwin Vise-Grip Locking Sheet Metal Tool on Amazon:
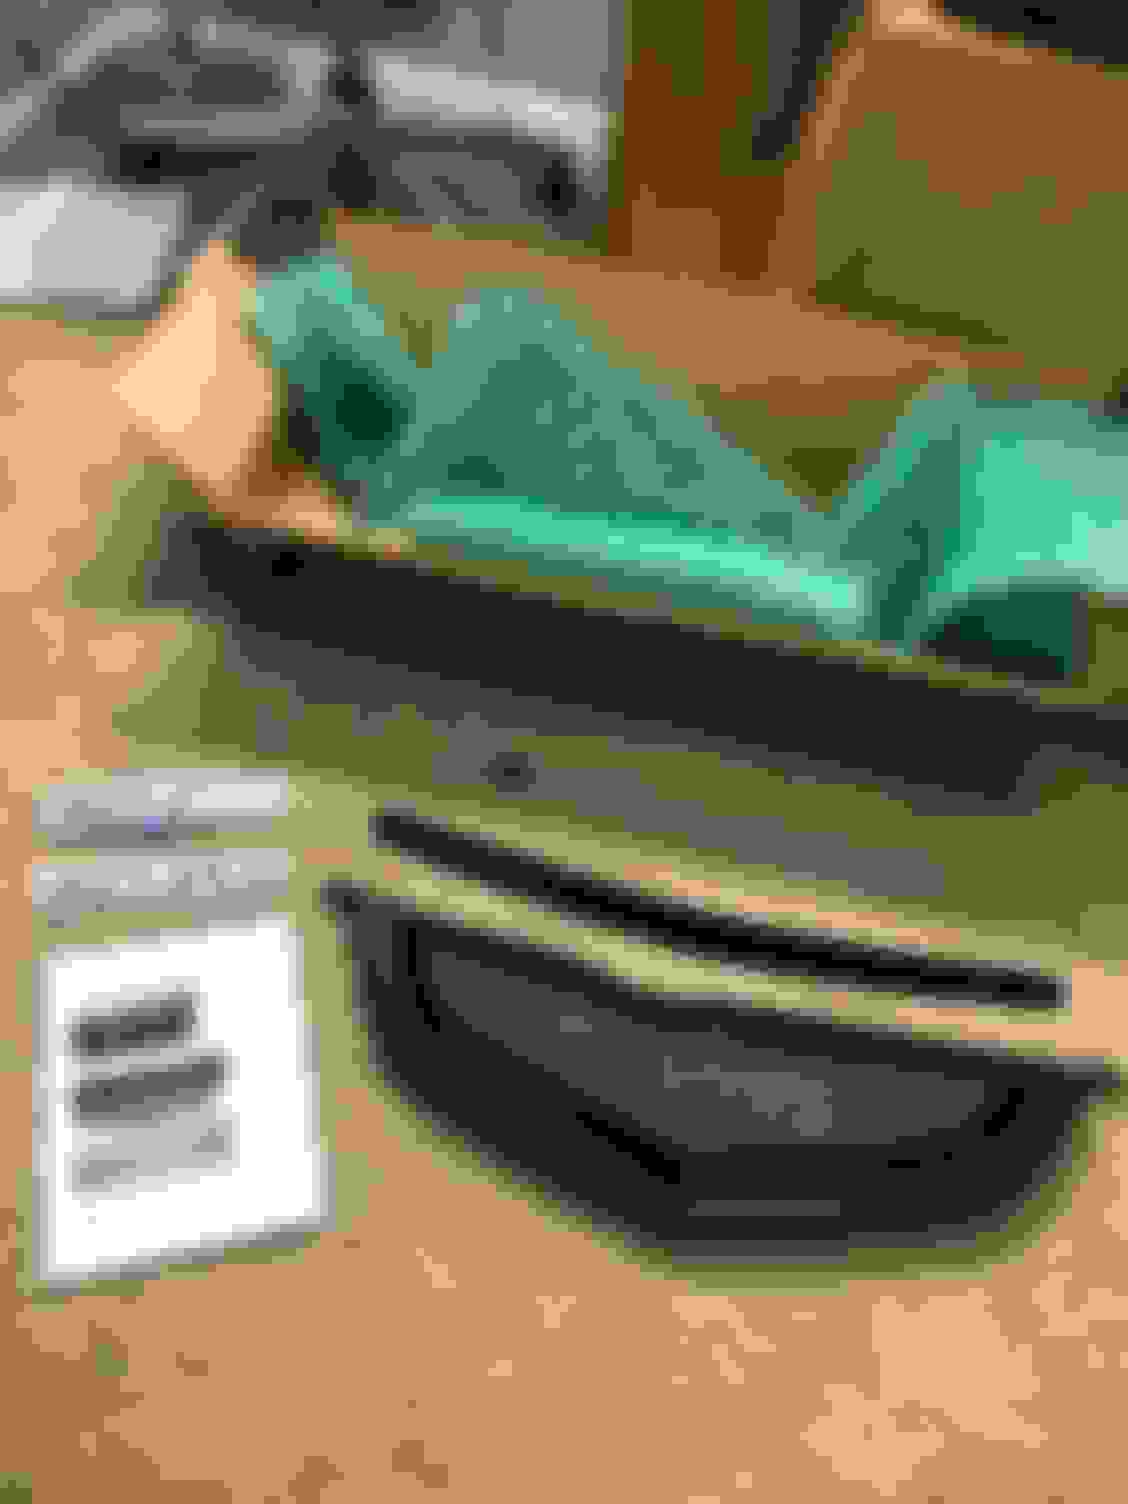
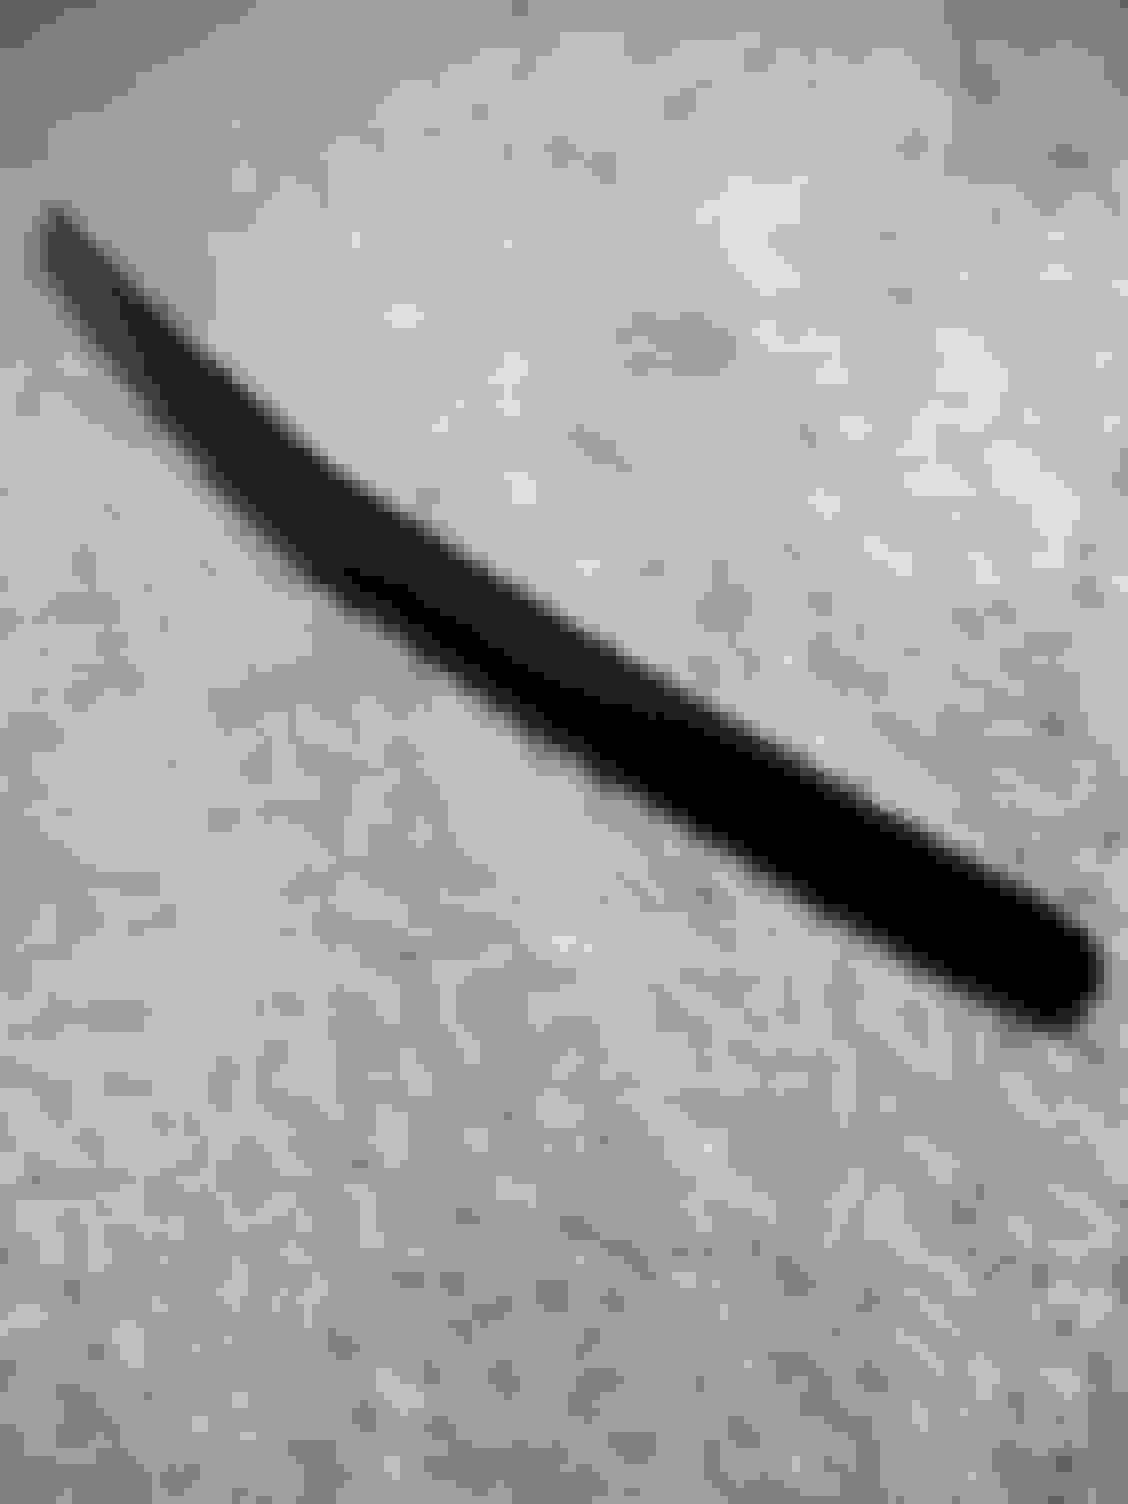
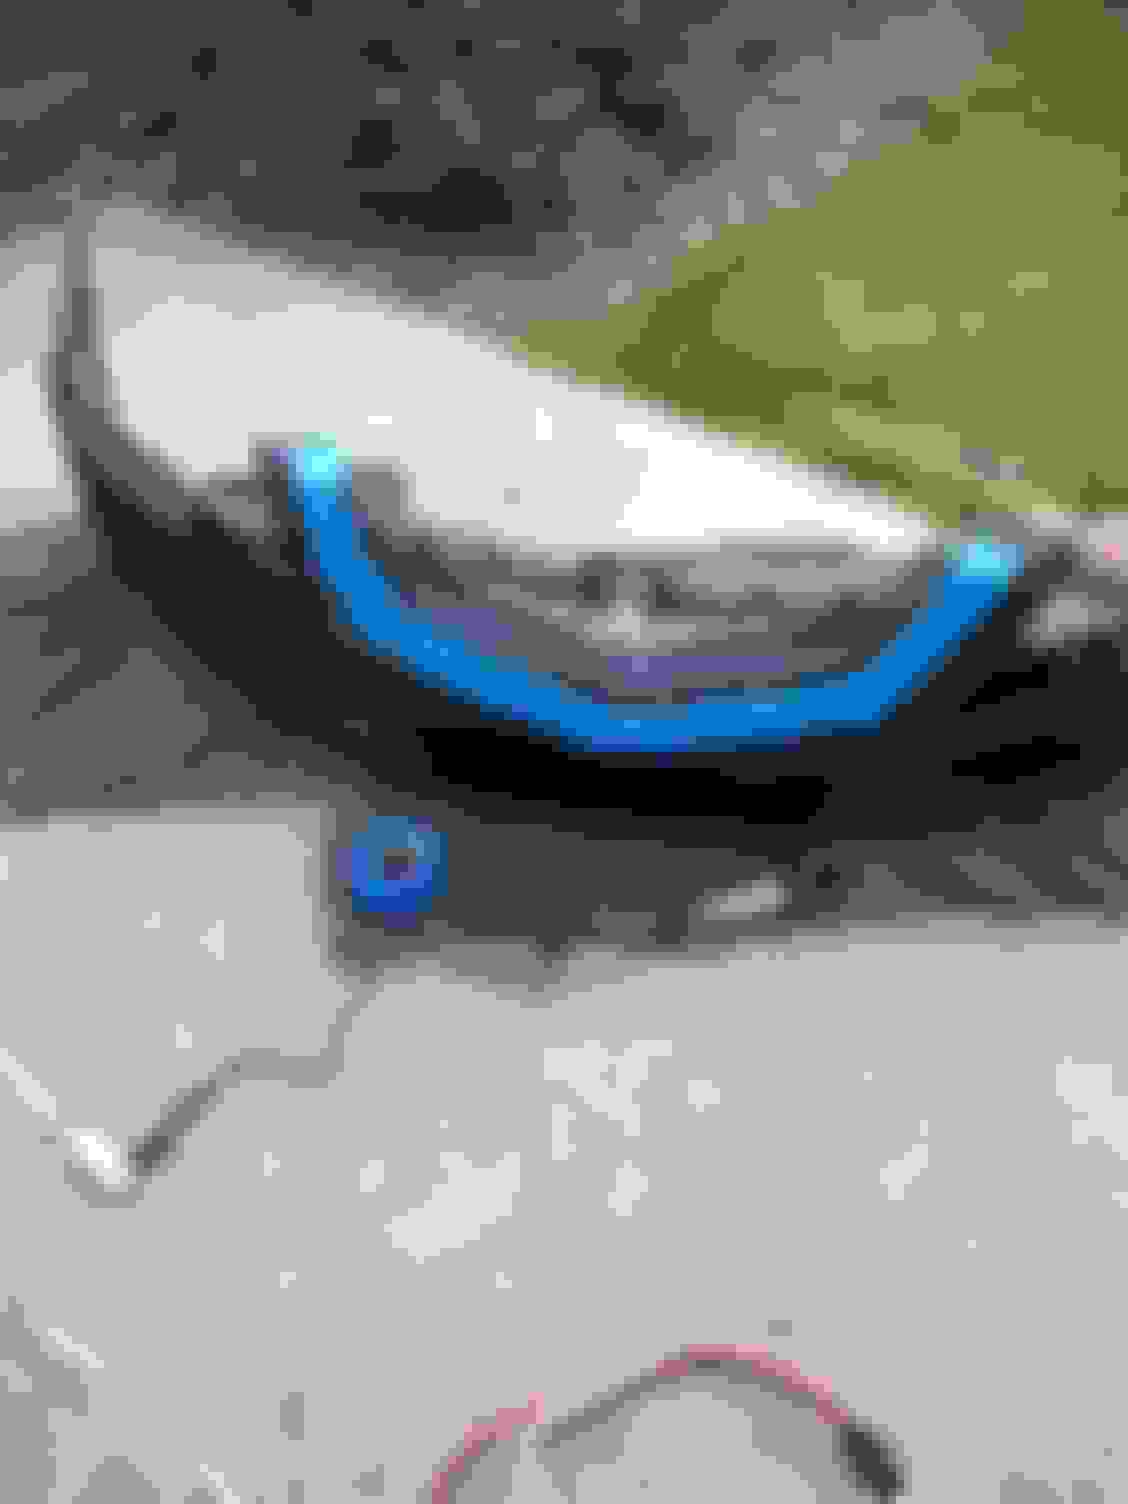
It took several hours and my fingers were almost numb. To cut and bend the mesh sheet properly, it took me two attempts. Here is a picture of my wrapped shark mouth grill next to the EndlessRPM grill mesh and my custom grill mesh.
VI. Attaching Grill Mesh Sheet to Shark Mouth Grill (Step 5) A. Selecting Adhesive
My original plan was to utilize the metal wire protrusions already attached to the EndlessRPM grill to install my new sheet. However, the openings of my new grill were too small and the wires did not fit through the holes, so I had to find an alternative method. As recommended by Matt’s website, I used the automotive version of Amazing Goop. This can be picked up at your local hardware store or online at Amazon:
B. Testing Amazing Goop
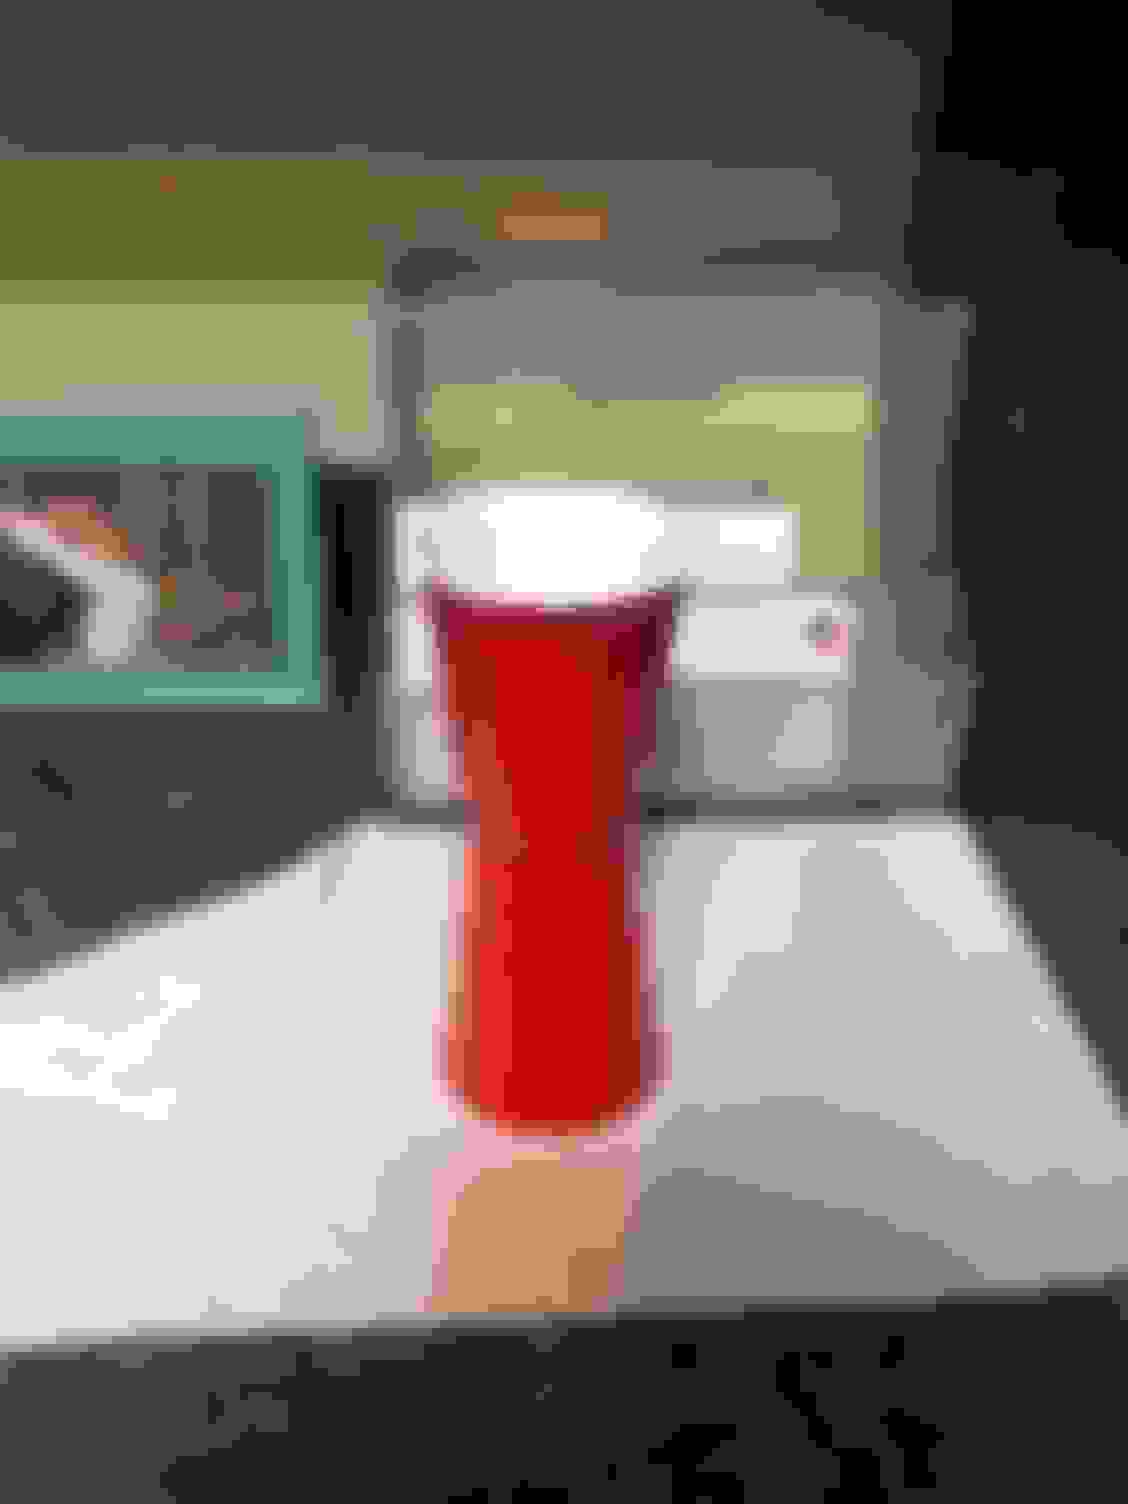
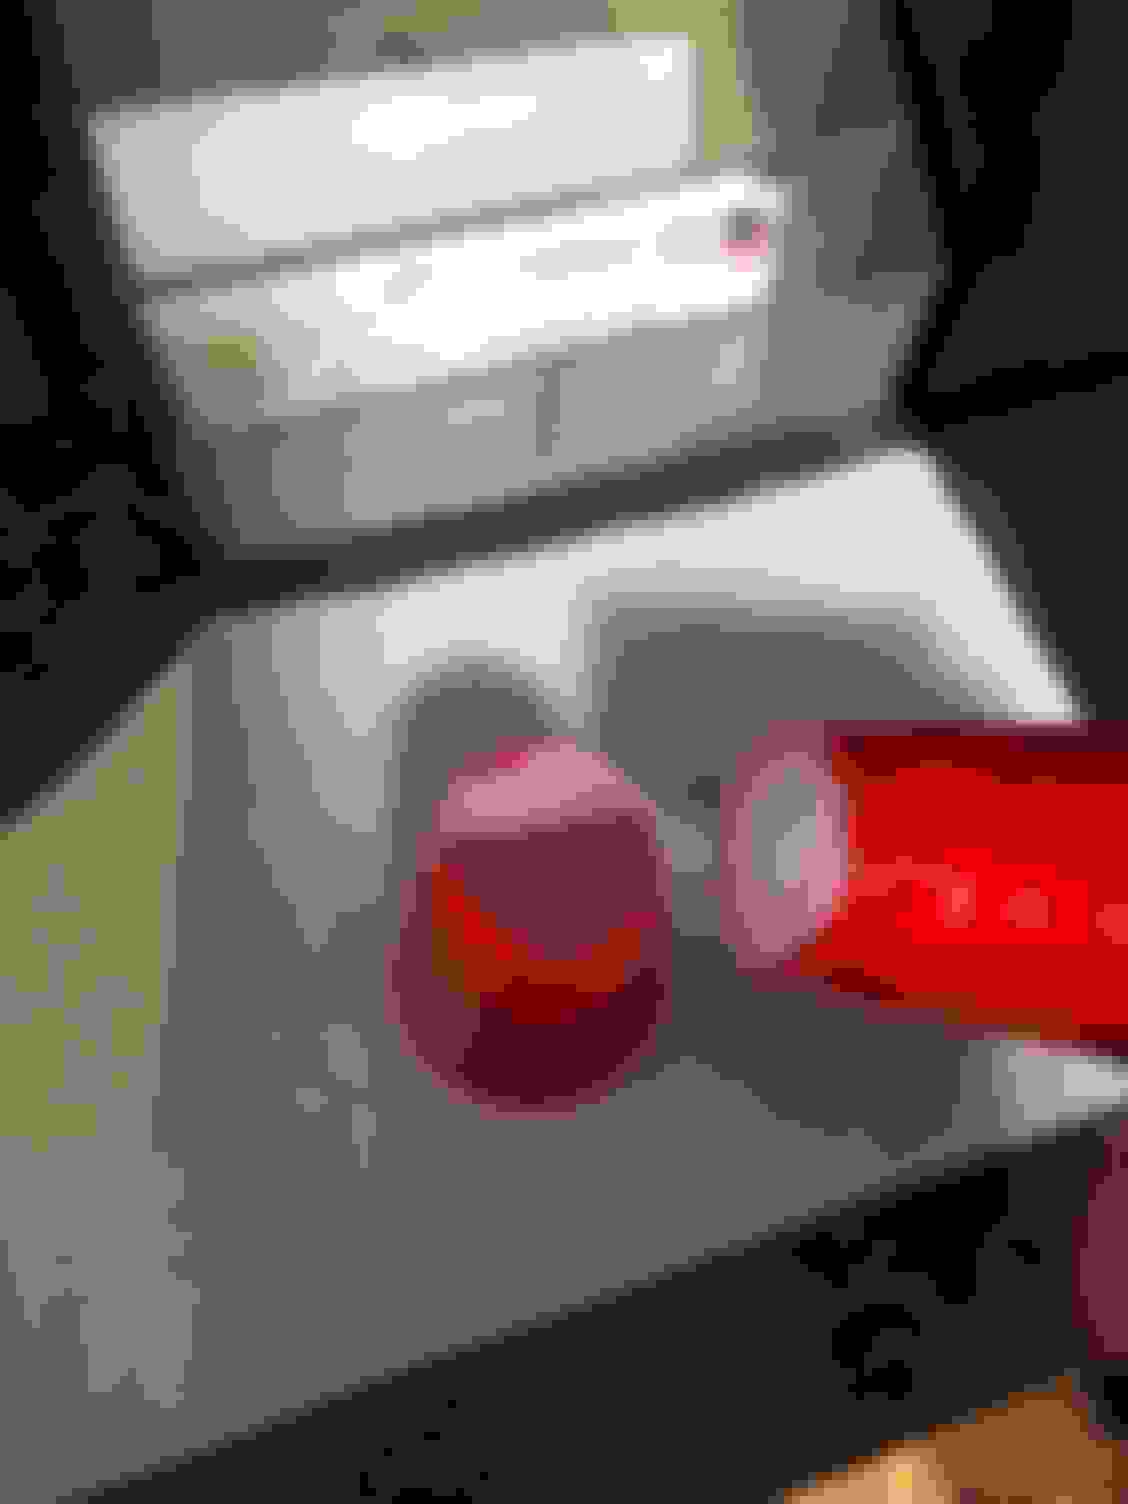
Because I had additional time and was curious, I decided to test the Amazing Goop before I applied the adhesive to my grill. I wanted to test the product’s viscosity, strength, durability, dry time, etc. I applied a liberal amount to two red solo cups and let the product cure for about 24 hours.
After 24 hours, I was amazed at how strong the adhesive actually was. I tried pulling the two cups apart and was not able to do so before the bottom of the cup ripped off. Needless to say, Matt was right. This stuff is strong!
C. Gluing Grill Mesh to Shark Mouth Grill
When I cut the grill mesh, you might have noticed that I left extra “flaps” along the perimeter. I made sure to do this, so that I could glue the flaps down to the backside of the shark mouth grill. To hold the grill in place, I used various clamps and miscellaneous items from around the house for additional weight. It was a crazy balancing game, because the powder coated grill mesh is actually very smooth and slippery. Nothing wanted to stay in place, so I had to get creative.
*One thing I should note is that I used several microfiber clothes on the front side of the grill in the areas where the clamps were. The clamps induce a lot of pressure and I wanted to avoid scratching and marring the finish of the vinyl wrap.
VII. Preparing Front Bumper (Step 6) A. Removing OEM Front Grill Components
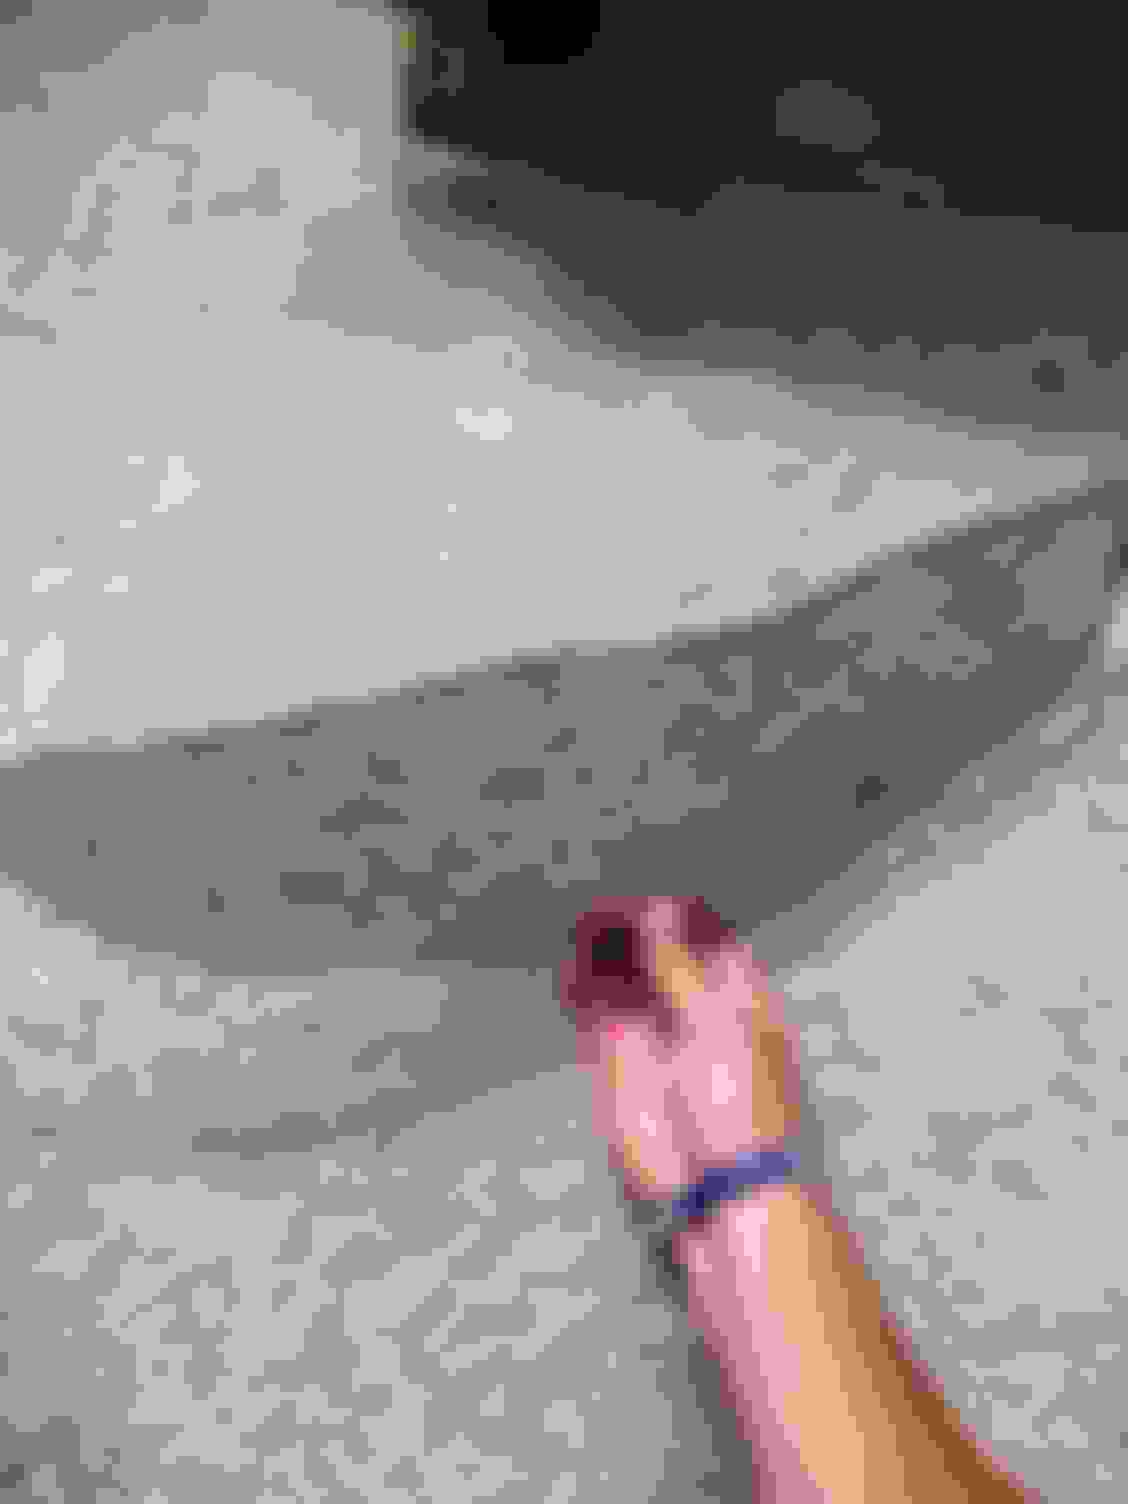
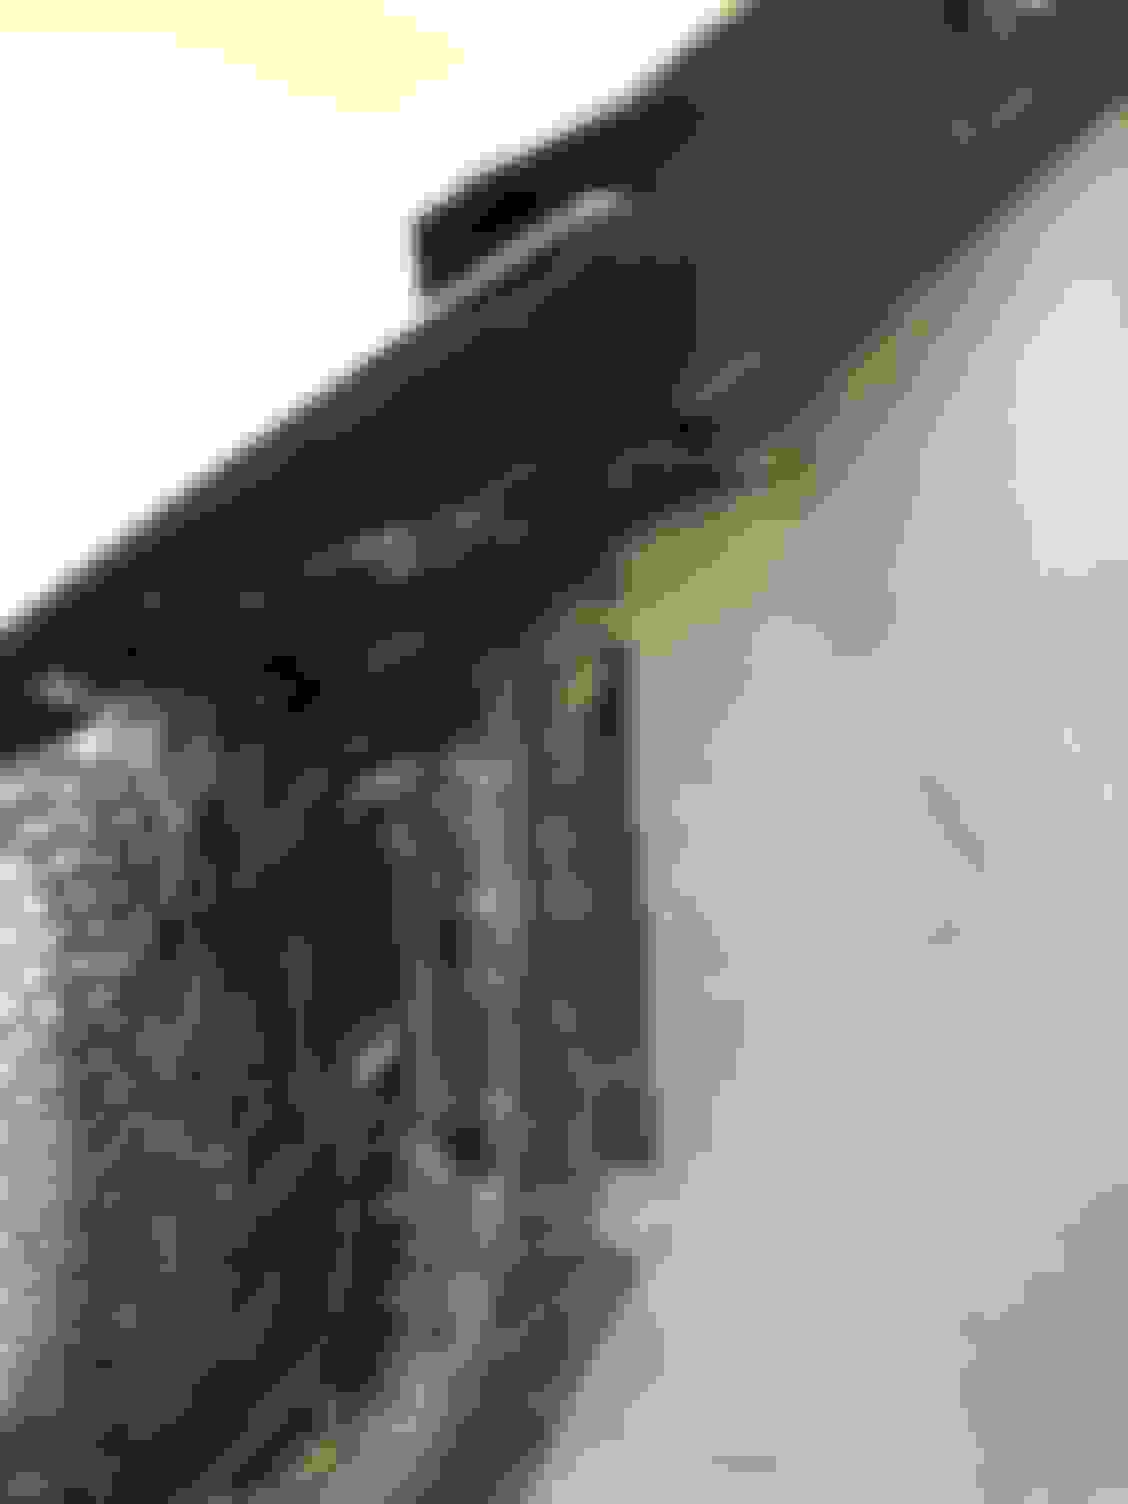
In order to install a shark mouth grill, the center beam has to be cut out and removed. Before I could cut the grill, I had to remove my bumper and remove the OEM front grill components. The first item I removed was the outer trim piece.
The next item that I removed was the plastic OEM grill vent, which was simply held in place with a handful of Philips-Head screws.
After that, I removed the center beam cover and Acura emblem. These items can also be removed easily by unscrewing a handful of Philips-Head screws.
B. Cutting OEM Front Grill
This step is what separates the men from the boys. Here is where I had to use my Dremel 300 and actually cut out the center beam of my grill. I went outside and got to work.
*As a precautionary measure, I added two layers of 3M painter’s tape around the grill’s perimeter in case my Dremel were to slip.
Like most people, in order for the grill to sit flush, I had to cut off much more than just the main beam. I basically had to keep trimming and test fitting the grill section by section.
C. Fitment Issues
Unfortunately, I ran into some major fitment issues. After trimming, test fitting, and trimming some more, I just could not get my grill to fit properly. I had gaps all the way around and I quickly became stressed out since there’s no going back. Here is a link where I explained my issues: https://acurazine.com/forums/third-g...-grill-970812/
A huge shout-out to mdnborg and AckTL05 for helping me through this. I basically had to install the grill by tucking the grill’s flaps underneath the bumper, rather than on top of the bumper. This is not the “normal” way of installing a shark mouth grill, but that’s why it’s called retrofitting.
VIII. Preparing & Installing Grill Emblems (Step 7)
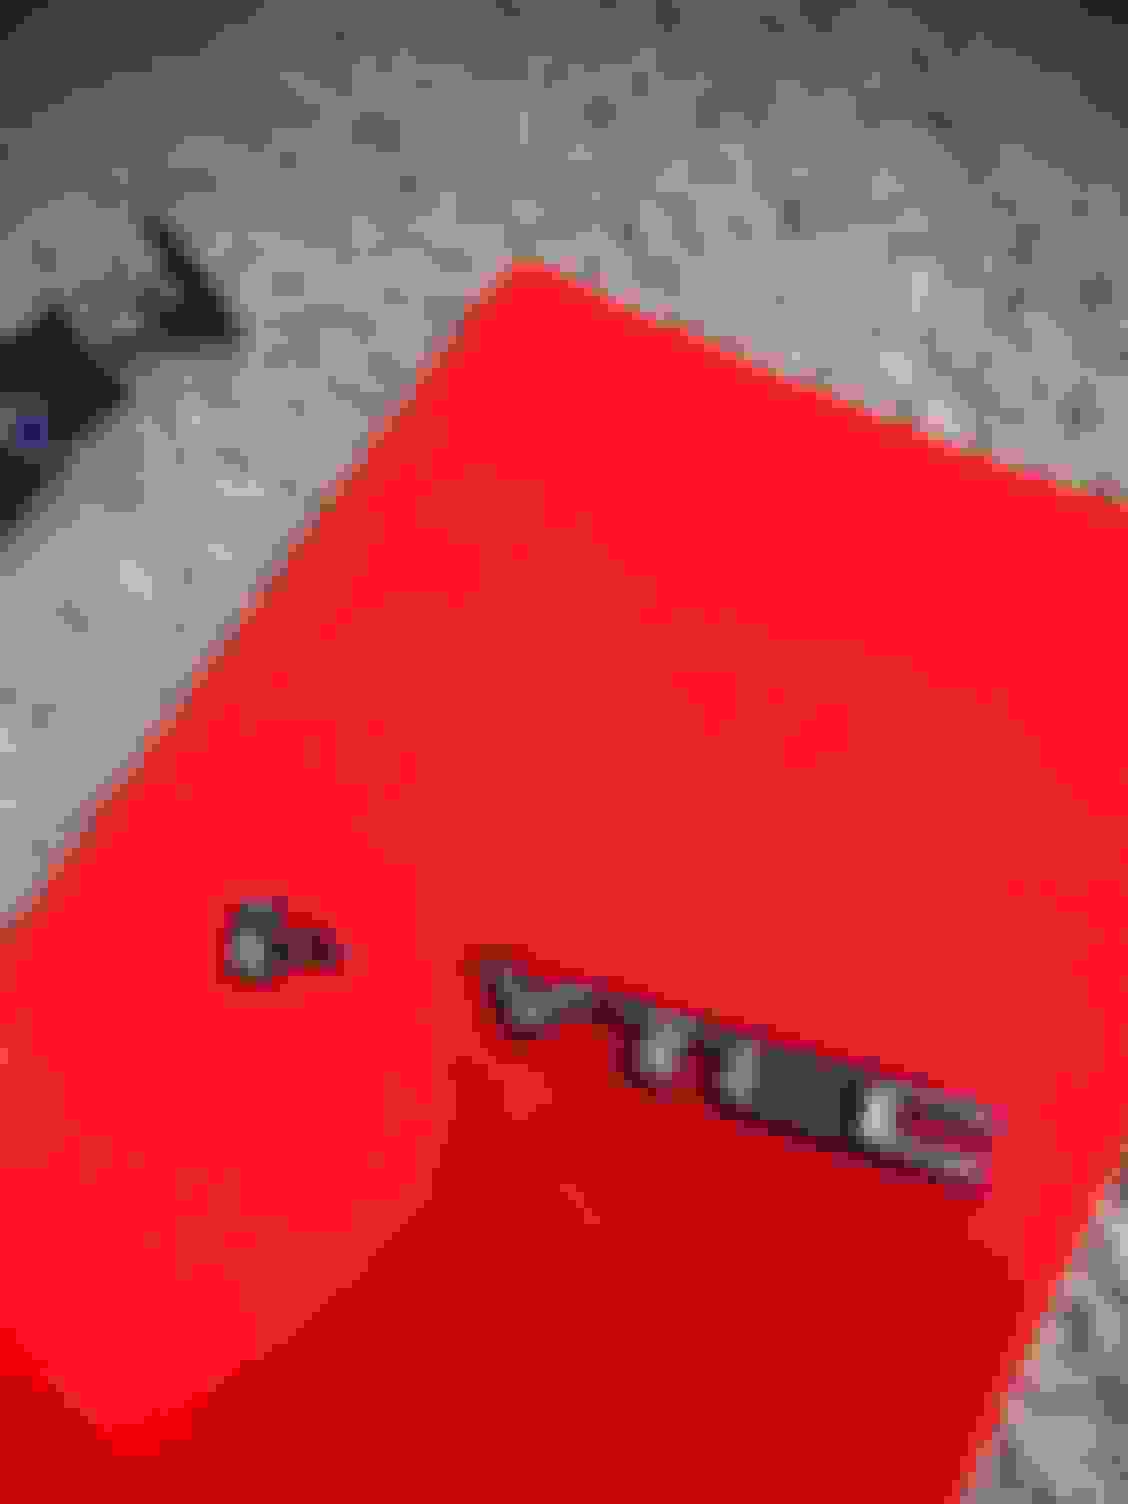
A. Preparing Acura Emblem
Some people re-use the old bracket that the Acura emblem was previously attached to or screw the Acura emblem in place. I did not do that. I wanted the emblem to remain flush with the surface of the wire mesh, so I trimmed down the emblem’s nubs and screw sockets on the back with my Dremel 3000, using a plastic cutting disk.
To attach the emblem, I added 3M double-sided tape to the entire backside of the emblem and then cut around the emblem (and in the emblem’s open gaps) very precisely with an X-ACTO Knife.
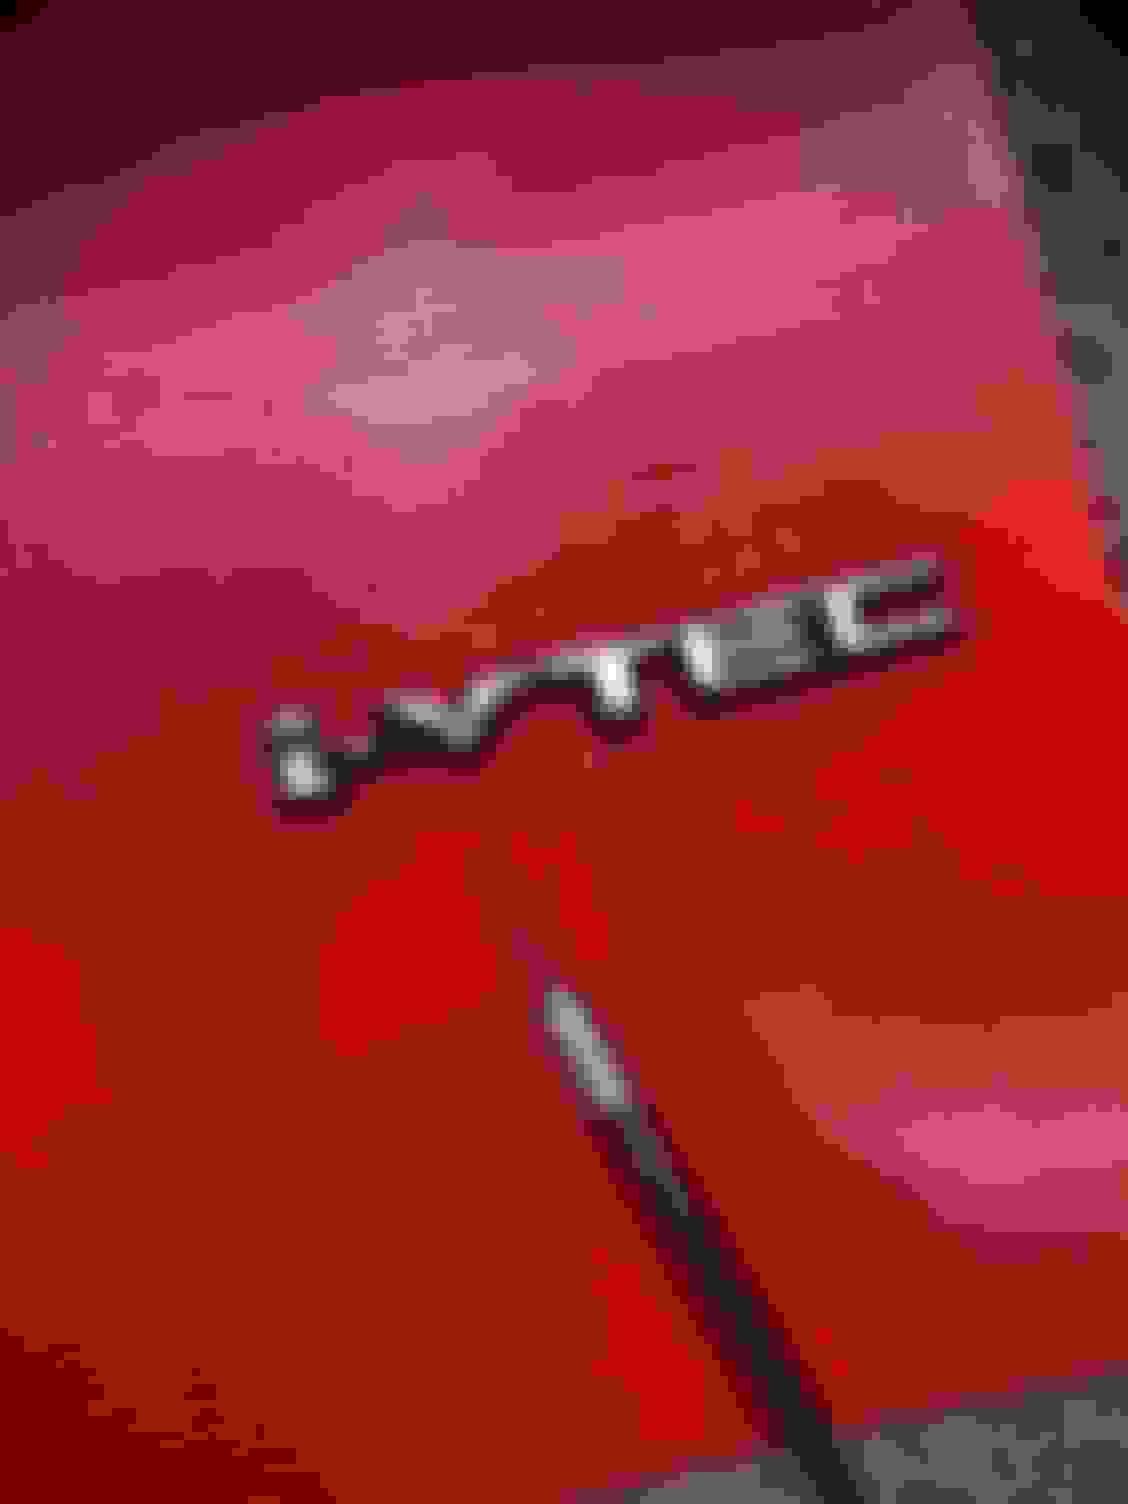
B. Preparing V-TEC Emblem
I know everyone has their own opinion, but I went ahead and added a V-TEC emblem as well. I purchased one on eBay for like $8 or $9. The backside was covered with 3M double-sided tape already, so it was an easy “peel and stick.” https://www.ebay.com/itm/i-VTEC-ivte...-/301747335385
I trimmed off the “i” portion of the emblem before I installed it to the wire mesh.
IX. Installing Shark Mouth Grill to Front Bumper (Step 8) A. Drilling Holes for Bumper Clips
To install the grill to the front bumper, I drilled holes in the top flaps of the shark mouth grill. The drilled holes allow the bumper clips to hold the shark moth grill in place. Unfortunately, I didn’t take any pictures during this step, so I have to steal a few from one of ssbusa ‘s threads.
B. Adding Rubber Butyl
Because I experienced fitment issues and had to tuck the flaps of the shark mouth grill underneath my bumper, this caused the bottom portion of the shark mouth grill (or the “point of the V”) to stick outward on a considerable angle. I had to find a way to keep the bottom portion of the grill flush.
I had some spare 3M 08620 Window-Weld Ribbon Sealer that I used for modifying my headlights, so I added a pretty thick layer of this to the backside of the bumper and it worked perfectly.
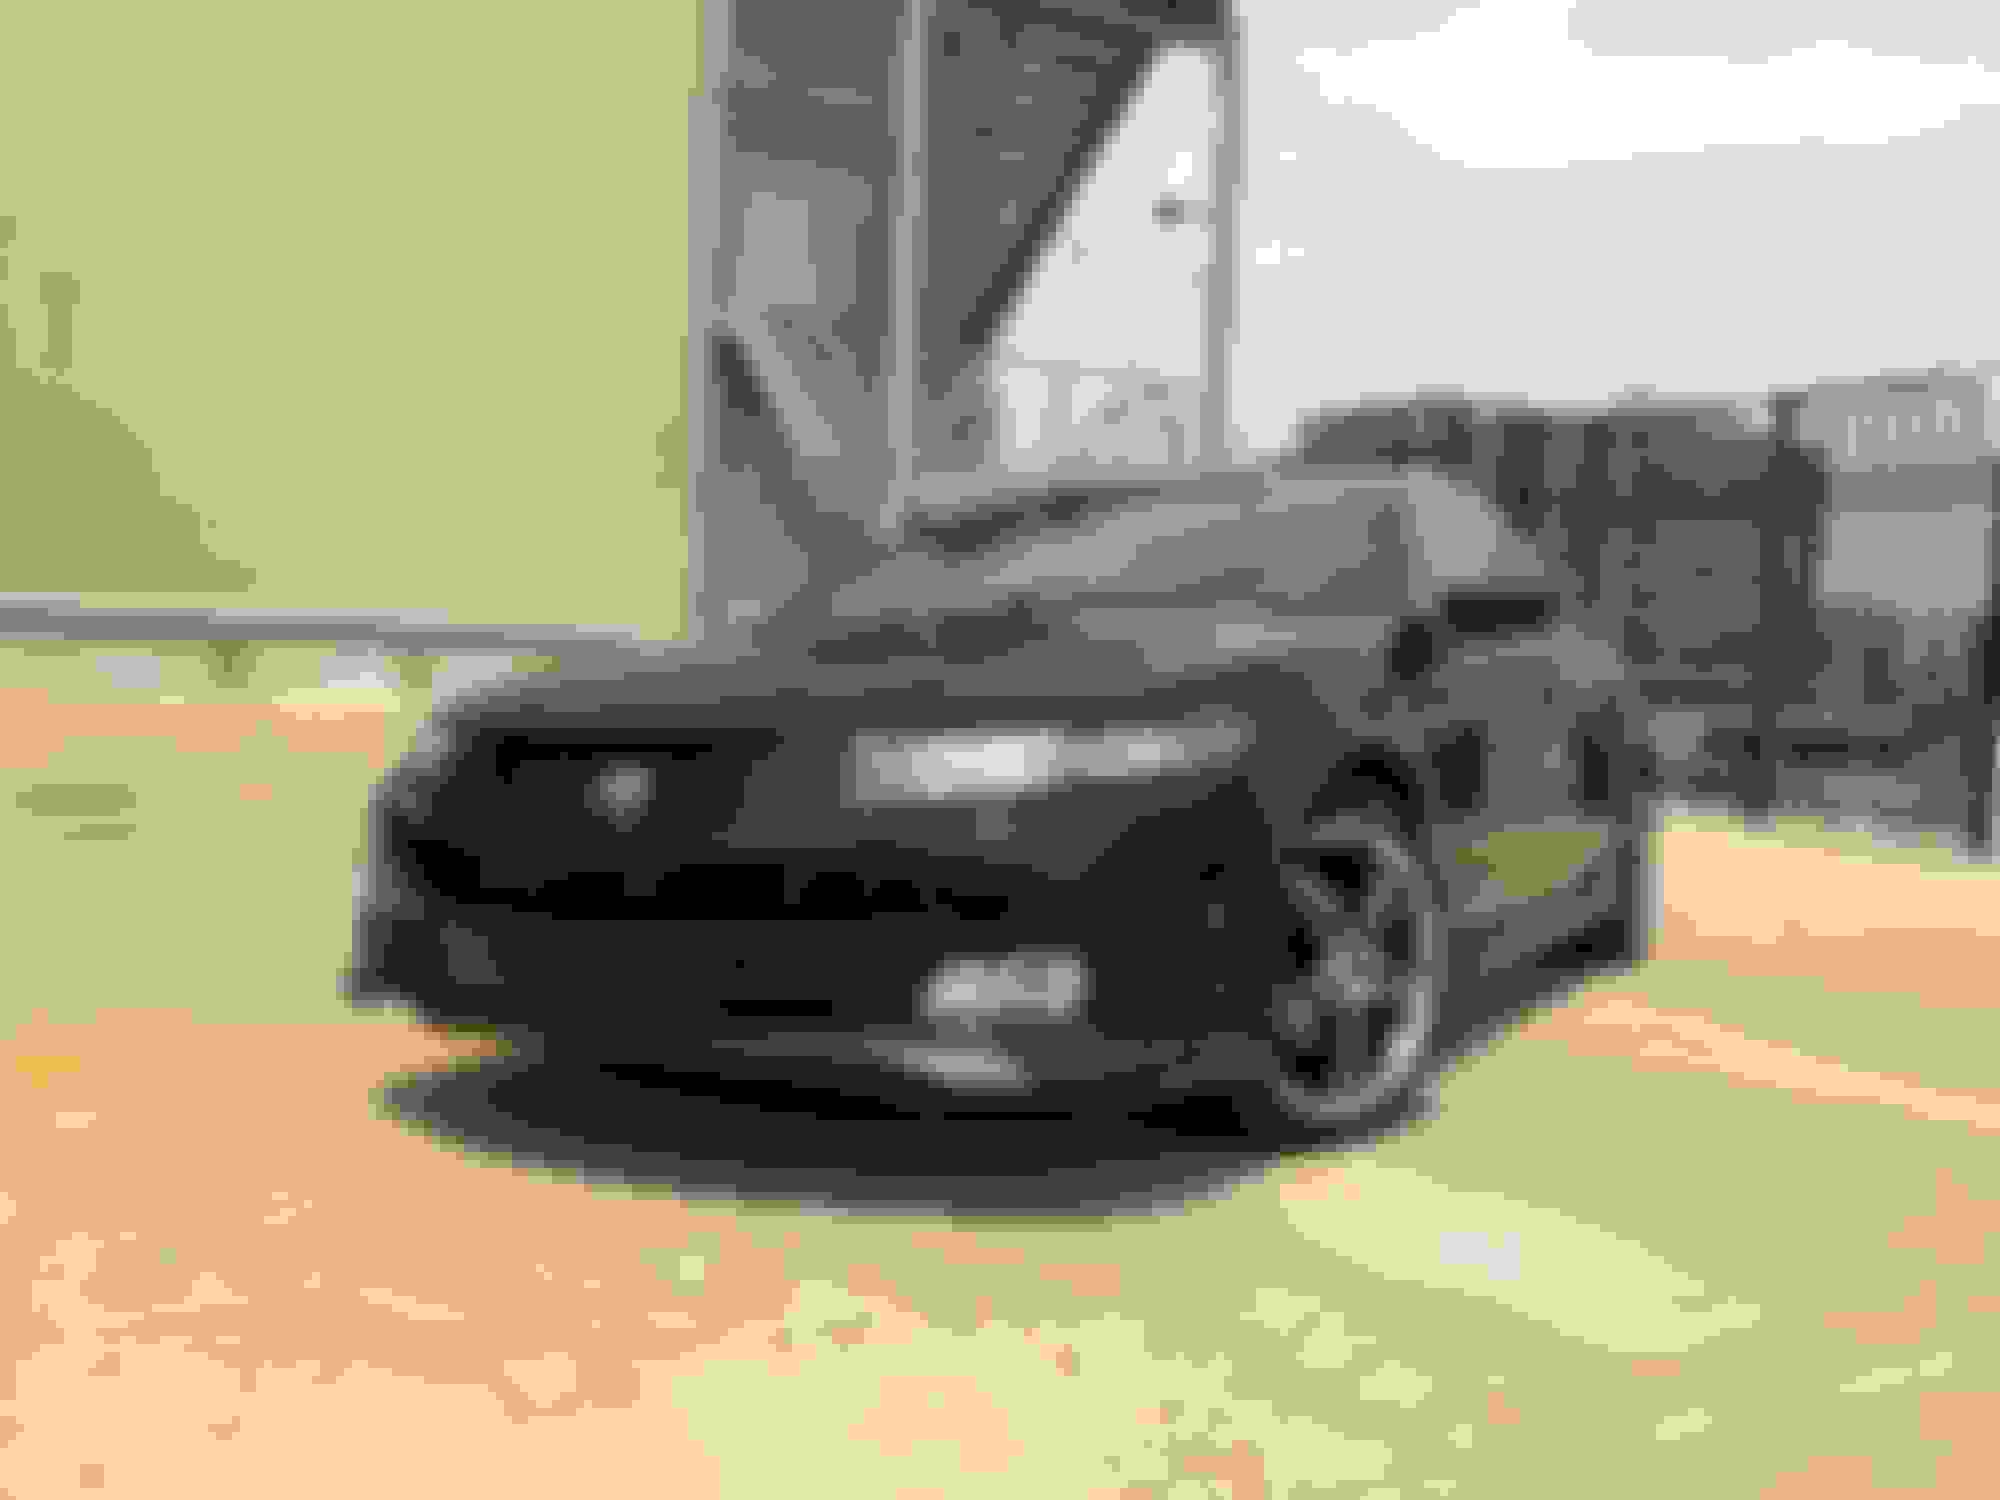
X. Re-Installing Front Bumper (Step 9)
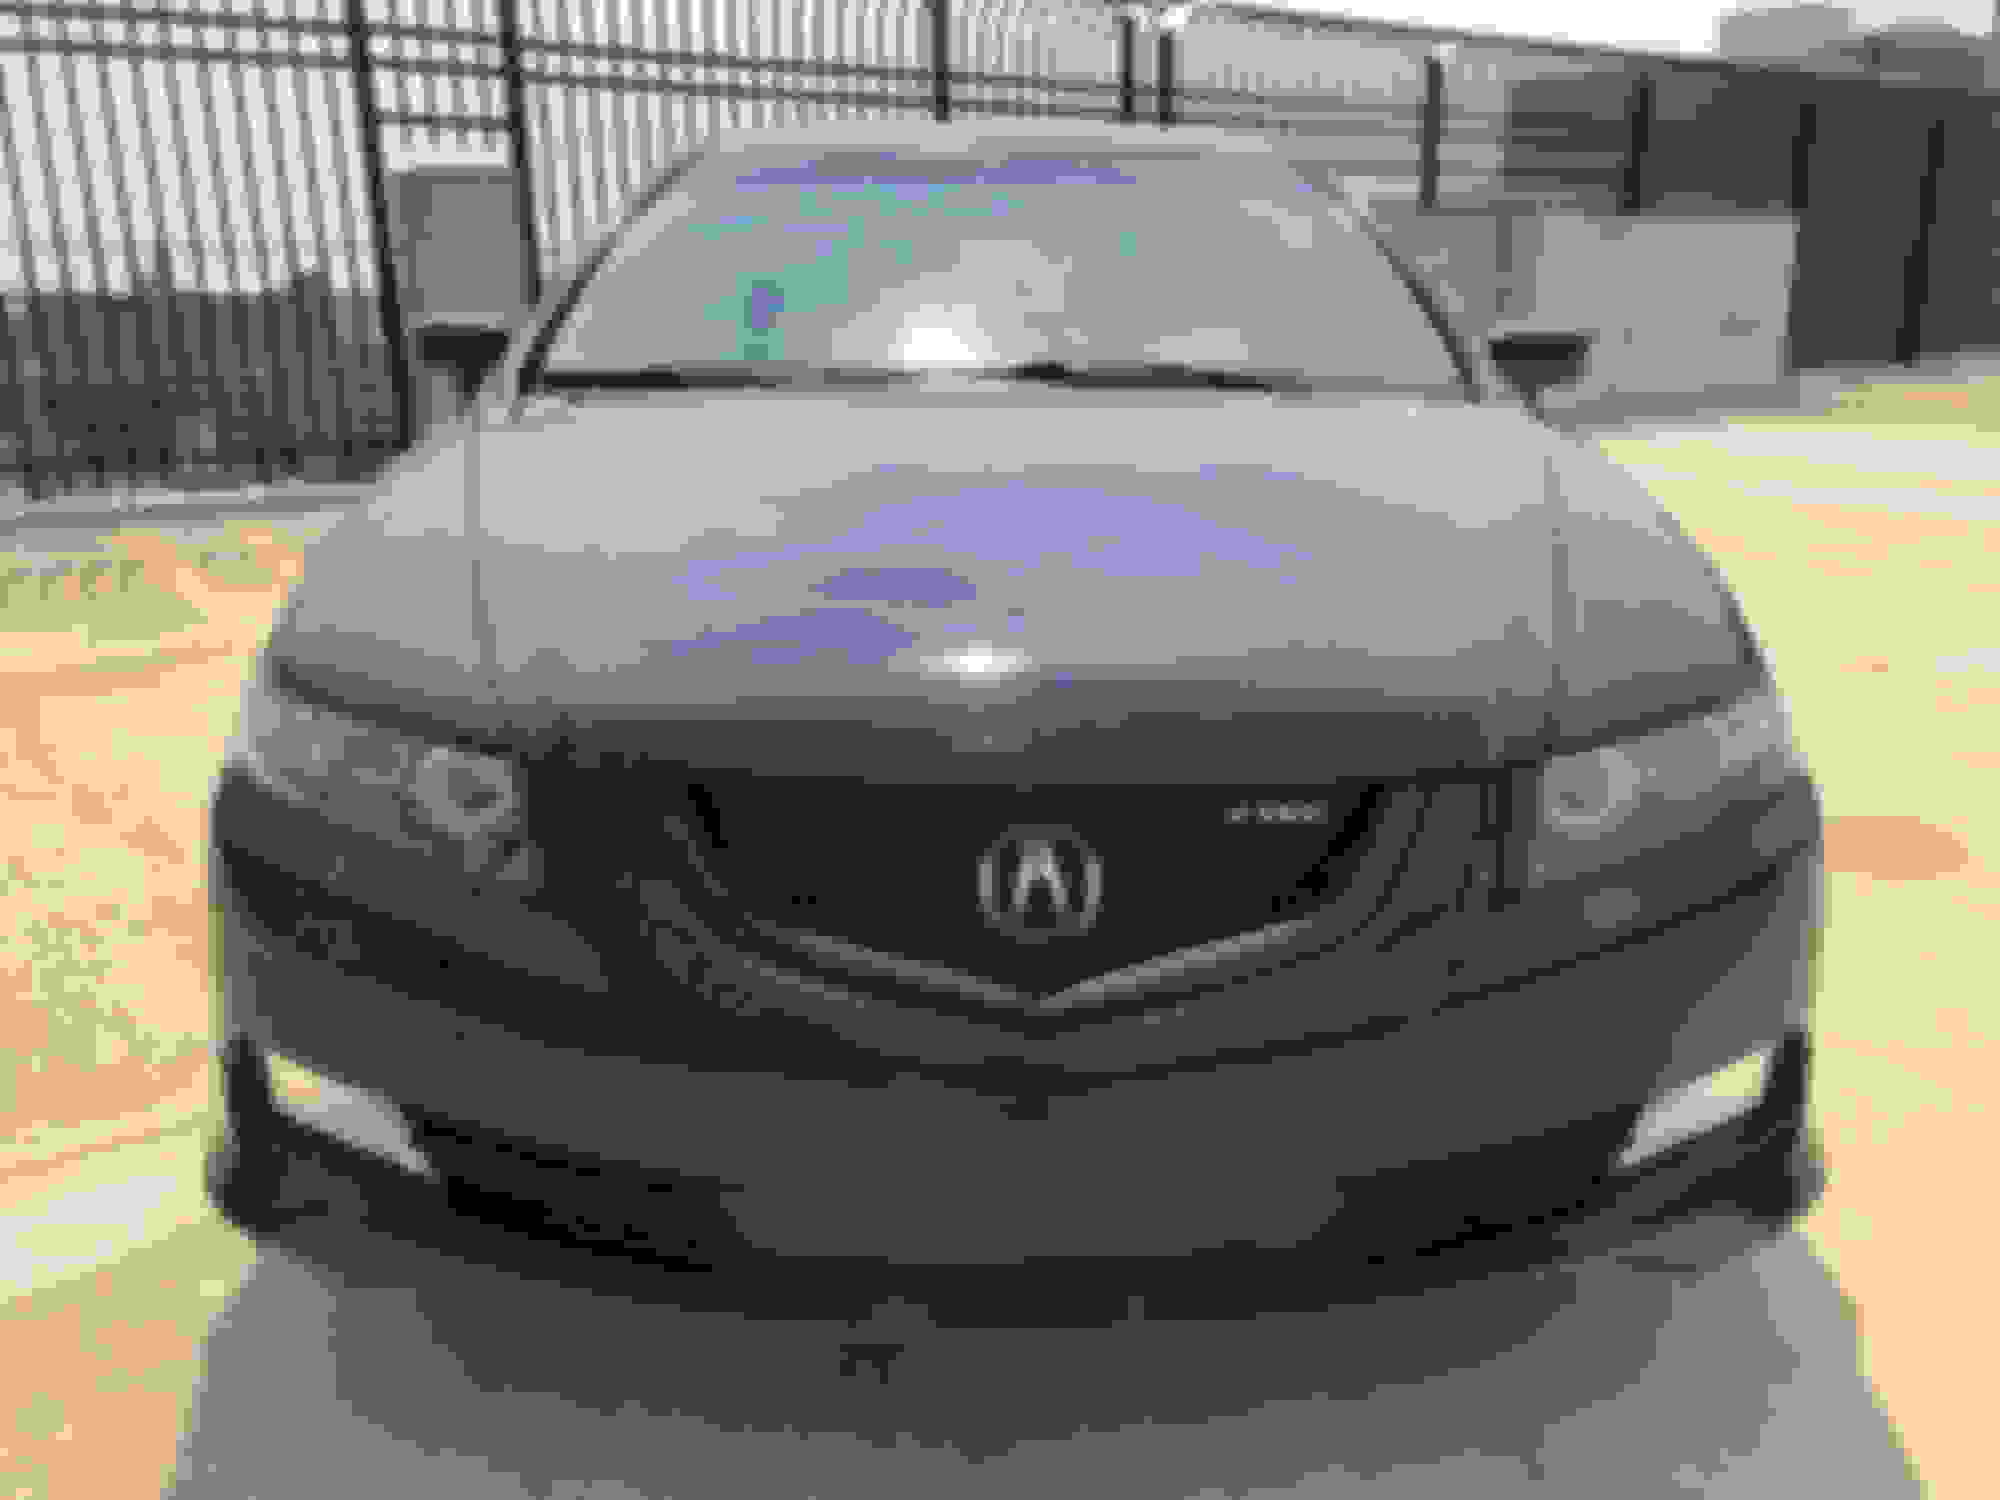
After everything was completed, it was time to reinstall the bumper. I should caveat and mention that while my bumper was off, I also added new headlights, installed an A-Spec lip kit, and retrofit Honda Inspire fog lights. Here are a few pictures and a walk-around video of the final product.
I like the grill, but why is there a little notch at the top of it? I assume it�s functional, but for what? And why don�t I see a notch on the stock grills?
I like the grill, but why is there a little notch at the top of it? I assume it�s functional, but for what? And why don�t I see a notch on the stock grills?
for hood latch, i guess so you dont claw the grill with your fingers. it does exist on the oem grill.
Well done and thanks for the write up. I'm thinking of doing this but instead of using metal mesh, I wanted to retain an OEM look and try to find a plastic honey comb pattern.

 08-11-2018, 05:29 PM


 !
!


 That is correct.


