When you click on links to various merchants on this site and make a purchase, this can result in this site earning a commission. Affiliate programs and affiliations include, but are not limited to, the eBay Partner Network.
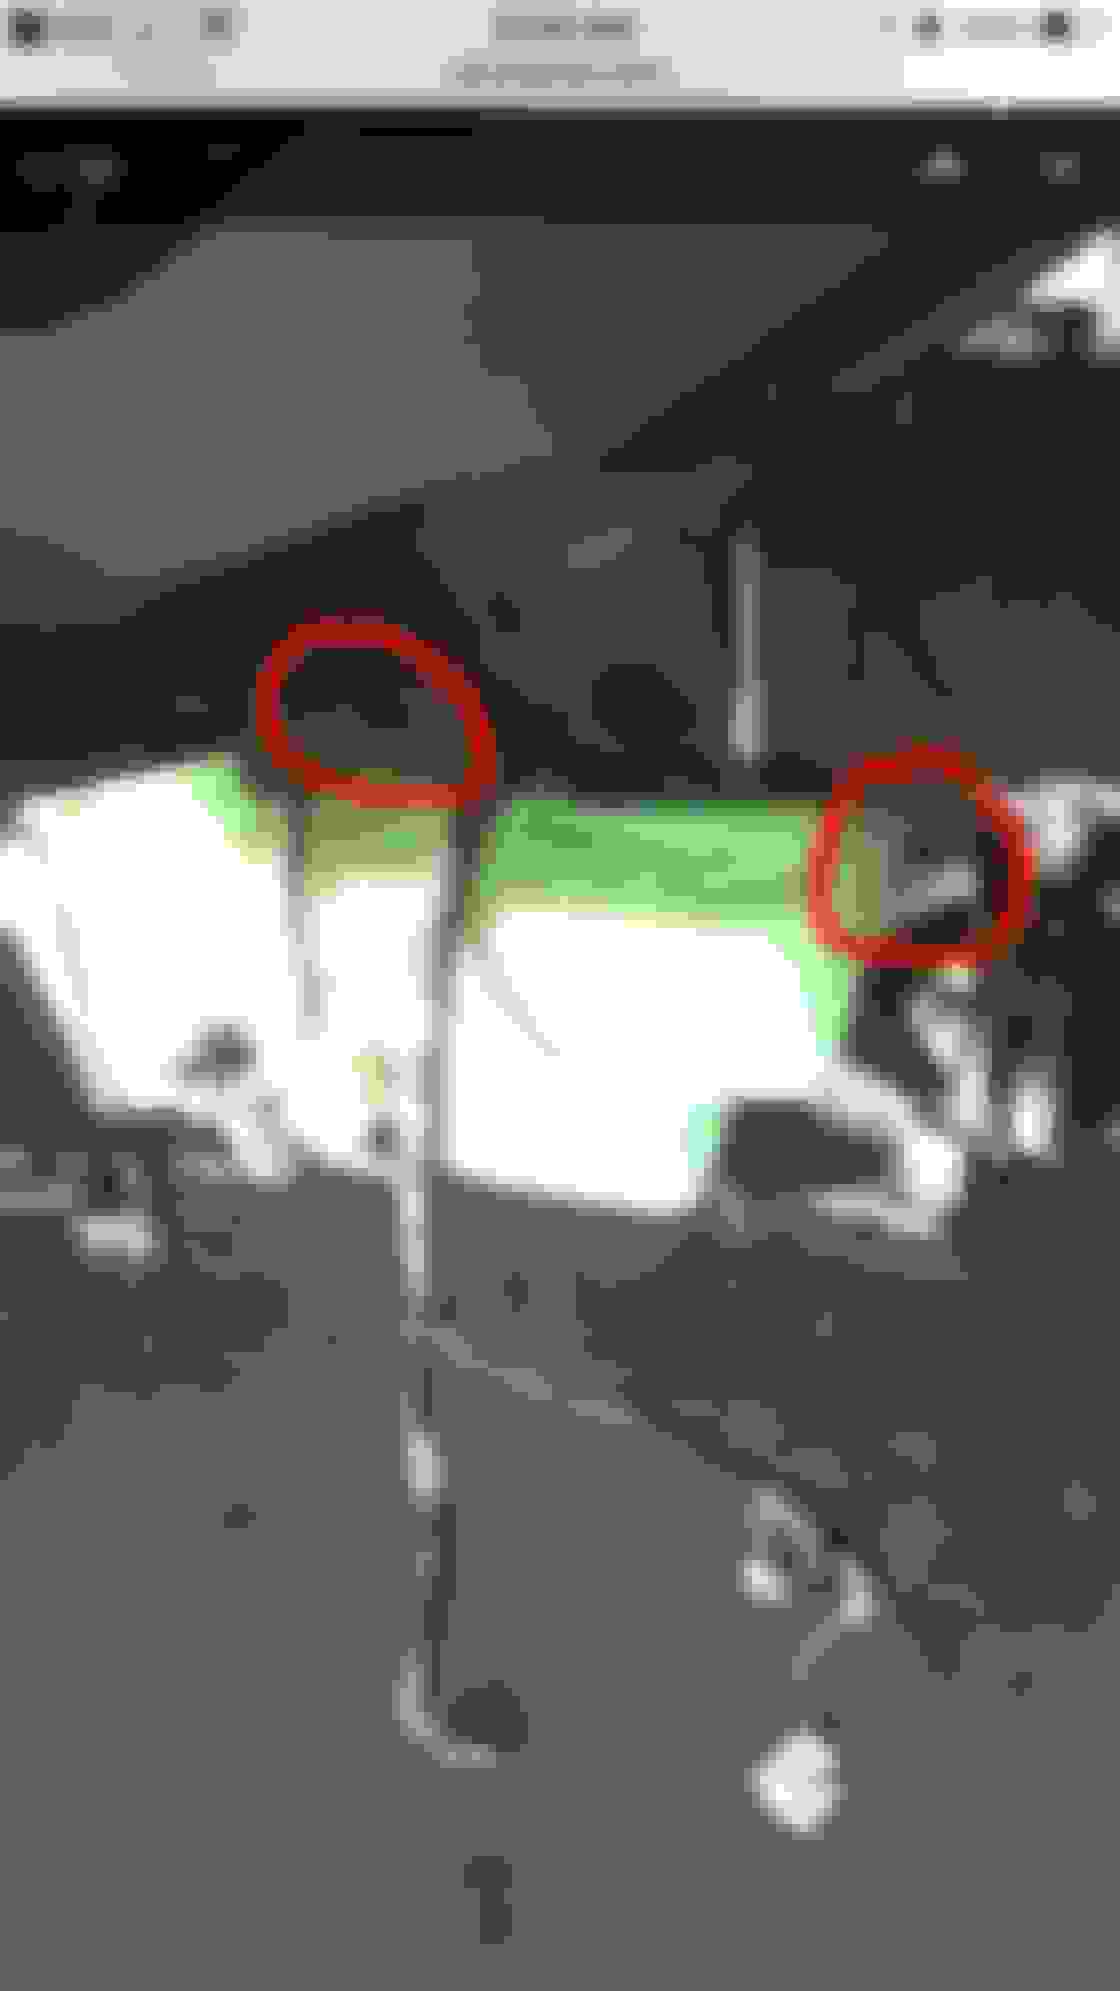
Did you guys remove it before trying to pull the headlight off?
Once the 2 screws are off you can pop it off. Or even reach behind and push the tabs to get it out.
Did you guys remove it before trying to pull the headlight off?
Once the 2 screws are off you can pop it off. Or even reach behind and push the tabs to get it out.
Yeah, that's the plan for the passenger side :/ #themoreyouknow
I didn�t remove that piece the first time I took the driver�s side headlight out and mine broke as well. I did learn from my mistake and took out the passenger�s side though lol.
When I modified my second set of headlights and had my bumper off, I laughed to myself when I saw the tape. I wish I had a picture.
I believe my piece actually cracked right next to where one of the screws was, so I taped that plastic piece to the car somehow for support. I made sure that the tape was in the same supporting location where the screw should be. That way I was still able to �push� in my bumper still to engage the bumper clips.
I don�t know if that made sense or not, but you might not need to order and/or wait for a new part. I all depends on your timeline.
Yep it broke off in two places - right at the screw, soI have to attach a small triangular piece that has the hole for the bumper screw to go through, and again midway down the length of the piece. I may try some adhesive and set it on my tool bench to see if I can salvage it. My timeline has to do with my wife's patience in me embarking on another multi-day car project and turning the kitchen into a parts bin, lol.
Any tips on how to get the wiper reservoir out of the way for the passenger side? And you just left the odd metal support clips off that screw into the ballasts and frame?
Last edited by tomlinsonj; 08-18-2018 at 07:32 AM.
If you need to move the wiper reservoir, there should be two mm bolts If I remember correctly. If you unscrew them the wiper reservoir will drop down a bit to give you more room. You will probably need a partner to hold the reservoir though. Otherwise, the reservoir may try to drop to the ground.
And yes, those two awkward metal brackets can be completely disregarded. The headlights will be much easier to reinstall without them. The headlights are held in place with enough 10 mm bolts as is and they will not go anywhere. It�s rock solid.
Whoa, so much easier on that one. Daylight helps too. Did you leave the bulbs and ballasts in place or remove before baking? I am planning to to the zkwr lens as well.
I would remove everything first. There�s no reason to keep everything in tact as excessive heat can cause damage.
One other thing that I thought of is that the cold air intake tube below the headlight can be removed as well for easier reinstallation It�s just held on with onr 10mm bolt. That will give you a lot more room.
I always just let the wiper tank hang there. The neck would only let it drop so much
i find it weird that the ballast brackets are giving you guys so much trouble. I mean I’m not saying it just slid out, but I don’t remember it handing anything up.
the ballast I would definitely remove though, and I also removed the bulbs. I used the logic I saw other members say as you want the electronics to avoid as much heating up as possible.
Thanks guys. Both lights are open, and I baked with the ballasts still on - I will remove for the resealing round. Crazy thing about the amber, the tabs are pretty much flush with the amber, and there's really nothing to "break off." I separated the housing from the clear lens to try and pry the amber off some but it still seems like some portion of the tabs inside the diffuser are still holding on. Since I am keeping the amber, and wanted to paint the chrome strip black, I am thinking about doing my best to mask everything off well and paint the chrome bar while attached to the housing. Tell me if this is not a good idea, lol.
I would keep trying to work those amber diffusers out of place. Use a needle nosed pliers to kind of snap those nubs/tabs. Once it�s able to, the amber diffuser will slide right out. Taping things off only goes so well IMO lol.
Chrome bars are out. I painted the bars and projector/fog housing with matte black caliper paint. For the turn signal reflector I painted that with semi-gloss black that I had left over from my son's RSX-S window trim. Not high temp, but it's just a turn signal lamp, so we'll see if this darkens up the amber a bit when I get it back together tomorrow (going to let the paint cure overnight).
Now it's on to the ZKWR... I don't think I need to take the projector out of the housing if I'm just changing the lens right? Just pop off the clip and it hinges open? Also, I'm not quite sure about "testing" the output. That mean that I take the black half of the headlight to the car and plug it in, then if I want to change things, remove the projector clip, rotate the lens and reclip?
Last edited by tomlinsonj; 08-18-2018 at 04:05 PM.
Correct, I think you can leave the projector in the headlight housing. All you will have to do is unhinge that front frame and the lens should freely come out.
With regards to testing the output, I'm not sure what else you can do except installing the back half of the headlight, like you suggested.
ZKWR installed plus one spacer, and was able to leave the projector in the housing. Hooked up the ballasts to the back of the headlight was able to rotate the lens with the cover loose (but secured with electrical tape) to where ther was decent sharpness projected at the garage across my driveway. Wasn't going crazy trying to add more or to experiment too much. Looks decent and I'm good with that. Plus it was plenty tight to open that projector clamp (thought for sure I'd broken it), and even more so to close. Tomorrow I'll reinstall the diffuser, chrome bar (with adhesive for support), painted bezels, and rebake (sans ballast). I also need to clear the lens as it's pretty cloudy, but as we discussed, I was waiting until all the was back on the car before restoring. Probably do that with the headlights mounted and before figuring out how I'm reinstalling the bumper with that damn broken clip, lol.
Just checking.... I only heat up the black half of the headlight, correct?
Last edited by tomlinsonj; 08-18-2018 at 09:04 PM.
You mean when you out back together? I always toss the whole thing in.
Although it may work better to heat up the back with the sealant a little, then install the front lens, then heat again. And then I usually throw clamps on right after and manipulate until it’s where I want.
If if you do heat twice, just be aware of how hot the back is, I’ve melted one of those on accident before. Mine was more of a stupid mistake but if you’re heating twice, just don’t do for more than a few minutes the first time to get things a little tacky, or even a hair dryer or heat gun the first time would be a good idea
Either heating option will be fine. Just make sure that you get all of the clips back together. It will definitely take some muscle and patience. I usually have to reheat my lenses a few times (not the full 20 min) in order to get he lenses back together.
Yep - been meaning to provide an update. Let me say that your posts + Ossman, along with other Acurazine experiences helped me finally complete this project that I've been wanting to do for a few years now, but never really committed to it. Was the outcome prefect? No. Am I happy with the result? Mostly � I am pretty picky, and some steps just didn't go as I had anticipated they would. I'd rate my job at about a 8/10. Here's the summary:
Headlights already had some spiderwebbing in the lenses, and the oven/pulling process didn't add too much to what was already there, but I agree the process adds to the lens stress
My wife helped with the separation and I have some damage on the periphery edges where she was prying with a screwdriver while I was pulling the headlight apart
My paint choice was Duplicolor matte black caliper paint which ended up a very close match to the rest of the bezel. I painted the chrome strip and chrome housing this color
I kept the amber and painted the chrome reflector behind the amber with semi-gloss black to keep a little reflectivity for the signal bulb
While the headlight was apart I decided to do the ZKWR swap and since I've never replaced the HID bulb, why not add that to the list, so I bought genuine OSRAM CBI 66240 bulbs (was looking for 5000-5500k)
Disassembly, painting, and lens swap went fine, with the swap being a little nerve-wracking because I thought I'd break the clip for sure and put one spacer in there just because
With the stock bulbs still in, I rotated the lens to get a nice cutoff and then snapped it shut. I was very happy with how the light output looked without the front headlight cover on.
Reheated the pieces the next day and clamped them shut after adding a couple silica packs
Restored the outer lens with 3m kit, then Megs rubbing compound, 105, then 205.
Had a lot of trouble getting the headlights mounted to where the bumper would go back in. It was a struggle even with my son helping, and it's not back to OEM fit - I attribute this to my difficult sealing job on one headlight.
Awesome moments
Love the overall look
ZKWR is worth it if you are going this far in a project
Cutoff, color, and output when rotating the lens with the front headlight cover off - such an impressive difference
I've been wanting to do this for years, and now it's done with an outcome that I'm overall happy with, provided some of the following doesn't come back to haunt me...
Oops moments
I snapped the plastic bumper clip support because I forgot to take off one damn screw when pulling the headlight out, and glued it back together
The black bezel where the chrome housing snaps in to was very brittle and snapped when I took the housing out. Yep, more glue.
When pressing together one headlight I didn't realize some black sealant got on my gloves and it left a few black marks on the front cover (removed the excess easily with a gentle screwdriver flat tip and paint thinner to clean up, plus I was restoring the outside anyway.)
I wasn't thrilled with one seal, and put a lot of effort into trying to get it right, but it just didn't seem to line up well in the inside corner (area next to the grille). I added some extra silicone to try and keep future moisture out
Because of the not-great seal into the channel, the passenger headlight stuck out a little bit and I think this prevented the lights from seating back to OEM position when attached to the metal bracket. I tried all sorts of loosen/tighten combinations to the bolts and did the best I could. Still the clear lens pointed slightly out/lower maybe a couple mm.
I got the front bumper on, but not without a lot of effort in getting the clips to engage around the front of that passenger light - probably due to the 2 or so mm lack of flushness of the headlight
I'm worried about that seal in the corner by the grille. Might throw more silica packs in the fog light housing or somewhere
Other thoughts... as wowed as I was when setting up the ZKWR lenses for cutoff testing with the original bulbs, I'm pretty meh on the 62240 CBI bulbs with the headlight cover back on so far. Beam height looks close to the same (I took before and after pics against the garage), but the output of the stocks (even as old as they were) with nothing in the way was awesome. Why didn't I test with the CBIs in there? I don't know... it was late. I'm probably going to aim the lights up a little bit because of the sharper cutoff I should be able to bring the height up a little and not bother oncoming traffic. Wusty was absolutely right about swirl marks in the lens with the 3M kit. I used some extra Meguiar's projects to finish up but they are still noticeable to me. Then again, the lights weren't in super shape to start with. I'll post finished pics to this thread soon.
James
Well James, I'm glad to hear that everything is back together and your project is D.O.N.E.! Take a breath and be happy with what you accomplished. You did a lot! Not every retrofit is going to be 100% perfect, but most of the time you'll be the only one to notice those minor things unless you point it out to someone. I'm sure they still look awesome.
I definitely learned a lot during my first project and I still had issues during my second one (regardless of all my research and lessons learned). I can't wait to see some of your pictures
One thing I would recommend is headlight protection. It sounds like you spent a lot of time trying to restore the headlight lenses. Believe me, I know the struggle. If you've done all you can and they are in the best shape they can be in, I would throw a clear vinyl bra on there for protection. I'd hate to see you have to try restoring the lenses again in 9-12 months. These lenses (along with most) will yellow/oxidize more than usual once the front layer of plastic is taken off. Just my
Well, I sold my old headlights to someone locally, who hit a deer and was looking for a replacement set. In less than two weeks, the buyer send me a text. He hit another deer. RIP .

 08-17-2018, 10:23 PM


 � I am pretty picky, and some steps just didn't go as I had anticipated they would. I'd rate my job at about a 8/10. Here's the summary:


 .
.