When you click on links to various merchants on this site and make a purchase, this can result in this site earning a commission. Affiliate programs and affiliations include, but are not limited to, the eBay Partner Network.
DIY: '04 - '06 Cleared Headlights and Angel Eyes Installation
Hi Acurazine,
Introduction
A few weeks ago, I cleared my headlights and installed angel eyes. I also replaced the turn signal bulbs with switchback LEDs and fog light bulbs with LEDs. Below is a write up of my journey. Please note that this is not intended to be a complete DIY. I just wanted to share some additional tips and tricks that I learned along the way.
First of all, if anyone is interested in completing this project, don�t be too scared. This project is more intimidating than anything. It just takes an immense amount of time and patience. This project is definitely not something to be rushed.
Before starting anything, I highly recommend reading through this entire thread. It�s filled with a great amount of useful information and will largely help you gain an understanding of the processes to be completed.
The links provided above are great videos to watch and show very useful step-by-step instructions on how to remove the bumper. I only broke two clips during the removal process.
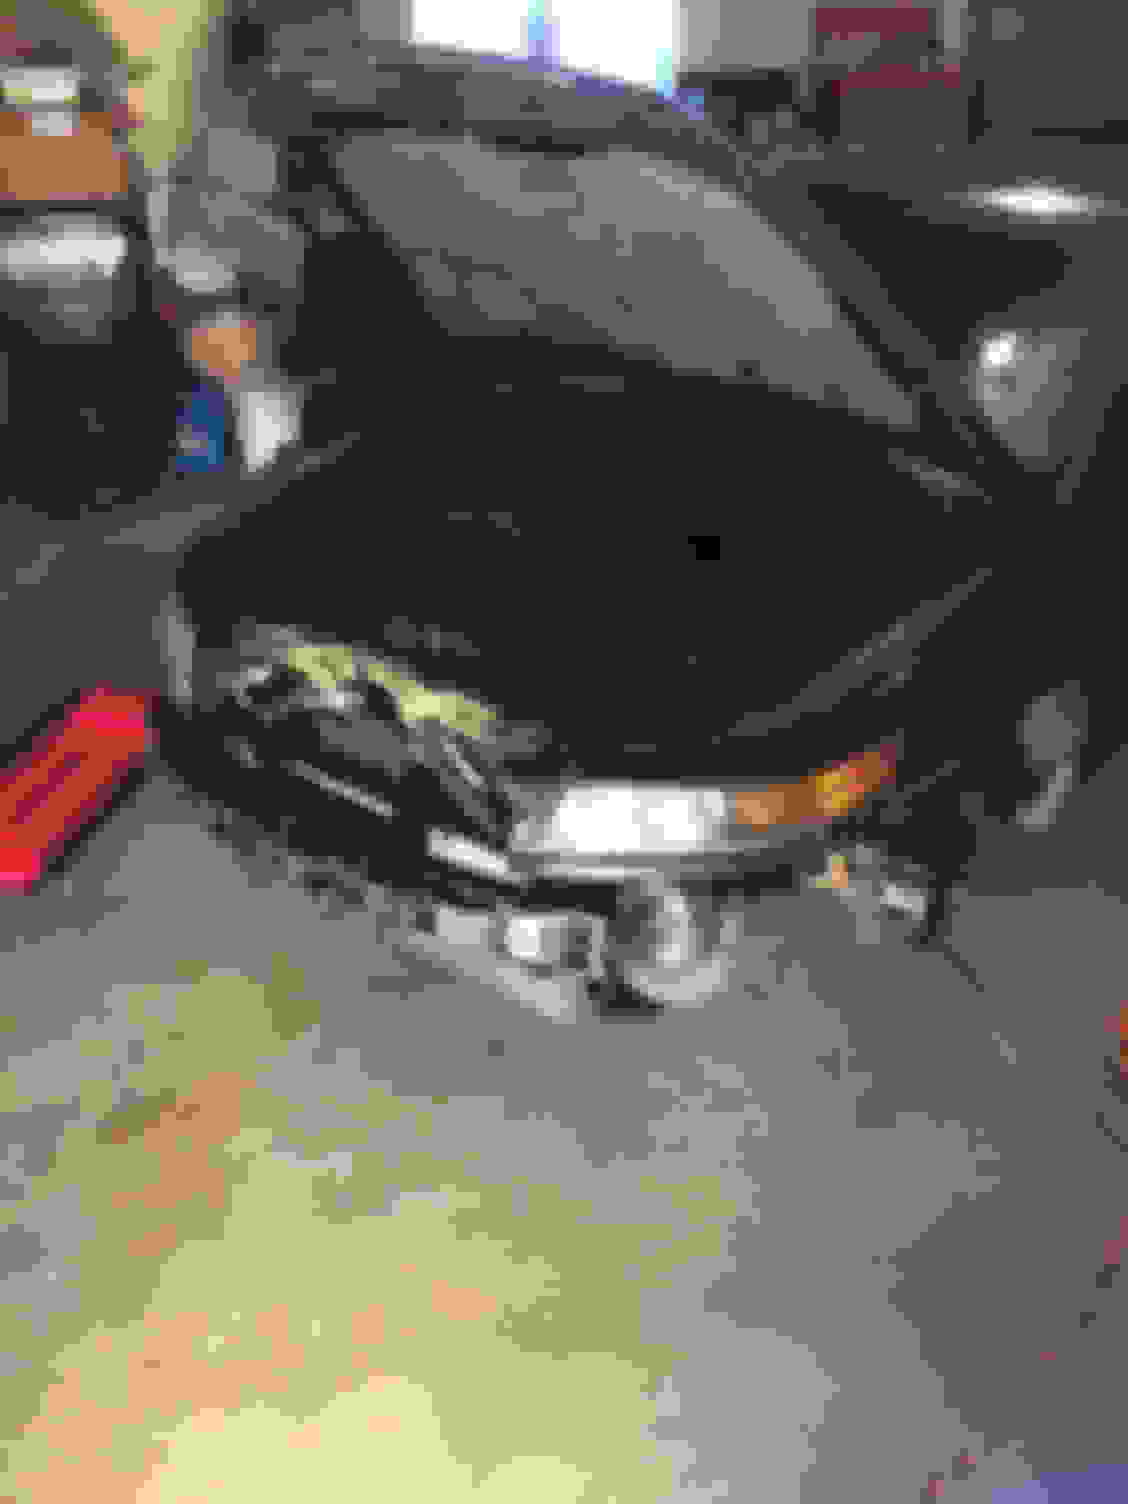
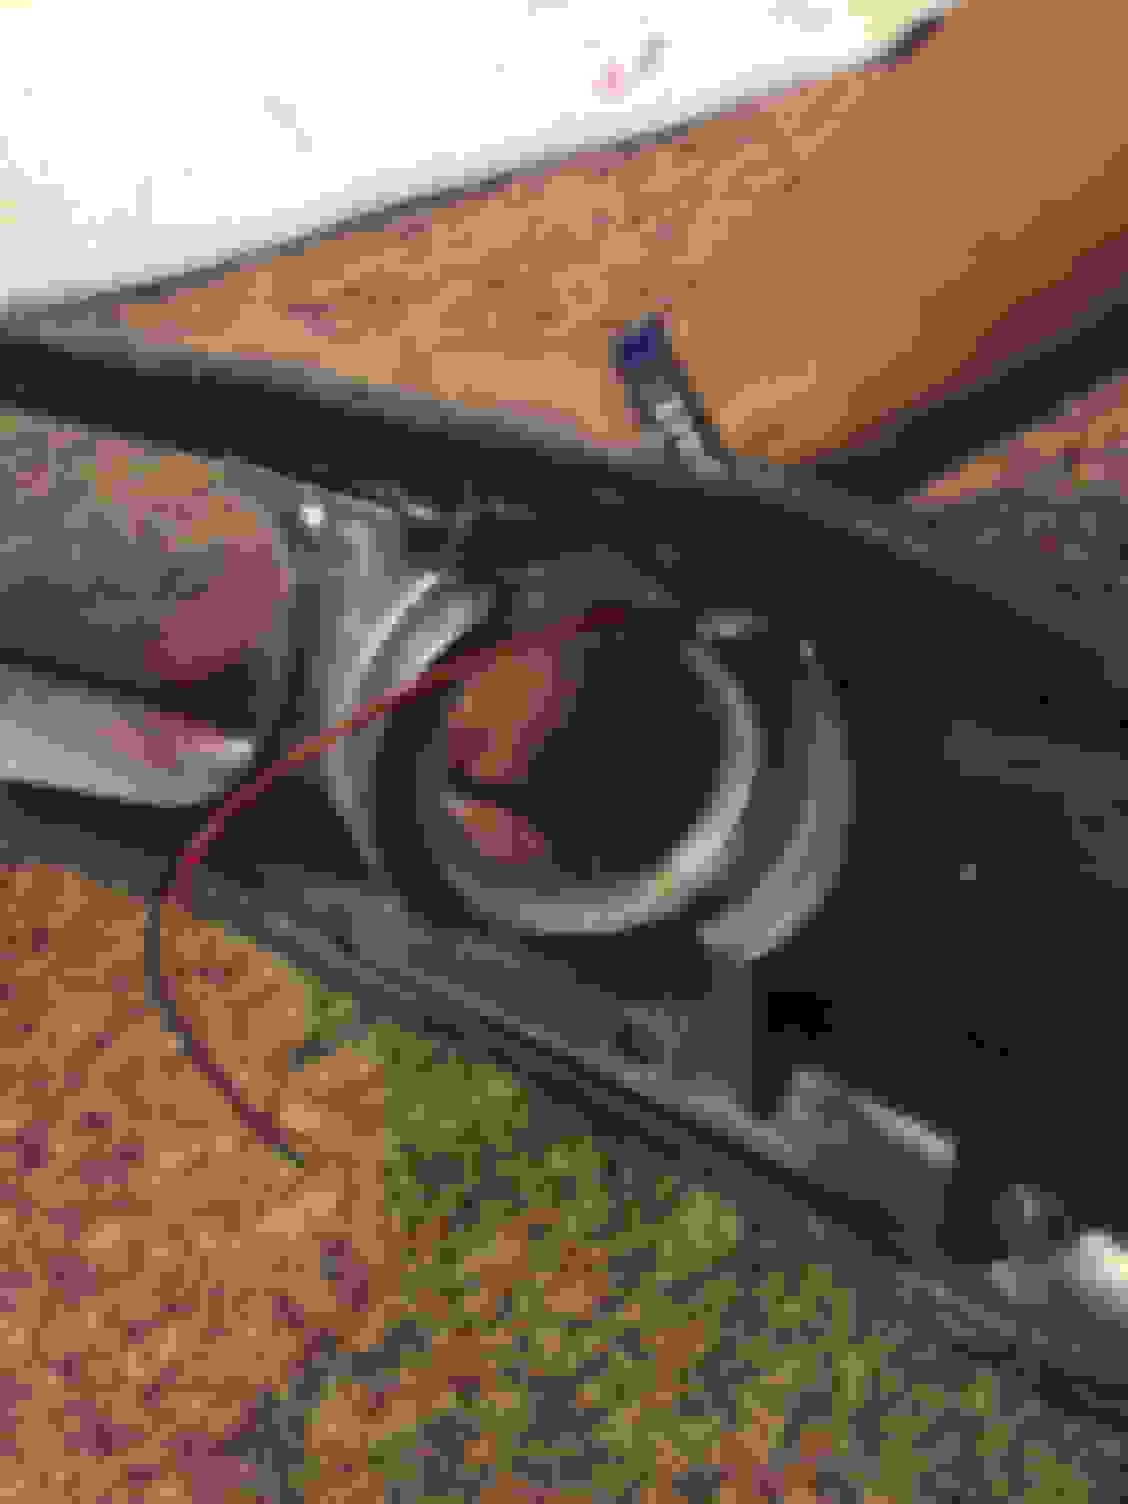
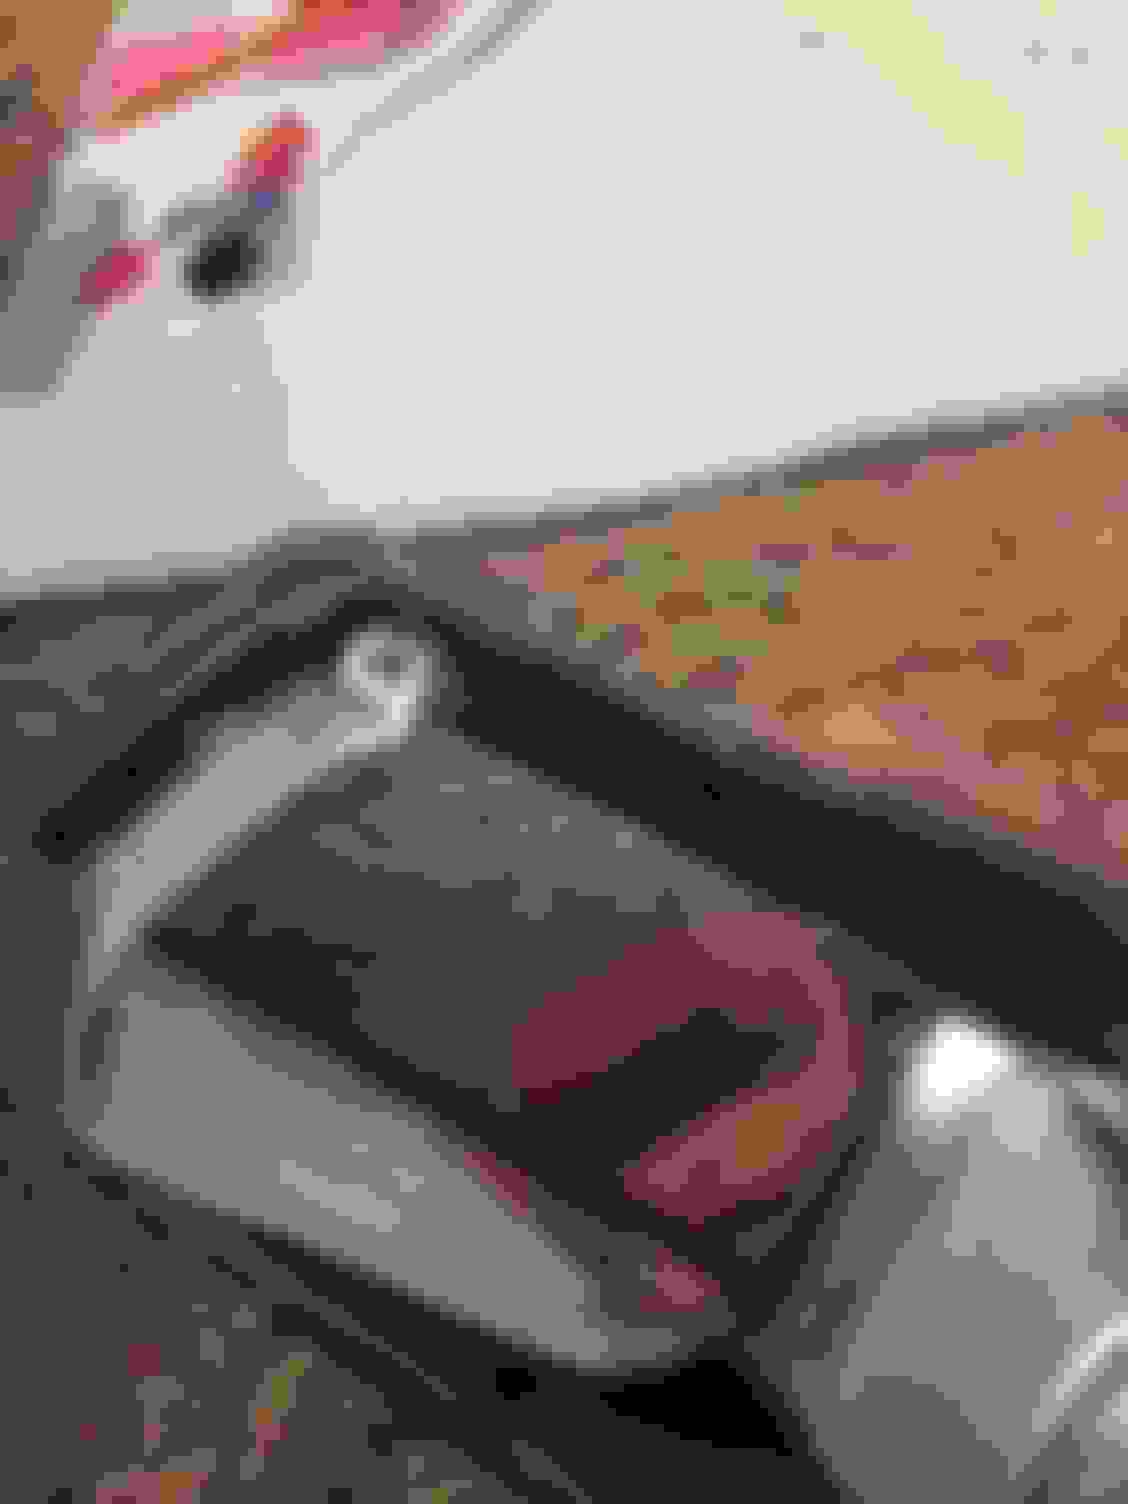
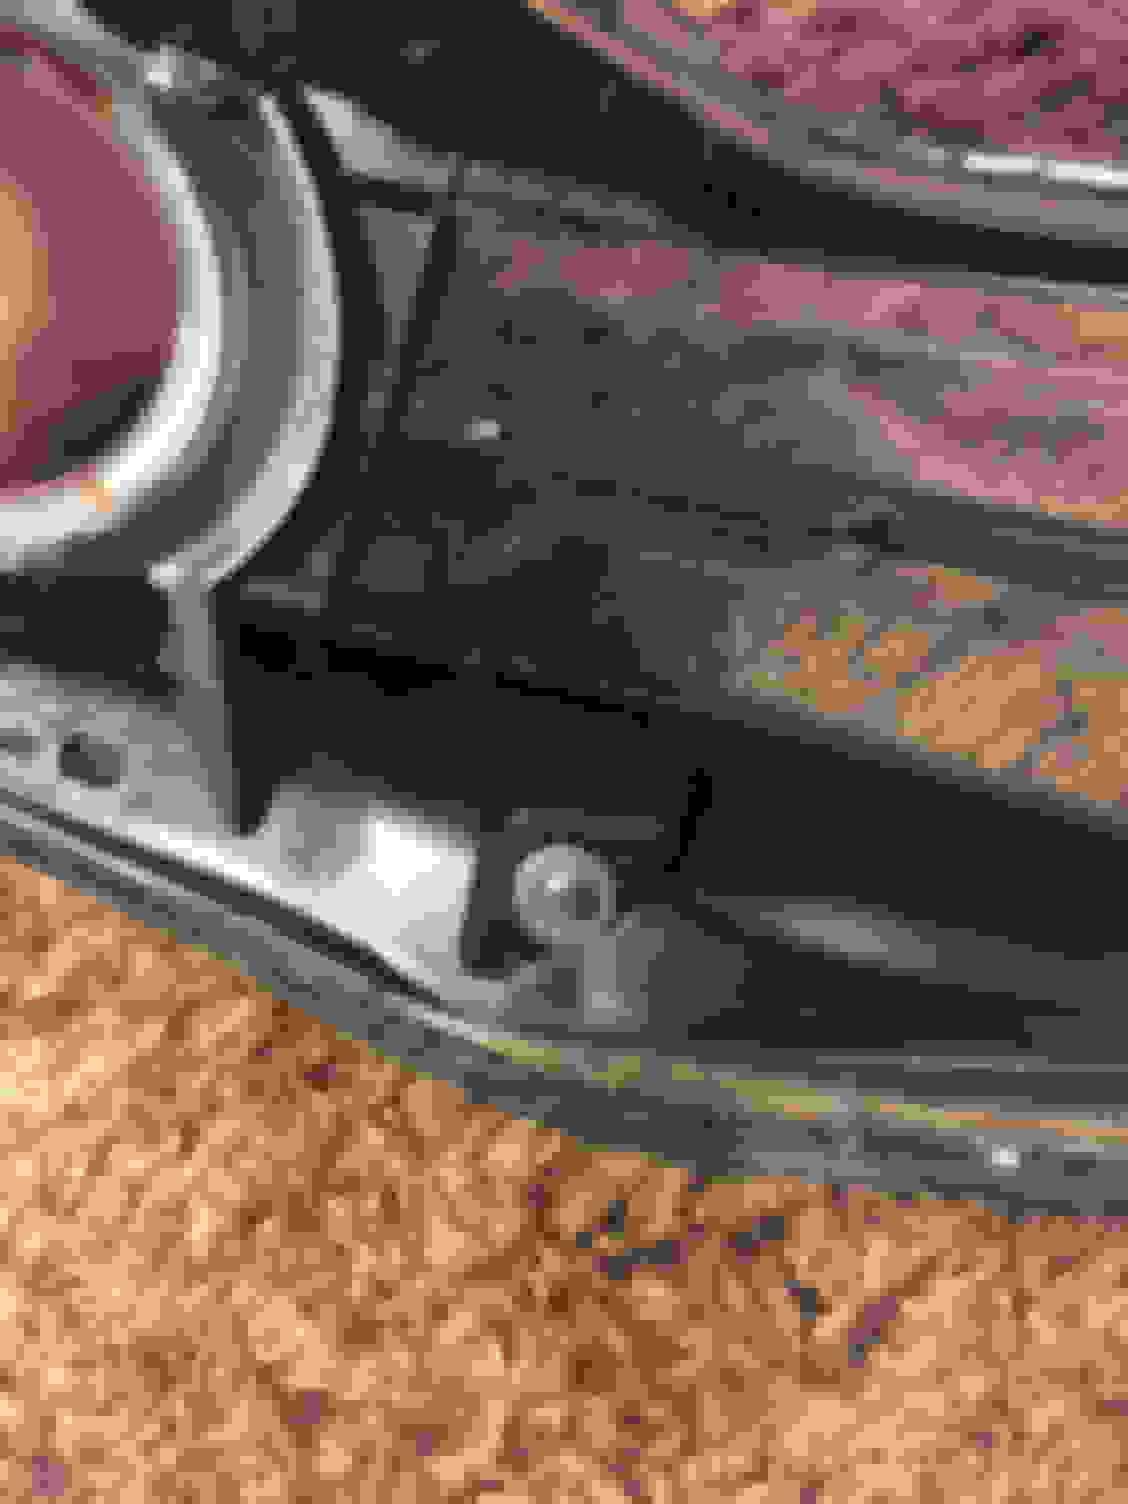
The link provided above is another great video, showing how to remove the headlight assemblies from the vehicle itself. This step proved to be much more difficult than I initially thought. In total, there are 7 10 mm bolts holding each headlight assembly to the vehicle. I had difficulties removing the two bracket bolts underneath the headlights (see picture of the brackets below). In order to access the two bracket bolts on the passenger side, I had to drop by wiper fluid tank in order to reach them. It was a pain in the butt. Additionally, the brackets made it extremely difficult for me to remove the headlights from the car. The brackets are in such a weird location and it was a tad difficult to carefully maneuver the headlight for removal. If you�re having difficulties understanding what I�m referring to, please watch the video that I provided in the link above.
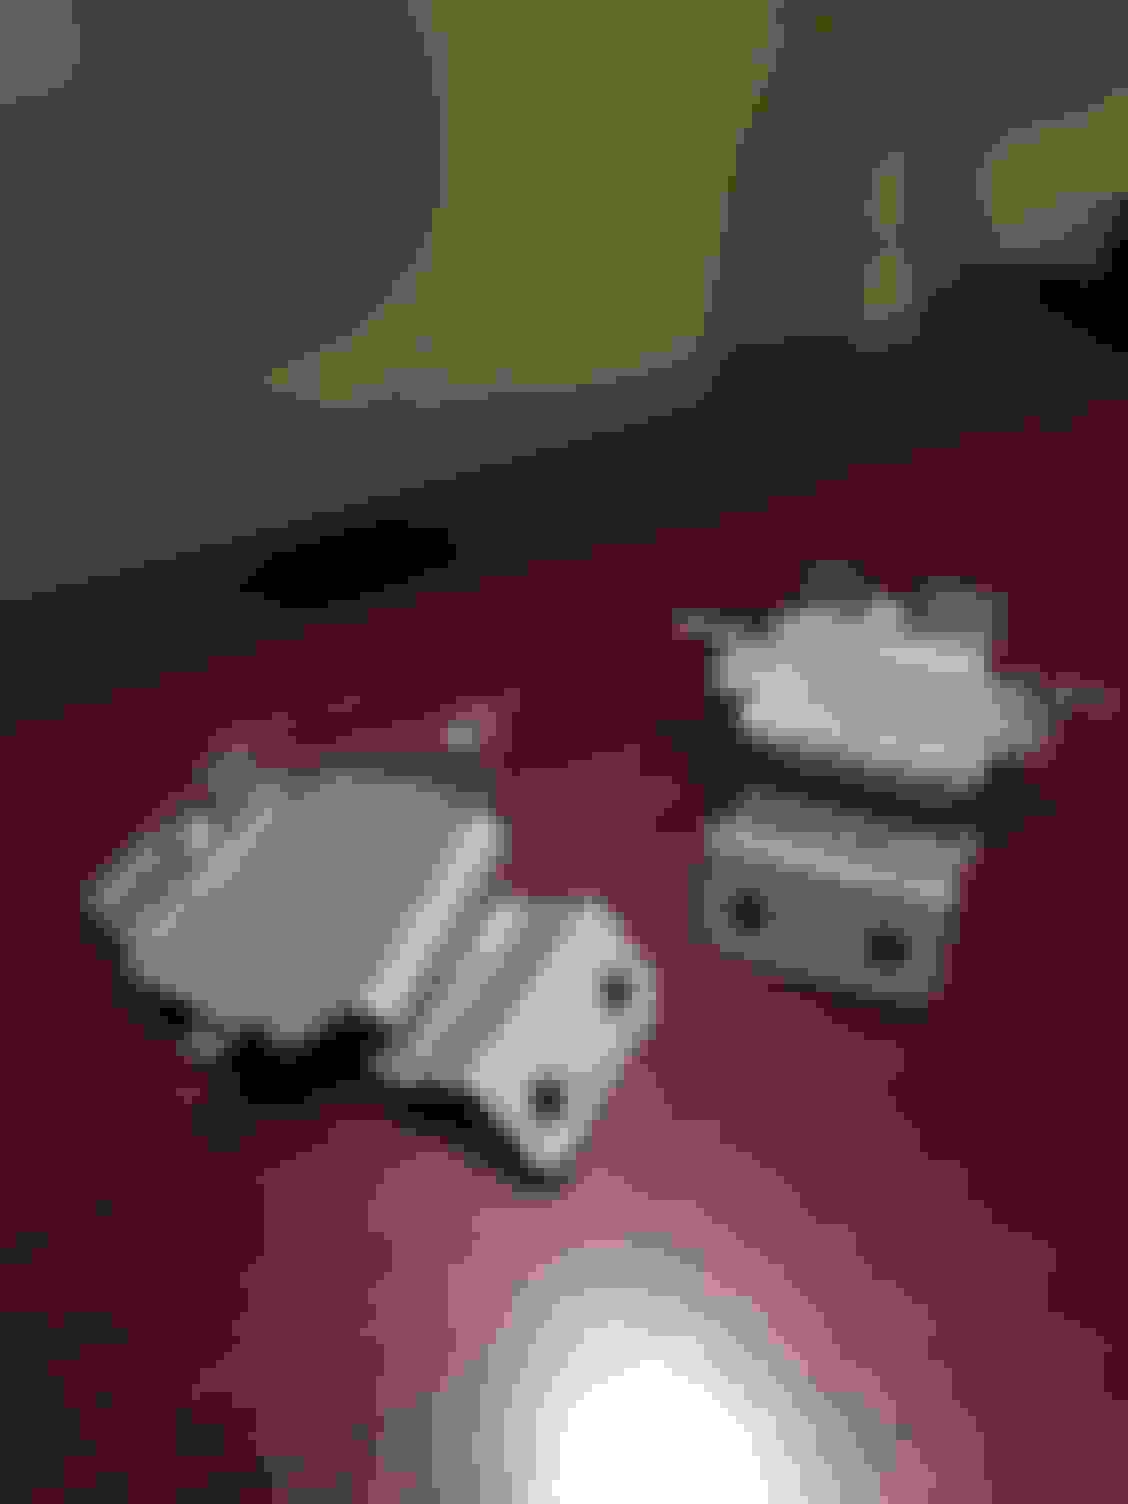
Each bracket is held to the headlight assembly by three small screws (as you can see from the screw holes in the picture below). I removed these brackets and did not re-attach them to the headlight assembly when I re-installed the headlights. The two larger holes are where the 10mm bolts held each headlight assembly to the car.
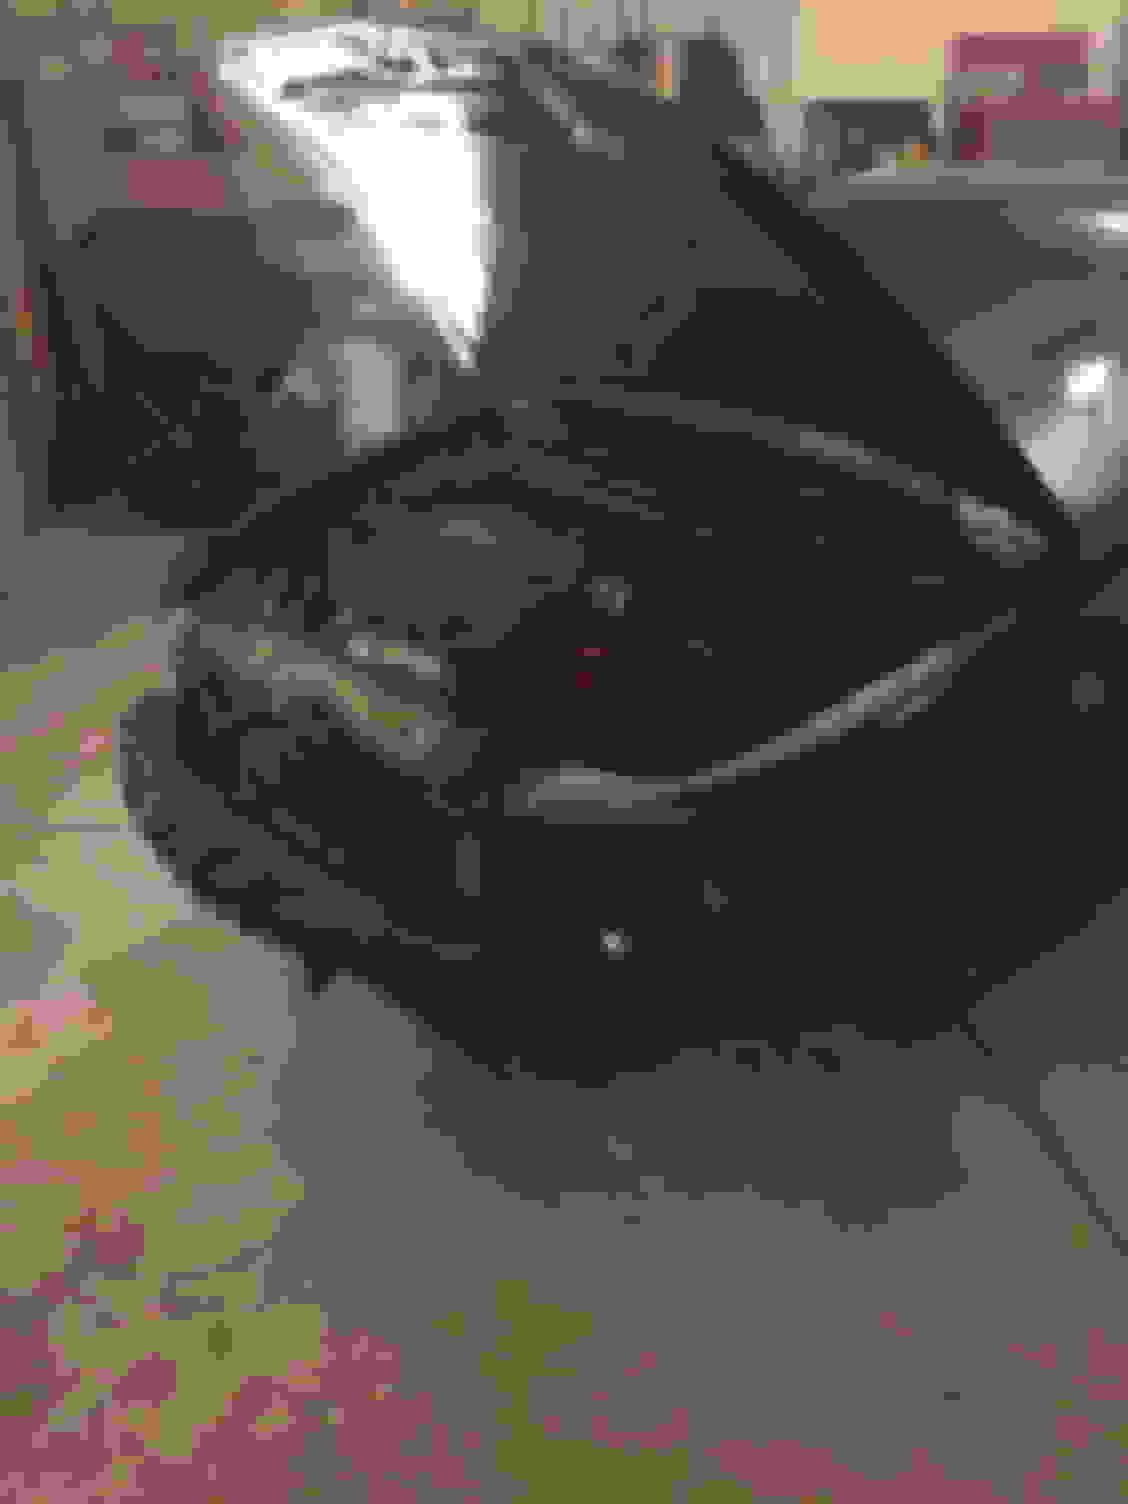
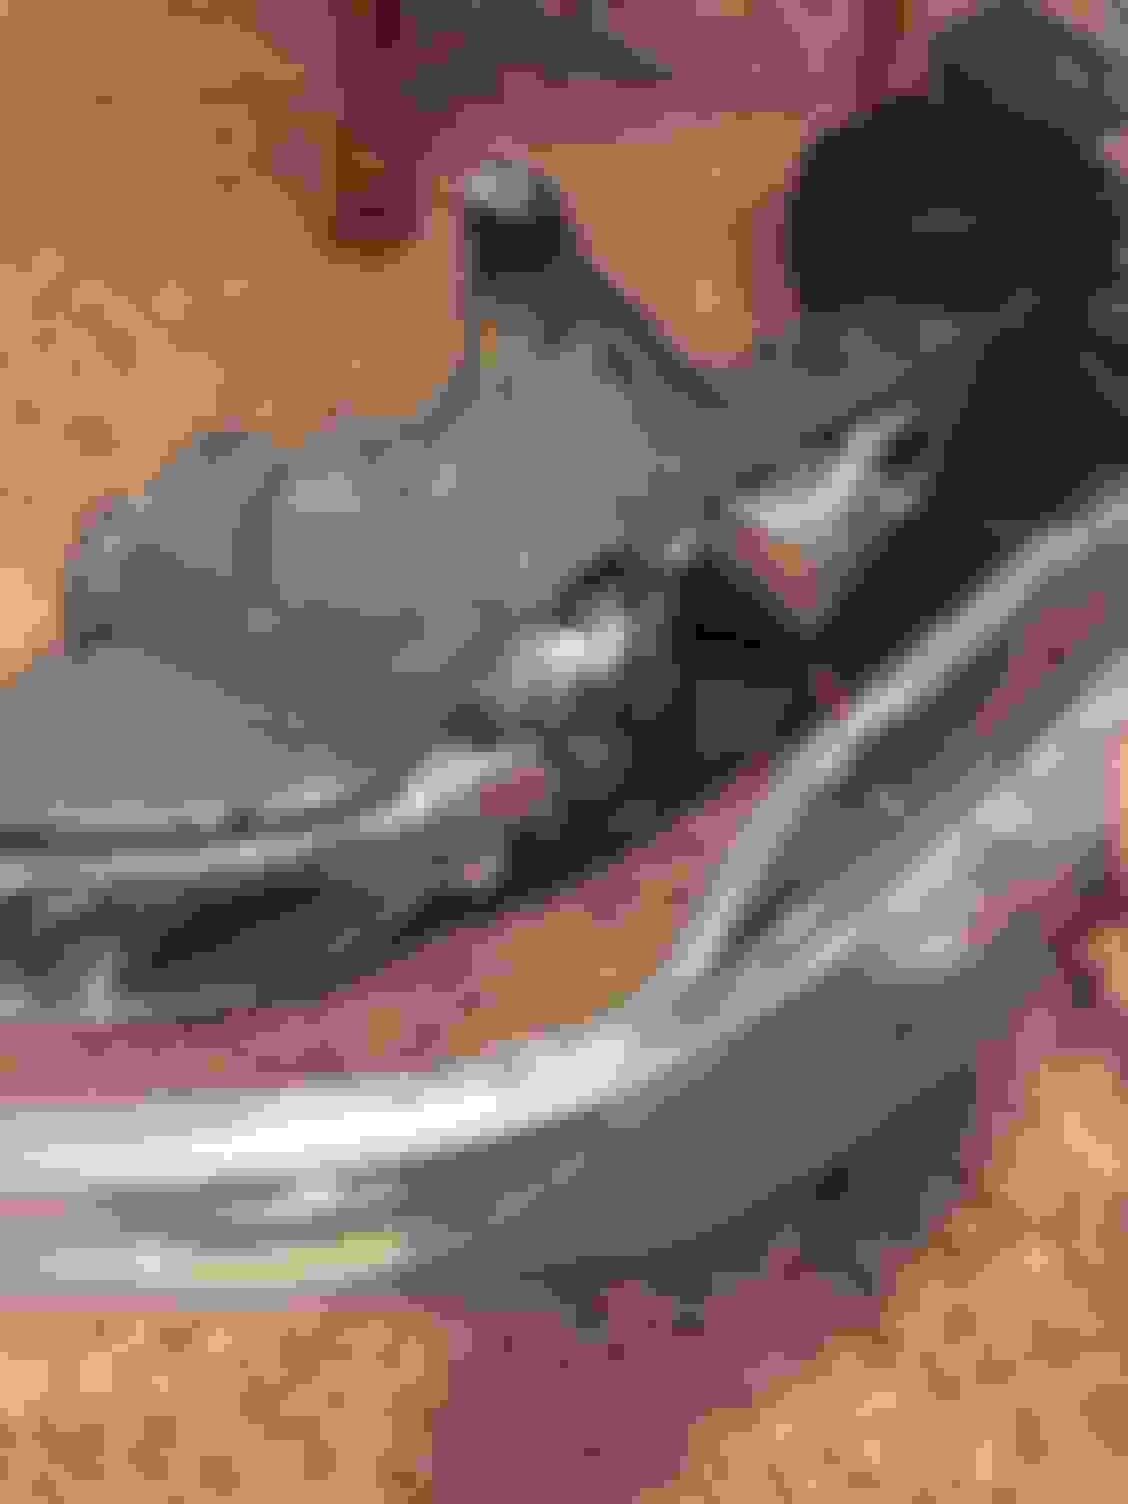
Headlights Successfully Removed
Headlights Successfully Removed
Baking the Headlights
During this step, the common recommendation is to place each headlight in the oven for 20 minutes at 200 degrees �F. During baking, I also used a cookie sheet and set a damp towel underneath my headlights when I placed them in the oven. The use of the cookie sheet and a damp towel is recommended to help eliminate the risk of melting the plastic housing when baking the headlights for opening. With that said, a small amount of moisture will occur from heating the damp towel in the oven during the baking process. When heated, the damp towel remits a little moisture into the cavity of the oven and the extra steam helps soften the butyl holding the headlight assembly together. It's not required to use a damp towel. However, I baked one headlight with a towel and one without a towel. The headlight without the towel seemed to be more difficult to open. This is just my observation.
Additionally, I left all bulbs attached to keep the headlight sealed as much as possible when baking. I didn't want a ton of moisture to make its way inside the headlight. You SHOULD be fine if you leave all bulbs attached. However, excessive heat is never ideal for electronics. I've read that when headlights run for long periods of time, parts of your headlamp can exceed 180�F steady-state, so I didn't think that 200�F would cause that much damage. However, to reiterate what others have stated, removing all bulbs would be the "safest" approach for sure.
If you don't have a tamper-proof torx bit and don't want to risk breaking your HID components during disassembly, then leaving the HID components attached won't do much damage in my opinion. I haven't noticed any issues thus far (Please feel free to chime in if anyone has experienced issues with this. I haven't read any thus far). Additionally, like many, I replaced my fog light bulbs with new LEDs, and parking/turn signal bulbs with new switchback LEDs, so I guess this wasn't a huge concern for me during the baking process to remove them. However, every OEM bulb worked perfectly fine when I wired everything back up for testing, even after baking and re-baking.
Me just patiently waiting� and waiting� and waiting
Opening Headlights
To open the headlights after baking, start separating the headlight at the edge closest to the fog light housing (closest to the Acura emblem in the center of your grill). The easiest approach I found was to have someone assist with this step. My fianc�e inserted a small flat head screwdriver into the opening as I peeled as best I could. It wasn�t easy, but it wasn�t too terrible. Just make sure that you don�t wait too long to start peeling after removing each headlight from the oven. You don�t want to give the butyl too much time to start hardening again. If you find yourself struggling, you can always re-heat the headlight for just a few minutes to soften the butyl again.
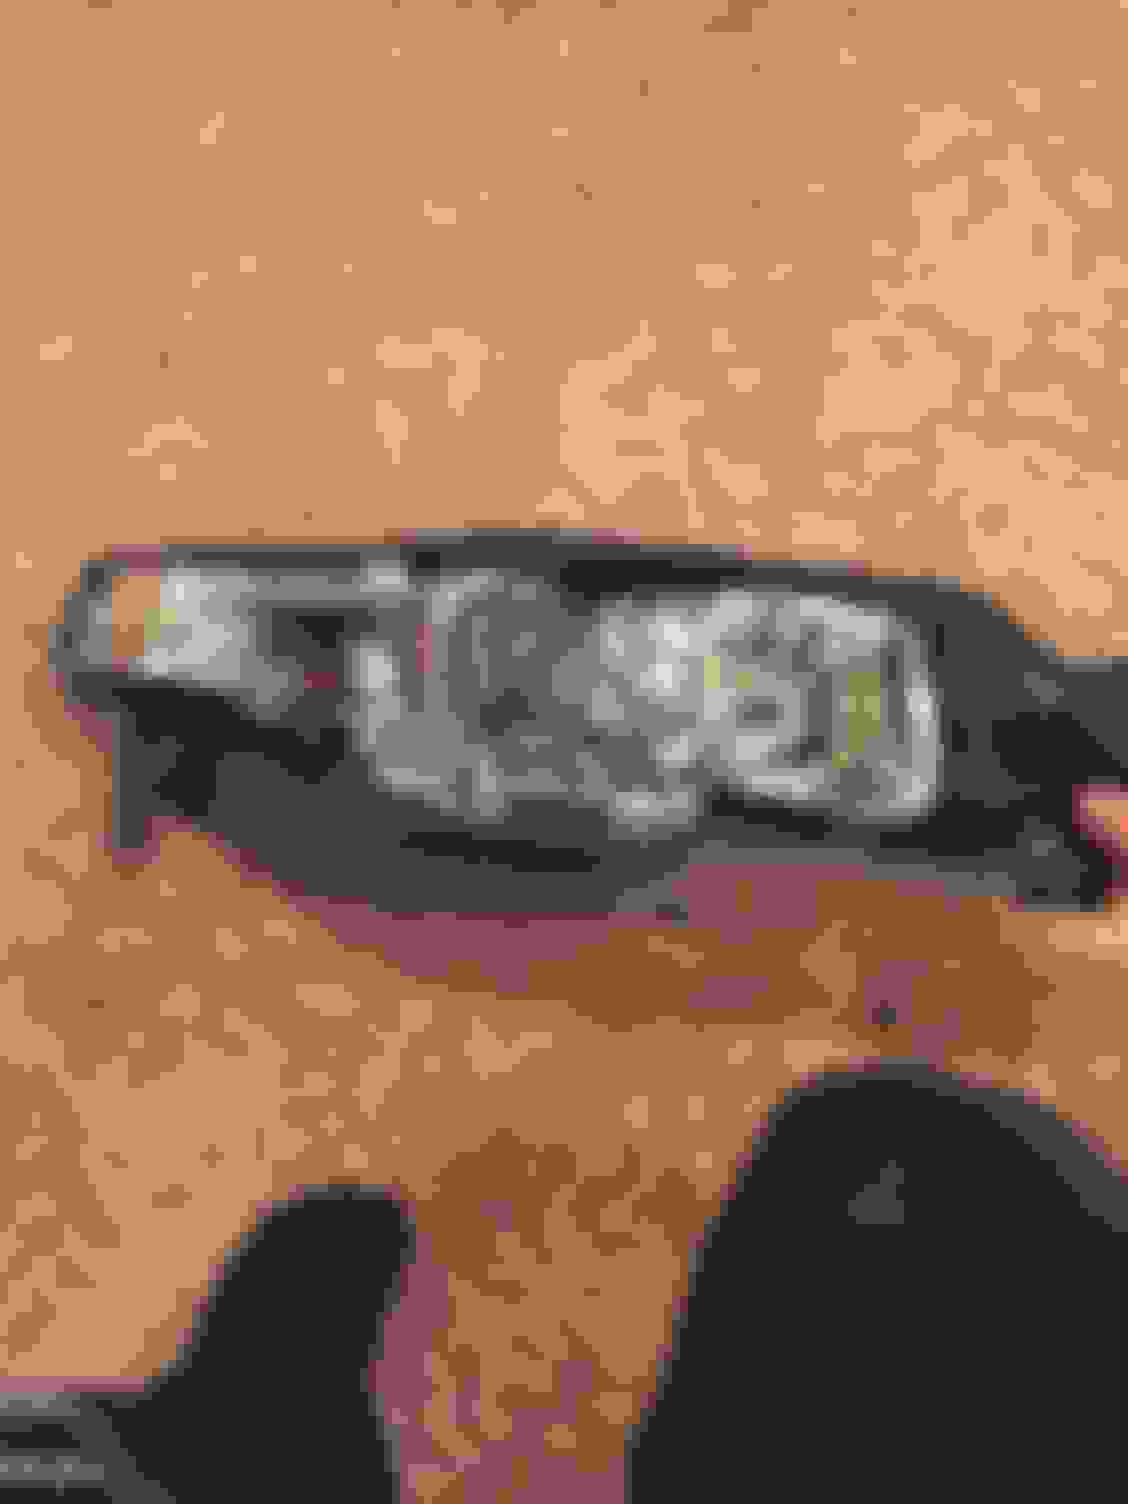
Headlight Successfully Separated
Headlight Successfully Separated
Removing Old Butyl
I also recommend removing as much of the old butyl as possible and replacing it with new butyl. I used 3M�s product and it was very easy to use. Here is a purchase link for reference:
3M 08620 Window-Weld 1/4" x 15' Round Ribbon Sealer Roll
When applying the new butyl, I found that it was rather thick for application. If you stretch the ribbon a little, it thins out quite a bit. Once thinned, you should be able to successfully tuck the new butyl line in the grooves of the headlight housing. Once your headlight is open, you�ll be able to see what I�m talking about. I apologize that I didn�t get any pictures of this. PS � I have the best fianc�e ever. She was even the one who offered to help me remove all of the old butyl.
Removing Amber Diffuser
To remove the amber diffuser plastic pieces, you will need to remove one screw on each headlight and break all of the clips holding it in place. I don�t really have a great recommendation as to how to remove these buggers, except to be very careful! I began peeling very carefully and it kind of just �snapped� off.
Installing Angel Eyes
Here is a link for the angel eyes that I purchased:
The color temperature shines at 6,000K and the LED rings� diameter is 70mm, which fits directly inside the projector lens housing. I inserted the rings in the housing and placed epoxy all along the edge of the ring. I held it with my fingers until it tried.
Angel Eye Installed and Glued
Once the epoxy dried, I had to drill a hole in the headlight housing to feed the wire for my wiring harness. As you can see in the below pictures. I drilled a small hole on the top of the plastic headlight assembly.
Before pushing the lens and housing together, I almost forgot to make sure that I screwed the middle section back to the clear lens. There is one screw near the fog light housing.
Just outside of the projector housing, there is also another screw hole, where the amber diffuser was held in place. Putting this screw back didn�t do anything anymore as the amber reflectors were removed. Therefore, I inserted a washer and now the screw acts as anchor support, holding the middle section of the headlight to the lens. It�s not much, but it�s added security. Again, this makes more sense once your headlights are disassembled and you can see what I am referring to.
I fed the small wire through the hole FIRST and THEN pressed the lens and housing back together. You don�t want the wire falling back down into the headlight. Once the wire was fed through, I placed a small amount of rubber butyl around the wire to keep out any potential moisture. Now the headlight was ready to be re-baked.
I installed the headlights with limited difficulties and was able to re-install the bumper rather quickly. I think I was able to do this during halftime of the Michigan/Florida State game.
I installed the wiring harness in my engine bay and installed a decent amount of wire looming as well for protective reasons. I also purchased a wiring harness that had a switch. I know many people like to wire angel eyes directly to the windshield wiper or another alternative that turns on in the ACC position. However, I preferred to install a wiring harness with a switch that I could control. You can see the button as installed in my interior below:
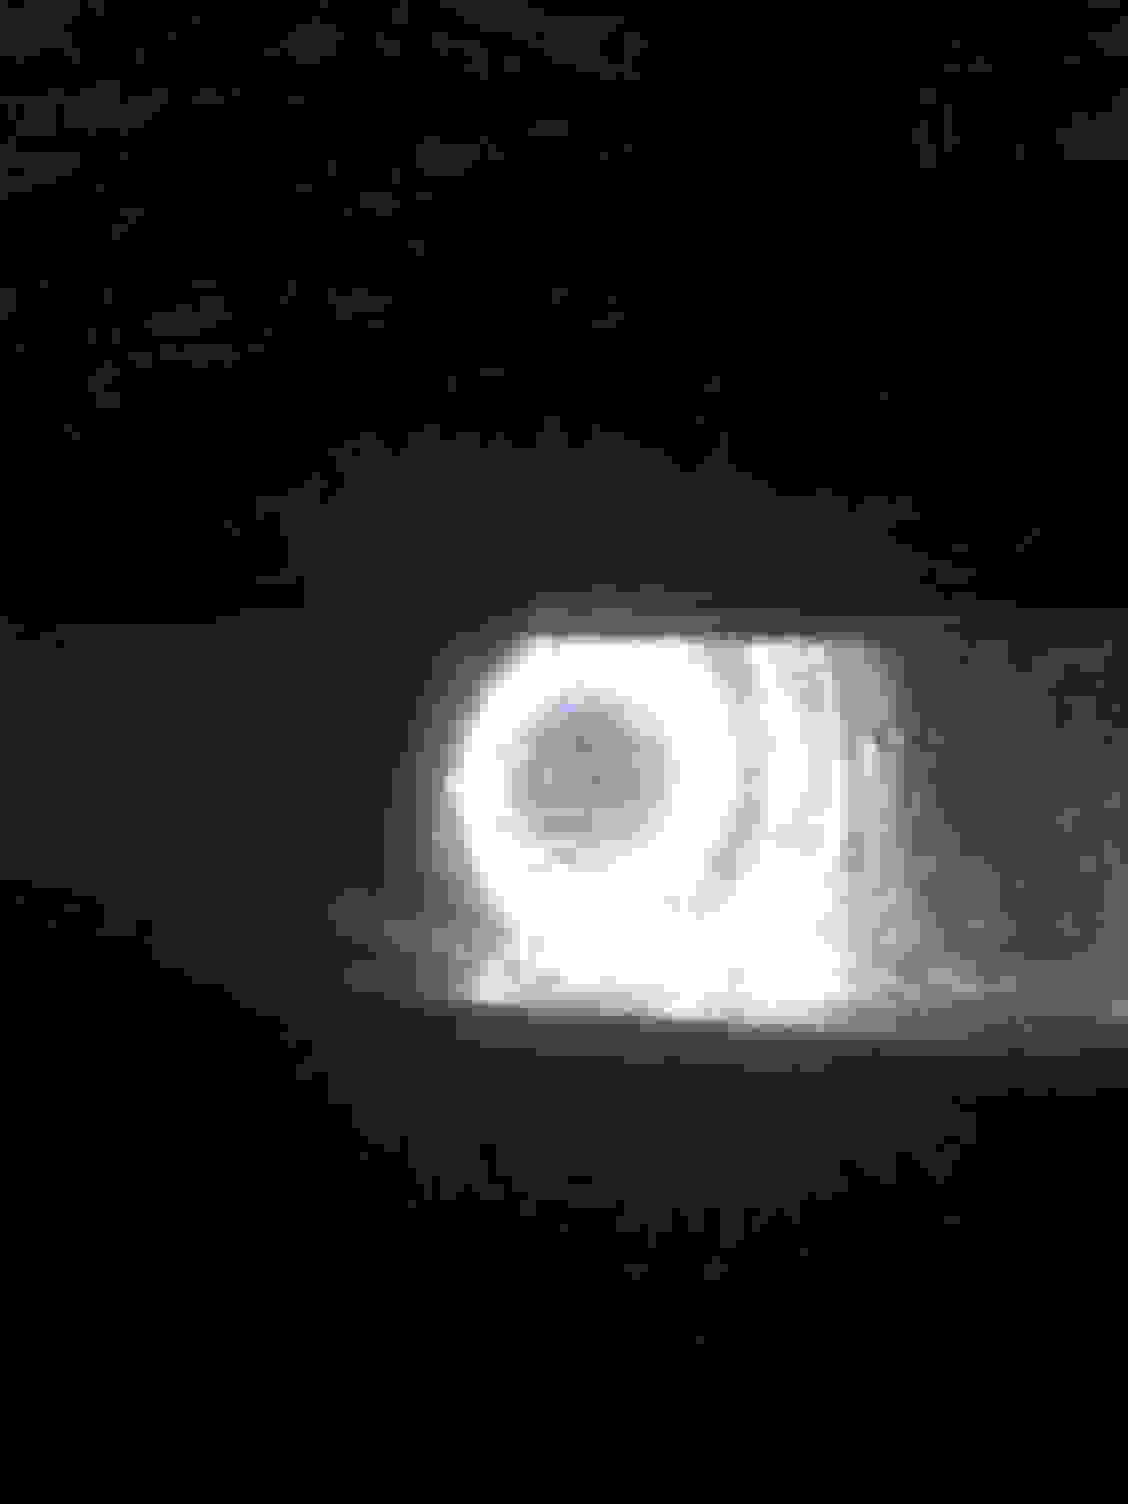
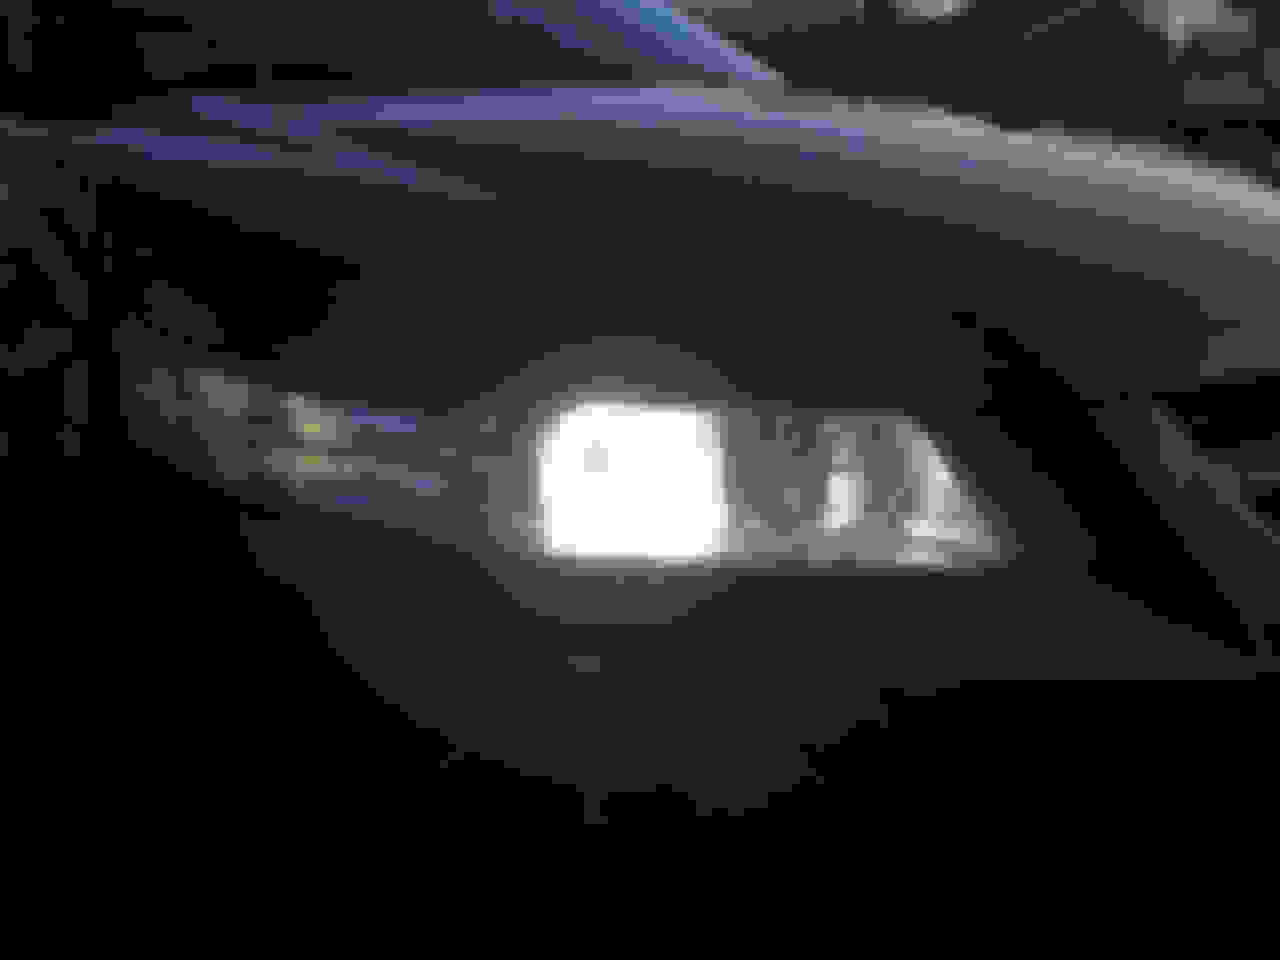
Final Result
Here are a few pictures of how my car looks now. My iPhone doesn�t like to take pictures of headlights very well, so I apologize. I�ll try to get better quality pictures in the near future.
Awesome job Wusty.. Definitely doing this in the future when I have some time. I've blackhoused a pair of headlights before and I used some black silicon paste stuff. The butyl seems to be a better application AND less messy. Has there been issues with fogging of the headlights or moisture getting inside?
Thanks for the kind words. The butyl has held up perfectly thus far. I haven't noticed one drop of moisture in my headlights yet, so I have no complaints.
If I can get my hands on a better camera, I would love to provide everyone with some night shots, showing how the angel eyes really look.
This is perfect timing with this thread for me since I'm planning on clearing my headlights and doing the zkw-r swap in the next couple of weeks. It's so nice to have pictures that show up and especially detailed ones lol. Great job!
Why are you asking for pics of this man's Fiance???
Phenomenal work BTW. I was hesitant at trying to do this on my own at first. But after watching the videos and looking at your write up this looks relatively easy
I'm a little concerned as to why you want to see pictures of my finacee as well lol?
I was like did he really just ask that??? LOL I had to re-read back through to see if he was abbreviating something. I will say this you have an awesome fiance that volunteered to help do that. She's a keeper
Great work on the lights. How long did it take you to do the whole process and do you think that a heat gun would be viable for dealing with the butyl?
In case anyone was wondering, here's my baby.... oh and Stacey
Thanks for the kind words. I started this project on a Thursday around 1:00 pm, worked until midnight, most of Friday, and then wired the switch on Saturday morning. In total, I bet I spent 20+ hours on this project. However, I've never taken off my bumper before and I had a few hickups along the way. I typically take longer than the average DIYer though. I tested the angel eyes way too many times. I got paranoid and wanted to make sure everything was still working properly as I worked through this project. Essentially, that's why I tried to take as many pictures as possible and created this post. I wanted to give a few tips and tricks, so that others can save time. I would guess that the average novice could complete this project on a Saturday if they started early enough. If you paint any of the internal housing components though, it obviously will delay the process.
Well, it has been just over three months since I completed the modification. The seal is still holding strong and there are no signs of moisture within the headlight housing. I'm still very pleased with the results. I only wish I would have painted a portion of the inner housing black or done a carbon fiber wrap. Maybe I need to find another set to toy around with? Anyways, here are a few additional pictures.
Soooooo, as I said before, I kind of wish I painted a portion of my internal housings black. Instead of re-doing my current set of headlights, I just recently purchased a set of 07-08-style headlights, which are being delivered today.
I plan to clear/black them out, add a splash of carbon fiber wrap, and install angel eyes on both the fog and HID areas. I will probably create a new thread once the modification has been completed. Again, it will likely not be a full DIY thread, but it's always fun to document projects.
Thanks for the detailed process and the video links. I'm going to give this a go in the next few weeks. I have an '06 so everything looks similar. I plan on keeping the amber diffuser for a little color, but perhaps tinting it or painting the reflective housing of the turn signal black to darken the diffuser appearance a little. I'm also swapping the OEM projector lens with a ZKWR lens, and painting the chrome bar and housing black. I need to restore the finish of the lights are they are moderately clouded up. I'm guessing I should do that before the oven treatment and not after. Does the OP or anyone have thoughts on restoring the lens clarity before or after baking?
I would restore after personally. But it’s really up to you, it won’t hurt either way
instead of tinting the amber diffuser have you thought bout just blacking out the housing behind it? I really like the way that looks. It’s not as “bright” an orange on the diffuser but still enough to be a color contrast
Yes - blacking out the area behind the diffuser is what I'm leaning towards now. I know many people choose to break tabs / clips to take the diffuser out or swap with a Type S, but those are hard to find at a reasonable price. Any tips on how to *not* break things? lol.
I agree. I would wait until after the headlight is put back together before attempting to restore the outside of the headlight lens. Obviously, you'll want to take a quick peek at the inside of the lens as well, just to make sure nothing needs correcting there. In 99% of cases, the inside of the lens will be fine as long as the headlight was sealed properly originally. Before you re-seal the headlights, just give the inside a quick inspection and wipe off any extra dust or finger prints that might have made their way in during the headlight clearing process.
Regarding the outside of the lens, I can promise you that the 3M Headlight Restoration Kit and the Meguiar's Heavy Duty Headlight Restoration Kit WILL LEAVE tiny swirl-like micro scratches on the headlight lens if you follow each step exactly. The first two steps of wet sanding are great, but the Trizac pad (3M) and the PlastX polish (Meguiar's) leave swirls in the finish of your headlight lens. I've found that the Honda plastic is soft. You might not see the scratches at first, but as soon as sunlight catches it just right, you'll be able to see them. I will be going into detail about this during my headlight write-up, but I just wanted you to be aware. After trying both products on a few different sets, I found the better results using the Meguiar's kit and finishing it with Megs 105 after I saw all of the tiny scratches. The Megs 105 removed 95% of the scratches and the finish is amazing!
A few months ago, I actually finished modifying a second set of 07-08 headlights as well. I learned so much my second time through and have been way too busy to make a decent write up. I need to do that this weekend. Here are a few pictures:
Let me know if you need any help during your project!
Yes - blacking out the area behind the diffuser is what I'm leaning towards now. I know many people choose to break tabs / clips to take the diffuser out or swap with a Type S, but those are hard to find at a reasonable price. Any tips on how to *not* break things? lol.
I�ve never had any issues breaking the diffuser. You have to break a coupe of retaining tabs for the chrome strip to come off, which also holds the diffuser in place. There are 4/5 prongs from the chrome strip that go through the mounting area for it, through the diffuser, and out the other side. Then the prongs just kind of bend down to hold it all in place. The prongs are plastic that looks like they bend/melt to keep everything in its spot. You really have no other choice than to use a pair of pliers and break those tabs/prongs. Just break as litttle as you can to gat the strip out, as you will want to put it back in and use some sort of glue to put a little dot on each tab to get it to hold again.
Once the chrome strip has all the prongs snapped you can push them through and remove from the outside toward the inside, sliding the strip towards the outside once the prongs are free of the holes. Then the blinker diffuser itself is easy to get out. It kind of slides in snug, I wouldn�t call it a clip but a careful tug will pull it free of the bezel . Again start from the outside, lift the diffuser out of the bezel on that side, then slide the whole thing toward the outside.
Weird to describe. I don�t know if I have any pictures. If I do I�ll post them up later
When painting the chrome areas of the housing, what finish did you go with? Looks like the most common choice is a flat black or a satin black, but from what I can tell most OEM black housings look flat black.
I used VHT gloss black. You can't go wrong with whatever finish you choose. As long as you prep well and follow the painting steps properly, you shouldn't have any issues
Thanks Oss & Wusty. And a big thanks for that disassembly video. I'm a bit of a pre-planner for stuff like this, rather than just figure it out as I go along. I'm likely headed towards that satin or pearl finish. The next task for me to understand is now people test out their ZKWR install. I have a neighbor's garage directly across from mine about 30' + away to point the light. Does the projector have to be completely removed each time to try and add a spacer/rotate the lens/push back a cutoff shield, or can it stay in the housing?
You're very welcome. I'm an accountant and can also appreciate the importance of planning ahead. Last night, I actually spent a few hours writing a "revised" DIY headlight modification thread since I just recently finished modifying a set of 2007-08 headlights. I'll do my best to finish it as soon as possible and you can reference that thread once it's available as well. Disclaimer: It is a long one! I'll be sure to share the link with you when it's complete.
With regards to tweaking the ZKWR lenses, I cannot provide any useful insight since I have not swapped out the lenses. I would imagine that you probably have to dissemble a decent amount of equipment to adjust them though. Maybe someone else can shed some light on this?
This thread relates to 2004-06 headlights and the other thread is applicable for 2007-08 headlights. That would be the only reason. If you think it would be a better flow, then please feel free to do so. I'm game for whatever
Otherwise, maybe the titles could be changed to include the appropriate years?
Bumper is off. As are the drivers side headlight bolts. I agree with your sentiment that the headlight seema much harder to remove because of the lower supporting brackets being a weird shape. I'm stuck right now, as I can't seem to maneuver the headlight out without possibly damaging it. Haven't attempted the passenger side yet. Tips?
OK... so I got the driver's side headlight out, but not without some unintended damage. My TL is an '06 so I don't think this is unique, but the black plastic bracket that acts as a clip/spacer to the bumper and also screws into the metal headlight support bracket must be removed by two screws. I removed one screw at the mid-section of the headlight to try and get some more wiggle room for headlight removal (although the bracket was never seen or mentioned in the headlight removal video) but in getting the headlight free, the plastic bracket snapped :/ It's my fault for working late in garage lighting and not seeing the connections more clearly. I'll order a new one but just a FYI for those who are embarking on the headlight adventure, take both screws out of the bumper spacer near the turn signal before trying to remove the headlight. As a FYI, this is the part that broke 71198-SEP-A00
Last edited by tomlinsonj; 08-17-2018 at 09:52 PM.
I actually broke that spacer when I first completed my modification too. If it cracked in half, you can just use duct tape to hold it back together. I�m not joking lol. Just pull it really tight and wrap it around 3 or 4 times. As long as the screws are back in, that piece won�t go anywhere and your bumper will clip back in place.
Thanks wusty. Yeah, it snapped near the screw closest to the wheel well. Just feel stupid for not seeing it before. I think I will glue it in place or maybe tape as you suggest, but as for the rest of the project, I'm too far gone to back down now, lol. I'll get the passenger side out tomorrow and bake them open.

 01-16-2017, 07:38 PM