
D-097: DIY:Painting the factory Brembos red with the White Acura logo....
 05-26-2008, 02:02 PM
#1
200,000 mile club
Thread Starter
Join Date: Jul 2007
Location: Charlotte, NC
Age: 48
Posts: 1,774
Likes: 0
Received 35 Likes
on
15 Posts
D-097: DIY:Painting the factory Brembos red with the White Acura logo....
OK, Thanks to all who gave me the postitive feedback on painting the factory calipers. I have been wanting to do this since I got my car last year. The Brembos are huge in size so might as well show them loud and proud. No better way then to paint them red. Here is what I did to get the finished look. Any questions, feel free to ask as I am sure I will step over some things.
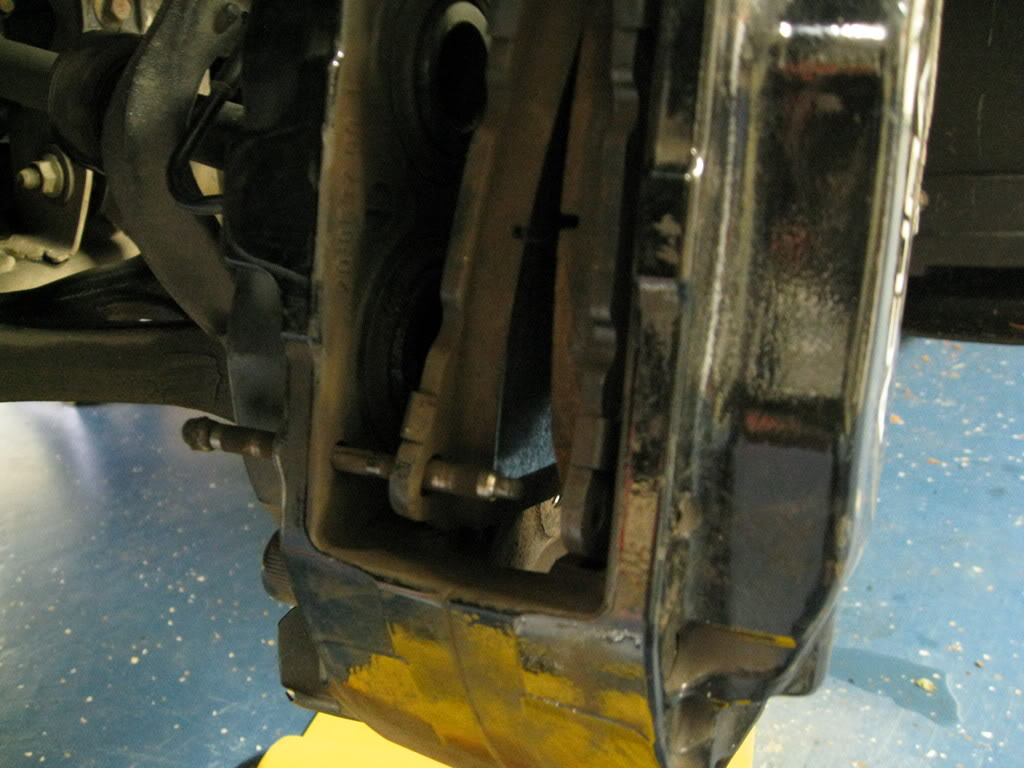
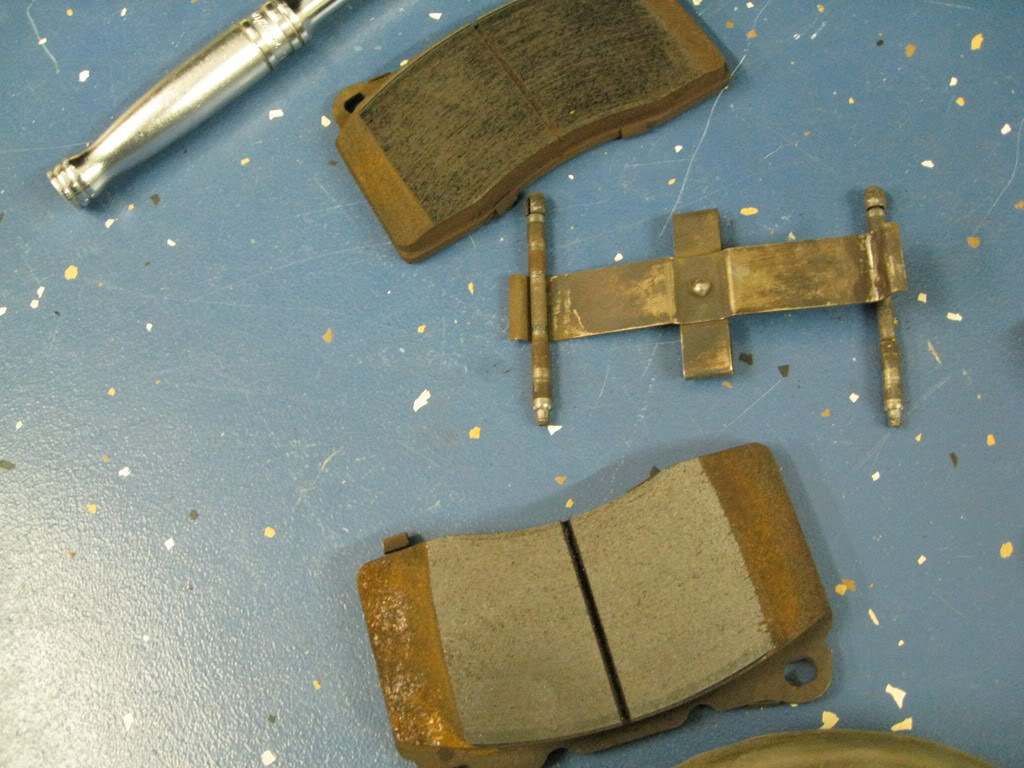
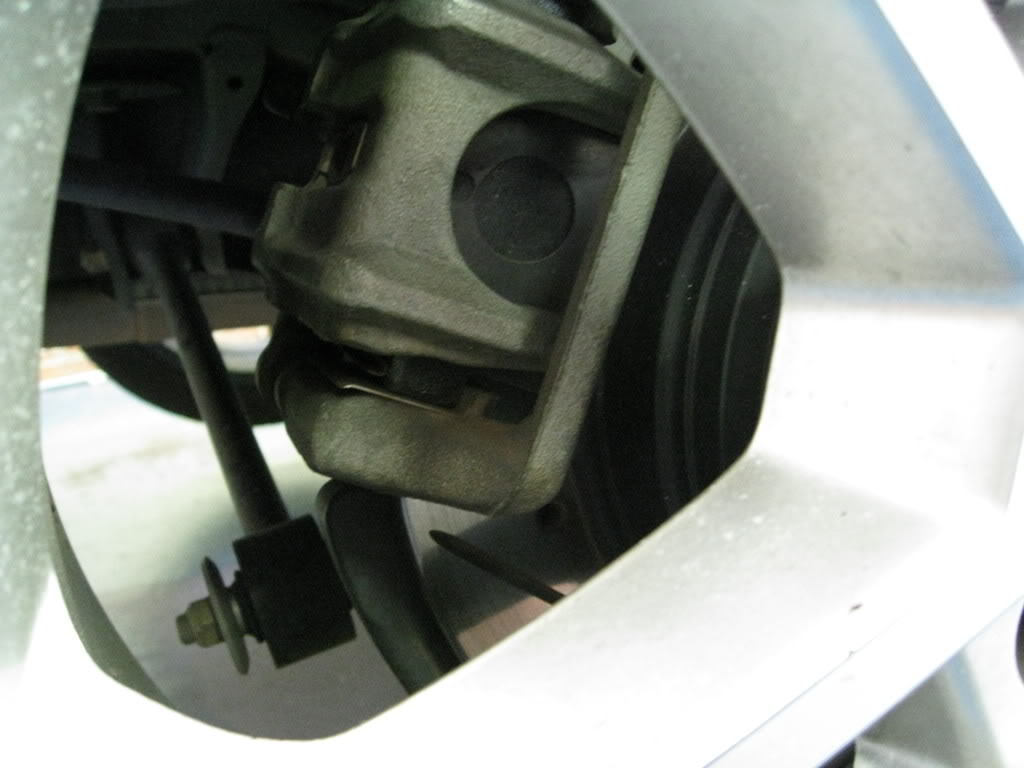
First you want to remove the brake pads and clips, then remove the brake caliper with the two 19mm bolts on the rear.
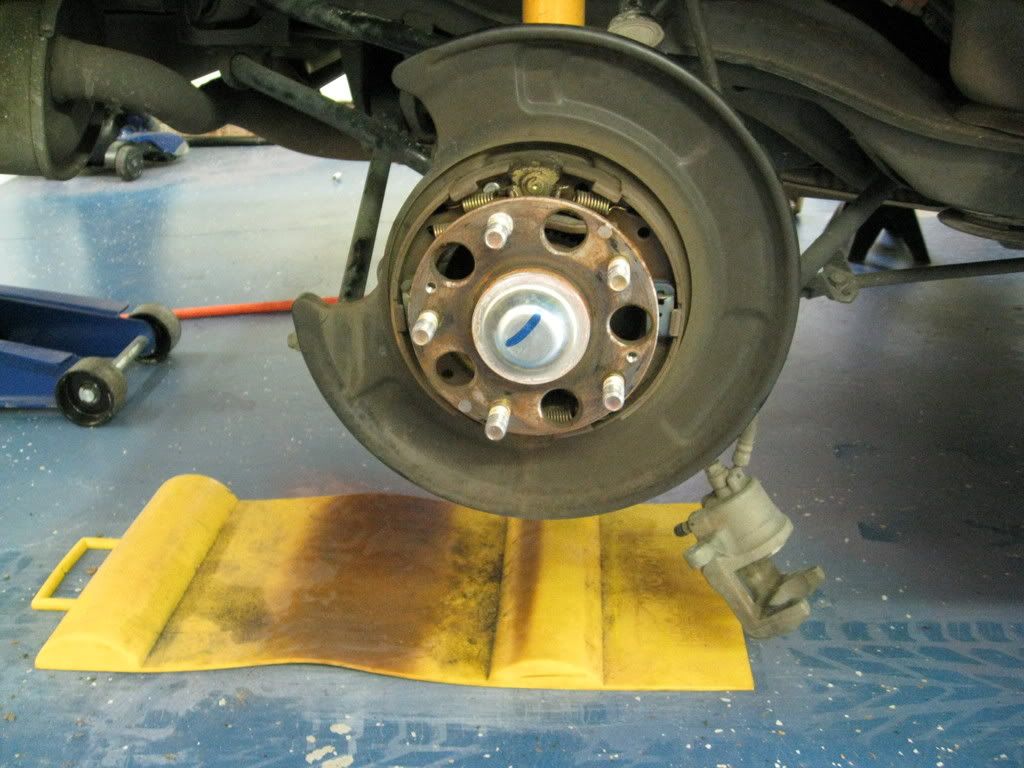
Next you want to remove the brake rotor using a impact screwdriver on the two #3 phillips head screws. Sorry no pics on that.
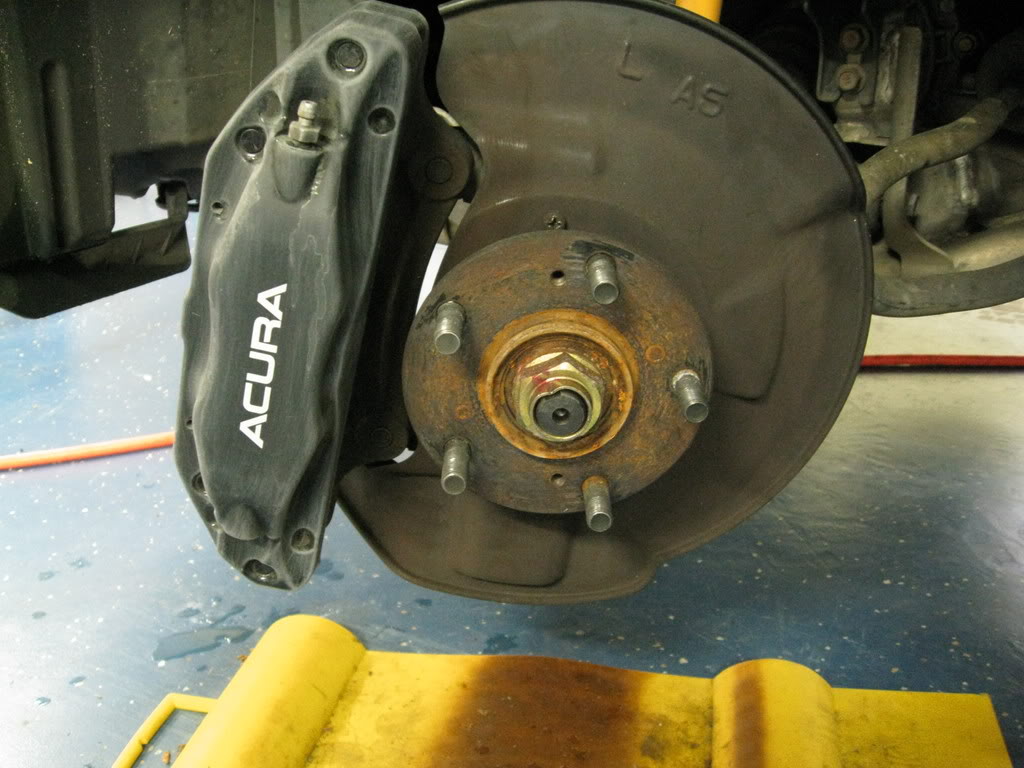
Once the rotor is off, mount the caliper back onto the car.
You will need the following parts. I only used one can of the red for all four calipers with some to spare.
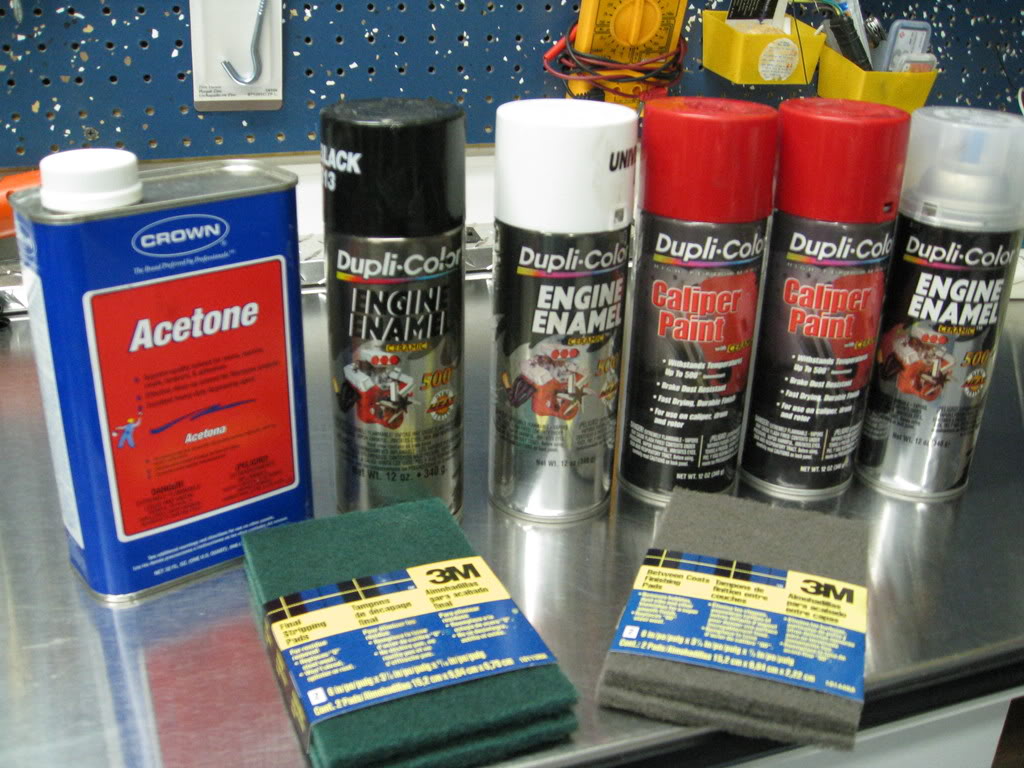
Sand the caliper down with the green scrub pad to get all of the grease and dirt off. Use an air compressor to blow all the dust out of the cracks. You will then use the grey scotch pad to sand it down for the final prep work. Make sure to get it all in the cracks and small hard to get areas. Clean the entire caliper with Acetone.......
Tape up the piston area really good and make sure not to get anything on the rubber seals. Also tape the bleeder valves.
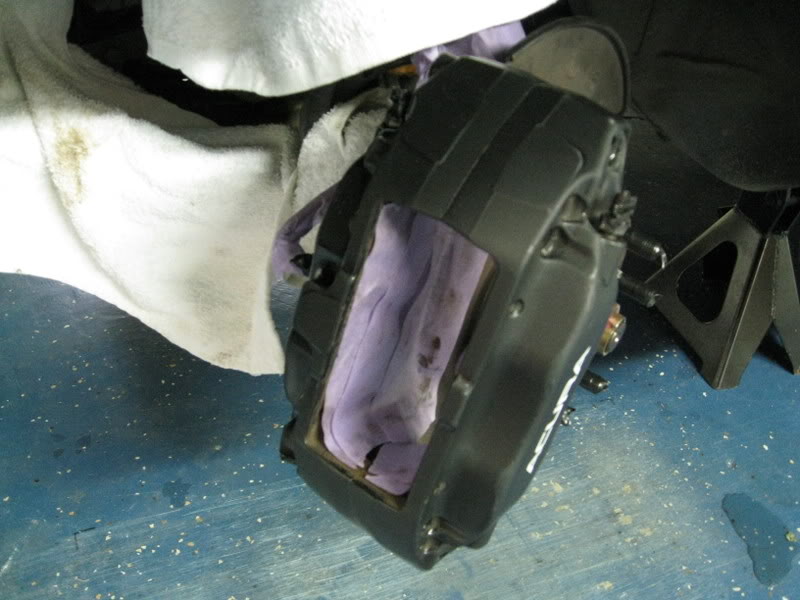
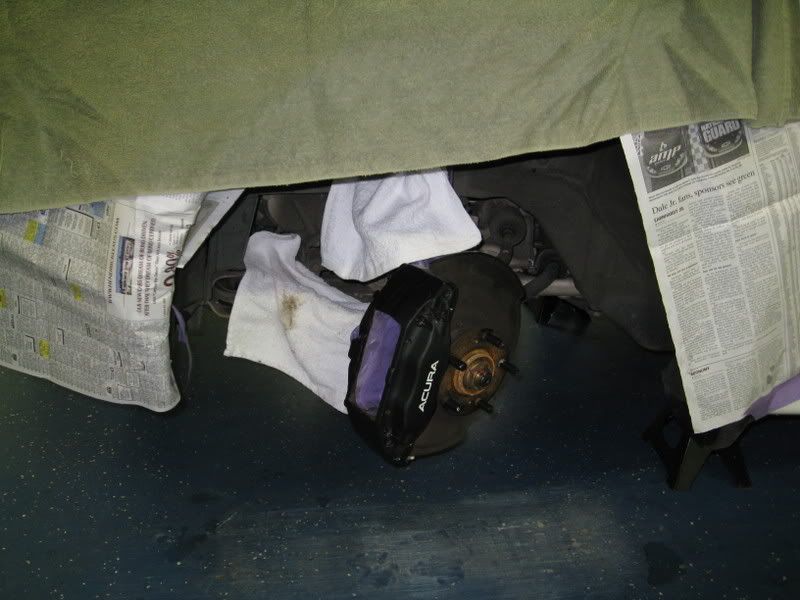
I didn't worry to much about the brake shield as it was covered with brake dust. It is always covered with dust so any overspray won't be seen after a week of driving. I did make sure to cover the entire wheel well area on the fenders to make sure I didn't get overspray on it.

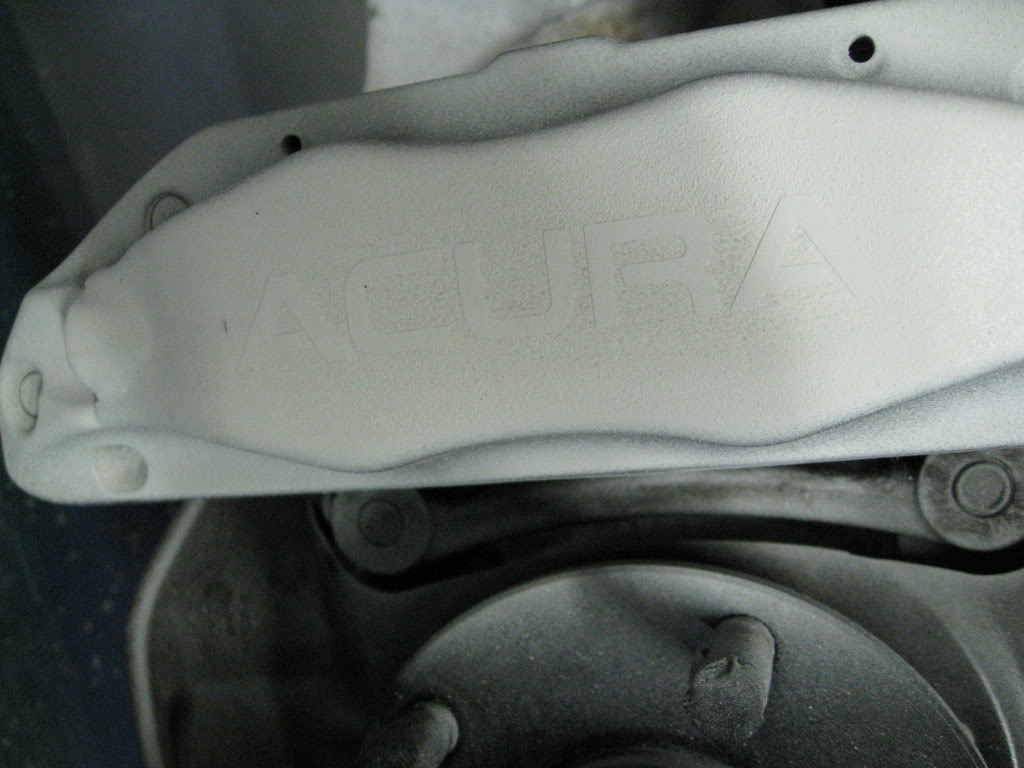
OK here comes the paint. I had a problem with the white spray nozzle as it sprayed it on globs so test it out to make sure your can is ok before spraying the caliper. With the nozzle replaced, I applied two light coats of white to the front of the caliper. I took the picture after I put the decal in place.
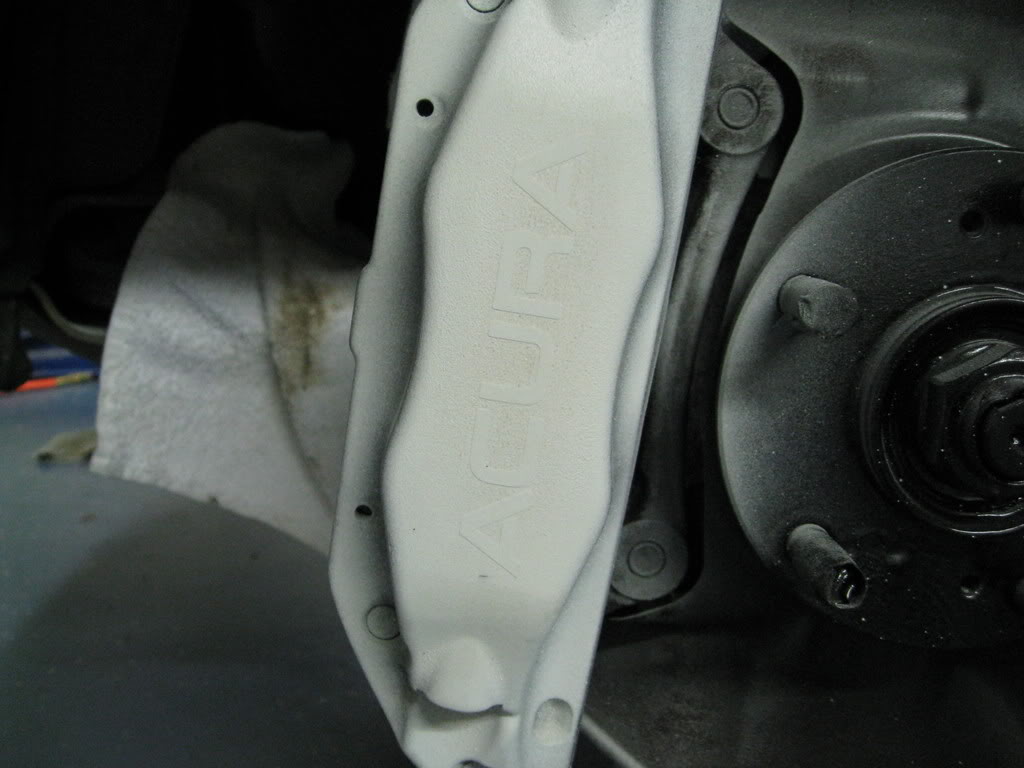
On the can it says to make sure you wait no longer than one hour between coats. So I waited 45 minutes and applied my 4 inch decal. I measured the front of the caliper and got 7 inches. The decal is 4 inches so I measure up one and 1/2 inches from the bottom, centered it. I made sure to apply a lot of pressure to it to make sure it covered all the corners. Here is a picture of the decal I got off of ebay. It came with the Acura logo next to it which I cut off. I just used the letters.
Next apply the red paint in three to four small coats.
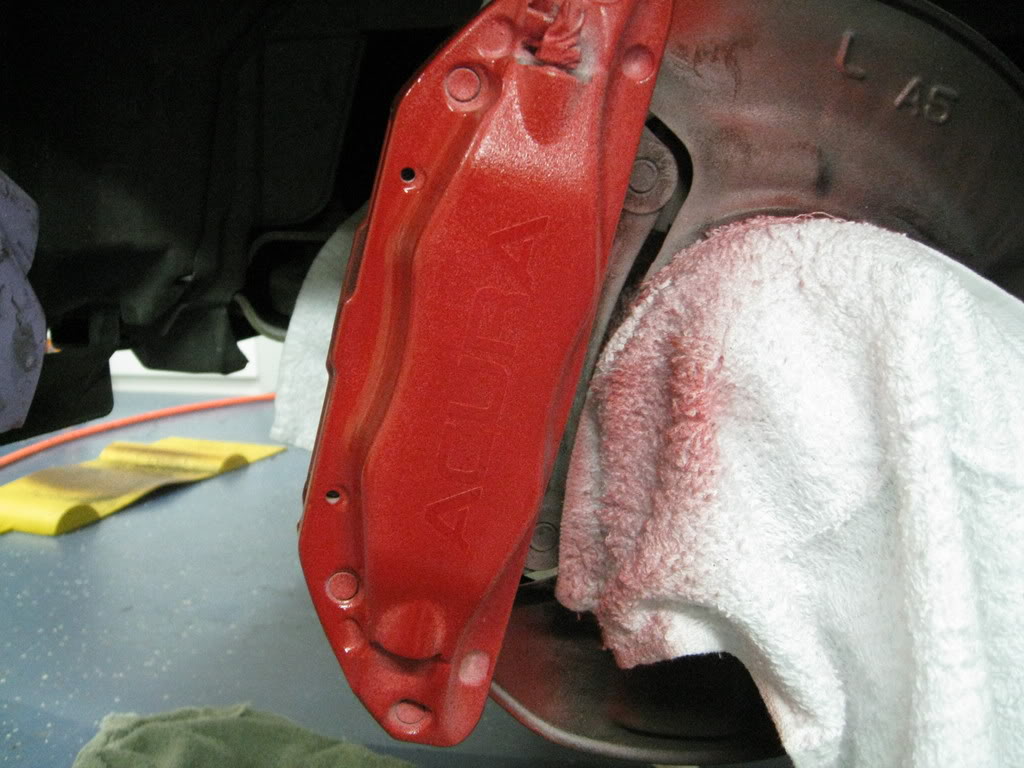
After you apply the red onto it, wait about 45 minutes or so and carefully use a razor edge and a pair of tweezers to remove the decal one letter at a time. I had my wife do this as my hands were not steady. Then apply 3-5 coats of clear coat. Here is the finished product.....
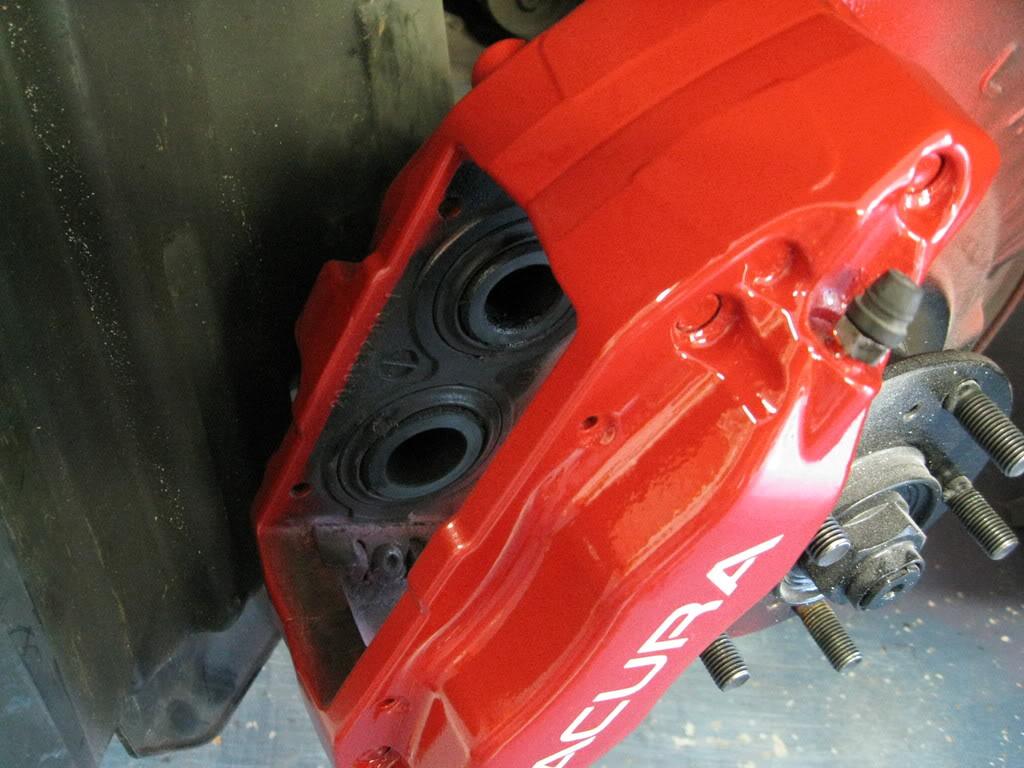
I made the mistake of trying to put the brake pads back on too early causing a few scratches on the paint. I then waited overnight before putting the brakes back together.
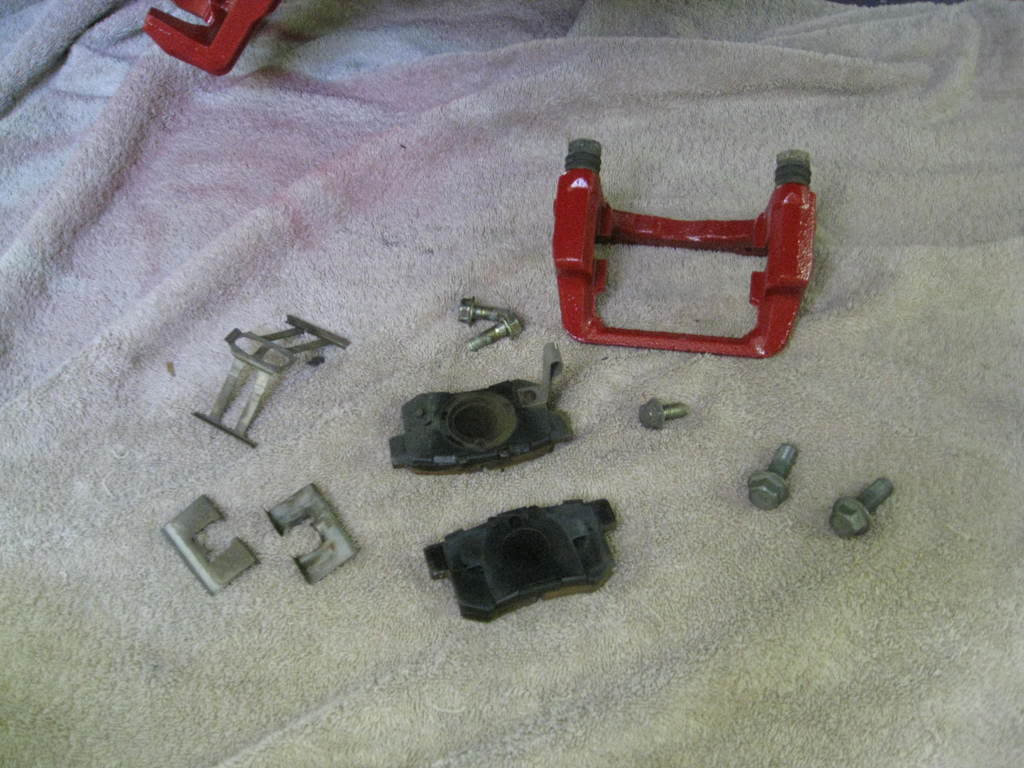
I don't have a big brake kit for the rear but I figured the rears needed the red as well. Here is how I did the rears. It is always advised to take the brakes apart and cover the parts that can't get paint on them. It looks much cleaner in the end.
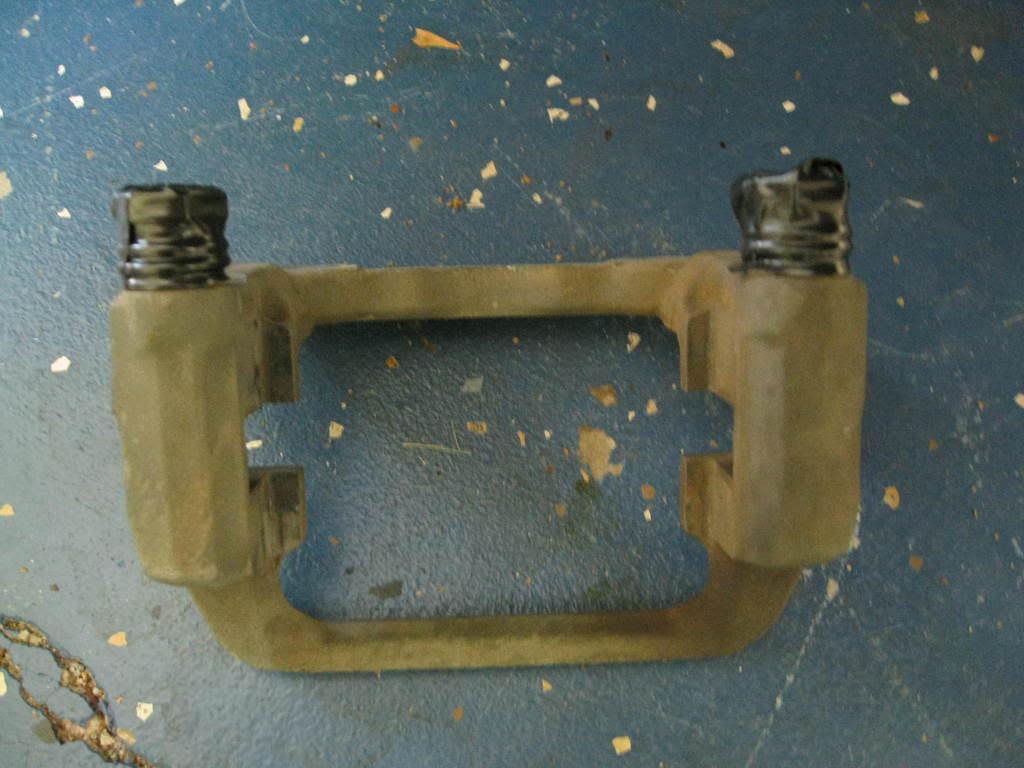
I took the brake caliper off and the rotor as shown.
[IMG]http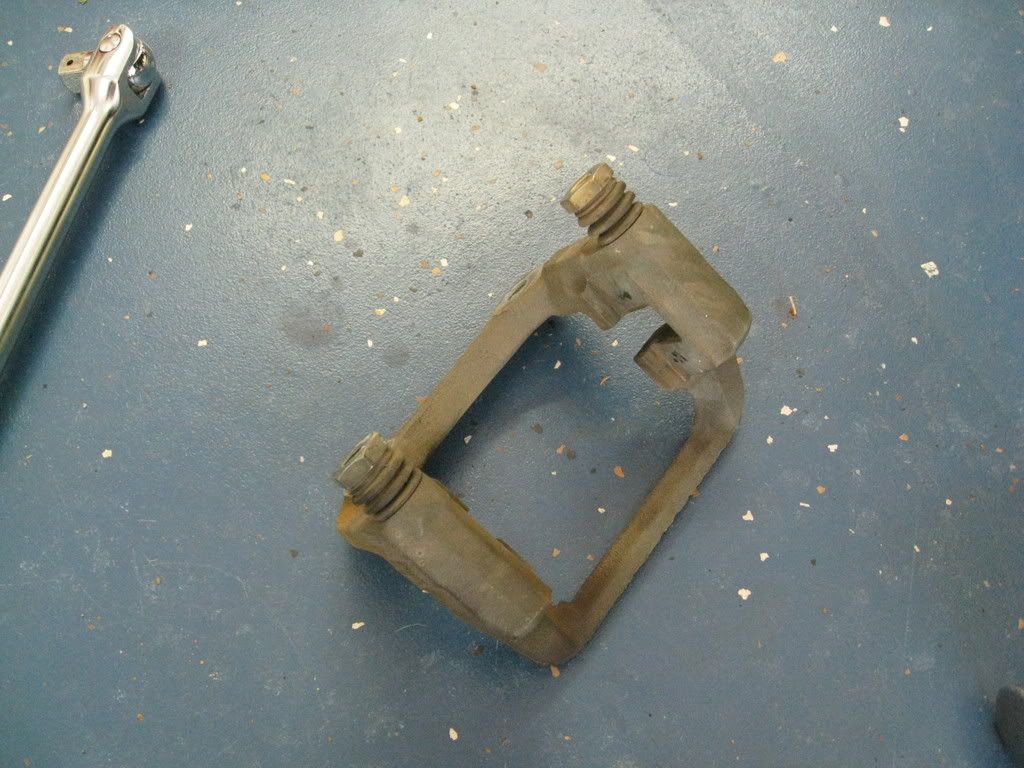 ://i17.photobucket.com/albums/b68/jmahler22/IMG_1137.jpg[/IMG]
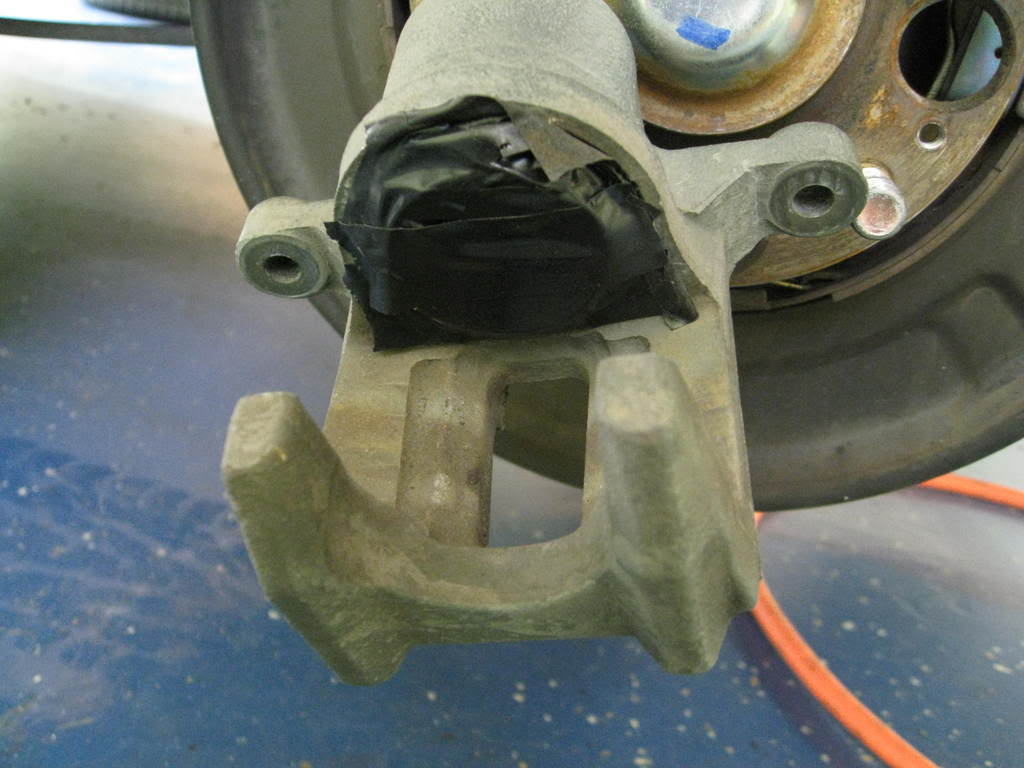
Make sure to cover the piston and rubber seals
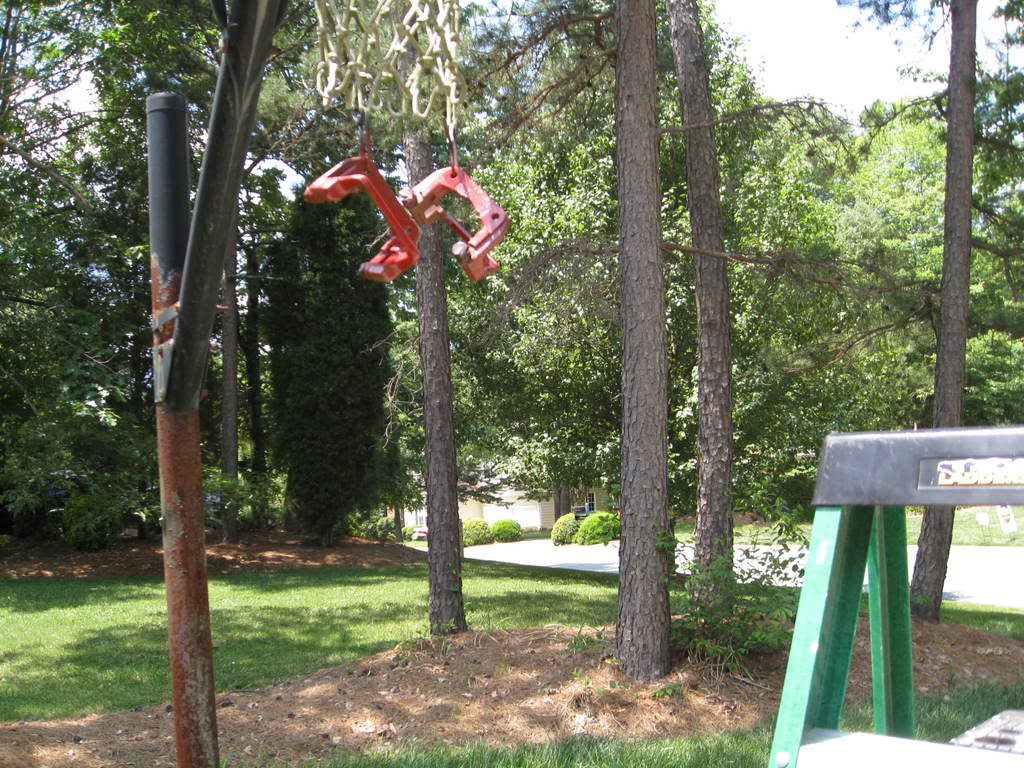
Clean it up and paint it red
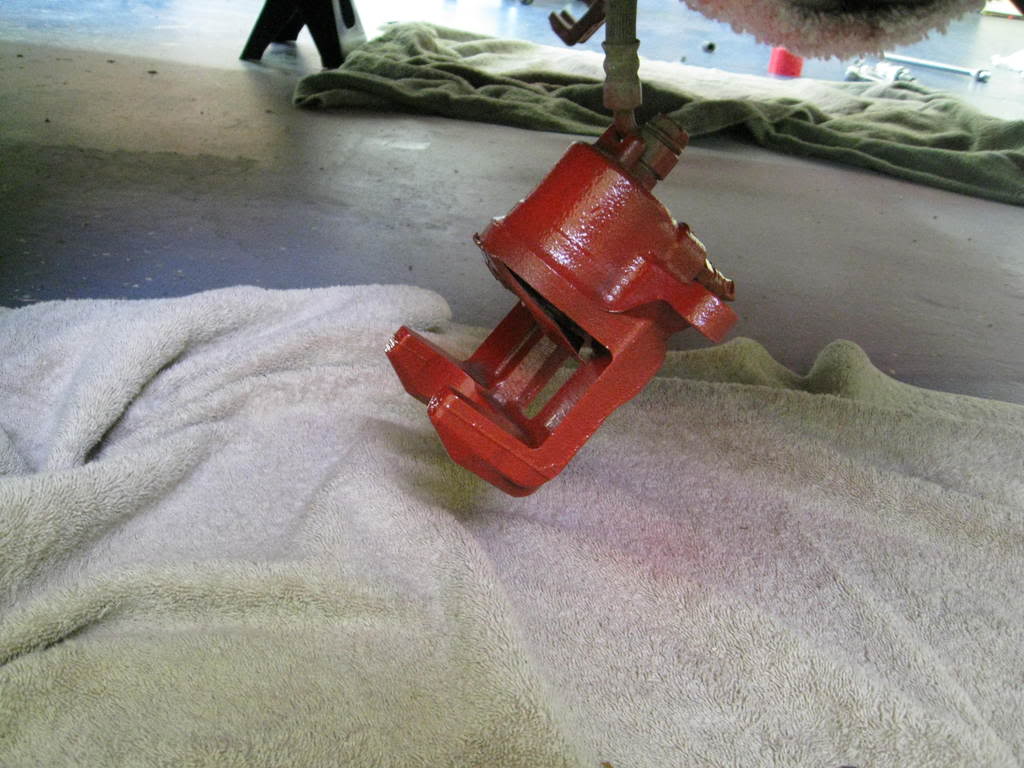
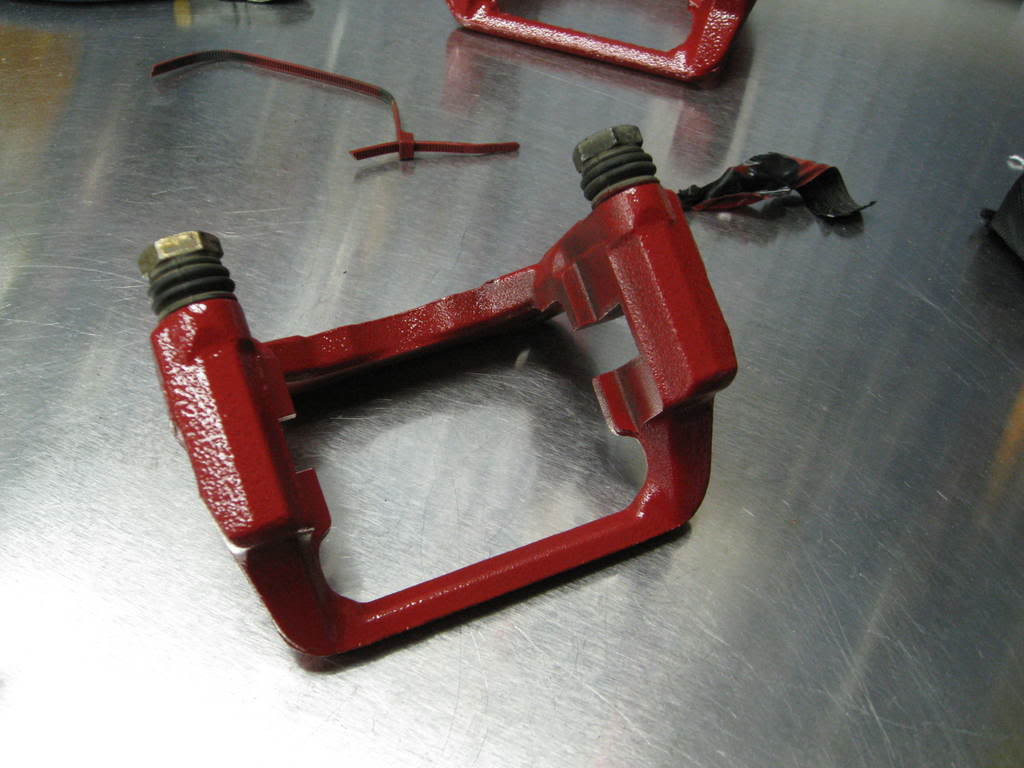
All the brake parts apart....

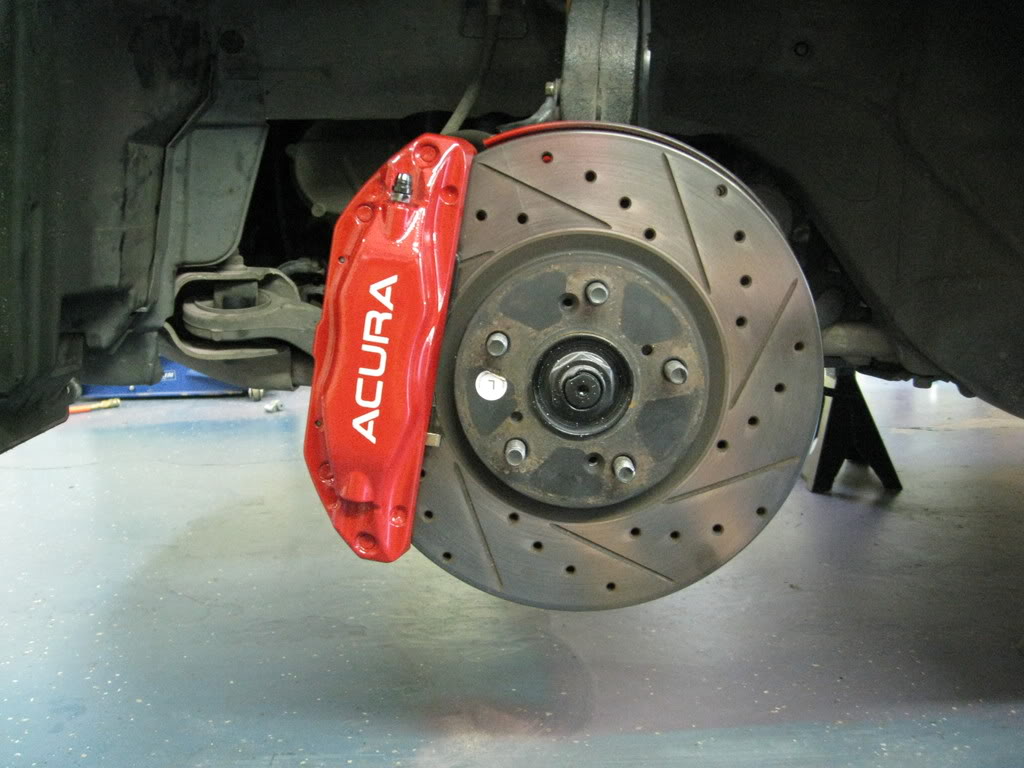
Complete...
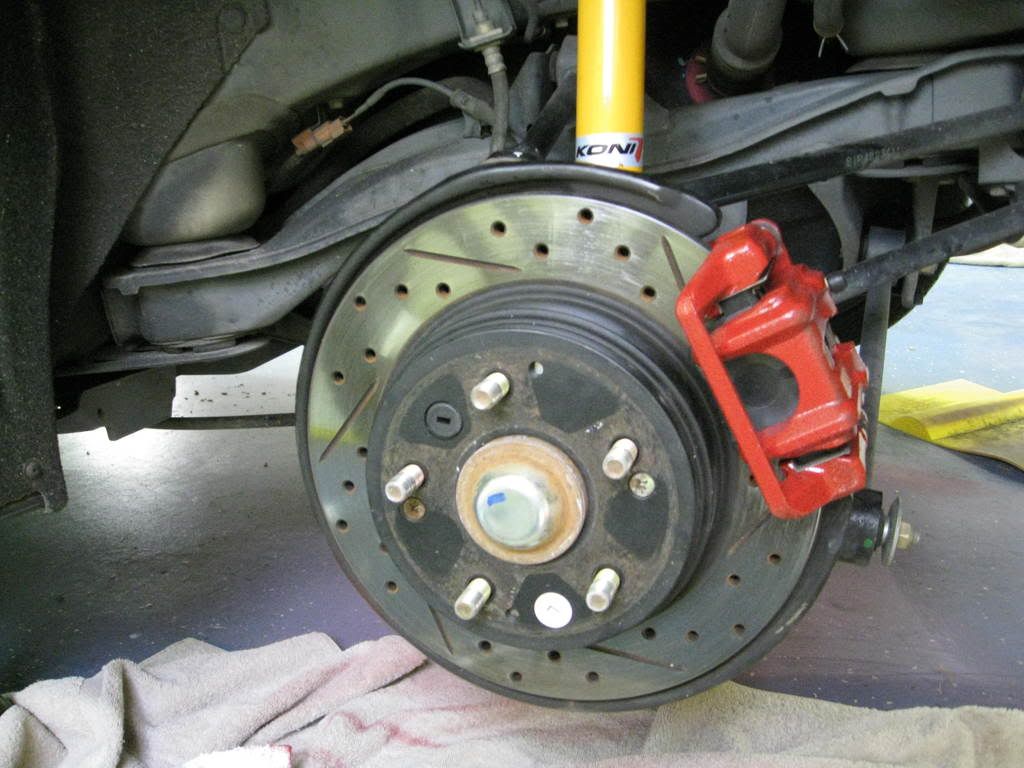
I hope this helps the guys out to tackle the job. You need to know how to do brakes in order to do this job right and you need to have a lot of patience. Here is a couple of BS videos I took after it was done. I love the finished product and couldn't be happier. I haven't driven the car so letting it sit to dry for 24 hrs is advised in order for the paint to cure.


First you want to remove the brake pads and clips, then remove the brake caliper with the two 19mm bolts on the rear.
Next you want to remove the brake rotor using a impact screwdriver on the two #3 phillips head screws. Sorry no pics on that.
Once the rotor is off, mount the caliper back onto the car.
You will need the following parts. I only used one can of the red for all four calipers with some to spare.
Sand the caliper down with the green scrub pad to get all of the grease and dirt off. Use an air compressor to blow all the dust out of the cracks. You will then use the grey scotch pad to sand it down for the final prep work. Make sure to get it all in the cracks and small hard to get areas. Clean the entire caliper with Acetone.......
Tape up the piston area really good and make sure not to get anything on the rubber seals. Also tape the bleeder valves.
I didn't worry to much about the brake shield as it was covered with brake dust. It is always covered with dust so any overspray won't be seen after a week of driving. I did make sure to cover the entire wheel well area on the fenders to make sure I didn't get overspray on it.
OK here comes the paint. I had a problem with the white spray nozzle as it sprayed it on globs so test it out to make sure your can is ok before spraying the caliper. With the nozzle replaced, I applied two light coats of white to the front of the caliper. I took the picture after I put the decal in place.
On the can it says to make sure you wait no longer than one hour between coats. So I waited 45 minutes and applied my 4 inch decal. I measured the front of the caliper and got 7 inches. The decal is 4 inches so I measure up one and 1/2 inches from the bottom, centered it. I made sure to apply a lot of pressure to it to make sure it covered all the corners. Here is a picture of the decal I got off of ebay. It came with the Acura logo next to it which I cut off. I just used the letters.
Next apply the red paint in three to four small coats.
After you apply the red onto it, wait about 45 minutes or so and carefully use a razor edge and a pair of tweezers to remove the decal one letter at a time. I had my wife do this as my hands were not steady. Then apply 3-5 coats of clear coat. Here is the finished product.....
I made the mistake of trying to put the brake pads back on too early causing a few scratches on the paint. I then waited overnight before putting the brakes back together.
I don't have a big brake kit for the rear but I figured the rears needed the red as well. Here is how I did the rears. It is always advised to take the brakes apart and cover the parts that can't get paint on them. It looks much cleaner in the end.
I took the brake caliper off and the rotor as shown.
[IMG]http
://i17.photobucket.com/albums/b68/jmahler22/IMG_1137.jpg[/IMG]Make sure to cover the piston and rubber seals
Clean it up and paint it red
All the brake parts apart....
Complete...
I hope this helps the guys out to tackle the job. You need to know how to do brakes in order to do this job right and you need to have a lot of patience. Here is a couple of BS videos I took after it was done. I love the finished product and couldn't be happier. I haven't driven the car so letting it sit to dry for 24 hrs is advised in order for the paint to cure.

The following users liked this post:
robocam (04-21-2014)
 I would love to do this mod as well. What brand of paint did you use?
Trending Topics
10-30-2008, 10:57 PM
#9
tehLEGOman
Join Date: Dec 2004
Location: Charlotte, NC
Age: 40
Posts: 9,135
Received 1,982 Likes
on
1,335 Posts
Sweet DIY thread, i didn't even know about this. I'm glad someone dug it up from the grave.
 11-22-2008, 07:37 PM
#18
200,000 mile club
Thread Starter
Join Date: Jul 2007
Location: Charlotte, NC
Age: 48
Posts: 1,774
Likes: 0
Received 35 Likes
on
15 Posts
^^ You are the man!!!!! They look sweet. That is what this site is all about, helping guys like you. I made this thread yet this site says I am not a subscriber. I have tried and tried to solve this problem with no luck. Anone else with these issues? Thanks guys for the mad props. I love the Acura and it looks a lot different these days. Man my car has come a long way from a year ago.

 01-21-2009, 06:31 PM
#25
AZ Community Team

Join Date: May 2007
Location: N35�03'16.75", W 080�51'0.9"
Posts: 32,488
Received 7,770 Likes
on
4,341 Posts
03-23-2009, 07:23 PM
#30
200,000 mile club
Thread Starter
Join Date: Jul 2007
Location: Charlotte, NC
Age: 48
Posts: 1,774
Likes: 0
Received 35 Likes
on
15 Posts
Thanks Allon. I am rolling back up to LI in three weeks. I could help ya out but you really need to wait until it gets warmer out to make sure the paint dries. Thanks for the props! This mod isn't hard to do. It just requires a lot of time and prep is key to getting the job to come out right.
03-23-2009, 07:41 PM
#32
Burning Brakes
Thanks Allon. I am rolling back up to LI in three weeks. I could help ya out but you really need to wait until it gets warmer out to make sure the paint dries. Thanks for the props! This mod isn't hard to do. It just requires a lot of time and prep is key to getting the job to come out right.
 03-23-2009, 07:48 PM
#33
200,000 mile club
Thread Starter
Join Date: Jul 2007
Location: Charlotte, NC
Age: 48
Posts: 1,774
Likes: 0
Received 35 Likes
on
15 Posts
Allon, I would but the photo wouldn't look that good with my wifes Lexus grocery getter RX. I am coming up with my son to see the car show in the city. My car is staying home in the nice warm clean garage. MY TL has never seen NY roads and probably never will. Those roads on the Belt Parkway two weeks ago were raugh from the hard winter you guys had. I really don't know how you guys do it up there with the slammed rides.
Paliknight, drive to NC where the garage and tools are. Then we can work out a deal!
Paliknight, drive to NC where the garage and tools are. Then we can work out a deal!
03-23-2009, 07:59 PM
#34
Burning Brakes
Allon, I would but the photo wouldn't look that good with my wifes Lexus grocery getter RX. I am coming up with my son to see the car show in the city. My car is staying home in the nice warm clean garage. MY TL has never seen NY roads and probably never will. Those roads on the Belt Parkway two weeks ago were raugh from the hard winter you guys had. I really don't know how you guys do it up there with the slammed rides.
Paliknight, drive to NC where the garage and tools are. Then we can work out a deal!
Paliknight, drive to NC where the garage and tools are. Then we can work out a deal!
 06-11-2011, 08:47 PM
#36
Instructor
Hi, i know this post is old but does anyone know what he used the black paint for? I read the post of my blackberry a couple of times, but since the writting is so small on the phone i could have missed it. Thanks
06-13-2011, 01:22 AM
#40
Instructor
http://item.mobileweb.ebay.com/viewi...w=110634834966 if link doesn't work got to ebay.com and type this in search 110634834966
Last edited by mnm27mnm; 06-13-2011 at 01:26 AM.