When you click on links to various merchants on this site and make a purchase, this can result in this site earning a commission. Affiliate programs and affiliations include, but are not limited to, the eBay Partner Network.
Prior to being in the 3rd Gen TL community, I was researching various problems, and things people wanted. I found many people asking for how to install a compass rear view mirror in their Acura TL. Most people simply replied with "You have a nav, you don't need it". I really liked the idea of the compass mirror, and I have a Type-S, so I wanted a red one to match the interior lights. Well my dad (PeeCee), and I figured out how to do it.
First, the disassembly, Insert a pry tool (I used plastic not to damage the plastics):
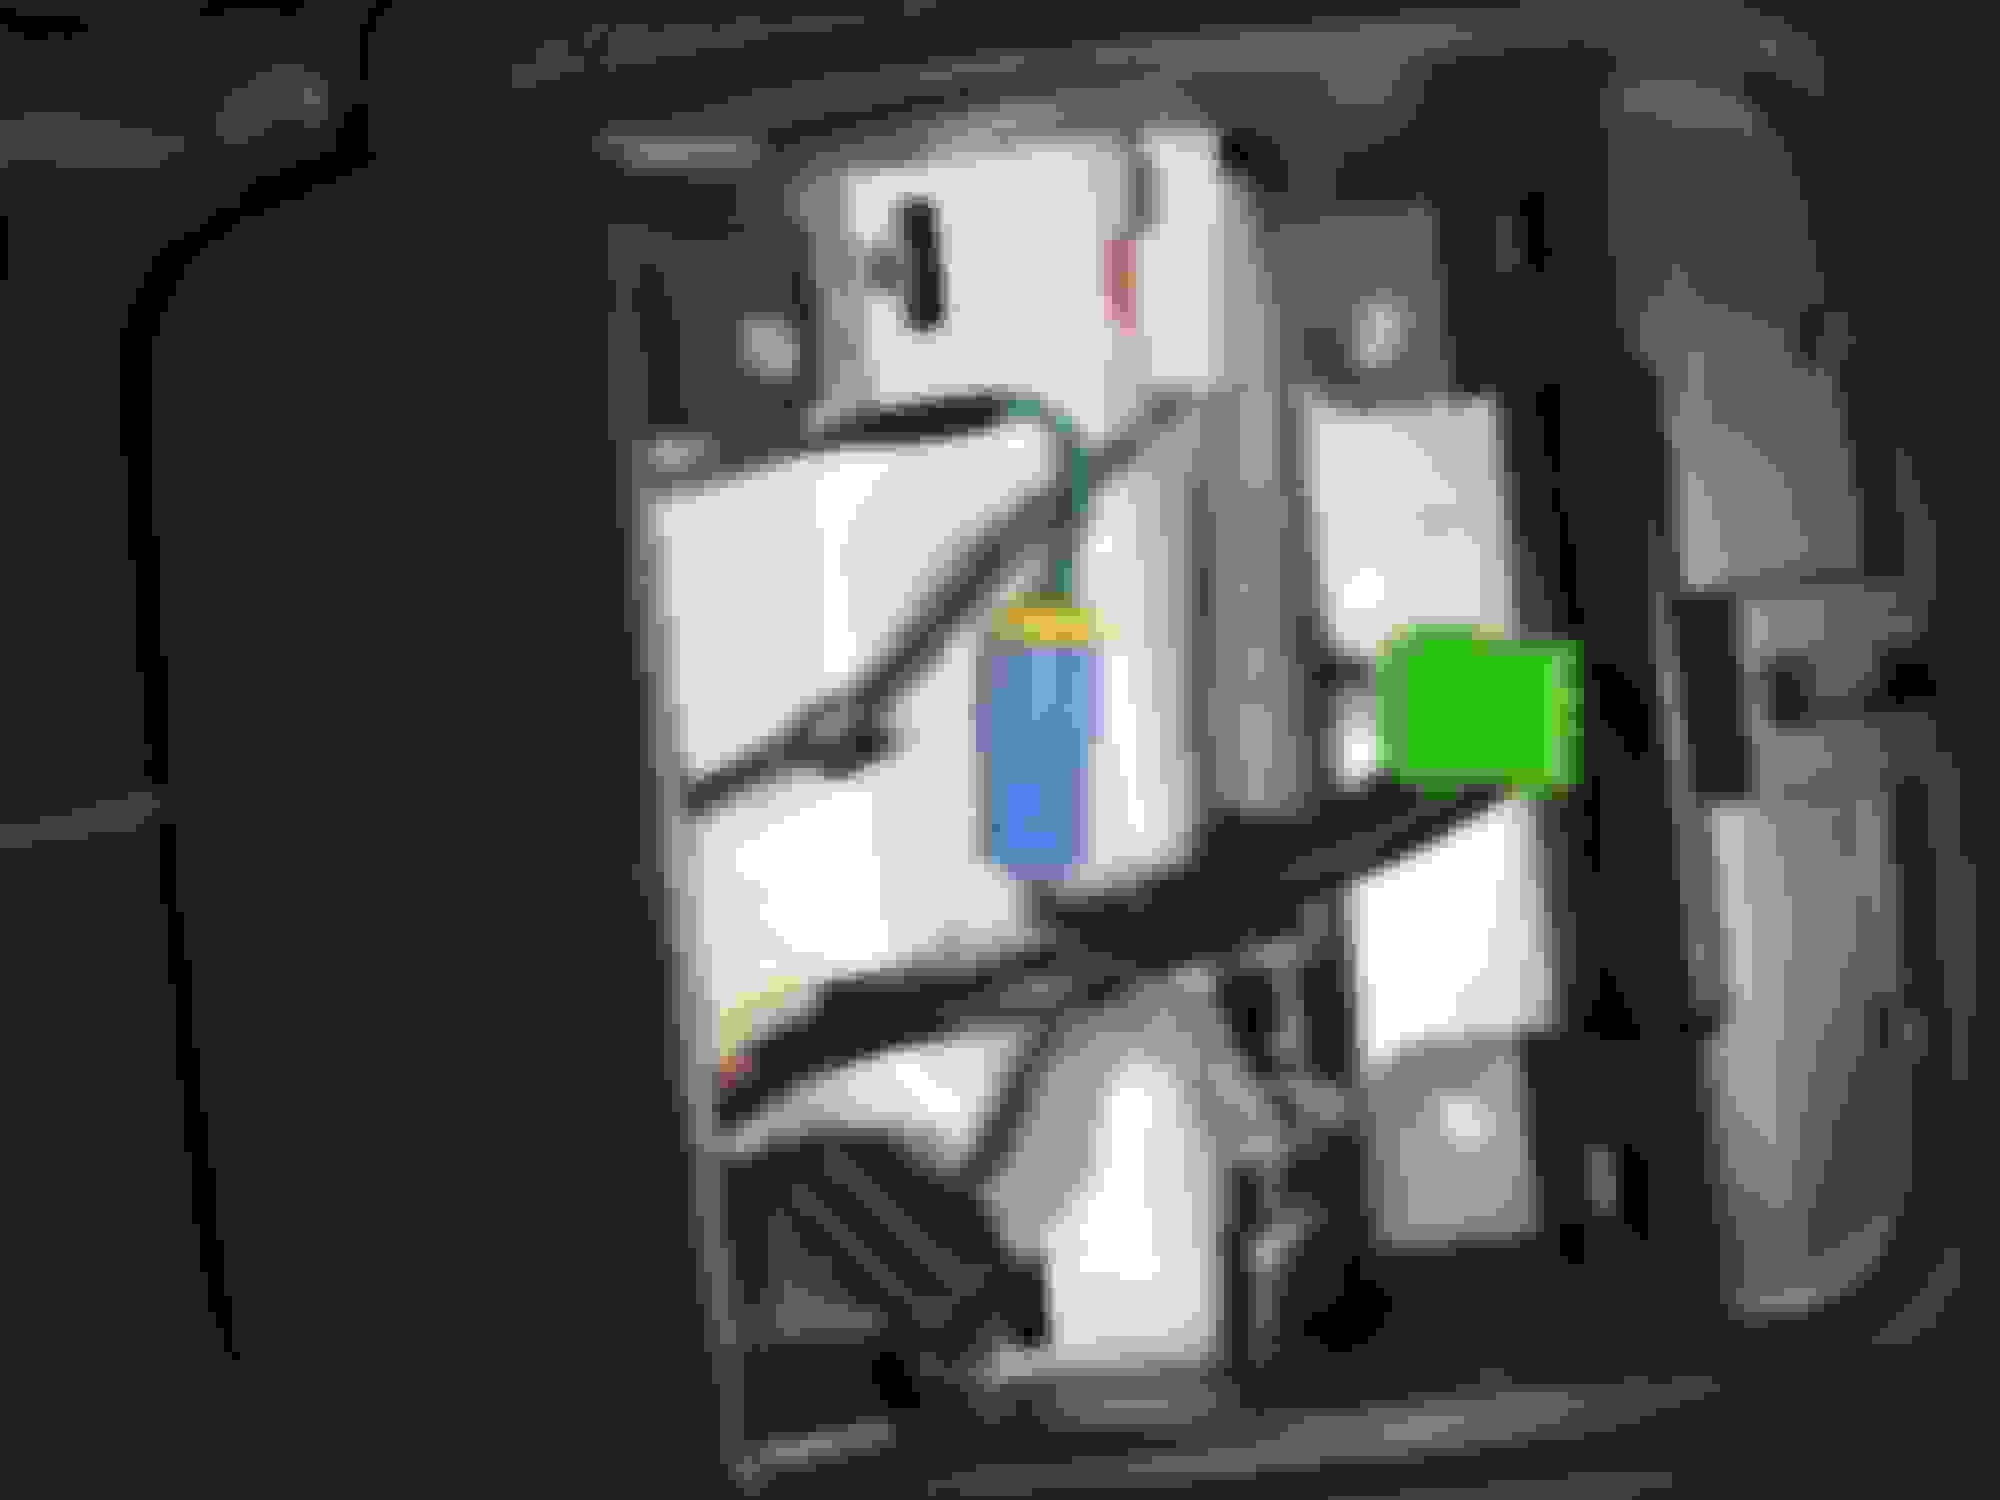
In these next pictures, I'll show the connectors being disconnected 1 by 1 for clarity purposes:
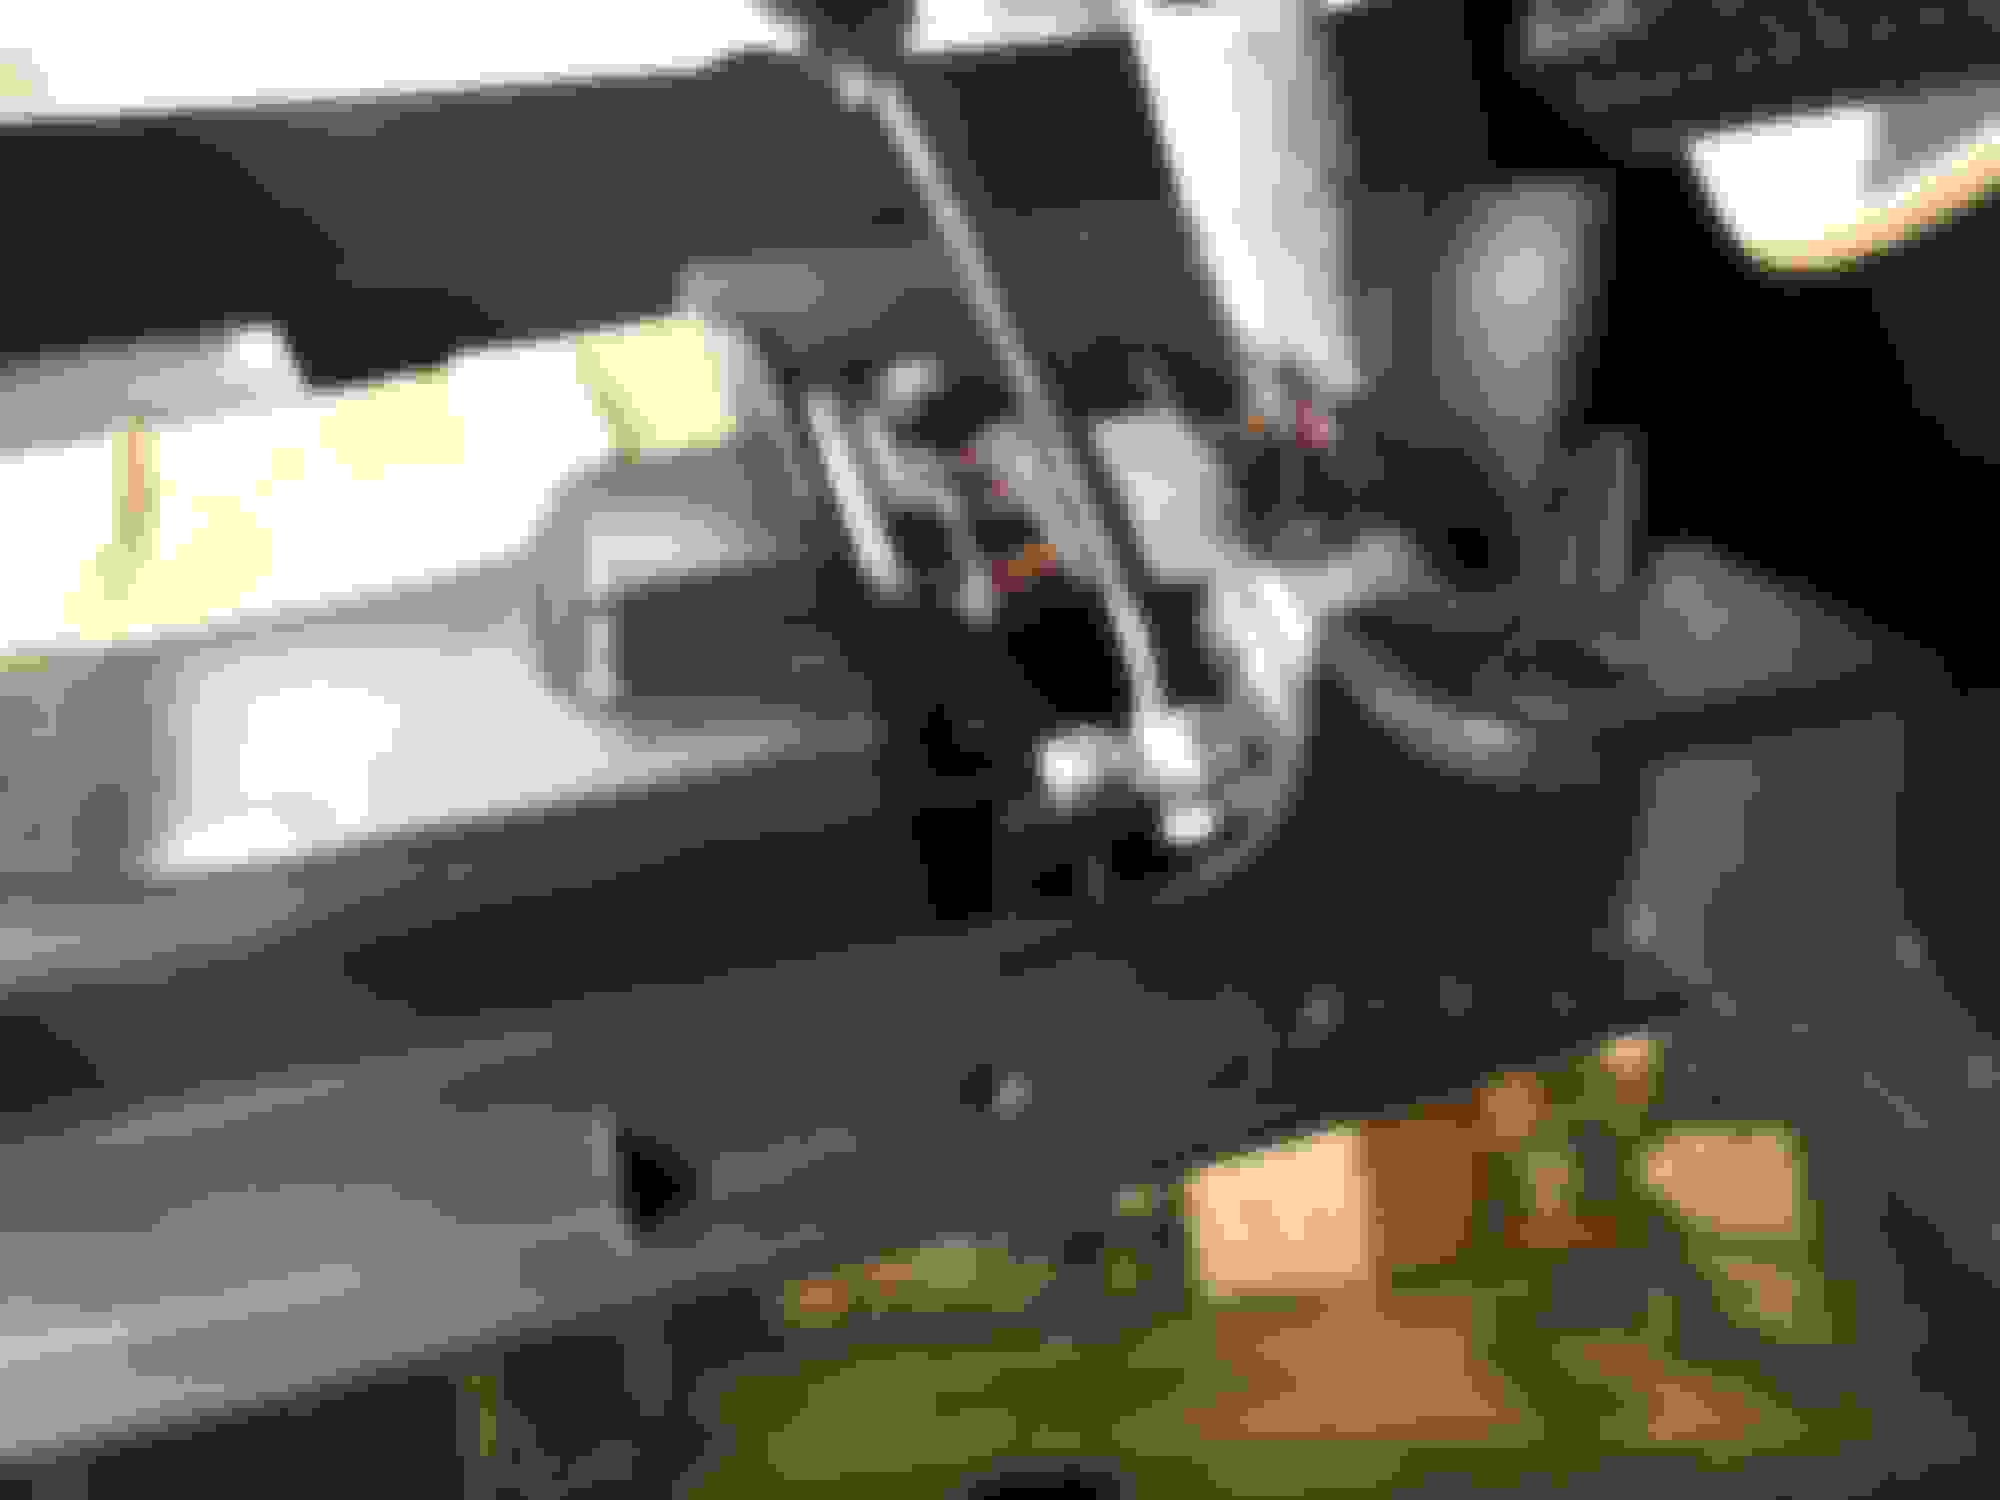
Now that those are unplugged, undo the 4 8mm bolts in the corners:
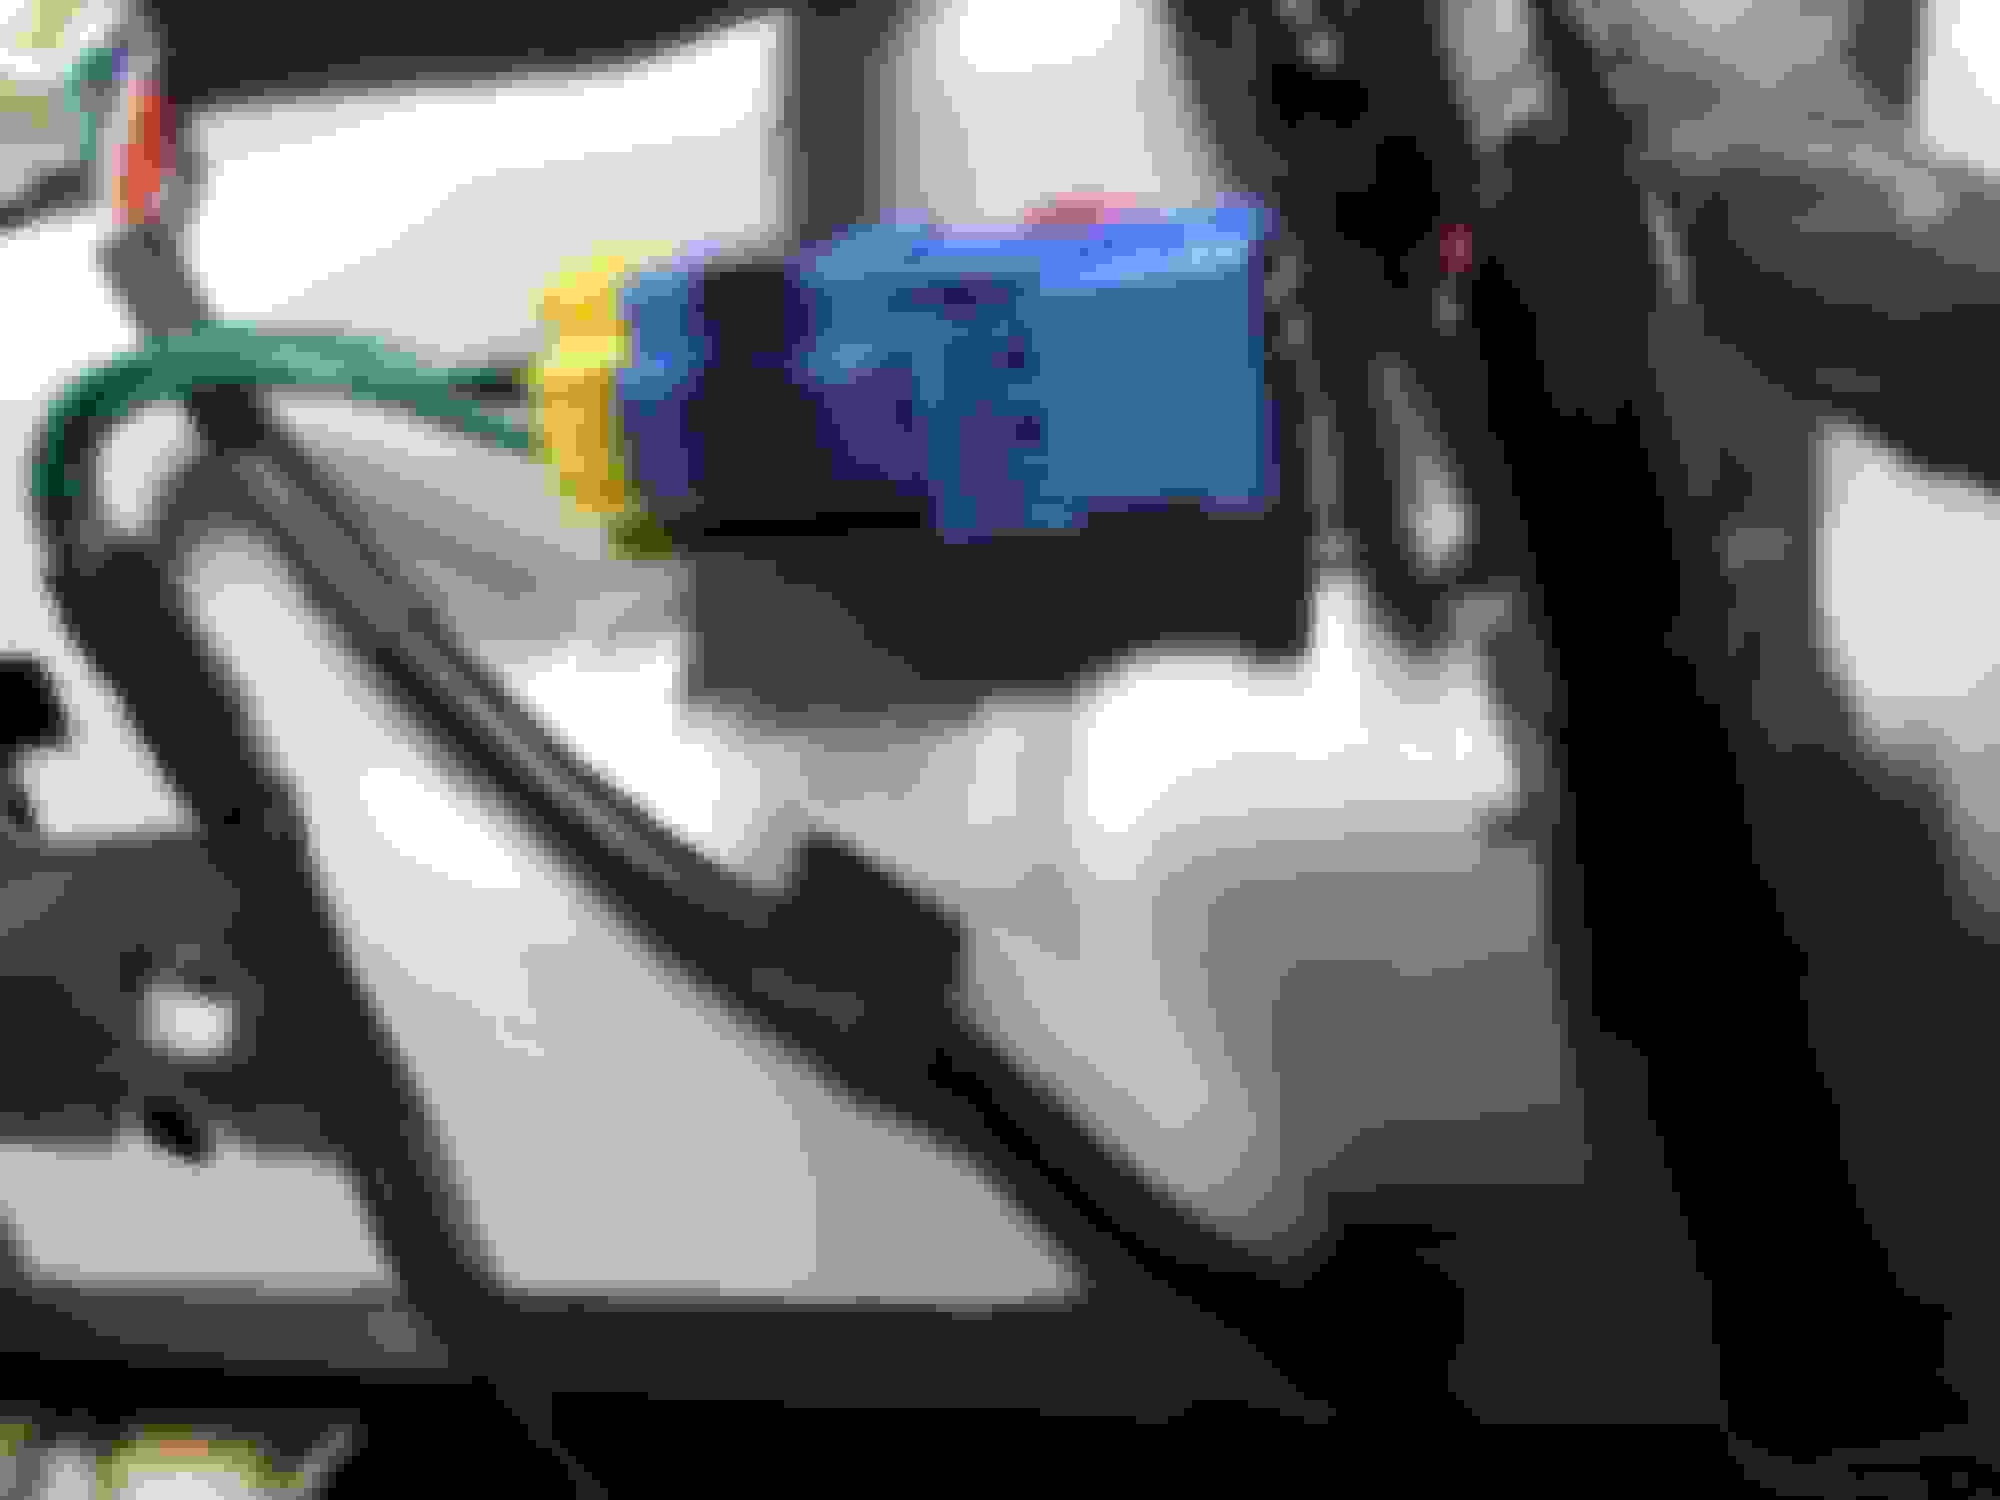
Disconnect this blue plug (You'll see why mine is yellow shortly):
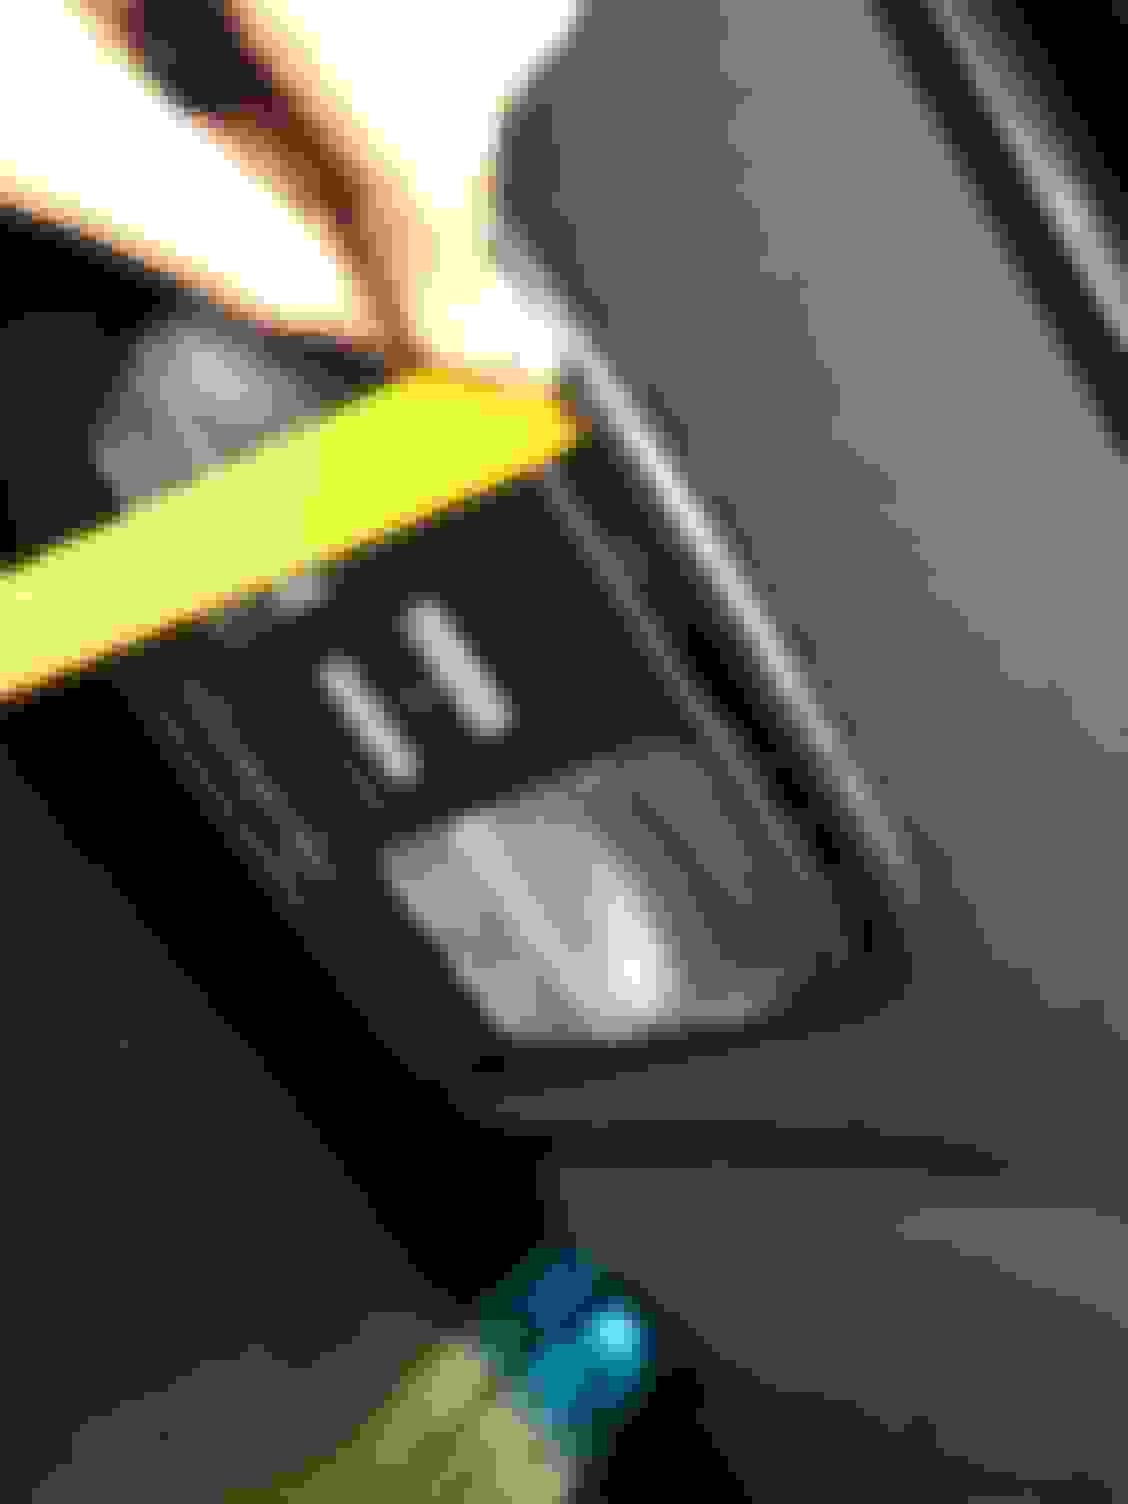
Unplug the dreaded HFL module:
Remove the 2 torx screws, so you can fold this module out of the way:
Now, we must remove the rear view mirror: (Here's the instructions from the manual since I don't have any pictures, I followed this exactly, and it came right off):
Now, we have to remove the button off of the windshield (The rear view mirror mount) since the replacement rear view mirror with the compass uses a different style mount:
We took some vice-grips and latched onto the button:
This next part requires the use of heat. Many people use different methods, hair driers, heat guns, butane torches, open flames, many things work. The idea is the heat the glue behind the button so it falls off. I cannot stress how this may crack your windshield if done wrong, BE CAREFUL or HIRE A PROFESSIONAL, you're doing this mod at your own discretion, i'm not responsible for any damages.
After that stressful job (It needs to be VERY HOT), once removed, you should place it in a cold water towel, or away from your person. Make sure anything you set it on will not ignite, and that you have latched onto the button properly with the vice grips. You do not want this burning hot metal button falling onto your interior, or your person. After that, you need to remove the remainder of the glue. Use a razor blade and swipe off the glue (just like a sticker). The flatter the razor blade the better. Be careful not to damage the black coating.
Once removed, We used Acetone to remove the remainder (Nail polish remover works as well since it's essentially acetone). The mirror used in my write up is from a 2007 - 2012 Subaru Legacy Outback. I used this one particularly because i wanted the hidden compass, the auto dimming, but none of the other things many of the other mirrors include with these options (homelink, map lights, etc).
Now for the wiring. For the connector, I wanted to keep my mirror untouched for re-sale, or keep, So i found the yellow connector you've seen in a previous picture from one of the car's my dad was parting out. It was from a 1997 honda civic's airbag dash harness (It's a very common 3 pin honda/acura plug). However, if you don't want to go to a junk yard, or attempt to find the connector, then use the rear view mirror from the TL. It is essentially the one you need anyways. Cut off the plug from the rear view mirror, leaving 7 or so inches of wire attached.
From your rear view mirror plug you cut, connect and solder left wire, to the middle wire on the mirror's harness (GROUND), and the far right to the right (Black/white) (POWER).Test to make sure it works then solder, and heat shrunk over.
From this point, you can unplug the harness from your new compass mirror, and reverse the steps taken to take apart the overhead console to put it all back together, leaving the wire harness for the new compass mirror hang down through the provided hole on the windshield side.
I then went to the Subaru Dealership, and bought the appropriate mounting hardware to mount this properly to the windshield. I purchased H501SSA042 Mirror Mount Service, and 92031FC000 Base INR Mirror. After this, I went to Safelite Autoglass (Any place that deals with windshields, or even if you want to buy the glue from a hardware store, you can do this as well), and asked them to glue the button onto the windshield for me (Since the arm going to the mirror isn't as angled, we have to put the mirror slightly lower, however you cannot tell, Have them, or yourself glue it where you like. I had mine glued button side touching the OEM Blue tint strip on the windshield (I'm 6ft and works perfectly for me). He told me that they did not sell me all the parts, and I still needed the outer shell which looks like this:
After he supplied this, he installed it, and I drove home. I was happy the mirror was in, and working, however it jiggled an awful lot. My dad took the U trapper piece, and bent it over slightly to trap in the button for the mirror, this eliminated the wobbling, and we put it back together.
And here is the final product!
Just to recap since there is quite a bit of information in the article:
Parts Used / Required:
2007 - 2012 Subaru Legacy Outback Auto Rearview Hidden Compass mirror $55 used / $110 new
H501SSA042 - Mirror Mount Service from Subaru $9.51
92031FC000 - Base INR Mirror from Subaru $14.02
Outer plate, and glued button onto windshield from Safelite $20
A Dad that will put up with your rediculous ideas and help you regardless $PRICELESS$
Heatshrink
Solder
Patience
Calibrating Compass:
To program the compass, you'll need to set your region (look up Subaru Rear View Compass Programming), hold the power button until the compass turns off, then let off, and hold it again, until it comes on, keep holding, and a number will display, this is your region number, press the button once to go up 1. Once found, leave it be until it times out. Now press and hold again for slightly longer, passed the numbers, then it will display "C", this means calibration. Now go into a cul-de-sac and turn around in it the same way 4 times or so, and it should display the direction you're facing. It's Calibrated!
Items needed:
Vice Grips
Heat source (we used Butane torch)
Wet towel to catch the button
Razor Blade
Acetone
8mm socket/driver
Torx (forgot the size)
Preferably Plastic Pry Tool
Optional additional plug (Like I used, rather than cutting the OEM plug off)
Hopefully since we put a Subaru part in our cars, we don�t have Ringland problems, and start vaping.
Cheers
Hopefully this will help some people that also want a compass mirror in their TL. I'm very happy with the end product, and I couldn't find a write-up anywhere, so I made my own! Special thanks to my dad, PeeCee, he's the real MVP.
Nice write up! But why the need for mirror compass if you have nav?
And is it possible to wire your radar detector to the rear view mirror power, to eliminate having the cord run down the dash like that?
I've been toying with the idea myself.
Nice write up! But why the need for mirror compass if you have nav?
And is it possible to wire your radar detector to the rear view mirror power, to eliminate having the cord run down the dash like that?
I've been toying with the idea myself.
I wanted it because it's something cool, red to match the interior, and I don't care for the needle on the nav. Much quicker to look up at a glance and see the direction on the mirror. I have a hardwire kit for the radar detector, just haven't had the time, I plan on mounting it by the rear view mirror, running it into the headliner, and down to the fuse box by the clutch peddle. Cleaner install, and no one likes wires on the dash
Nice, looks good. But too much work for me for a compass, I find if I don't know my "north, south, east, & west" or have any geographical awareness to my location then I probably shouldn't be driving...LOL

 05-09-2017, 06:14 PM