
Anyone paint their engine cover??
 04-30-2009, 07:53 PM
#1
Pro
Thread Starter
Join Date: Oct 2008
Location: DC
Age: 40
Posts: 699
Likes: 0
Received 0 Likes
on
0 Posts
Anyone paint their engine cover??
I'm looking for some cheap ways to make my car alittle more personal. I thought about painting the engine cover and want to knwo if anyones done it. I think i've seen one gold one on here. Has anyone else tryed this?? what are the steps, etc...thanks guys!

The following users liked this post:
J-ProX (08-09-2012)
04-30-2009, 09:49 PM
#4
Mistuh DRiiVA
i want to do the same thing to my engine covers, any advice or special tips on how to do this? whats the process? Thanks
04-30-2009, 11:25 PM
#5

To the OP, people here will sand theres down primer it and paint, then some clearcoats etc. I was lazy and had no patience so i had a local body shop do mine and I love it!
The following users liked this post:
J-ProX (08-09-2012)
05-01-2009, 08:49 AM
#10
Suzuka Master
DIY
Remove all the parts
wash
sand with 800 lightly unless you want it glass smooth
wipe with IPA or prepsol
spray with primer for plastic adhesion
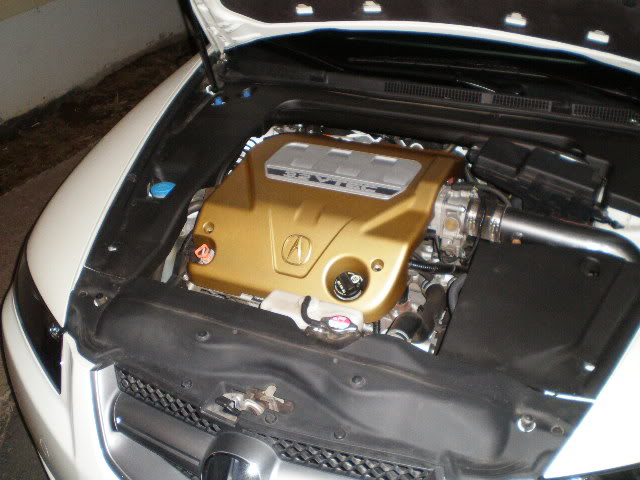
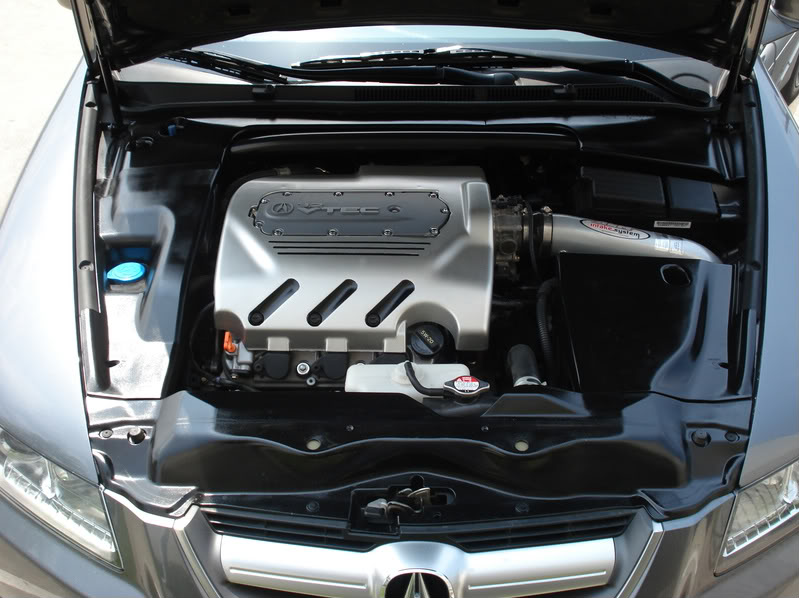
I used Caliper paint for the gold and engine paint for the grey
Spray light coats 10 min apart. I did 4 coats.
Let dry over nite
Install
Just remember when you remove them next time the parts will flex .. the paint won't.
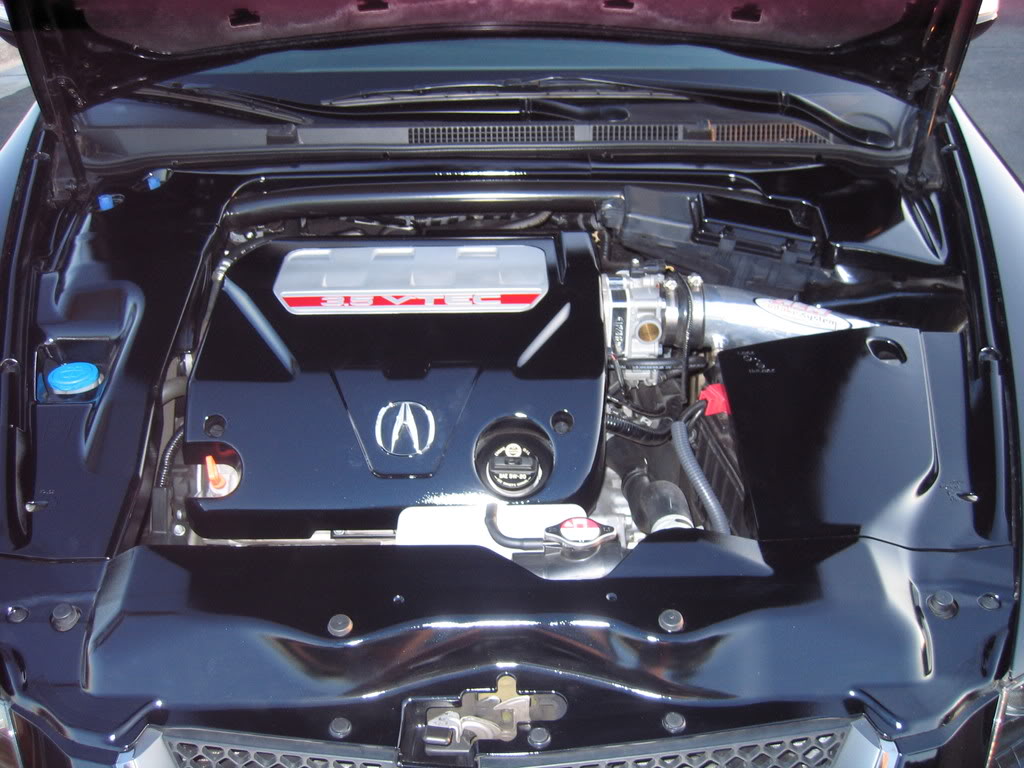
Pix of mine
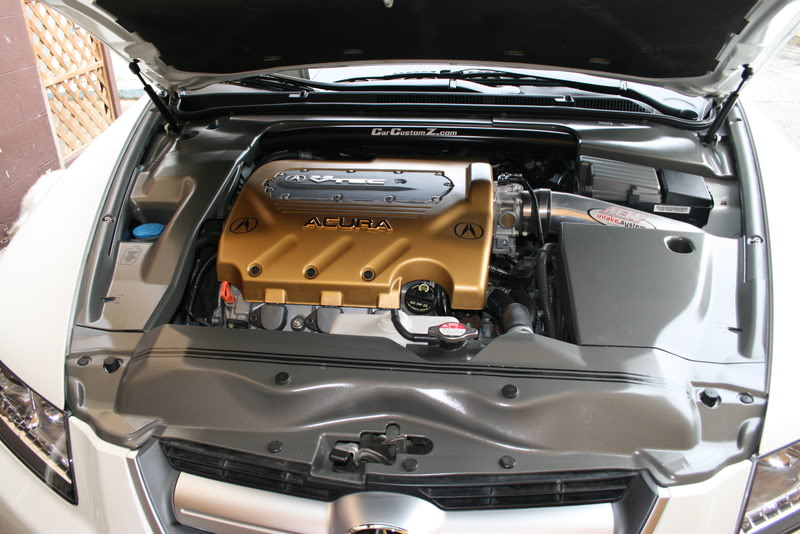
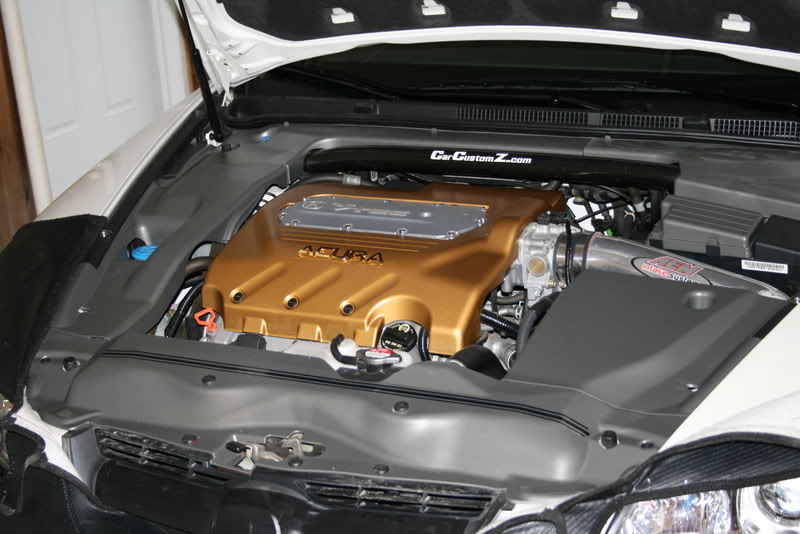
The 3 black stripes on the front piece are a rub strip .. the weather strip on the underside of the hood will wear the paint thin there.
Remove all the parts
wash
sand with 800 lightly unless you want it glass smooth
wipe with IPA or prepsol
spray with primer for plastic adhesion
I used Caliper paint for the gold and engine paint for the grey
Spray light coats 10 min apart. I did 4 coats.
Let dry over nite
Install
Just remember when you remove them next time the parts will flex .. the paint won't.
Pix of mine
The 3 black stripes on the front piece are a rub strip .. the weather strip on the underside of the hood will wear the paint thin there.
05-02-2009, 08:26 AM
#11
Pro
Thread Starter
Join Date: Oct 2008
Location: DC
Age: 40
Posts: 699
Likes: 0
Received 0 Likes
on
0 Posts
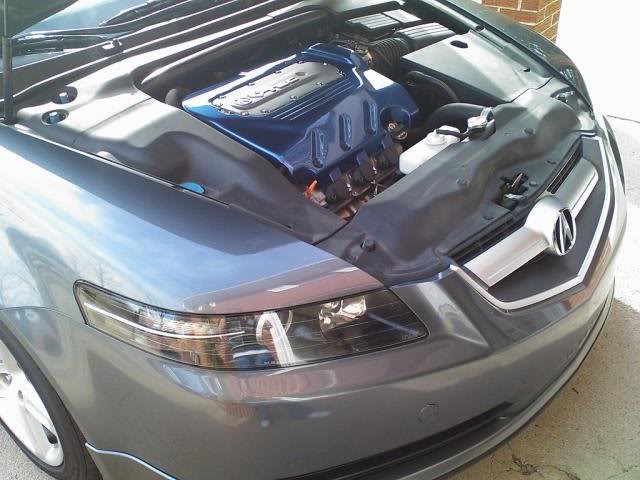
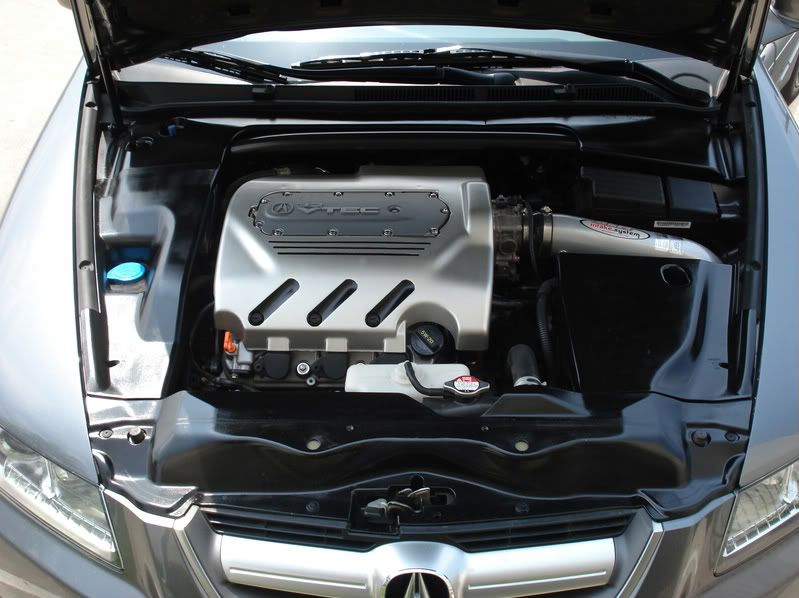
Heres what i did:
Purple Power degreaser
3M 600 Sandpaper
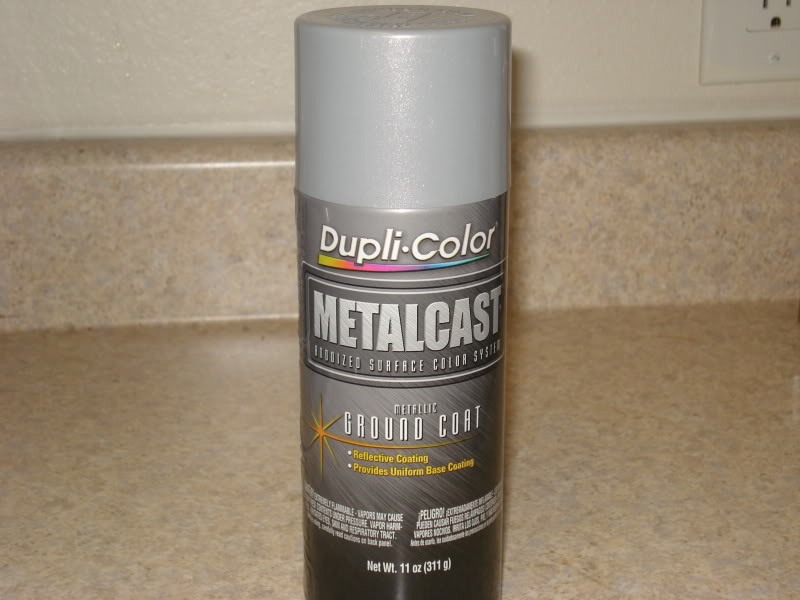
Dupli-color primer, paint, and clear coat
Cleaned the cover until i could rub a paper towel over it and get nothing off of it.
Then i wet sanded it taking my time
Used 4 coats of primer about 15minutes apart
Applyed 4 coats of paint about 1hr apart and the last one over nite.
Then 3 coats of clear coat
I will post pics soon!
Purple Power degreaser
3M 600 Sandpaper
Dupli-color primer, paint, and clear coat
Cleaned the cover until i could rub a paper towel over it and get nothing off of it.
Then i wet sanded it taking my time
Used 4 coats of primer about 15minutes apart
Applyed 4 coats of paint about 1hr apart and the last one over nite.
Then 3 coats of clear coat
I will post pics soon!
Last edited by LoveMyTL-S; 01-20-2011 at 07:13 AM.
05-02-2009, 09:24 AM
#12
Knock down the rough texture with 220. Take your time and get every inch of the surface! Change the paper often - it will get clogged and you will be wasting your energy.
Clean thoroughly with an alcohol-based cleaner. Laquer thinner is fine on a cloth.
Spray adhesion promoter on all surfaces to be painted (this is a must if you want it to last).
Spray on a filler primer and allow it to dry completely (2+ hrs).
Use flat black paint and mist it over the primer - just barely spray it on. Don't cover the entire primer with it. You should be able to see the primer right through it. You will be sanding all of the black off. This will tell you where to wet sand more to get a smooth surface since the black will sink into all the voids.
Wet sand with 400. Again, change the paper often and use lots of water. I recommend a large sponge as well to keep water nearby.
Clean again with alcohol based cleaner and allow to dry for at least 30 minutes.
Blow off any dust that may have settled and paint using your desired color. Spray using several light coats.
The whole process will take you as much as a whole day, but it will be worth it. Take your time and do it right, and you will enjoy the result much more.
I have pics, but I'm holding them back because I'm waiting for my AEMv2 to arrive and be painted as well.
The following users liked this post:
Undying Dreams (04-12-2013)
05-02-2009, 11:01 AM
#13
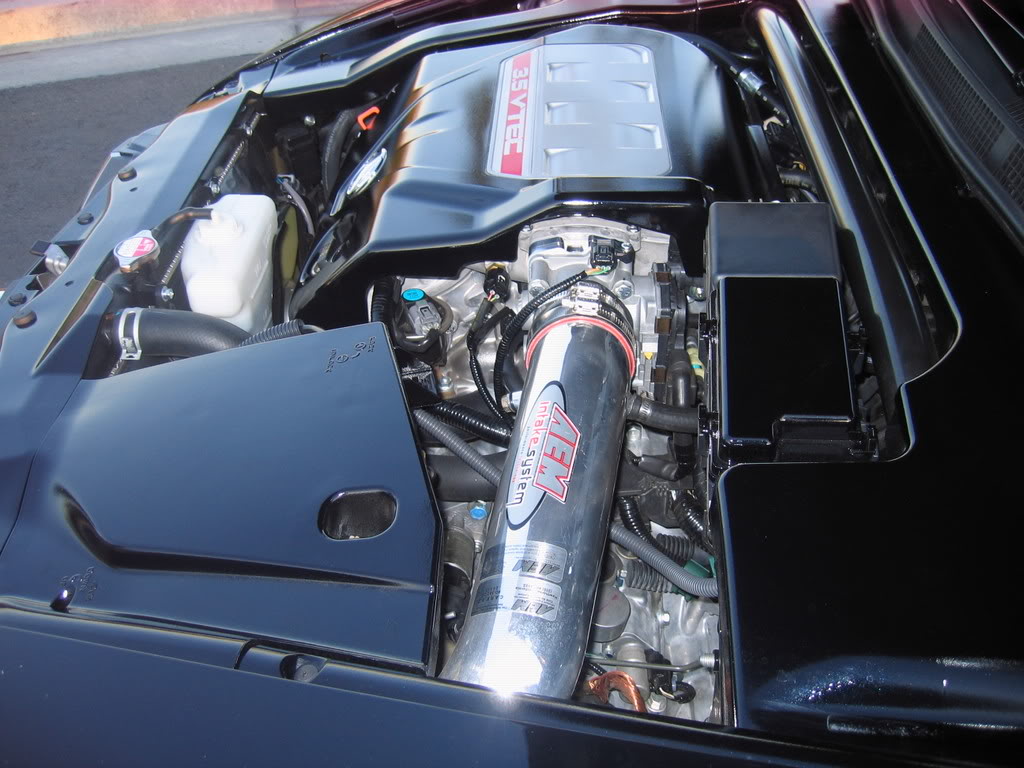
Here I come!
Mine...

 05-04-2009, 09:28 PM
#17
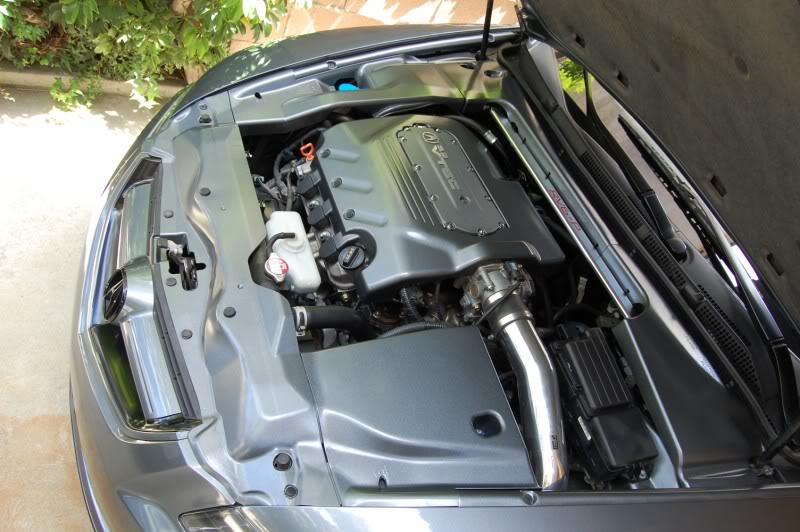
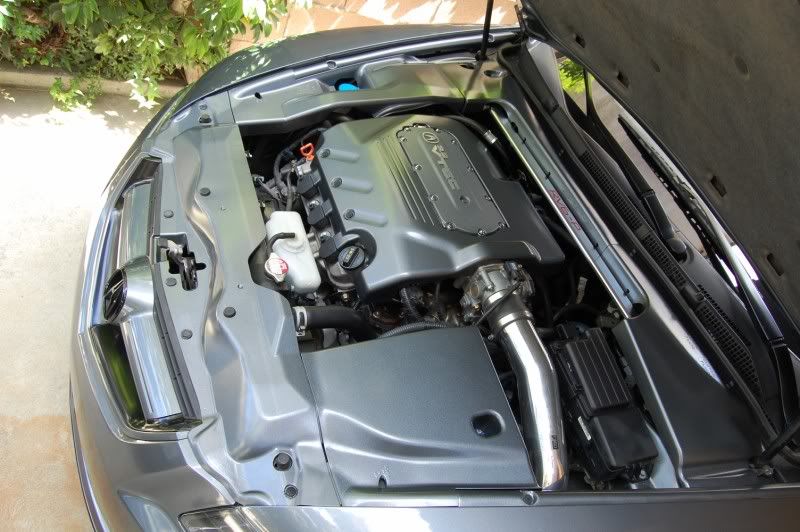
Here I come!
It was the closest color to the CAI. Shines nice in direct sunlight.
 05-05-2009, 10:30 AM
#21
Team Owner
iTrader: (2)
Join Date: Jan 2008
Location: Kansas City, MO (Overland Park, KS)
Posts: 36,545
Received 6,470 Likes
on
5,162 Posts
Damn...you guys are making me jealous. And I thought I was almost done modding my Type S.....
05-05-2009, 08:43 PM
#23
jptl04 has his done in white. Not sure how hard it would be to maintain but he keeps his immaculate

Probably the cleanest engine bay on acurazine right there. I saw it in person there is not a spec of dirt you could eat off of it lol. He has more pics in this thread:
https://acurazine.com/forums/3g-tl-photograph-gallery-96/07-type-s-engine-bay-playing-dress-up-686192/
Probably the cleanest engine bay on acurazine right there. I saw it in person there is not a spec of dirt you could eat off of it lol. He has more pics in this thread:
https://acurazine.com/forums/3g-tl-photograph-gallery-96/07-type-s-engine-bay-playing-dress-up-686192/
05-05-2009, 09:17 PM
#24
Senior Moderator
jptl04 has his done in white. Not sure how hard it would be to maintain but he keeps his immaculate

Probably the cleanest engine bay on acurazine right there. I saw it in person there is not a spec of dirt you could eat off of it lol. He has more pics in this thread:
https://acurazine.com/forums/showthread.php?t=686192
Probably the cleanest engine bay on acurazine right there. I saw it in person there is not a spec of dirt you could eat off of it lol. He has more pics in this thread:
https://acurazine.com/forums/showthread.php?t=686192
09-19-2009, 12:02 PM
#25
2nd Gear

Join Date: Sep 2009
Posts: 2
Likes: 0
Received 0 Likes
on
0 Posts
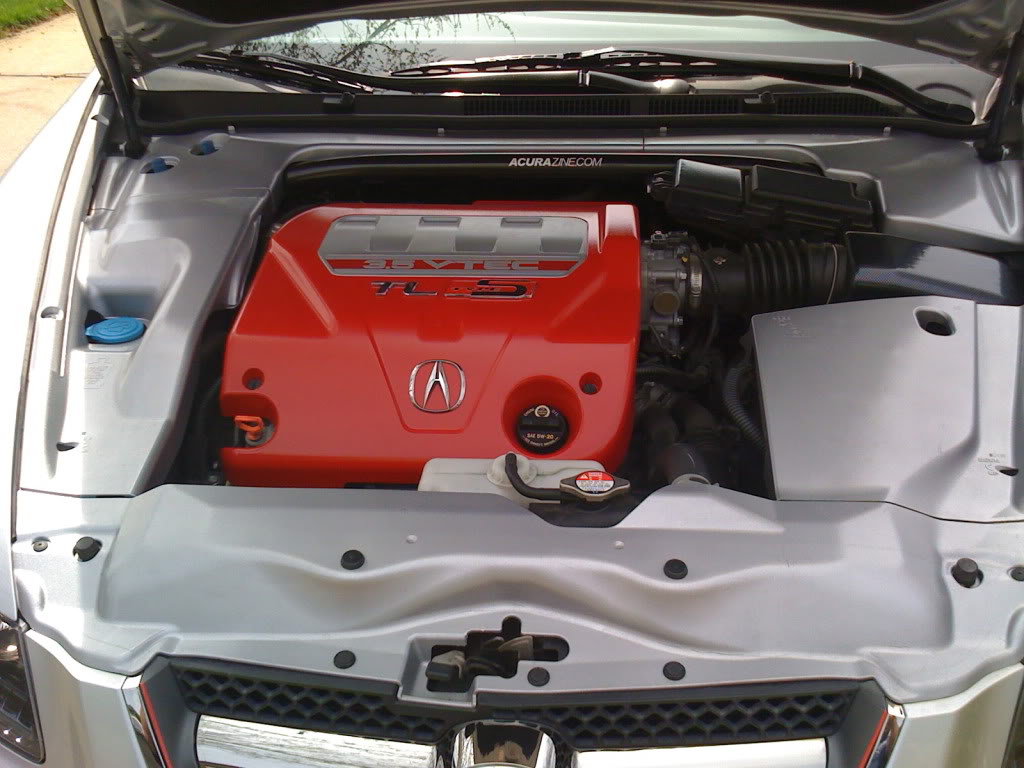
Can someone please check out Volly's Tl engine cover? He says that he used anidozed red paint and i was wondering what brand he used. It looks REALLY cool and i want the same color for mine. THe link to his profile is https://acurazine.com/forums/garage/...054-VoLLy.html
and the link to the engine cover is
https://acurazine.com/forums/album.p...ictureid=16641
i just became a member so i can't message him. Can Someone please ask Volly what kind of paint he used for his engine cover and let me know?
Thanks a lot.
and the link to the engine cover is
https://acurazine.com/forums/album.p...ictureid=16641
i just became a member so i can't message him. Can Someone please ask Volly what kind of paint he used for his engine cover and let me know?
Thanks a lot.
 09-20-2009, 02:40 PM
#28
Team Owner
iTrader: (2)
Join Date: Jan 2008
Location: Kansas City, MO (Overland Park, KS)
Posts: 36,545
Received 6,470 Likes
on
5,162 Posts
I am going to take a lead from TLSRider. I just got in a sheet of Carbon Fiber vinyl. I'm going to wrap (or attempt to) the engine cowling pieces under the hood. TLS said he's had his for over a year now, and it still looks great. It's going to be a few weeks before I start because I have to travel for work for the next 2 out of 3 weeks. But I'm anxious to give it a try.
I looked into getting the real stuff for the engine pieces, but it was VERY expensive. I couldn't justify it for a mod you rarely see.
I looked into getting the real stuff for the engine pieces, but it was VERY expensive. I couldn't justify it for a mod you rarely see.
06-14-2010, 09:27 PM
#32
Team Owner
iTrader: (2)
Join Date: Jan 2008
Location: Kansas City, MO (Overland Park, KS)
Posts: 36,545
Received 6,470 Likes
on
5,162 Posts
Very happy with the final results....pictures don't do it justice-it looks MUCH better in person.
The following 2 users liked this post by Steven Bell:
StealthTL-S (01-30-2019),
wusty23jd (01-25-2017)

 06-14-2010, 09:47 PM
#34
Burning Brakes


