When you click on links to various merchants on this site and make a purchase, this can result in this site earning a commission. Affiliate programs and affiliations include, but are not limited to, the eBay Partner Network.
Added sound dampening to my RDX (large pic warning)
I've always wanted to try this, and decided to take a long weekend and give it a shot. I used Noico, bought off Amazon at $65 a box (36 sq ft), which was much cheaper than Dynamat. As far as the results...the car is definitely quieter and the miscellaneous vibrations and minor rattles that were present when driving down the road have been virtually eliminated. I haven't done the hatch area yet. Those panels are a lot more tricky to remove. On the plus side, it looks like Acura's done a much better job with sound deadening in the hatch area than my 1G RDX (when I removed that panel, it was just bare metal).
Overall, I recommend it if you have a few days to kill. In all, it took me 22 hours (including cleanup and putting everything back together). It could probably be done in less time, but I also took apart the console and applied adhesive-backed rubber to all the screw holes/joint areas. The console was the only thing that rattled in my car, especially near the touchpad. It's absolutely rock solid and doesn't rattle at all now.
Nice job. I did the doors on my Tacoma a few years ago, and know how much work this is, impressed you did the floor. I�ve been thinking about doing the front footwells in my RDX, I always notice some vibrations under my feet on the highway when I�m in the passenger seat. And I showed this to my wife just to prove that there are crazy people just like me when it comes to vehicle noise.
Excellent work. Any guess as to how much weight was added to the vehicle overall?
It added about 50 pounds overall. I used two boxes, and still have a third box that I'll eventually used for the hatch area...so figure another 25 pounds if that takes the whole box.
Another note - I've heard people often do this to make the stereo sound better, and it definitely did improve the sound quality. I tend to listen at low volumes and felt the stereo was pretty lifeless before unless it was turned up. Now, I can listen at preferred volume and it sounds much better.
It added about 50 pounds overall. I used two boxes, and still have a third box that I'll eventually used for the hatch area...so figure another 25 pounds if that takes the whole box.
Thank you for the response. 50-75 lbs is negligible and well worth the extra silence you have achieved.
Did you have any left over bolts/nuts or lost some?
Hah...I did have two screws left over. I about kicked myself after I had put everything back together and realized that they were part of the console, but it's rock solid and didn't rattle or move when I drove...so all good.
There shouldn't be any effect on warranty unless you go to them bitching about a squeak or rattle in something you took apart. Or maybe a wiring harness issue; you need to make sure chassis ground connections stay solid. And try not to break stuff, obviously.
If you do the cargo area, watch out for the special fasteners near the upper side mounts for the rear seat belts. They are designed to release the panel when the side curtain airbag deploys. They should be replaced after you pull those panels, and they might need to be special ordered.
Look at the instructions for the trailer hitch harness installation, if you don't have access to other detailed instructions.
I cringe at the thought of my car being torn apart like this, but great job. To me it would be worth it. I don't understand why Acura would not do this? I don't know a single person who would not want to drive a quiet car!
I don't understand why Acura would not do this? I don't know a single person who would not want to drive a quiet car!
1) labor cost
2) weight
But note in the pics there is factory applied sound dampening / "mass loading" material on the floor of the vehicle. I'm told much of the benefit can be achieved without completely covering all surfaces. Deadening panel resonances is much of the battle. But I'm no expert.
Did you have any left over bolts/nuts or lost some?
Good comment. Except are there any nuts/bolts to have leftover any more, or is everything a plastic clip. Unrelatedly....I rebuilt a 428 once and had, what my 'oh well' teen-self thought at the time, was a fair amount of bolts leftover, some pretty good sized. And I thought, man, those must have held some pretty big things together....but all was well somehow.
This is really cool.
Just wondering, what are those metal circles with lines going to them under the back seats?
I'm honestly not sure. When I took the caps off, it looked like the back end of speakers...but that doesn't make sense because I already know where all 16 speakers are.
Originally Posted by tntrac
Did you lose any bolts or have left over ?
Hah...I did have two leftover. They go in the console area, but it still feels pretty tight (honestly tighter than before since I added rubber sheeting to all screw holes I could find). If I ever wind up taking the console apart again for some reason, I'll screw them in there just to make myself feel better.
Originally Posted by kebel87
I would've been terrified to do that with my very little knowledge of how cars are built.
Do you have ventilated seats? If not, do you feel like you could've add that feature somehow?
I do have ventilated seats, but I don't think that's something that can be added. It appears to be built into the seat itself.
I'm not 100% certain on Acura's terminology, but it appears that there are two fuel pumps. Item 2 is refered to as the "Fuel Pump Module" and item 6 is the "Sub Module". There is also a transfer tube to move fuel from one side to the other. Both modules have fuel level sender's (ie Meters, see items 4 and 7), which is probably what the connectors are for. I bet if you unscrew the top of those circular panels, you will find the top of each "Fuel Pump Module."
Since the tank lives tight to the body, it is pretty common to have access points for the fuel pump sending units under the rear seats. This way you don't have to drop the tank (which if you have SH-AWD probably also means removing the prop shaft) just to access the fuel pumps/sending units.
You are correct. I have access to Acura ServiceExpress for a little while, and I found this:
I've always wanted to try this, and decided to take a long weekend and give it a shot. I used Noico, bought off Amazon at $65 a box (36 sq ft), which was much cheaper than Dynamat. As far as the results...the car is definitely quieter and the miscellaneous vibrations and minor rattles that were present when driving down the road have been virtually eliminated. I haven't done the hatch area yet. Those panels are a lot more tricky to remove. On the plus side, it looks like Acura's done a much better job with sound deadening in the hatch area than my 1G RDX (when I removed that panel, it was just bare metal).
Overall, I recommend it if you have a few days to kill. In all, it took me 22 hours (including cleanup and putting everything back together). It could probably be done in less time, but I also took apart the console and applied adhesive-backed rubber to all the screw holes/joint areas. The console was the only thing that rattled in my car, especially near the touchpad. It's absolutely rock solid and doesn't rattle at all now.
Wow. Excellent job. These photos show worse than I suspected - I thought there was little insulation on the doors and floor due to the unacceptably high road noise. In fact, there appears to be NO sound insulation on both the doors and the most of the floor - particularly in the wheel and front floor mat area. Wow. That explains the unacceptably high road noise. There appears to be some little dampening material under the seats, but that's about it.
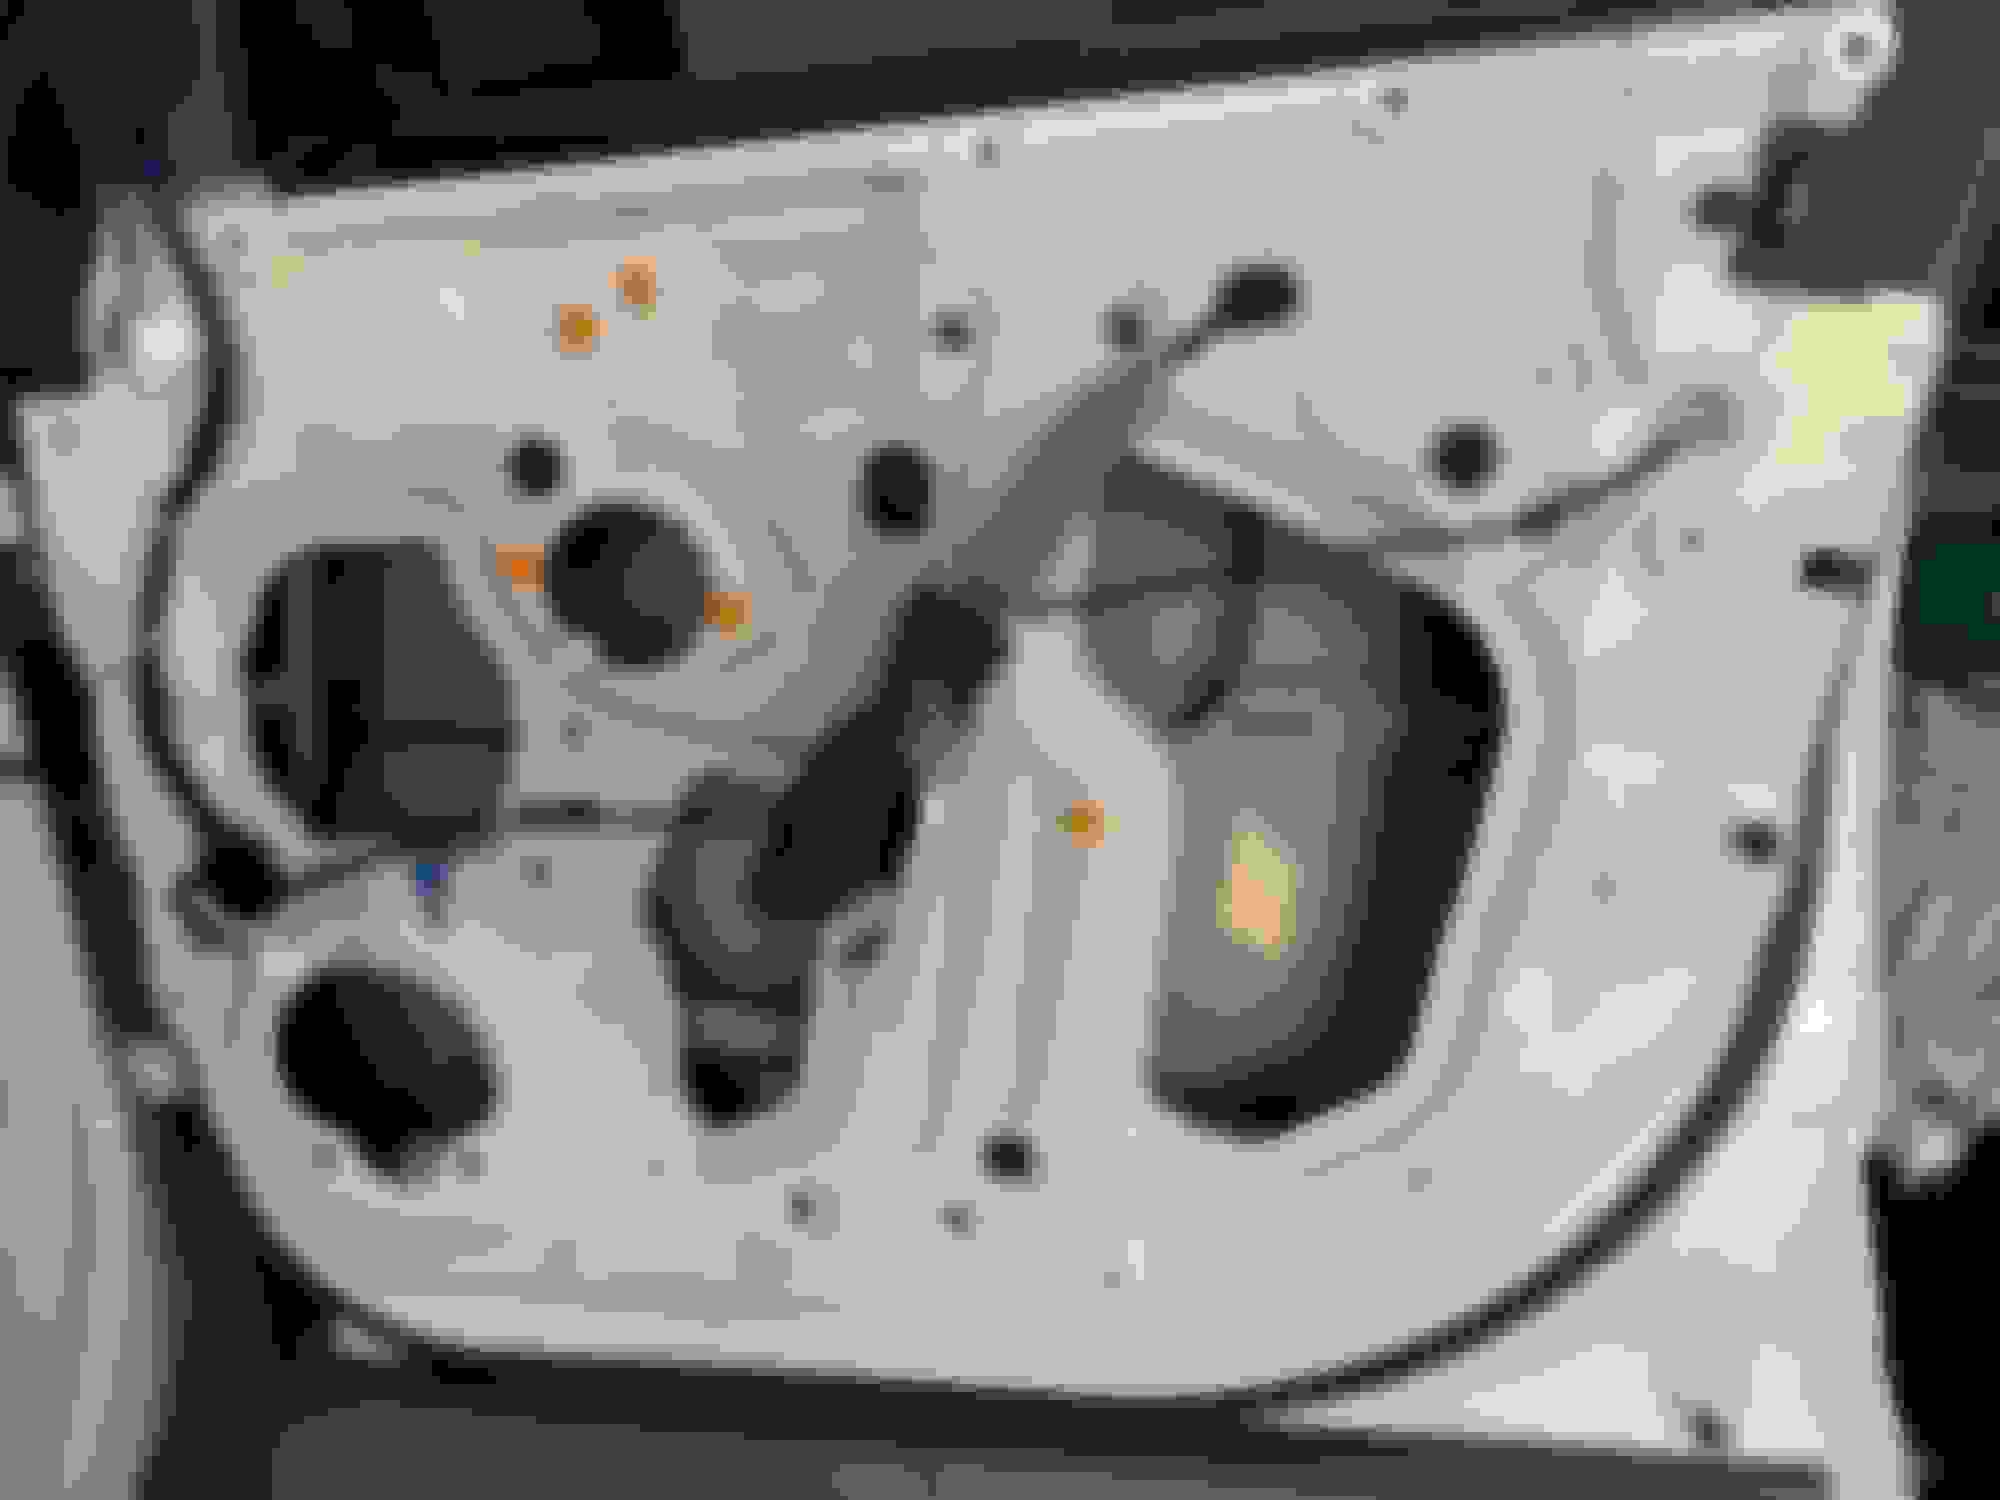
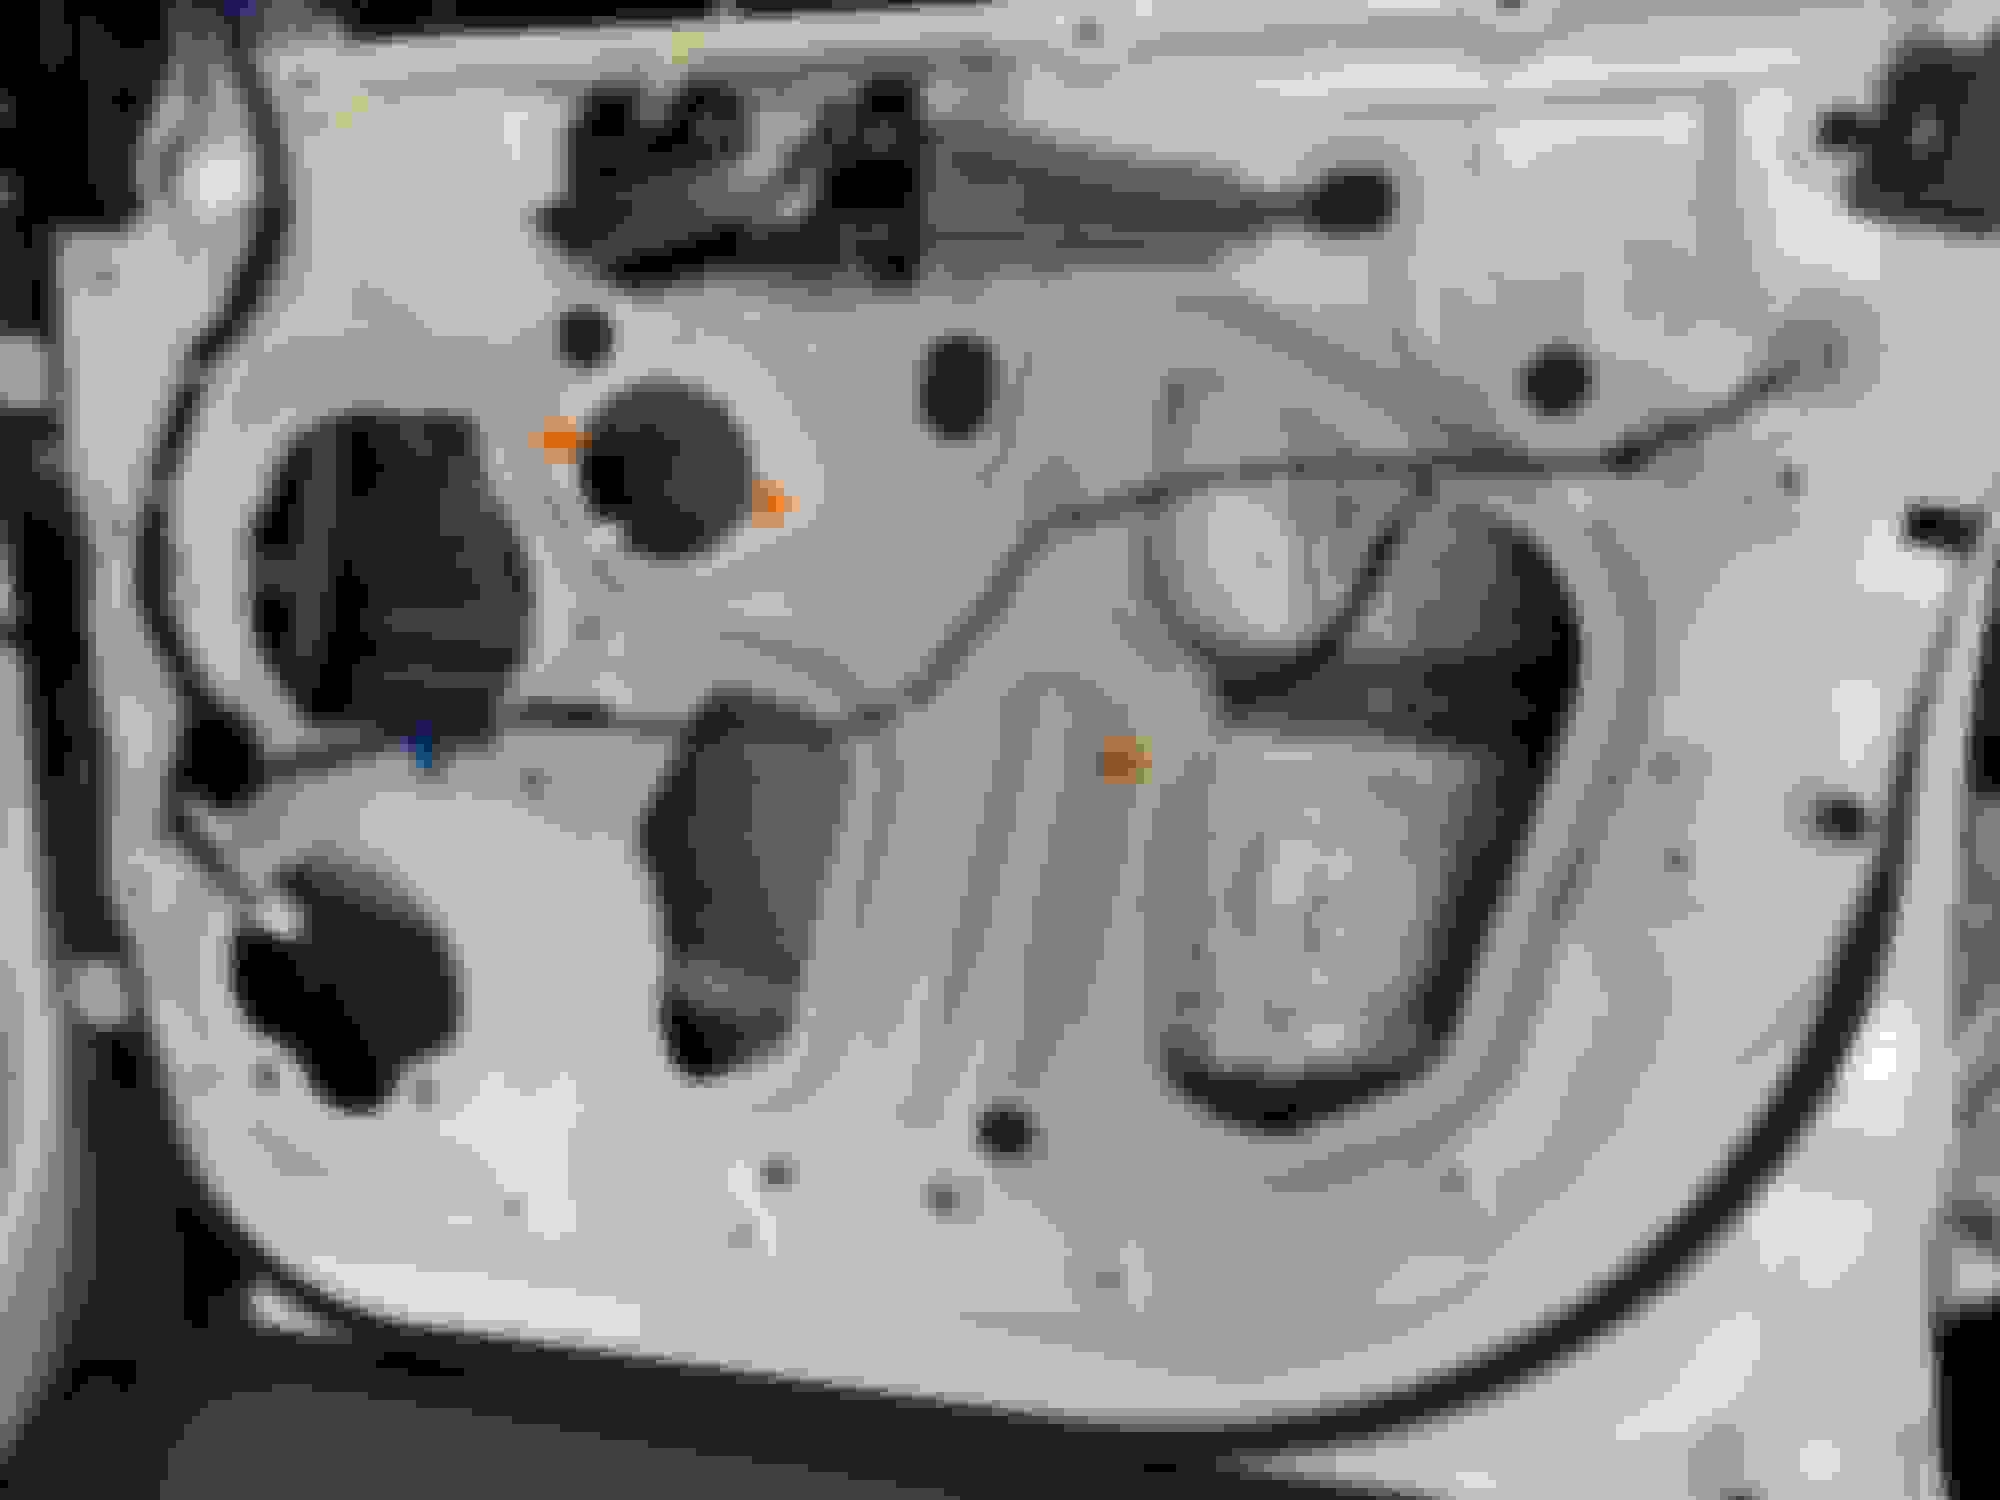
I would love to do this to our doors... how did you get the door panels off BoBoish?
There are three screws you need to remove (two behind door handle, one under armrest) and then the rest of the panel is held in place with clips. You can look at the pic above of the door and see the orange plastic bits are for screws (there are two more for the speaker, but that's after you remove the panel) and then little circles all around the perimeter that are for the clips. It takes just a couple minutes to remove a panel after you've done the first one and gotten a feel for it. The trick is to not break the clips. I did buy a trim removal kit from Amazon (
) to make things easier, but it's not necessary if you're careful. I wound up not even using all the tools that came with it, so you could probably get one of the $10 kits to get all the tools you need.
I would love to do this to our doors... how did you get the door panels off BoBoish?
If you go ahead and do your doors I would very much appreciate your thoughts about whether it makes a noticeable difference with the road noise or not. This is something I think we would be willing to have done if it helps.
If you go ahead and do your doors I would very much appreciate your thoughts about whether it makes a noticeable difference with the road noise or not. This is something I think we would be willing to have done if it helps.
Yes, it will be difference, but also you need to put some CCF and MLV between door frame and plastic panel. For the floor I think it is waist of money to put so much material on the floor, you only need CCF anf MLV because there are enough anti vibration material on the floors flat surfaces (from pictures).
Yes, it will be difference, but also you need to put some CCF and MLV between door frame and plastic panel. For the floor I think it is waist of money to put so much material on the floor, you only need CCF anf MLV because there are enough anti vibration material on the floors flat surfaces (from pictures).
could you explain your description with a bit more detail please?
I decided to follow suit and try my hand at door soundproofing. Ordered some SoundSkins and went at it his afternoon. Took about 5 hours for both doors. Was not as difficult as I thought. I watched a few utube's beforehand to get the technique and explanation why. I took a slightly different approach than bobish. I used SoundSkins because of the three layers they use. I spent $180 for both doors. You will see also that I 'loaded' (covered) those plastic hole coverings (big plugs) b/c they seemed very flimsy. One other thing, I was very dissapointed at the weight of the larger speaker driver. It was very light. I expected a decent magnet. I also posted the pics of the speakers in case anyone is interested.
 07-07-2019, 01:44 PM


 ?
?


