When you click on links to various merchants on this site and make a purchase, this can result in this site earning a commission. Affiliate programs and affiliations include, but are not limited to, the eBay Partner Network.
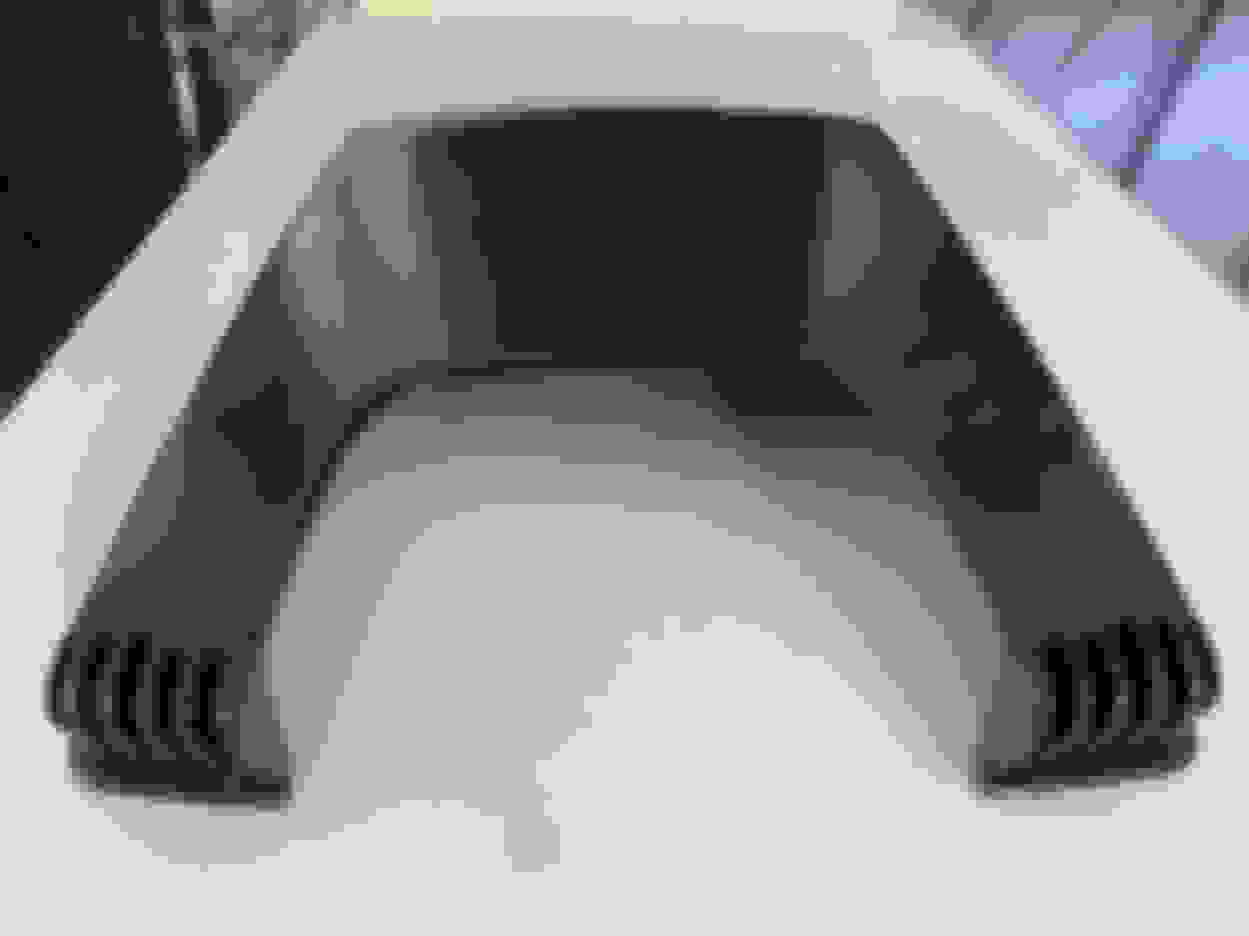
I am looking how to remove the center armrest in my 2010 Acura TL. The leather on it has bubbled and peeled away so I had a replacement cover made and have no idea how to remove it for installation. Any help would be greatly appreciated.
No manual needed, just follow simple steps... everything removes piece by piece starting from silver plastic trims, side console pieces. Hard to explain, I removed one some time ago but can't remember step by step...
Hope this helps
Last edited by shurik74; Feb 12, 2014 at 12:08 AM.
No manual needed, just follow simple steps... everything removes piece by piece starting from silver plastic trims, side console pieces. Hard to explain, I removed one some time ago but can't remember step by step...
Hope this helps
Searched that manual for armrest and nothing comes up. So basically you're saying we have to remove some 31 peices to remove the armrest?? LOL it's right there on top yet no simple screes below it to just remove it, how silly is that...
OK. So here is how to easily do it, without removing any front trim peices. You'll need a flathead screwdriver and a Philips which has a 90� angle.
First go to the backseat and gently remove the rear passenger air vent. It's held by 6 clips, so gently pry them up.
Then open the armrest, and the area between the top leatherette and the first plastic peice, you need to gently pry those apart, also held by 6 clips (2 top, 2 middle, 2 lower)
Now once the plastic peice is separated, just leave it be, you won't be able to get it out without breaking the clips. Gently hold it away from the top peice, and unscrew 3 screws (the ones in a T formation towards the inner bottom of the armrest.
Then go to the backseat and remove the 2 screws bidding underneath the bottom of the armrest, just where the rear passenger which you removed was located. (The 2 holes you see on each side of that grey cable)
The armrest will now be released from the center console, ask if you need help as I just did this with success!
And the finished product. My top was still good so I just added the inner padding. I used a memory foam workout mat about 1cm thick, 2 layers of it and it works perfectly.
Very nice bro. Might have to do this soon, my center rest is very firm too now.
Where you say the 3 screws in a "T" shape, can you outline where the screws were? Hard time locating them based on your picture. All the other steps are beautifully annotated! thanks.
Very nice bro. Might have to do this soon, my center rest is very firm too now.
Where you say the 3 screws in a "T" shape, can you outline where the screws were? Hard time locating them based on your picture. All the other steps are beautifully annotated! thanks.
I'm so sorry, that was a terrible way to ask my question. I mean, you're saying those screws are going in so the head is facing down? The head of the screw is on the side we're seeing, and that's why you need a 90deg phillips? so you can insert the screwdriver, turn the screw. which would be on the top? how would you go about putting the screw back then.
I'm so sorry, that was a terrible way to ask my question. I mean, you're saying those screws are going in so the head is facing down? The head of the screw is on the side we're seeing, and that's why you need a 90deg phillips? so you can insert the screwdriver, turn the screw. which would be on the top? how would you go about putting the screw back then.
So after you pry up the inner plastic peice of the armrest, and after you remove the rear passenger air vent, you'll be sitting in the passenger seat, looking down between the inner and outer separated armrest. While looking down, you'll see towards the bottom those 3 screws. The heads face towards the front of the car. With your right arm you'll hold away the inner peice, and with your left you'll use your 90� Philips to remove those screws. It looks difficult and tight but once you loosen the screws, it get real easy. Then go to the back seat, lay down and remove the 2 last screws. Hope that helps man. Let me know...
So after you pry up the inner plastic peice of the armrest, and after you remove the rear passenger air vent, you'll be sitting in the passenger seat, looking down between the inner and outer separated armrest. While looking down, you'll see towards the bottom those 3 screws. The heads face towards the front of the car. With your right arm you'll hold away the inner peice, and with your left you'll use your 90� Philips to remove those screws. It looks difficult and tight but once you loosen the screws, it get real easy. Then go to the back seat, lay down and remove the 2 last screws. Hope that helps man. Let me know...
chris, I'm ready to re-install but how the hell do u get the plastic backing back on without breaking the clips? I can't remember how they came off so I'm having trouble squeezing the cover over the backing without already having the 2 back binding screws in.. ugh!!!
Hi S2KTL, you will need to very gently get that plastic peice back in place by moving it back and forth, puzzle like, slowly to get it to slip back in. It's kind of annoying but I did it in 2-3 mins. I assume the 2 screws you are talking about are the rear vent screws? Yes I was able to get the entire thing back together without any damage. If this doesn't help let me know and I can try to explain further. I tried to reply to your message but your mailbox is full.
Originally Posted by S2KTL
chris, I'm ready to re-install but how the hell do u get the plastic backing back on without breaking the clips? I can't remember how they came off so I'm having trouble squeezing the cover over the backing without already having the 2 back binding screws in.. ugh!!!
Hi S2KTL, you will need to very gently get that plastic peice back in place by moving it back and forth, puzzle like, slowly to get it to slip back in. It's kind of annoying but I did it in 2-3 mins. I assume the 2 screws you are talking about are the rear vent screws? Yes I was able to get the entire thing back together without any damage. If this doesn't help let me know and I can try to explain further. I tried to reply to your message but your mailbox is full.
Thank u bud. Weird that my mailbox is full since I just created a new accou=
nt.. actually the 2 screws are the ones on the rear underside of the armres=
t that secure the armrest to the arm.. they sit under the plastic piece wit=
h the tabs.. I'll try to maneuver the backing back in without breaking the 2=
rear clips I guess.. I'll try again when I get home tonight.. appreciate t=
he help.
And the finished product. My top was still good so I just added the inner padding. I used a memory foam workout mat about 1cm thick, 2 layers of it and it works perfectly.
Your instructions are life. What do you recommend to buy the replacement piece. I want to do it on my own without paying the dealership a arm and a leg. Do you by chance have a video of these steps.
Your instructions are life. What do you recommend to buy the replacement piece. I want to do it on my own without paying the dealership a arm and a leg. Do you by chance have a video of these steps.
I was able to reuse my leather, it was just the padding that was bad. You might want to try a fabric store? I'm not sure. I do not have a video, but I can certainly help you with any questions you have. Let me know
If it were possible id give you a lifetime of foot massages for this thread. This looks TOTALLY doable. Im on this kick where im renewing everything, panels, leather, etc...just buying new parts and Now I dont have to buy a whole armest assembly, I can get the leather from Ebay and do it myself AND add padding. WHERE did you get that padding from?
If it were possible id give you a lifetime of foot massages for this thread. This looks TOTALLY doable. Im on this kick where im renewing everything, panels, leather, etc...just buying new parts and Now I dont have to buy a whole armest assembly, I can get the leather from Ebay and do it myself AND add padding. WHERE did you get that padding from?
Exactly, it's very easy and only took me 1 hour. But that's because the glue had to dry. I went and used a memory foam gym mat, you know those personal mats you do sit ups on? I cut it to shape and now my elbow is cushioned in memory foam!
Exactly, it's very easy and only took me 1 hour. But that's because the glue had to dry. I went and used a memory foam gym mat, you know those personal mats you do sit ups on? I cut it to shape and now my elbow is cushioned in memory foam!
You, having ACTUALLY done this, and seeing whats UNDERNEAT the padding and leather, do you think this would work being installed in the armrest? Its a wireless charging pad
You, having ACTUALLY done this, and seeing whats UNDERNEAT the padding and leather, do you think this would work being installed in the armrest? Its a wireless charging pad
It seems the charging pad is 3.6in. That's cutting it close. I don't believe there was more than aprox. 2in in space. Plus, I'd have to say unless you corner very slowly, I wouldn't put it there. Your phone will probably end up on the floor, and maybe even behind your pedals, which is dangerous. I know it has magnets but how good are they? Plus you won't be able to use it as an ar rest if needed. Instead, install it inside the compartment wall, and just place your phone in there OR under the dash by the side compartment? Just thoughts...
You, having ACTUALLY done this, and seeing whats UNDERNEAT the padding and leather, do you think this would work being installed in the armrest? Its a wireless charging pad
Hey I'm really stuck here. I took it all apart and got a brand new piece of leather. My only issue is I can't seem to put it back together. Am I missing a piece? Anything would be super appreciated. The locking mechanism for the slide out is getting in the way.
Hey I'm really stuck here. I took it all apart and got a brand new piece of leather. My only issue is I can't seem to put it back together. Am I missing a piece? Anything would be super appreciated. The locking mechanism for the slide out is getting in the way.
It's hard to tell from your photo, but maybe the clips are in your way? You have to kind of wiggle it back into place, it doesn't just go easily. Also maybe check is there a screw in the way (sometimes we put the screws back in so we don't loose it and forget to remove before installing :p
If not take more photos and I'll try to see if I can help further.
Did you use the JB Weld to glue the substrate to the console or did you use the JB Weld to glue the Leather cover to the substrate?
Thanks, Bill
I used the JB weld to glue the edges of the leather cover down to the plastic center console. It wasn't necessary to glue the padding down. Hope that helps.
For more than 5 years I have been re-upholstering such parts, using Loctite Super Glue Liquid Professional and an activator, it usually takes about 20 minutes to paste over.
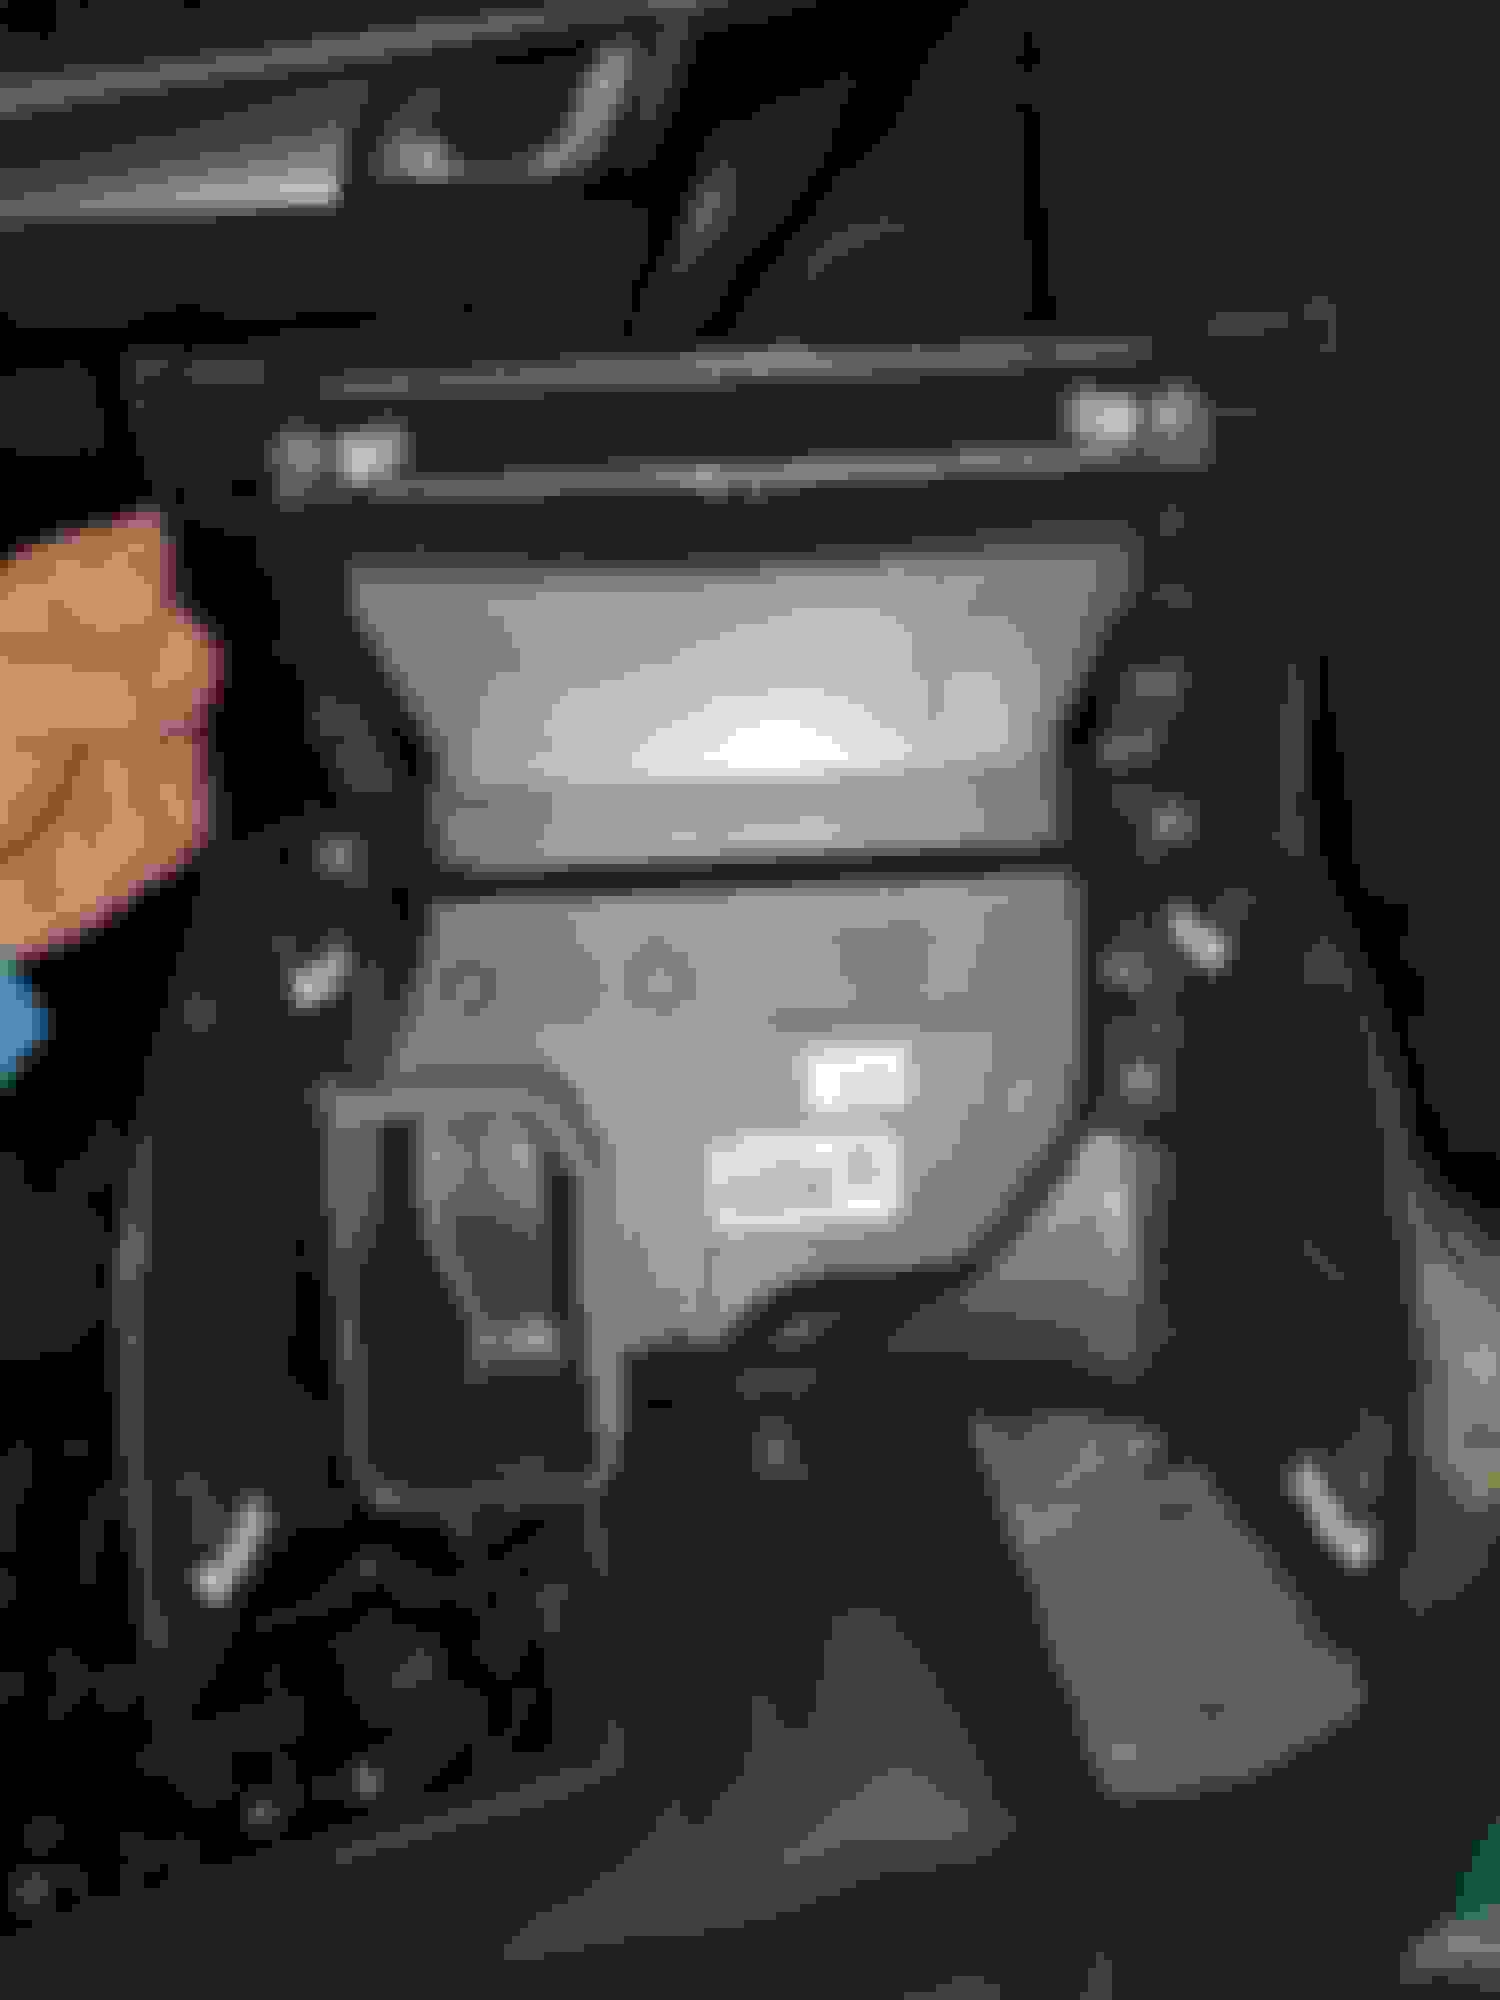
I just started my replacement of the leather\faux stuff that covers the center arm rest. Mine was in really rough shape. It was completely flat and it had a big bubble in it. It was definitely a real eye sore. So I watched the videos, read this thread and printed out the pages from the manual. Dis-assembling everyting was not too bad. I have a few pointers. When removing screws from the housing on the right side in the picture below, only remove the ones on the outsid edge. The 5 in the middle hold the drawer in place. The plastic pry bars that you see at the top right and on the side are great for seperating the housing that supports the leather\vinyl from the console.
.
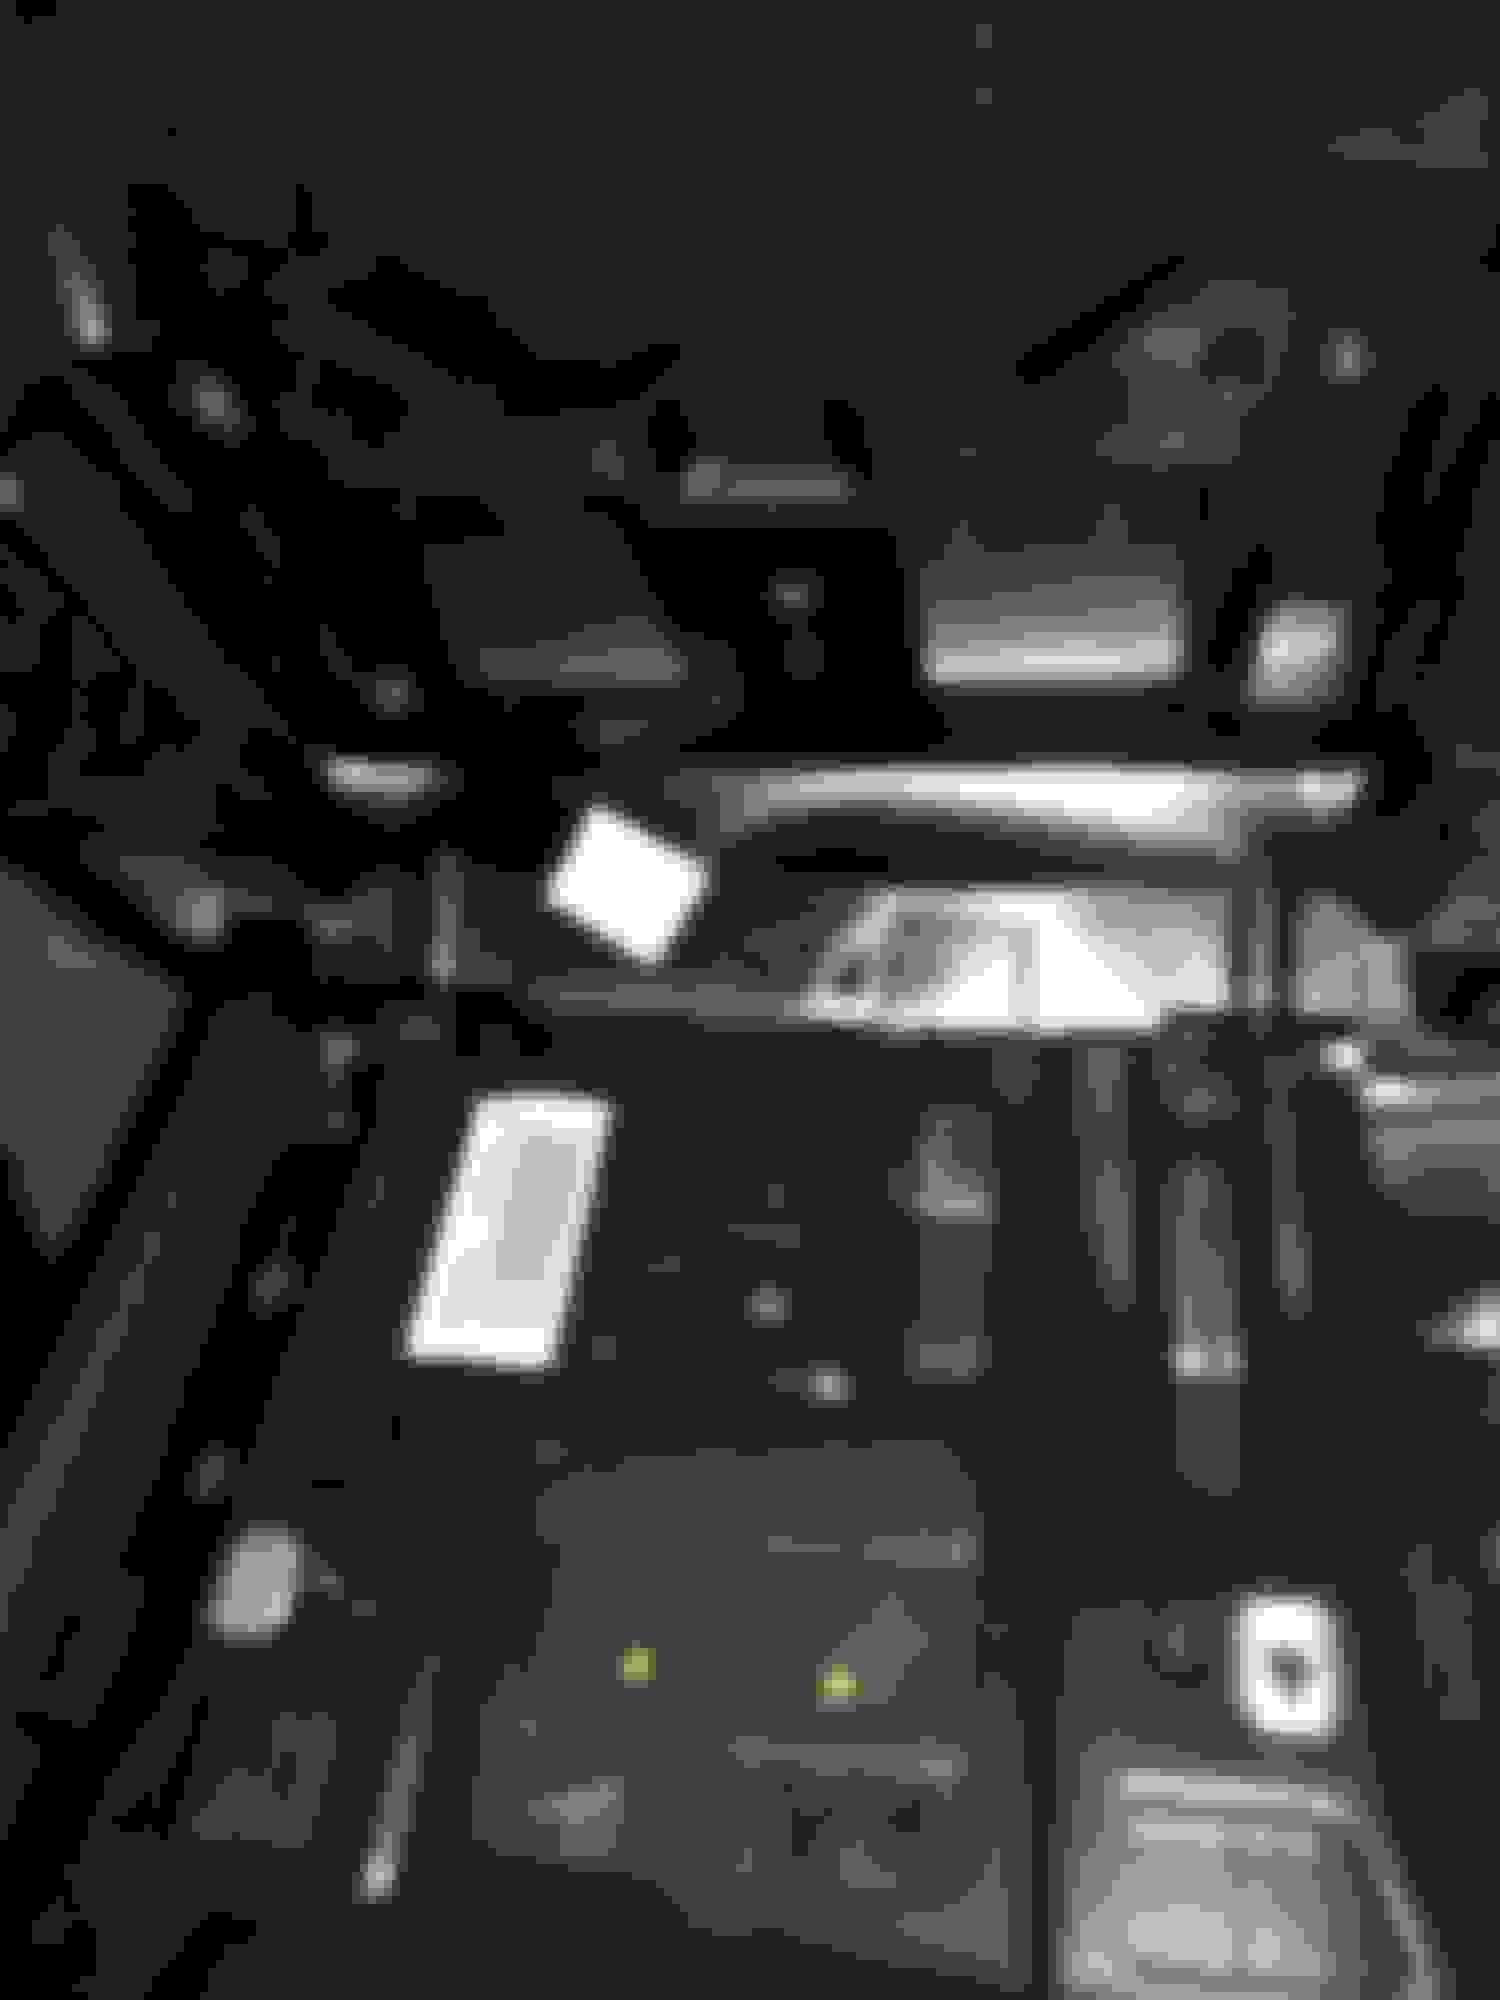
Next step was to remove the gunk from the housing that supports the leather\vinyl (pictured below). Whatever the substrate was that created the cushion had turned into a wet, gooey mess. I used a plastic paint scrapper to remove a lot of it. I have seen people use razor blades too but the plastic paint scrapper works better IMHO. You probably could use a metal one if you were very careful. I used some mineral spirits and steel wool to remove the final reminants of the mess. Soap & water along with simple green for a final cleaning and then I let it sti in the sun for about 10 minutes.
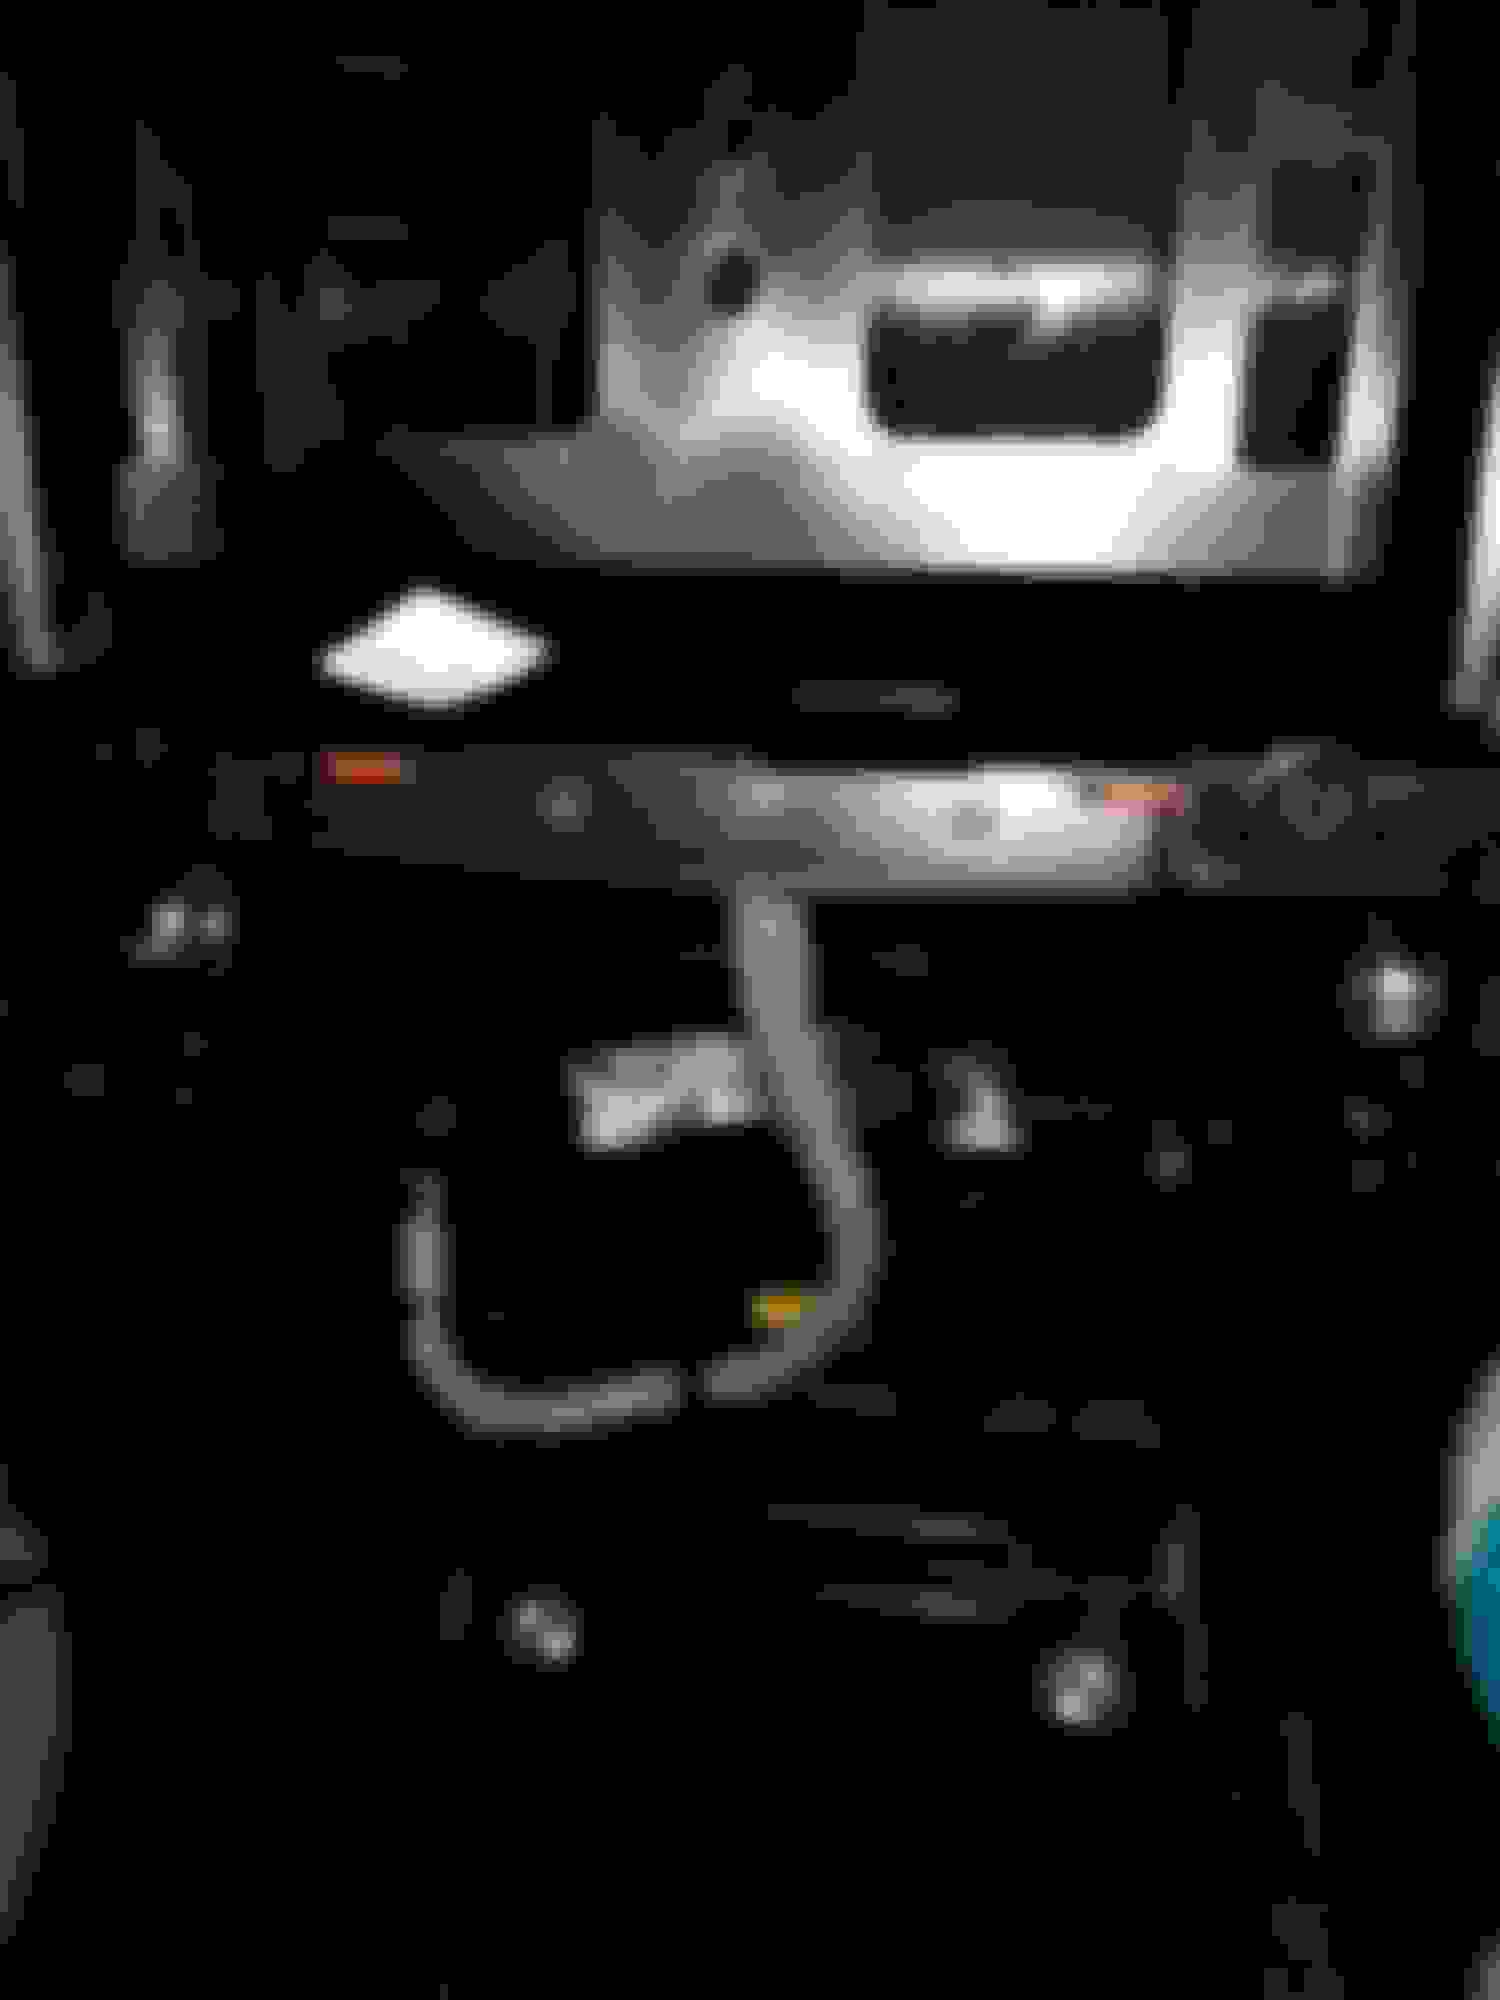
Upon removing the substrate\goeey mess, I noted that the adhesive looked familar. I could be wrong but I think its contact cement. I used the plastic paint scrapper to start peeling it away and once started, you can use your thumbs to roll it up and right off the housing. It took a little bit of effort but the end result is worth it. The nooks that you see in the picture required mineral spirits and some brushing. You can still see some contact cement in the lower left. The leather covering has not arrived yet. According to the USPS tracker, it should be here this afternoon. I bought a yoga mat which I will use to create the cushion. I may have to use contact cement to glue the yoga mat in place but based on what others have said, the pressure created by stretching the leather onto the housing should hold it in place.
I would have taken pictures of the substrate\gooey mess but my hands were covered in it.


 Thanks Chris!!