When you click on links to various merchants on this site and make a purchase, this can result in this site earning a commission. Affiliate programs and affiliations include, but are not limited to, the eBay Partner Network.
Love those tails, but that sure is a lot of condensation... Hope you got a GREAT deal on em.at least. As for that member, to bad he just got defensive right from the start instead of conversing with ya first. Unfortunately, some people are way too selfish.
.
yeah it definitely is alot of condensation, and I was sure to buy new rubber seals (forget the actual part name) before putting both tails in. O well, I paid 300 USD for them, so I guess it wasnt a huge loss. They do look nice when the condensation evaporates lol.
Just finishing up yesterday's update with a few pics of Endless RPMs reverse lights. A much needed ass lift and does some good for the backup cam as well........
Tails look nice , unfortunate about the condensation issue.
yeah the condensation does suck, I am looking into getting them cleaned and resealed, or maybe just get rid of them.
@sickestTL (sorry don't know to multi quote) I know you know how much 300 USD hurts our Canadian wallets, so not a great deal by any means, and the member is still selling an item on here.......buyer beware
yeah its too high up . I had the guy I bought it from install it, and he kindve rushed it. I should have looked at other pics and that would of told me that it needed to be brought down more to hug the edges. I was wondering if I plug the holes, he drilled only two, and move the spoiler down....will it still sit properly? I am thinking about using something like this: fender washer
I will probably have to open the holes up a bit to get these to fit, but my concern is after placing them in the holes, will the spoiler still sit properly? Is there space underneath the spoiler for this work!?
^^^ Thanks for the link!
Ill do some research on these plugs, I will probably buy a few sets of them to see which size fits best for the 2 holes drilled in the trunk.
When the guy installed the spoiler, he drilled holes and put 3m tape on as well, so its on there good!
I really appreciate the link! Cant wait to get this fixed
Last edited by Steven Bell; Feb 1, 2017 at 07:39 PM.
Reason: No need to re-quote the previous post, especially if you're the next person posting.
The studs at the bottom of the spoiler are removeable.
I removed all the studs and clips on my Type-S spoiler and it's just held down with 3M tape.
If you do prefer to have it bolted down still, you have the option of widening the hole towards the rear of the car, or drilling a new hole and plugging the old one up.
These options depend on how much more forward you can go to have it sit flush. To me it looks like you'll need to widen the hole since you don't need to move the trunk spoiler that much.
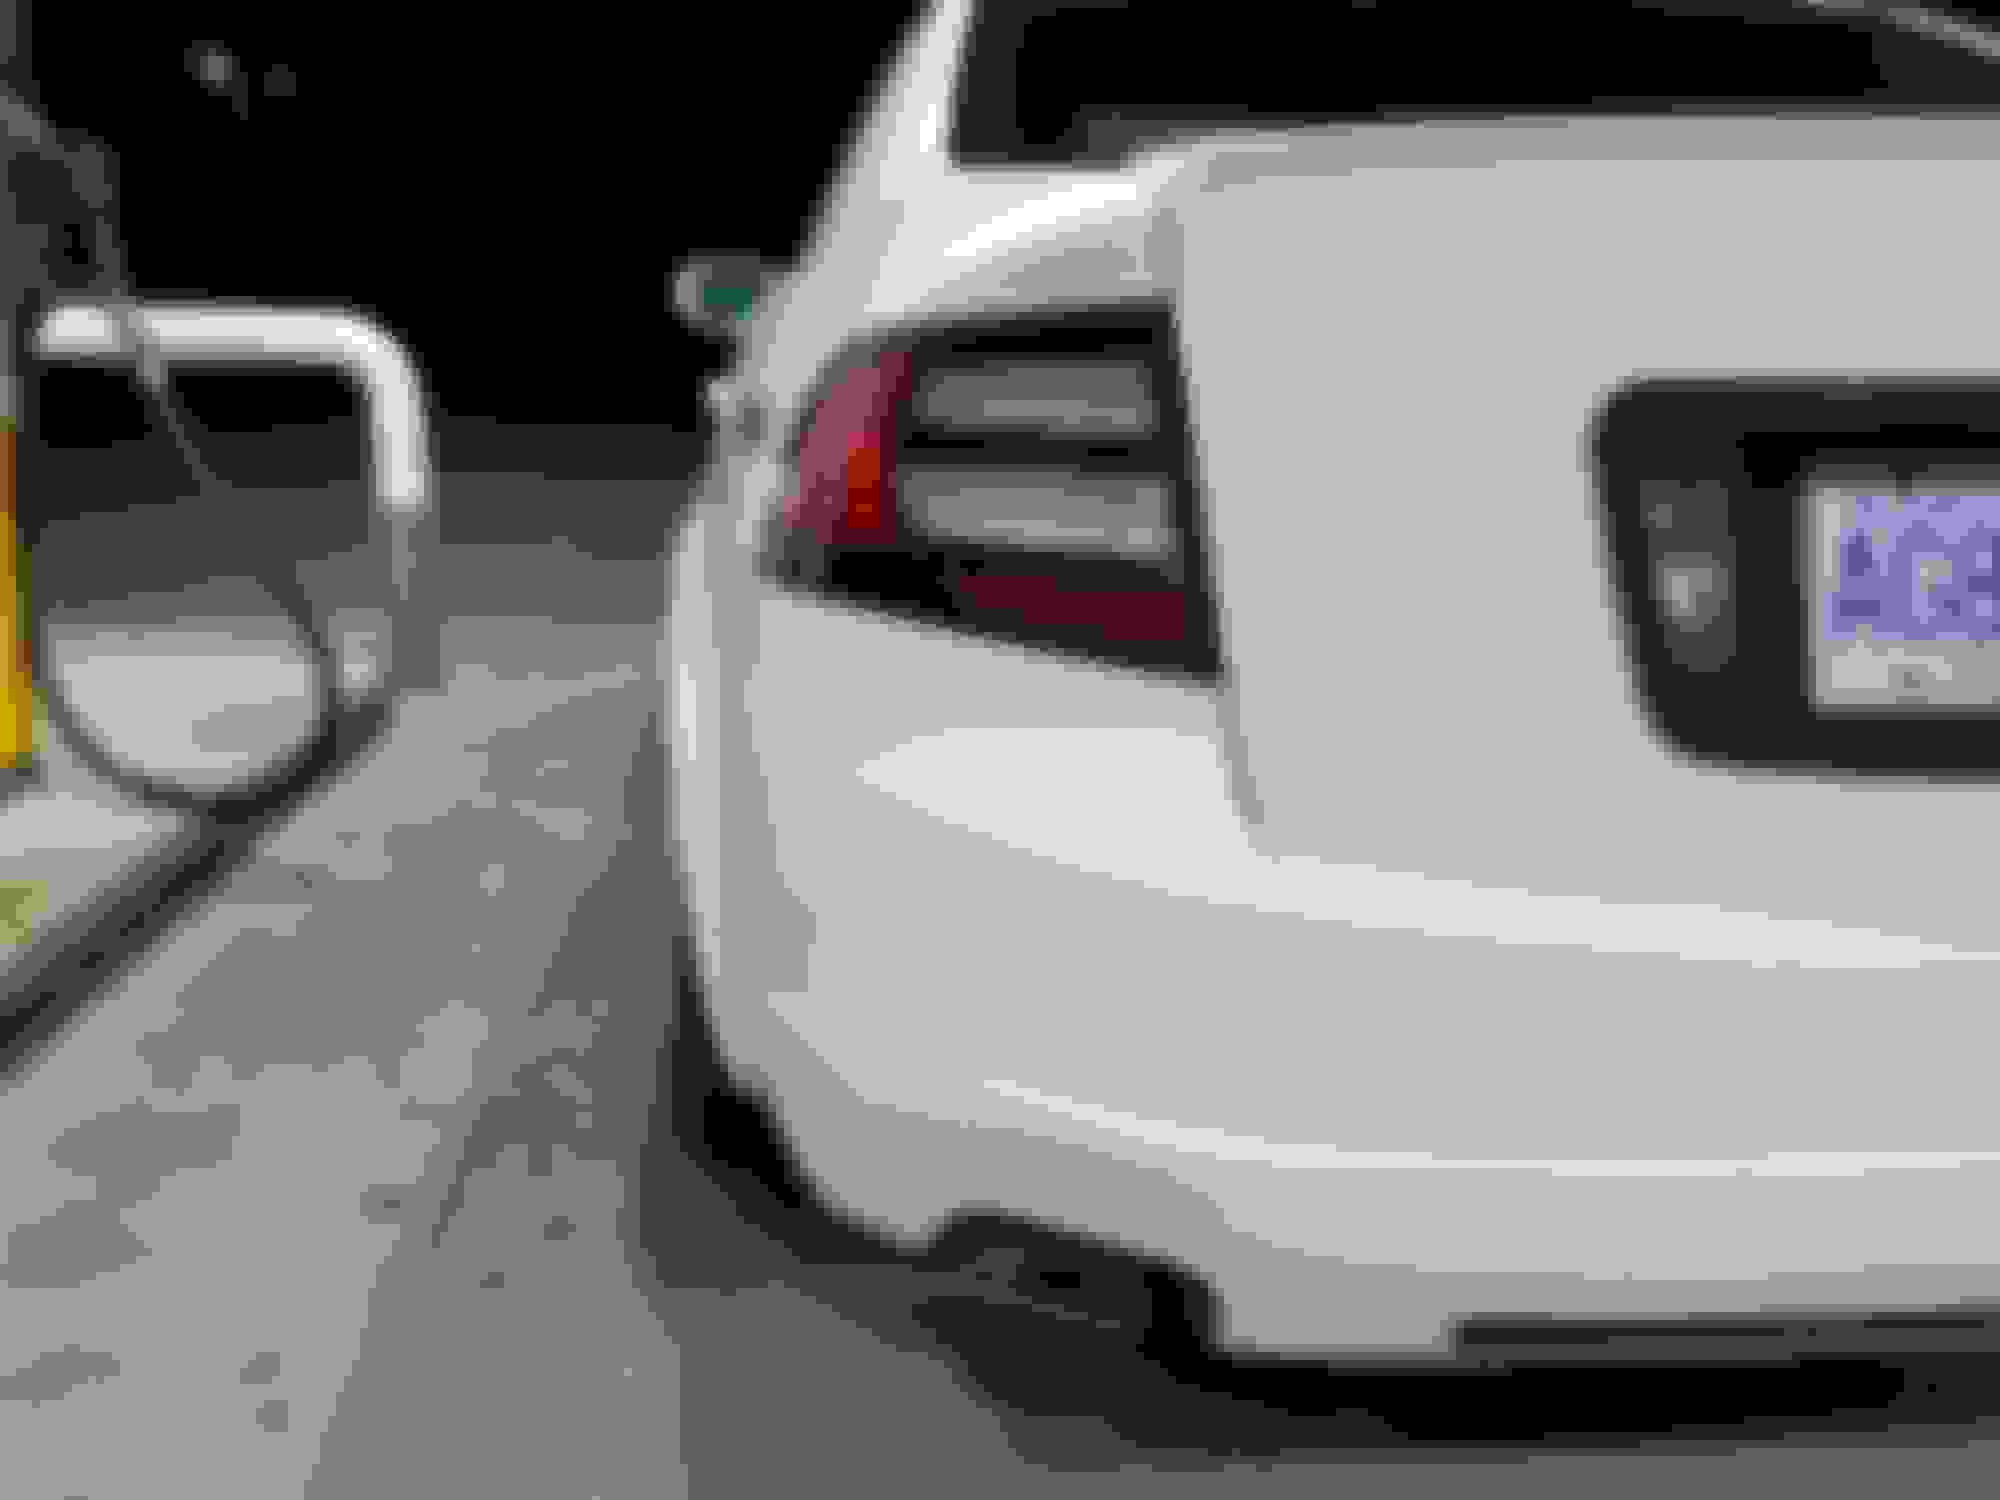
About your tail lights, that's some pretty bad condensation.
It looks like there's sitting water inside there which will surely damage the chrome finish.
I will be making a full detailed DIY on how to open tail lights and seal it up this year.
^^^ So I put some thought into it, and I will probably drill two holes a bit wider towards the edges of the spoiler.
the two holes already drilled are near the center, and I plan on covering those with 3m tape, on the top and bottom of the spoiler. Should hold up just fine im thinking.
I may not drill additional holes, will make that decision when I take the spoiler off and re-asses. In either case, I think itll be fine.
as far as the tailights go, ive reached out to bruce already. i will be sending them his way shortly, and he will see what he can do.
thanks for the input, and i look forward to your DIY!
how would one cut the screws? and remove clips?
Last edited by Steven Bell; Feb 1, 2017 at 07:39 PM.
Reason: Merged Posts-use the Multi Quote button (middle icon in the lower right hand corner of each post) to make your responses look like this.
No cutting required, they are slotted into the spoiler. All you have to do is push them left/right out of their slot.
It's the same deal with the trunk liner removal. There's two long rectangular rubber pieces you remove to remove the trunk liner (to replace your reverse/license LED). Slot left/right - then pull straight out.
If you haven't messed with your trunk spoiler yet, just a heads up - the 3M double-sided tape that holds the spoilers on is usually surprisingly strong (which is why they are often held on with only the tape, no bolts/etc required). So just be cautious and patient with it. If you try to rush it and aren't careful you can pretty easily bend/crease the spoiler, chip the paint, or scratch the trunk. On the bright side, they're relatively cheap if you had to replace the spoiler.
yeah ive had some experience with the 3m tape. I usually use my wifes crazy powered hair dryer to practically melt the tape lol. and then just slide it off with some dental floss. thanks for the heads up!
yeah ive had some experience with the 3m tape. I usually use my wifes crazy powered hair dryer to practically melt the tape lol. and then just slide it off with some dental floss. thanks for the heads up!
Was going to recommend some dental floss or fishing line after warming it up. Some goof off will take the residue off then! Good luck, lets see it when its fixed!
Was going to recommend some dental floss or fishing line after warming it up. Some goof off will take the residue off then! Good luck, lets see it when its fixed!
I'm hoping to get it done tom, should have some sunshine as well
I tackled the spoiler today. Man was it ever a bitch to get all that 3m tape off, that stuff is no joke. Thumbs have blisters from "rolling" the tape off lol.
On to pics
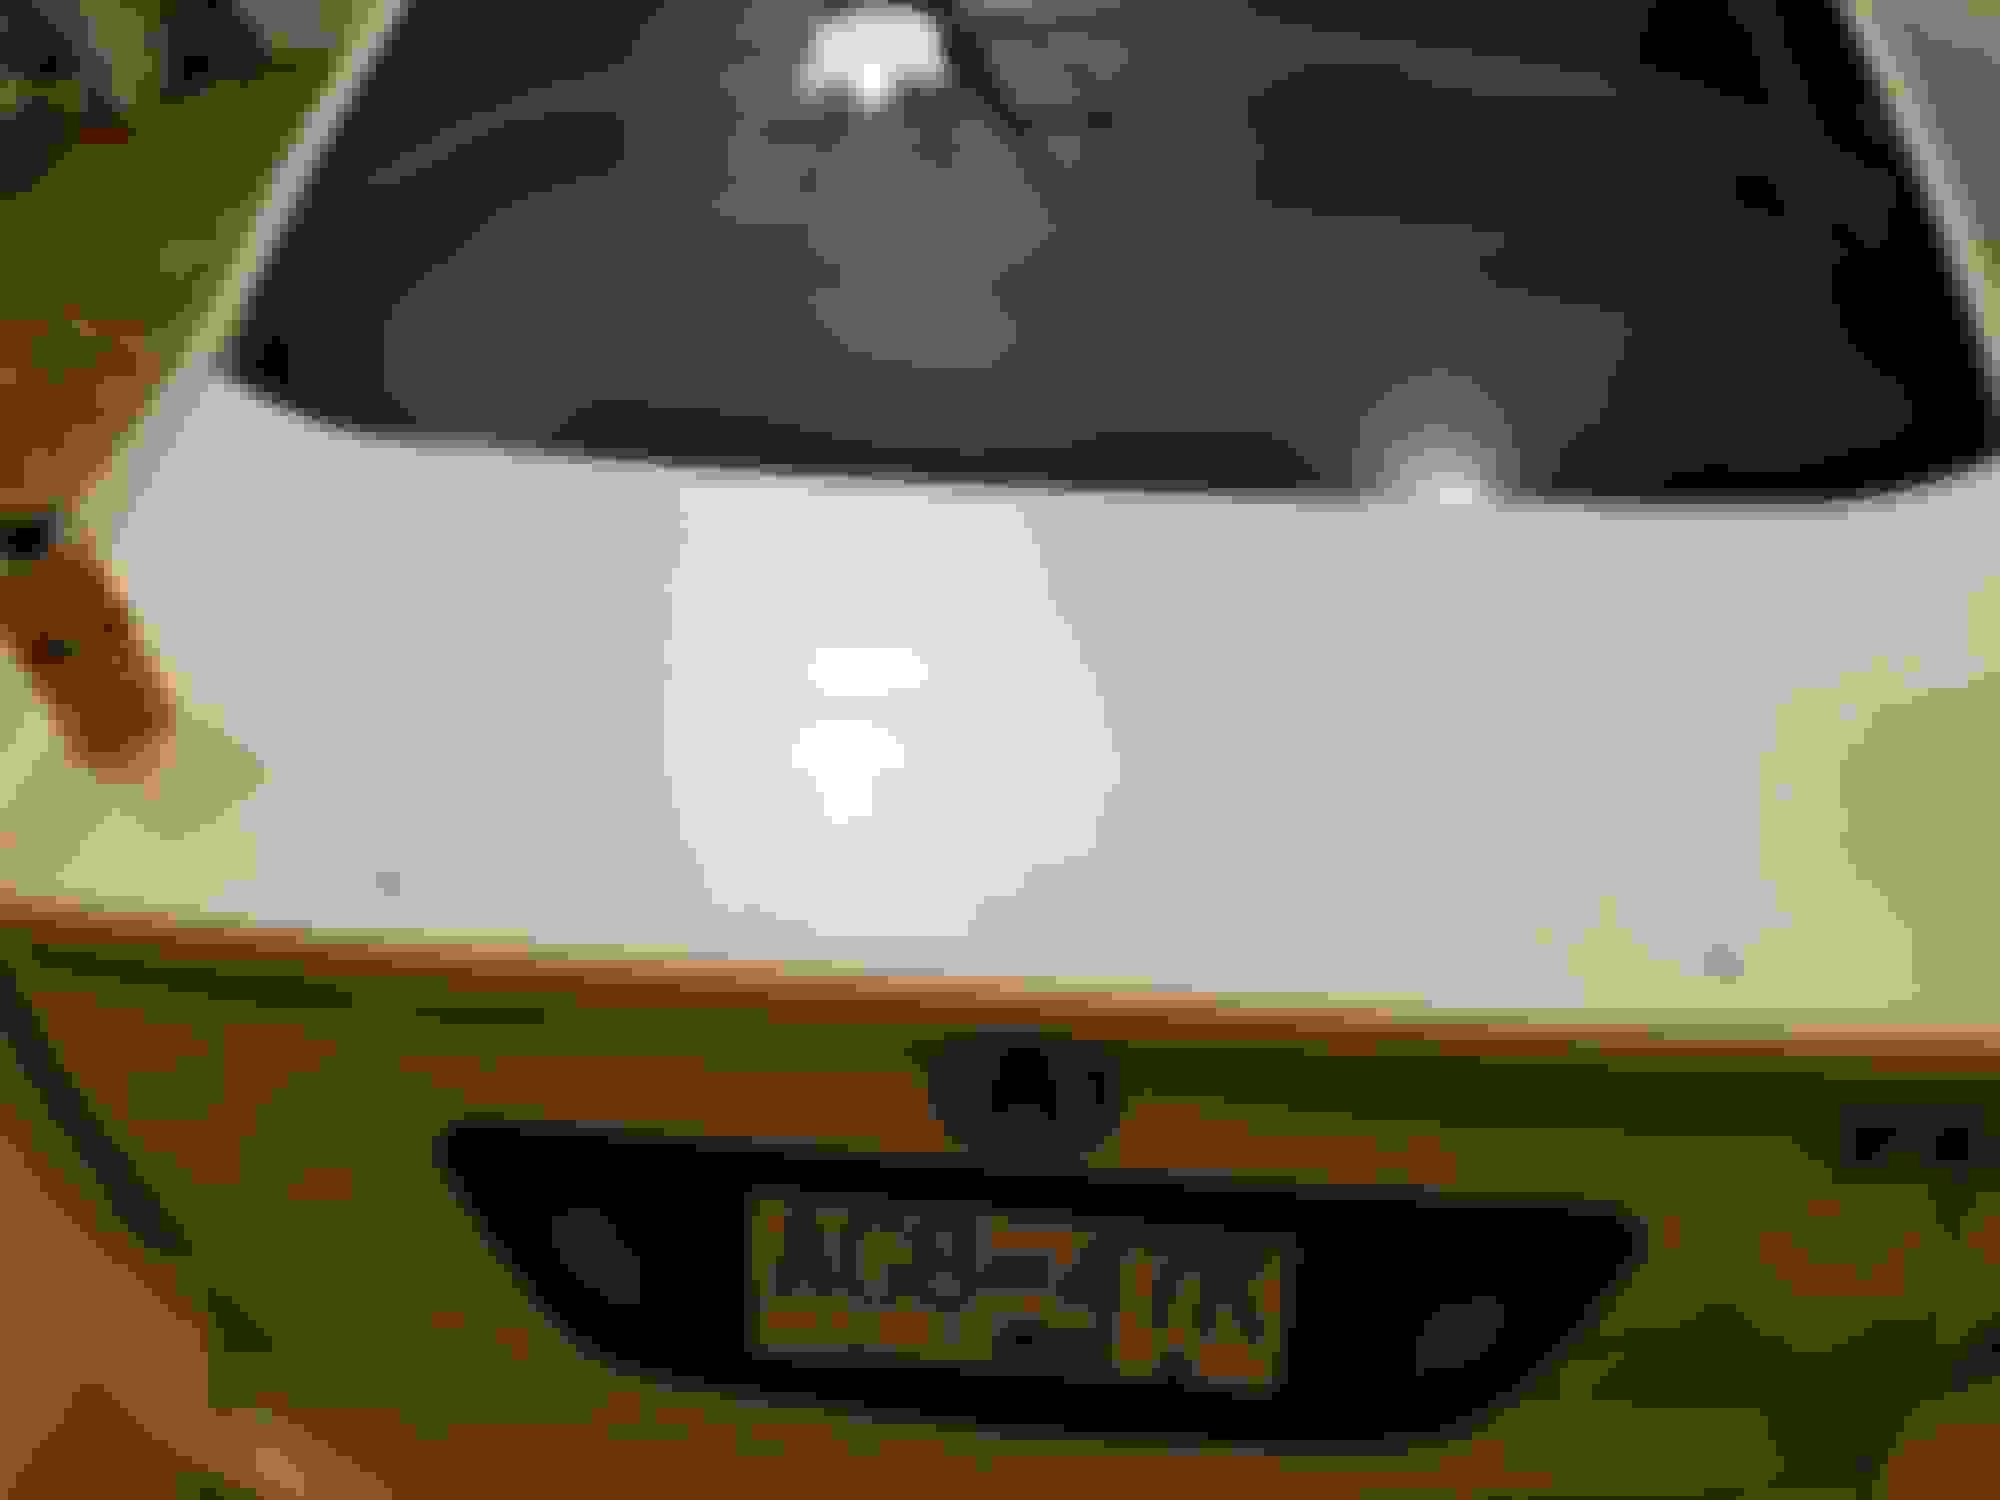
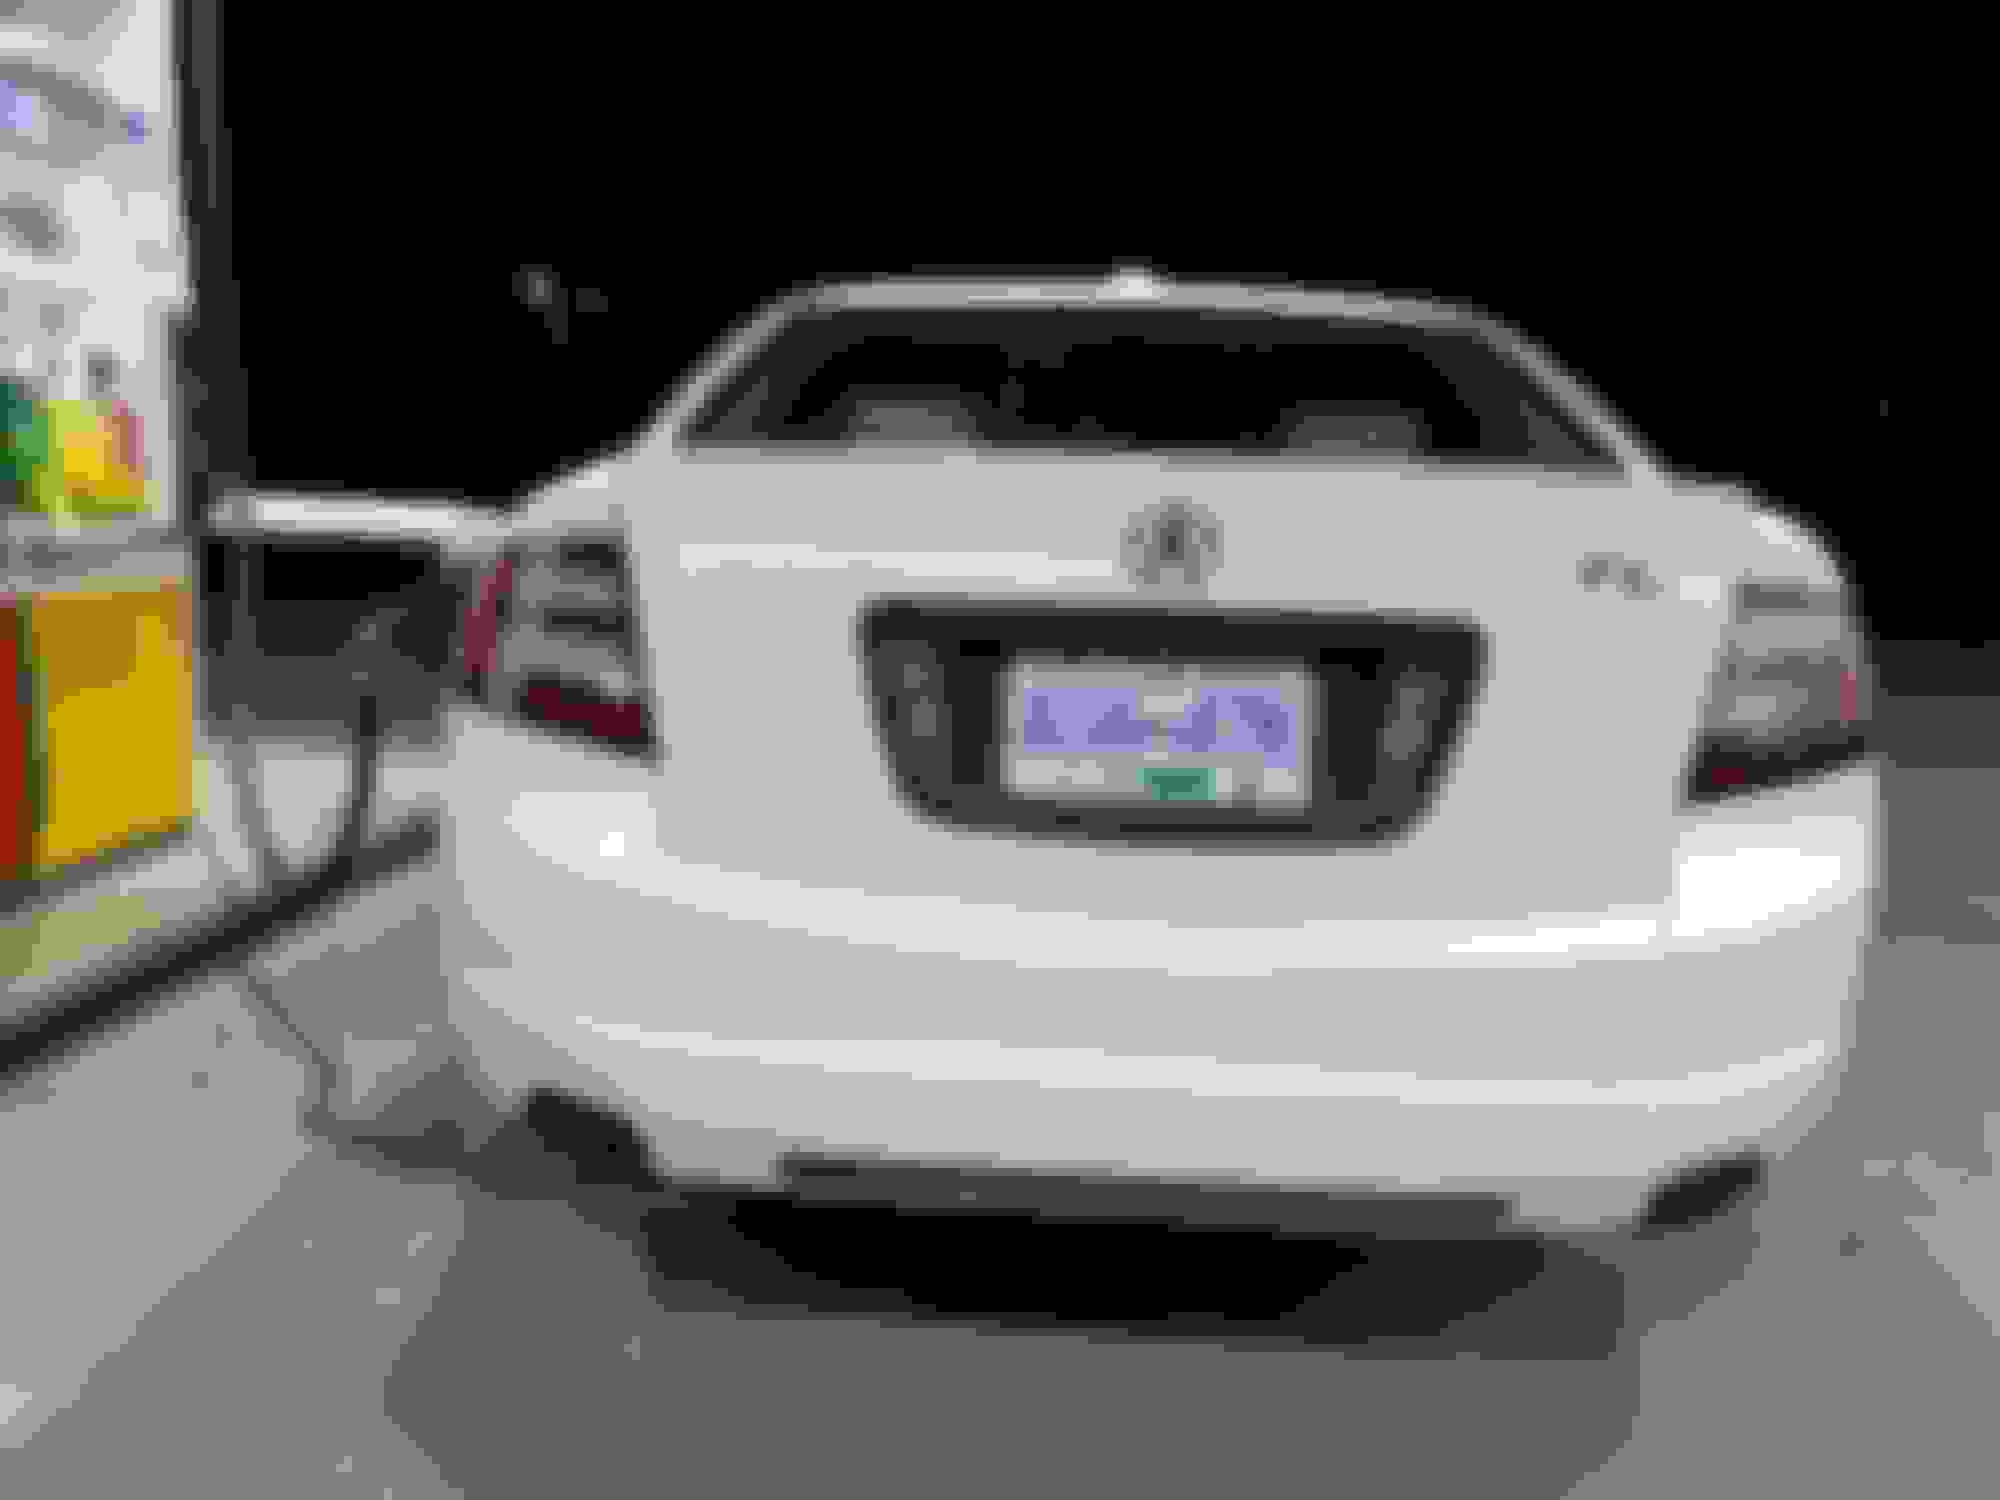
spoiler off 3m residue all cleared. Also you can see the original holes that were drilled spoiler back on, properly this time. Passenger taillight is like that annoying cousin that no1 likes lol look back at it
Last edited by MyGuti; Feb 1, 2017 at 09:03 PM.
Reason: typos
Lip Spoiler looks 100X better! Nice job getting that fixed. Did you drill holes larger or just 3M it?
Can you reseal that tail light to prevent the condensation?
thanks for the kind words guys! I cant tell you how much it bugged me when I realized it wasn't sitting properly. I might add a bit more 3m tape to the two corners to help them sit a bit more flush (ran outta 3m tape when I was installing the lip). As far as the holes, I just placed 3m tape ontop and underneath. I have no concerns about water getting through, 3m tape is amazing.
And the taillights will be sent off to bruce shortly, might park the car in a few days and drive the wife's rdx for a few weeks. Im thinking of sending my headlights Bruce's way as well.....just don't know what I want done mod wise....
Yeah, that 3m tape can be crazy. I'm sure it took what felt like days, but the results made it worth it! Looks so much better, nice and clean. Now on to the lights - fix that annoying cousin! Lol.
Just finishing up yesterday's update with a few pics of Endless RPMs reverse lights. A much needed ass lift and does some good for the backup cam as well........
Okay so I need some assistance from you guys.........Im having a hard time deciding on what to purchase for my TL next.
Heres the situation: I will be sending my taillights into Bruce to have cleaned and resealed, which means my car will be parked until I get them back - this is happening for sure as the tails leaking pisses me off
1. Im thinking to send in the headlights with the tails, since the car is parked and wont be leaving the garage for a few weeks.
2. on the other hand, im contemplating purchasing the aspec kit.
Here's why I cant pull the trigger on either
1. for the headlights, I still have to decide on the look I want, and also remove the bumper and headlights - which ive never done. This isn't really whats deterring me from getting them done, but I think that Im just lazy and using it as an excuse more than anything.
2. whats stopping me from pulling the trigger on the aspec kit is I want to have the type-s muffler on my car, and that obviously means purchasing the type-s aspec rear lip and sourcing a full type-s muffler.
I want the dual mufflers for my car, and don't really like anything aftermarket that's offered.
The prices for each mod are as follows (approximate values)
1. headlights plus tails = I estimate 450 + 100 + 50 for shipping. Total: 600 USD
2. aspec kit with type-s rear lip and muffer = I estimate 865 + 350 + 100 for installing the muffler = 1315 USD
the kit is clearly a much more expensive mod, but in return, it gives the car's cosmetics a much larger "boost"
What do you guys think!? I look forward to you guys persuading me lol
Aspec kit hands down. It will have a much bigger impact on your car than any headlights could do. For me personally I don't think headlights do anything for the look of the car haha (which is why I've never done it).
appreciate the input....you also have the type-s headlights which are near perfection lol
find me a type-s muffler !
Originally Posted by sockr1
Aspec kit hands down. It will have a much bigger impact on your car than any headlights could do. For me personally I don't think headlights do anything for the look of the car haha (which is why I've never done it).
^ lol I've seen a bunch on the BM. Or you can try a junkyard. I sold my type s mufflers years ago and just cut them off with a harbor freight hacksaw haha. So if someone doesn't want to ship tell them to cut it off the exhaust!
Xlr8 cat back full exhaust (entire setup in signature). Exhaust was one of my first mods. I love a good sounding exhaust and makes the type s sound like it performs. Worst part was installing it all by myself in a parking lot, I had the entire exhaust laying across my body and held it up with knees, arms, legs while bolting it in haha. So much easier if I had someone else to help
haha shiieet, you sound like me....cannot wait to get things installed once they arrive :P. If I were to source type-s exhaust tips, just tips. I should be able to take my base tips off and replace them with those correct?
Haha. Yea I think so but not completely sure. To me it would be easier to do the entire muffler. How come you don't go to a shop and see what tips they could put on?
I would say whole aspec over headlights just like sockr1 says. I had my headlights and taillights done before the aspec and I regretted not doing the kit first , also I have a base but have the quads but I did go aftermarket and got the xlr8 catback ... goodluck with what you choose , it will look great in the end
haha shiieet, you sound like me....cannot wait to get things installed once they arrive :P.
haha got another good one. When I got my front aspec lip, I was up until 3 am finishing it on a work night. Solid 3 hours of sleep for work sucked but had to get it done haha (I was putting a base front lip on my type s which is why it took much longer than normal)


 . I had the guy I bought it from install it, and he kindve rushed it. I should have looked at other pics and that would of told me that it needed to be brought down more to hug the edges. I was wondering if I plug the holes, he drilled only two, and move the spoiler down....will it still sit properly? I am thinking about using something like this: fender washer