When you click on links to various merchants on this site and make a purchase, this can result in this site earning a commission. Affiliate programs and affiliations include, but are not limited to, the eBay Partner Network.
Alright so, I really like the covers but I didn't like the idea of gluing them to the calipers, so being a fabricator with some mediocre skill, I wanted to screw them on.
For any one else wanting to screw them on to the caliper, I thought I'd share.
First thing you'll notice is that they're very thin "steel" , and as you may or may not have read in other RTV install threads, they do bend easy. Especially the tabs.
This is the shape they come in, and there isn't enough room to fit the caliper, therfore must be bent in a way that they clear the caliper.
In this situation the best option was a Cresent wrench right up against the bend and then straightened .
Easy Peasy you end up with the arm like this, pretty straight and minimal scuffing.
OK so I test fit it again and the way those arms look , is horrendous so I decided to trim them off. Using some sturdy shears.
Using the shears I trimmed the tabs as shown, just beyond the bend line, to conceal the edge after install.
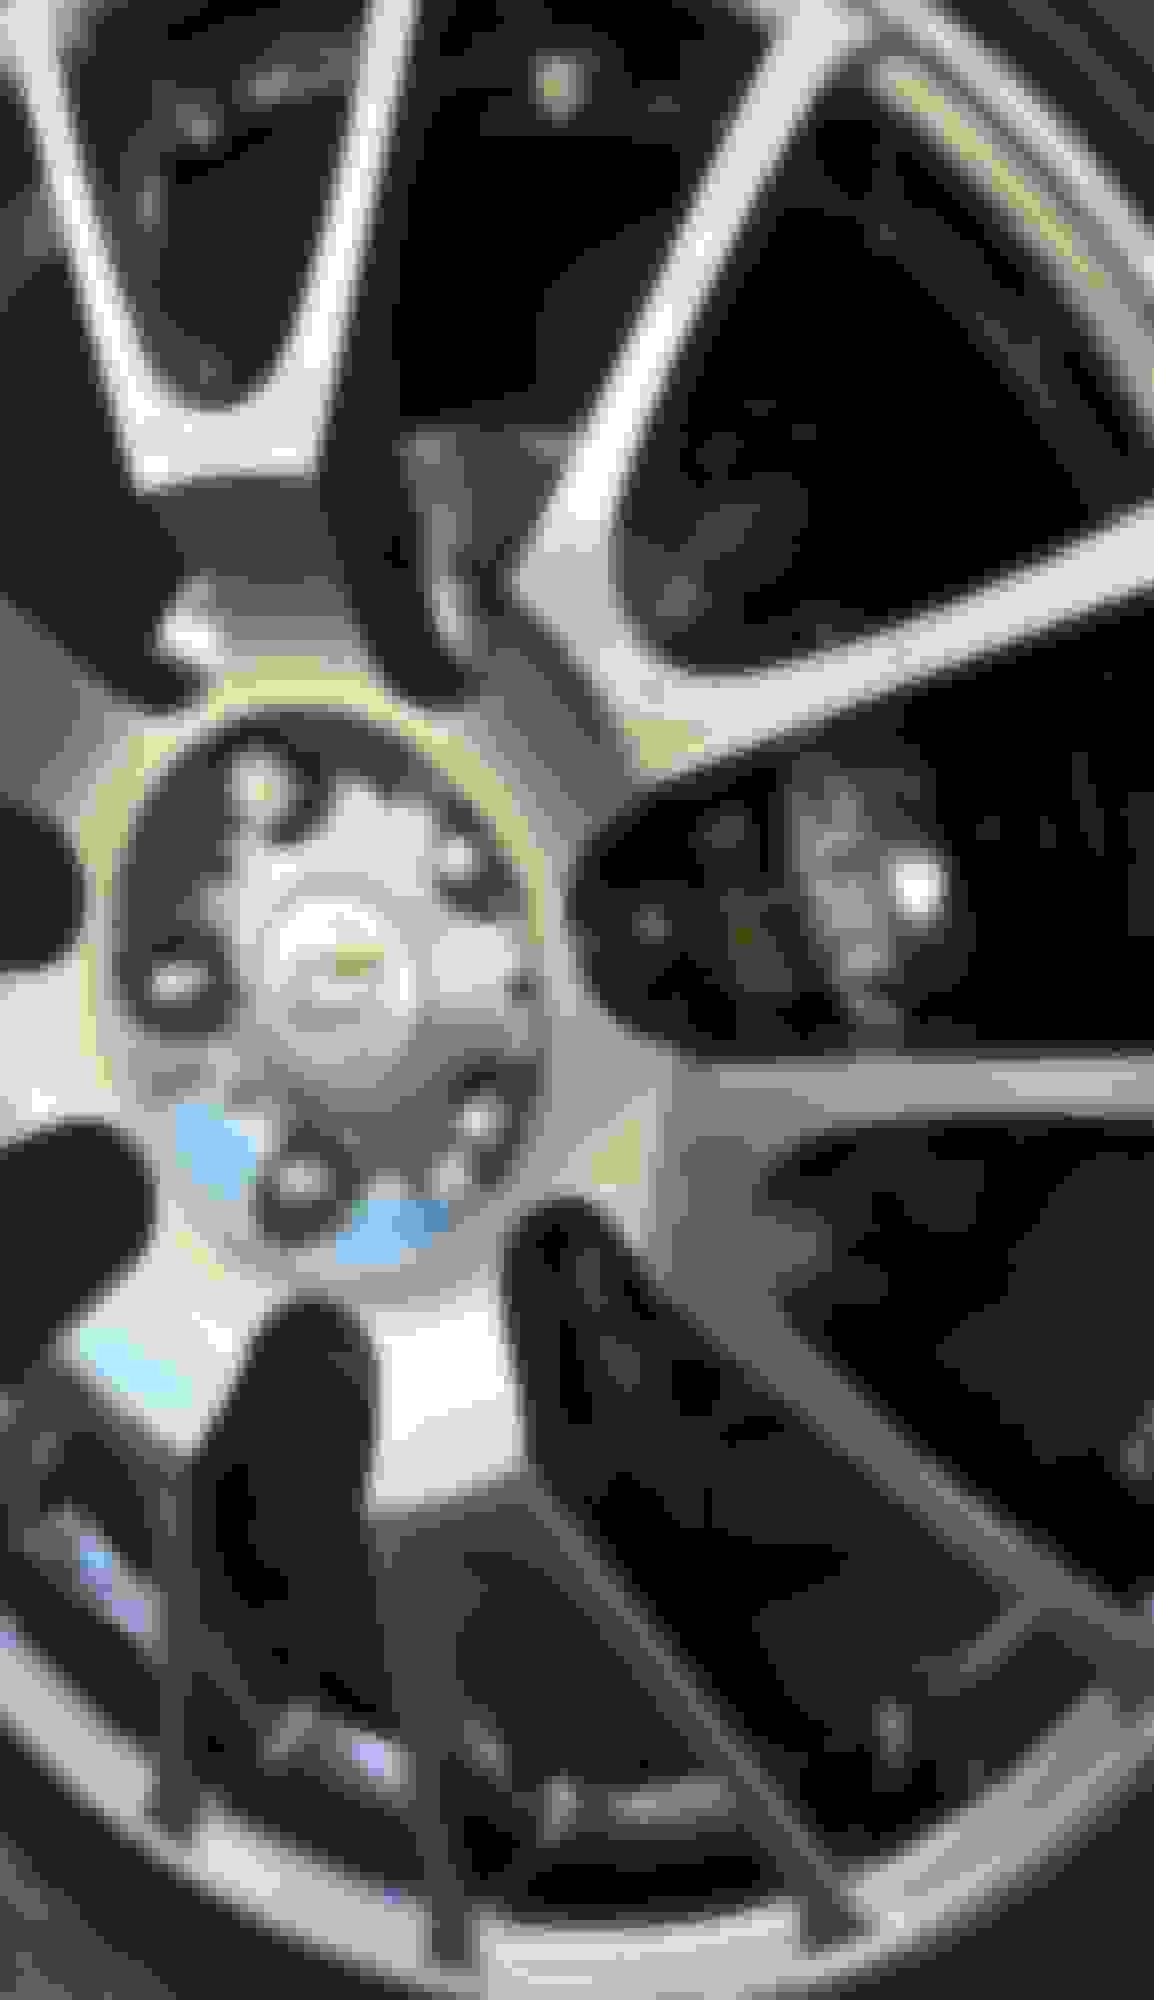
Another test fit... I don't like far from center it sits, because of the middle tab and it's shape, so I carefully flattened it , so the cover is covering more of the caliper. I didn't take a pic of that, but you can see it in the last pics of the caliper.
Fit it as good as its going to get, so I placed it on the caliper and marked my drill location with a punch, and drilled the hole.
I already had some 8-32 screws and a tap set, so i tapped the hole😉.
tapping is easy, I like oil , and a 1 hour at a time cut pattern. Meaning turn to 1oclock, turn back to 12, turn to 2, then back to 1, 3 back to 2 and so on. Small cut, and clear shavings. Repeat till youre done.
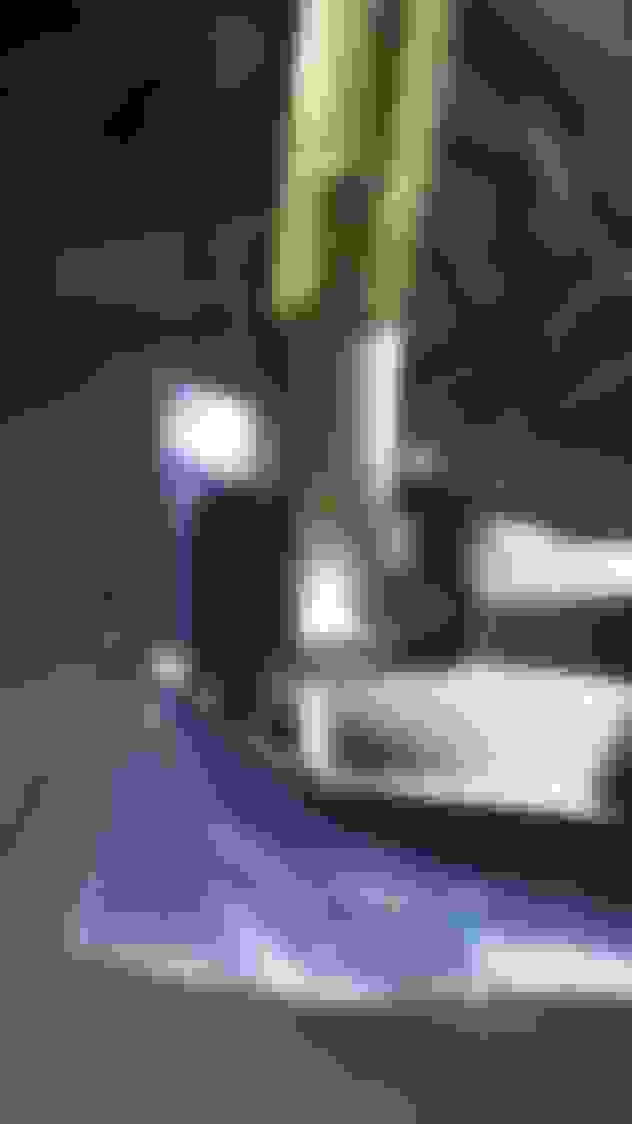
At this point I used some heat proof serviceable thread lock, and a lock washer as well, and installed the cover. Play with the middle tab , get the angle just right to hold the face of the cover tight to the caliper as you tighten the screw.
All reassembled. Love it.
drilling a hole , right next to that big one, is at your own risk.
I personally think it'll be fine. Enjoy and thanks azine, I would have never known of these had I not been a member.

 12-20-2016, 10:07 PM