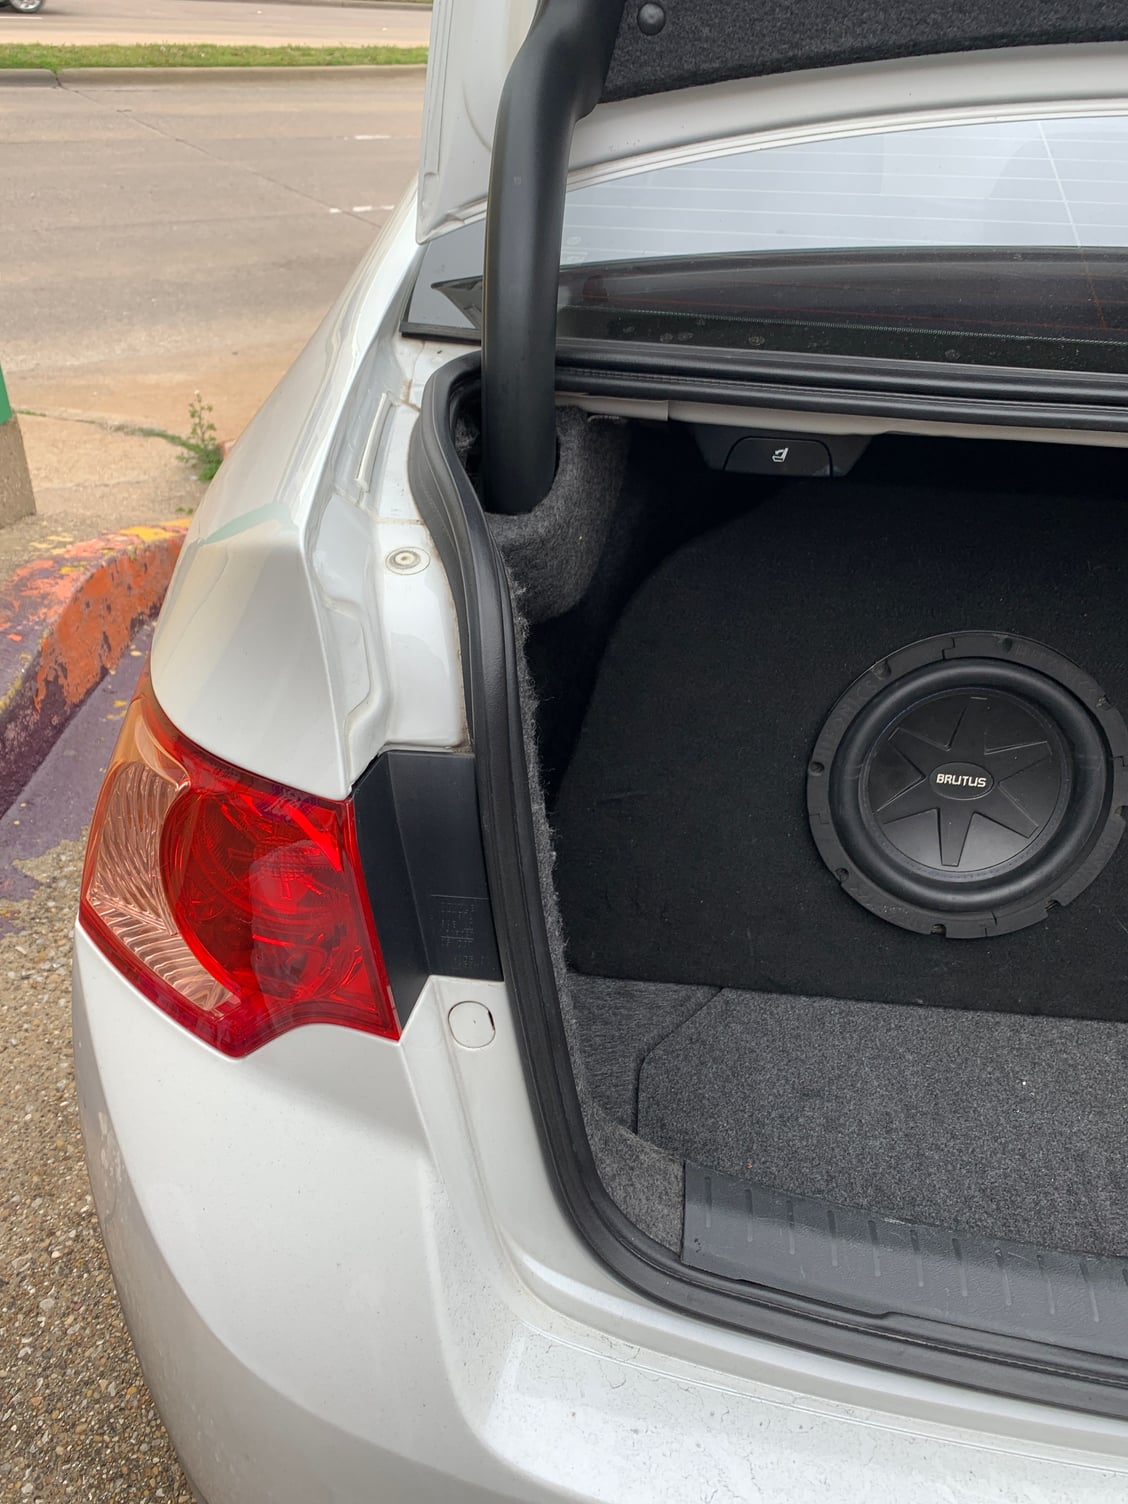
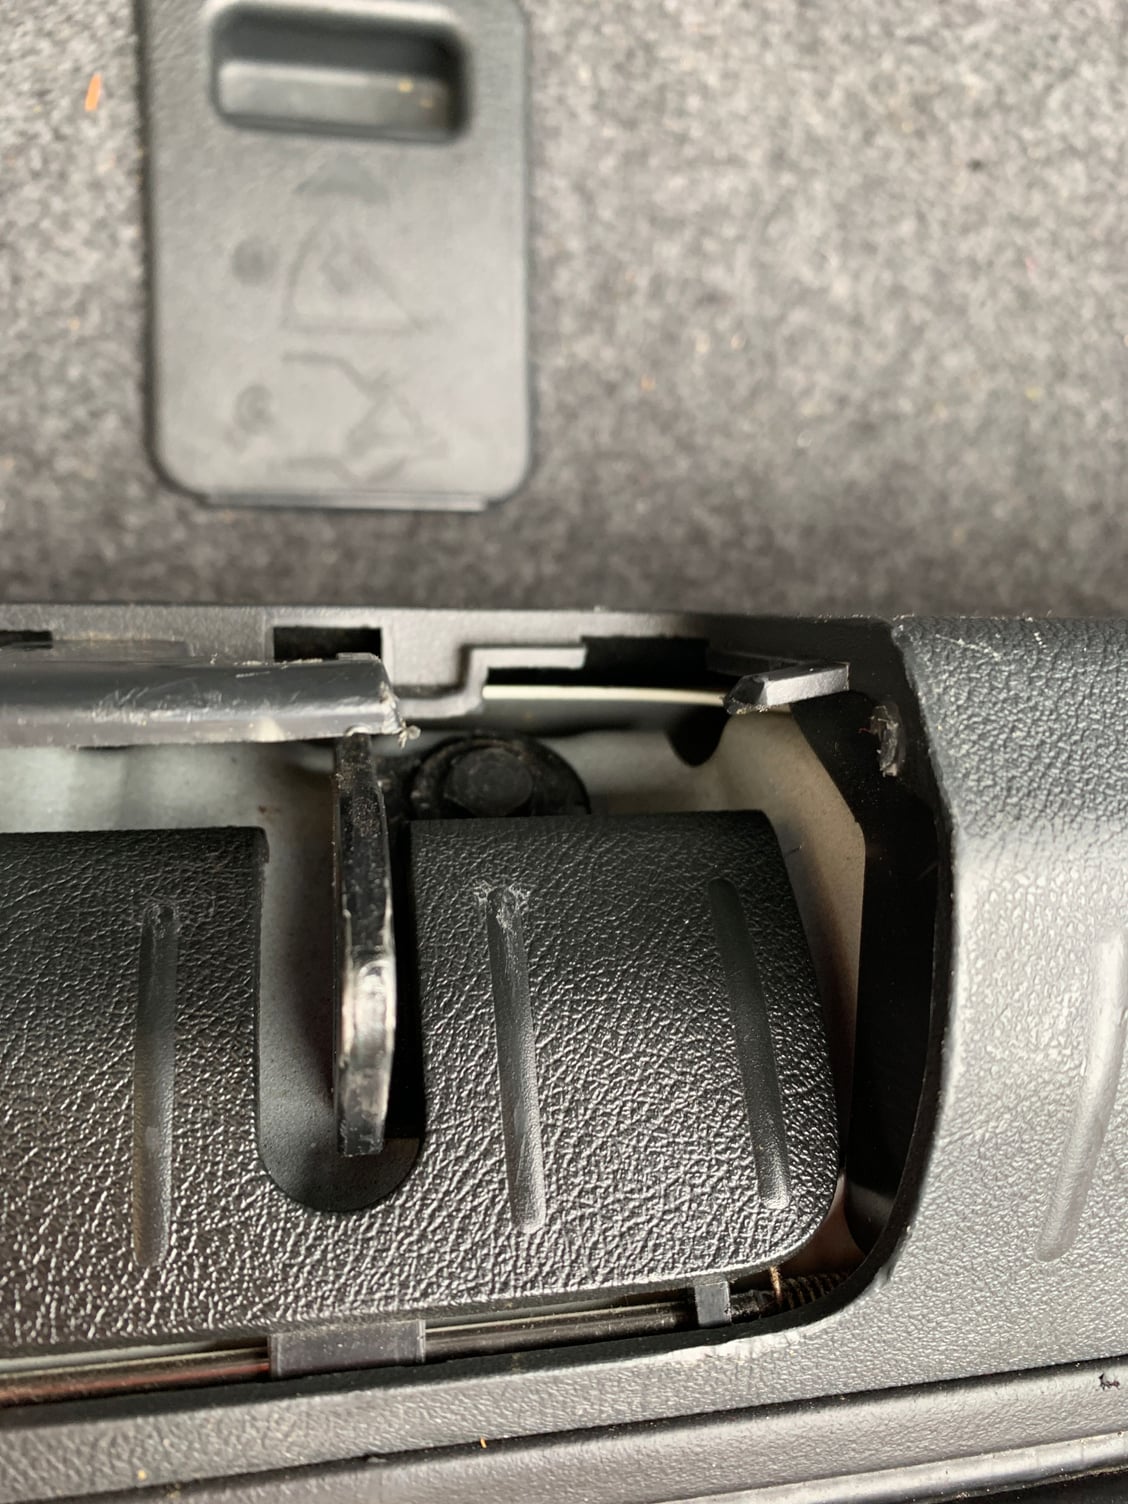
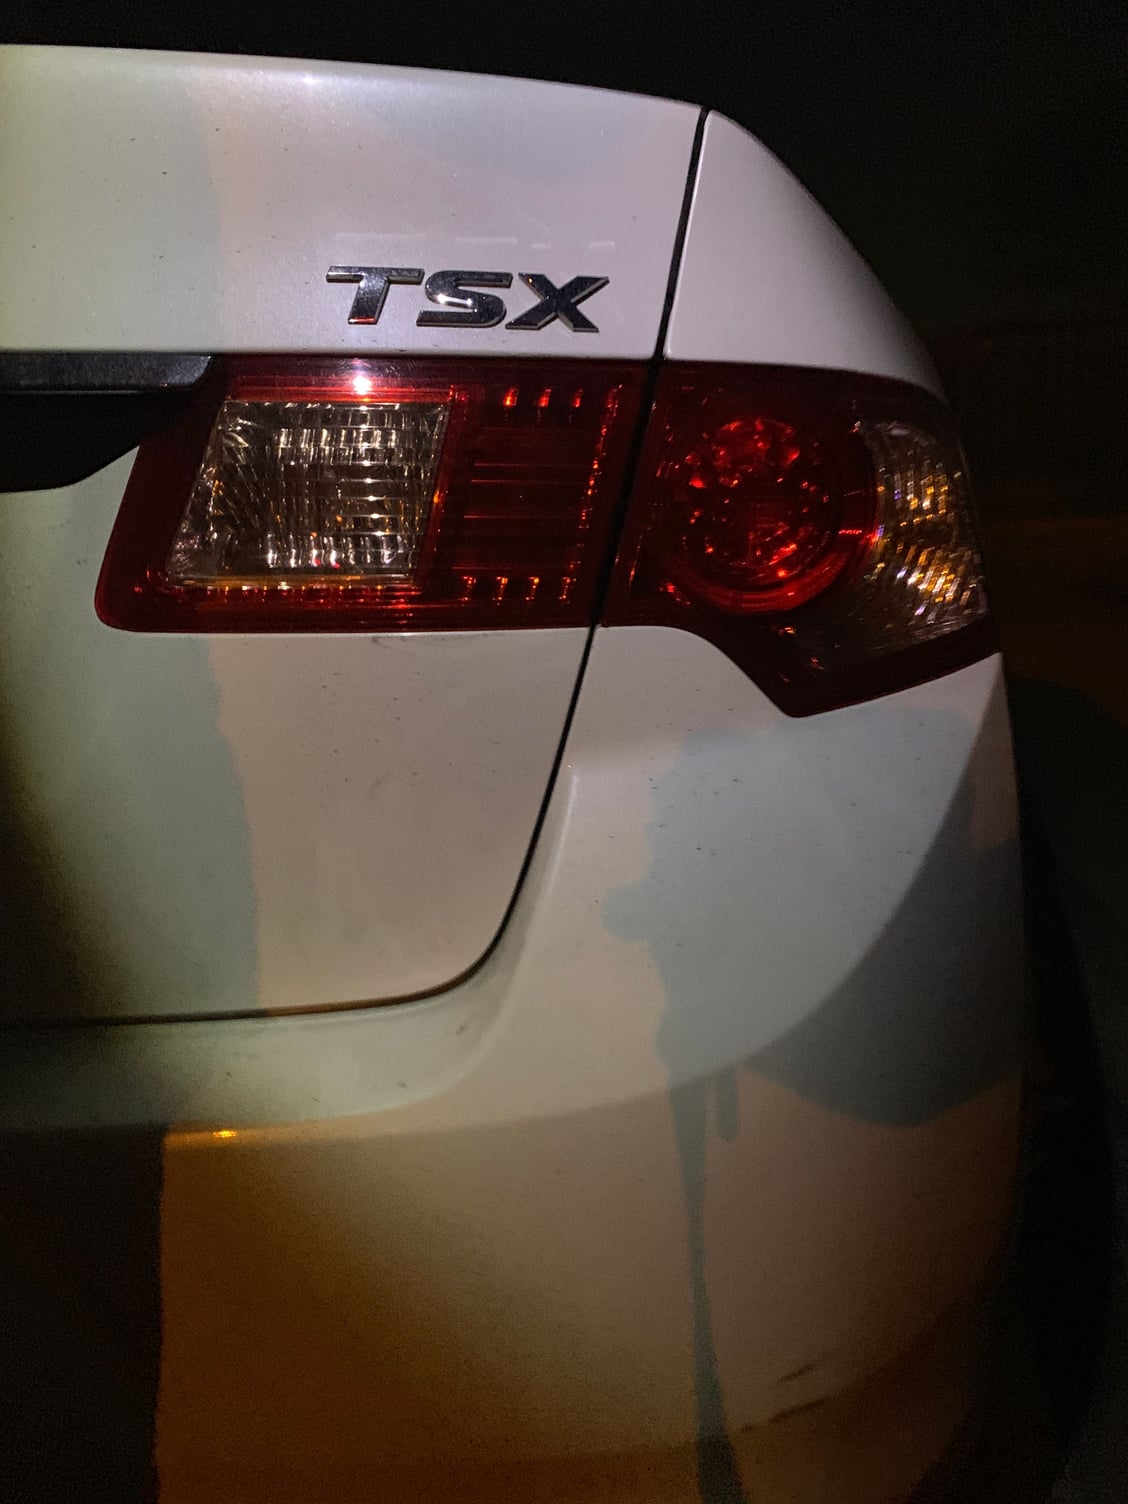
Tunk won't completely close.
#1
Instructor
Thread Starter
Tunk won't completely close.
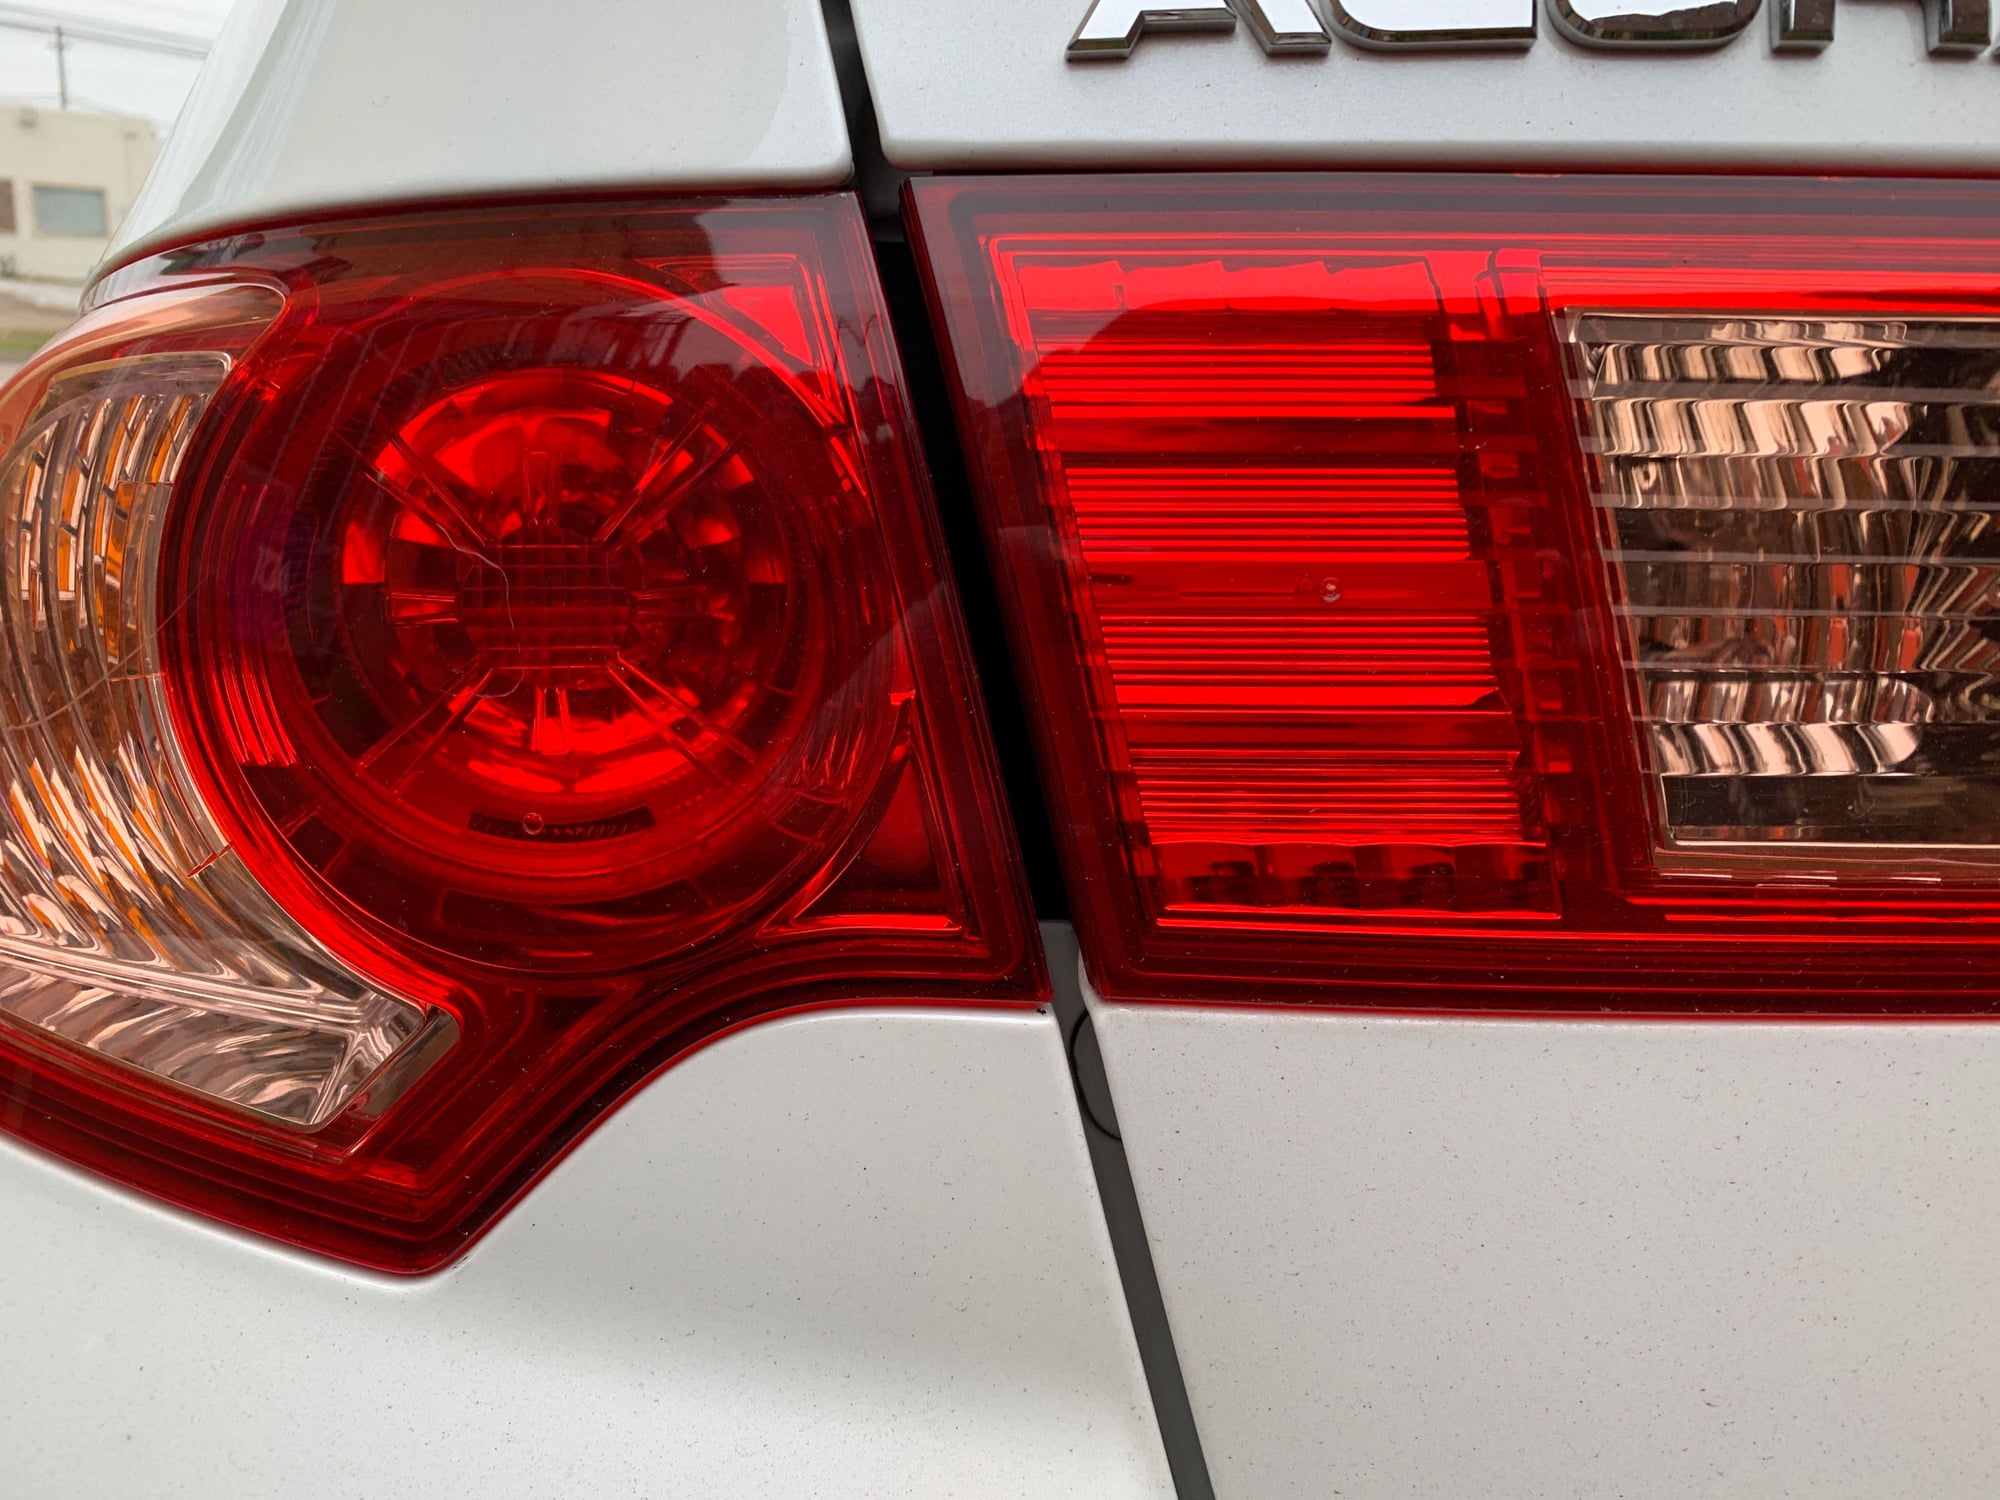
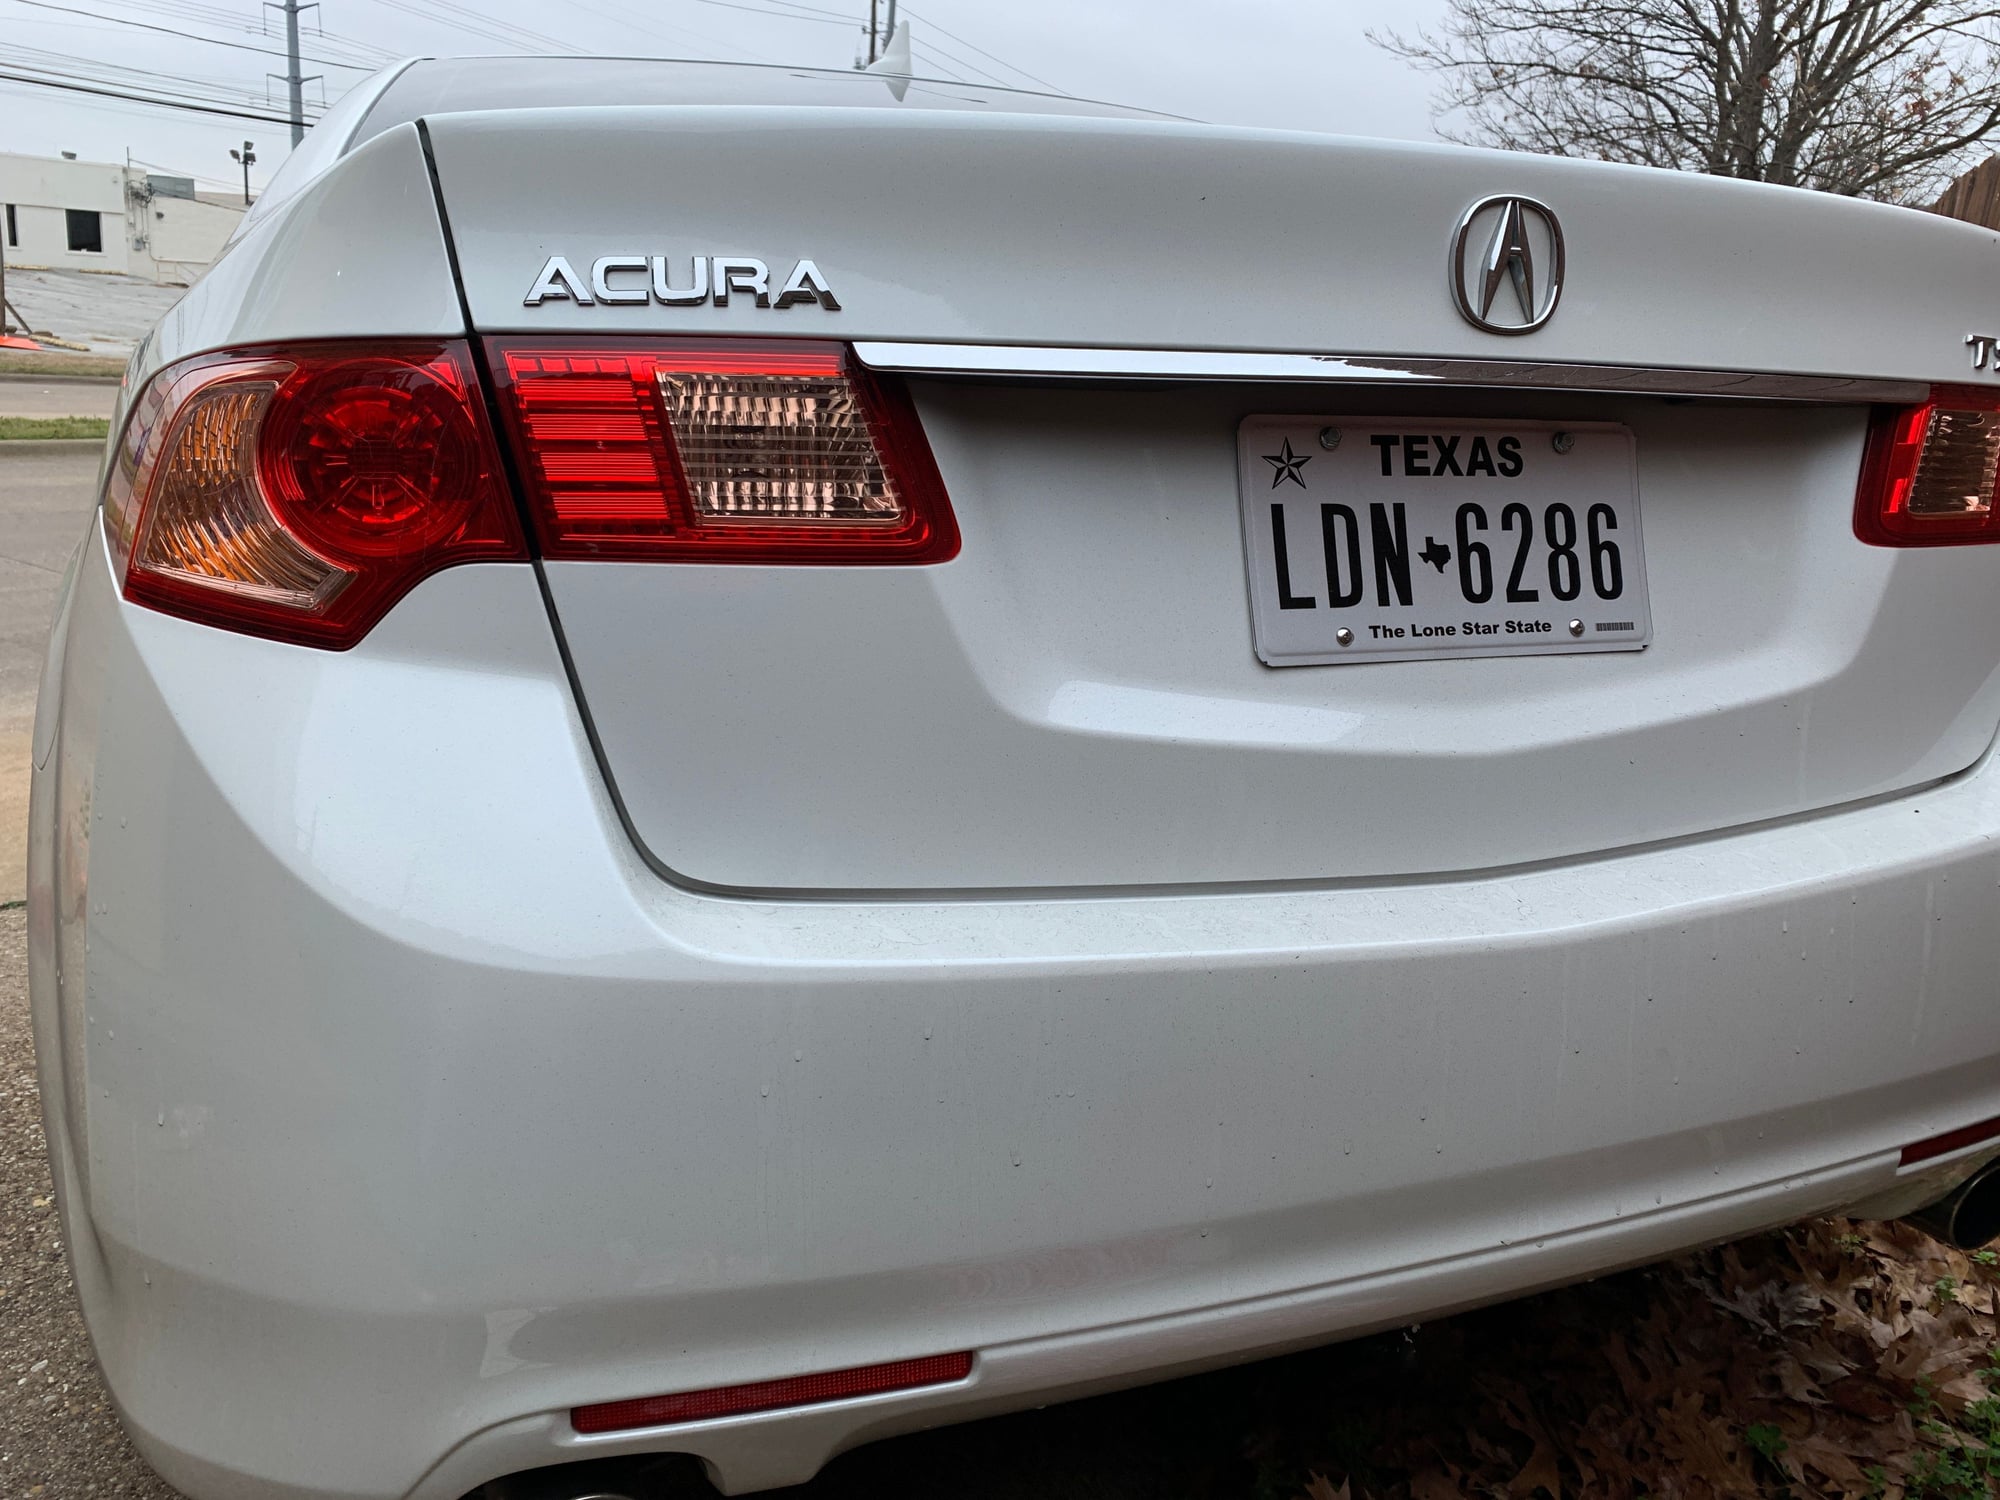
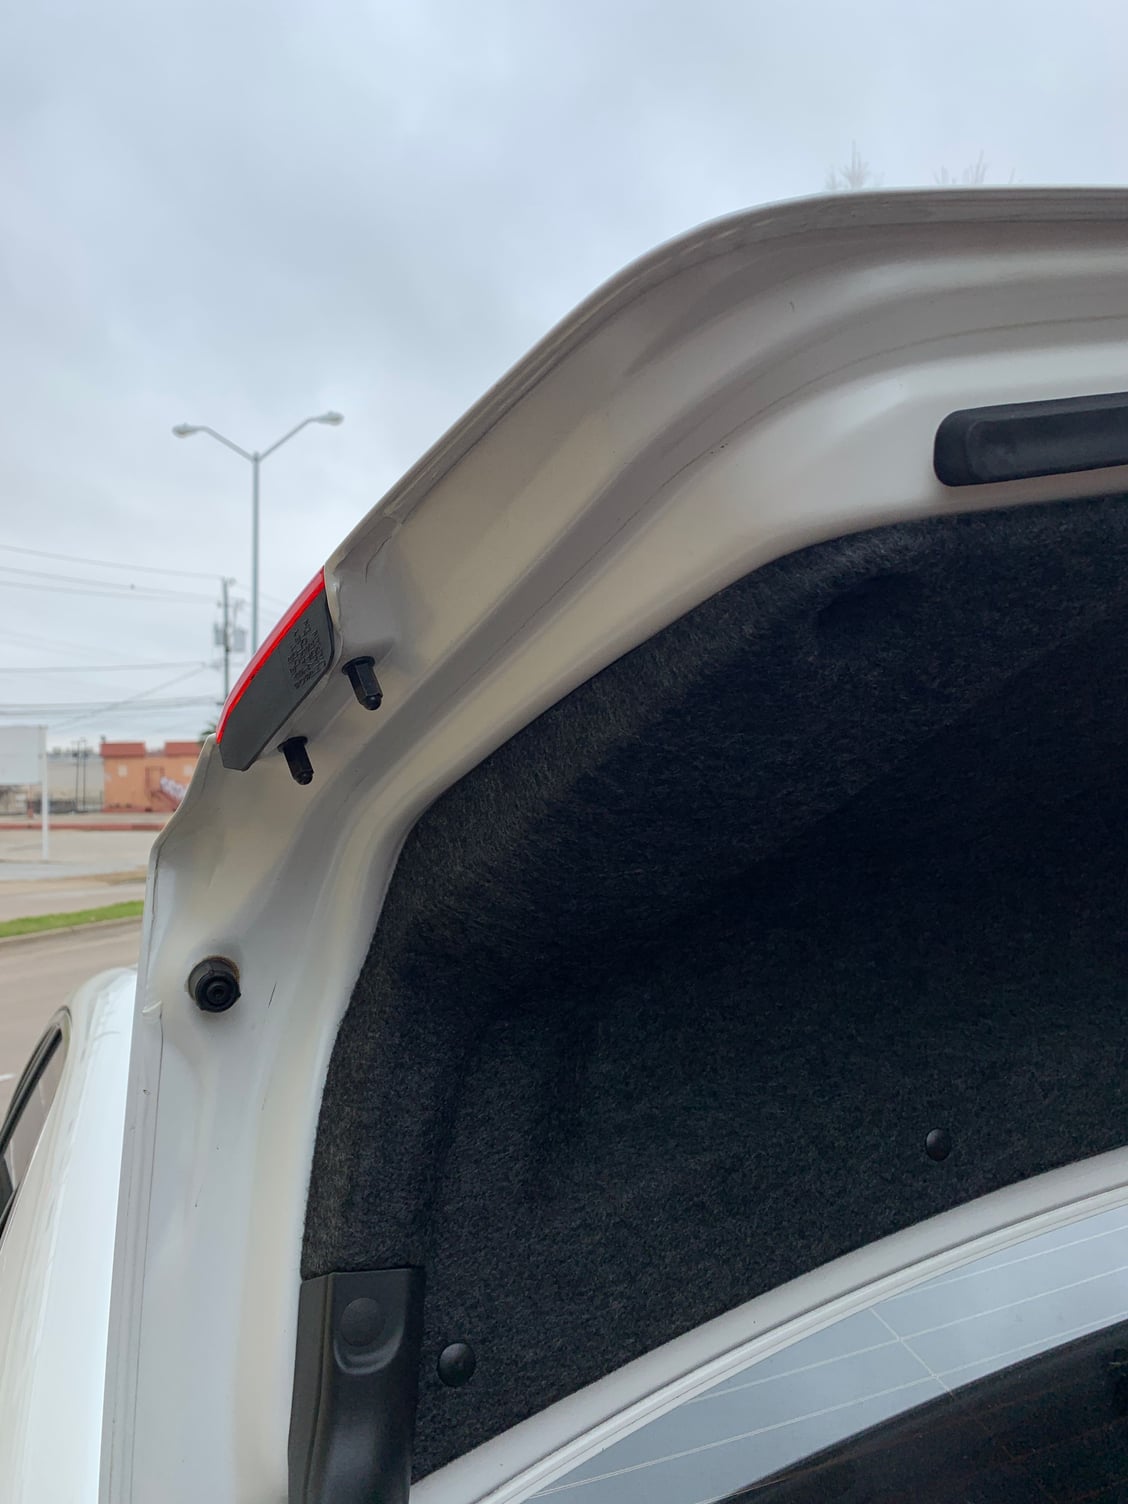
It is really bugging me. It will not totally close and there is a little gap between the lights and they will not completely line up. Which sucks and is starting to bother me. Also there is a weird space on the corners of the trunk lid. I will take pictures tomorrow to better describe this, but I wanted to go ahead and get a thread rolling.
I looked at the latch and saw nothing remotely resembling an adjustment option.
Tips?
I looked at the latch and saw nothing remotely resembling an adjustment option.
Tips?
#5
Senior Moderator
pics?
#6
Senior Moderator
Pics would have been helpful from the beginning of post, 

Trending Topics
#8
Null and proud of it
Tinker with adjusting then. I remember a few years ago, I was looking at a lot of Accords to find their trunks didn't quite line up properly and were doing like your trunk is...
I'm not exactly sure of how to do this, but like previously posted, it will involve the hinge, latch and bumper...
I'm not exactly sure of how to do this, but like previously posted, it will involve the hinge, latch and bumper...
Last edited by Midnight Mystery; 01-16-2019 at 03:32 PM.
#10
Instructor
Thread Starter
Tinker with adjusting then. I remember a few years ago, I was looking at a lot of Accords to find their trunks didn't quite line up properly and were doing like your trunk is...
I'm not exactly sure of how to do this, but like previously posted, it will involve the hinge, latch and bumper...
I'm not exactly sure of how to do this, but like previously posted, it will involve the hinge, latch and bumper...
#12
Instructor
Thread Starter
thats good advice. I took the stops completely out to see if that would make a difference and it didnít. It must be something to do with the latch and I donít see a way to adjust the latch.
#13
Instructor
Thread Starter
#16
Drifting
That's an easy fix but need more info...
Op,
Post a pic of the right side? Like the pics of the left side. Also pics from the top looking down for both left and right sides?
Is the trunk sitting center in the opening or to one side?
Is the trunk and/or lights even with the tail lights? Height and length.
Op,
Post a pic of the right side? Like the pics of the left side. Also pics from the top looking down for both left and right sides?
Is the trunk sitting center in the opening or to one side?
Is the trunk and/or lights even with the tail lights? Height and length.
#19
Drifting
Sorry Matt, I meant pics like the ones in Post #7 but of the right side with the lid close.
However, there are useful info in the pics above.
What you want is for the top of the deck lid to line up with the top of the quarter panel. Once you do that all of the vertical plane parts will be in alignment, tail lights.
Since the left side of the lid is higher than the left quarter panel, you will need to lower the lid (maybe just the left side if the right side is even-good Alignment) to match the quarter panel. I don't know status of right side alignment?
If the lid on the right side is lower than the quarter panel then just adjust the right lid stopper higher/out to raise the lid to match the right quarter panel. By doing that the left side will drop closer to the left quarter panel.
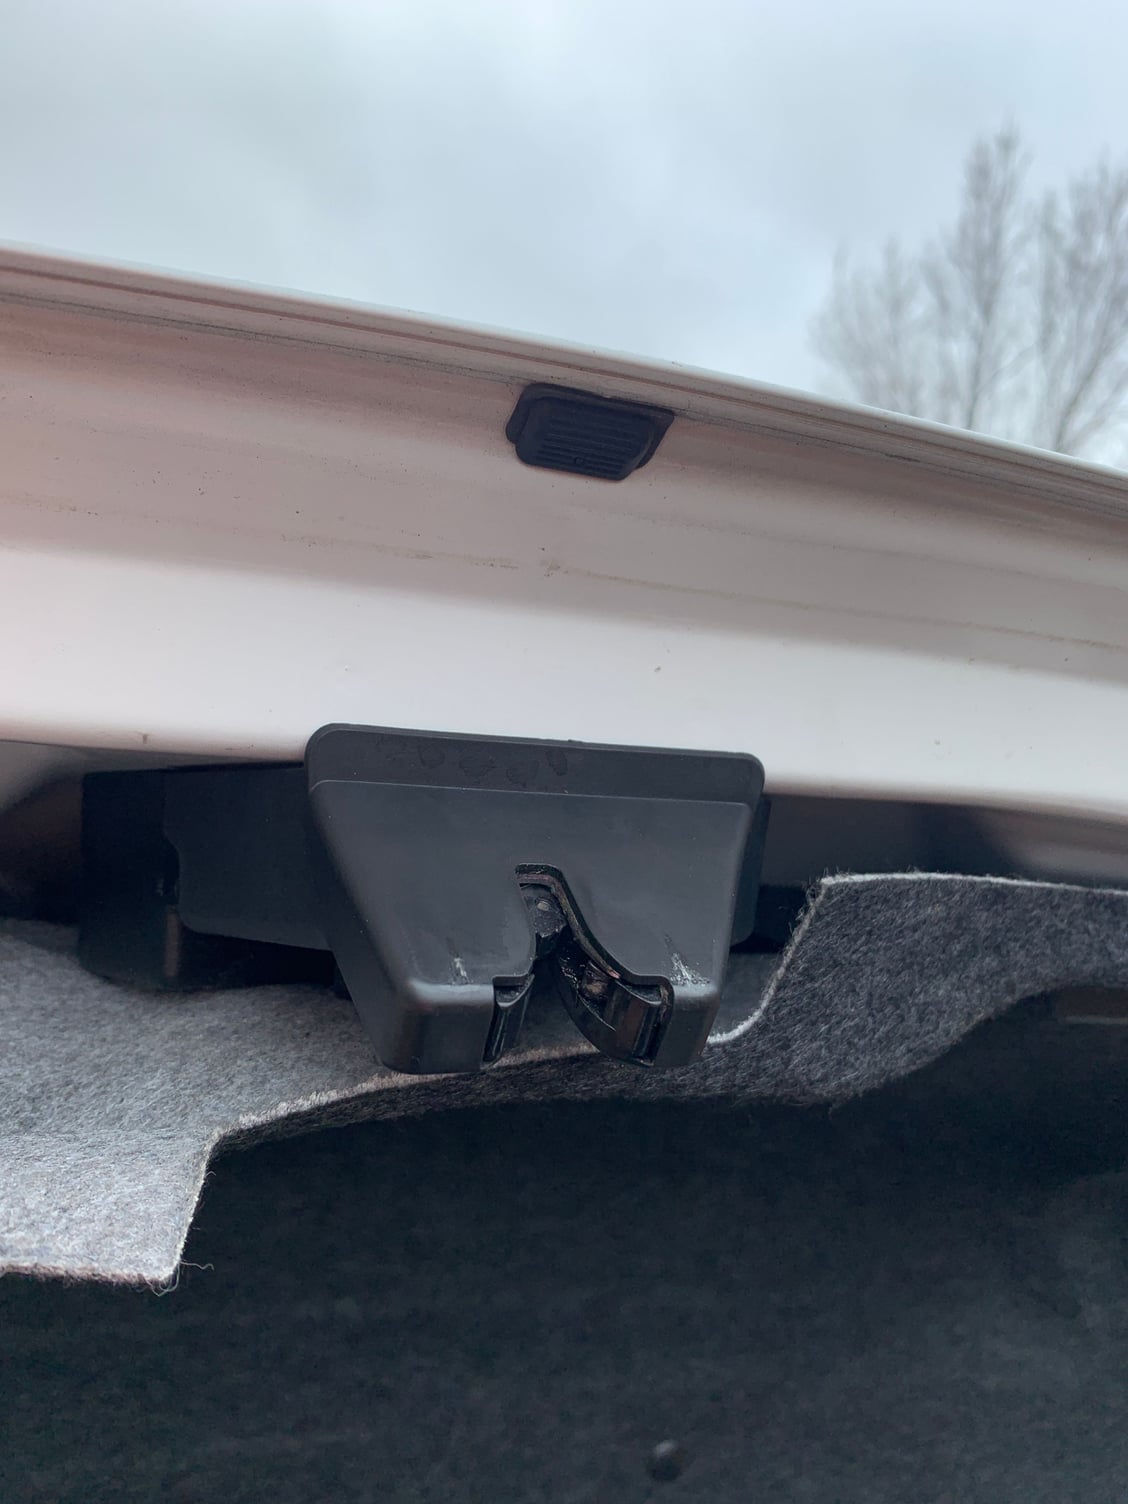
If that doesn't work or it's not enough to align the lid then move the trunk striker down about an 1/8" or whatever is necessary. The idea is to drop the deck lid below the quarter panels by 1/16" to 1/8" and then adjust the height of the lid to match the quarter panels by turning the rubber stopper as necessary.
To adjust the trunk striker lower, just loosen the 2 10mm bolts that mount the striker in place and slide the striker lower. Don't over tighten the bolts, easy to strip the threads.
If the lid is off center side to side a little then you can tap (up to 1/8") the striker side ways wirh a hammer to center the striker. The lid will follow the striker when close... Center. For minor centering only.
Good luck.
#20
#21
Instructor
Thread Starter
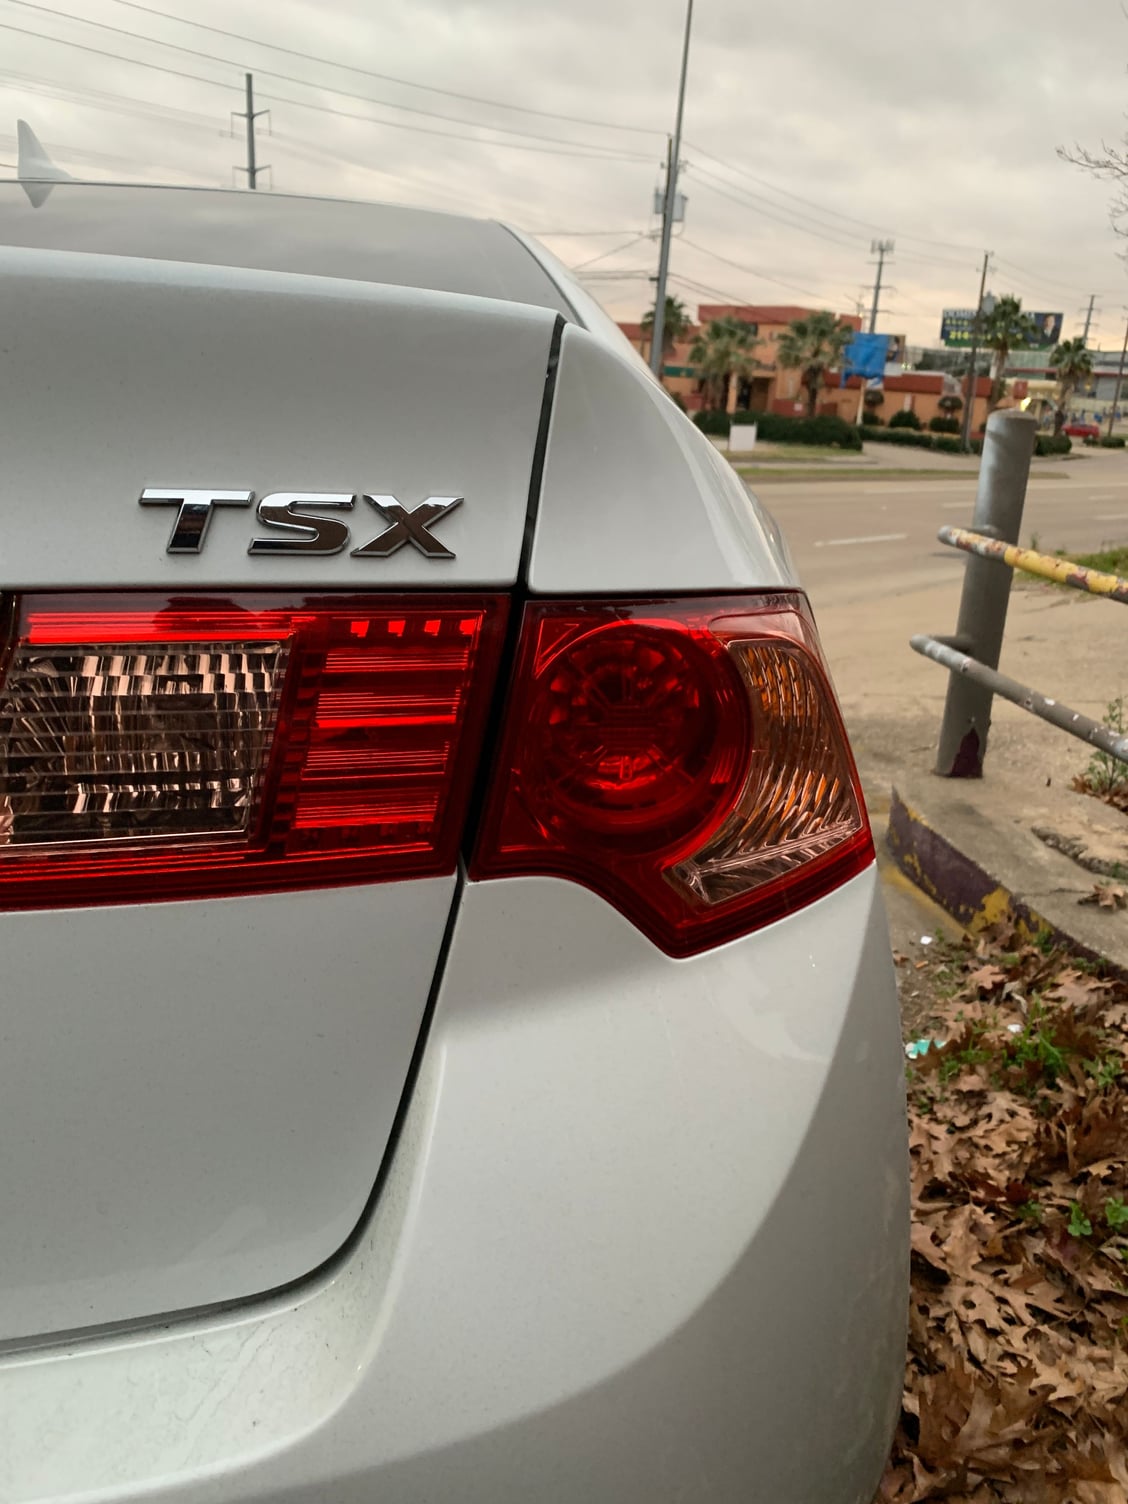
Hereís a pic of the right side you asked for. And the above post, how do I remove the flap thing? I just pull it out? I donít see another way but will keep looking. Thank you! I want to figure this out!!!
#22
Drifting
DO NOT ADJUST THE HINGES OR THE HINGE TO LID BOLTS.
Try prying the small stiker piece of first. Looks like it's just push on the one side and alignment tabs on the other that you can see in the striker pic.
If necessary remove the rear body trim panel. The panel is held on at the bottom with plastic push pins or possibly fasteners. The top part is snap on by clips- just pops on but vertically/up and down.
So loosen the bottom first and then pull the rear body panel straight up to remove.
Then drop the striker 1/8"-3/16" and check the lid for alignment by closing it (should be even or a little lower the the quarter panel). Adjust the rubber stoppers on each side for a perfect fit.
Congrats!
#23
Instructor
Thread Starter
what is the small stiker piece? The piece under the part that meets the trunk? I do not know the terminology as I have never worked on a trunk before and know little about cars.
What tools am I going to need? Thanks for taking the time to help me but I am still pretty lost. I am slowly starting to understand and I will continue to reread and bring my tools to work tomorrow to try and figure it out.
Looks like it's just push on the one side and alignment tabs on the other that you can see in the striker pic.
If necessary remove the rear body trim panel. The panel is held on at the bottom with plastic push pins or possibly fasteners. The top part is snap on by clips- just pops on but vertically/up and down.
So loosen the bottom first and then pull the rear body panel straight up to remove.
Then drop the striker 1/8"-3/16" and check the lid for alignment by closing it (should be even or a little lower the the quarter panel). Adjust the rubber stoppers on each side for a perfect fit.
What tools am I going to need? Thanks for taking the time to help me but I am still pretty lost. I am slowly starting to understand and I will continue to reread and bring my tools to work tomorrow to try and figure it out.
#24
Drifting
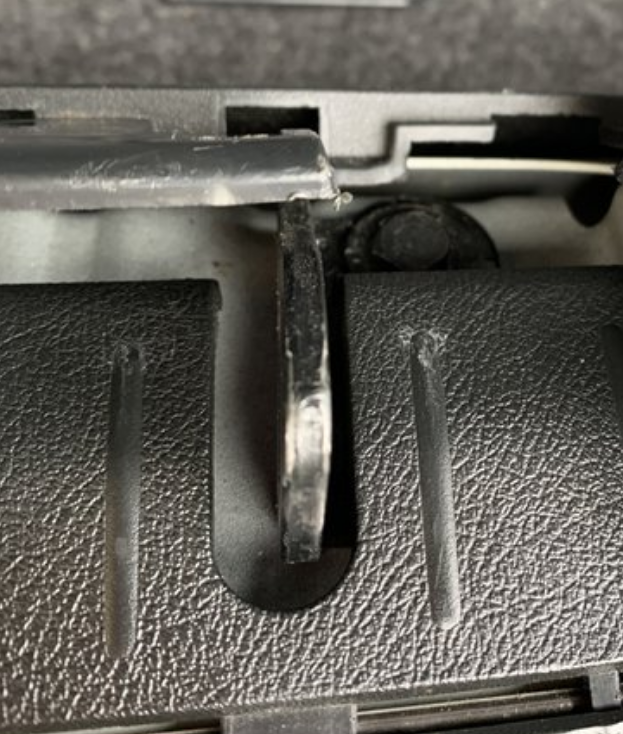
There are 3 vertical lines in the pic. The center line is the striker and the other 2 vertical lines is the striker access trim piece. The large hard plastic panel that is surrounding the striker and the striker trim pieces is the rear body trim panel (not in the pic).
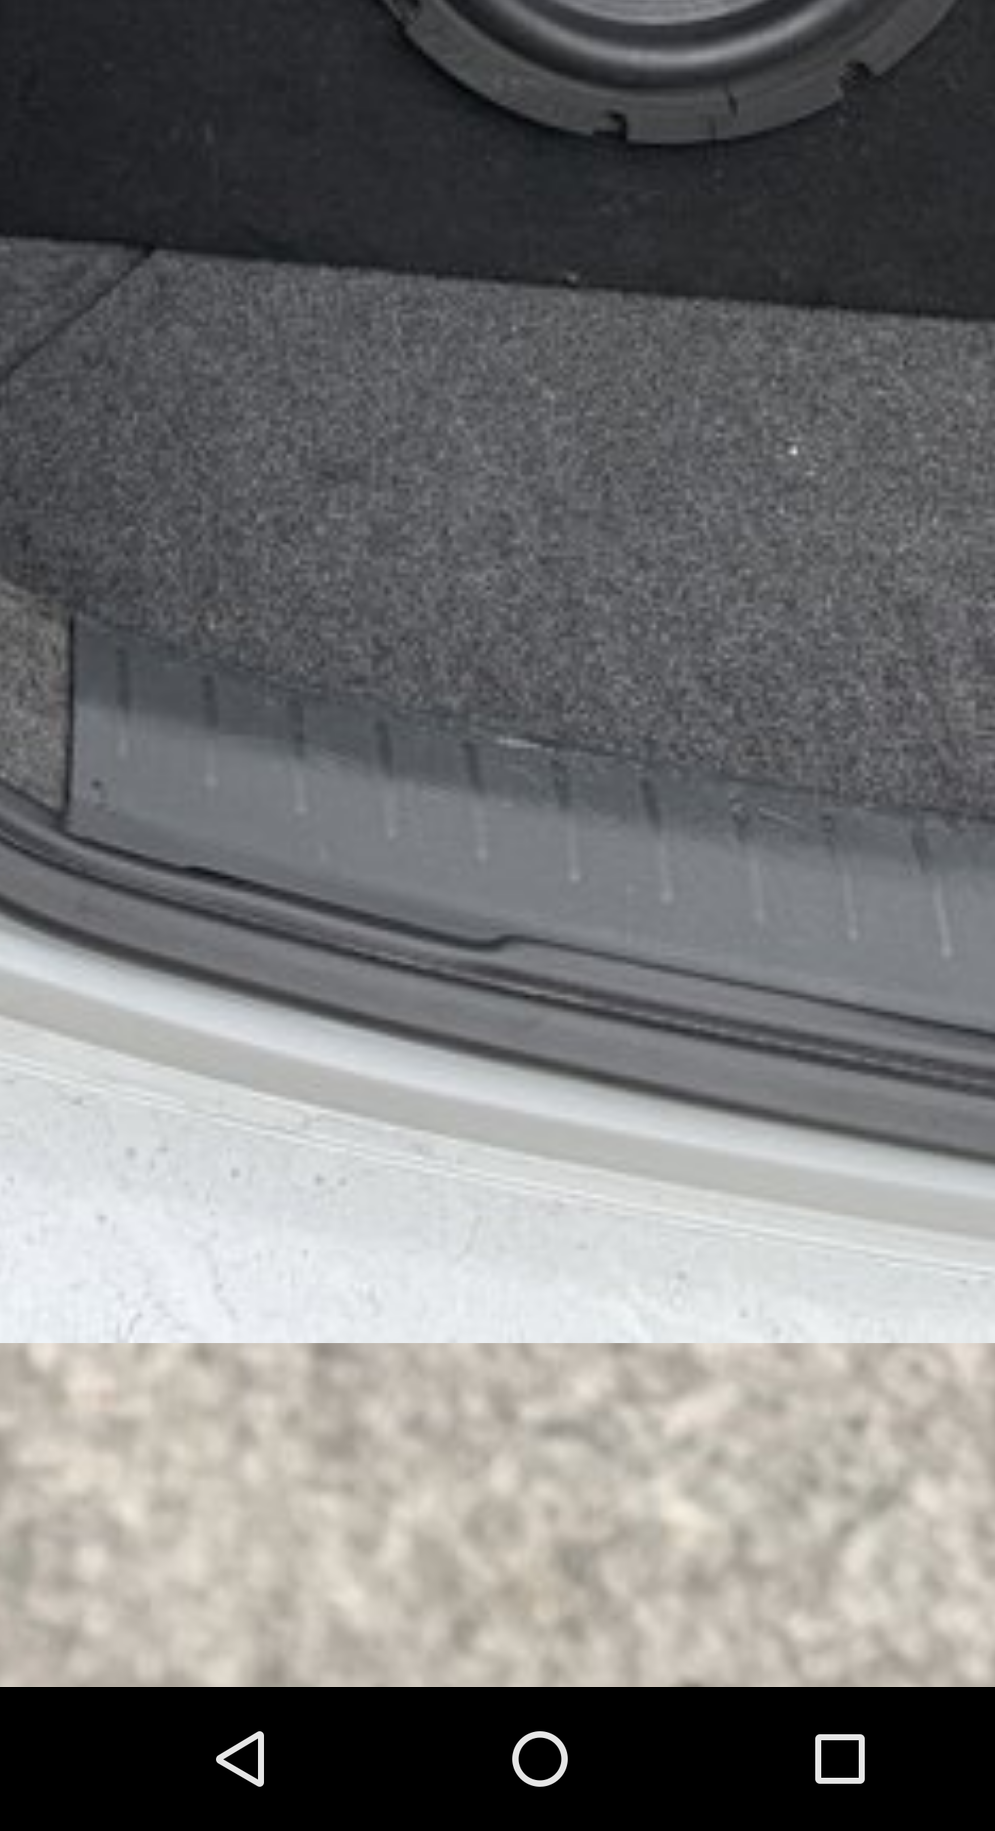
The rear body trim panel is in the center of the pic... With 10 vertical lines.
In the striker pic you can see one of the two black 10mm striker mounting bolts... To the right of the striker/next to the top part of the striker.
Last edited by 01acls; 01-18-2019 at 11:38 PM.
#25
Instructor
Thread Starter
So how do I remove the access trim piece by the striker? I see the screws!! So I just loosen them?
Also, that second trim piece, the large one, I just pull that up, kind of like the passenger kick panel I pulled out for the bluetooth module removal?
Also, that second trim piece, the large one, I just pull that up, kind of like the passenger kick panel I pulled out for the bluetooth module removal?
#27
Instructor
Thread Starter
#28
Drifting
The following users liked this post:
01acls (01-20-2019)
#30
Instructor
Thread Starter
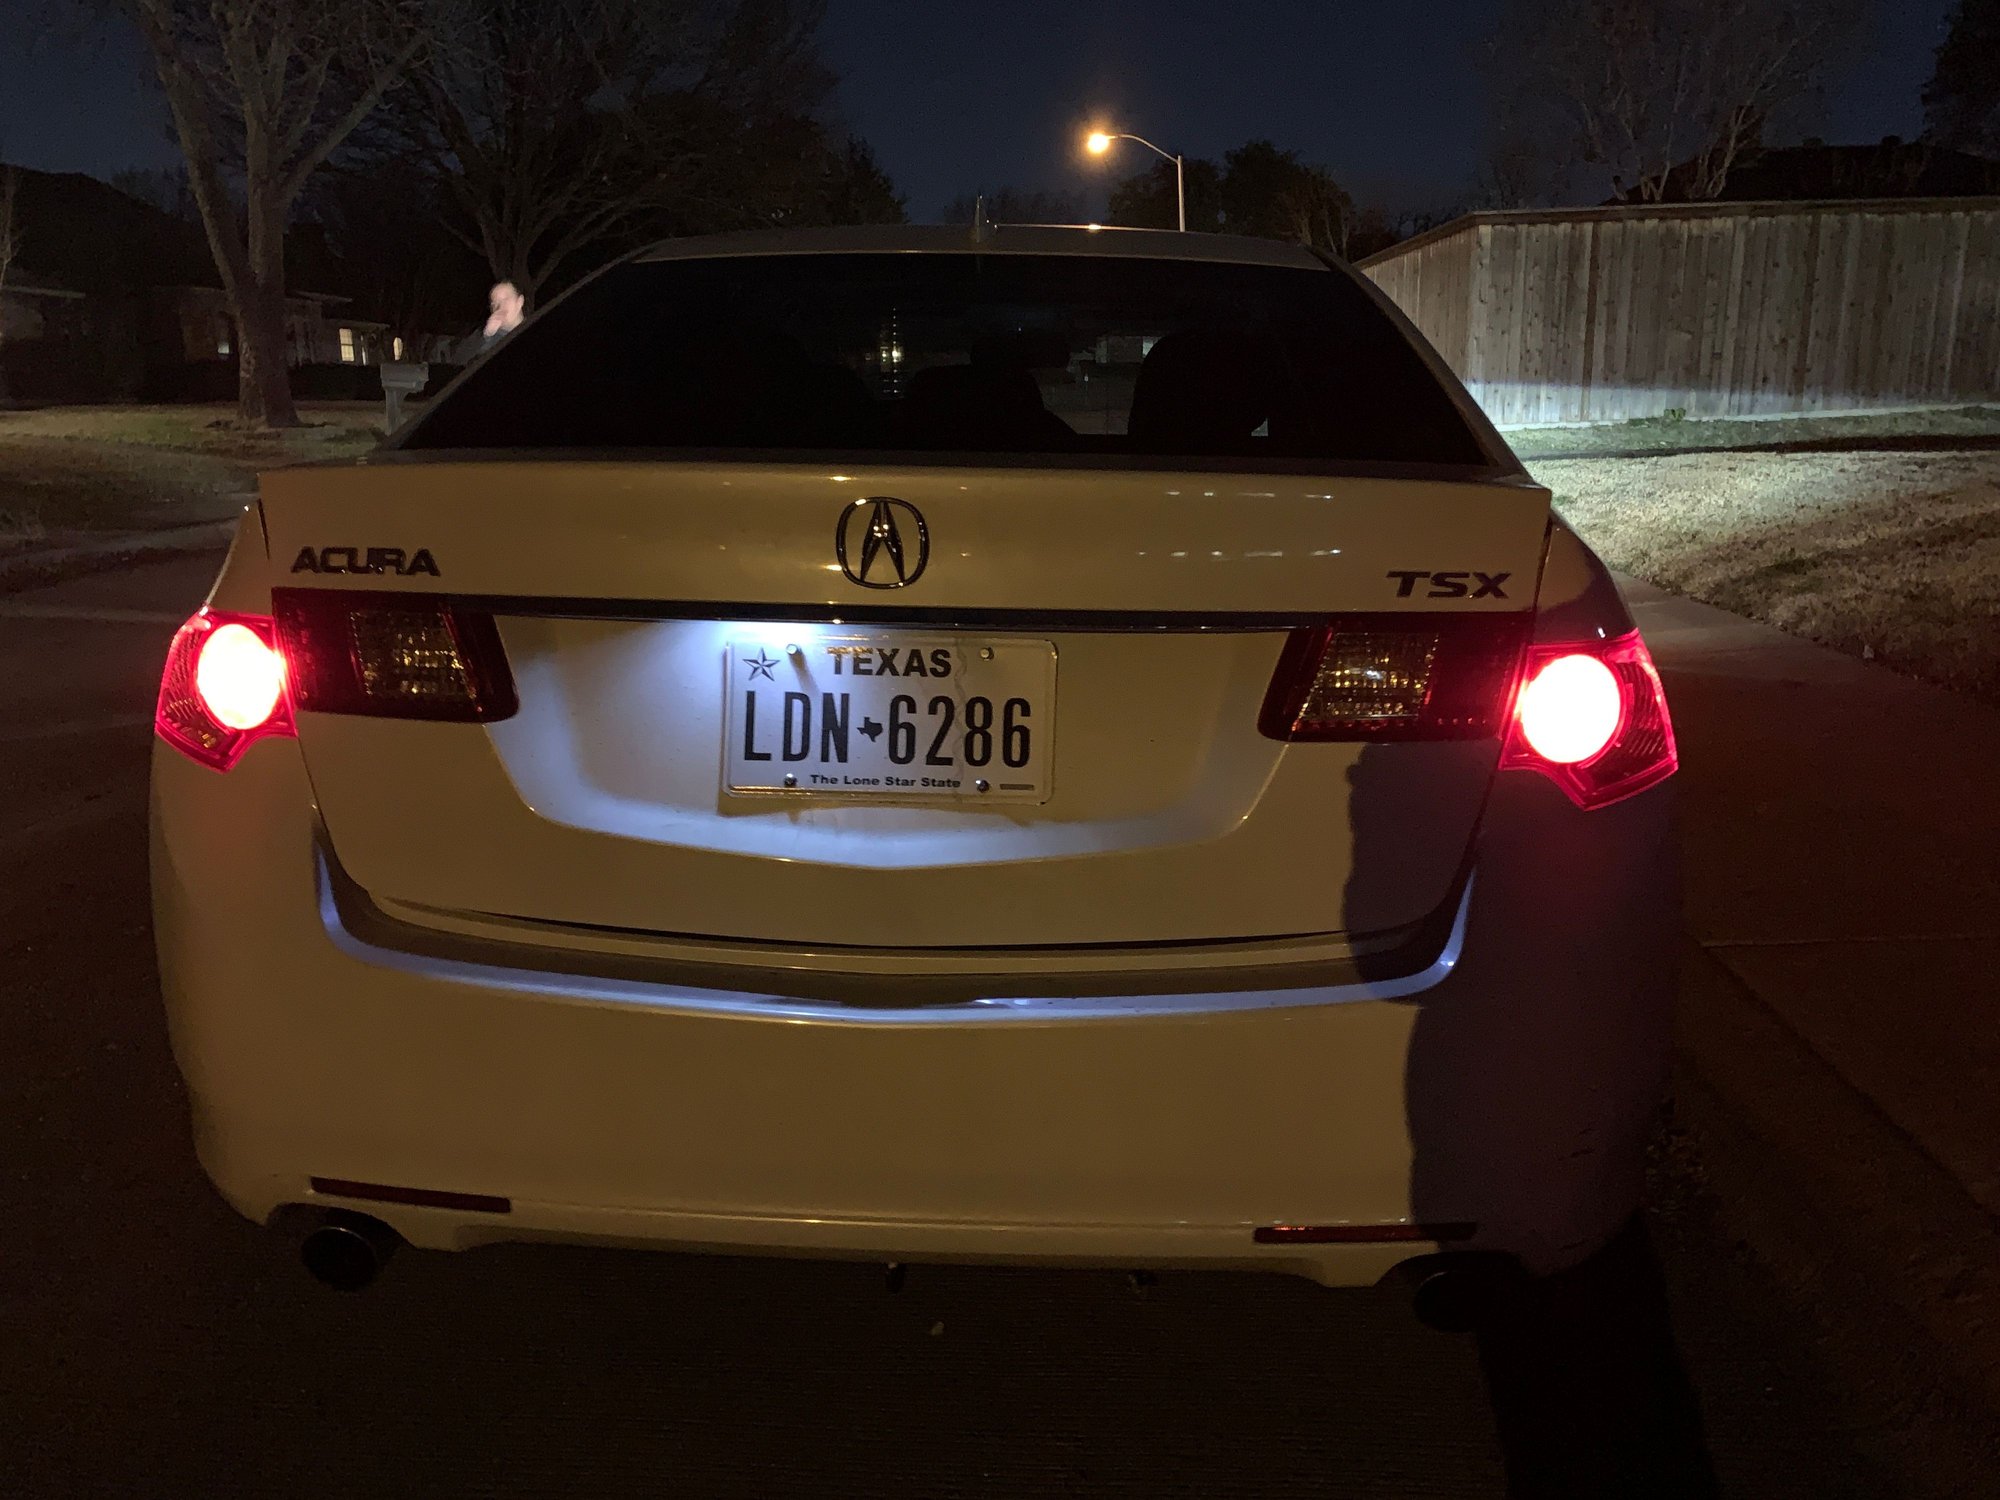
ps guys, isnt the middle part of the tail light suppose to be lit up? Me and my buddy looked and aparently they arent, because there is nowhere to put a bulb.. just the reverse lights. I guess it is just a reflector light?
#31
Null and proud of it
 Great job!!!
No, sadly only the outter parts are lights on the CU2, now on the CL9, they were illuminated...
Replace the plate light bulb asap. Order from SuperbrightLEDs or VLEDs to avoid that blue-ish tint that Chinese LEDs have.
#32
Instructor
Thread Starter
we fixed those!!! GOOD EYE!! My roomie is an engineer and pretty much did it all for me. I gave him tips tho from this thread tho which helped. And I held the flash light. Heh #thuglife
#33
Null and proud of it
Cheap LEDs go out all of the time. I find even the best LEDs flicker after about 18 months. It's just the pain of the game I guess! Lookin' good there!
I also do a lot of my work at night so....
#flashlight
#34
#35
Instructor
Thread Starter
But we pushed on down on the trunk and it made a crack sound and boom. Flush af
Thread
Thread Starter
Forum
Replies
Last Post
jda123
3G TL Problems & Fixes
2
05-22-2011 08:49 PM


