The Graphite Ghost: TSX Wagon
 01-21-2013, 02:04 PM
#241

so I assume the pilot trim front edge fits into the channel as the oem and the rear is where you had to make it look finished?
 01-21-2013, 03:25 PM
#242
Yeah that's what I did. I tried to bend it to fit better but it ended up creasing the rail. Have tried to mess with it any more. It's been the car for 3k with no problems
The following users liked this post:
robpp (01-21-2013)
03-12-2013, 12:24 PM
#243
Isn't there any other solution for this that would be easier and perfect?
I may be getting a wagon and this is one thing I hope I can alter
can the original rail be removed and modded to work? like fiberglassing the missing spots or something like that?
I may be getting a wagon and this is one thing I hope I can alter
can the original rail be removed and modded to work? like fiberglassing the missing spots or something like that?
03-12-2013, 03:03 PM
#246
Racer
I see what you're saying. Keep the 3 stock pieces and then maybe use the Pilot rails to fill in the 2 holes. That might just work. hmmm. I de-railed my Odyssey and LOVE it.
03-20-2013, 10:22 AM
#248
Burning Brakes
I'd be interested to see how this turns out. Looks pretty sweet when done right. Check this out:
http://minkara.carview.co.jp/en/user...378/photo.aspx
He has a YouTube channel too:
http://www.youtube.com/user/garagek9?feature=watch
http://minkara.carview.co.jp/en/user...378/photo.aspx
He has a YouTube channel too:
http://www.youtube.com/user/garagek9?feature=watch
03-20-2013, 01:51 PM
#250
Burning Brakes
I found his FB, if that helps: https://www.facebook.com/GarageK
03-21-2013, 09:54 AM
#251
I contacted him about the roof rails
His response below
Hi
I used Elysion's roof moldings. Elysion is japanese domestic model.
It was difficult for me to fix moldings to my wagon.
I made small brackets and small parts. Finaly I could installed those to my car. First, I brought moldings for TSX SEDAN, but Its shape is different from for wagon. so I investigeted many cars. My reply is OK?
Thank you.
03-21-2013, 11:55 AM
#252
the guy with the vortex blue wagon used MDX. and it wasnt that hard EXCEPT its a bit too wide so he cant make it 100% flat/
i had the 13 rdx here. it goes all the way to the hood so that no good.
my neighbor had a magnum and he told me he bought strips for it and never installed. he going to dig them out for me to check out/
i had the 13 rdx here. it goes all the way to the hood so that no good.
my neighbor had a magnum and he told me he bought strips for it and never installed. he going to dig them out for me to check out/
04-22-2013, 12:05 PM
#253
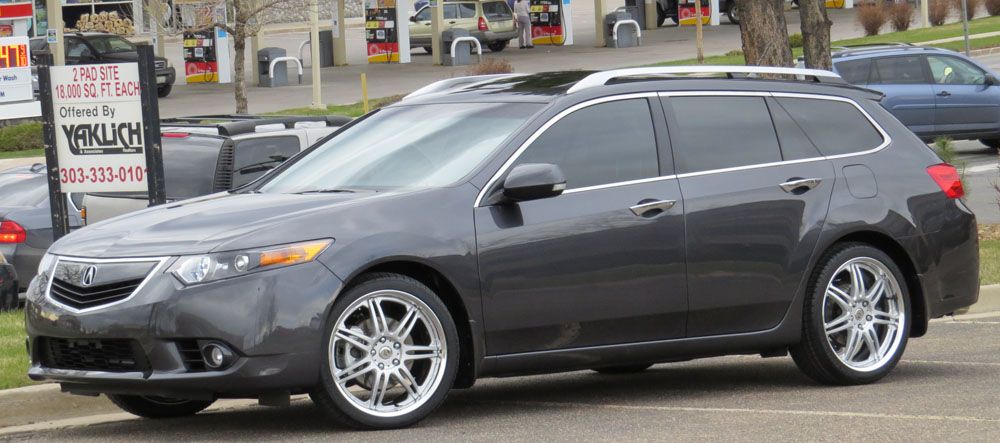
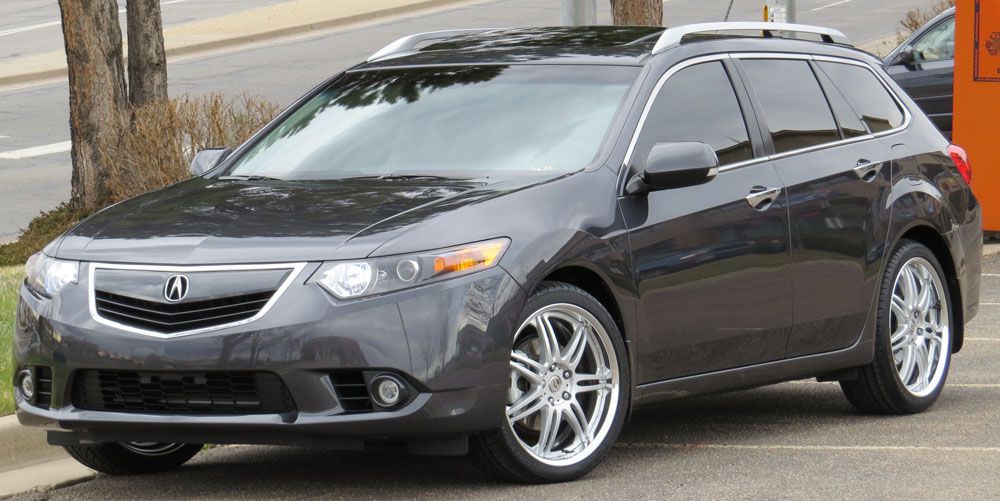
i did a spring detail....well still working on it.
NO WAX YET or engine detail.
detail sequence
1. Wash CG Citrus Wash Glow @ 5 on the foam gun with sheepskin mitt.
2. Rinse.
3. Wash CG Mr Pink with Fine Clay Mitt.
4. Rinse.
5. Dry: waffle weave with CG Mini Blower.
6. M205 Tangerine Hydro pad.
7. Menzerna SF4500 Red Hydro pad (due to soft paint)
8. IPA 50/50 wipe down 1
9. IPA 50/50 wipe down 2
10. Menzerna Powerlock sealant 1
11. Menzerna Powerlock sealant 2
TO come
12. P21 carnauba
13. P21 carnauba
interior:
Zaino Leather Cleaner
Adam's Leather Conditioner
303 Vinyl Protectant
Invisible Glass
CG New Car Scent
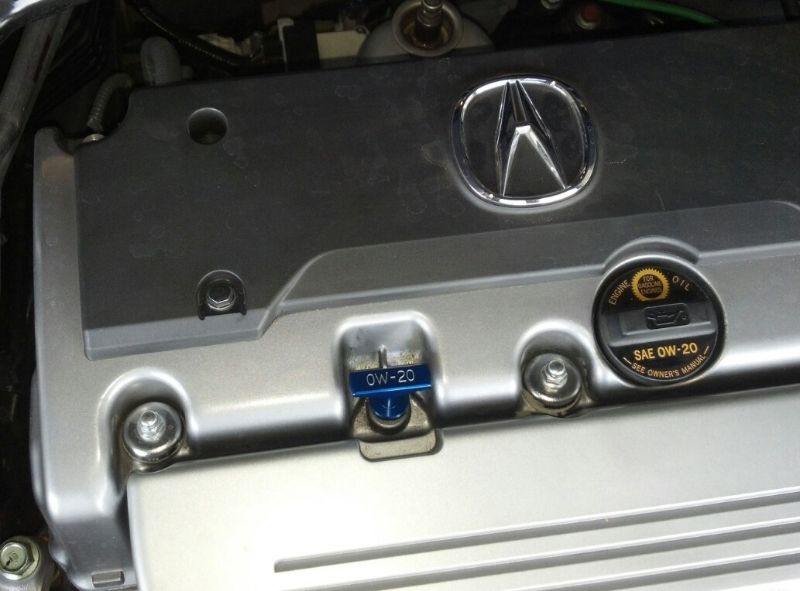
Going to do a touch up under the hood.
and I still need to do the exterior wax/
put the wheels on........springs go in next week so SHAD UP about stance dance
a few pics
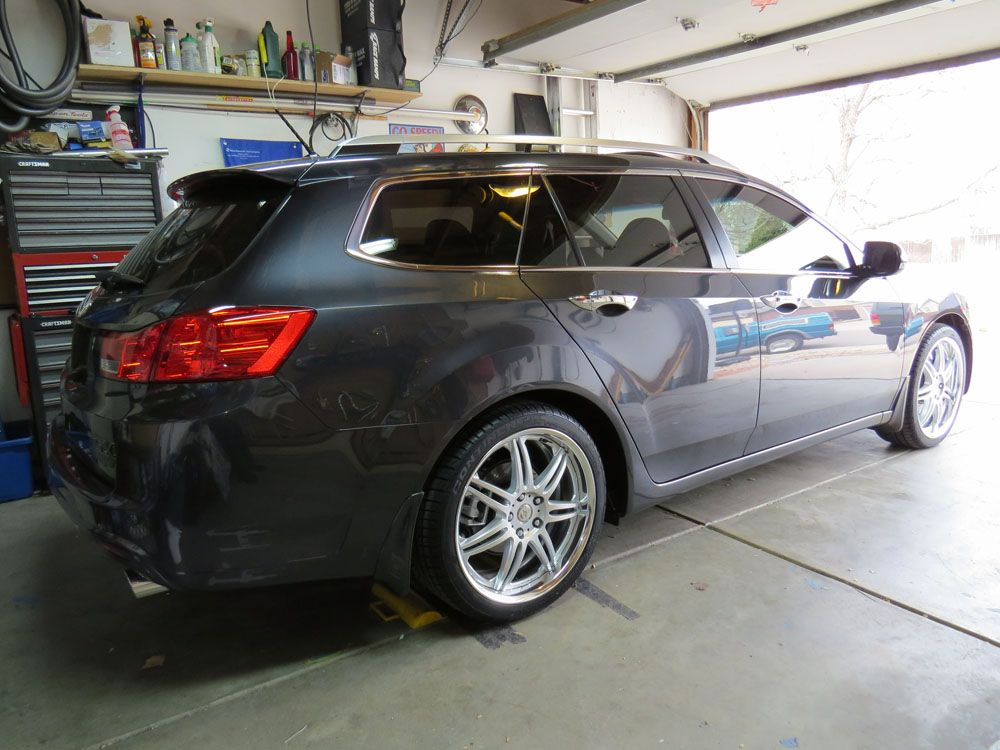


no poke


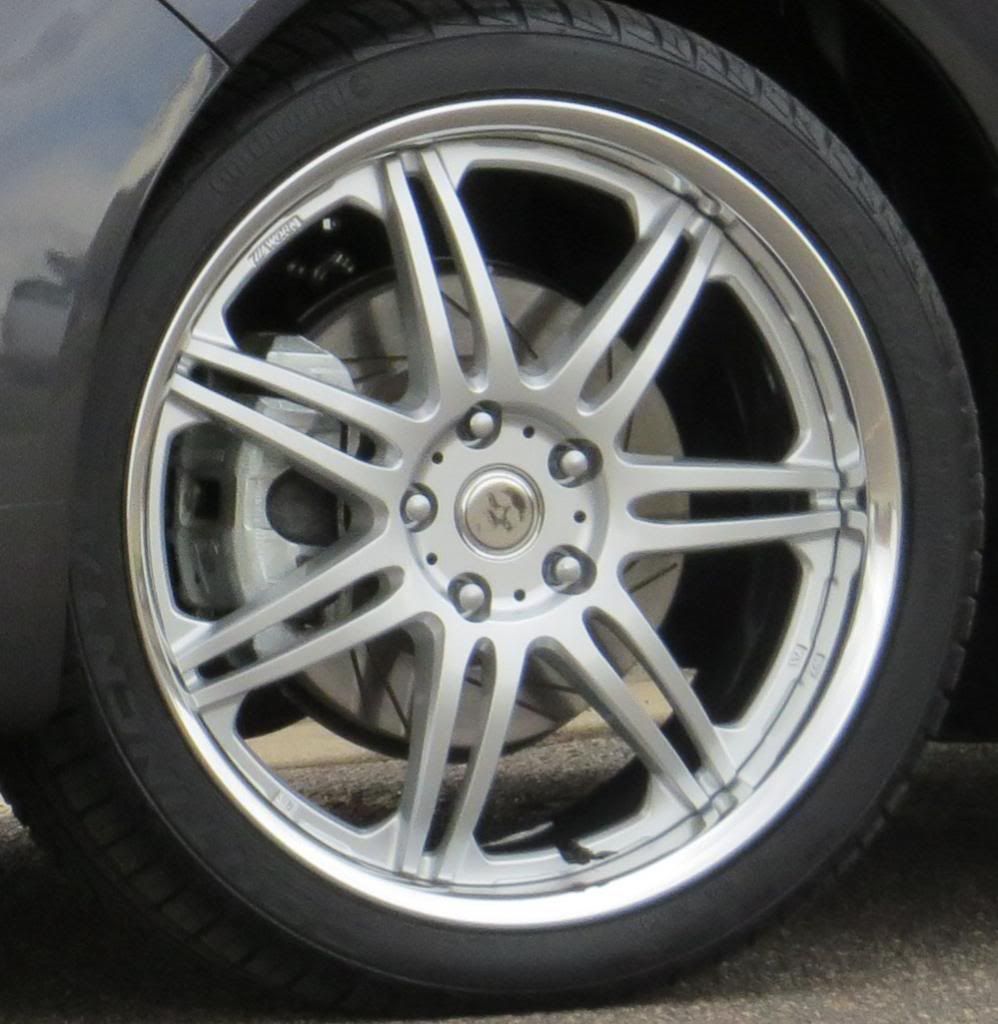
center cap daylight

camera flash

NO WAX YET or engine detail.
detail sequence
1. Wash CG Citrus Wash Glow @ 5 on the foam gun with sheepskin mitt.
2. Rinse.
3. Wash CG Mr Pink with Fine Clay Mitt.
4. Rinse.
5. Dry: waffle weave with CG Mini Blower.
6. M205 Tangerine Hydro pad.
7. Menzerna SF4500 Red Hydro pad (due to soft paint)
8. IPA 50/50 wipe down 1
9. IPA 50/50 wipe down 2
10. Menzerna Powerlock sealant 1
11. Menzerna Powerlock sealant 2
TO come
12. P21 carnauba
13. P21 carnauba
interior:
Zaino Leather Cleaner
Adam's Leather Conditioner
303 Vinyl Protectant
Invisible Glass
CG New Car Scent
Going to do a touch up under the hood.
and I still need to do the exterior wax/
put the wheels on........springs go in next week so SHAD UP about stance dance
a few pics


no poke


center cap daylight

camera flash

The following users liked this post:
MrLogan13 (04-24-2013)

The following users liked this post:
robpp (04-24-2013)
05-05-2013, 11:43 AM
#255
my freaking back has been out 2 weeks today so the mods just PILE UP.
but I had cabin fever and felt OK yesterday so I tackled mounting my spare tire and the associated inserts in the trunk area.
I previously bought a spare wheel and tire and all the tools from eBay never used. I spent about a hundo for all of that.
Wheel is 16x4 Tire is 135/80 IIRC.....its an accord spare but same as ours.
I went to oemacuraparts and did some research as to what else I needed to complete the spare tire package.......
I needed 4 things
74652-SDA-003 Bolt
74651-S2X-003 Adapter
84523-TL4-G22ZA Lower Floor Cover
84529-TL4-A01ZA Lower Floor Bucket
List Price about 430 - oemacuraparts price = $300 plus shipping.
SO I went to the stealer and ASKED about matching the price. He said he would match it plus the shipping. I didnt know the shipping so we agreed on a $40 uplift.....plus tax came to 360.
I didnt have my camera near by and the install was rather simple.
basically you need to replace two insert; and bolt the spare down.
you need to remove the lid with the handle. it has push pins in floor neaar rear seat. also carpet is velcro as a filler. seperate velcro and lift out cover.
remove the compressor.
the next peice has 4 push pins holding it. they are easily removed with trim tool. I did bust one but found a replacement in a jar. new one needs these pins.
that it. you hit bottom.
the threaded mount for the spare is already in there. you lay in your spare. and you use the adapter and bolt I have listed to hold the spare down.
thern get the new carpet insert in. literally just lay it in. and use the 4 pins removed above to mount it.
next I put in the top tray, and laid all MY TOOLS in there. wrapped in a towel.
SO FOR TOOLS (Ceb) in the vehicle:
OEM SPARE
OEM JACK
OEM JACK HANDLE
OEM LUG WRENCH
GORILLA LUG WRENCH w/SOCKETS
LOCK SOCKET
RS LUG SOCKET
WHEEL CHOCKS
OEM LUGS for spare.
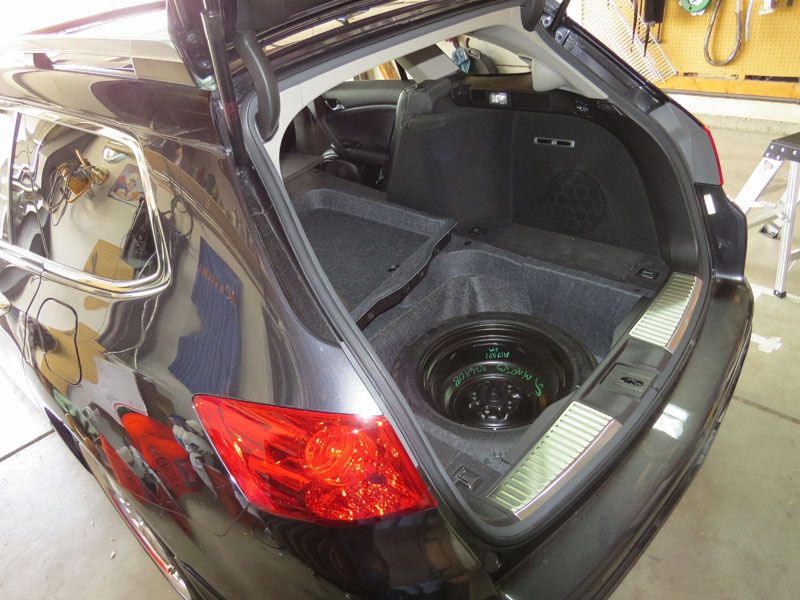
this shows the 2 new parts I bought listed above. I chose to NOT use the oem tool tray (thing that holds the jack and such).......for now.
you can see some of the pins that hold it in.

a little further back
but I had cabin fever and felt OK yesterday so I tackled mounting my spare tire and the associated inserts in the trunk area.
I previously bought a spare wheel and tire and all the tools from eBay never used. I spent about a hundo for all of that.
Wheel is 16x4 Tire is 135/80 IIRC.....its an accord spare but same as ours.
I went to oemacuraparts and did some research as to what else I needed to complete the spare tire package.......
I needed 4 things
74652-SDA-003 Bolt
74651-S2X-003 Adapter
84523-TL4-G22ZA Lower Floor Cover
84529-TL4-A01ZA Lower Floor Bucket
List Price about 430 - oemacuraparts price = $300 plus shipping.
SO I went to the stealer and ASKED about matching the price. He said he would match it plus the shipping. I didnt know the shipping so we agreed on a $40 uplift.....plus tax came to 360.
I didnt have my camera near by and the install was rather simple.
basically you need to replace two insert; and bolt the spare down.
you need to remove the lid with the handle. it has push pins in floor neaar rear seat. also carpet is velcro as a filler. seperate velcro and lift out cover.
remove the compressor.
the next peice has 4 push pins holding it. they are easily removed with trim tool. I did bust one but found a replacement in a jar. new one needs these pins.
that it. you hit bottom.
the threaded mount for the spare is already in there. you lay in your spare. and you use the adapter and bolt I have listed to hold the spare down.
thern get the new carpet insert in. literally just lay it in. and use the 4 pins removed above to mount it.
next I put in the top tray, and laid all MY TOOLS in there. wrapped in a towel.
SO FOR TOOLS (Ceb) in the vehicle:
OEM SPARE
OEM JACK
OEM JACK HANDLE
OEM LUG WRENCH
GORILLA LUG WRENCH w/SOCKETS
LOCK SOCKET
RS LUG SOCKET
WHEEL CHOCKS
OEM LUGS for spare.
this shows the 2 new parts I bought listed above. I chose to NOT use the oem tool tray (thing that holds the jack and such).......for now.
you can see some of the pins that hold it in.

a little further back


 05-28-2013, 10:15 PM
#260
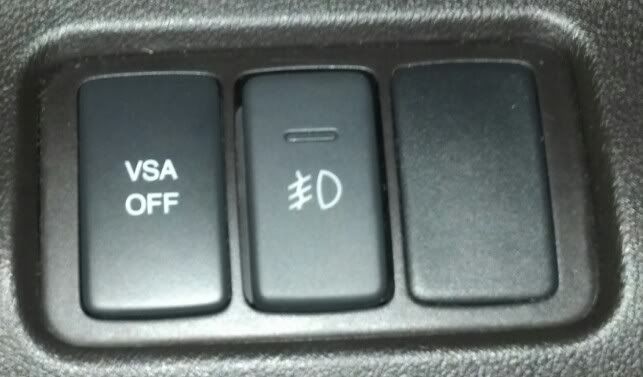
This us a 07 accord fog switch . It snaps in good but you can see its s touch small but considering where its location, is I am calling it good. I am going to use this for an Indy fog sw
Last edited by robpp; 05-28-2013 at 10:18 PM.
 05-29-2013, 10:38 AM
#263
$20 at your local Honda dealer/
also I suspect you could convert this to a VSA OFF forever switch. I have seen done on Gen1 so why not on Gen2/
08V31-SDA-1M035 Honda Accord Fog Light Switch
I also ordered a harness but it hasnt showed up yet.
08V31-SDA-10030 Honda Accord Fog Light Switch Harness
06-20-2013, 07:54 PM
#267
SAVCLAUDE FTMFW
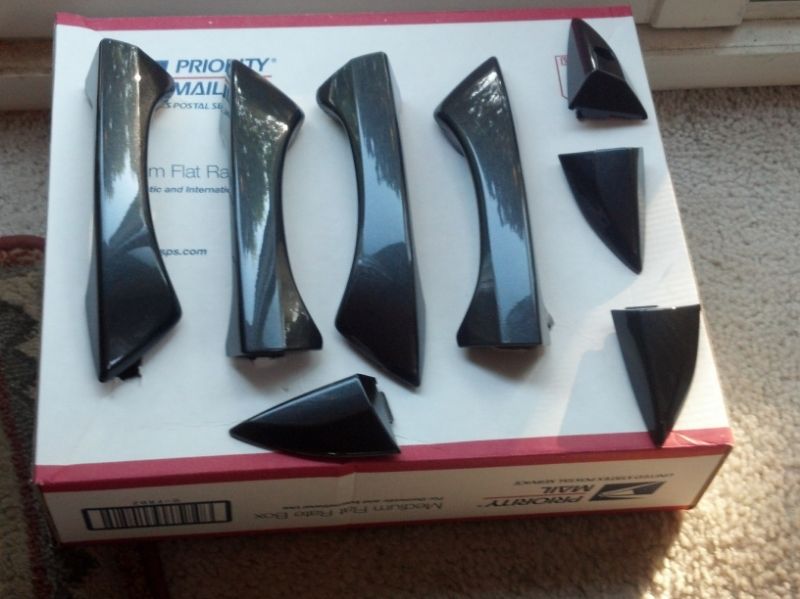
Since I saw the wagon in the showroom I wanted to ditch the chrome door handles.
When I saw SavClaude's painted ones I had to have some.
Bought a salvage set of handles......now to find a painter.
Whst do you know.....SavClaude IS A PAINTER. A few weeks later......see below.
These handles are perfect.color perfect. Nice hard clear. He KNOWS what he's doing.
He took care of Mr. I will not hesitate to send him other stuff.
Thanks bro/
I'm waiting to have back surgery next month but the corset belt should hold me together to do this nod LOL
The following users liked this post:
savclaude (06-20-2013)
06-20-2013, 08:37 PM
#269
Burning Brakes
Very nice, those pieces look awesome. If I ever decide to rid the wagon of all the chrome, I'll know who to contact. Looking forward to seeing them on the car.
06-20-2013, 10:59 PM
#270
Bent = #1
06-23-2013, 11:34 AM
#271
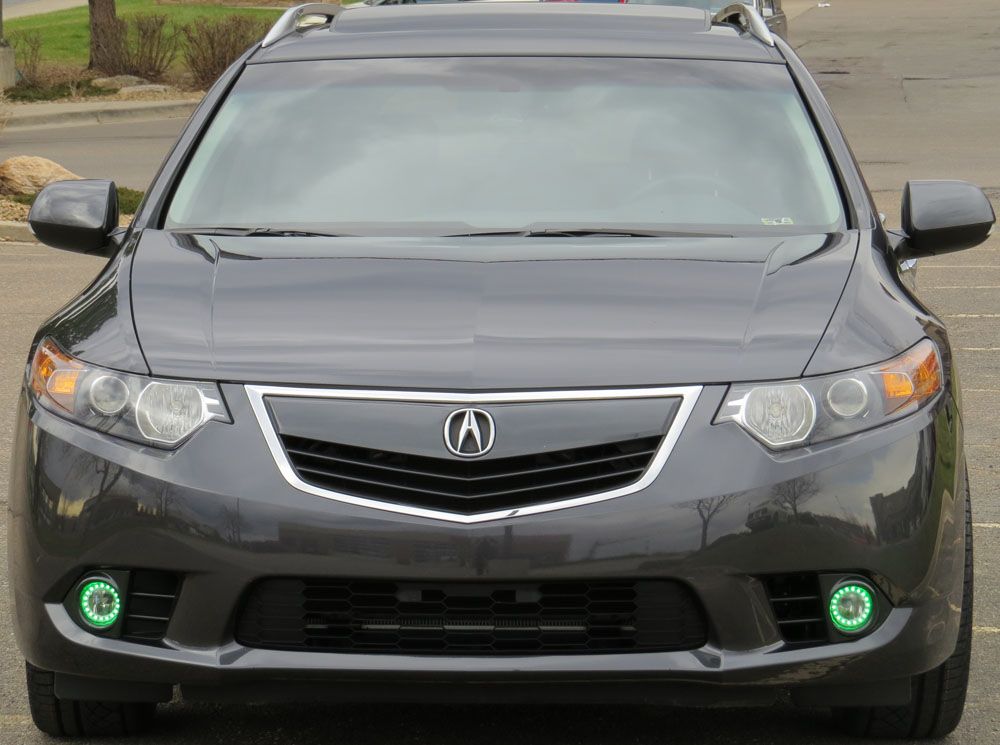
got around to installing these bumper lights.
i have a vid to upload later.....
http://store.ijdmtoy.com/Honda-CRZ-I...tor-sku408.htm
only tricky part was making a 3 wire plug cause if you just solder it all together you will have to cut the wires to remove it AND rear bumper/, so i had some 3 wire metri-pak and used that.
i have a vid to upload later.....
http://store.ijdmtoy.com/Honda-CRZ-I...tor-sku408.htm
only tricky part was making a 3 wire plug cause if you just solder it all together you will have to cut the wires to remove it AND rear bumper/, so i had some 3 wire metri-pak and used that.
06-24-2013, 08:52 PM
#273
got around to installing these bumper lights.
i have a vid to upload later.....
http://store.ijdmtoy.com/Honda-CRZ-I...tor-sku408.htm
only tricky part was making a 3 wire plug cause if you just solder it all together you will have to cut the wires to remove it AND rear bumper/, so i had some 3 wire metri-pak and used that.
i have a vid to upload later.....
http://store.ijdmtoy.com/Honda-CRZ-I...tor-sku408.htm
only tricky part was making a 3 wire plug cause if you just solder it all together you will have to cut the wires to remove it AND rear bumper/, so i had some 3 wire metri-pak and used that.
here is the vid. our tsx is a 3 wire system; meaning each lamp option is a diff wire. based on that I could only wire 2 of the 3.......so i chose Park and Brake. But I could have easily subbed the blinker.
also these need to be removable so you need some kind of plug or connector.

The following users liked this post:
iSeeYouTwo (06-25-2013)
 06-26-2013, 11:59 AM
#277
IDK why but this forum DOES NOT LIKE MY Photobucket video.
here is a direct link to try: http://s300.photobucket.com/user/rob...c1a18.mp4.html
here is IMG:
I did NOT have to remove the bumper......only the outer tailights. they pop right off so no worries there. then i just unplugged the lights and tapped into the wires. I soldered all my connections too.
here is a direct link to try: http://s300.photobucket.com/user/rob...c1a18.mp4.html
here is IMG:
I did NOT have to remove the bumper......only the outer tailights. they pop right off so no worries there. then i just unplugged the lights and tapped into the wires. I soldered all my connections too.
06-26-2013, 01:07 PM
#280
Race Director
iTrader: (3)
Join Date: Feb 2012
Location: South Florida
Age: 30
Posts: 18,278
Received 3,824 Likes
on
2,847 Posts
Looking good!! 
The following users liked this post:
JL-Type-S (09-18-2013)