When you click on links to various merchants on this site and make a purchase, this can result in this site earning a commission. Affiliate programs and affiliations include, but are not limited to, the eBay Partner Network.
In the middle of swapping out my transmission for an AV6, and I can’t convince myself to change the rear main seal. It’s not leaking and because it’s so deep in the engine, I’d rather take the approach of “it it ain’t broke don’t fix it” in this particular case.
A few few things that concern me:
1. Do I need to remove the oil pan to do it?
2. On a scale of 1-10 how challenging is it to get a good seal with the HondaBond gasket? For reference I’ve already taken the transmission out, I consider that a 10 😉
3. Any way to check that I’ve done it right and the job will last other than puttting EVERYTHING back together again and starting the engine?
I have the seal and HondaBond as I was expecting it to be in need of a change AND this car is no longer my daily driver, so it pretty much comes down to getting some answers to these questions/concerns.
With the trans off, the rear main seal is super easy. Remove the flex plate and the seal is fully exposed. Just pop it out and insert the new one, then torque the flex plate back in. No hondabond needed.
Did you remove the aluminum “case” assembly in order to do the that? I read in the service manual that the seal can be installed with the case plate installed on the back end of the block, but did not see any mention of how to remove it.
I would imagine that installing it without removing the case plate would be the safest route as it would not disrupt the factory sealing of that plate which I am sure many have had problems with as it requires cleaning off all residual gasket material and cleaning it pristinely such that the new gasket works. A task that’s probably very difficult with the oil pan still intact and lots of oil, grease and grime sitting around from the engine being used.
That’s the issue: the service manual states that in order to remove the seal, the seal housing must be removed. Then, the oil pan should come off so that sealing of the seal housing (which mates against the block on one side and the top of the oil pan on an other edge ) must be removed and reinstalled as well. I presume to clean and decontaminate the entire surface where Honda bond will be applied, so that it may properly adhere?
Anyhow, taking off both of those parts does not seem like 1/10 more work, maybe another 1/3 of the job.
If it’s possible to remove / install the seal without all that additional work to the housing / oil pan; I’d like to know!
It's exactly like Iggy said. The flex plate comes off, the old rear main seal is removed and the new one is tapped in place. No other parts need to be removed from the engine.
With the trans out of the car, it's a no brainer to replace the rear main seal for peace of mind.
I drilled a small pilot hole into the rear main seal and then screwed in by hand a 1" long screw just far enough to engage the metal in the seal. Then, I pulled on the screw with pliers to remove the seal.
I drilled a small pilot hole into the rear main seal and then screwed in by hand a 1" long screw just far enough to engage the metal in the seal. Then, I pulled on the screw with pliers to remove the seal.
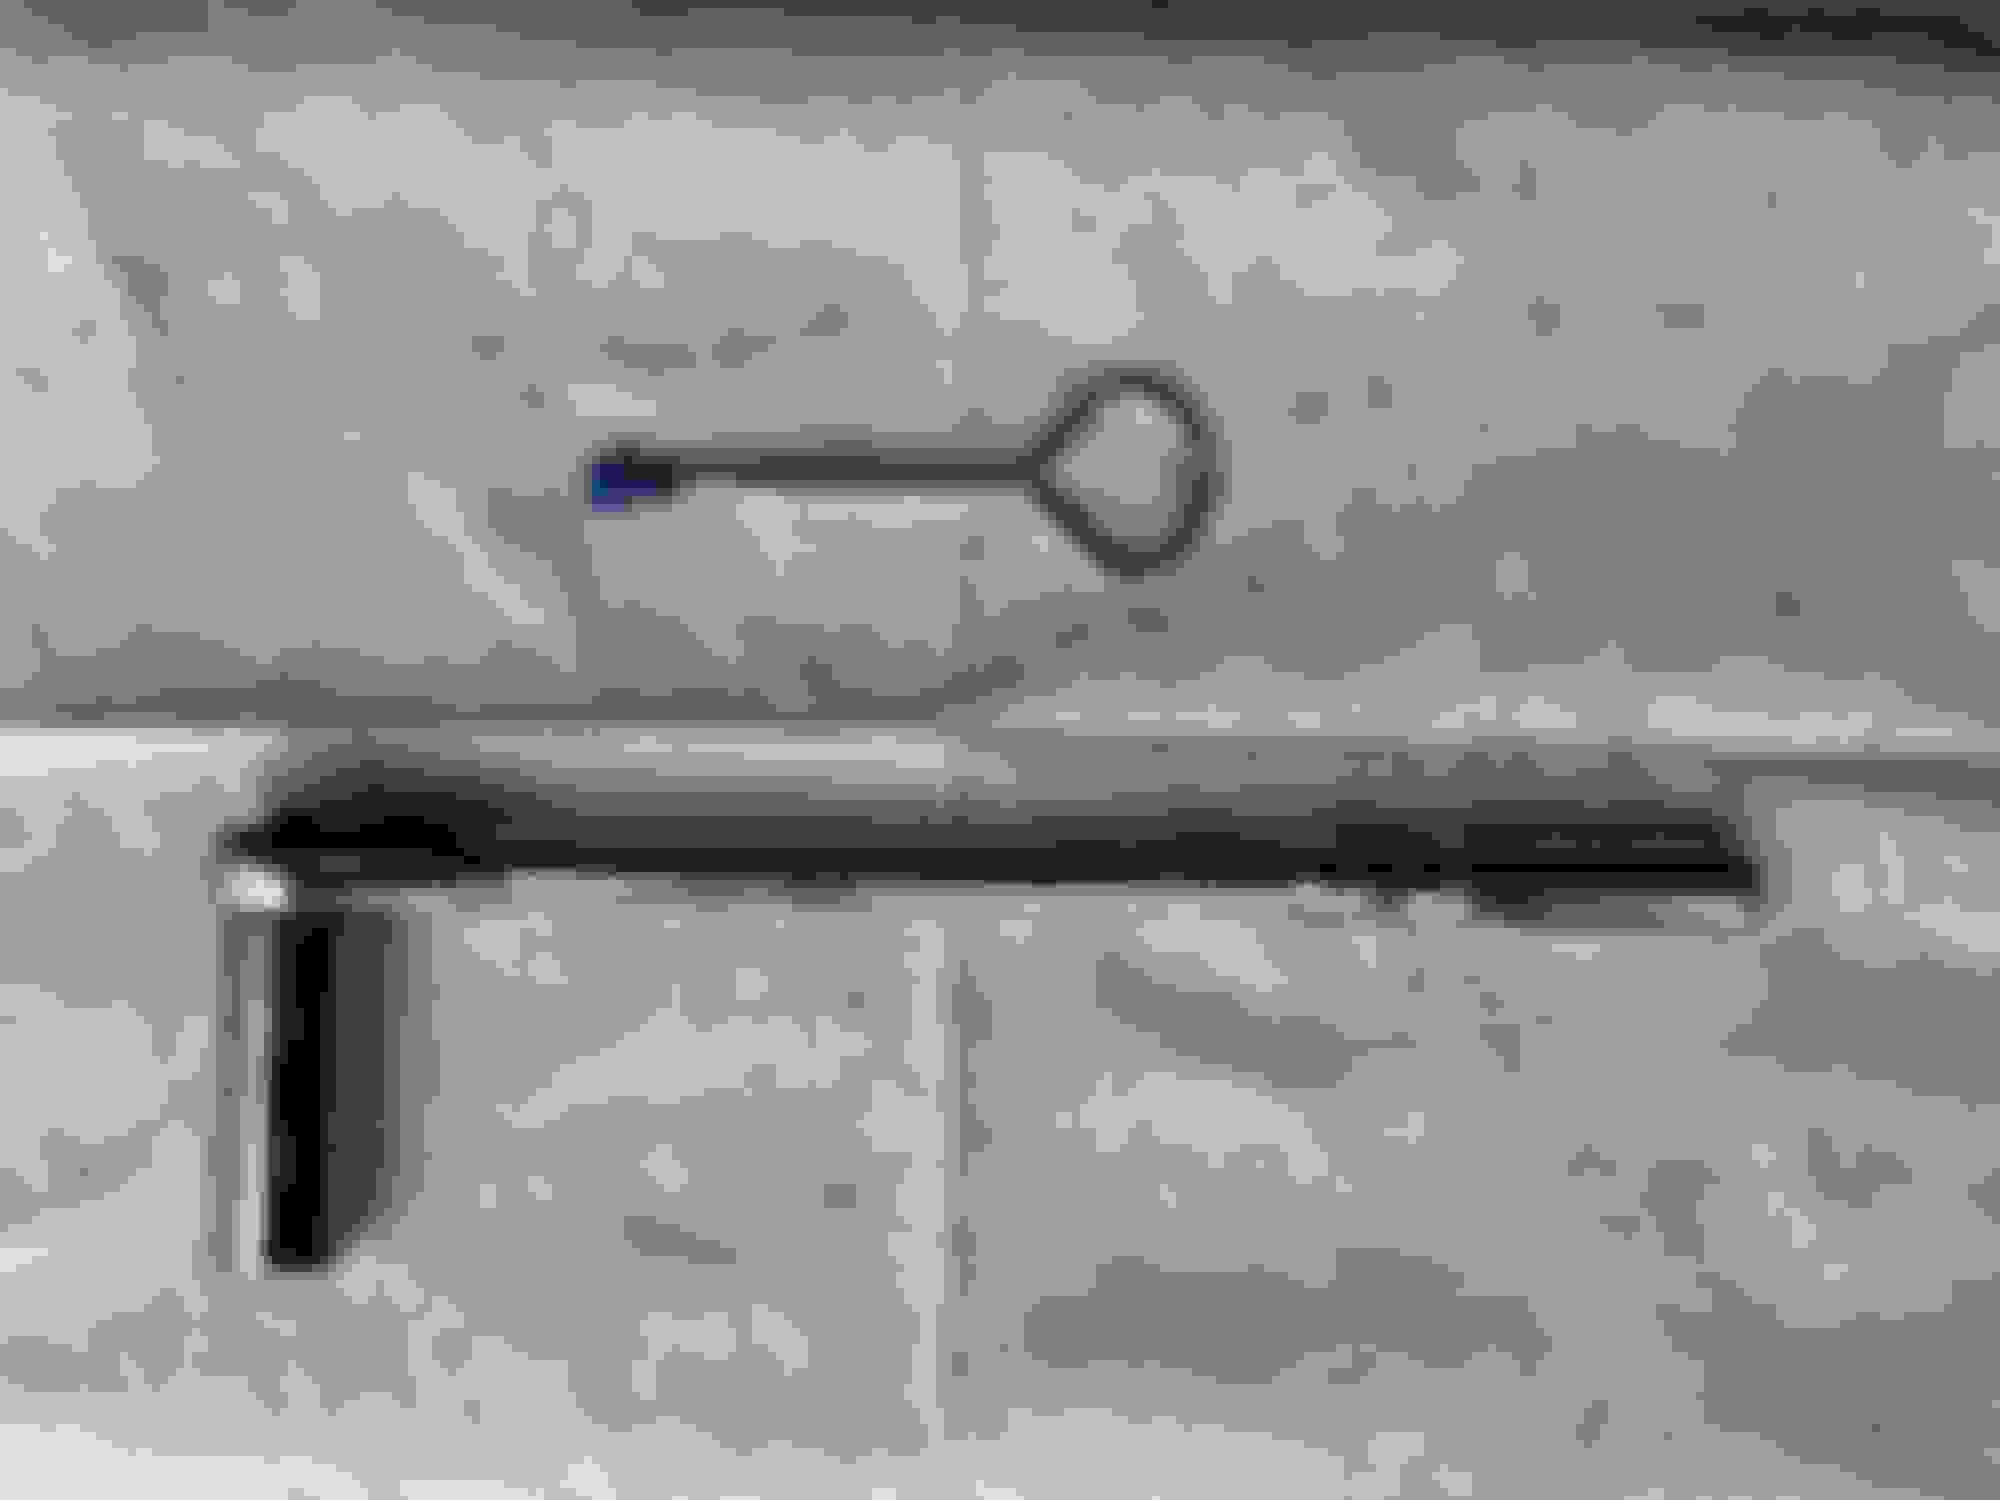
I decided that that my hand eye coordination might not be the best in this case and didn’t want to risk drilling, punching or scratching anything in this area so I put together the following to pluck the seal right out :
paint can opener
electrical tape to insulate the metal at the tip of the can opener
long handled ratchet (3/8 drive in this case)
a DEEP socket that is large enough to fit over the the inserted dowel pin (the pin that helps guide with mating the transmission together with the engine)
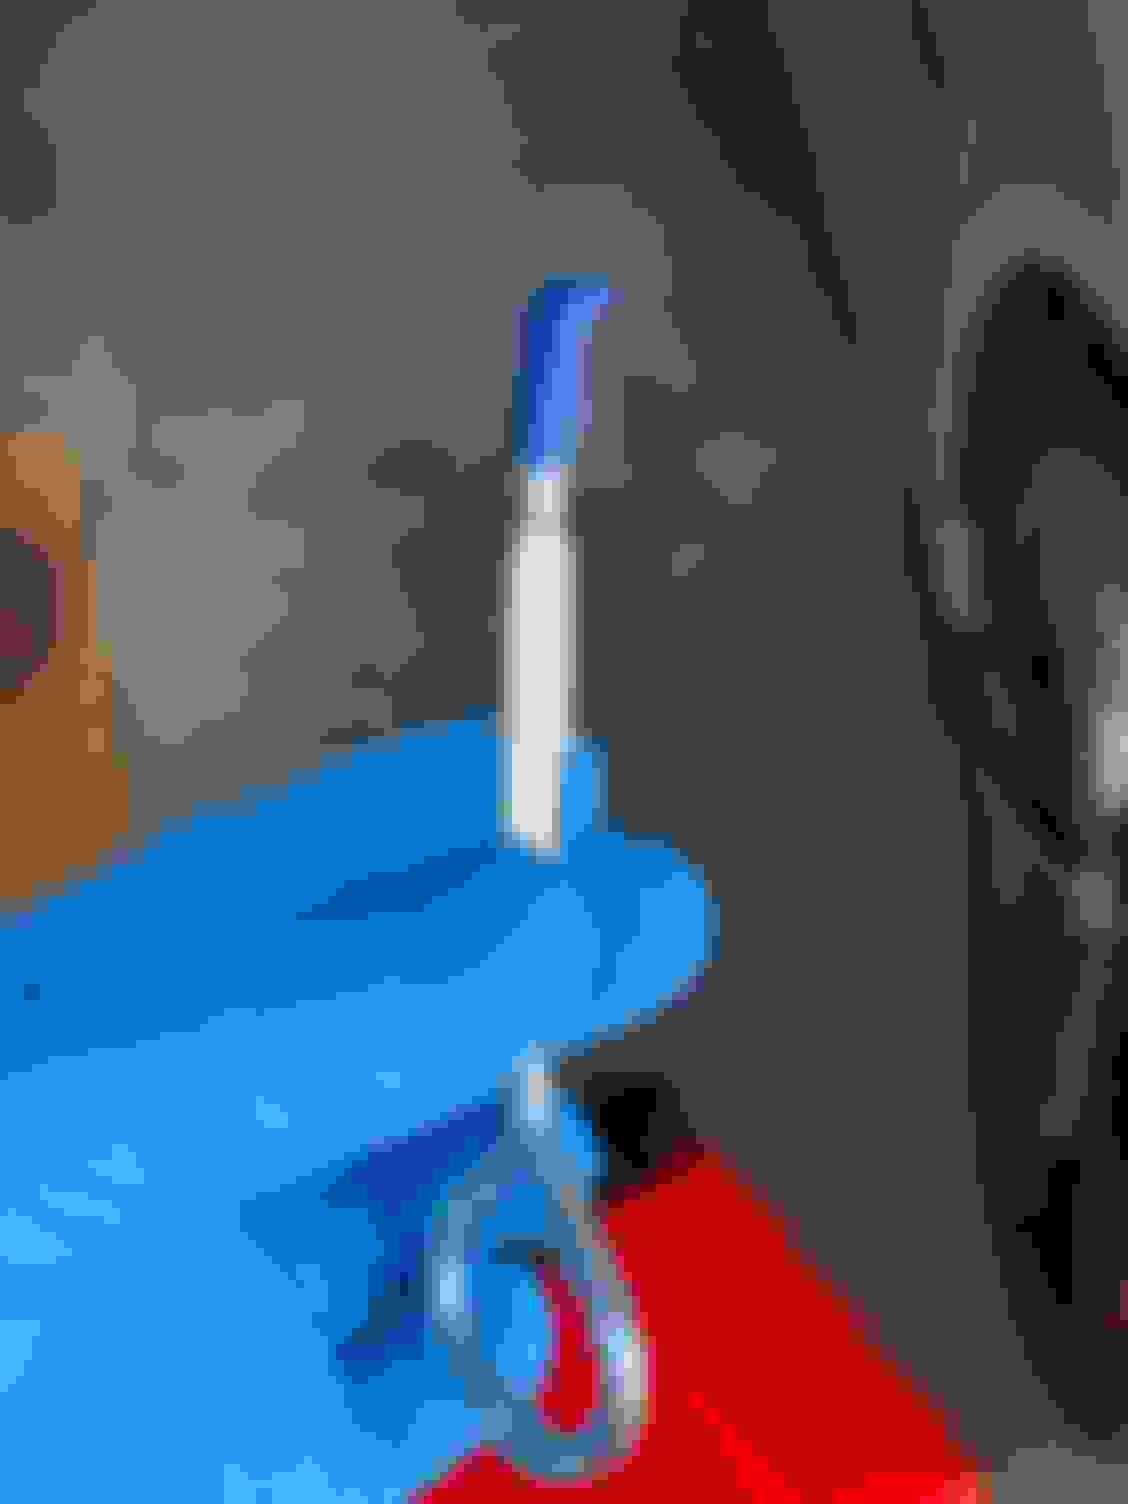
At a location between the crank/seal and one of the dowel pins: Insert the tip of the can opener between the crankshaft and the seal with the hook portion facing out so that it grabs the seal when the opener is pulled out.
I noticed that the above is not easy to do without a little bit of leverage; that’s where the ratchet and socket come in.
Insert the rachet through the can opener, with the socket end over the dowel pin (to avoid that end from sliding). Holding one side of the rachet over the dowel pin, and lifting up on the other end of the ratchet will allow the seal to pop right off with surprisingly little effort.
Note: it’s important that a deep socket is used so that the handle of the opener stays in an orientation that is straight out and away (the direction you want the seal to go). And doesn’t slide down forward the socket side of the ratchet.
 01-10-2019, 10:04 PM