
LED (blue) dash conversion... work in progress


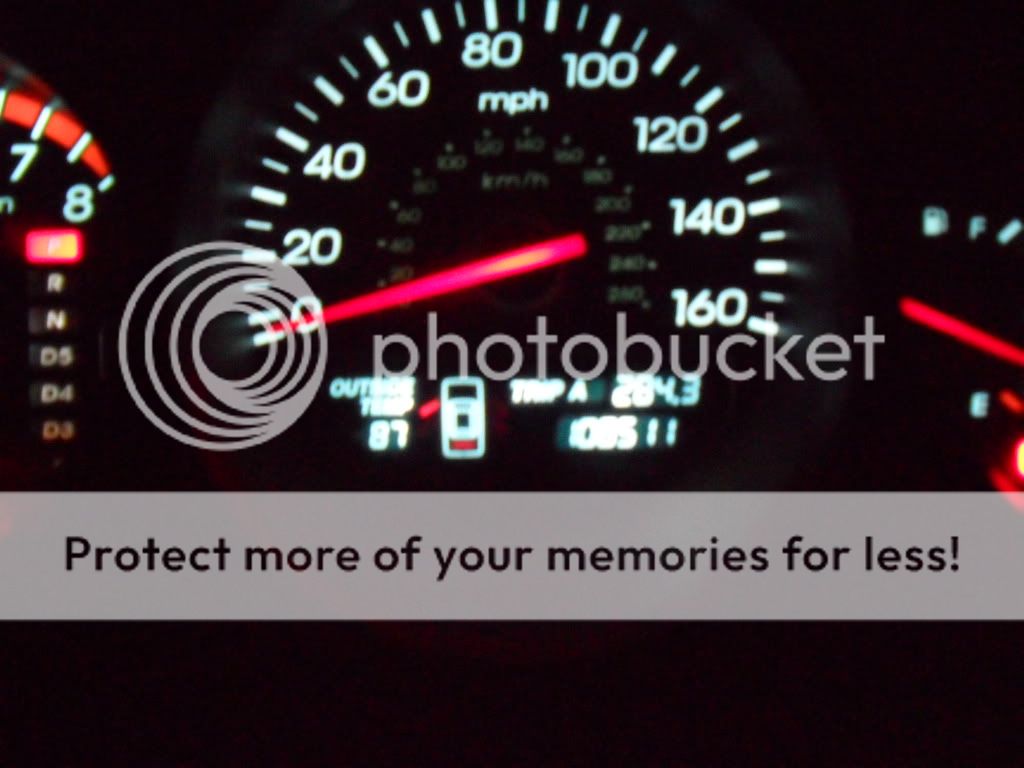
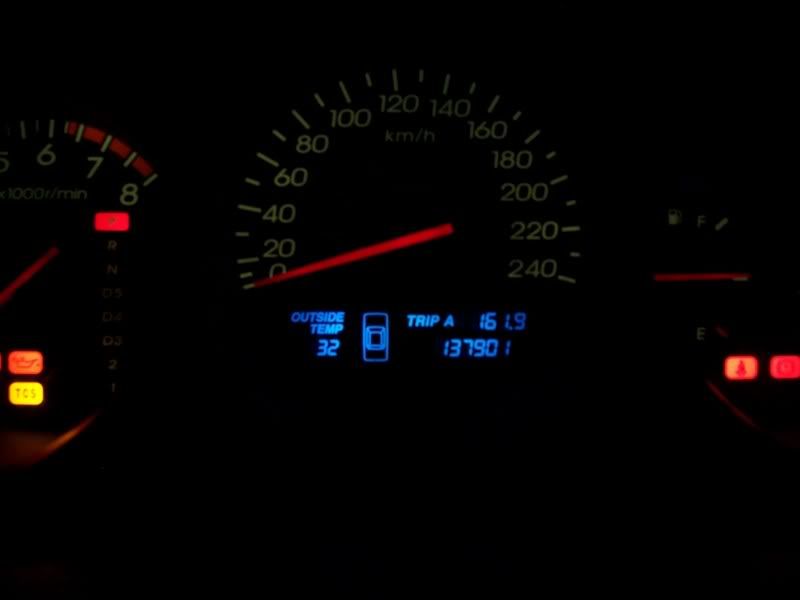
So I finish everything but I got a problem now. How come the gears on the gauges aren't all blue? D3 and down is still yellow. I tried to changed all the bulbs but it's still there. Here's an image but it's not mine but its looks exactly the same. Any help?

6th Gear
Joined: Jan 2015
Posts: 6
Likes: 0
From: Miami
First off... disclaimer: in no way am I responsible for any damages done to your car if you are to follow my DIY. This is simply a guide designed to assist 2nd-gen TL/CL owners in replacing light bulbs on the dash. Difficulty level, I would say about 3 out of 10. But it is definitely time consuming. Prepare to spend a good part of the afternoon taking off everything, replacing the bulbs, and putting everything back together (especially if this is your first time taking off the dash/trim). I personally drove with the dash off for a good 2 weeks, because I had the LED's come in on 3 separate orders due to testing different colors and types of bulbs and so forth. 
Also, for owners with NAV, your dash will be different from the following. So I guess when it comes to the clock & AC control unit parts, you can just skip those sections and just check out the odometer/turn signals one.
With that said... here goes!
Follow my instructions in removing the dash/trim from the installation of reverse glow gauges DIY: http://files.subtledream.com/TL/reverseGlow/reverse_glow_gauges.htm
Once you've taken off the dash/trim, take it out of the car and remove the clock (held by 2 screws), and AC control unit (4 screws):

Take apart the clock assembly:

On the bottom piece above ^, sandwiched between that glass-like diffuser and the clear plastic surface is a blue filter that you should remove. It's there (as well as everywhere in our car that is lit) to filter the orange-yellowness of the incandescent light bulbs, thus showing the greenish-yellowish light instead.
You can see the bulb in the center, just use a screwdriver and twist it off.
Bulb can be purchased here: Instrument Panel Gauge Dashboard Colored Led Bulbs Lights Lamps
Scroll down a bit and get the one that is titled: "Neo - Wedge Instrument Panel Bulbs are 10mm (3/8") diameter x 13mm (1/2") high" ($2.99)
Do NOT get the non-LED ones because they are not bright enough at all!
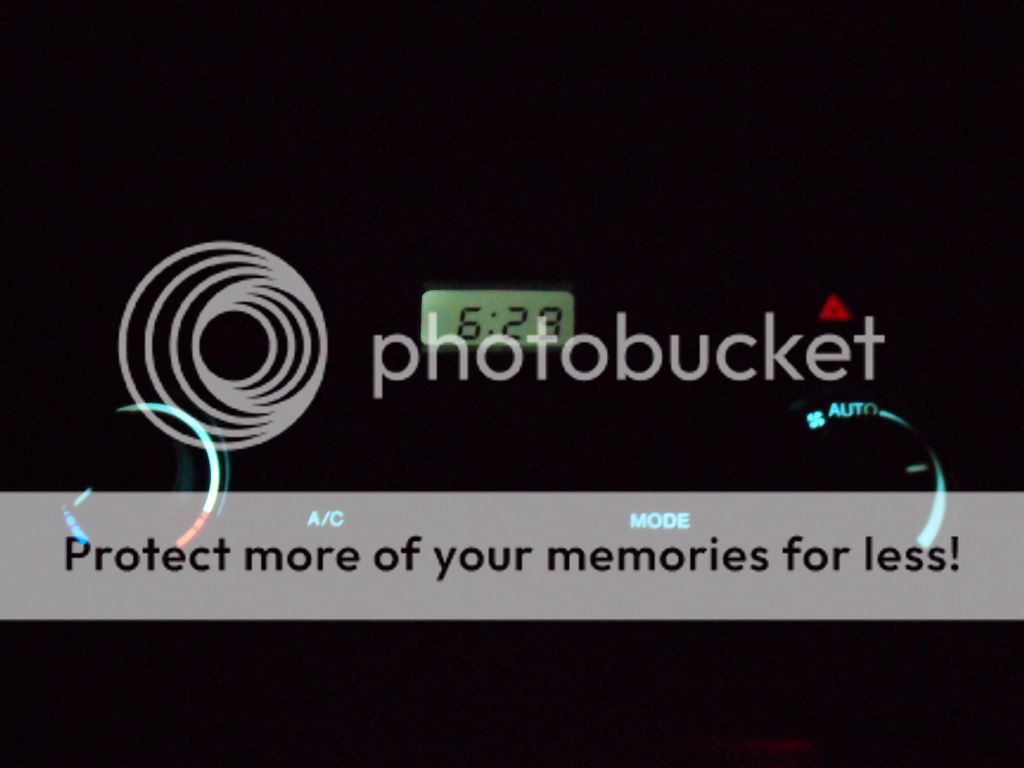
Here it what a white LED would look (with blue filter removed):

And blue LED (with blue filter removed):

After all's set and done, simply reverse the steps and put the clock back together.
Now for the AC...
This is the backside of the AC control unit:

Remove the white plastic cover and the full PCB reveals and gives better more space to work with for the wedge bulbs:

^ The arrows above are the ones that we can replace directly via replacement LED. The other (and smaller) wedge bulbs I haven't had luck finding on the internet yet, so for the time being they'll have to remain stock. But if anyone knows of replacement LED bulbs that are of the same size... please let me know! It's kind of weird having the stock greenish AC display while the rest of the buttons are blue.
Bulbs can be purchased here: Instrument Panel Gauge Dashboard Colored Led Bulbs Lights Lamps
Scroll down a bit and get the ones that are titled: "Neo - Wedge Instrument Panel Bulbs are 10mm (3/8") diameter x 13mm (1/2") high" ($2.99)
Do NOT get the non-LED ones because they are not bright enough at all!
Now, it's up to you what color you want to go with. Personally, I went with all blue LED's with the exception of the defroster button (1 bulb for both rear & front) which is white (and hence the different colored arrow). The reason is because the front defroster lights up orange and a blue light would cancel out pretty much all of its output with the orange filter. With the white LED for the defrosters, I pretty much retain the orange for front and my rear becomes a lighter sky-blue, which works out well since it distinguishes from the other buttons.
Also... note to everyone... blue is the most harmful color to our eyes (besides violet/purple), so for those of you that may be concerned, I would suggest you go with the white LED's entirely or pick up 1 or 2 of each color first and test it on your dash. Once you've decided order the rest of the bulbs and finish the project. Just an idea!
Now, here is how a white LED would look on the fan control so you can get an idea how it would look if you were to use all white LED's (notice it's the sky-blue I mentioned earlier on my rear defroster button):

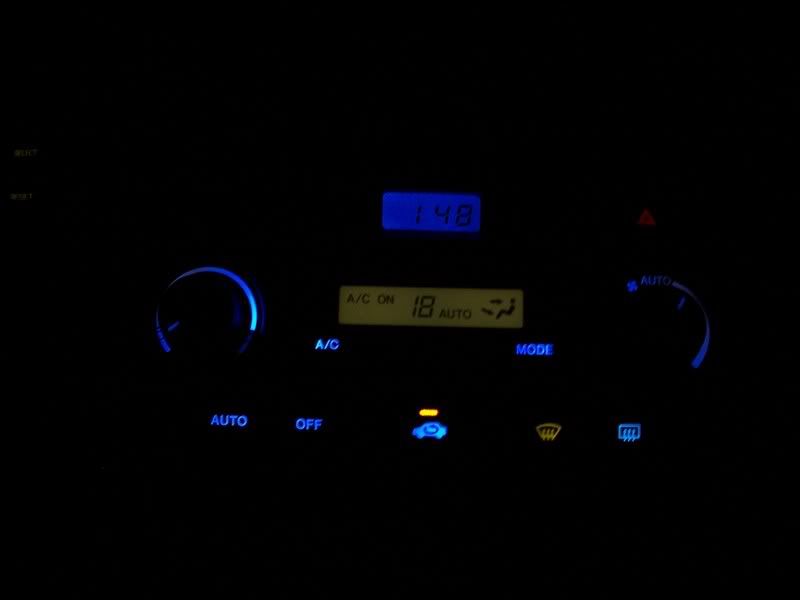
And with blue LED:

Also notice... the top right corner is more stock-yellow-ish than the rest... that's because of the small wedge bulbs on the top corner that I haven't found an LED replacement for yet. You can just remove that bulb so you won't get that strange blend of color... but of course light wouldn't be as evenly distributed too. It's up to you. For me I just left the in there.
Another blue & white LED comparison (blue for AUTO/OFF, white for circulation):

One more thing,
You should remove the blue filters that are present underneath the "MODE" and "A/C" buttons.
To do so, remove the PCB from the front cover (remember to pull out the knobs first) as shown below:

Then carefully remove the piece shown below, revealing the blue filter underneath:

Simply use a flathead or something long to poke it out from the inside, like this:

And with all my LED's in place... simply reverse the process and put everything back on the dash/trim.
Finished picture:

Not bad for absolutely no soldering!!
And finally... odometer and turn signals!
With your dash/trim taken out... lose the 4 screws that are holding the gauge cluster. After that, unplug the 3 harnesses on top and take the whole assembly out, like this:

Flip it around and where the arrows are pointed are the LED's we will replace:

^ Top two are for turn signals and bottom 3 are for odometer.
The bulbs for these are of 74 type... you can get them from autolumination.com too but I've found that High Performance LED Car Lighting, Light Bulbs, LED Headlights, Taillights, Turn Signals, and Brake Lights is cheaper (thanks to Joe!). They are sold in pairs at v-leds, so pick up 3 pairs if wish to do both turn signals & odometer. For these bulbs, you would need to use the stock twist-bases. Simply pull out the stock bulbs and put in place the new LED's. There is a good possibility that you'll have to apply some force in pushing the LED's in... don't worry it's because they are slightly bigger in diameter. Just don't use too much force and crack the LED.
And again, up to you what color you want to go with. Unfortunately, I do not have any pics of how the odometer looks with white LED's, but image a very similar light sky-blue like the ones above for the AC control unit. As for the turn signals... using white LED's would result not in a sky-blue but more of a super-white (I've tried it myself).
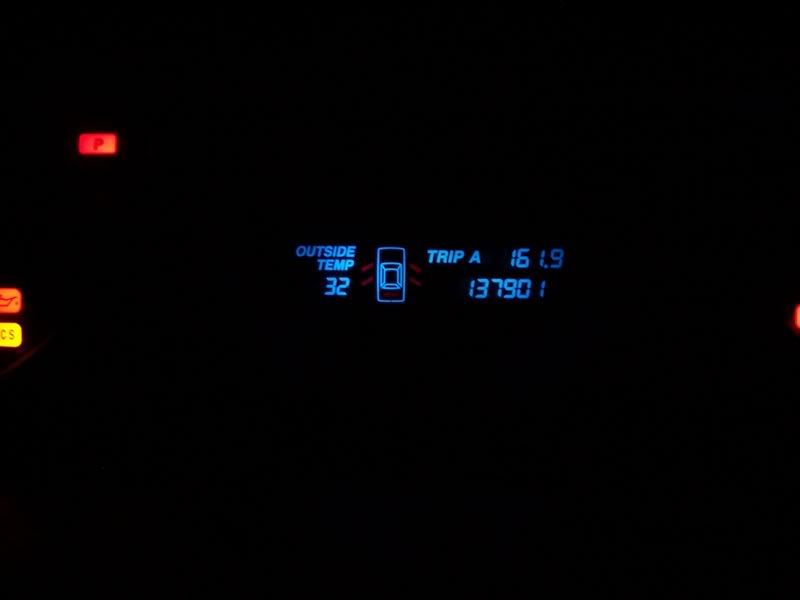
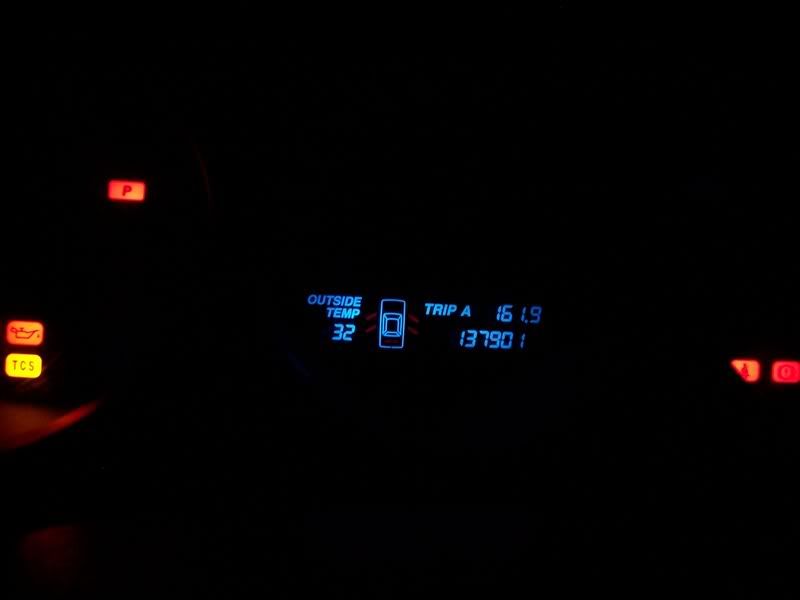
I would also like to add that for the door & trunk open/close display... with the blue LED's installed they are much harder to see due to the canceling of light output (not sure if I am using the right terminology) with the red filter & blue light. Guess we gotta give up something for the nice blueness!
Again with almost every other DIY... reverse the process and put everything back together
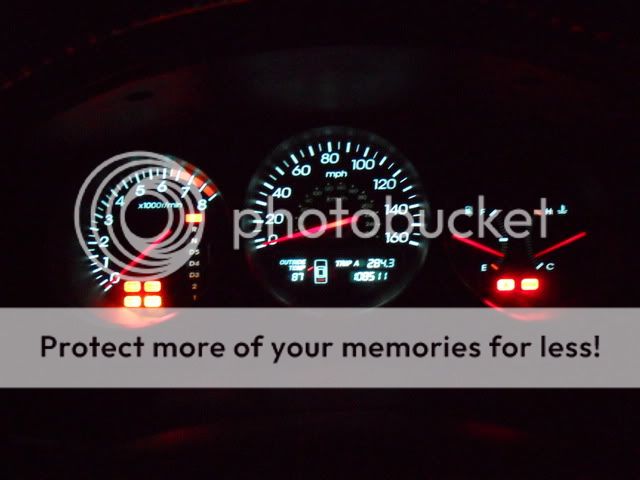
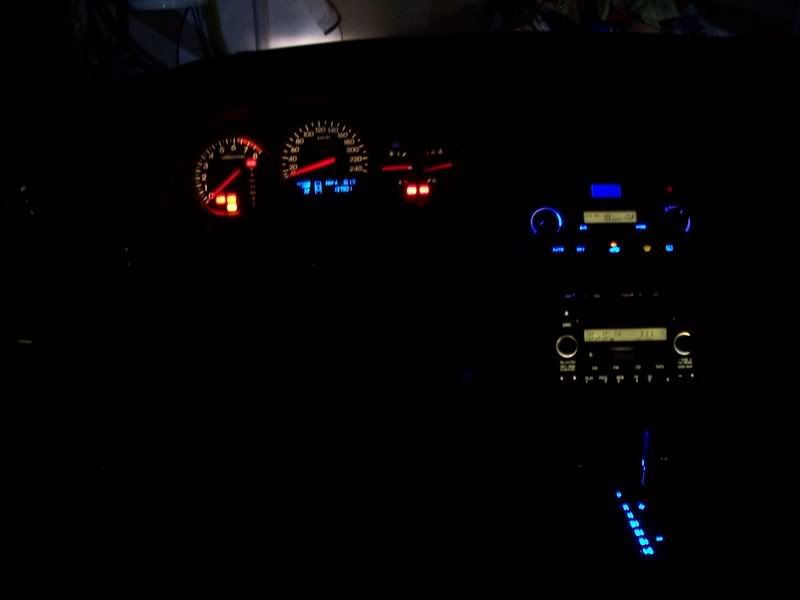
Here are the results of our hard work:


And finally a full picture (I better find a way to convert the AC LCD display and get rid of the stock radio too):

Also, for owners with NAV, your dash will be different from the following. So I guess when it comes to the clock & AC control unit parts, you can just skip those sections and just check out the odometer/turn signals one.
With that said... here goes!
Follow my instructions in removing the dash/trim from the installation of reverse glow gauges DIY: http://files.subtledream.com/TL/reverseGlow/reverse_glow_gauges.htm
Once you've taken off the dash/trim, take it out of the car and remove the clock (held by 2 screws), and AC control unit (4 screws):
Take apart the clock assembly:
On the bottom piece above ^, sandwiched between that glass-like diffuser and the clear plastic surface is a blue filter that you should remove. It's there (as well as everywhere in our car that is lit) to filter the orange-yellowness of the incandescent light bulbs, thus showing the greenish-yellowish light instead.
You can see the bulb in the center, just use a screwdriver and twist it off.
Bulb can be purchased here: Instrument Panel Gauge Dashboard Colored Led Bulbs Lights Lamps
Scroll down a bit and get the one that is titled: "Neo - Wedge Instrument Panel Bulbs are 10mm (3/8") diameter x 13mm (1/2") high" ($2.99)
Do NOT get the non-LED ones because they are not bright enough at all!
Here it what a white LED would look (with blue filter removed):
And blue LED (with blue filter removed):
After all's set and done, simply reverse the steps and put the clock back together.
Now for the AC...
This is the backside of the AC control unit:
Remove the white plastic cover and the full PCB reveals and gives better more space to work with for the wedge bulbs:
^ The arrows above are the ones that we can replace directly via replacement LED. The other (and smaller) wedge bulbs I haven't had luck finding on the internet yet, so for the time being they'll have to remain stock. But if anyone knows of replacement LED bulbs that are of the same size... please let me know! It's kind of weird having the stock greenish AC display while the rest of the buttons are blue.
Bulbs can be purchased here: Instrument Panel Gauge Dashboard Colored Led Bulbs Lights Lamps
Scroll down a bit and get the ones that are titled: "Neo - Wedge Instrument Panel Bulbs are 10mm (3/8") diameter x 13mm (1/2") high" ($2.99)
Do NOT get the non-LED ones because they are not bright enough at all!
Now, it's up to you what color you want to go with. Personally, I went with all blue LED's with the exception of the defroster button (1 bulb for both rear & front) which is white (and hence the different colored arrow). The reason is because the front defroster lights up orange and a blue light would cancel out pretty much all of its output with the orange filter. With the white LED for the defrosters, I pretty much retain the orange for front and my rear becomes a lighter sky-blue, which works out well since it distinguishes from the other buttons.
Also... note to everyone... blue is the most harmful color to our eyes (besides violet/purple), so for those of you that may be concerned, I would suggest you go with the white LED's entirely or pick up 1 or 2 of each color first and test it on your dash. Once you've decided order the rest of the bulbs and finish the project. Just an idea!
Now, here is how a white LED would look on the fan control so you can get an idea how it would look if you were to use all white LED's (notice it's the sky-blue I mentioned earlier on my rear defroster button):
And with blue LED:
Also notice... the top right corner is more stock-yellow-ish than the rest... that's because of the small wedge bulbs on the top corner that I haven't found an LED replacement for yet. You can just remove that bulb so you won't get that strange blend of color... but of course light wouldn't be as evenly distributed too. It's up to you. For me I just left the in there.
Another blue & white LED comparison (blue for AUTO/OFF, white for circulation):
One more thing,
You should remove the blue filters that are present underneath the "MODE" and "A/C" buttons.
To do so, remove the PCB from the front cover (remember to pull out the knobs first) as shown below:
Then carefully remove the piece shown below, revealing the blue filter underneath:
Simply use a flathead or something long to poke it out from the inside, like this:
And with all my LED's in place... simply reverse the process and put everything back on the dash/trim.
Finished picture:
Not bad for absolutely no soldering!!
And finally... odometer and turn signals!
With your dash/trim taken out... lose the 4 screws that are holding the gauge cluster. After that, unplug the 3 harnesses on top and take the whole assembly out, like this:
Flip it around and where the arrows are pointed are the LED's we will replace:
^ Top two are for turn signals and bottom 3 are for odometer.
The bulbs for these are of 74 type... you can get them from autolumination.com too but I've found that High Performance LED Car Lighting, Light Bulbs, LED Headlights, Taillights, Turn Signals, and Brake Lights is cheaper (thanks to Joe!). They are sold in pairs at v-leds, so pick up 3 pairs if wish to do both turn signals & odometer. For these bulbs, you would need to use the stock twist-bases. Simply pull out the stock bulbs and put in place the new LED's. There is a good possibility that you'll have to apply some force in pushing the LED's in... don't worry it's because they are slightly bigger in diameter. Just don't use too much force and crack the LED.
And again, up to you what color you want to go with. Unfortunately, I do not have any pics of how the odometer looks with white LED's, but image a very similar light sky-blue like the ones above for the AC control unit. As for the turn signals... using white LED's would result not in a sky-blue but more of a super-white (I've tried it myself).
I would also like to add that for the door & trunk open/close display... with the blue LED's installed they are much harder to see due to the canceling of light output (not sure if I am using the right terminology) with the red filter & blue light. Guess we gotta give up something for the nice blueness!
Again with almost every other DIY... reverse the process and put everything back together
Here are the results of our hard work:
And finally a full picture (I better find a way to convert the AC LCD display and get rid of the stock radio too):
How did you get the white face for the cluster? Did it come with it? Mine is black.


Cruisin'
Joined: Oct 2015
Posts: 16
Likes: 0
From: Hawaii
It seems like your DYI instructions on removing your dash/trim from the installation of reverse glow gauges isn't working and Im also having a hard time on finding those bulbs you were preferring.. thanks, Love your work
Cruisin'
Joined: Oct 2015
Posts: 16
Likes: 0
From: Hawaii
great write up i just completed mine. all white bulbs and filter removed from the clock. the small wedge bulbs the OP couldnt find numbers for are 3mm neo wedge, you need 4 for the climate control or 6 if you want to do the cruise button. i ordered all my bulbs from superbrightleds.com. i didnt order the 3mm neo wedge in my first purchase so ill order those next week. oh and fix the leds in the auto/off buttons lol i just realize they aren't workin. now for the crap pix


 looks amazing! My question is.. How'd you do the shift counsel lights and what kind of bulbs are they. Thanks
Cruisin'
Joined: Oct 2015
Posts: 16
Likes: 0
From: Hawaii

2nd Gear
Joined: Jun 2018
Posts: 2
Likes: 0
great write up i just completed mine. all white bulbs and filter removed from the clock. the small wedge bulbs the OP couldnt find numbers for are 3mm neo wedge, you need 4 for the climate control or 6 if you want to do the cruise button. i ordered all my bulbs from superbrightleds.com. i didnt order the 3mm neo wedge in my first purchase so ill order those next week. oh and fix the leds in the auto/off buttons lol i just realize they aren't workin. now for the crap pix


Thread
Thread Starter
Forum
Replies
Last Post
mada51589
3G TL Problems & Fixes
80
Jan 9, 2025 04:40 PM
2002, acura, blue, cluster, conversion, dash, indiglo, instrument, led, light, lights, panel, rsx, speedometer, tl