DIY: Paint your Cold Air or Short Ram Intake!
 04-27-2008, 03:54 AM
#1
OM NOM NOM NOM
Thread Starter
iTrader: (1)

Join Date: Apr 2007
Location: Permanently Back In San Jose!
Age: 37
Posts: 673
Likes: 0
Received 1 Like
on
1 Post
DIY: Paint your Cold Air or Short Ram Intake!
So I'm not sure if you guys are all like me, but I really love to save some money every chance i get to and when i get a chance to save money, I jump on it. AEM Officially discontinued making cold air intakes for the 03 CL-S 6MT motor, which is in my car right now. They sold a CAI for the 6MT for 100 bucks on e-bay, and the only color they had left was polished or red. I decided to pick up the polished one because its already sanded and polished, which makes it easier to work with (less prep time). I took pictures, and since I took pictures from beginning to end, I decided to DIY it just in case you bargainers decide you wanna go the same route. 100 bucks + 10 dollars worth of prep stuff and paint is better then 170+ for a new CAI.
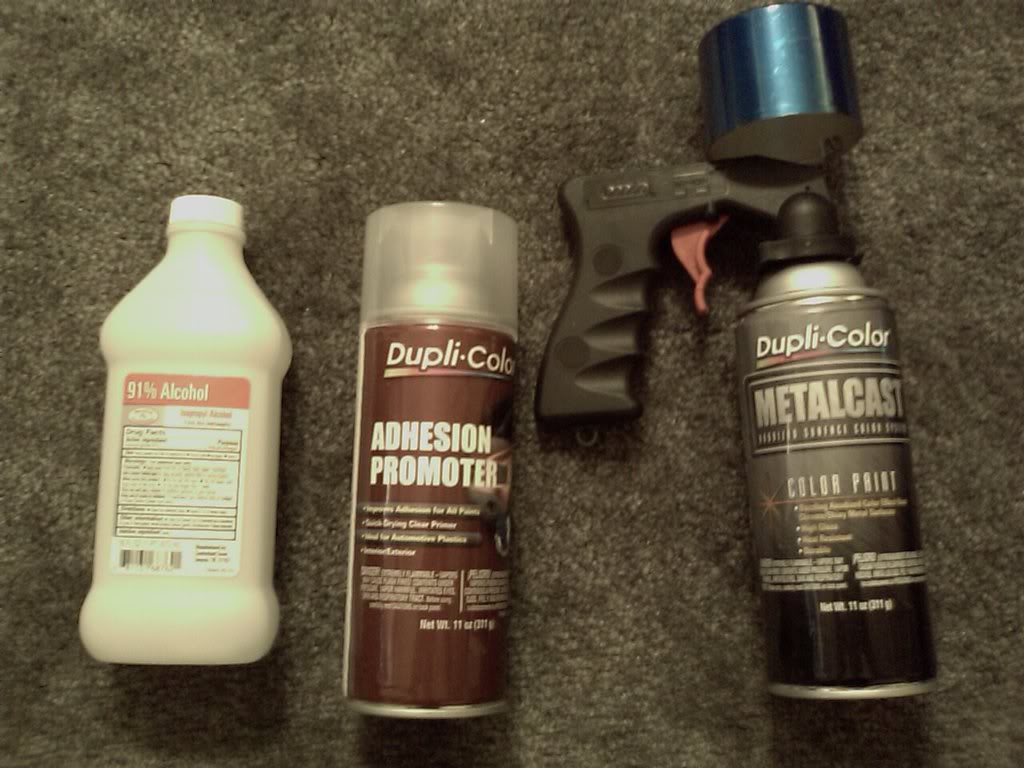
The things you need:
The intake (preferably polished, less work and prep) ! I'm in California so CARB products are a must!
Exacto Knife or a box cutter
Masking tape
Spray Paint and maybe a primer or adhesion if the paint you buy doesn't have primer. (make sure you buy a paint that can resist heat. Kragens and NAPA should sell these types of paint. I bought DupliColor MetalCast paint in Anodized Blue (MC201) This paint will stick right on polished chrome products, so just as long as you prep it, it will look clean.
Spray Gun Adapter (optional, makes spraying easier)
Alcohol or a grease remover
Gloves (latex or nitrile)
some string or a dry cleaner clothes hanger
a 2-3 inch stick if you go with the string method to hang you r intake.
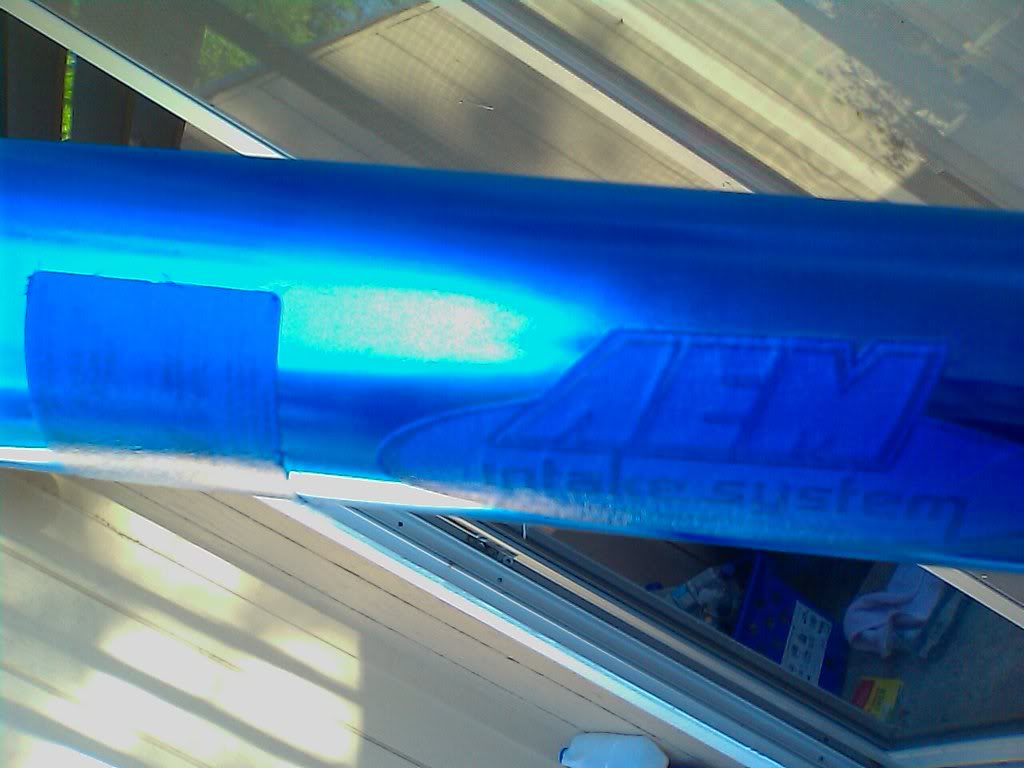
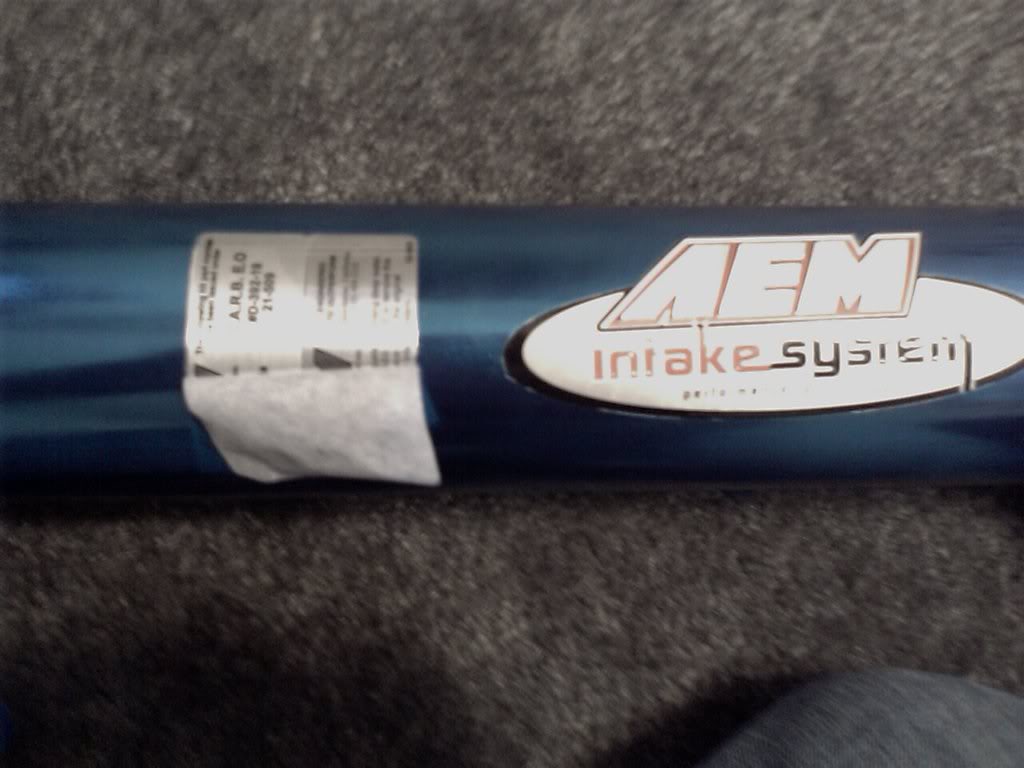
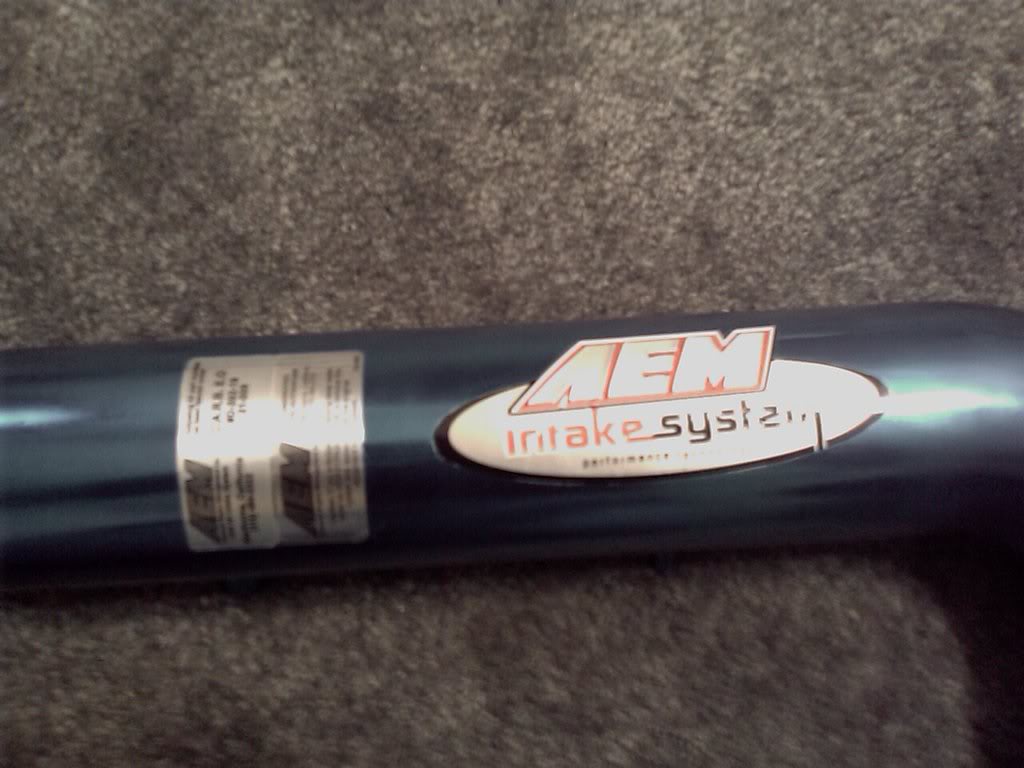
The first step is to prep your intake. My intake has the carb sticker and the intake sticker directly on the intake. What you wanna do is cover the intake with masking tap and use a small stick to make everything stick perfectly
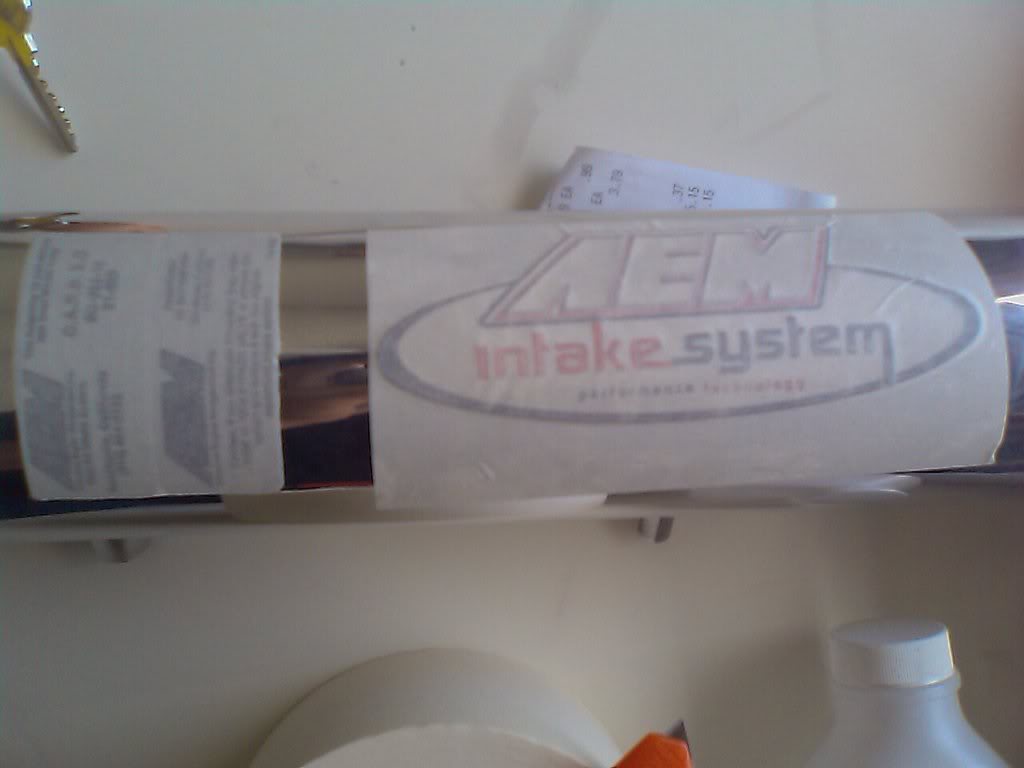
Take an exacto knife or a boxcutter and cut around the tape perfectly and lightly. you don't want to cut in too deep because it will put scratches on your intake and it will show.
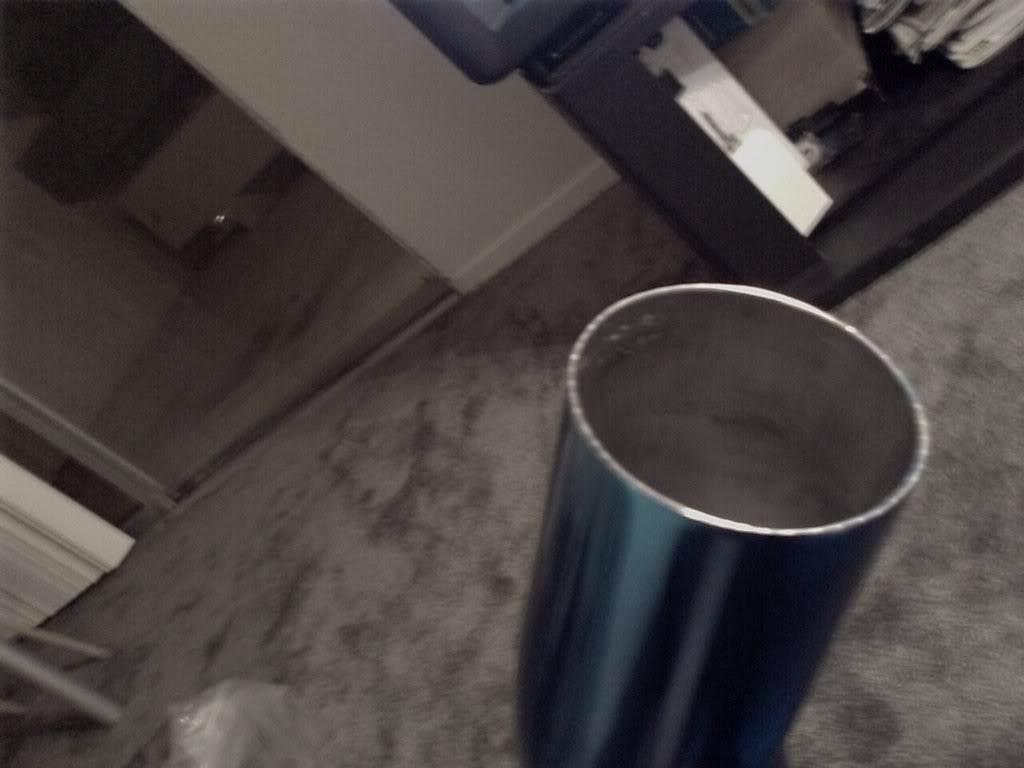
The next step is to prep the intake. IMPORTANT! MAKE SURE YOU WEAR GLOVES! THE PRINTS AND OILS WILL MAKE YOUR INTAKE LOOK MESSES UP. I used alcohol to clean off any oil and finger prints, but you can also use a grease cleaner or soap and water. Take masking tape and tape up your ends so you don't spray into the intake. You don't have to, but I prefer to do it this way.
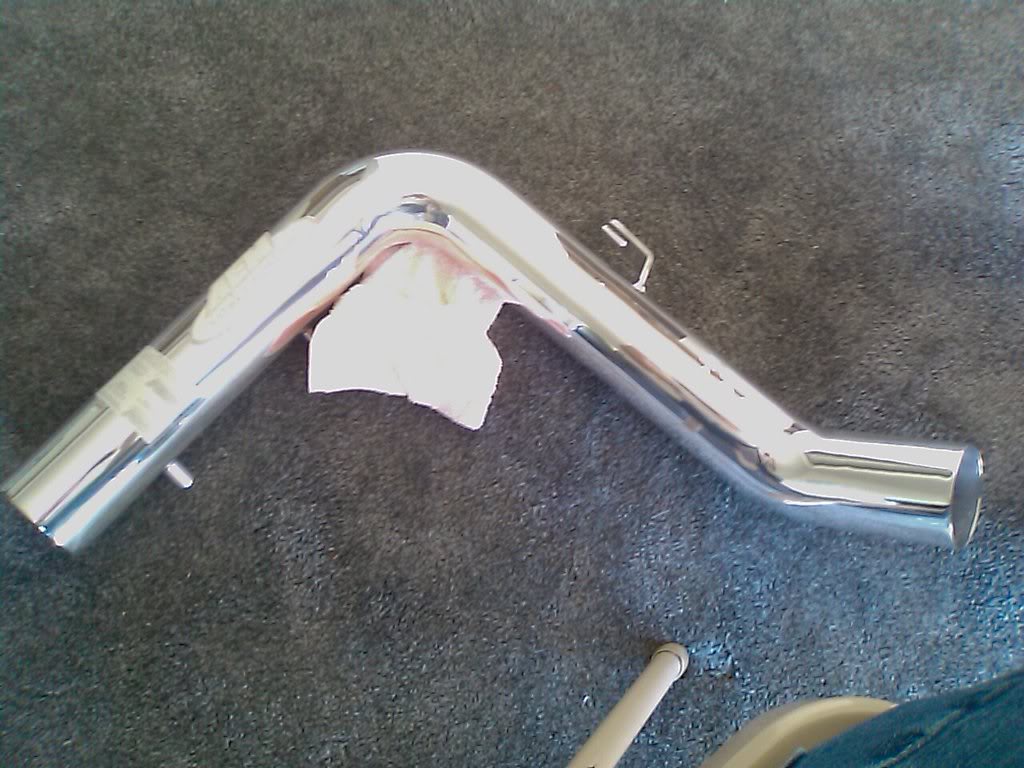
After that, find an open place to hang the intake. some people do it on the floor on top of cardboards, but i prefer to hang it because the excess paint will drip down to make it even. at the same time, the ends will be covered by the intake filter anyway.
I primered mine, but from the paint can, it said I didn't have to, so I'm going to write it up without the primer part.
Spray light layers 6-8 inches away from the intake. Make sure you spray it evenly or else you will have darker spots and lighter spots.
Wait for 10 minutes and spray a second thin layer onto the intake.
Wait for another 10 minutes and spray a third thin layer onto the intake.

You'll start to notice that the intake color will get darker and darker.
After that second layer, and waiting another 10 minutes, you're going to spray a medium to thicker layer of paint to cover the intake. the reason for the first thin layers is that so it sticks and doesn't run or sag. The thicker layer is cover up the paint and give it that final color.
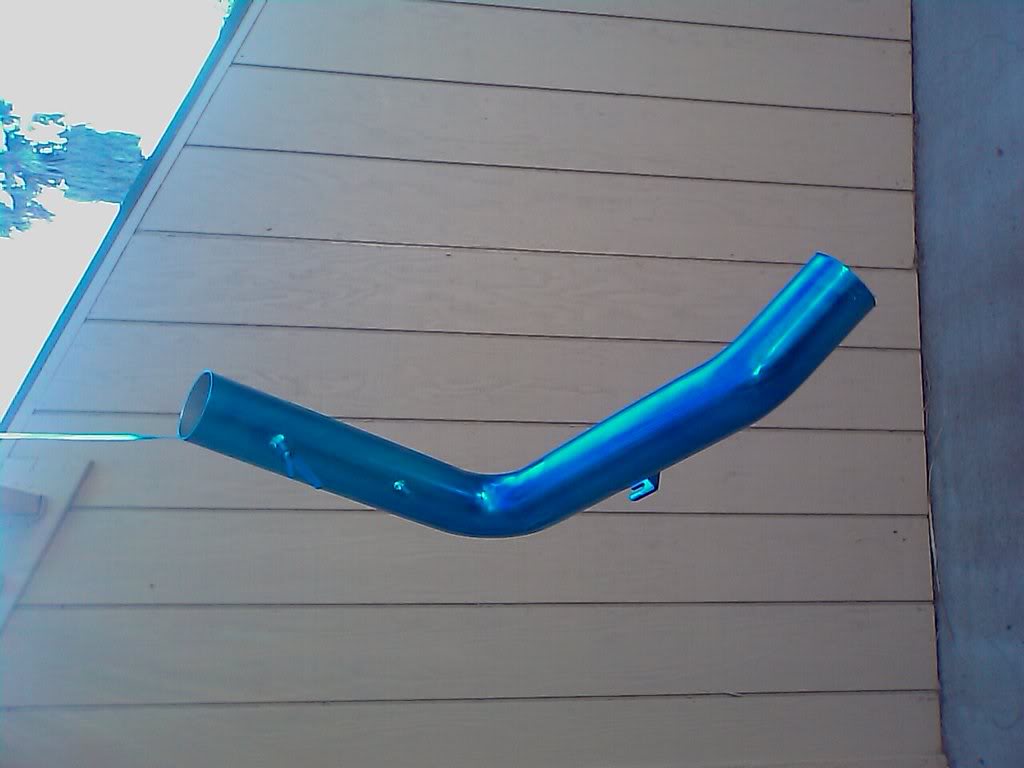
Let it cure for a couple hours. Then you can remove the tape to reveal your clean stickers!
For a stronger paint, let it cure for about 3-5 days, and there you have it!
Enjoy your new custom painted intake! Lemme know if you have any questions.
The things you need:
The intake (preferably polished, less work and prep) ! I'm in California so CARB products are a must!
Exacto Knife or a box cutter
Masking tape
Spray Paint and maybe a primer or adhesion if the paint you buy doesn't have primer. (make sure you buy a paint that can resist heat. Kragens and NAPA should sell these types of paint. I bought DupliColor MetalCast paint in Anodized Blue (MC201) This paint will stick right on polished chrome products, so just as long as you prep it, it will look clean.
Spray Gun Adapter (optional, makes spraying easier)
Alcohol or a grease remover
Gloves (latex or nitrile)
some string or a dry cleaner clothes hanger
a 2-3 inch stick if you go with the string method to hang you r intake.
The first step is to prep your intake. My intake has the carb sticker and the intake sticker directly on the intake. What you wanna do is cover the intake with masking tap and use a small stick to make everything stick perfectly
Take an exacto knife or a boxcutter and cut around the tape perfectly and lightly. you don't want to cut in too deep because it will put scratches on your intake and it will show.
The next step is to prep the intake. IMPORTANT! MAKE SURE YOU WEAR GLOVES! THE PRINTS AND OILS WILL MAKE YOUR INTAKE LOOK MESSES UP. I used alcohol to clean off any oil and finger prints, but you can also use a grease cleaner or soap and water. Take masking tape and tape up your ends so you don't spray into the intake. You don't have to, but I prefer to do it this way.
After that, find an open place to hang the intake. some people do it on the floor on top of cardboards, but i prefer to hang it because the excess paint will drip down to make it even. at the same time, the ends will be covered by the intake filter anyway.
I primered mine, but from the paint can, it said I didn't have to, so I'm going to write it up without the primer part.
Spray light layers 6-8 inches away from the intake. Make sure you spray it evenly or else you will have darker spots and lighter spots.
Wait for 10 minutes and spray a second thin layer onto the intake.
Wait for another 10 minutes and spray a third thin layer onto the intake.
You'll start to notice that the intake color will get darker and darker.
After that second layer, and waiting another 10 minutes, you're going to spray a medium to thicker layer of paint to cover the intake. the reason for the first thin layers is that so it sticks and doesn't run or sag. The thicker layer is cover up the paint and give it that final color.
Let it cure for a couple hours. Then you can remove the tape to reveal your clean stickers!
For a stronger paint, let it cure for about 3-5 days, and there you have it!
Enjoy your new custom painted intake! Lemme know if you have any questions.
 04-27-2008, 04:00 AM
#2
OM NOM NOM NOM
Thread Starter
iTrader: (1)
Join Date: Apr 2007
Location: Permanently Back In San Jose!
Age: 37
Posts: 673
Likes: 0
Received 1 Like
on
1 Post
My pictures don't do justice, but its very clean and smooth. I took the pics from my phone cause i cant find my camera so thats the best i can do.
I'm just glad i can finally give back to the community. I saw the painted stock airbox, so this is something for the other dudes.
I'm just glad i can finally give back to the community. I saw the painted stock airbox, so this is something for the other dudes.
04-27-2008, 05:03 PM
#3
Instructor
Join Date: Nov 2006
Location: Seattle, WA
Age: 36
Posts: 144
Likes: 0
Received 0 Likes
on
0 Posts
thank you very much. i have the same intake and its starting to look a little worn out. i'll make sure to do this once summer comes around and when i have some free time. 

 11-16-2010, 05:42 PM
#7

Sorry to bump this old thread.
I bought a used blue AEM intake. The paint is chipped in many spots. To repaint it, I'd need to sand off the original paint first?
I live in CA so I need to keep those CARB stickers too...
Thanks
I bought a used blue AEM intake. The paint is chipped in many spots. To repaint it, I'd need to sand off the original paint first?
I live in CA so I need to keep those CARB stickers too...
Thanks
Trending Topics
11-17-2010, 01:32 PM
#9
Senior Moderator
iTrader: (2)
Join Date: May 2000
Location: where the weather suits my clothes
Age: 55
Posts: 27,921
Received 1,080 Likes
on
661 Posts
I wouldn't waste time stripping it. If you can get it beadblasted, that is probably the best way to go.
Otherwise I would just scuff up the surface, spot fill the chipped areas with bondo then prime and paint.
And there is absolutely no reason to use high heat paint. The intake does not get hot enough to affect paint.
Otherwise I would just scuff up the surface, spot fill the chipped areas with bondo then prime and paint.
And there is absolutely no reason to use high heat paint. The intake does not get hot enough to affect paint.
11-17-2010, 01:49 PM
#10
I mainly want to paint it to prevent rust. is that a valid concern? I'm not really worried about looks.
It looks like it was in an accident and some battery acid splattered on it.
The paint flaked off around one of the welds and there's a few spots here and there.
It looks like it was in an accident and some battery acid splattered on it.
The paint flaked off around one of the welds and there's a few spots here and there.
11-17-2010, 03:12 PM
#12
Haha, well that answers it. Thanks!
FYI for the other semi-retarded individuals:
According to the internet aluminum doenst rust, it corrodes.
And corrosion isn't a problem either:
"Corrosion resistance can be excellent due to a thin surface layer of aluminium oxide that forms when the metal is exposed to air, effectively preventing further oxidation."

Thread
Thread Starter
Forum
Replies
Last Post
BoricuaTL
Car Parts for Sale
138
04-08-2016 01:08 PM