When you click on links to various merchants on this site and make a purchase, this can result in this site earning a commission. Affiliate programs and affiliations include, but are not limited to, the eBay Partner Network.
DIY: 02 Type S HIDs - Aftermarket retrofit NO SPLICING!
Like many others, my OEM ballast/igniter died, so I decided to go the aftermarket route. I didn’t want any splicing whatsoever, so here is what I ended up with, pleased with the results so far.
Make sure to choose “mitsubishi” for your adapters, and I chose D2R for the bulbs, and 35 watt ballast. I haven’t installed the bulbs yet since my current bulbs are still fine.
Before starting, it’s a good idea to test everything out and make sure it works. All harnesses involved are accessible without removing the bumper.
After testing:
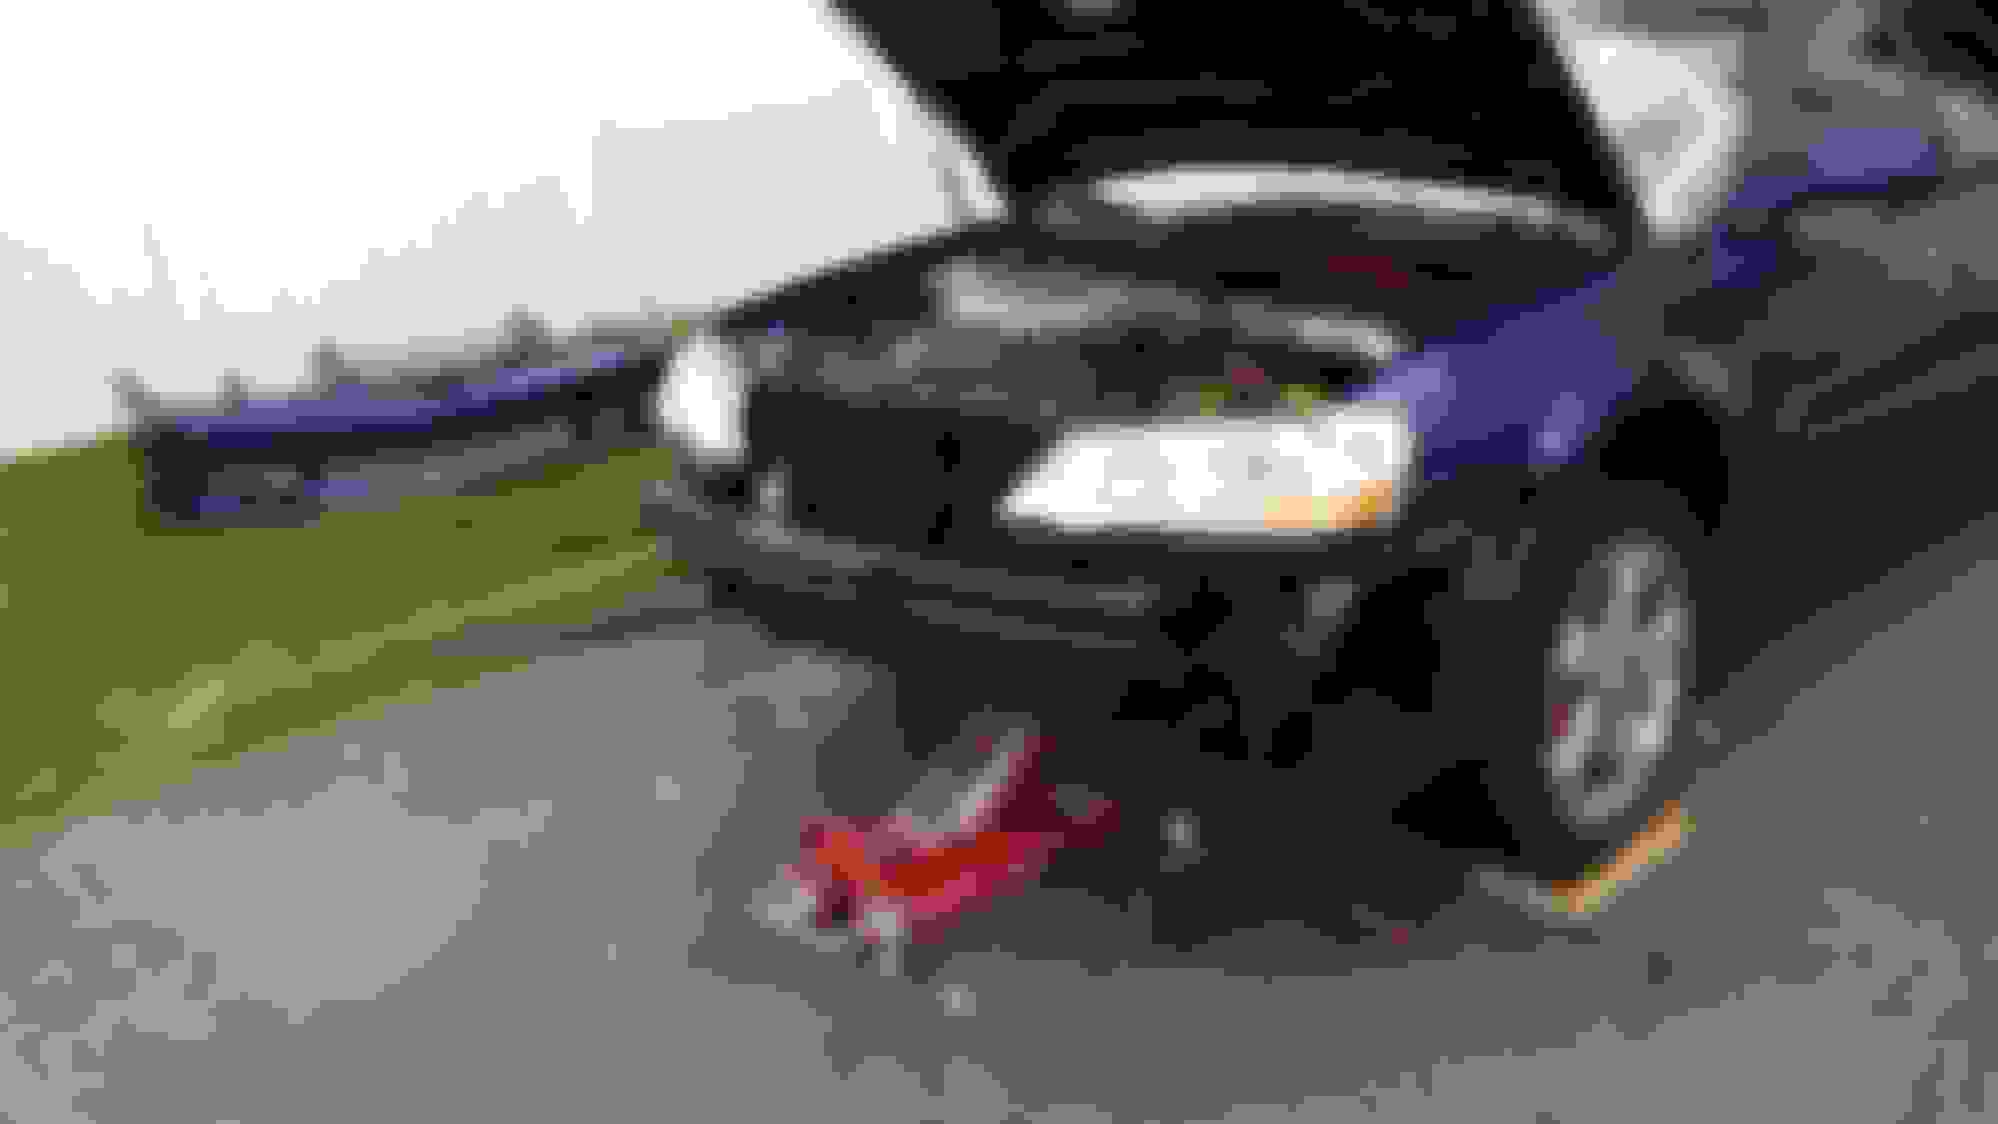
Started with removing bumper (many instructions elsewhere, not too hard, get a helping hand):
Unplug stock ballasts (on the side facing radiator).
Remove stock ballast (three philips screws underneath) and unpug igniter from ballast once it drops down. It was a little tough getting at one of the screws but I was able to get in there with a small ratchet and phillips bit. Remove the headlight if you want to make it easier.
Take the cap off the back of your headlight (torx security bit), and remove the igniter from the bulb, snake the harness out of the headlight housing. Sorry, no pics. Self explanatory.
You’ll be left with a hole on the bottom of your headlight where the stock ballast mounted. The new igniter setup has the perfect size grommet to seal that hole off once you get everything in place.
Take the new igniter and slide the harness that plugs into the new ballast thru the back of the headlight hole (where the igniter plugs into bulb) and down thru the bottom hole (where the ballast was):
Now the grommet takes a little more effort due to the tight space in the housing, but persistence pays off. Get it thru the bottom hole of the housing:
Push the grommet into the hole from the bottom and make sure it seats correctly:
I mounted the ballasts so that I could replace them at any point without removing the bumper. Time will tell how hard/easy that’s going to be...
Driver’s side:
I angled the ballast after the fact to provide more wiring slack into the housing:
Passenger side: I used a spacer so the harness wouldn’t be pressed against the frame. Again, try to maximize the amount of wiring slack into the headlight, you're going to need it to help with installing igniter on the bulb.
At this point I plugged in the adapter into factory wiring harness and ballast, and igniter into ballast.
The igniter is a TIGHT fit in the back of the headlight. This part was a complete pain in the ass, but I got it done. The problem is that the igniter is slightly larger than the stock one and the wiring is much thicker, making it harder to keep inside the headlight housing. Orientation is key, just play with it, you’ll find the sweet spot.
notice top left of hole and how close the wiring is:
Again, PITA to put the cap on, but it’s do-able:
Put your bumper back on and all that good stuff.
That’s basically it! I know this is not a detailed DIY, but I think I highlighted the important parts of the install.
The kit wasn’t cheap or expensive considering what was included, but definitely cheaper than two used stock ballasts which will blow again anyway.
I’ll try to get some pics with the lights on, just did the install this afternoon.
I've got to ask = why would you go thru all that extra hassle ie: when you can simply remove the headlight housings from the car and work on the bench??
The new bulbs need to go in NOW with their ballast. Those often come as a matched set power and resistance wise
Not to mention your old bulbs are NOT FINE! They are old, have lost color and lumens!!
New ones will make it a ~better than when car was new~ situation!!
Note: new bulbs require about 50 hours of `On time` to get fully established in their color and light output.
Drive with the low beams on all the time to get them working their best before winter and the very early darkness arrives
Removing the headlights would be the extra hassle. I only ran the igniter wire thru the headlight, not much "benchwork" there. Bumper had to come off regardless, to remove stock ballast or headlight.
"Old" bulbs were still new, standard D2R 35w 85v philips. New ballasts are 35w 85v and compatible w/"old" bulbs.
Less than 60 hours use on "old" bulbs. This car wasn't driven much for a while, was my "show" car until I found a new toy.
Swapped bulbs, then fuses, then relays. Same side persisted with problem. Researched ballasts/igniters a little, learned about the persistent issues, decided to go aftermarket. That's when I bought the kit.
Can't remove housings unless bumper is off, unless there's a technique I'm unaware of. I wanted to find a spot for the ballasts anyway, taking wire length into account.
The caps were only a pain because of the slightly larger footprint of the igniter. The caps are easy enough to remove from under the hood.
I'll install the new bulbs tonight and keep the "old" as backups. You swayed me into having the "like new" feeling.
Installed the bulbs that came with the kit. I opted for the 5500k. Before you say it, yes, I know there is less light output, but I'm happy with the pure white from these bulbs so far. I know the color will change in time.
Next time you will know! some of us learned thru experimenting with procedures = often adding hours to a simple job.
there are a few bolts holding a long bar across the nose- remove that and more bolts- then housing is out!
So much easier to work on things on the workbench.
Note some kits come with integrated ignitor/ballast, but you dont have to mount it inside the housing,
My preference would be external, so it doesnt contribute to heat in the housing
There are many ways to deal with the rubber grommet for wires on bottom.
 09-19-2015, 05:33 PM