D.I.Y Extended Studs/Rear Wheel Hub Replacement
 10-21-2012, 06:04 PM
#1
D.I.Y Extended Studs/Rear Wheel Hub Replacement
So i havent seen anyone else make a D.I.Y for this yet so i might as well start one since i just did it over the past weekend. I was originally going to do extended studs only but i found out one of my rear hubs was bad so i went to replace that also.
KEEP IN MIND THIS IS FOR THE REARS ONLY. I havent got the fronts done yet so idk how diff those are from the rears.
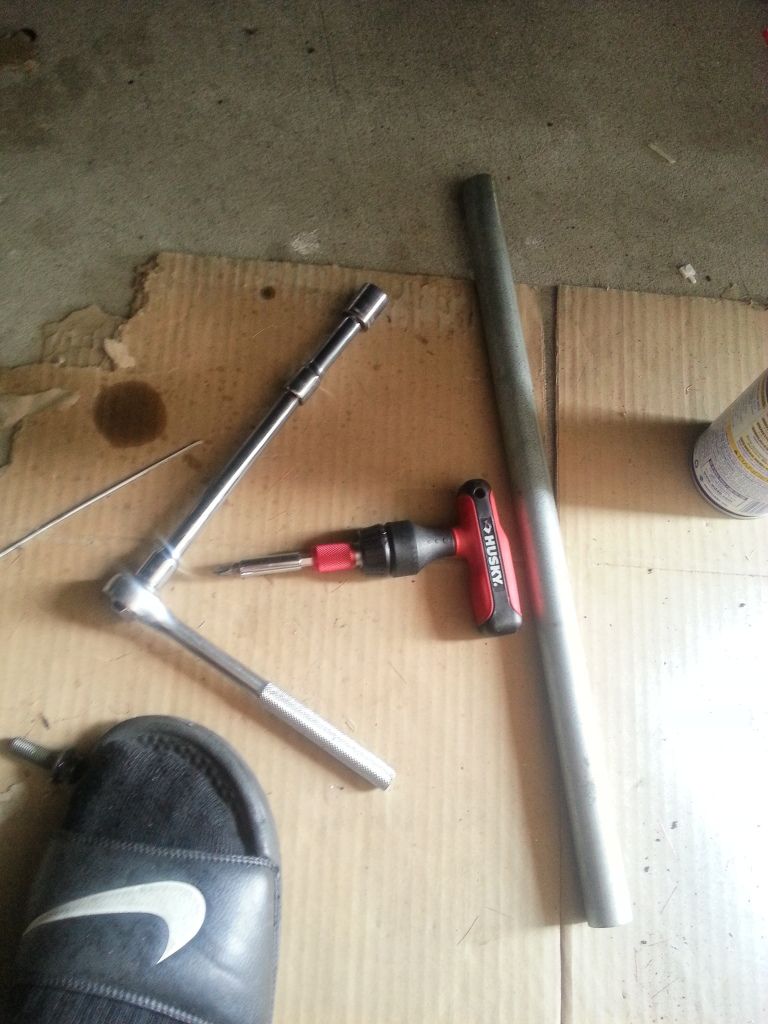
Tools Needed
-Phillips Head Screw Driver. *Mines had a little torqe handle so it made it a little bit easier
-Ratchet
-Various Size Ratchet Extensions
-14mm Socket
-32mm Socket *Rent one at autozone
-Breaker Bar
-WD40
Parts Needed
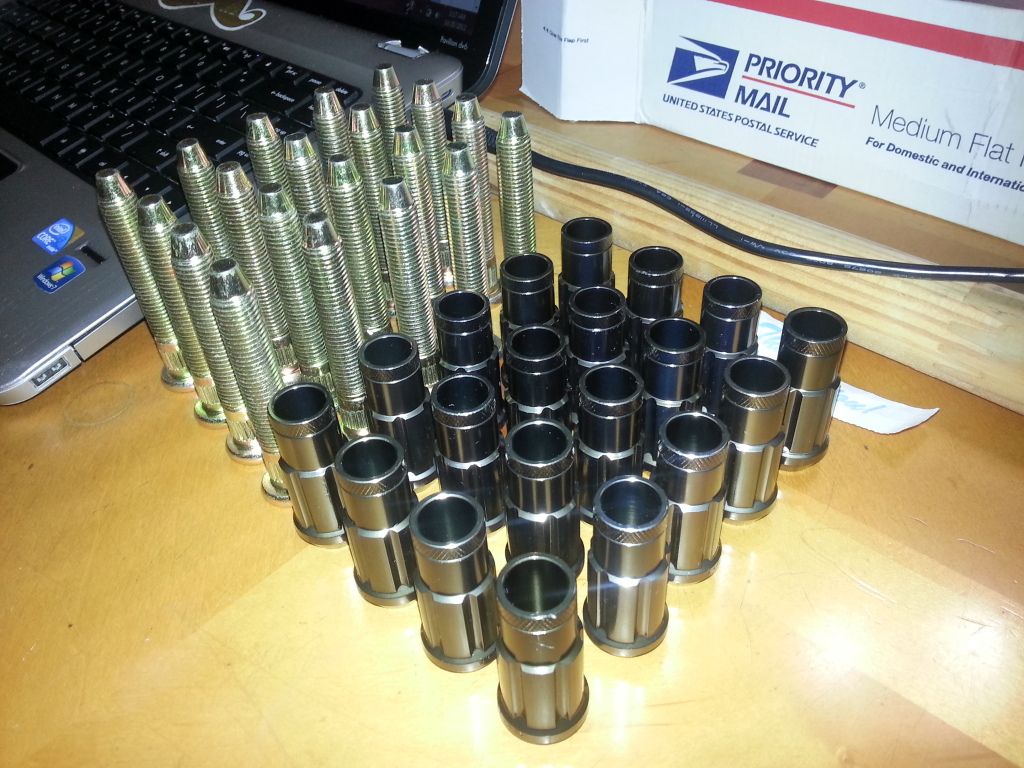
-20 Extended Studs *12x1.5 Thread Pitch
-20 Extended Open Ended Lug Nuts
-Rear Wheel Hub Assembly *If needed
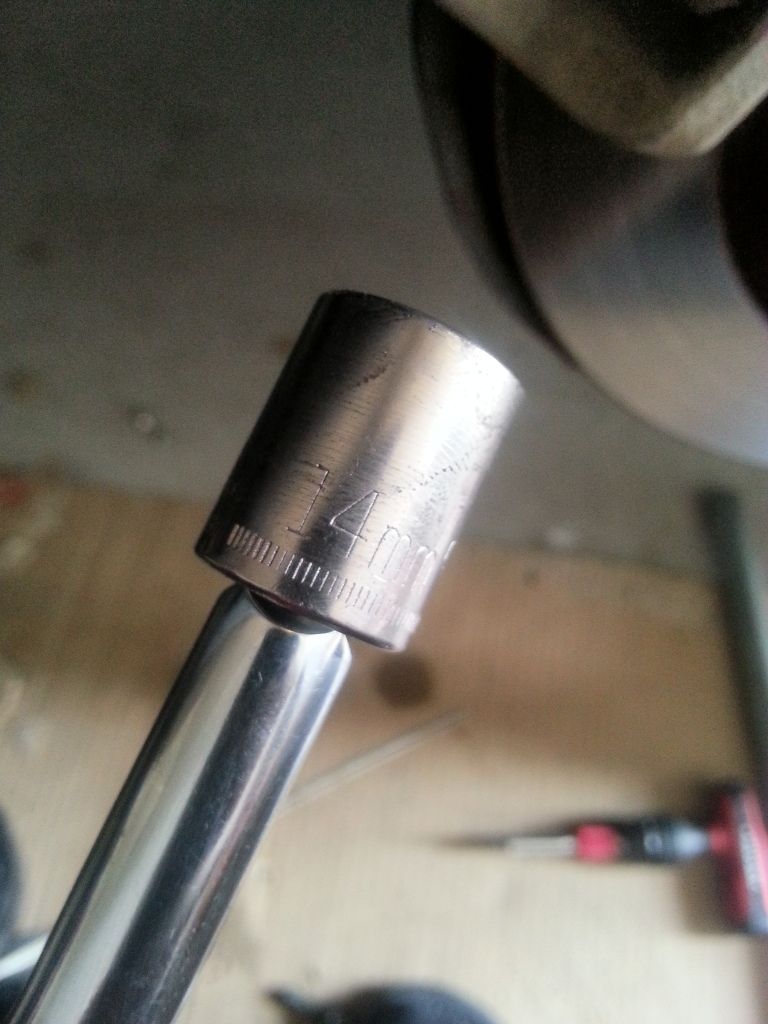
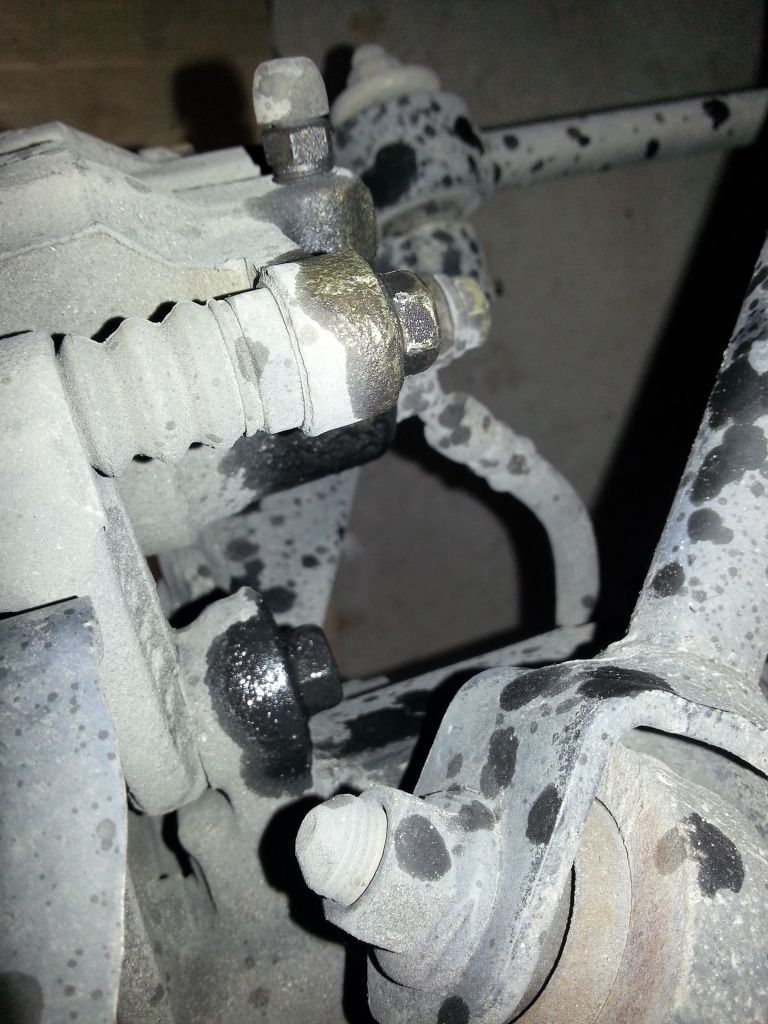
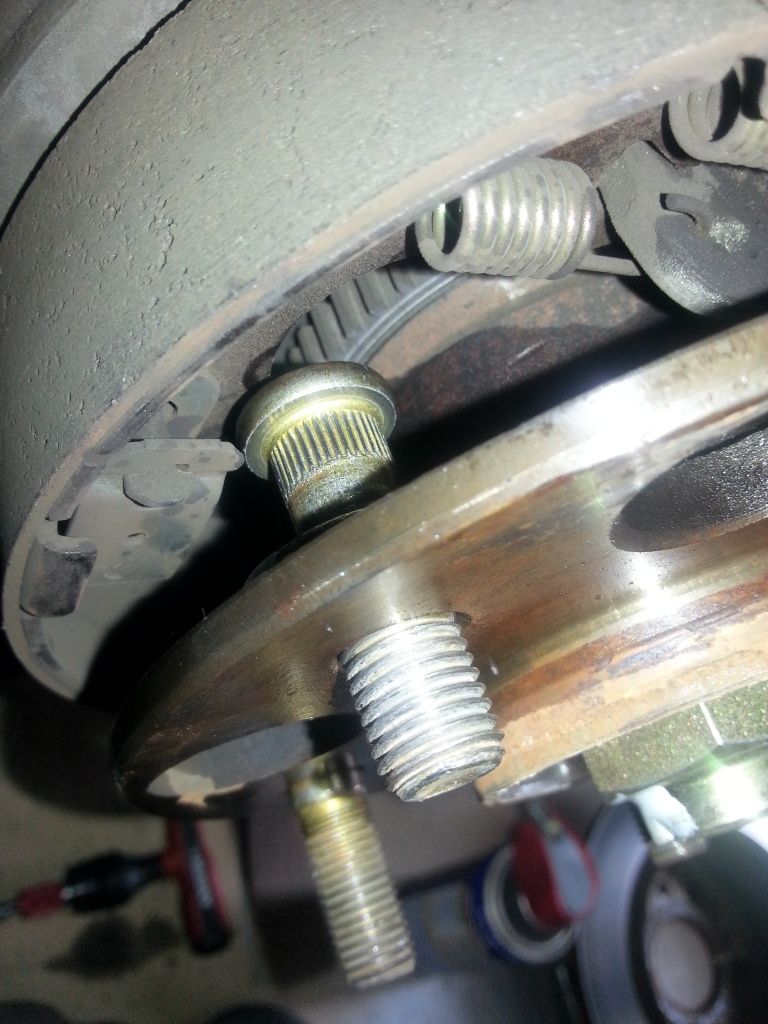
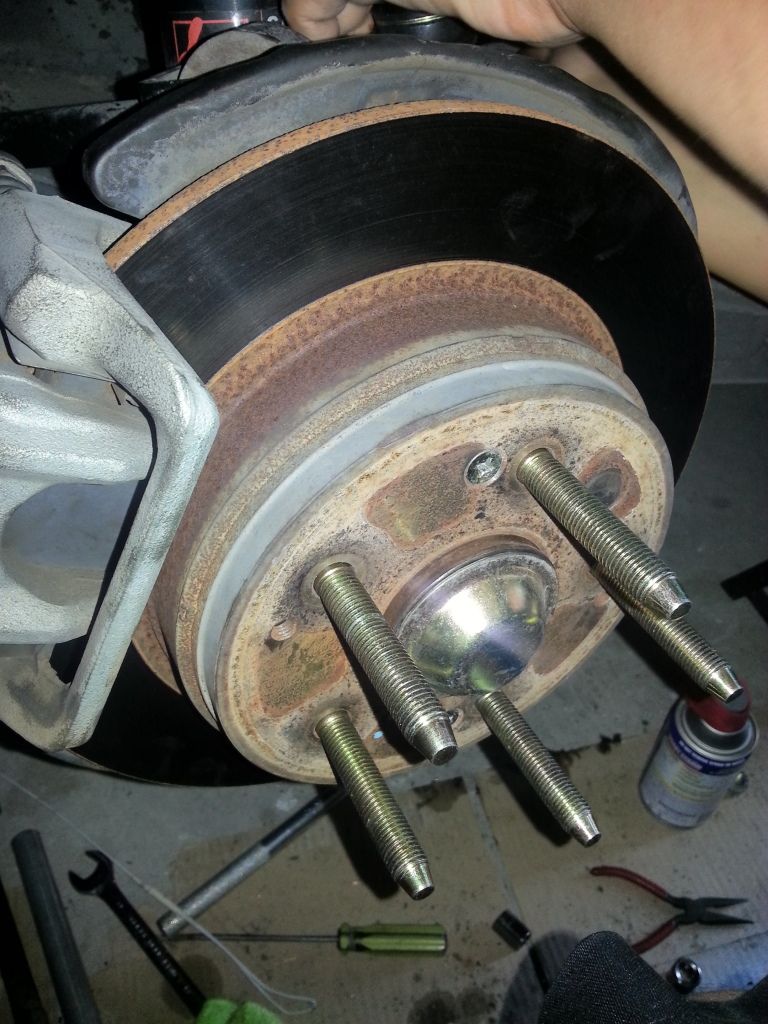
First off you wanna take your wheels off and then spray the two philips screws on the rotors with some WD40 and let it sit for a couple mins. Now spray the two 14mm bolts behind the brake assembly and let those sit for a couple mins. In the pic its the black bolt not the gold one at the top. Go grab a drink or something for now. Loosen those two 14mm bolts and the brake assembly should come right off.
Then try to take the screws off, might need a little bit of effort here, mines were pretty new so they came off with ease.
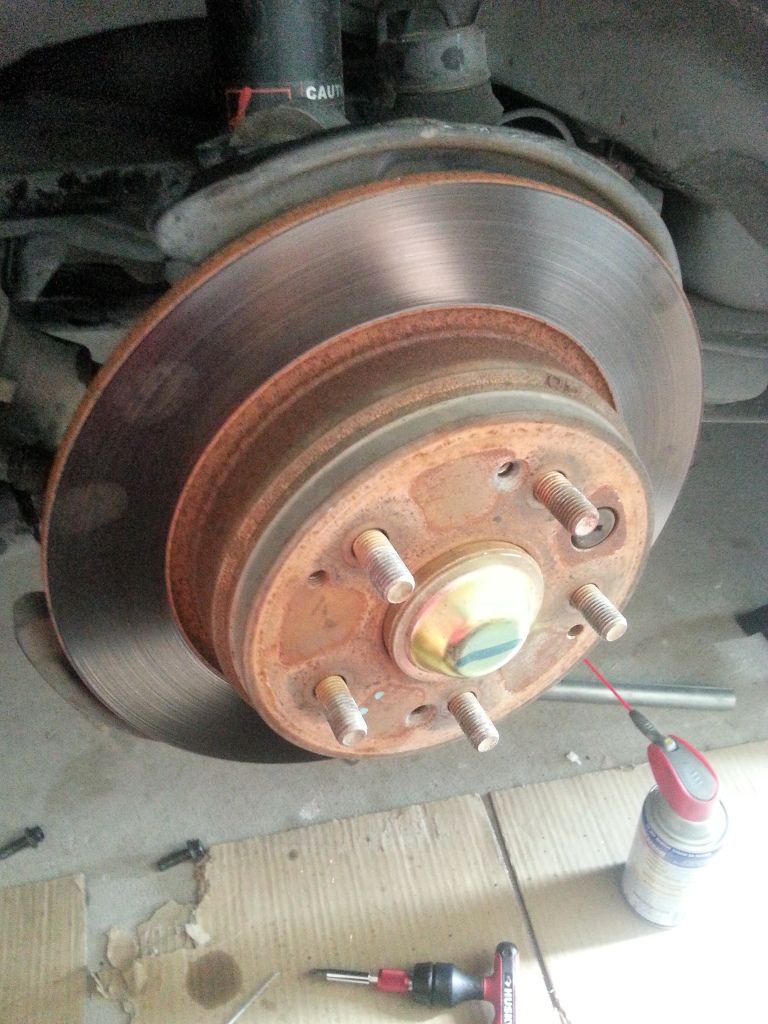
Next wiggle your rotor till it comes loose and put it to the side safely stored away
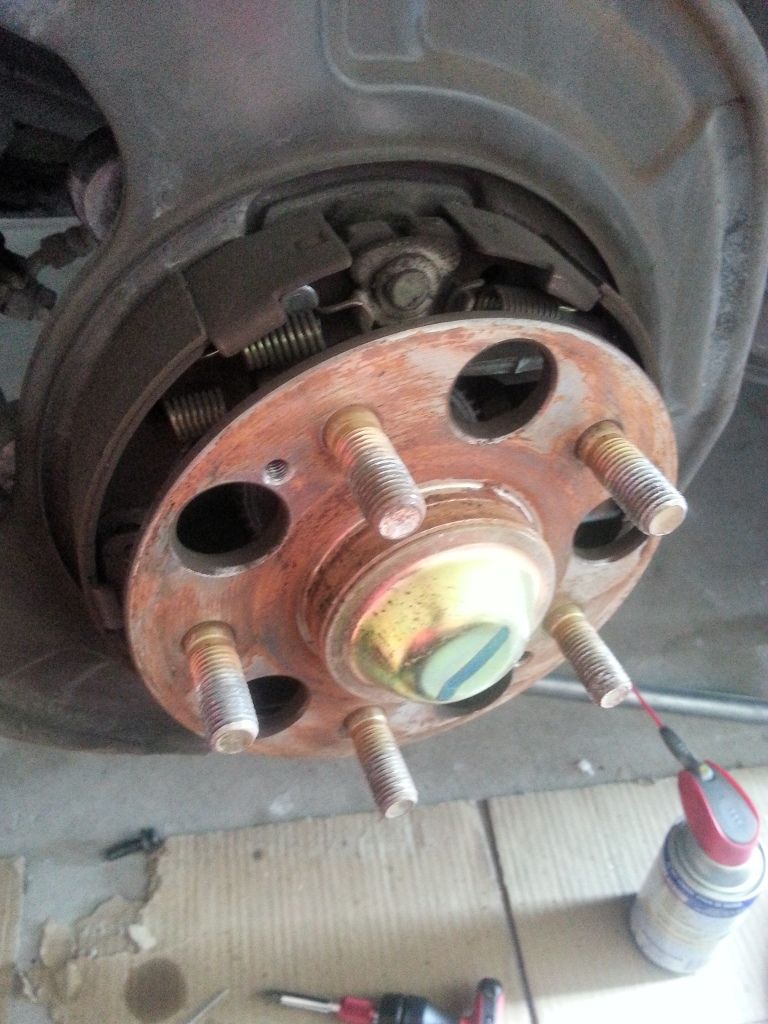
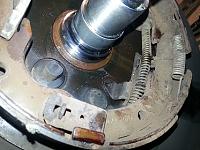
Now you're left with the rear hub and cap. Pop the cap off, stick a sharp flathead and hammer it in the little crack, keep going around till the cap pops off.
Now would be a good time to hammer out the old studs, dont be scared to hammer them out, only hammer the bolt though not the hub lol. Hammer until the studs is a little loose, do this for all studs.
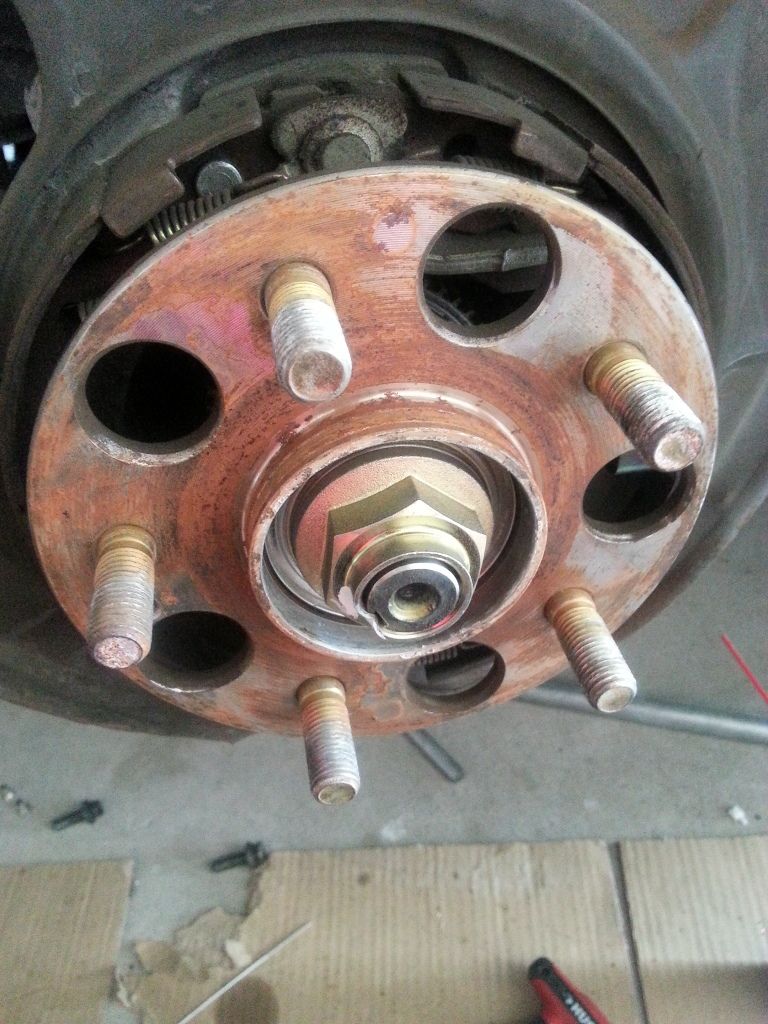
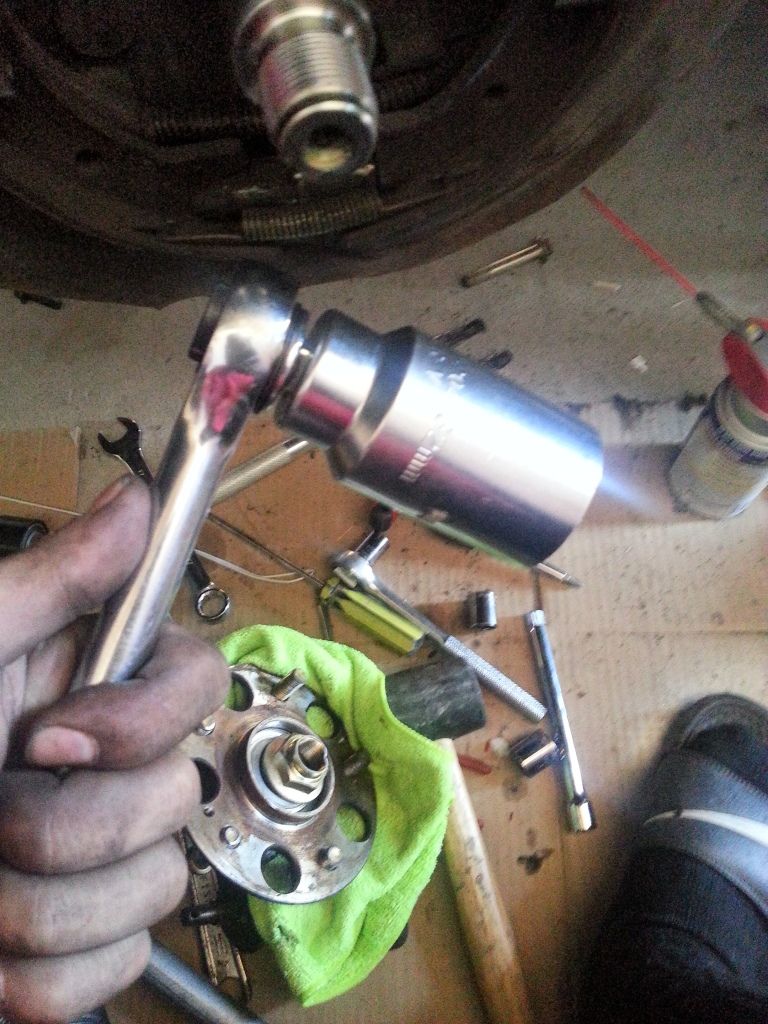
Take the 32mm socket, ratchet and breaker bar. Attatch everything together and put the breaker bar till its parallel to the ground, give it all you can and the big ass bolt should come loose. I'd say this was the hardest part!
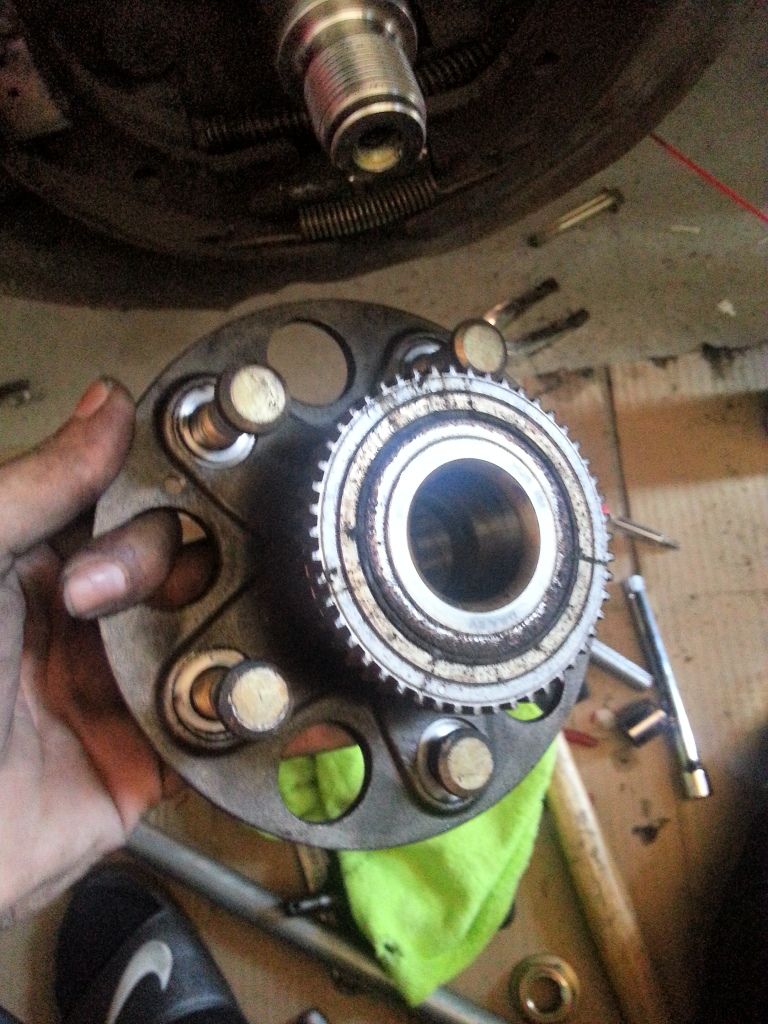
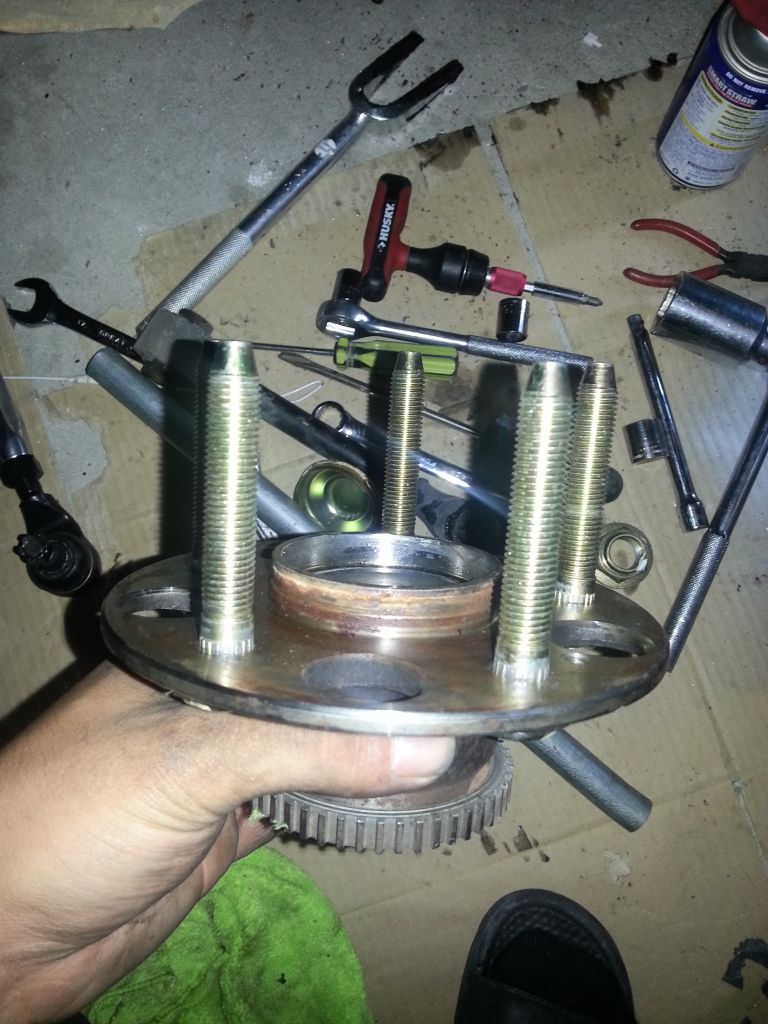
Once the bolt is off, you can simply pull out the rear hub with ease.
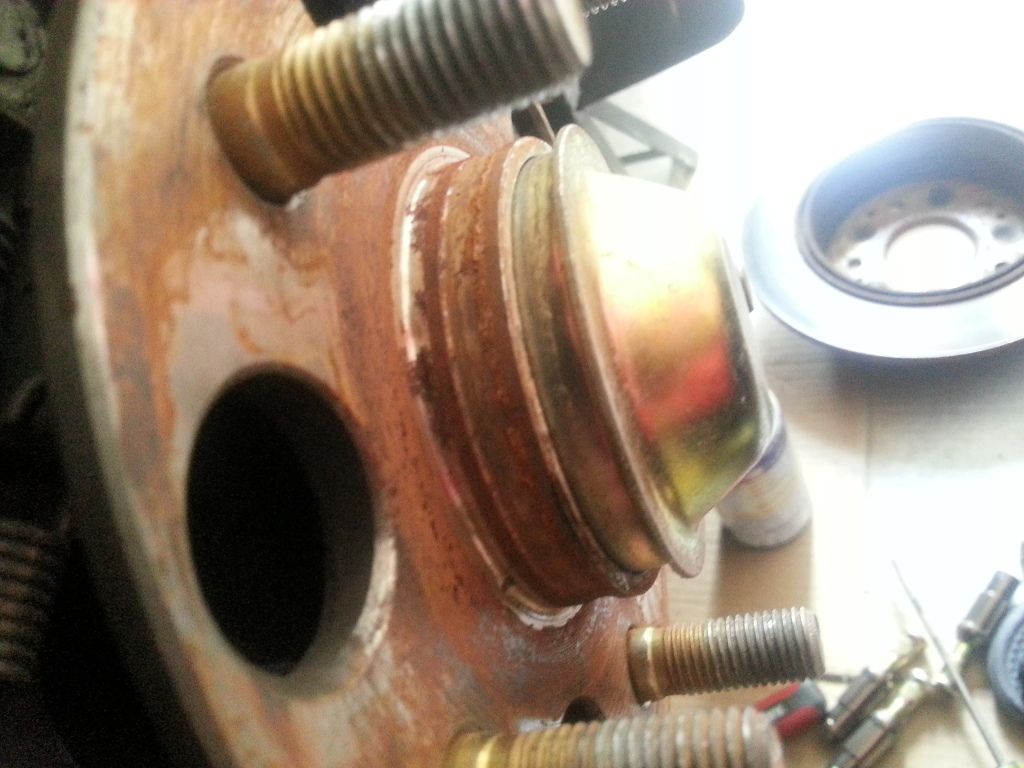
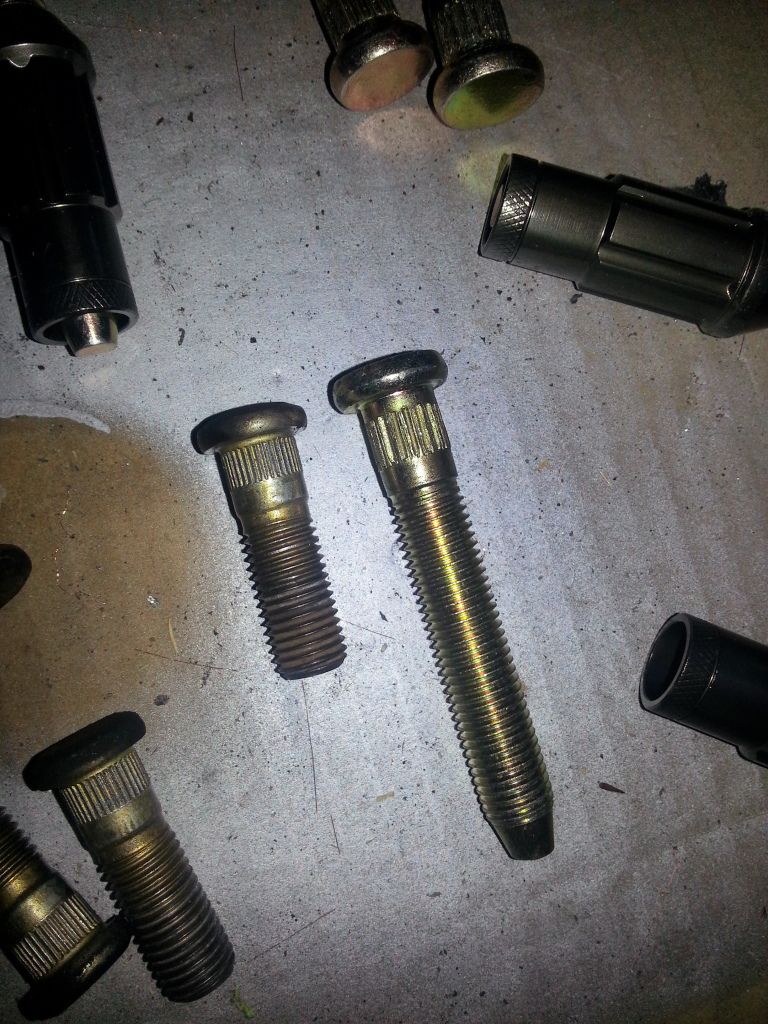
Take the old studs out and put them to the side. As you can see the new stud is almost 2.5 times longer then the old one.
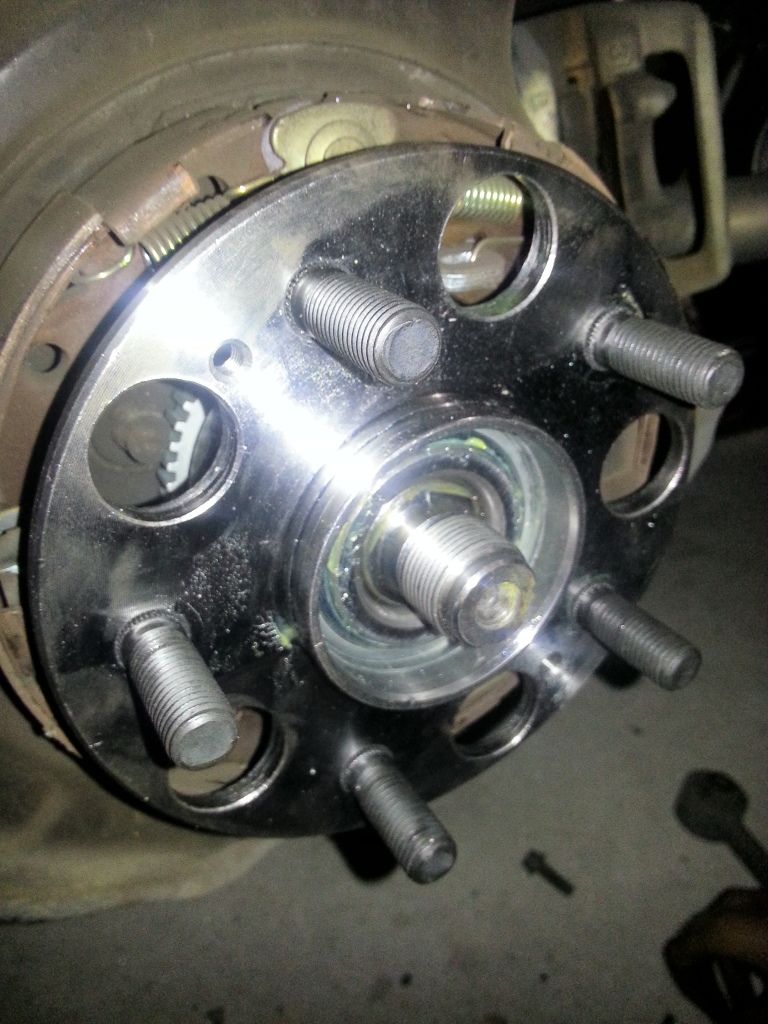
Put the new studs back in and hammer them into place. This is the risky part, IF the new studs simply fall into the hole and isnt tight or doesnt need any hammering, THATS when you know your stud hole is stripped. Go to autozone and ask them for a new wheel hub, should cost around 50 depending on the brand you get. Funny part was that the new hub came with studs already so you're gonna have to hammer those out also LOL.
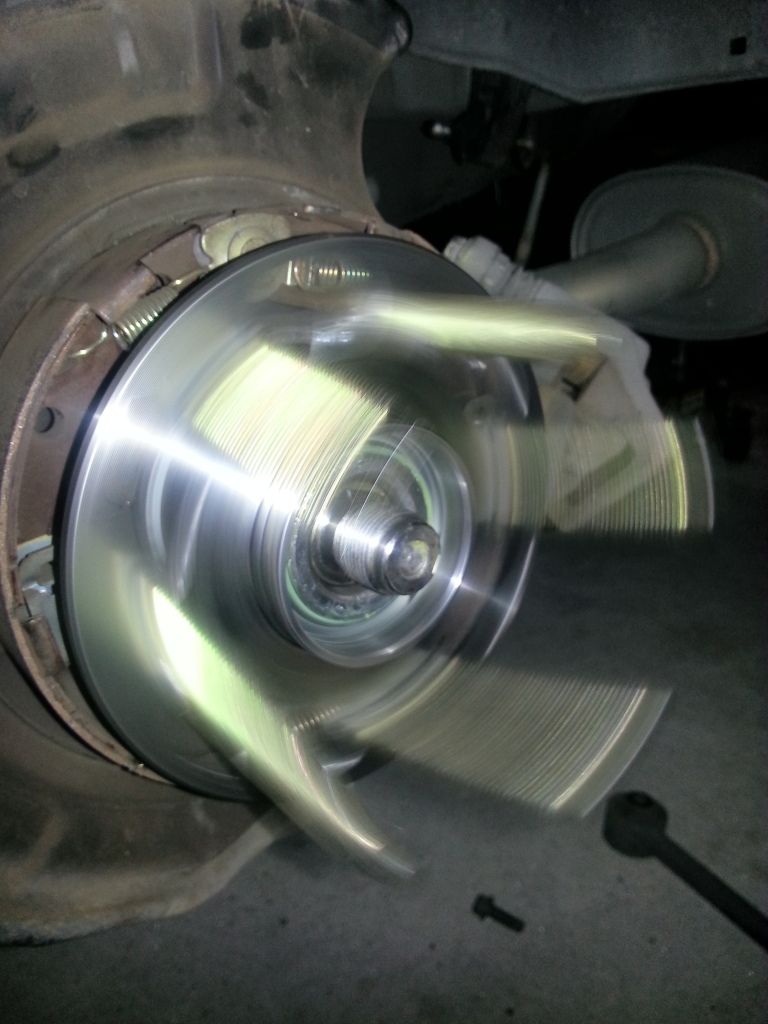
The new hub spins like butter!
Put everything back together and make sure you dont have any spare bolts/screws that came off and you dont know where they go!
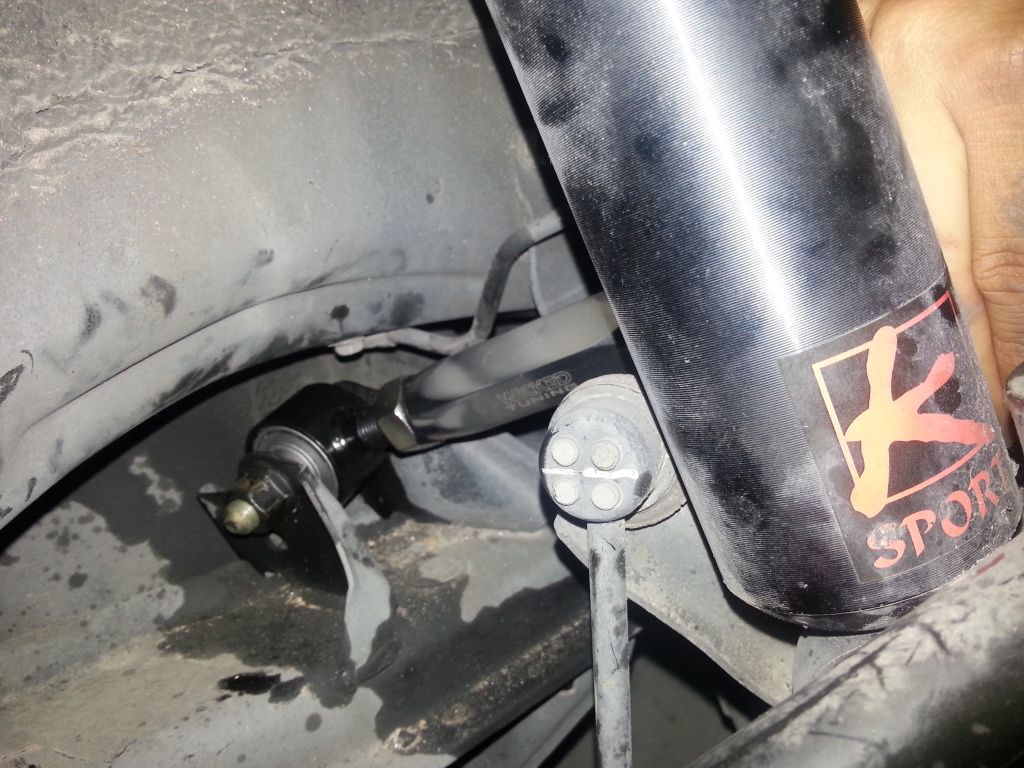
I did my camber arms at the same time also since i had everything off already.
Put the wheels back on and test everything, you should be done now!
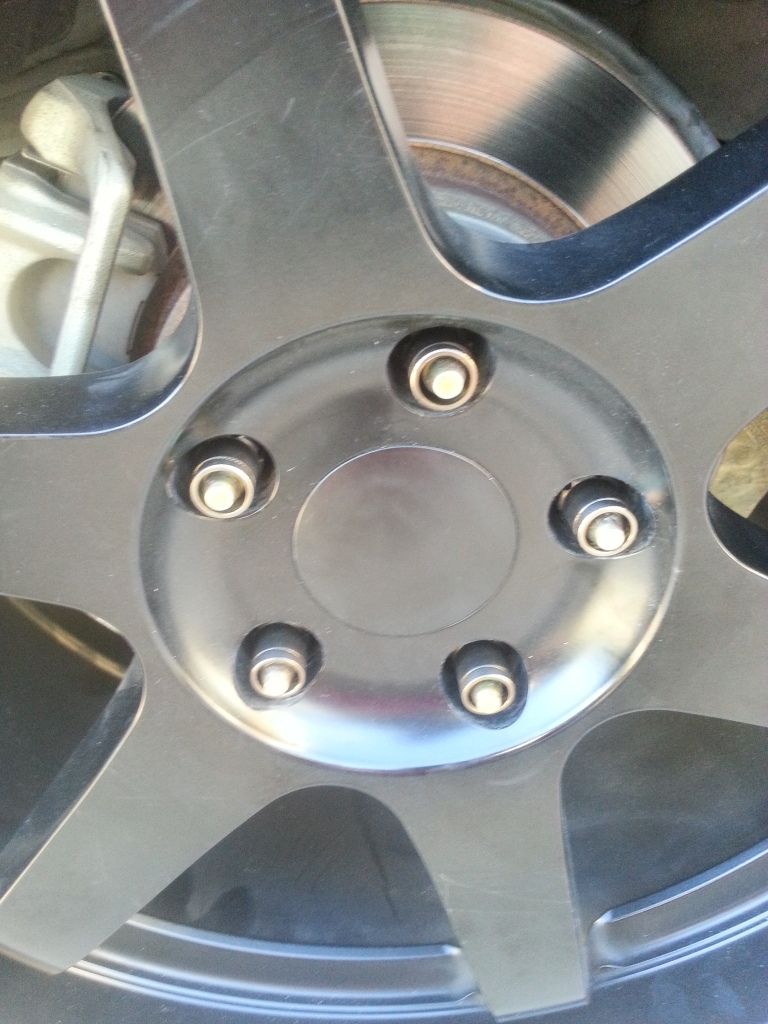
Got the desired look i wanted. Studs extending just a little bit past the lugs, looks great to me!
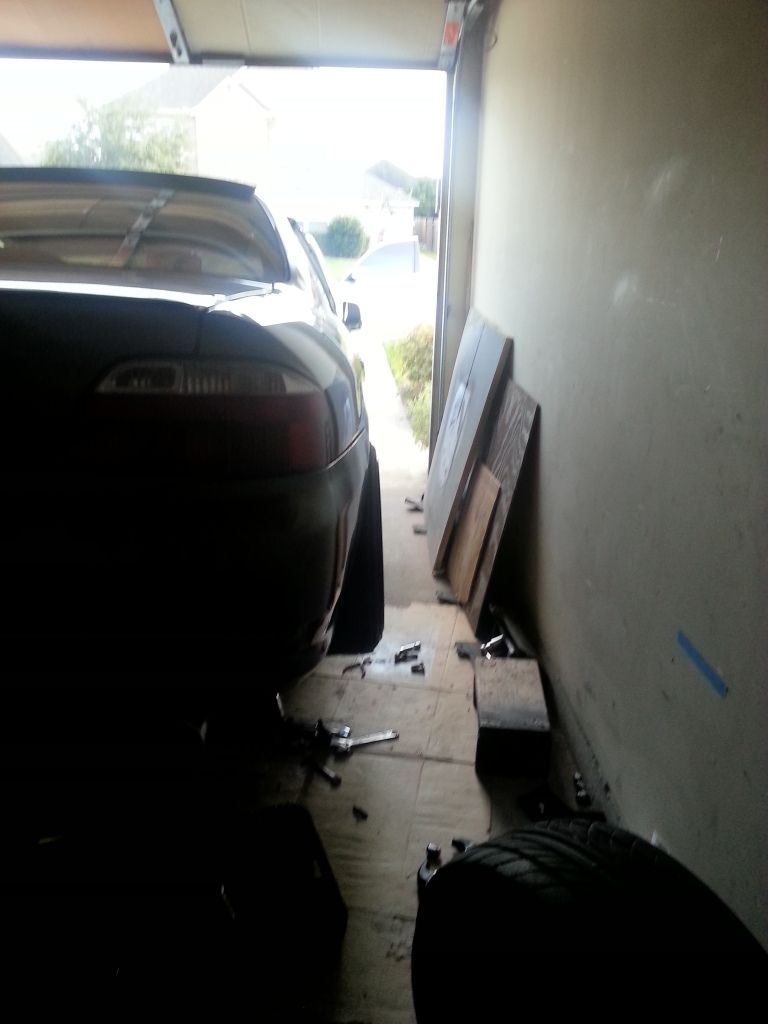
She sitting so lovely

KEEP IN MIND THIS IS FOR THE REARS ONLY. I havent got the fronts done yet so idk how diff those are from the rears.
Tools Needed
-Phillips Head Screw Driver. *Mines had a little torqe handle so it made it a little bit easier
-Ratchet
-Various Size Ratchet Extensions
-14mm Socket
-32mm Socket *Rent one at autozone
-Breaker Bar
-WD40
Parts Needed
-20 Extended Studs *12x1.5 Thread Pitch
-20 Extended Open Ended Lug Nuts
-Rear Wheel Hub Assembly *If needed
First off you wanna take your wheels off and then spray the two philips screws on the rotors with some WD40 and let it sit for a couple mins. Now spray the two 14mm bolts behind the brake assembly and let those sit for a couple mins. In the pic its the black bolt not the gold one at the top. Go grab a drink or something for now. Loosen those two 14mm bolts and the brake assembly should come right off.
Then try to take the screws off, might need a little bit of effort here, mines were pretty new so they came off with ease.
Next wiggle your rotor till it comes loose and put it to the side safely stored away
Now you're left with the rear hub and cap. Pop the cap off, stick a sharp flathead and hammer it in the little crack, keep going around till the cap pops off.
Now would be a good time to hammer out the old studs, dont be scared to hammer them out, only hammer the bolt though not the hub lol. Hammer until the studs is a little loose, do this for all studs.
Take the 32mm socket, ratchet and breaker bar. Attatch everything together and put the breaker bar till its parallel to the ground, give it all you can and the big ass bolt should come loose. I'd say this was the hardest part!
Once the bolt is off, you can simply pull out the rear hub with ease.
Take the old studs out and put them to the side. As you can see the new stud is almost 2.5 times longer then the old one.
Put the new studs back in and hammer them into place. This is the risky part, IF the new studs simply fall into the hole and isnt tight or doesnt need any hammering, THATS when you know your stud hole is stripped. Go to autozone and ask them for a new wheel hub, should cost around 50 depending on the brand you get. Funny part was that the new hub came with studs already so you're gonna have to hammer those out also LOL.
The new hub spins like butter!
Put everything back together and make sure you dont have any spare bolts/screws that came off and you dont know where they go!
I did my camber arms at the same time also since i had everything off already.
Put the wheels back on and test everything, you should be done now!
Got the desired look i wanted. Studs extending just a little bit past the lugs, looks great to me!
She sitting so lovely

The following 2 users liked this post by tOny3:
mikebikelife (10-22-2012),
webmastir (10-22-2012)
10-21-2012, 06:56 PM
#2
MechEng
iTrader: (9)

i think i'm just gonna go ahead and replace the whole hub instead of just replacing the two damaged studs, since its got a lot of miles on it anyways. which brand did you get from autozone? i need to make sure i get the same one so it has the studs pressed in already.
Last edited by 03tLsNBP; 10-21-2012 at 07:08 PM.
10-21-2012, 07:41 PM
#3
Theres only 2 that they carry from what i know, i forgot the other brand but mines is duralast. You're not gonna replace with extended studs? Thought thats what you wanted to do, either way to change the hub you're gonna have to do all this minus a few steps
10-21-2012, 09:03 PM
#4
MechEng
iTrader: (9)
well i thought i would need to use extended studs because i was running a 7mm spacer. but now that i got the camber kit, the inside of the rim is pushed away from the shock body so no more need for a spacer = no more need for extended studs lol.
found a Timken hub and bearing assembly with studs for 70 bucks on Amazon prime so i'm gonna spring for that since i know Timken is top of the line. we used all Timken bearings on the off road race team i was on during undergrad.
found a Timken hub and bearing assembly with studs for 70 bucks on Amazon prime so i'm gonna spring for that since i know Timken is top of the line. we used all Timken bearings on the off road race team i was on during undergrad.
Last edited by 03tLsNBP; 10-21-2012 at 09:06 PM.
10-22-2012, 02:45 AM
#6
well i thought i would need to use extended studs because i was running a 7mm spacer. but now that i got the camber kit, the inside of the rim is pushed away from the shock body so no more need for a spacer = no more need for extended studs lol.
found a Timken hub and bearing assembly with studs for 70 bucks on Amazon prime so i'm gonna spring for that since i know Timken is top of the line. we used all Timken bearings on the off road race team i was on during undergrad.
found a Timken hub and bearing assembly with studs for 70 bucks on Amazon prime so i'm gonna spring for that since i know Timken is top of the line. we used all Timken bearings on the off road race team i was on during undergrad.
I like them poking out or not poking out, both look great to me. Only downside to extended studs is the amount of time it takes just to put one lug on.. LOL
Trending Topics

 10-25-2012, 12:04 PM
#11
@Mikeshlong On IG
iTrader: (3)
Join Date: Jan 2012
Location: Henderson, Nevada
Age: 30
Posts: 1,139
Received 139 Likes
on
126 Posts
Hope this link is still good lol , like this ?
http://www.ebay.com/itm/BLACKWORKS-2...956c63&vxp=mtr
And I already have open end lugs
http://www.ebay.com/itm/BLACKWORKS-2...956c63&vxp=mtr
And I already have open end lugs
01-10-2013, 06:26 PM
#13
Noob

Rear Hub Assembly Nut Off and Can't Get the hub off
HELP! I got the wheel, caliper, rotor, center cap and finally the 32mm nut off. The hub assembly is spinning but no go.
Whats the deal?
Whats the deal?
01-10-2013, 09:16 PM
#16
Noob
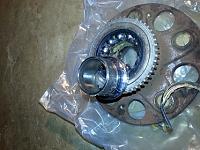
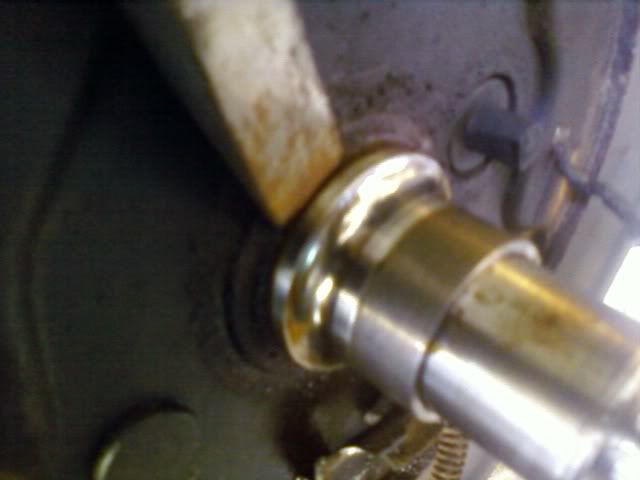
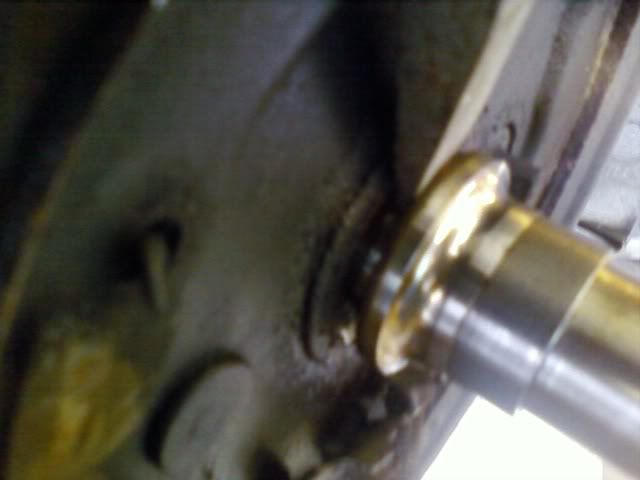
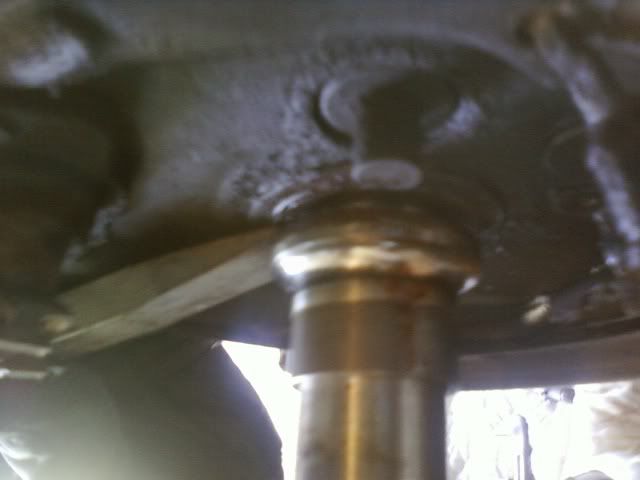
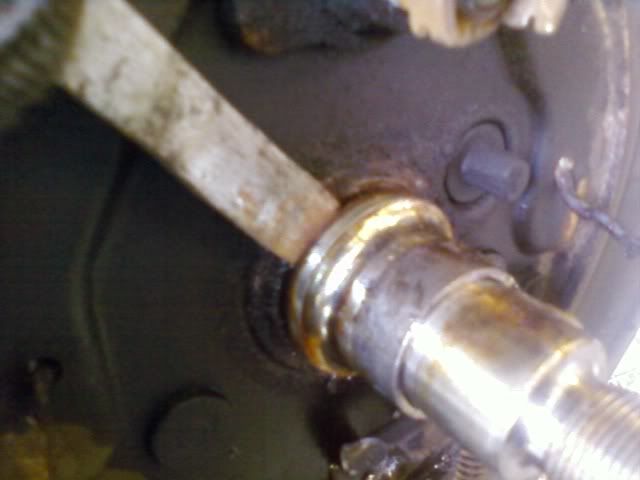
So it finally came off, but not the whole thing. The back "spline" is stuck on the knuckle. I talked to the Acura tech, that works on my car at the dealer (on the side) and he said use a small chisel/flat head screwdrivers behind it and loosen it from the back.
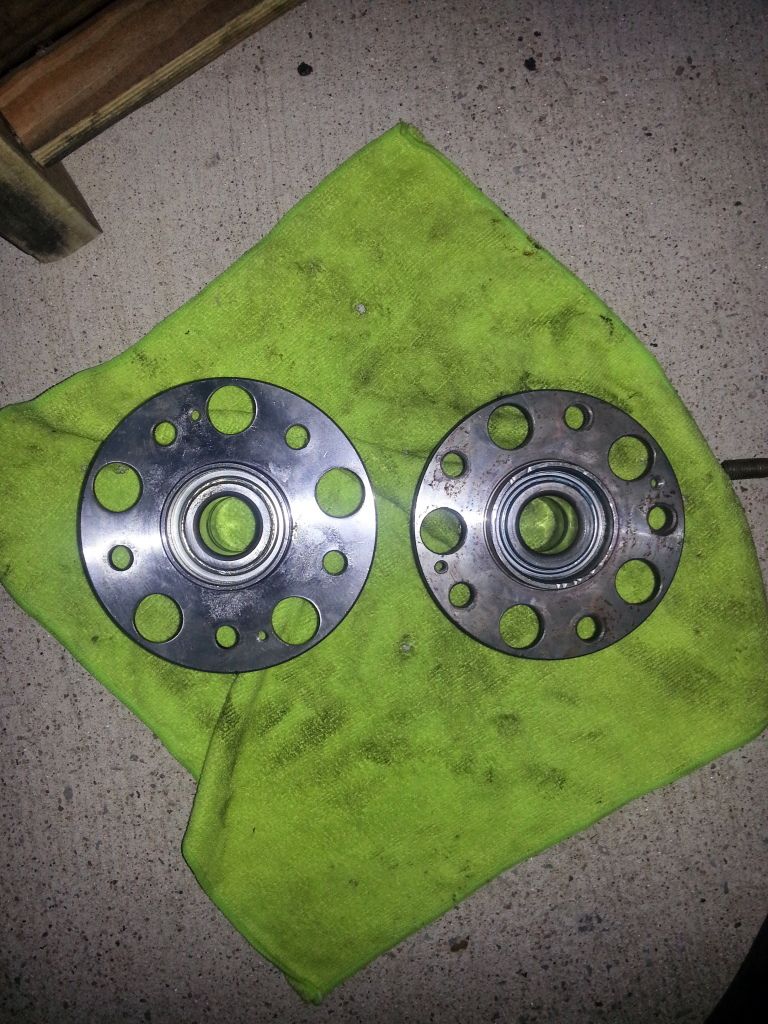
First you can see the knuckle, with the piece of the hub still attached.
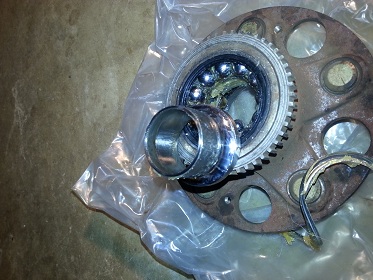
Second you can see the other piece, I pulled out of the old hub that came off, so you can see it completely.
First you can see the knuckle, with the piece of the hub still attached.

Second you can see the other piece, I pulled out of the old hub that came off, so you can see it completely.
 01-10-2013, 09:28 PM
#17
MechEng
iTrader: (9)
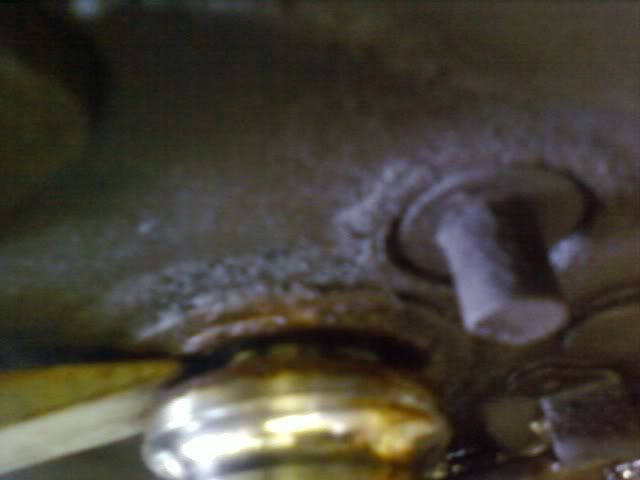
That's the inner race of the bearing. The same thing happened to me. I used a dremel tool to cut a small notch in the inner race. Then I used a flathead screwdriver and a hammer and tapped it till the thing unseized and started turning. Finally I used a combination of pry bars and vice grips to pull the inner race off of the spindle.
The following users liked this post:
OrionHCCA (01-10-2013)
01-11-2013, 06:33 AM
#18
Senior Moderator
Same thing happened to me as well. Chisel is what i used. Worked great.
https://acurazine.com/forums/2g-tl-1999-2003-98/rear-wheel-bearing-%2Aupdated-pics%2A-3-23-10-a-768036/
Chisel
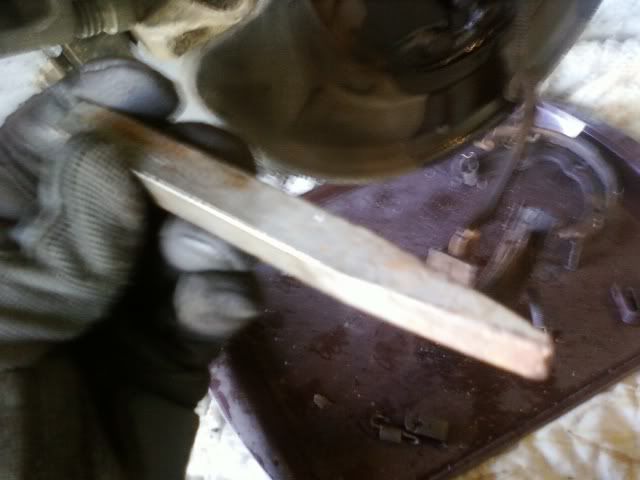
Just place it to the back and drive it in. It will pop the bearing race out so you can slide it off.
https://acurazine.com/forums/2g-tl-1999-2003-98/rear-wheel-bearing-%2Aupdated-pics%2A-3-23-10-a-768036/
Chisel
Just place it to the back and drive it in. It will pop the bearing race out so you can slide it off.
01-11-2013, 01:50 PM
#19
Noob
Thanks everyone for your replies.
The drivers rear, I was able to use the chisel/flat head screwdriver to get it off after a little beatin'.... But the passengers side rear, wasn't so nice. I actually had to use a cutting disc on a dremel and cut it so far down that i was able to put the chisel in the cut and crack the race. Came right off after all that work.
I would recommend making some of these troubleshooting steps part of the How-To. I'm a computer guy by trade, not a mechanic, and if i'd known that this would've been this much trouble, i would've waited for the weekend. None-the-less, great How-To.
So, to sum it up... both rear wheel hubs/bearing's needed replaced. It was quite loud prior to the replacement. Now I can't hear anything... I couldn't even talk on the phone (not that I'm suppose to be while driving) but, it was soo loud...
Thanks

Thread
Thread Starter
Forum
Replies
Last Post
rockyboy
2G RDX (2013-2018)
46
01-25-2016 06:00 PM
cammy5
5G TLX Tires, Wheels & Suspension
2
09-04-2015 11:26 PM