When you click on links to various merchants on this site and make a purchase, this can result in this site earning a commission. Affiliate programs and affiliations include, but are not limited to, the eBay Partner Network.
I've seen this type of thread on other forums. I'll kick it off here.
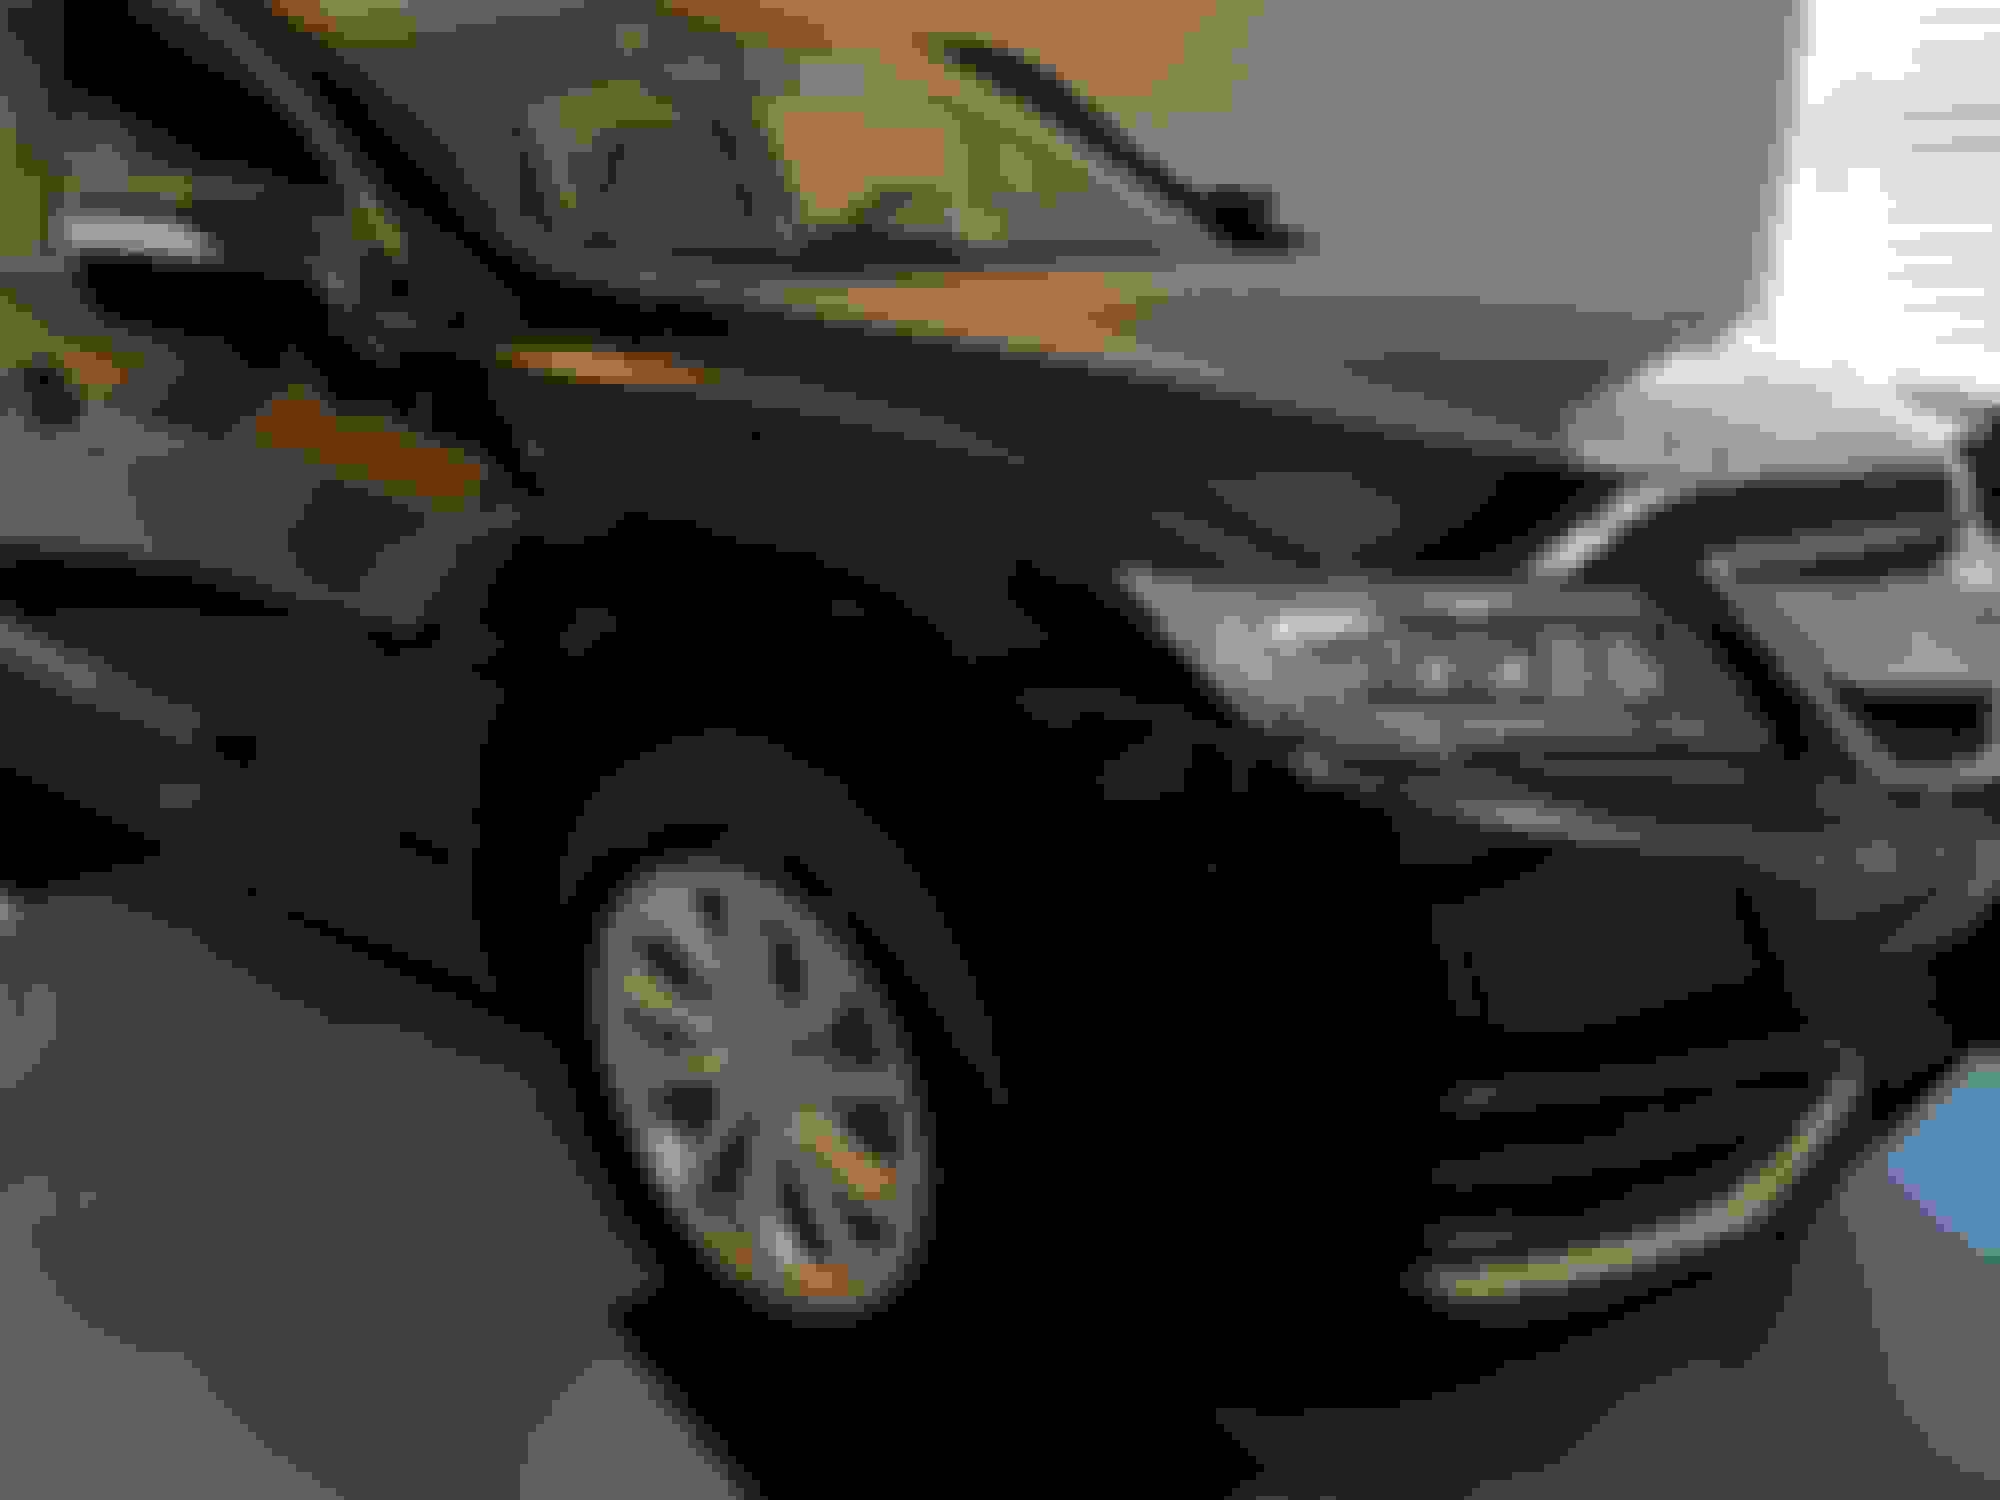
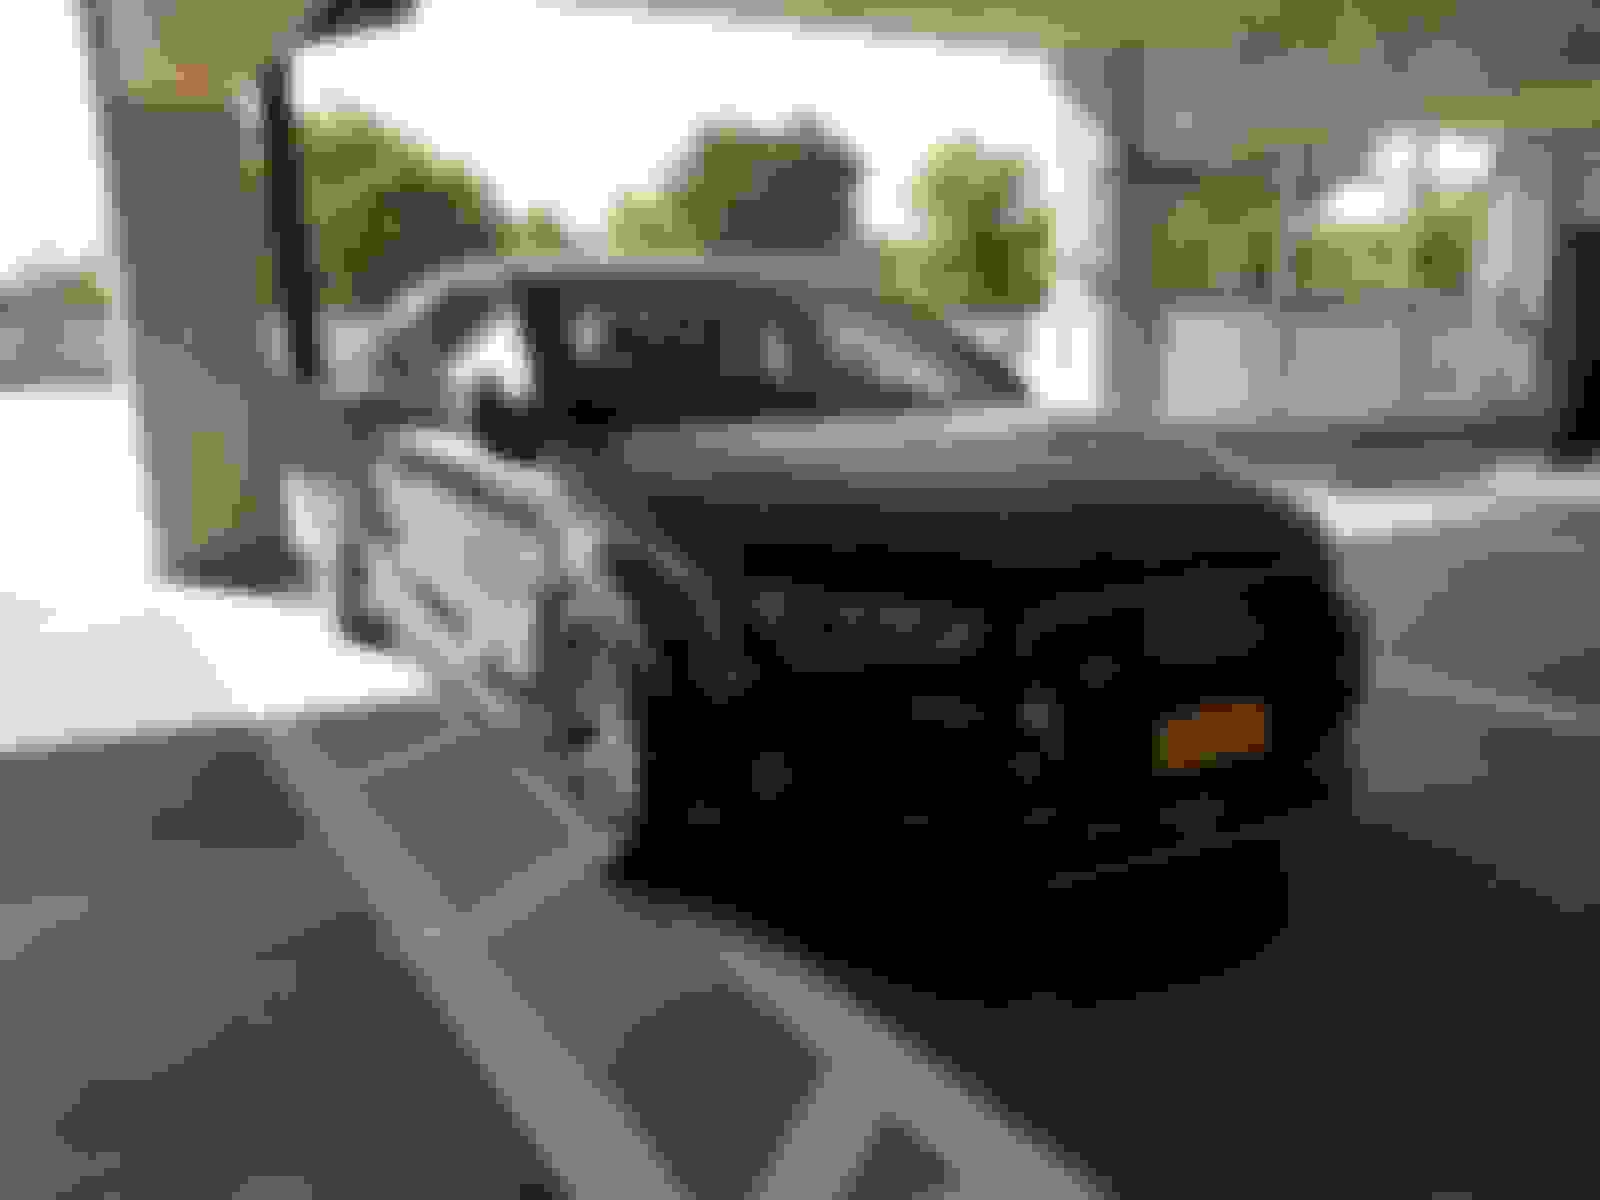
Blacked out the ambers as my first mod.
-cW
I looked at your age (42), and thought, why? My 27 DA Son thinks these things are cool. Why, who knows? He has a 13 Outback, and he blackened the rear taillights and bumper reflectors and IMHO this is a safety issue. Of course he thinks I am stupid as it looks cool. Whatever. That said, your mods don't seem to be safety related, but I just don't seem to see the point. This is just not a real mod like car, nor is the Outback.
I'm almost 50 and I think it looks awesome. I had a 91' Legend Coupe that I removed the ugly amber plastic from the housing and replaced with chrome covered Amber bulbs. I'm not sure the covered amber plastic is going to cause another vehicle to not see his vehicle's indicator light being on or off, thereby causing an accident. Whether it passes a State safety inspection or he gets ticketed, only time will tell. Like everything on these forums it's all about tastes with people's "likes" and "dislikes" and some being different by bucking the system. I personally think "modding" will always be a part of some of us regardless of age or vehicle type (street legal or not).
Don't want to get too far off the topic so "kudos" to Coolwater !! Will be doing the same on my 2014 Black RDX
I applaud anyone of any age who works to make their vehicle look/handle/run better than it did from the factory. I'm 69 and can't imagine being happy with everything a manufacturer compromised on. While I haven't done much to my RDX (a few light bulb changes and USB installation for the rear seats) my Avalon is always a work in progress. Check out my Avalon mods page.e
Keep after it Coolwater, modifying the amber lights cleans up the front end nicely! One suggestion. When you show a mod, include info on the product used and/or how you did something. A post about blacking out amber lights, for example, is more helpful to others if you include a 'how to'.
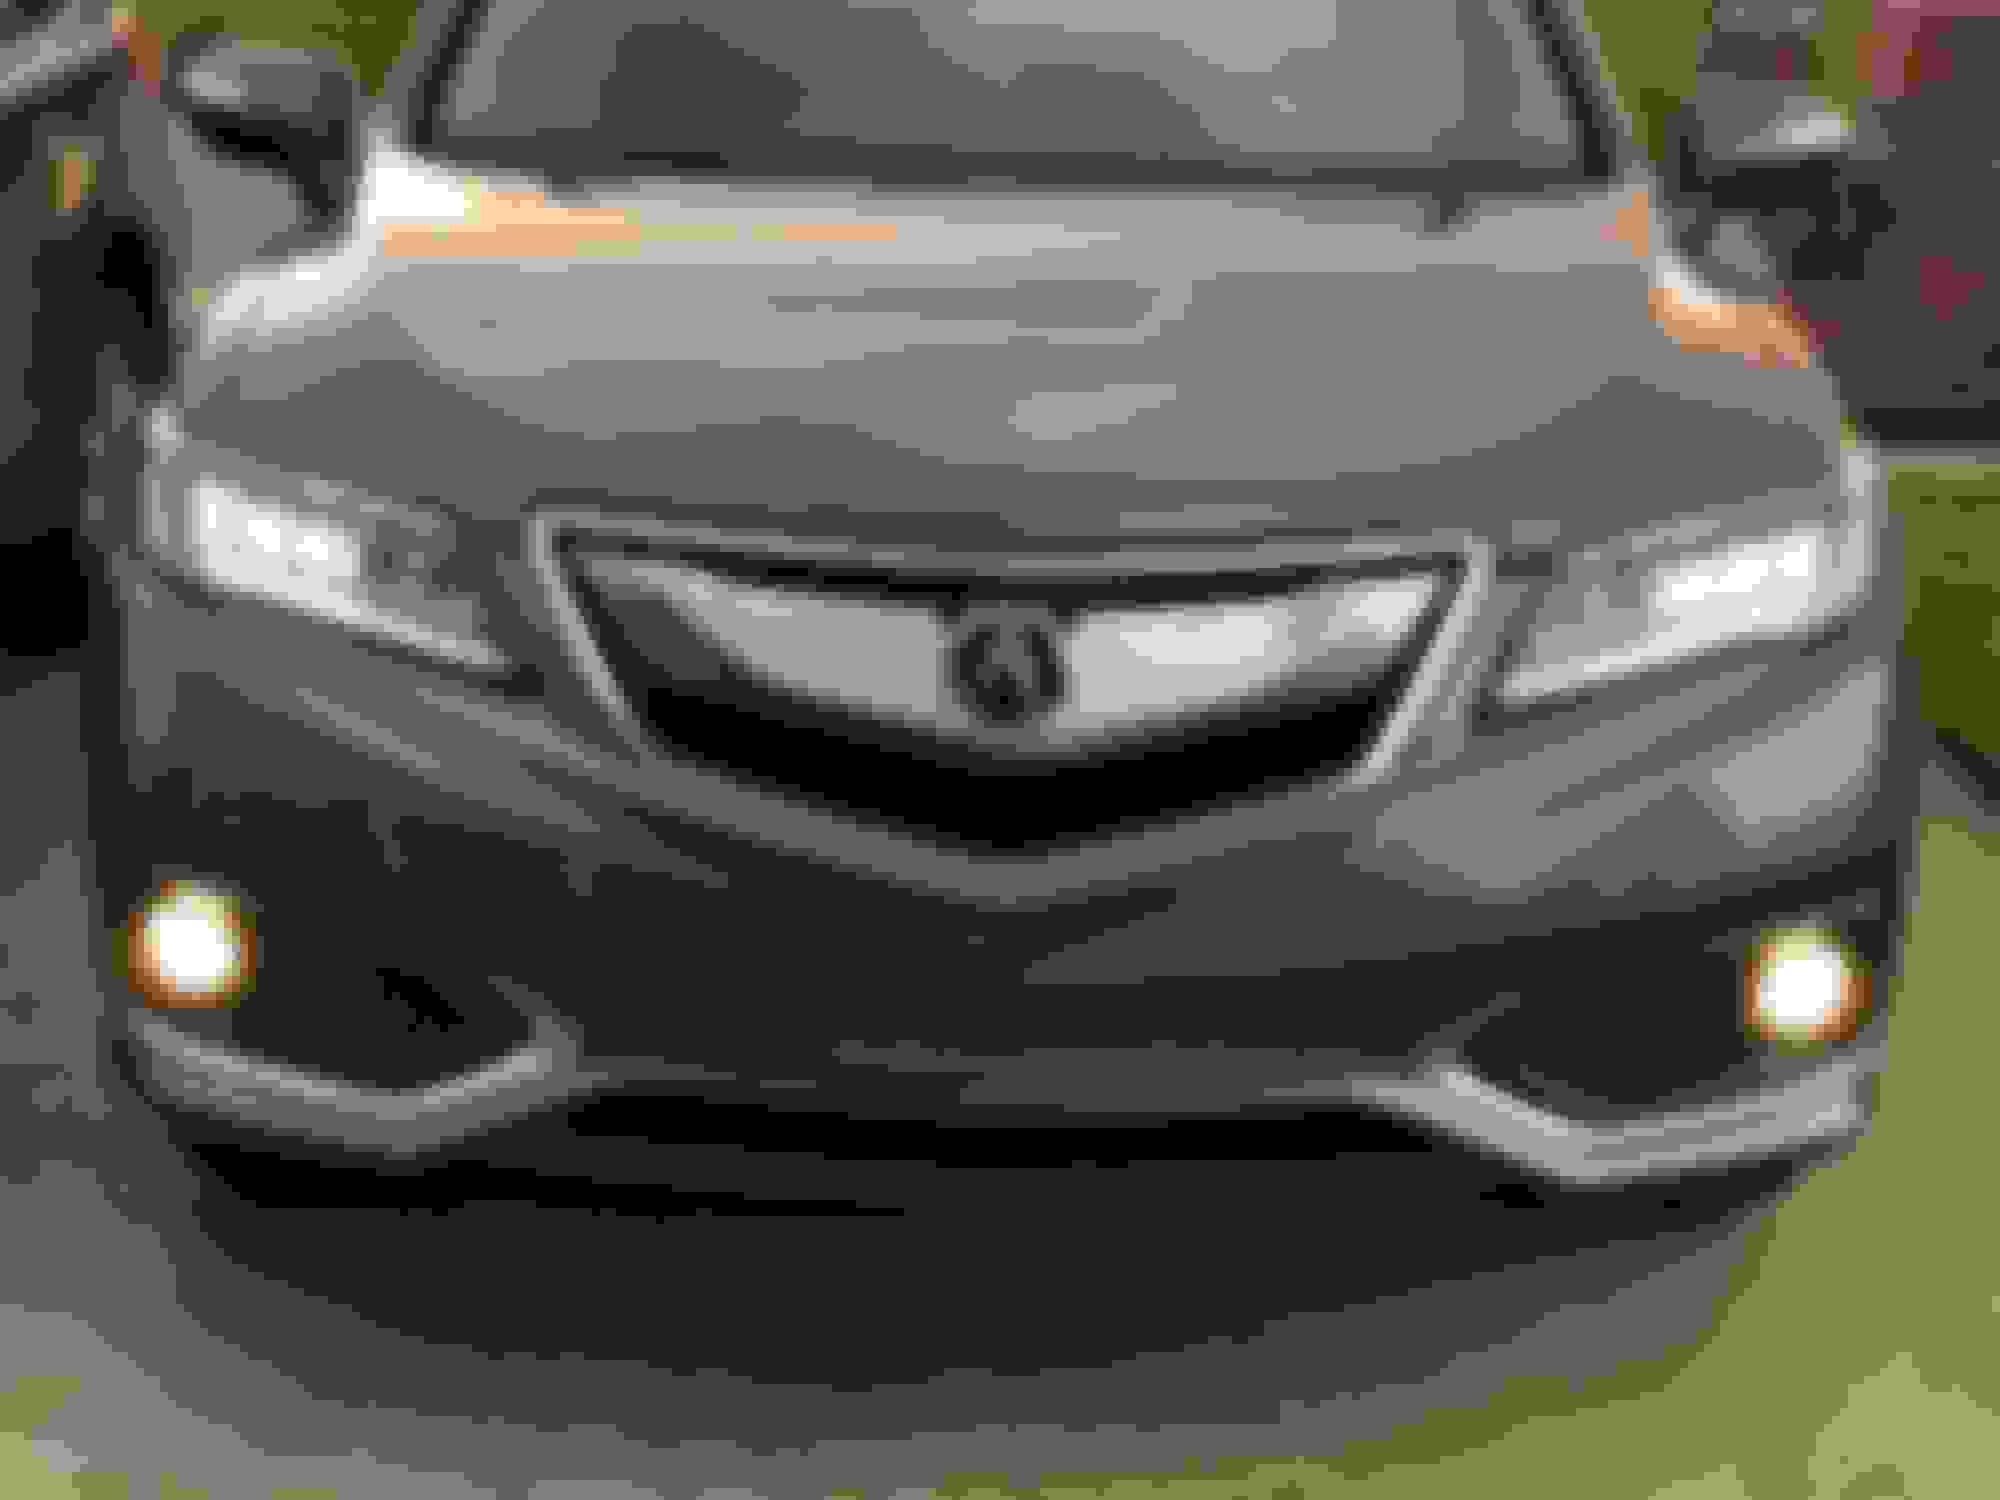
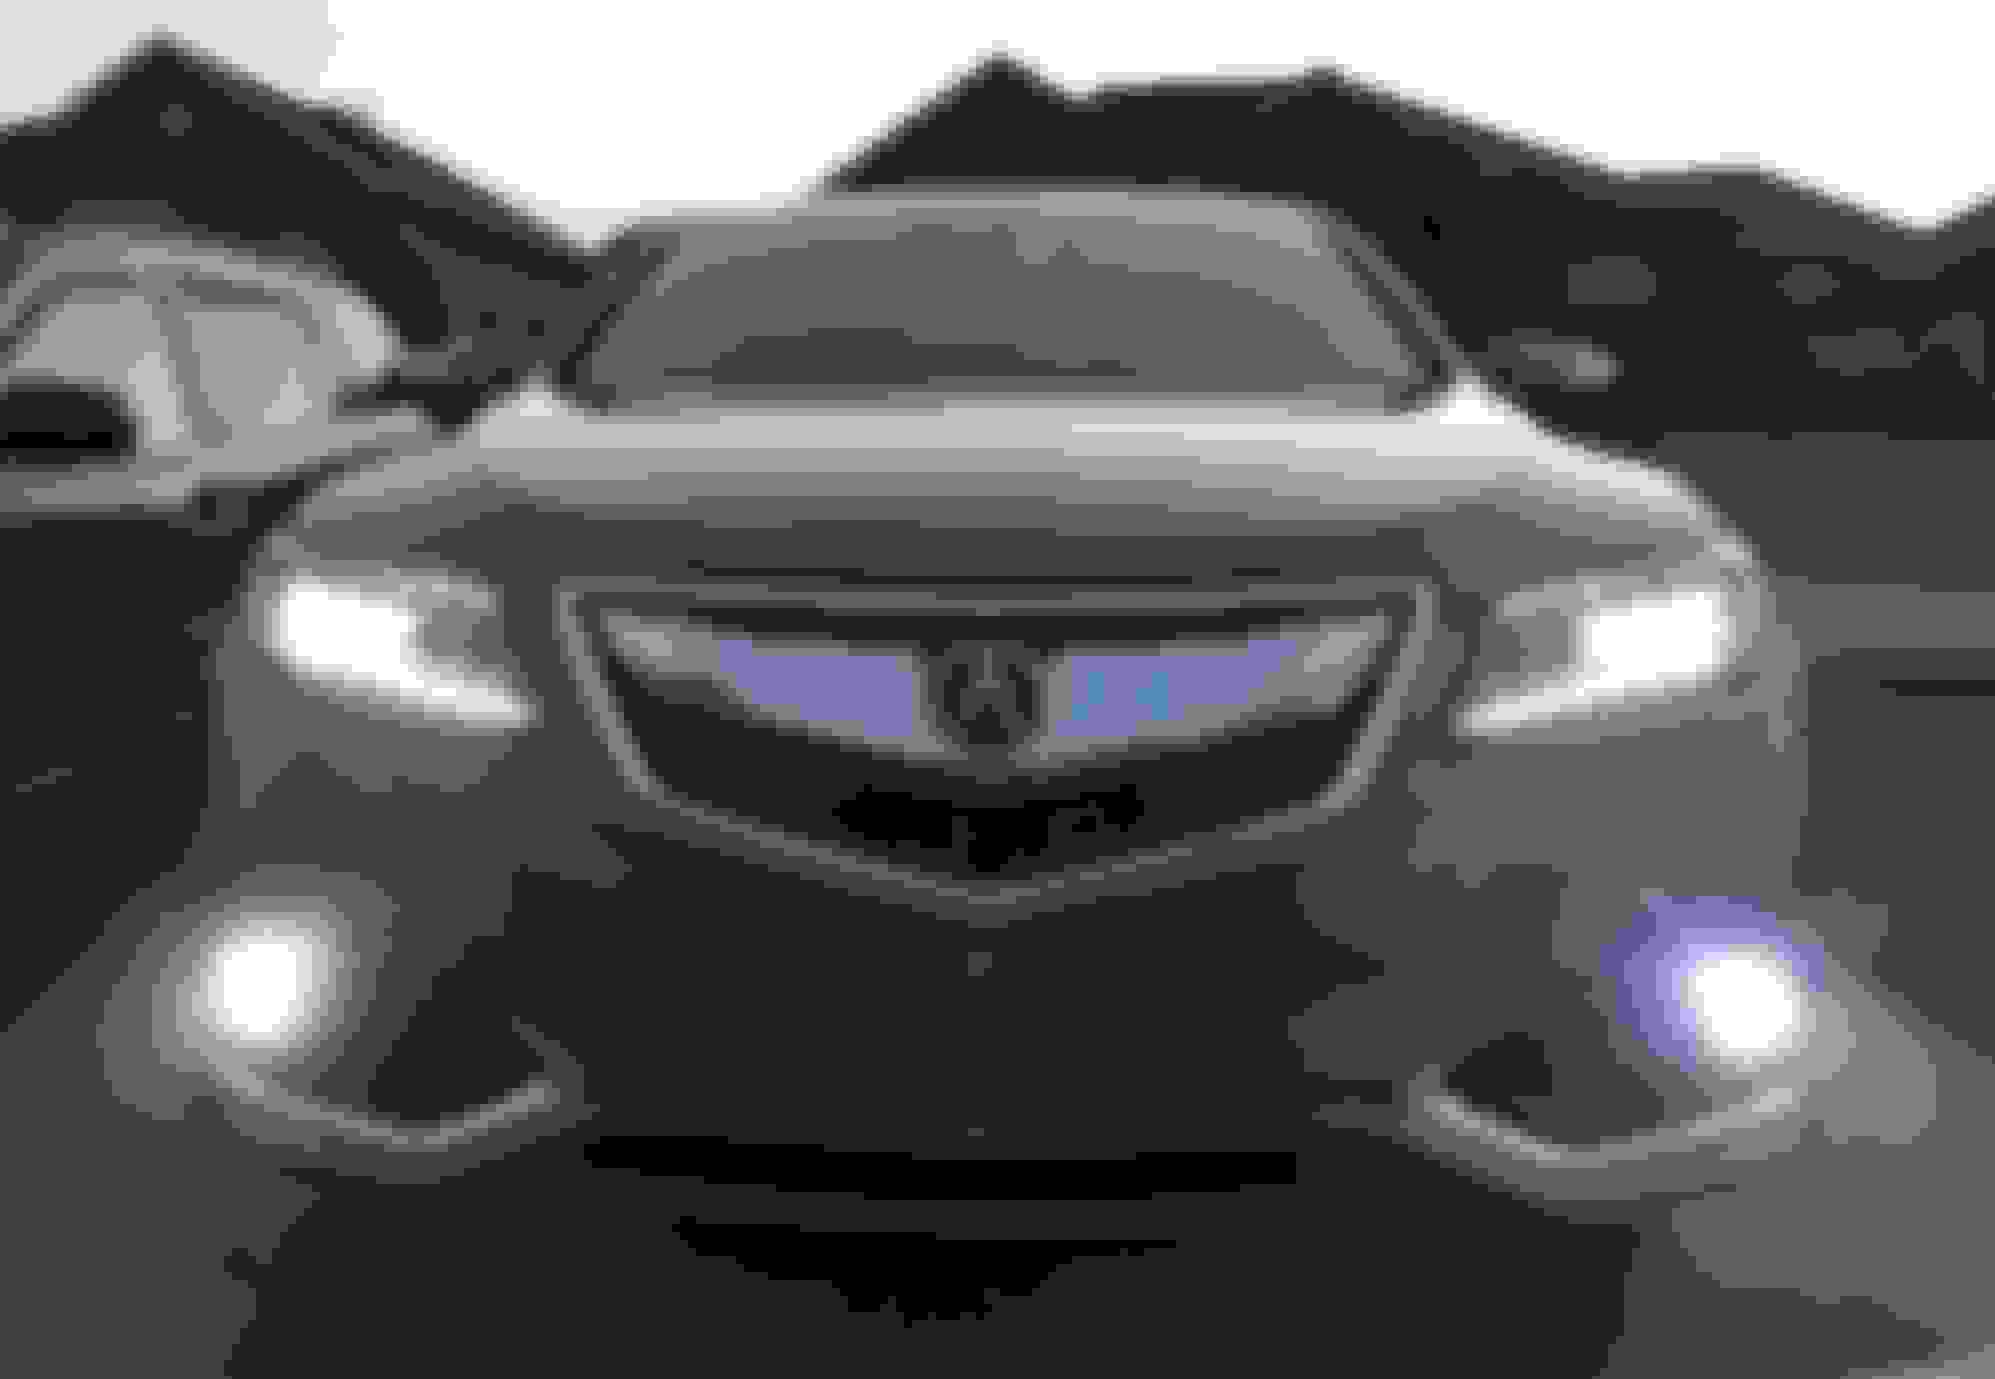
Except driving it, I have added the body side moldings, splash guards, door edge films and clear rear bump applique. I ordered the LED bulb for the fog lights, but have not got time to install it yet. Maybe this weekend.
Just finished the LED bulb replacement. It only took me 15min. It is bright enough in my view. I don't I can do it so easy without the great info in this forum. Thanks again!
Regarding the amber black out. I'm from the euro tuning scene. On most Audi/VW cars you can deactivate the amber side markers. I've swapped in euro spec headlights before also for a cleaner look.
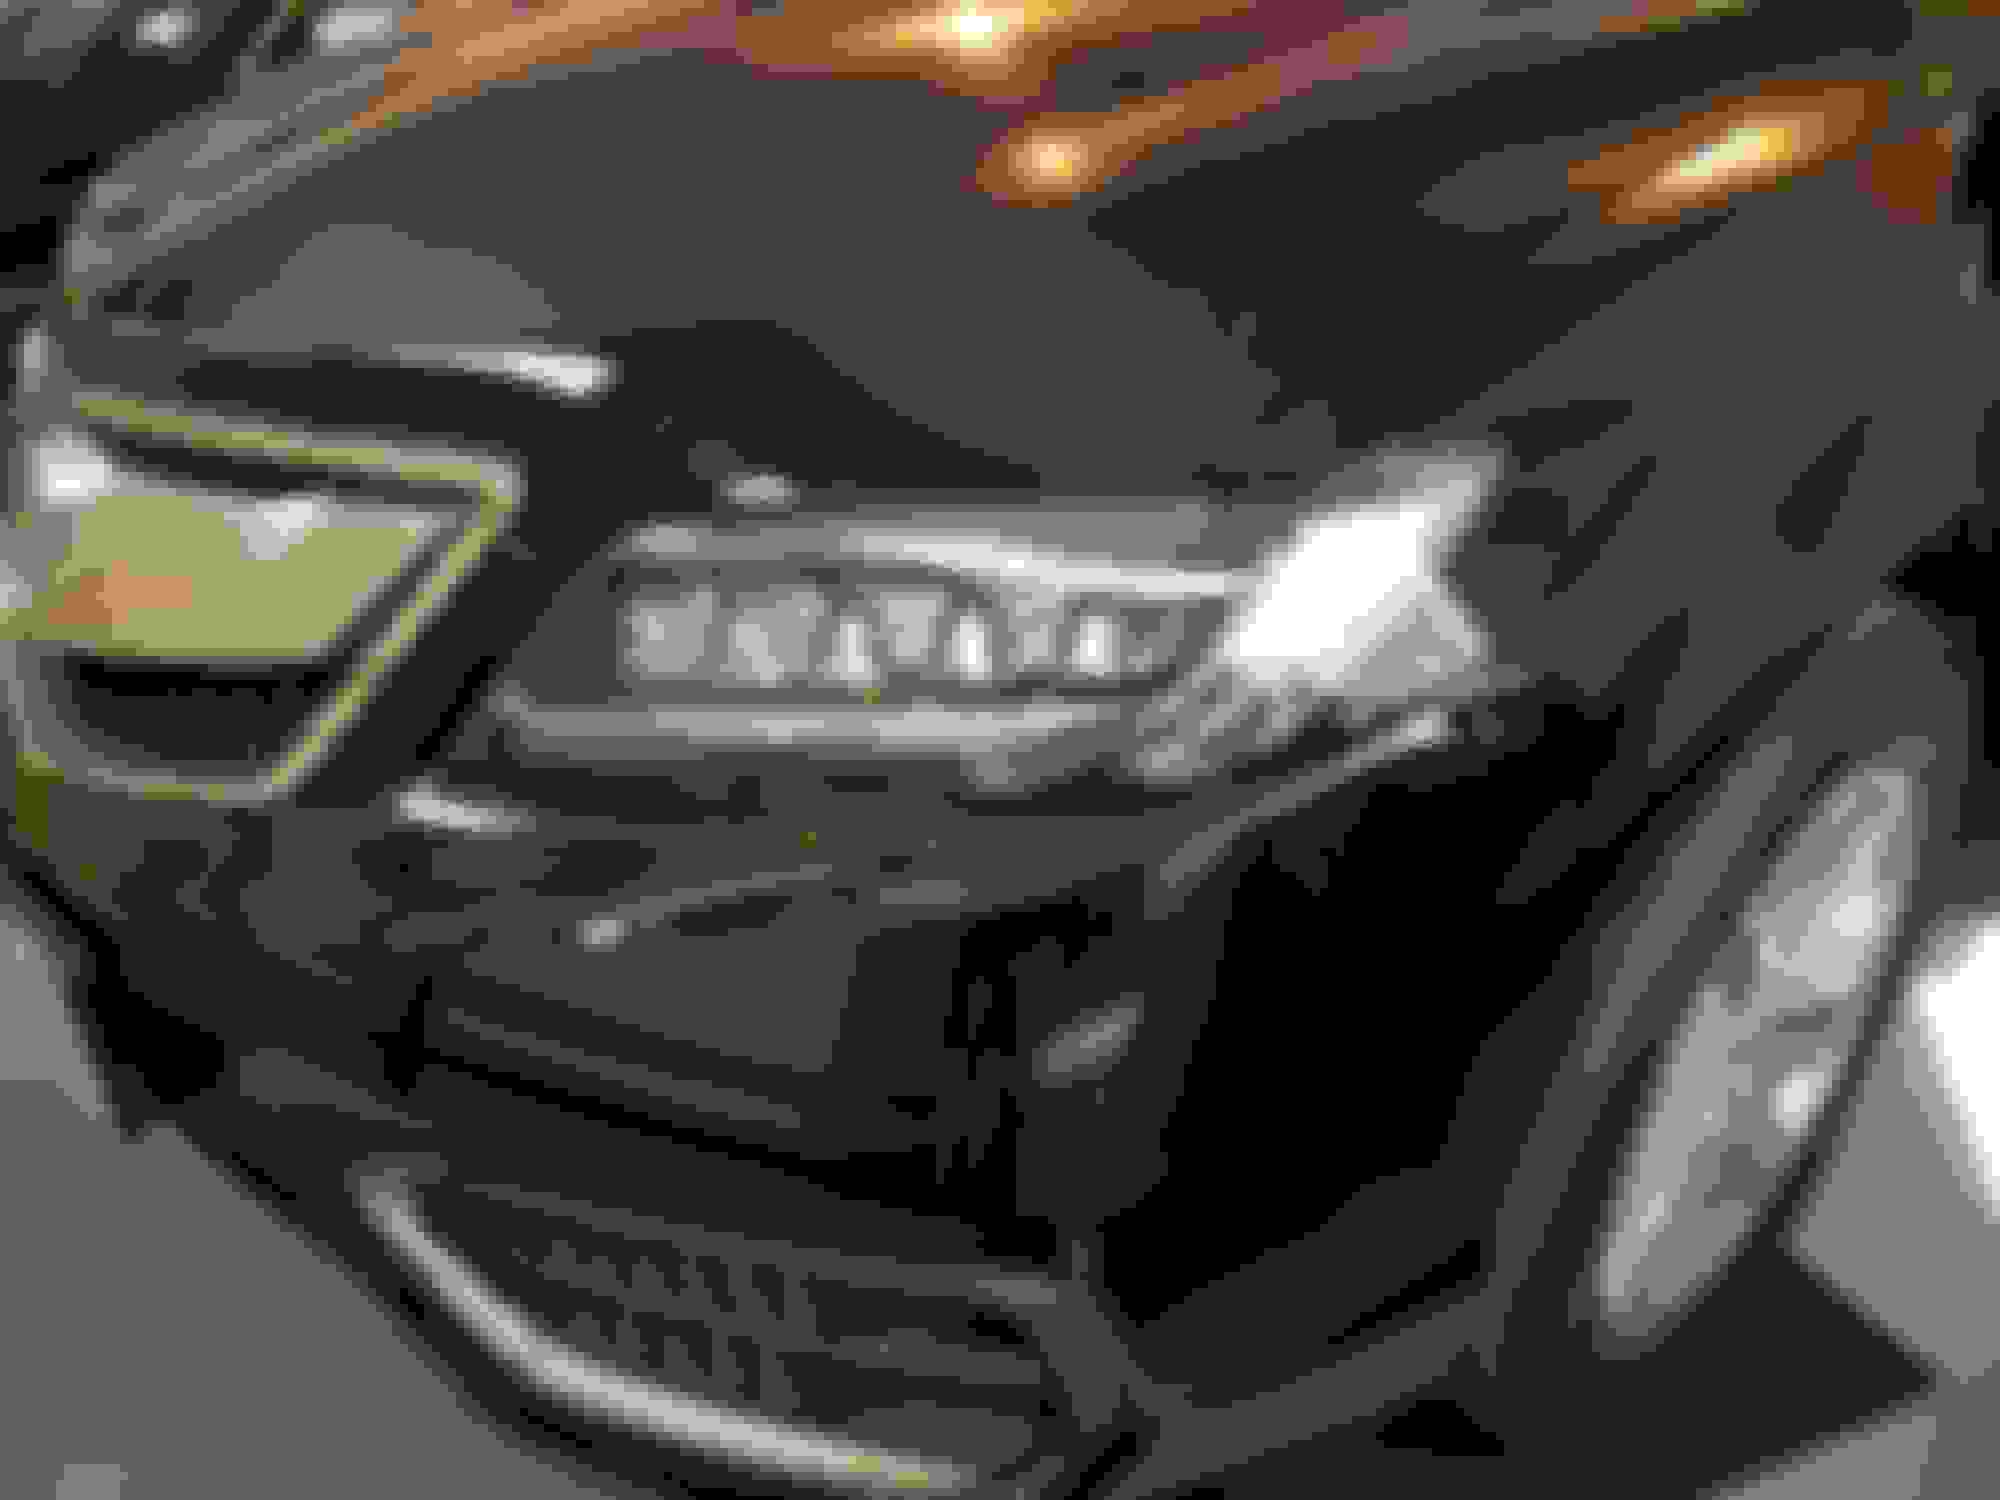
I used tailight tint I had laying around. Bought it off eBay a few years ago. What you want to do is use masking tape to make a template. Basically take the masking tape and tape off the shape and area you want to cover right on the headlight.
Once you have the coverage and general shape you want, peel that off the headlight and stick the stencil on the tint and cut it with a scissor. Now take the stencil and stick it to the underside of the tint to cut the opposite headlight shape. You should now have a left and right side headlight tint.
To apply, wipe the headlight clean. Use a squeegee to apply the tint. You have to practice a few times to work it on without bubbles.
Yes I'm in my 40s but I still love to mod cars. My other baby. It's lowered and has a stage 2 tune.
Regarding the amber black out. I'm from the euro tuning scene. On most Audi/VW cars you can deactivate the amber side markers. I've swapped in euro spec headlights before also for a cleaner look.
I used tailight tint I had laying around. Bought it off eBay a few years ago. What you want to do is use masking tape to make a template. Basically take the masking tape and tape off the shape and area you want to cover right on the headlight.
Once you have the coverage and general shape you want, peel that off the headlight and stick the stencil on the tint and cut it with a scissor. Now take the stencil and stick it to the underside of the tint to cut the opposite headlight shape. You should now have a left and right side headlight tint.
To apply, wipe the headlight clean. Use a squeegee to apply the tint. You have to practice a few times to work it on without bubbles.
Yes I'm in my 40s but I still love to mod cars. My other baby. It's lowered and has a stage 2 tune.
Thanks for the DIY info Coolwater! I love your S3! I've had 7 VW's and an Audi in the past so I'll always have love for the euros. Keep up the nice work!
Thanks for the DIY info Coolwater! I love your S3! I've had 7 VW's and an Audi in the past so I'll always have love for the euros. Keep up the nice work!
Thanks! So I modified the headlight tint a bit. I notice one of the corners at the bottom leading edge coming off the other day. So I've left an excess tab the wraps underneath the headlight housing. Should hold the front corner much better.
-cW
Hi Coolwater: the corner tint looks good! Where did you buy it? Just got my cargo cover today. I am thinking about window vent visor and LED interior bulbs. Then I will be done with upgrade.
Hi Coolwater: the corner tint looks good! Where did you buy it? Just got my cargo cover today. I am thinking about window vent visor and LED interior bulbs. Then I will be done with upgrade.
Thanks! I'm thinking of getting that rubber cargo mat also. I bought the tint from eBay. Similar to this one.
http://m.ebay.com/itm/1X-Gloss-Dark-Black-12-x72-Headlight-Taillight-Fog-Light-Tint-Film-Vinyl-Sheet-/282328829087?epid=728856911&hash=item41bc1c0c9f%3A g%3AE9IAAOSwImRYYdV3&_trkparms=pageci%253A634a14da-594e-11e7-b262-74dbd1a0ba42%257Cparentrq%253Add16ee3915c0aa12eaf5 3d3bfffd3115%257Ciid%253A13
Since my led bulbs were transferred from my tiguan. The light was not quite bright enough for how the housing was setup. I used some aluminum reflective heat tape to help brighten it up a bit. I did this for the tailgate, front door and license plate housing.
was installed in place of the blank where the Canadian RDX has rear seat heater switches. Power comes from the same wire pair serving the rear accessory (cigar lighter) port.
Just FYI, there is an easy option. I went with the Belkin Road Rockstar: 4-Port Passenger Car Charger, easy to install, I plugged it in the center console and clipped it to the rear of passenger seat. Buy the Belkin Road Rockstar 4 Port USB Car Charger
I got all 4 tires swapped by dealer due to flat spots. Guess my car had been sitting on the lot for 5 months. They tried to rebalance the wheels, but no dice. So I went in today and they put on a new set of Michelins. Seems to have gotten rid of my vibrations above 60mph.
Was finally able to swap out the reverse bulbs. Wow is it tight. Had to use pliers to loosen the bulb holder out. It is 1/4 turn counter clockwise to loosen.
Looks cool, CW! Now I am thinking to upgrade the non-LED interior and exterior bulbs to LED bulbs in addition to the window vent visors. Just received the 2" curt hitch, will install it after I am back home from our family vacation
Looks cool, CW! Now I am thinking to upgrade the non-LED interior and exterior bulbs to LED bulbs in addition to the window vent visors. Just received the 2" curt hitch, will install it after I am back home from our family vacation
thanks Hong! So the issue with the interior bulbs is the front map bulbs. It is already led and matches standard yellowish white. So if you get xenon white for a cleaner look, the front leds won't match the rear seating area. And it doesn't seem like it's an easy fix to change those front leds.
 06-10-2017, 03:28 PM