When you click on links to various merchants on this site and make a purchase, this can result in this site earning a commission. Affiliate programs and affiliations include, but are not limited to, the eBay Partner Network.
To be honest, I think they are both overpriced for what they are. The vacuum doesnt do deep cleaning, and only does 1-2 rooms at a time before it craps out. Its okay for general upkeep, but you still need to vacuum with a regular vacuum prior to having visitors. Same goes for the mop. And the mop takes more prep time - you need to fill it up with water, a mix of murphys oil, clean the pad, put it back together. While that only takes a few minutes, mopping one room the old fashioned way doesnt take that long either.
She had a Roomba 960 vacuum that she bought last month. The extra bells and whistles were not worth it over, say, the 860. Last week Bed Bath had a big sale on iRobots, so I returned the 960 at the original purchase price, and bought a lesser quality 860 at a sales price; and spent the difference on the mop. Gotta love their return policies....The 860 actually vacuums faster than the 960.
Damn that looks nice! I LOVE LOVE LOVE that door you have, just exudes character and class.
Did you do the digger work yourself? And also, where did you get those edge stones? Love them.
Originally Posted by 1StGenCL
Looks great, keep the updates coming!
Also, how does the mop bot work? I wanted to get one after getting a Neato but the reviews were mixed.
I've had both the Roomba and Neato. Will NEVER go back to the Roomba, the Neato is several orders of magnitude better. It's far more methodical in cleaning and can therefore do much more on a charge. It can also find its way back to home base to charge 99% of the time unless it gets stuck. When we had a Roomba, the return rate was ~50% and it couldn't do the whole house on a charge. Also, it's infuriating to me watching the Roomba randomly drive around and bump into shit while not actually getting every inch of the floor clean. Neato has none of those issues and it also fits into corners with the D shape of the housing.
Agree with the fact that you still need a real vacuum regardless of which one you go with but for us, the Neato does an excellent job to the point that we only do the real vac once a month...and we have a golden retriever that loves to shed.
DIY was the door, gate, hatch, bin. I designed the driveway and backyard to the inch, but I'm not taking credit for the hard(er) labor.
As for the door, I still need to stain, polish the door handle, clear coat, and re-install the other hardware bits.
I am on the fence with the door stain selection. Right now, i am thinking minwax special walnut, which is middle left of the stain samples photo'd above. Below is another reference for minwax's collection. Wife was thinking a darker Jacobean to make the polished brass hardware pop. Although, I am trying to go on the lighter side to match the second story paint tone. The door trim is dark brown, which I want to contrast against.
What I think will end up being a nice touch too - I did not sand out the original darker stain surrounding the the inner trim of the door window. There will be a nice 3D effect when everything is complete.
Last edited by ThermonMermon; 05-02-2017 at 03:41 PM.
What type of wood is your door made out of? Please note that if the door wood is different than the sample wood, it'll look much different. Also, definitely use a pre-stain conditioner no matter what when doing a project like this.
Based on my research, I am seeing to NOT use wood conditioner on exterior hardwood doors. It is moreso for interior soft woods, such as pine and fir. Given this is a 100 year old front door, I would venture a guess and say it's hardwood.
Based on my research, I am seeing to NOT use wood conditioner on exterior hardwood doors. It is moreso for interior soft woods, such as pine and fir. Given this is a 100 year old front door, I would venture a guess and say it's hardwood.
There's plenty of exterior pine used provided it's sealed up. In any case, can you take a closer up picture of the bare wood and I'll take my best swag at it... Either way, conditioner is fine to use on hardwoods. Actually there are a lot of hardwoods that you HAVE to use conditioner like maple, cherry, alder, etc. With open grain woods (oak) or woods you don't really stain (walnut), you don't need to use it though it can help. All it's doing is filling pores in the wood so the stain goes in evenly.
Edit: Looked at the above. Seems like it's oak to me.
Serious money, not yet. Serious time, yes. I've tracked 300 man hours since August. The Home Depot runs dont add up to significant costs. I will admit that I've dropped a good chunk on furniture.
Door is done. Stain is minwax special walnut. Bar keepers friend was used to remove oxidation from hardware. Hit it with 6 coats of water based poly. All hardware was given 4 coats of crystal clear rustoleum enamel spray
as for the handrail, I sanded down all of the loose iron paint flakes. Hit it with one coat of flat rustoleum black paint, and then one light coat of the rustoleum enamel spray which gave it a glossy shine
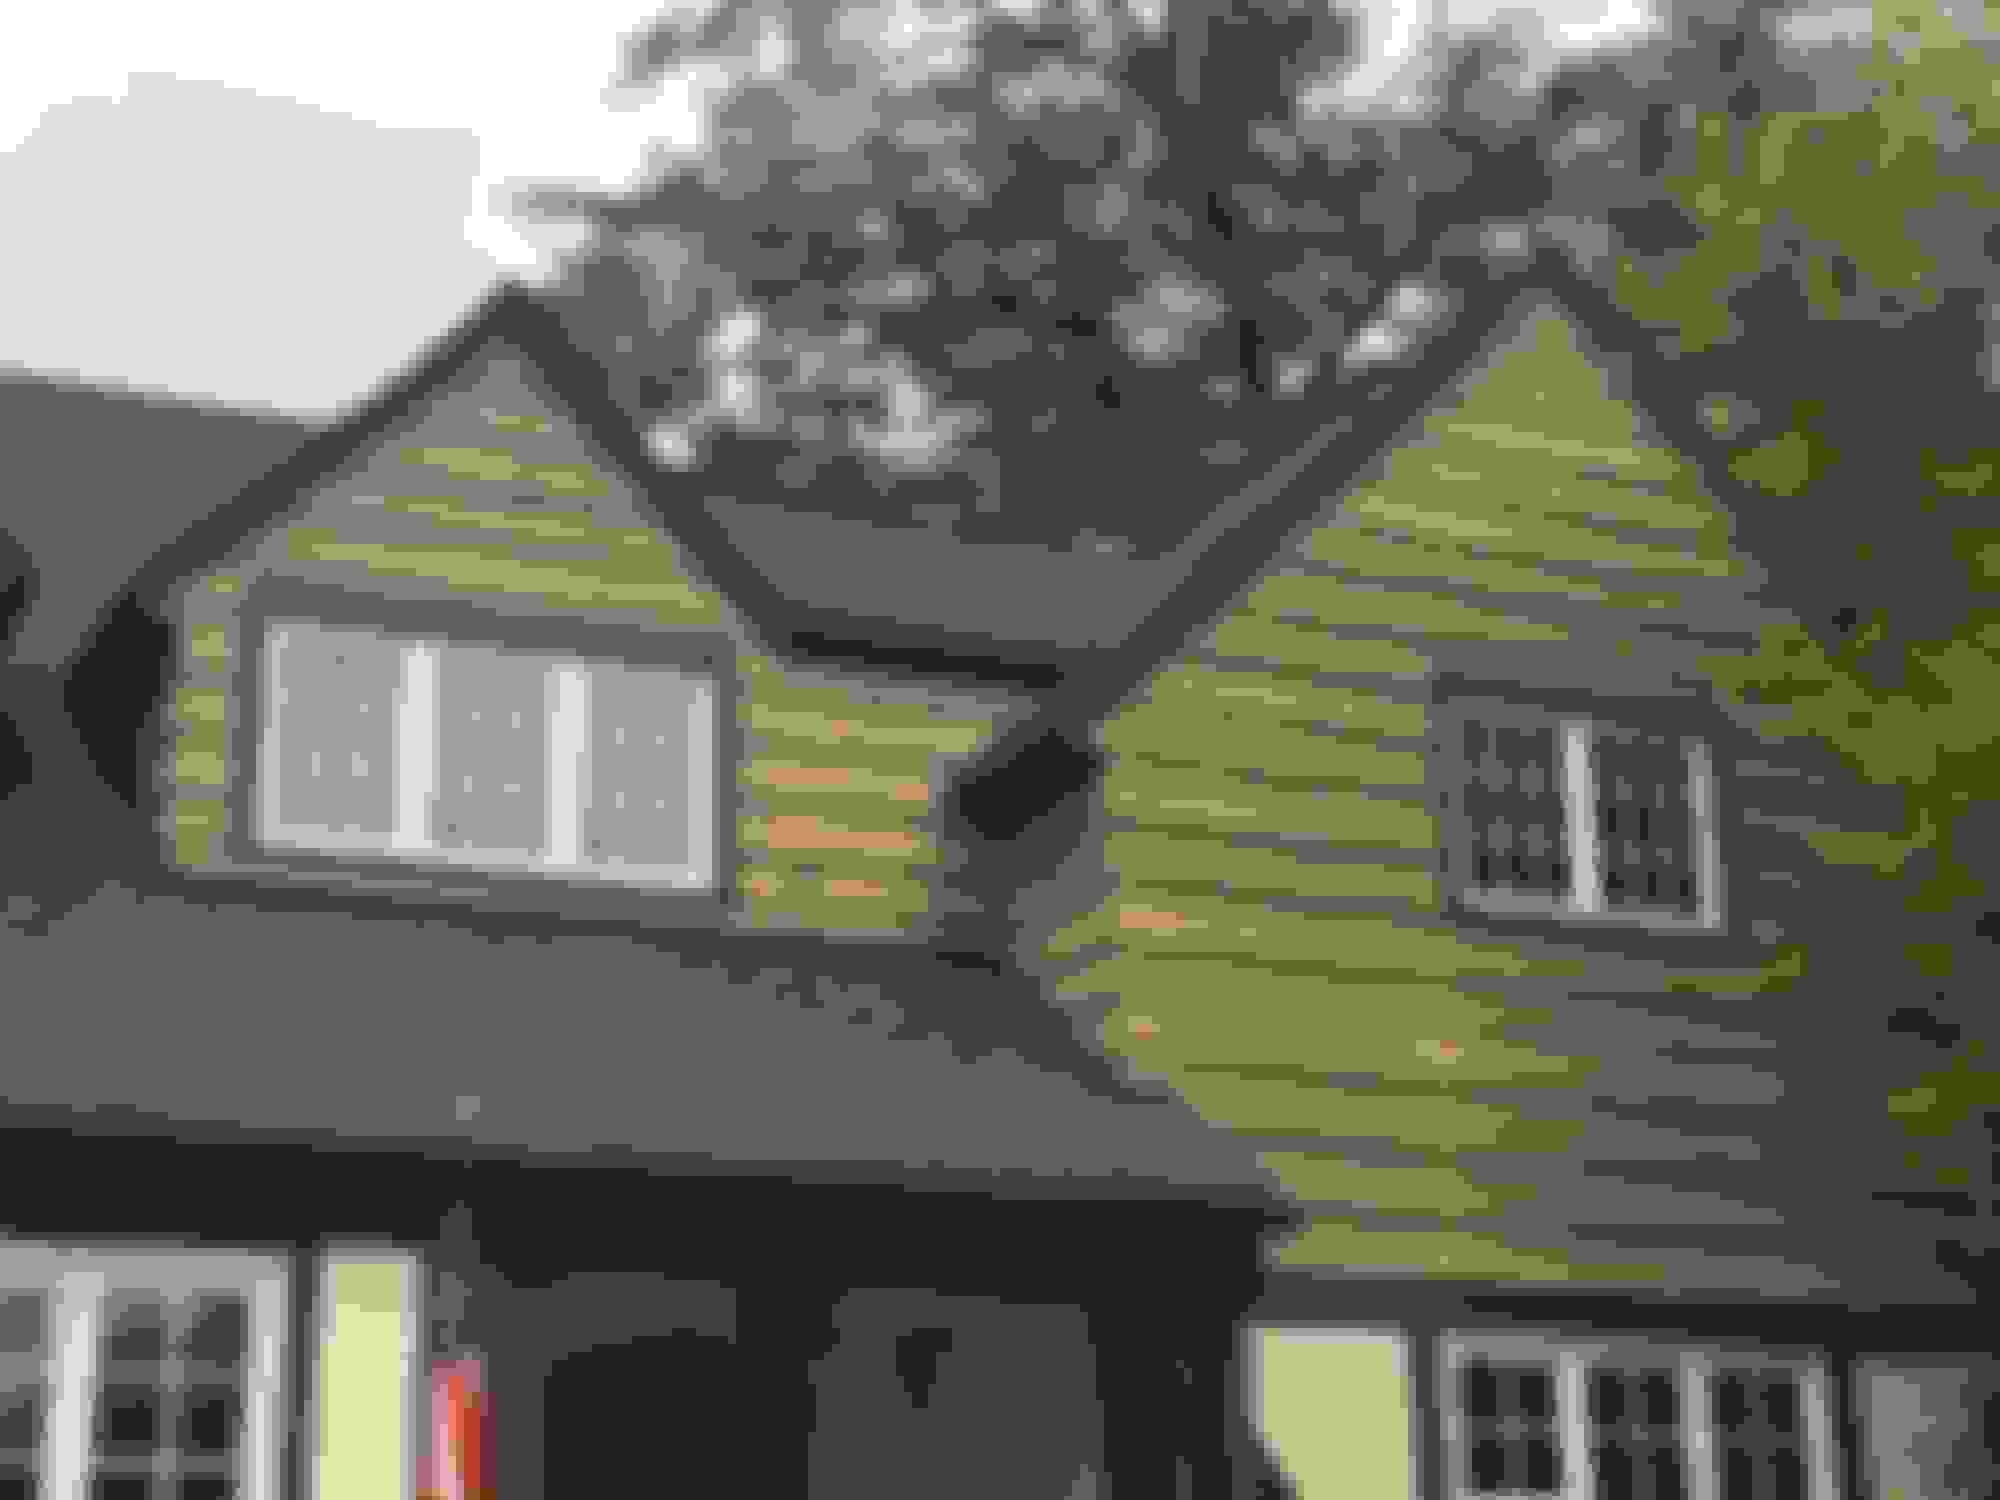
Now that i have some actual exterior shots of the paint colors....do you guys think i should go for a more neutral theme, or keep the more "tudor" style scheme?
here is what i mocked up from a previous post....note the two browns are the current colors, different angle. I took those two photos and applied the same grays. Disregard the white trim one....
I actually like the white trim one. Give it a more modern take on the tudor look in my opinion. That being said I don't think it looks bad in its current colors either.
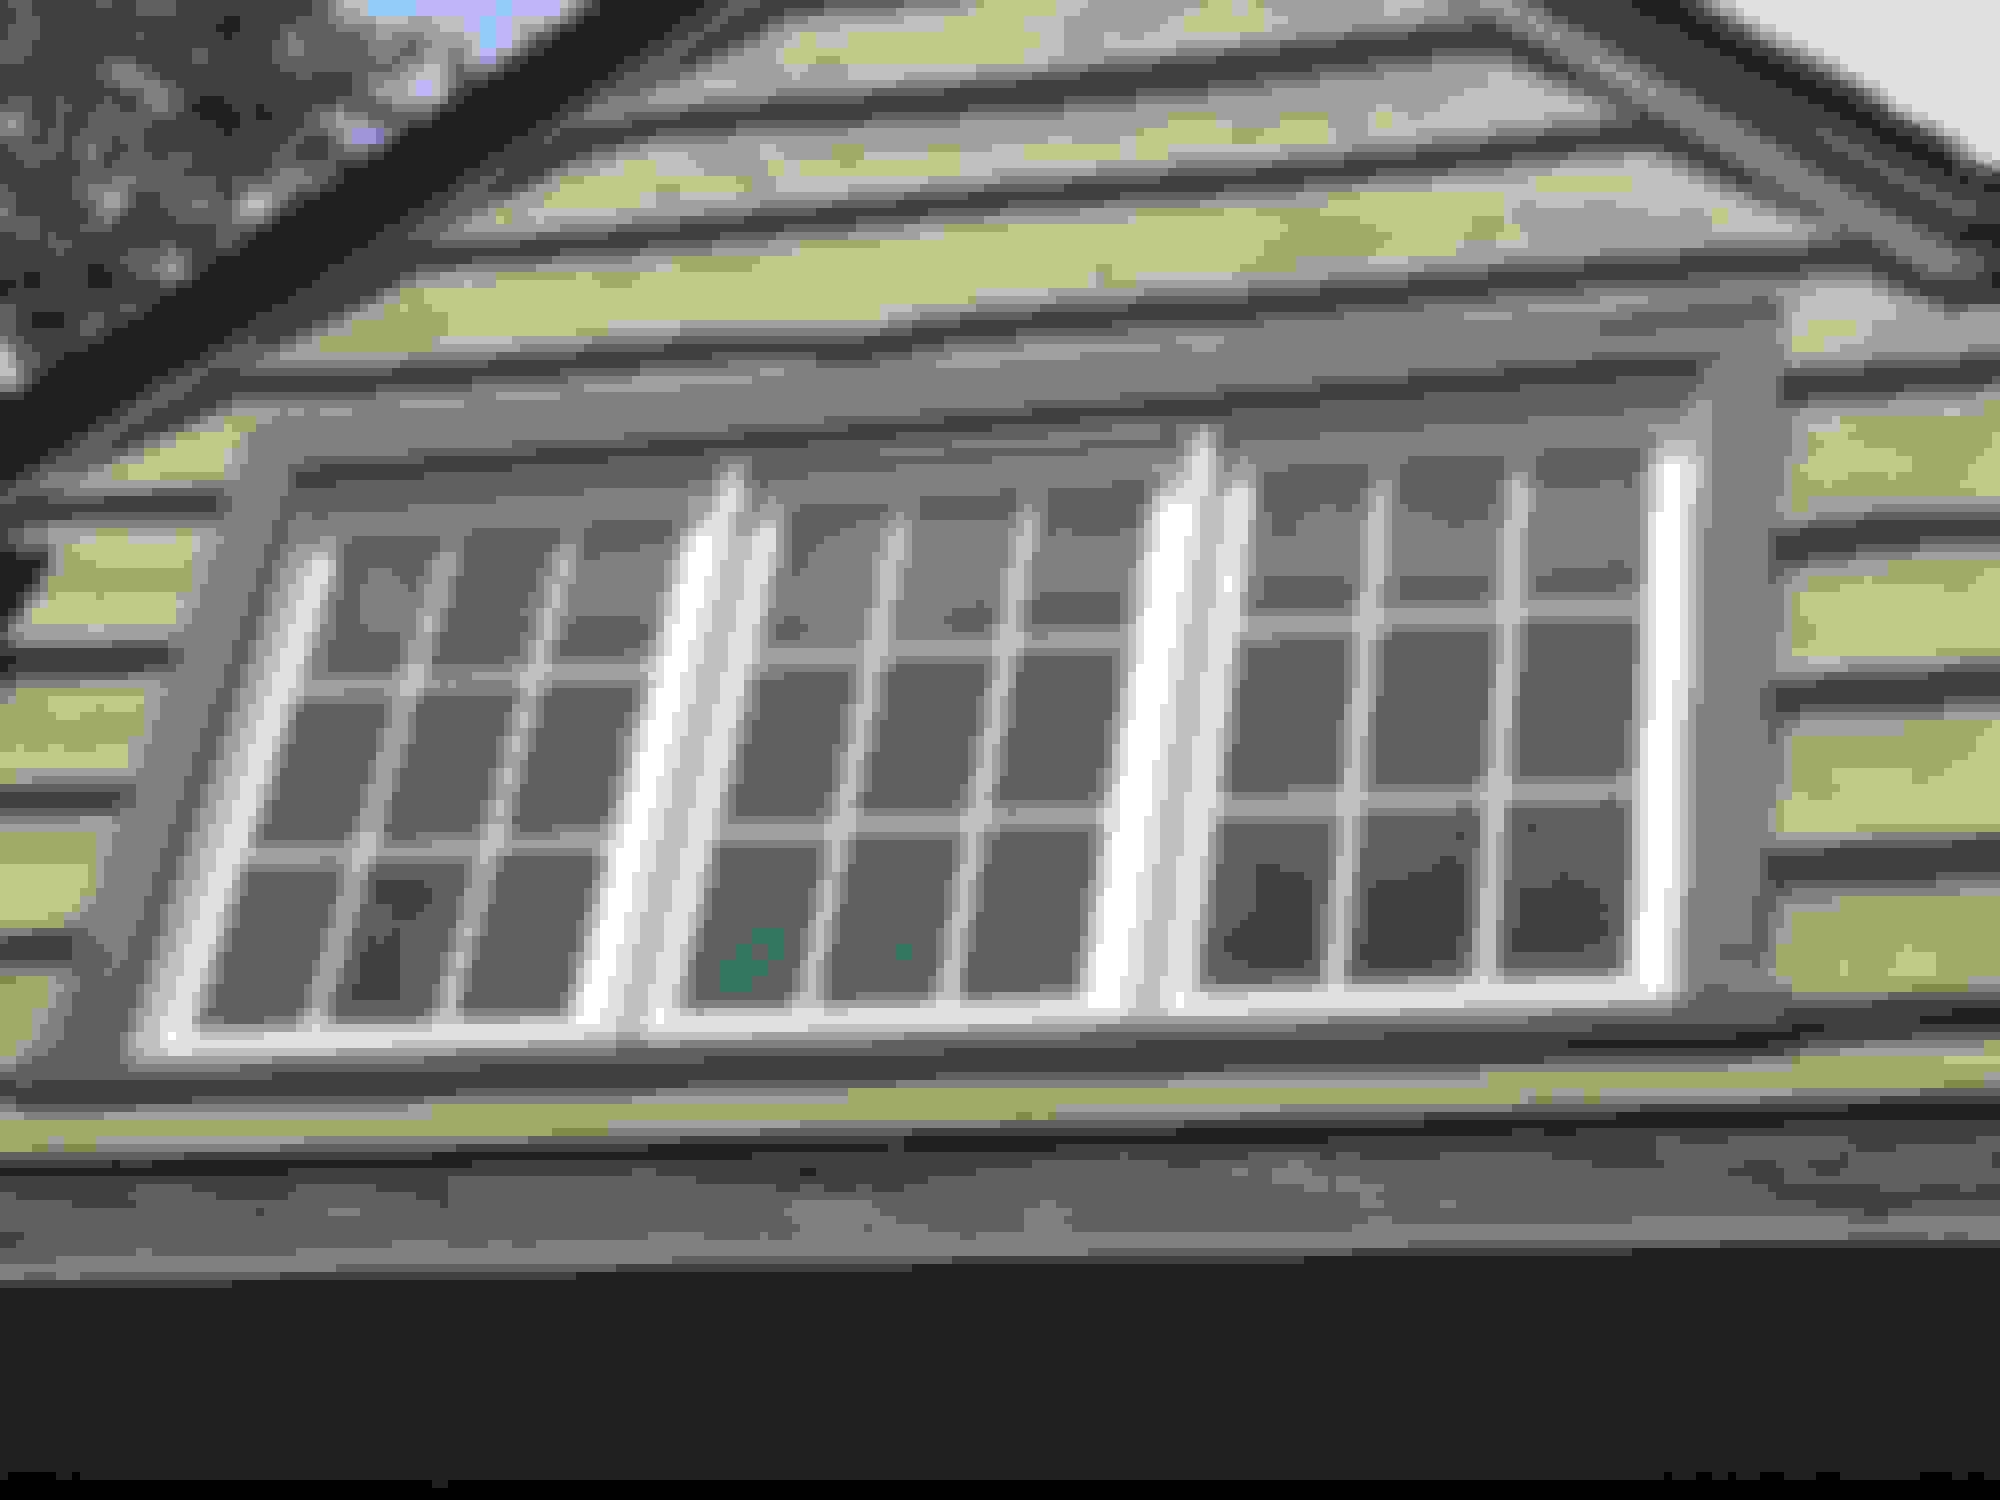
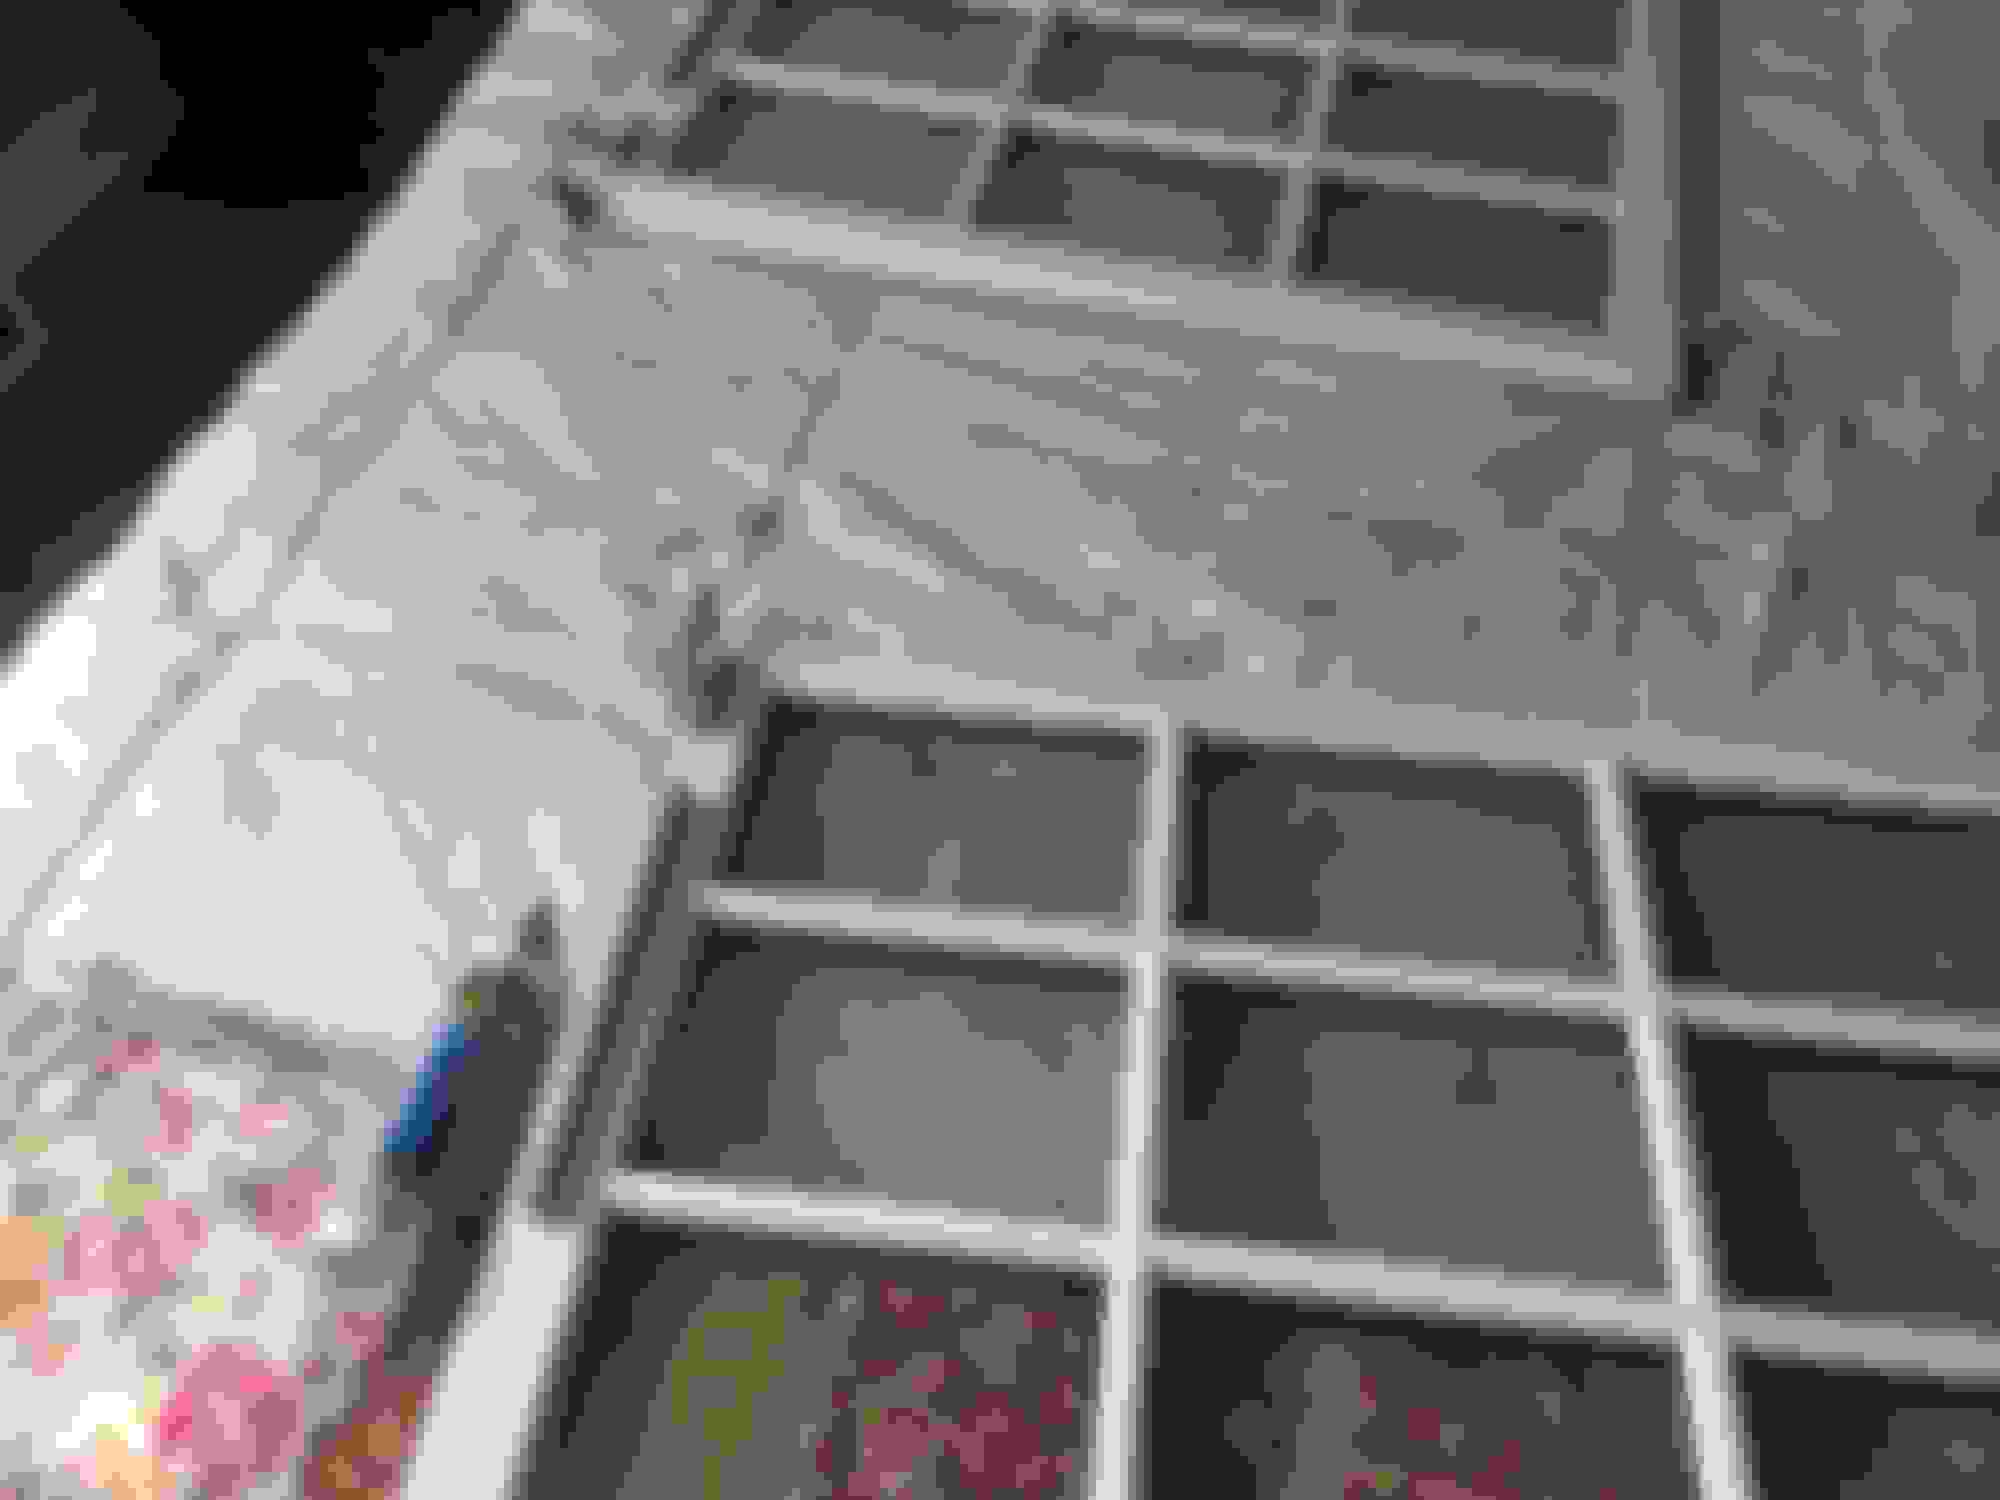
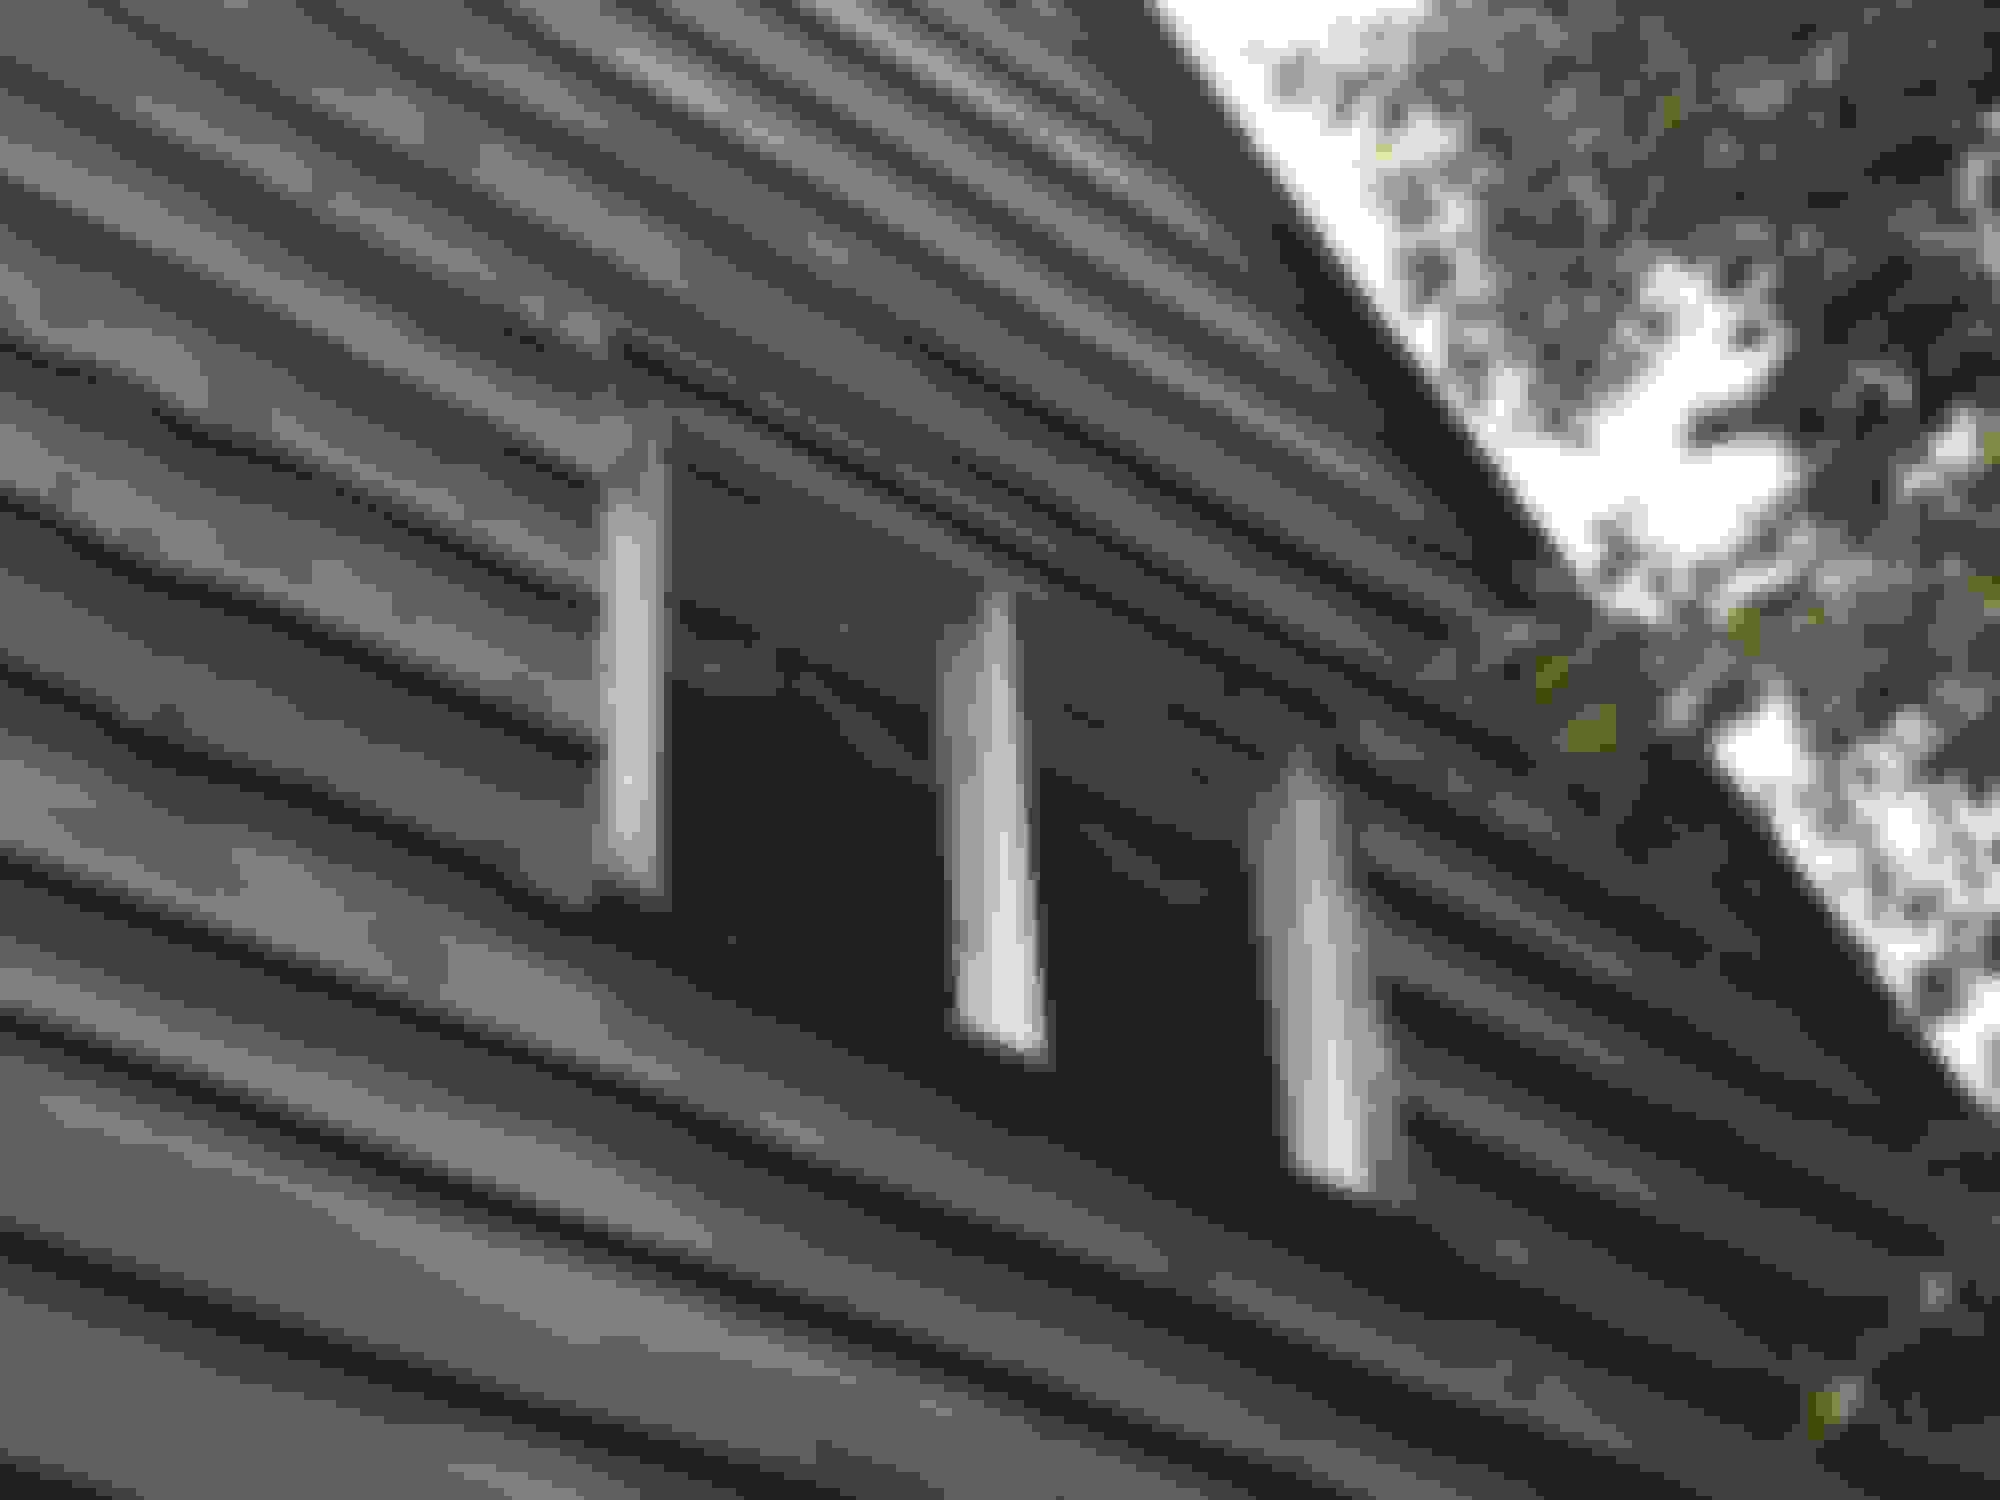
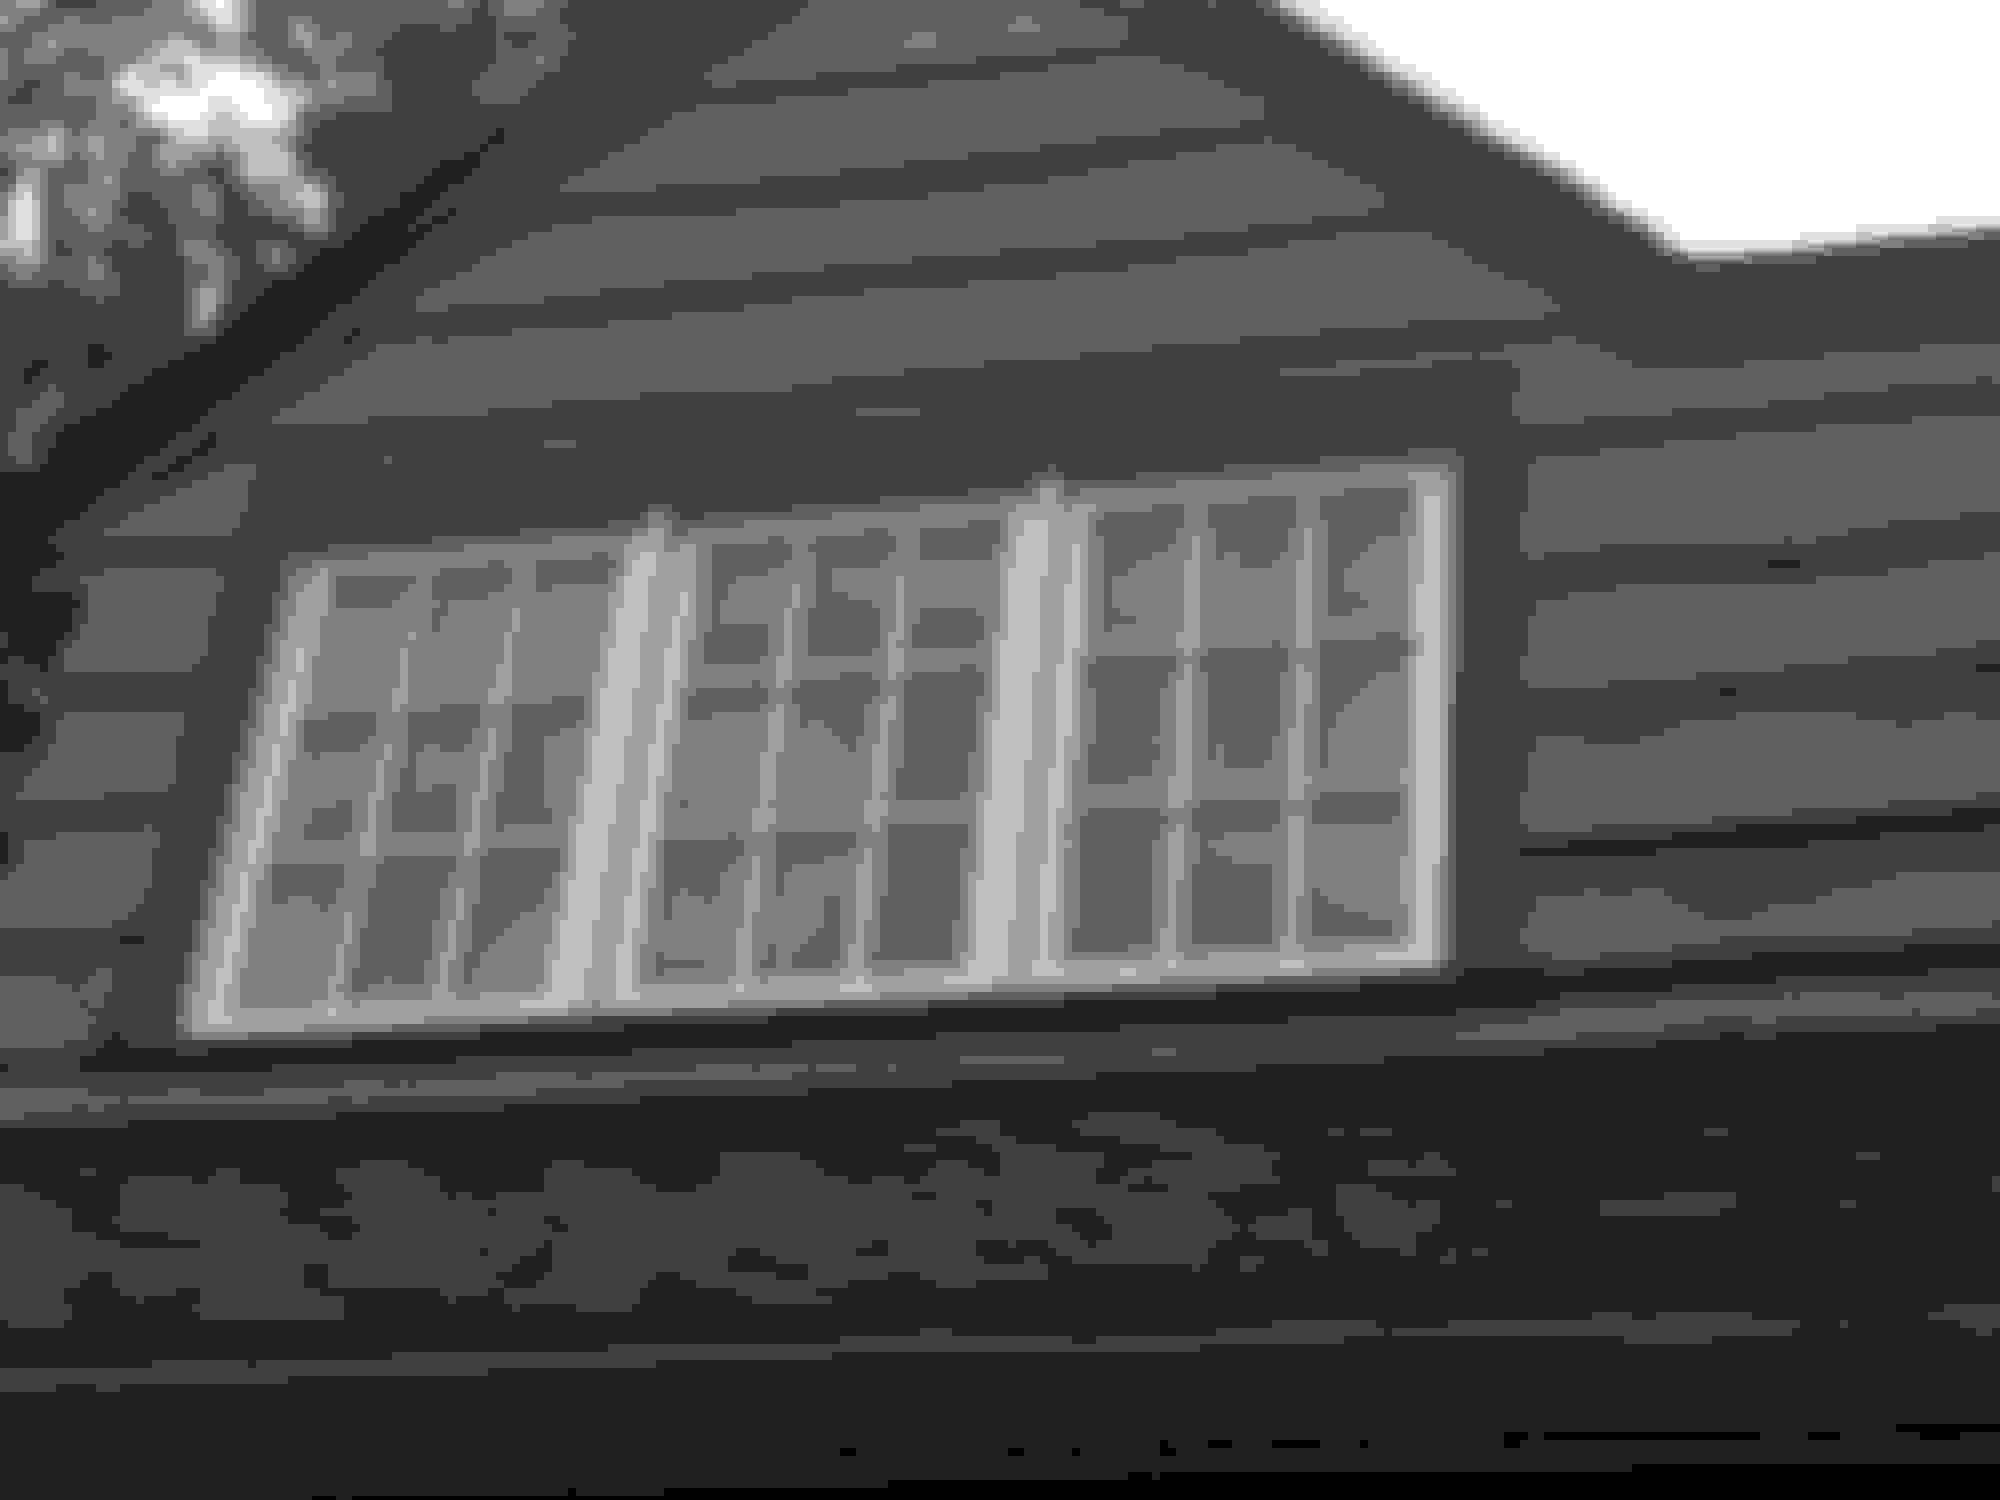
Repaired some wood rot window trim. Didn't really find a good solution to caulking between the siding, so im not sure how long this will last. I guess it's a holdover until a professional paint job eventually
is it bad that I skimped on caulking between the window trim and siding? The butt joints are caulked and the top trim is underneath flashing. Behind the wood has tyvek. But there is no caulking between the outer left and right trim and the wood siding.
Last edited by ThermonMermon; 07-08-2017 at 08:49 PM.
 05-02-2017, 08:08 AM