When you click on links to various merchants on this site and make a purchase, this can result in this site earning a commission. Affiliate programs and affiliations include, but are not limited to, the eBay Partner Network.
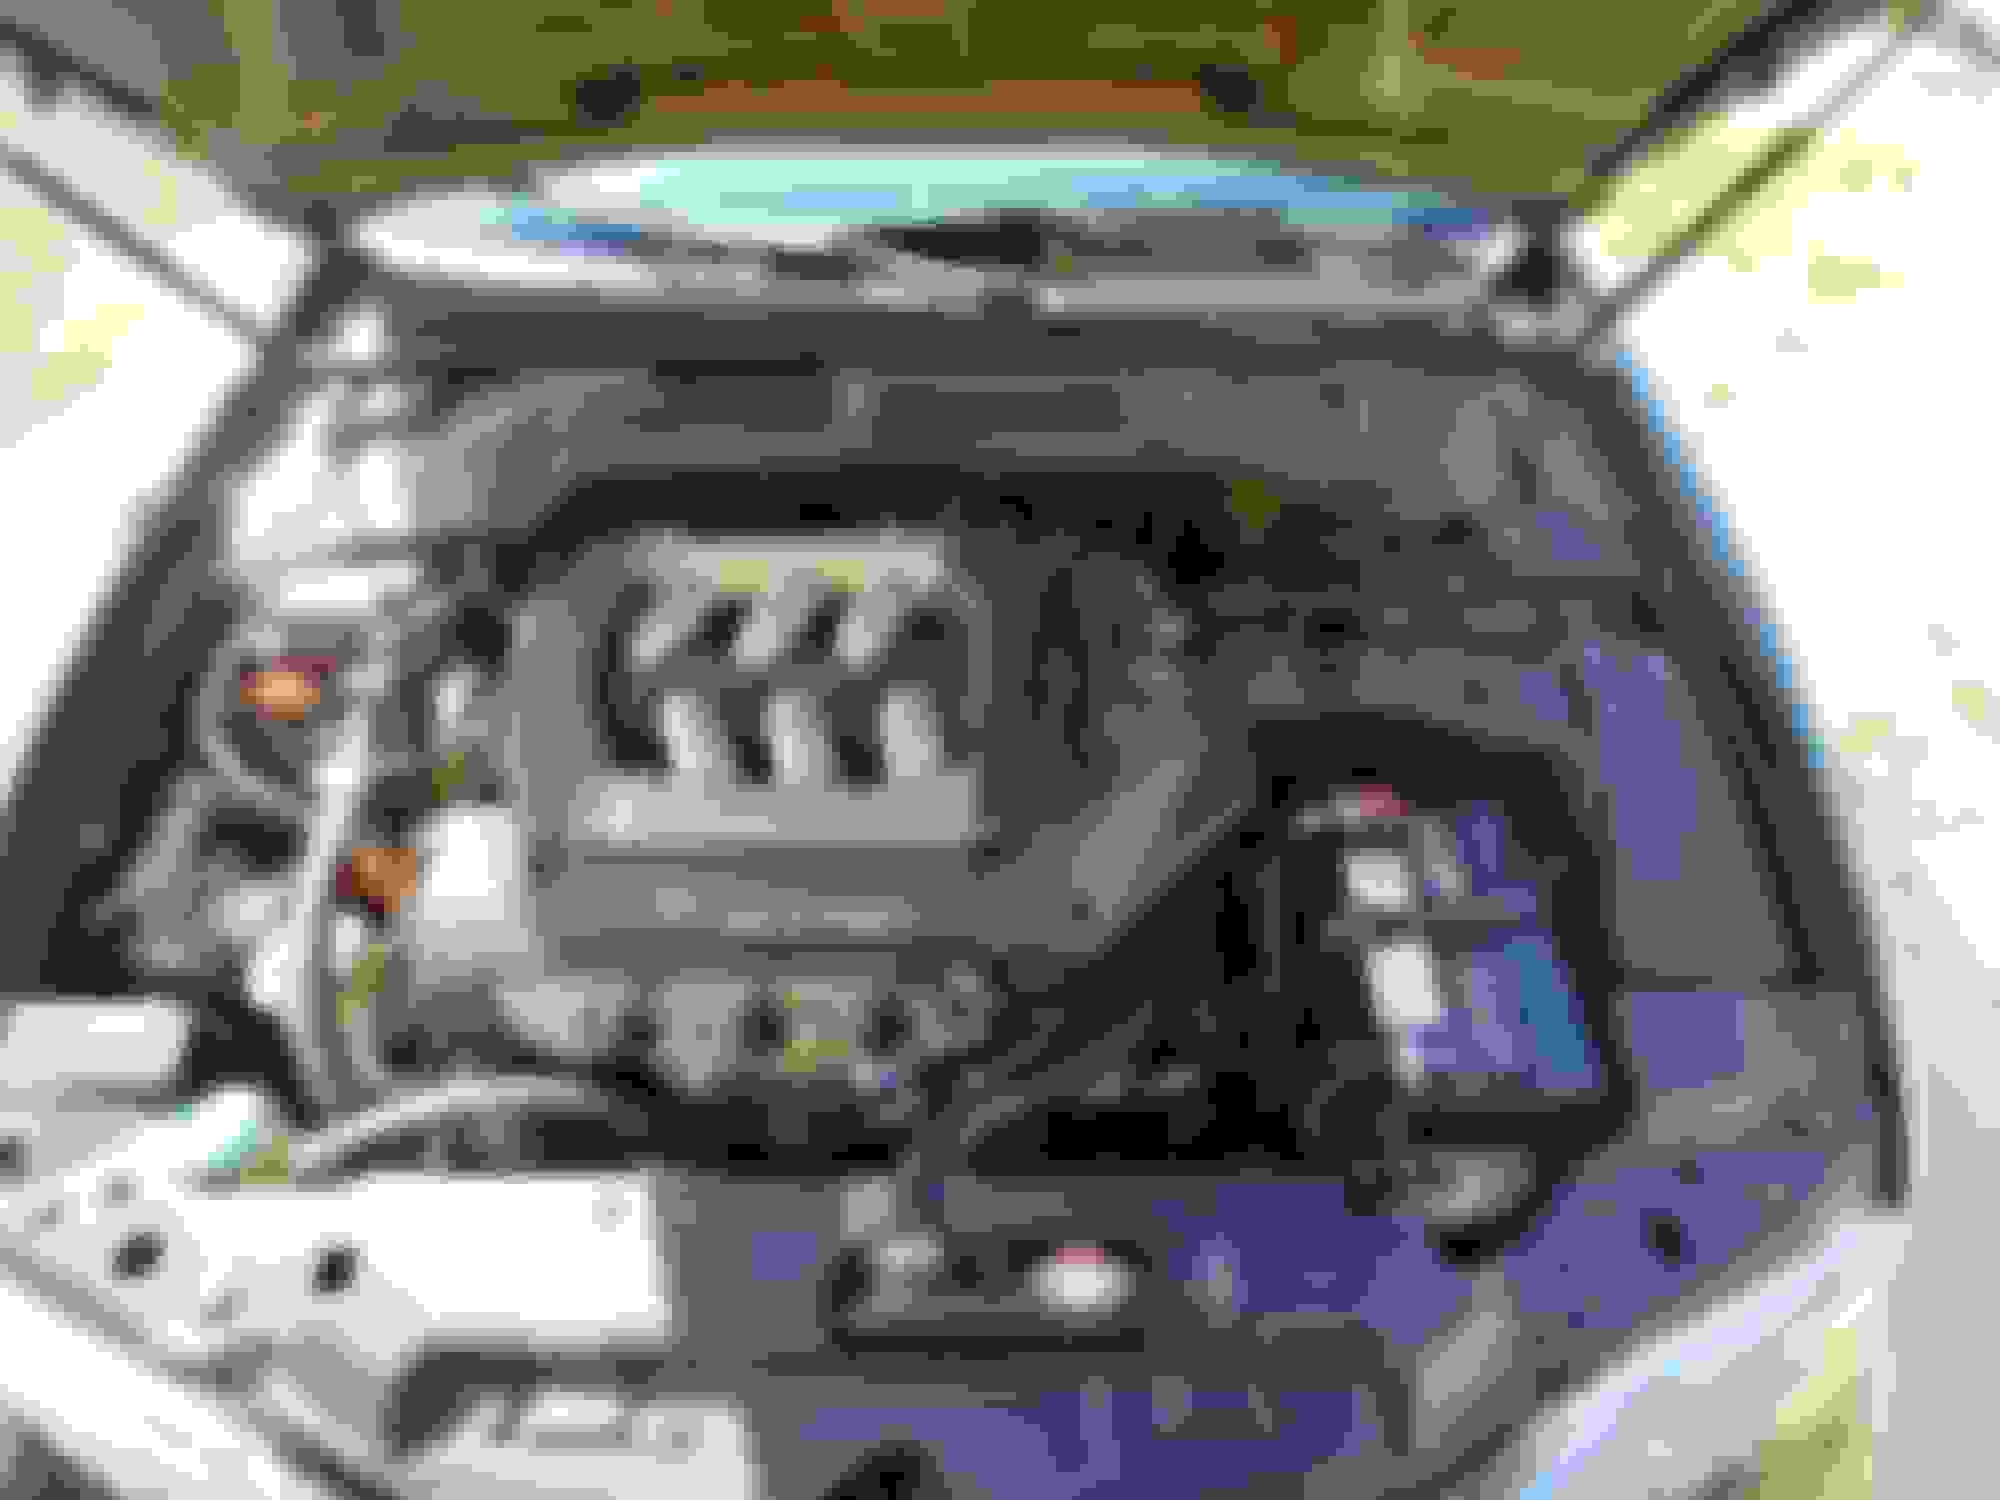
New to AcuraZine long time lurker here. My girlfriend and I picked up this 1999 Acura Cl 3.0 for $700 with a blown transmission. Aside from needing the rebuild the vehicle appeared to be in good shape. Took it for a test drive and actually didn't shift horribly. Happily handed over the cash and drove it home. Luckily we made it home without much trouble. CEL light was on showing a P0740 TCC lock up circuit. Vehicle had 170k on it, however everything works aside from the transmission. Having never rebuilt an automatic transmission I opted to pay someone to rebuild it. I removed the transmission myself and the guy that was doing the rebuild picked it up and within 48 hours I received a call that my transmission was ready which immediately drew a red flag on my end. anyhow the dropped it by claiming a rebuild. No receipt. no pictures. No anything. Not even receipts for the parts put into the transmission. I hatefully installed the unit and prayed for the best. initially on first test drive the vehicle would slam into gear from park.1-2 upshifts were practically slamming me through the dash. Until the vehicle warmed up then it would shift as close to normal as i would call it. After about 2,800 miles the vehicle neutralized and wouldn't go back into gear. I called the guy that did the rebuild and he told me the unit would have to come back out. (another red flag).
I pulled the transmission a 2nd time and let him know to come pick it up to fix the issue. I get a phone call the following morning asking if i put any sand into the transmission? I replied with i would never do such a thing he then accuses me of not cleaning out the transmission cooler. Which I did replace the radiator as part of my repair knowing this could be an issue. The next day he drops the transmission off and says that the PR regulator valve was busted and that he fixed it. he also went and bought a used transmission and replaced the valve body because it "wasn't any good". I installed the unit and the vehicle did drive much better for about 1k miles. Yet again on my way to work at 4am the vehicle came to a stop at a red light and the vehicle neutralized again. I putted my way back home in 2nd gear.
I called him yet again and he told me the unit didn't have an internal failure and that i didn't know what i was talking about. Little did he know I have a subscription to mitchell pro demand and had been studying diagrams and reading every possible thing about these transmissions i could. After removing the transmission a 3rd time i called him and let him know that i wanted to split the transmission open in my garage. I told him that if there wasn't anything internally wrong with the unit i would personally hand him 100 dollars for his time. he gladly agrees to split it open thinking that there wouldn't be anything wrong. Upon tear down i find 4 valves all stuck in varying places in the valve body, including the CPC valves. Turned out to be a big 1,300 dollar mistake. He man left with his head and his pride down. I was very disappointed to be treated so unfairly due to looking young for my age. The gentleman took nothing i said seriously at all. As if i hadn't given up many hours of time to understand the nature of these transmissions.
Transmission removed
I then mention to him a shift kit I had purchased from Ebay. Purchased from "Built Right Transmissions" for $105 shipped.
To which he replies "he doesn't want anything to do with it and that he has never installed a single one of these in 40 years". He then tells me that everything needs to be cleaned and assembled. He also tells me to remove the valves and free them up and to call him when I'm ready to reassemble everything. To which I kindly declined wanting anything further from him, At this point i had decided I was going to rebuild the unit myself. Knowing I was in for a big learning curve I read everything I could possible about these units. It seems that both 4 & 5 speed units fail from very similar faults. It also appears that bad rebuilders are a big factor in these units have a short painfully lived life. In the future I plan on saving these units from as many bad "rebuilders" as possible.Initially i was very intimidated by this unit. With enough reading about everything i could possibly find about these transmissions I finally had the Confidence needed to attempt a rebuild.
Initial Teardown
My Teardown bench is actually just a large Dog crate pan that is metal. My girlfriend had it laying around and donated it to the cause.
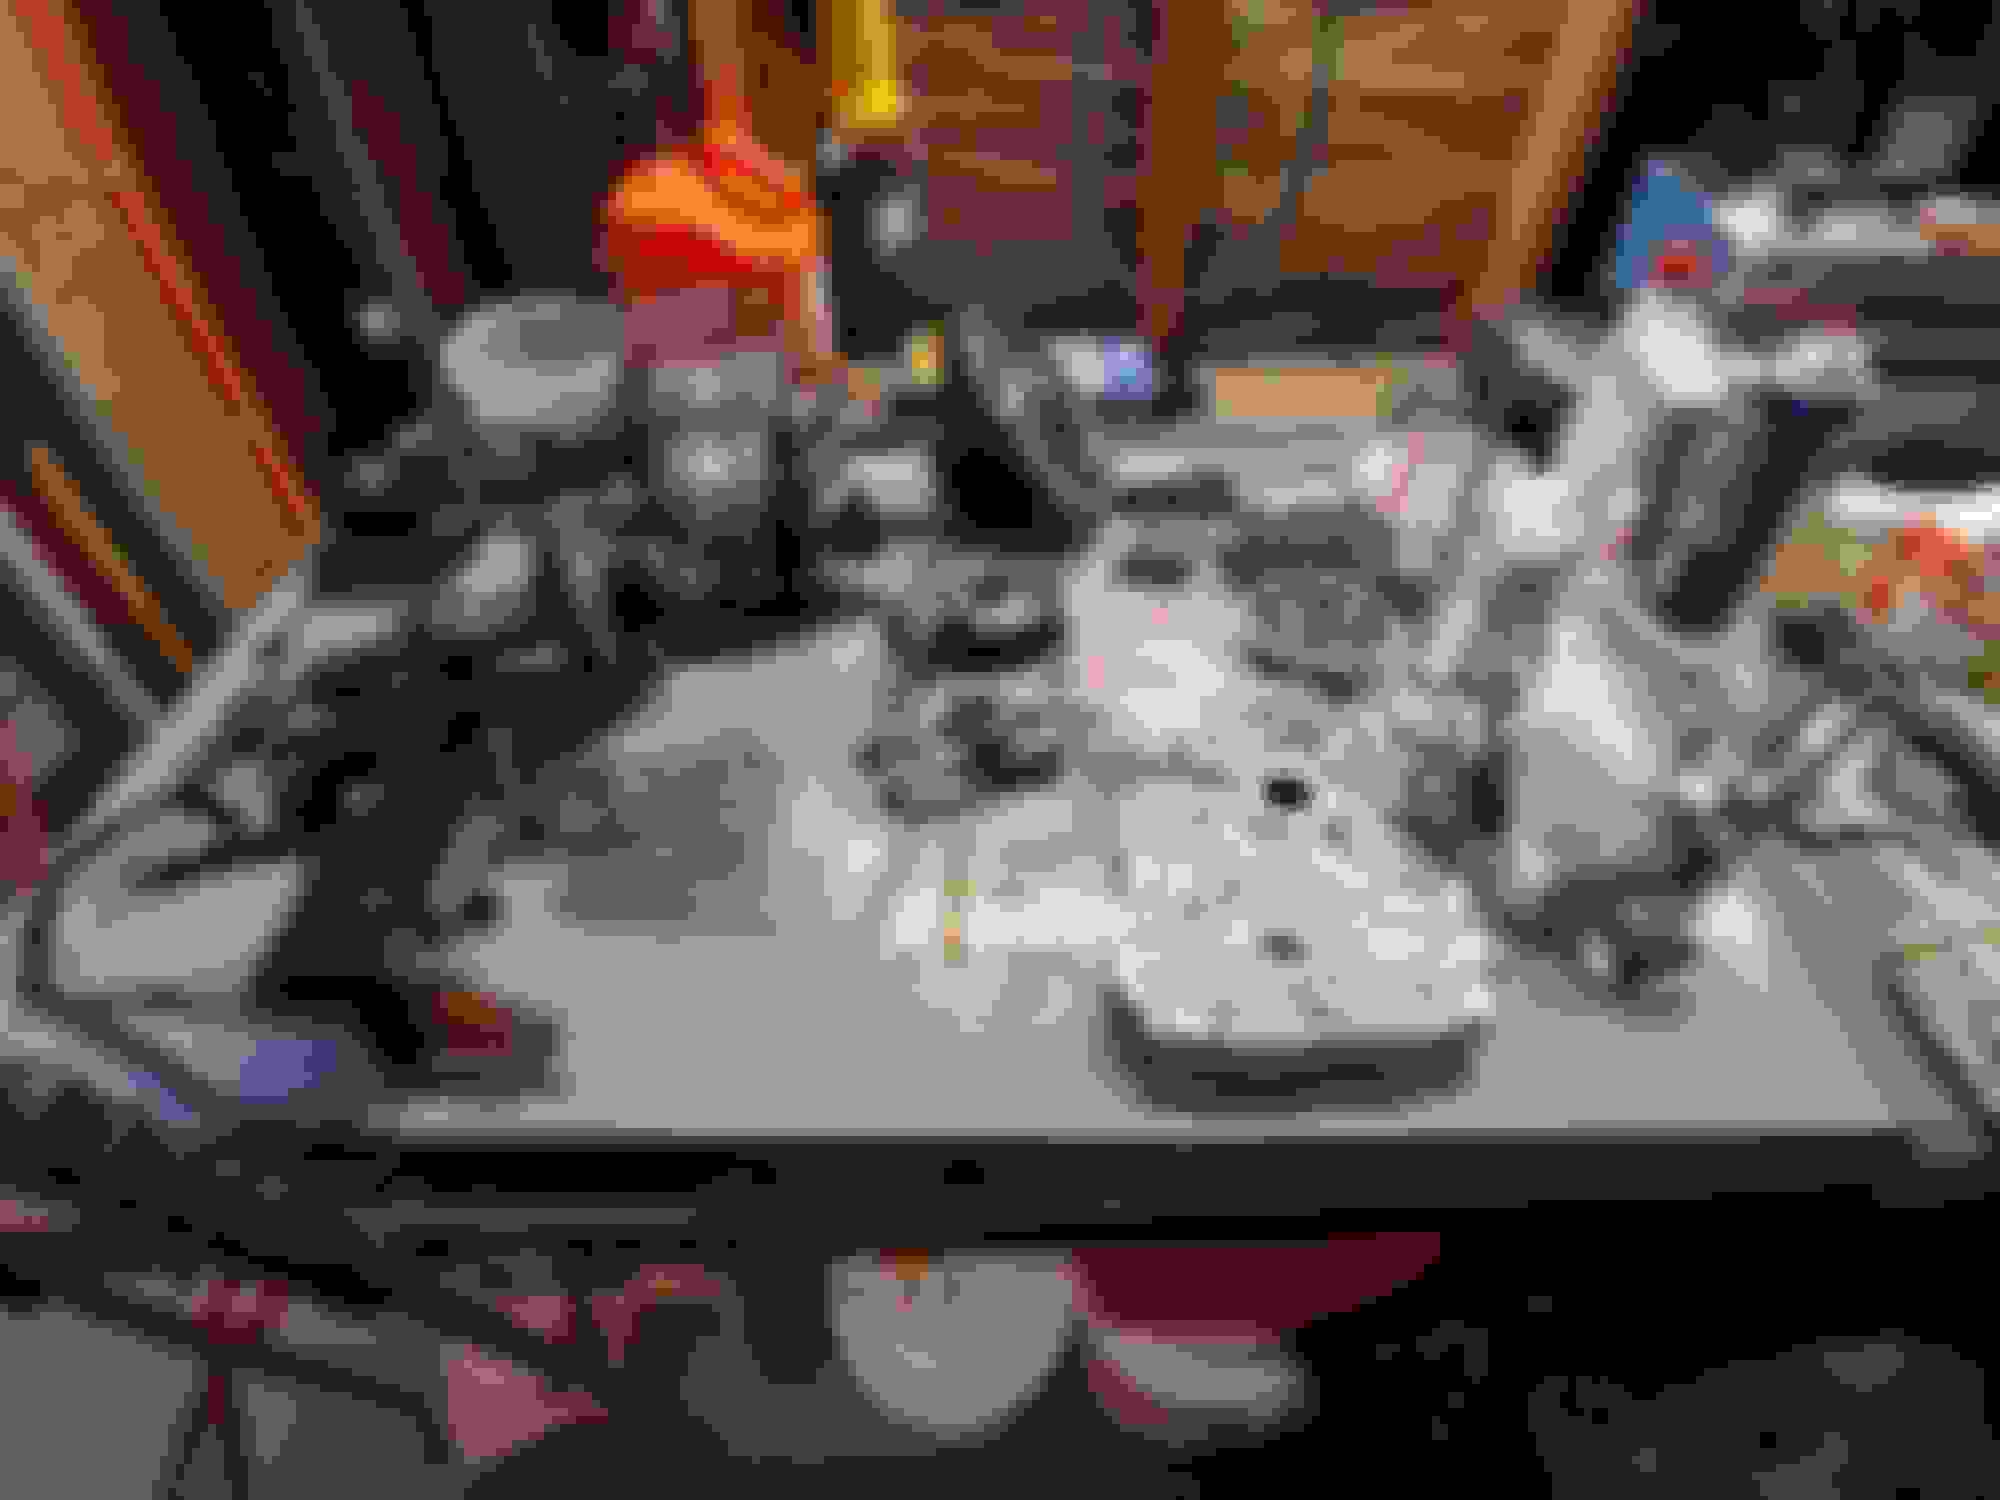
I bagged up all bolts and kept all gears together on teardown. Upon assembly everything went farly smooth after cleaning and updating the valve body with the Superior kit.
This is the Drain plug after 1k miles on the transmission the 2nd time. Insane the amount of clutch material present here, anyone with half a brain would know that this isn't sand!!!
Insane amount of clutch material for 1k miles. Never have seen anything like it, granted this is my first rebuild.
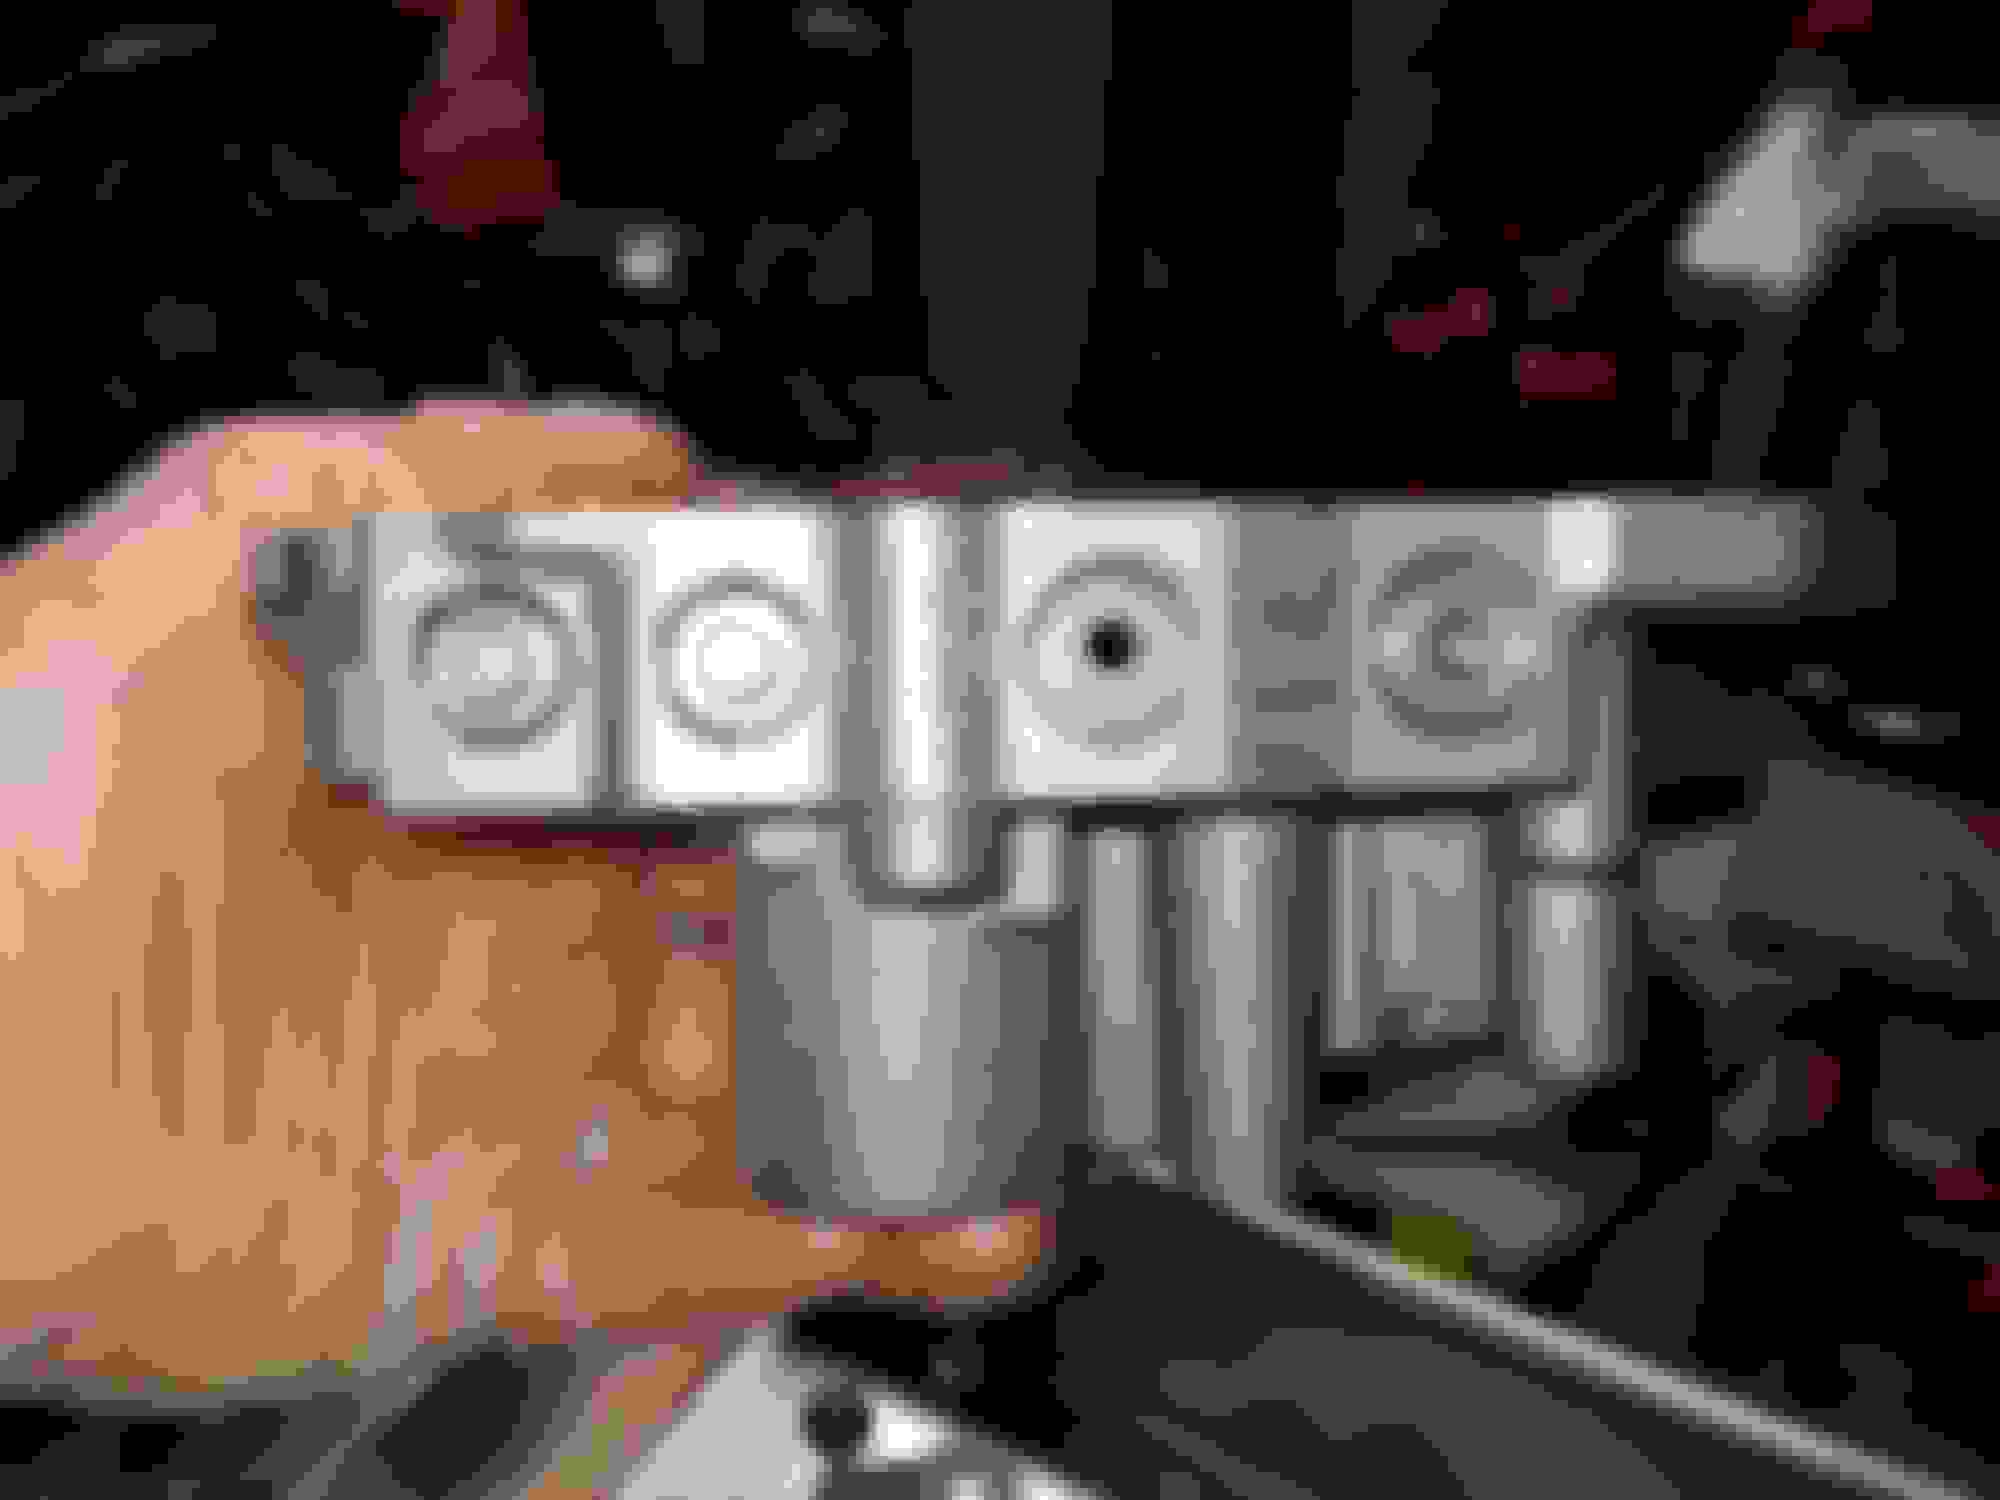
The "Repair" he did was place a random bolt in the PR regulator cap. the bolt is a special one called a Stop Bolt. The bolt basically sheared off the end and damaged the PR valve Cap. The bolt is the black one pictured.
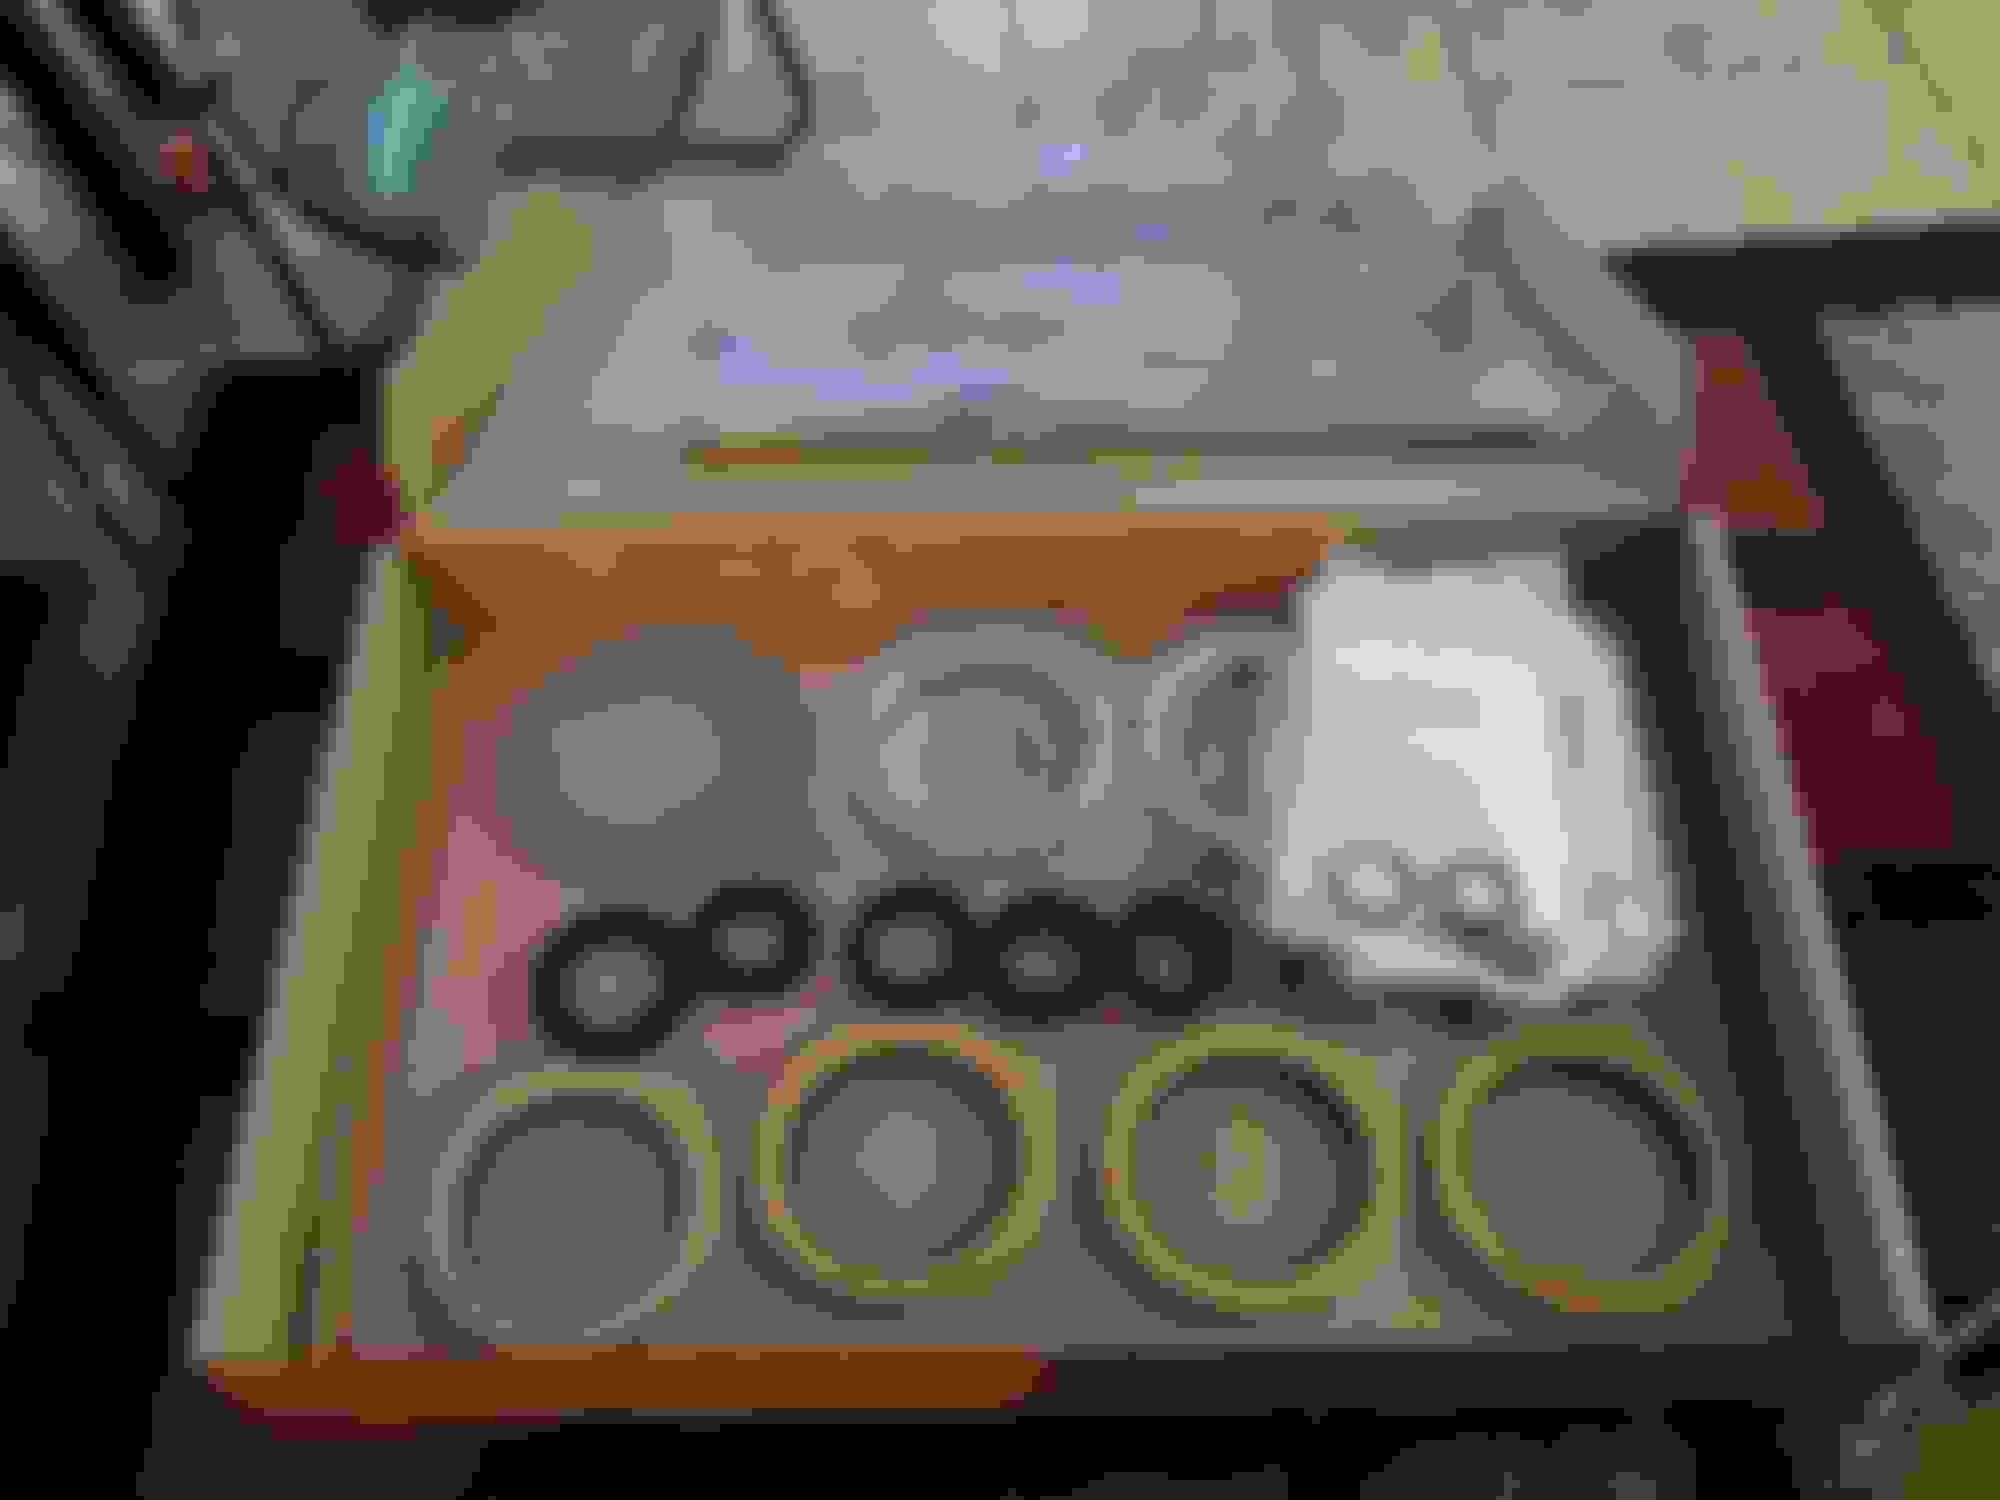
At this time I ordered a rebuild kit as well. Thinking I didn't want to have to second guess anything on reassembly I figured it was a good idea.
The kit I ordered from Rock Auto. I use them for most everything including customers cars. They have quality parts at affordable prices. The kit I purchased is from ATP and its the master kit. With a new ATP filter it was 300 shipped.
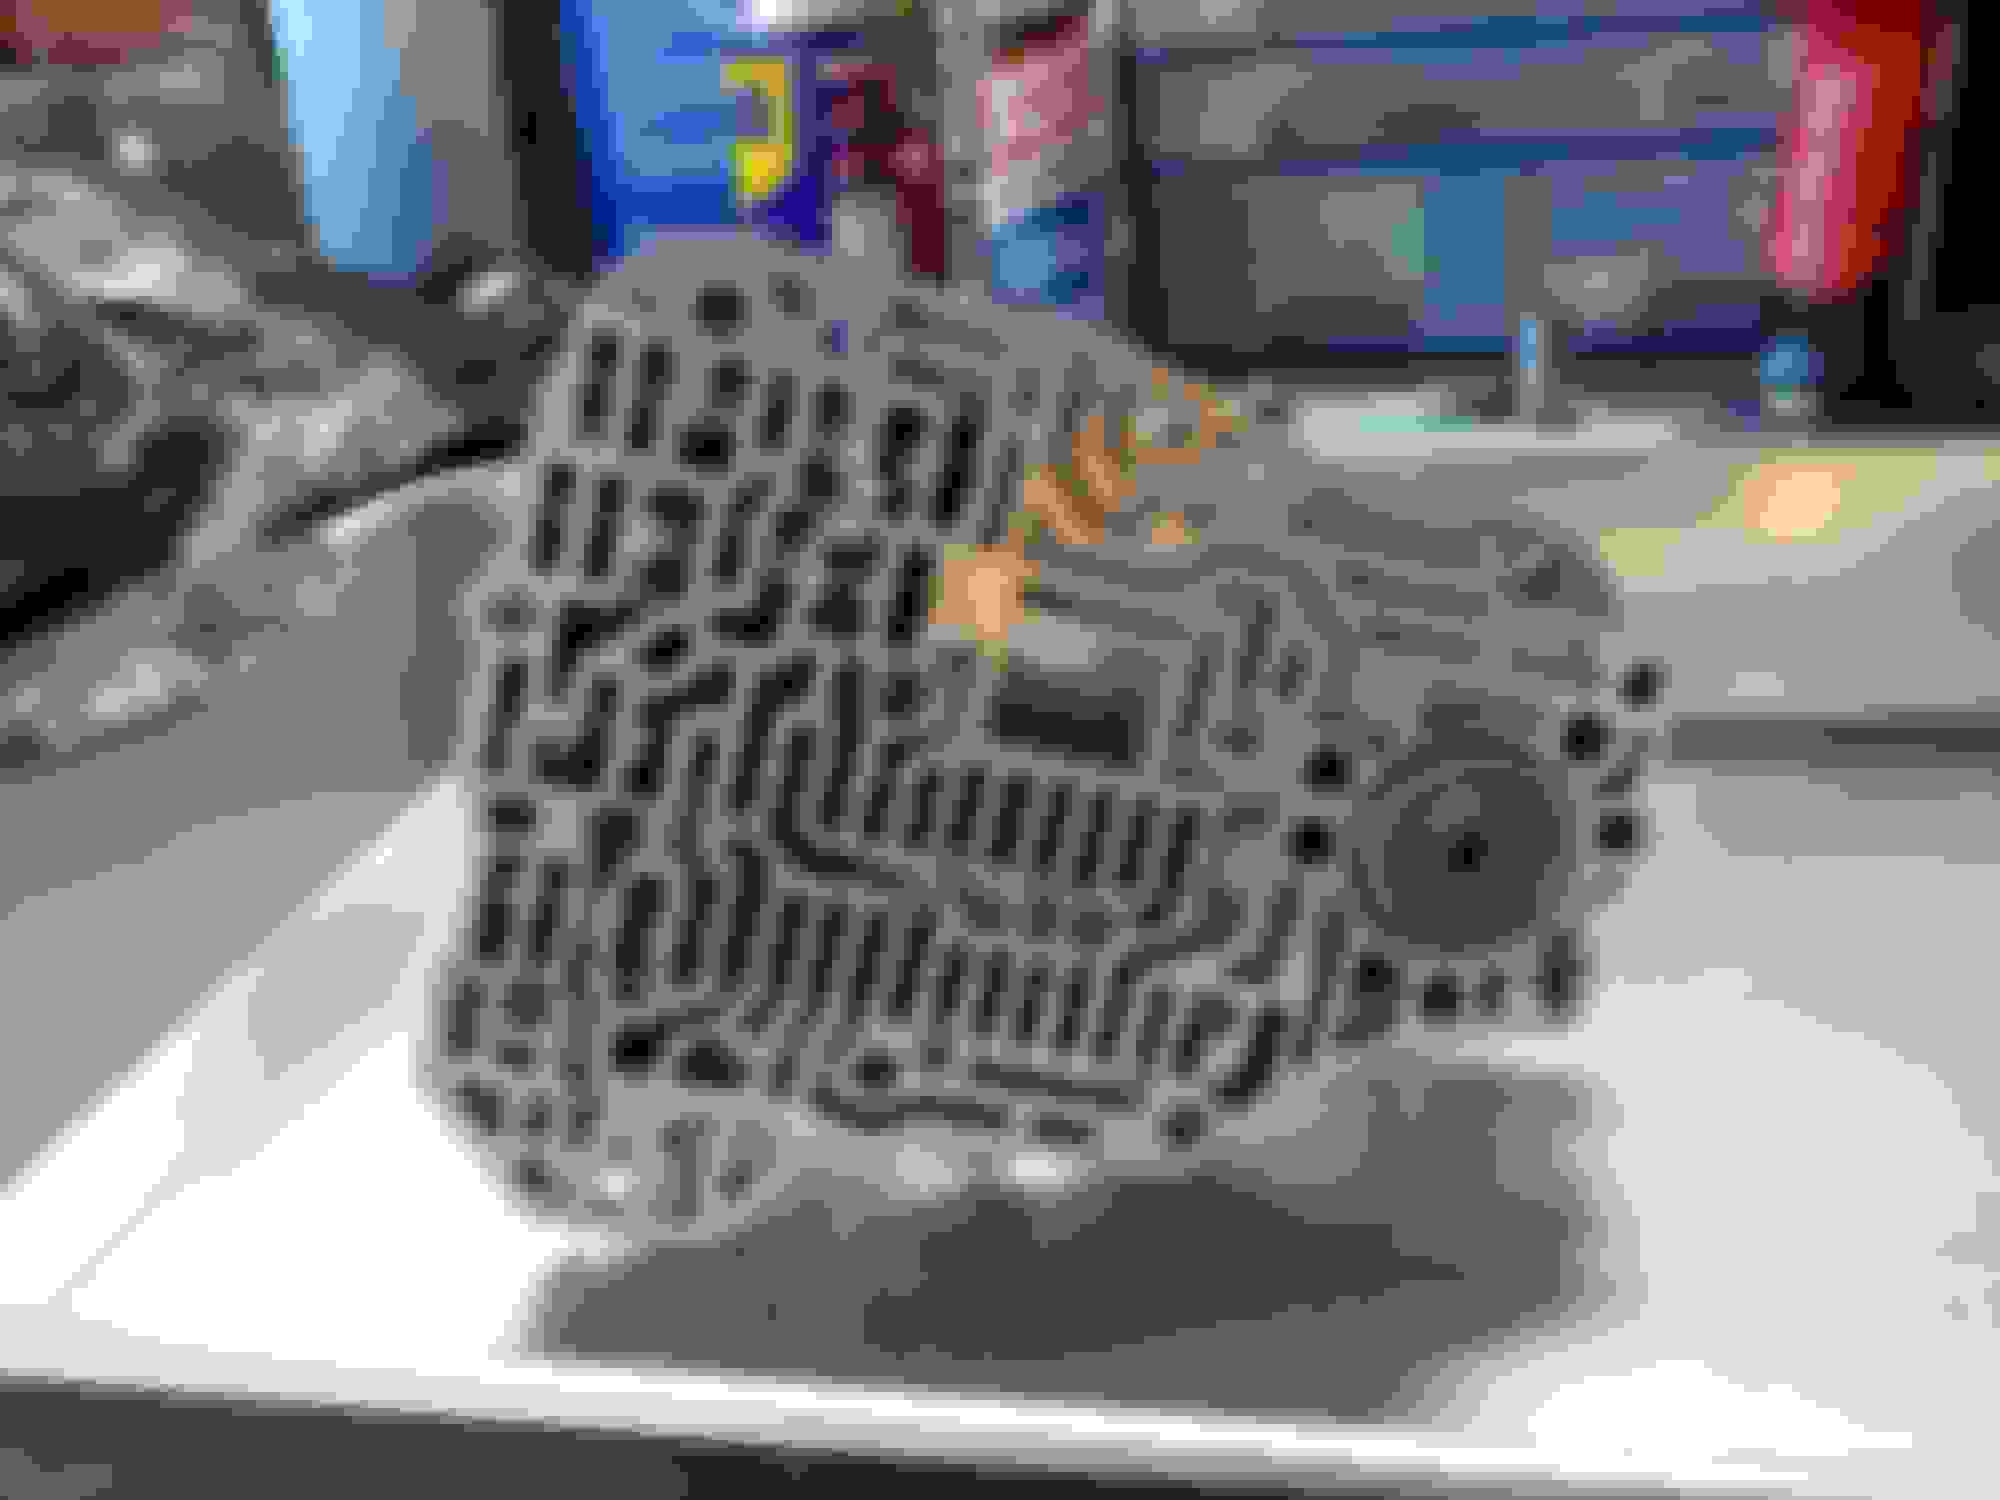
Main valve body removed. On all Honda transmissions Sonnax had written a good amount about Honda 4 and 5 speed units and preventing premature failure in these units. at the bottom i will do my best to post links to all the information i've personally come across during the rebuild of this unit. b7Xa I believe is the unit in this vehicle. The key on all honda transmission valve bodies clearly states that "all valves must be removed on every valve body, every time." I do truly believe that is the best method applied to these transmissions. Without truly going through the entire unit you would never understand how these valves bind up in the bores. I removed all valves one by one and set them in the order i removed them. I then took some 600 grit sandpaper rolled up and sanded the bores and cleaned them out with compressed air. Lubed everything with WD40 and checked all the valves making sure they sink all the way down to the bottom and come out without any force necessary. I did find a channel on youtube named "Automatic Transmission". His videos about Honda transmissions and transmissions in general are very good practices to have when rebuilding these finicky ass transmissions.
Also, Any valves that were pressed against the end plugs. I took a pipe cutter and cut grooves into the caps helping seat them better in the bore. I also used "Bench Buddy's" brushes that are made out of nylon i believe to polish the bore before cleaning everything in mineral spirits. I feel it did a very good job cleaning all parts as well as possible without having a professional steam cleaner. Any parts that were real dirty I would let soak for a bit in the mineral spirits then blow clean with compressed air. I get a bit of tunnel vision on projects like this and forget to take more photos of the process. I will try in the future to be more camera happy during projects.
I cut grooves on the end plugs to help them seat in the bore reducing the risk of them leaking after reassembly. The superior shift kit included end plugs that were o-ringed, apparently the CPC valves leak the most. Cutting grooves in the valves is good practice if you don't to replace them all. This transmission can get expensive on a rebuild depending on your damages. You could easily spend less money on a reman. depending on how much damage is inside the transmission. Virtually every single part i ordered from the dealer. Which weren't any hard parts were special order. Usually taking 3-5 days depending on its location.
I took a gamble rebuilding this unit due to the fact I had already lost quite a bit of money originally paying the wrong person to do the rebuild in the first place. I did call 2 transmission shops before going with the guy I had gone with and they told me they didn't even do honda transmissions. Having done this over again I probably would have went with the reman. I do understand quite a bit more about Honda/Acura automatic transmissions than i did before. i am certainly not as intimidated by them.
Filter removed from the transmission after 1k miles on the rebuild.
Not only did I find Paint in the transmission filter. I also found a good amount of metal shavings in the filter after i pulled it apart. Very glad I decided to go through this thing. I called another shop when I realized the situtation I was in, they wanted $1,700 for the rebuild with me bringing the transmission to them.
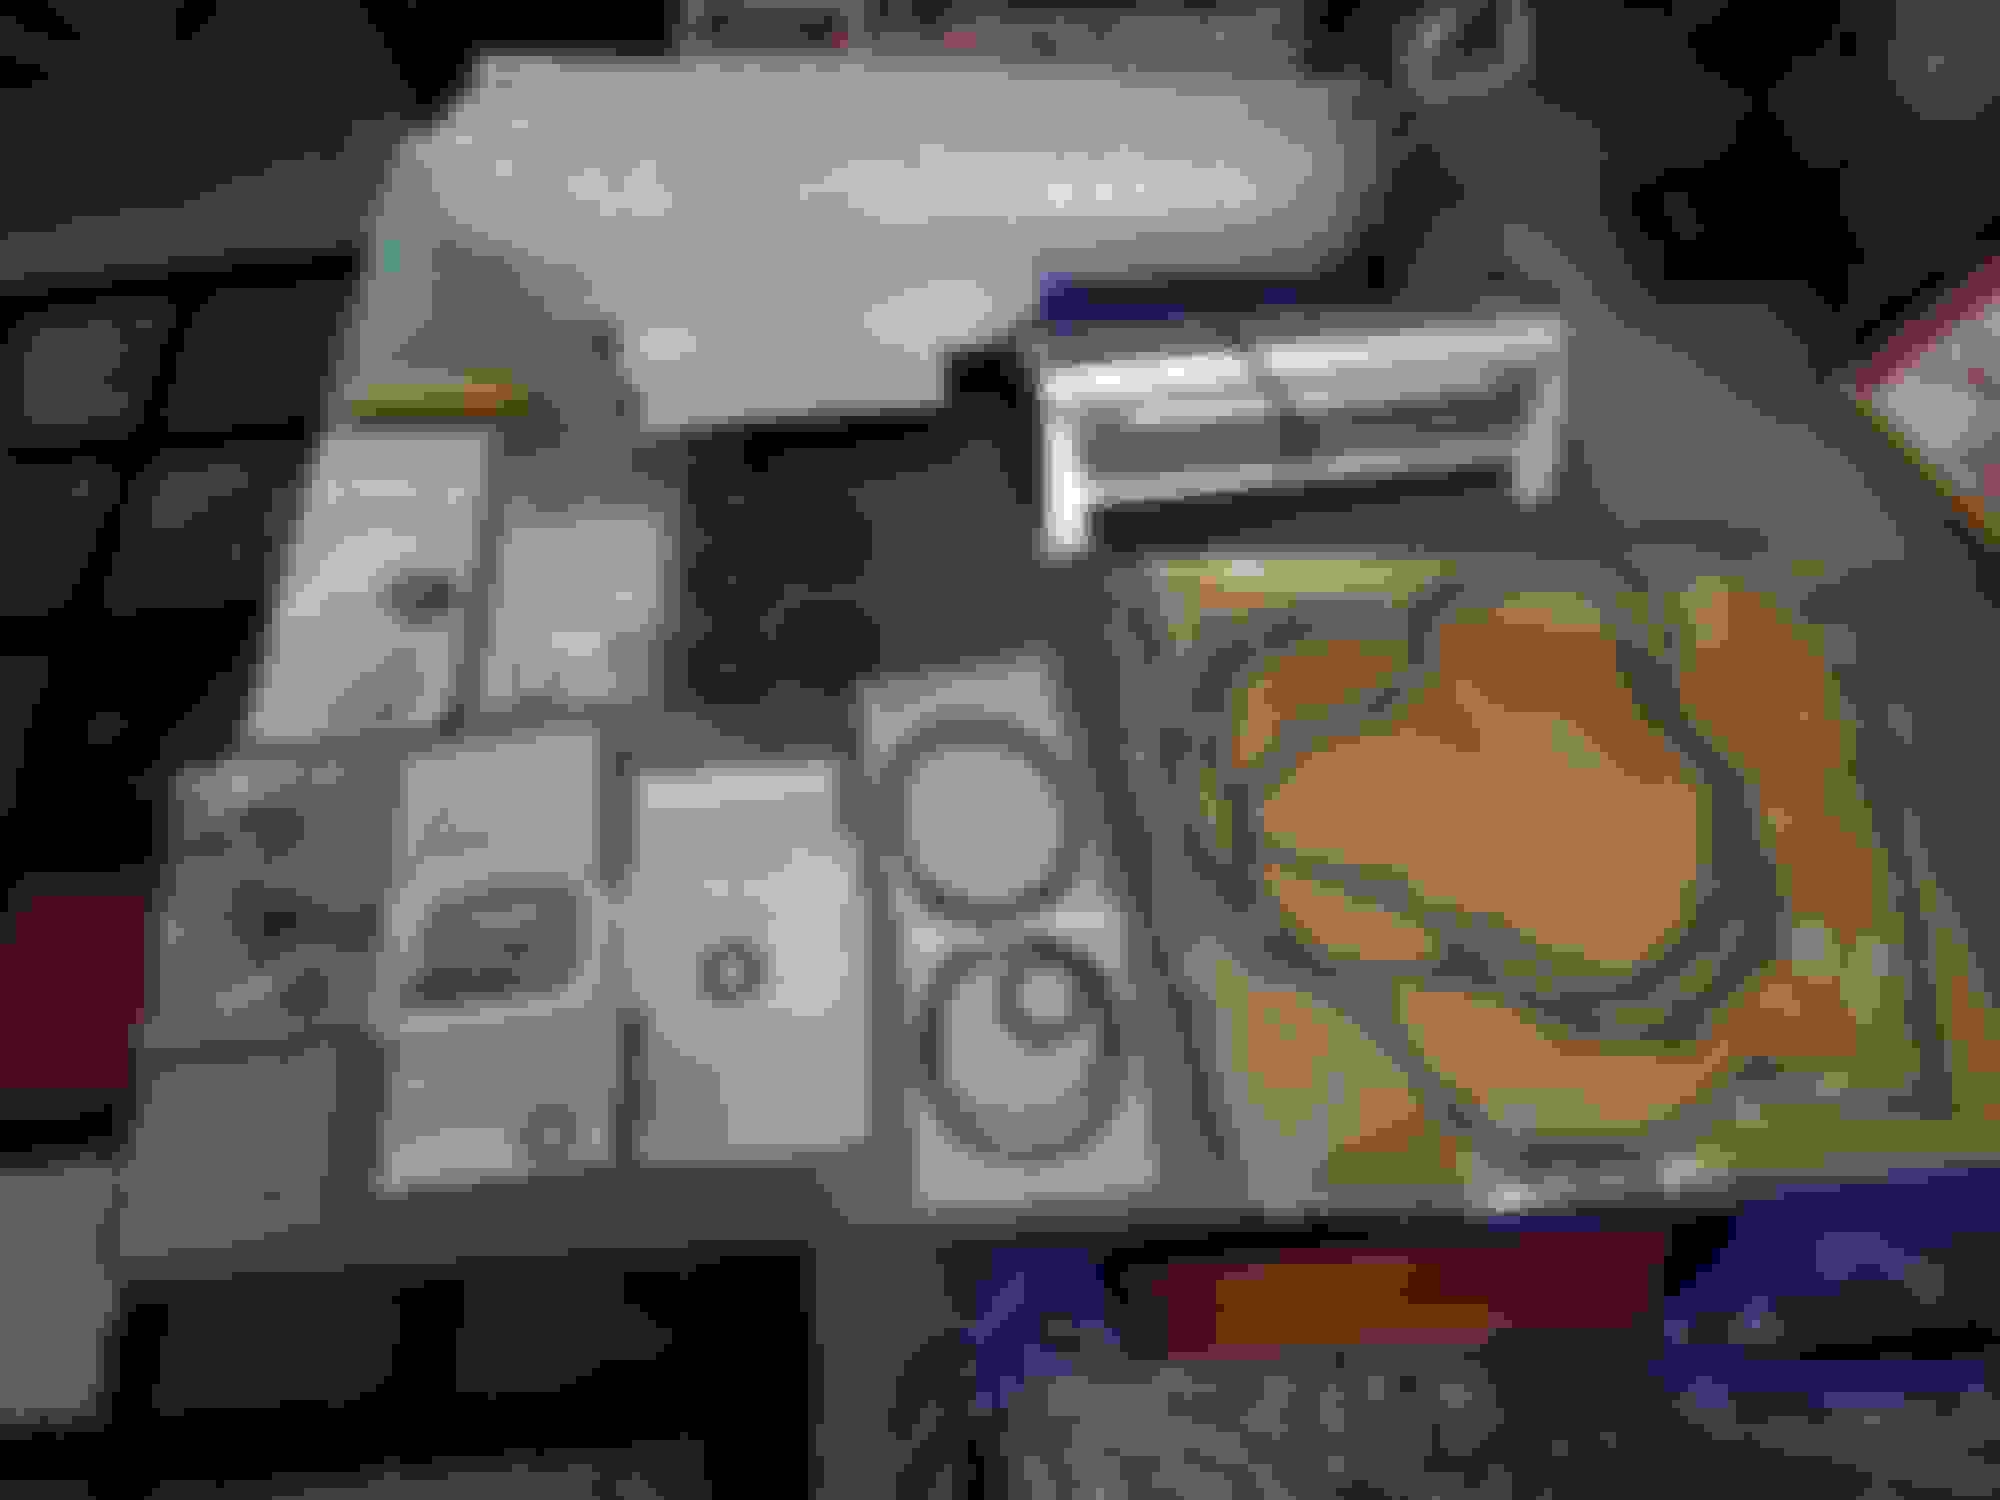
This is my work area where i completed this transmission. The only thing that i would consider special you need it compresed air. It helps a gigantic amount cleaning all the parts.
Back to the rebuild.....
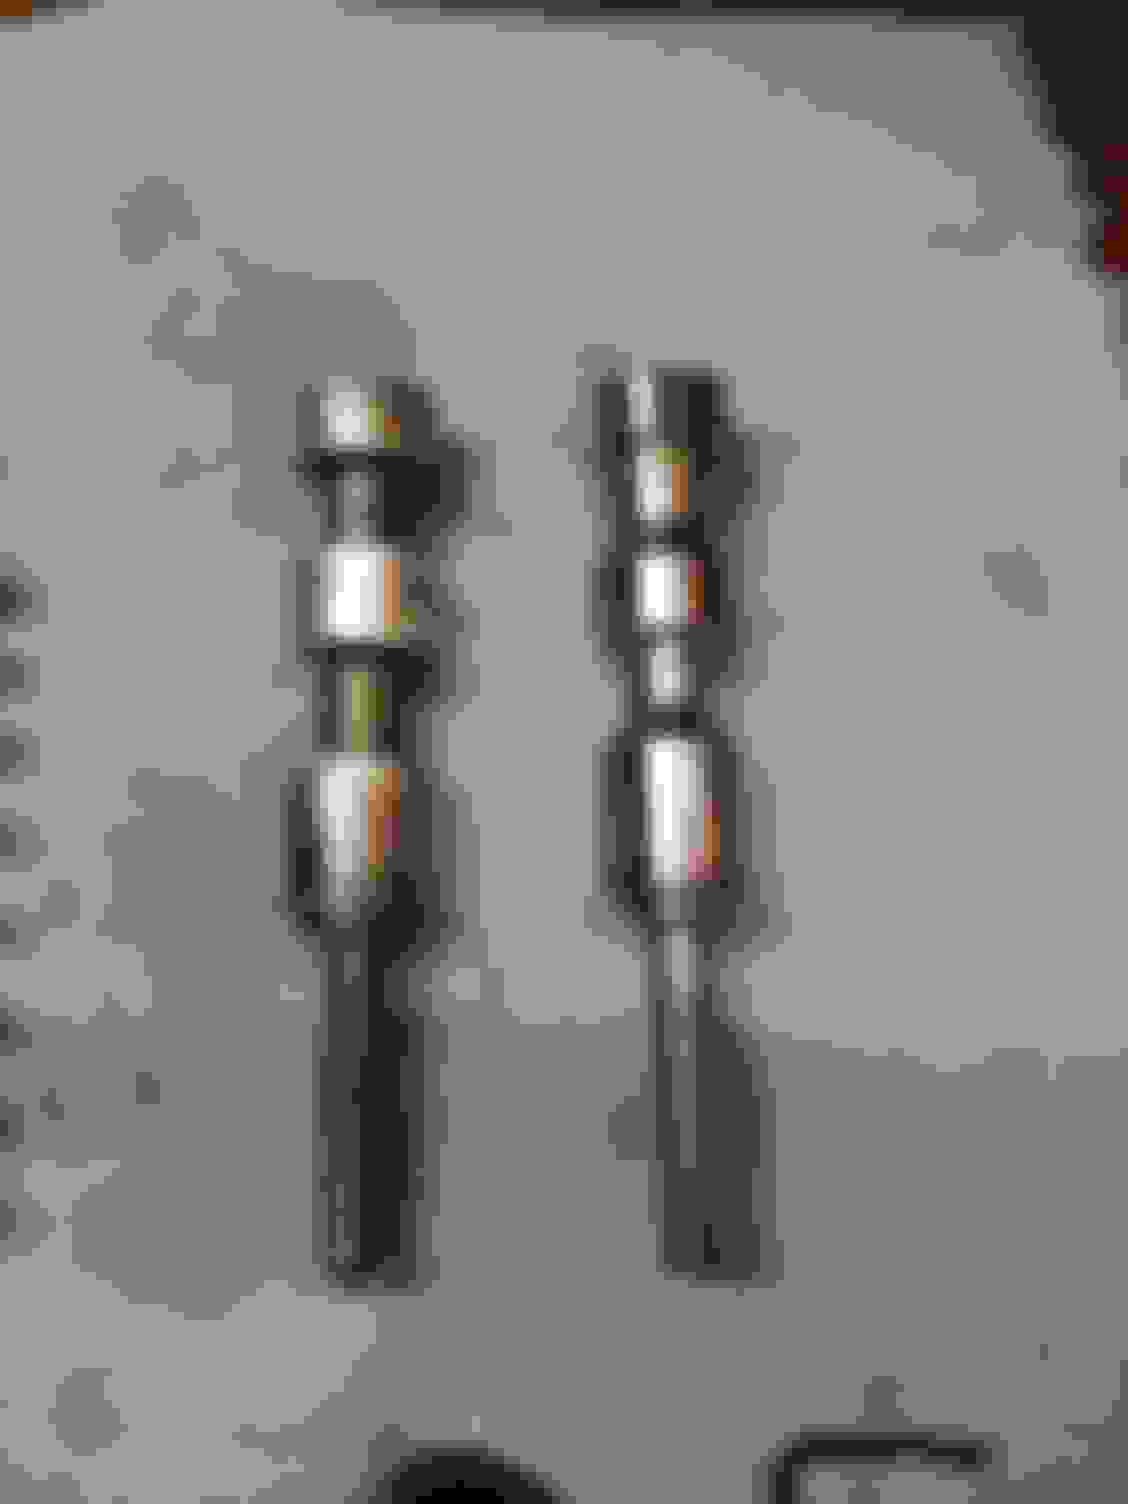
Pressure Regulator Valve- This is the most common failure on these transmissions. My cap was damaged and the bolt wasn't original for the stop bolt. The superior shift kit included a non sticking valve that has a spring built into the end preventing converter charge from sticking on the pressure regulator valve. The old valve I removed looked like a toddler had its way with it. Maybe i take too much pride in my work but nothing i work on would never be delivered to a customer like I got my transmission back.
The PR valve seems to be a tricky area on these transmissions. The oem stop bolt i ordered from the local Honda dealer, apparently it was the last one in the country.
Old valve pictured right. Valve on the right is the new Shift Technology valve.
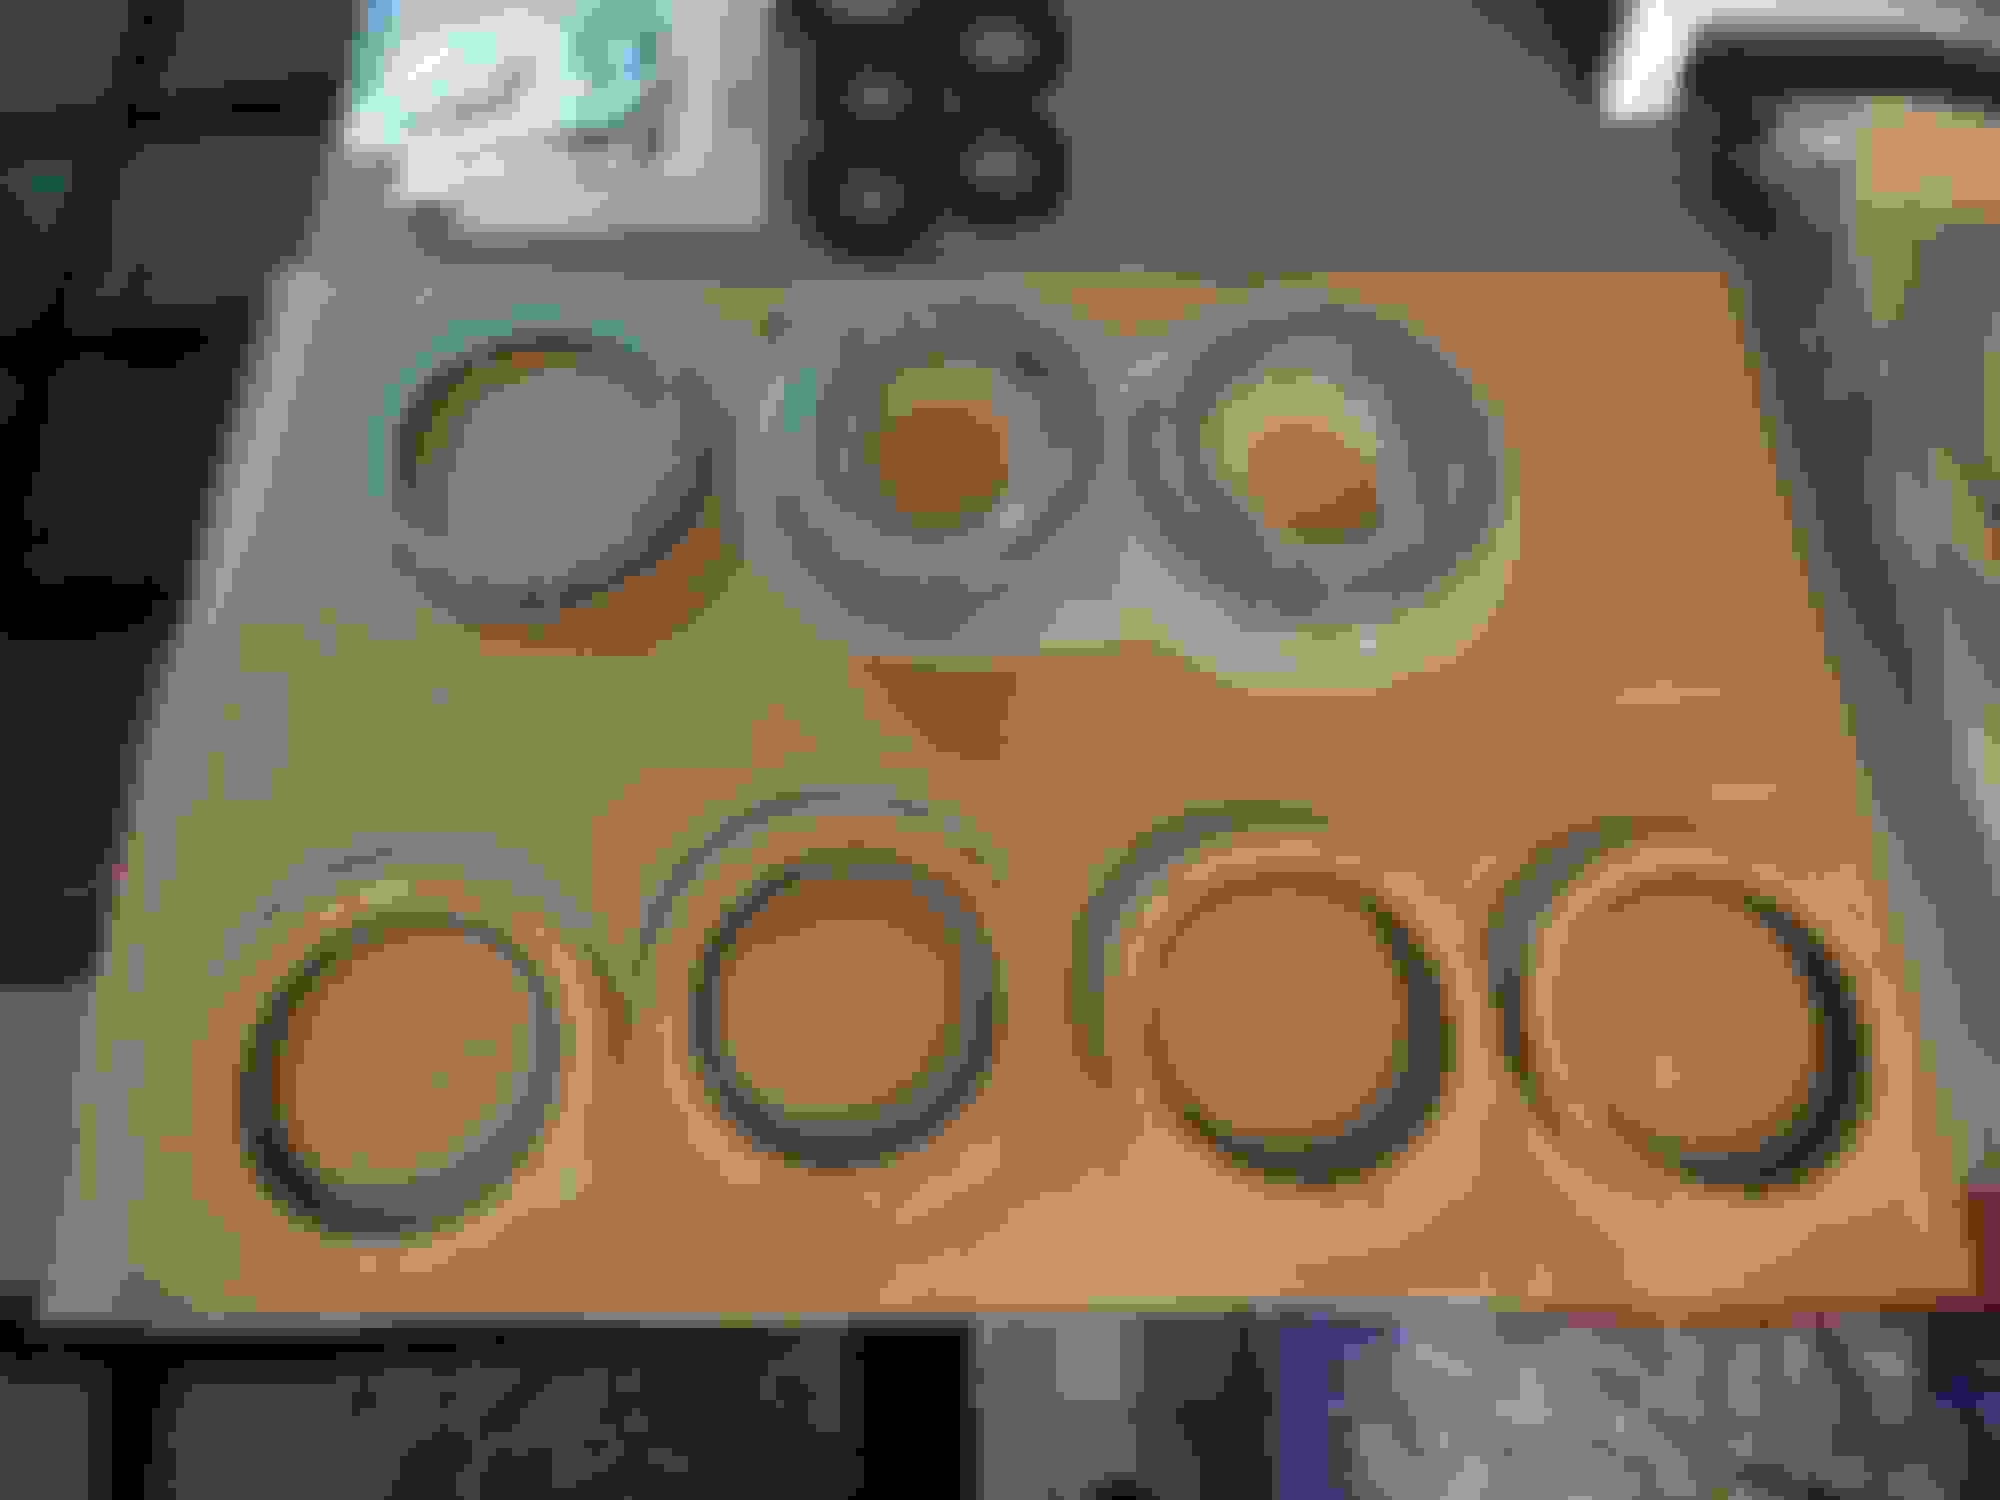
Here is what the end plugs look like for the Clutch Pressure Control Valves, I lubed up the O-rings before installing them into the bore.
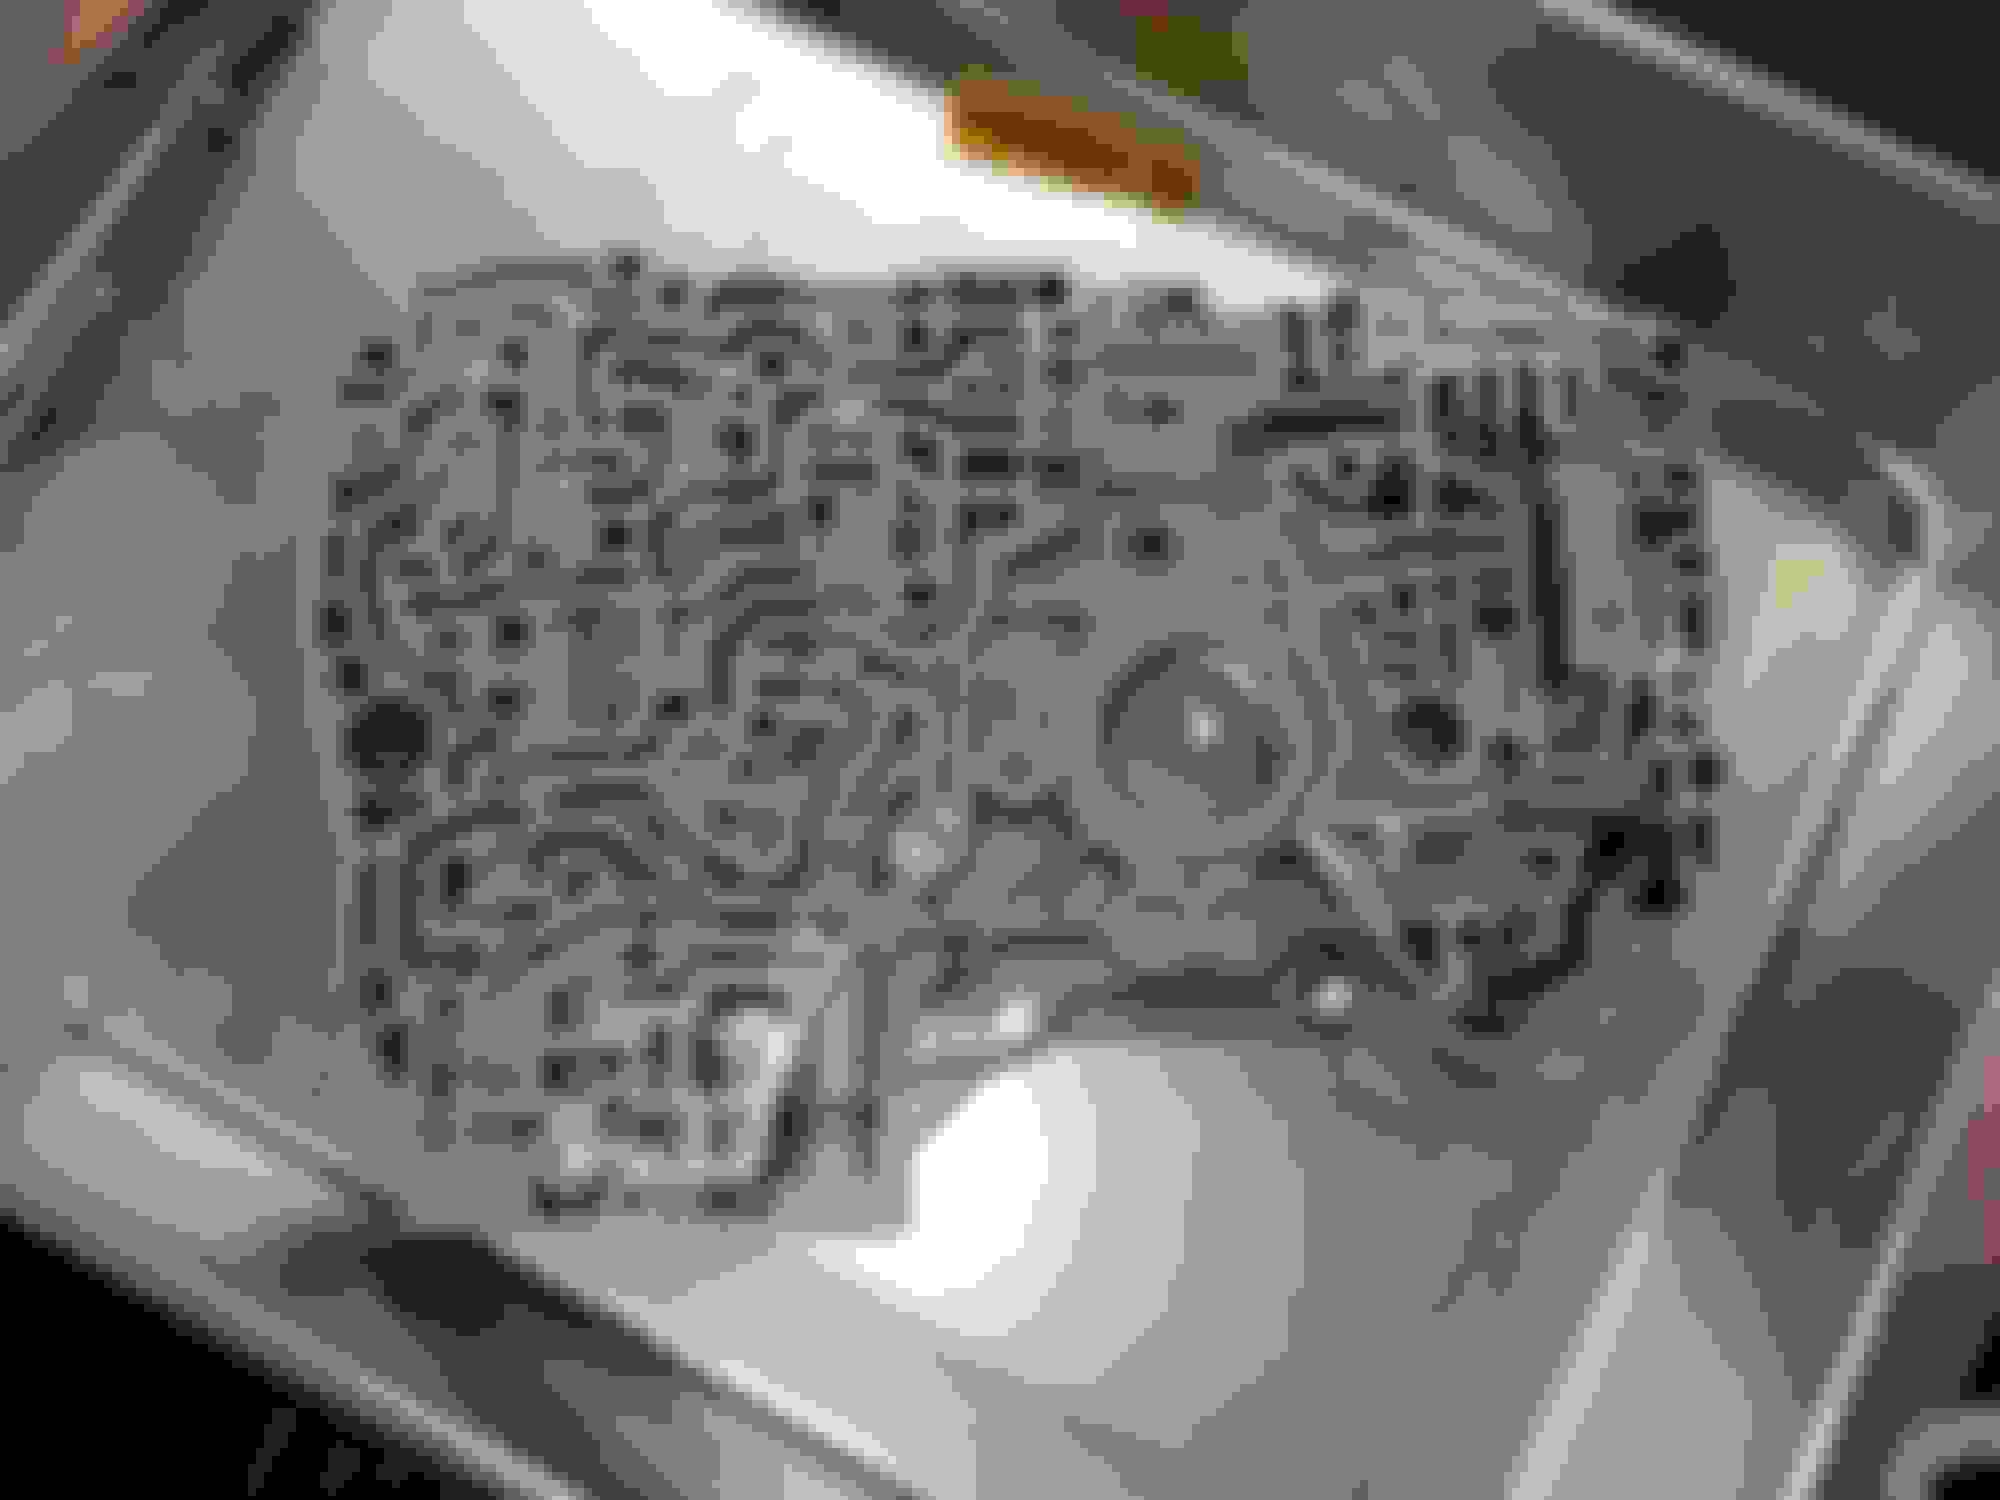
Here's the case with the old gasket still on. I used a 3M White bristle brush to clean off the old gasket. there is quite a bit of debate of how to remove gaskets. However i sanded the area the gasket goes on with 600 and 1000 grit sandpaper to prevent the gasket from leaking. I cleaned the case with mineral spirits and blew everything out with compressed air.
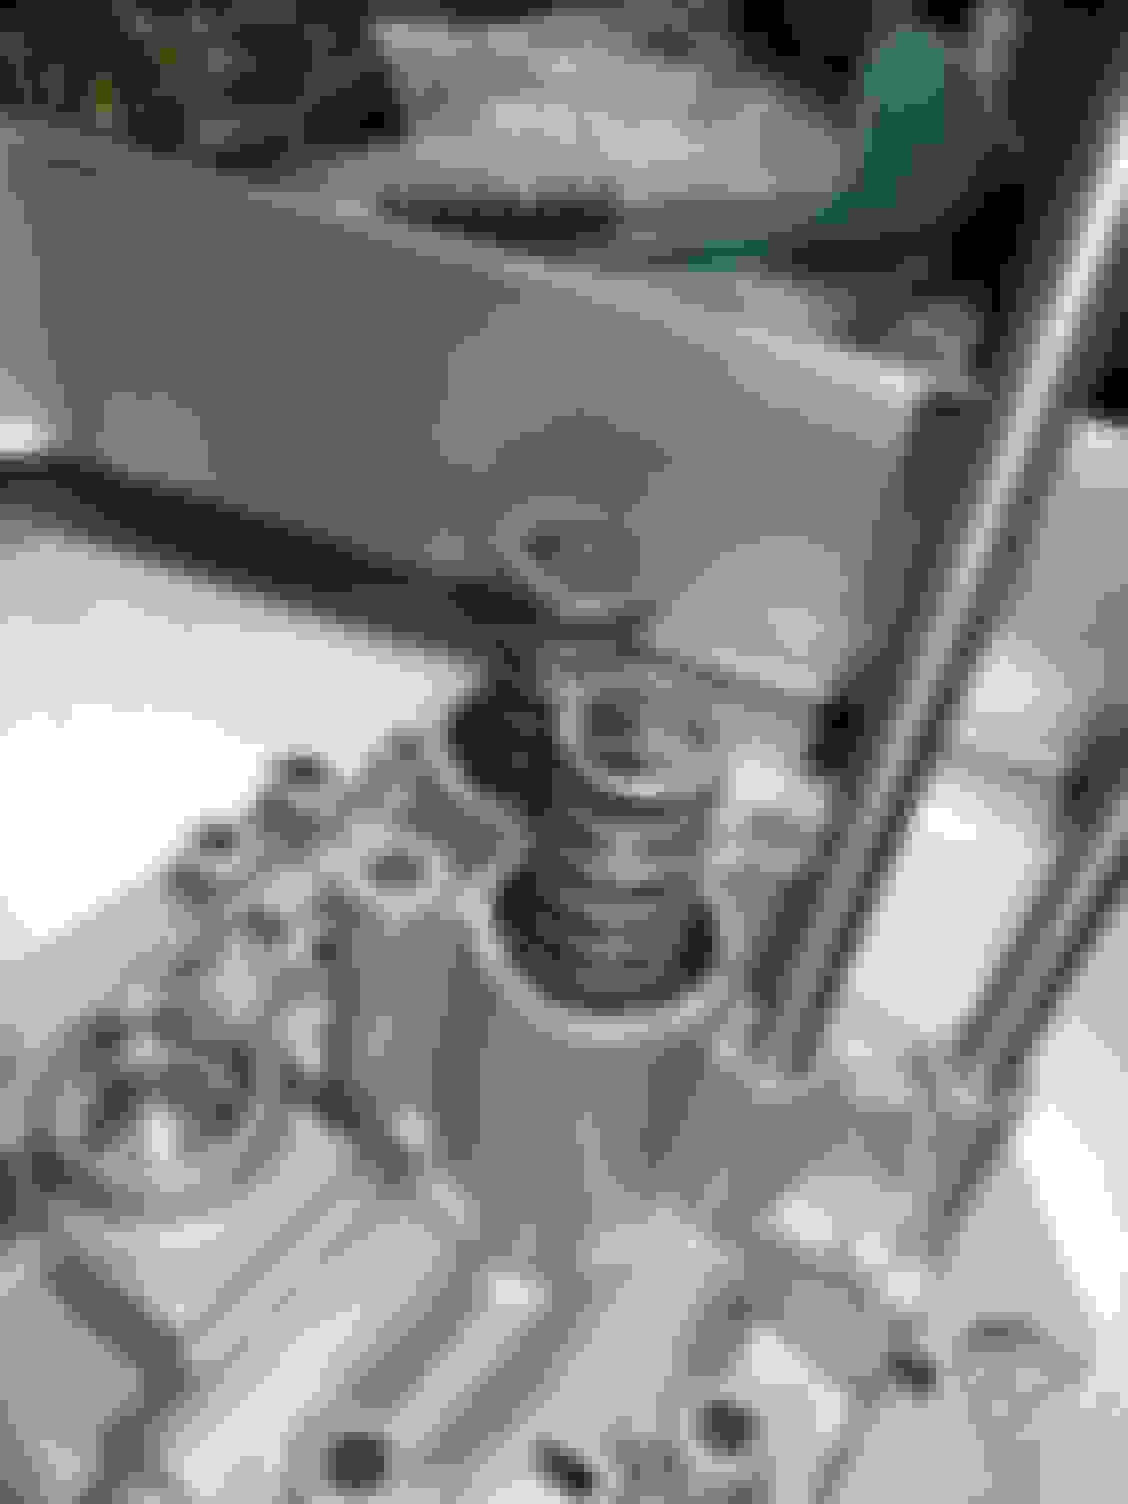
CPC valves were stuck in the Servo Body. The kit included new valves to replace the old ones, also included new end plugs with o-rings.
1st and 2nd accumulator body. The superior kit included red springs for 2nd gear. It's supposed to help eliminate the 1-2 shift bump common on these transmissions.
The Superior kit also included a cotter pin to block off one of the ports in the PR valve plate. When you install the plate on the main valve body make sure it isn't blocking any of the circuits.
The kit also required drilling a few holes in the plates that go in between the valve bodies. Nothing to difficult, the kit makes it fairly easy to understand every modification your completing.
Assembled and ready for install.
I also replaced the torque converter at the time of the 1st rebuild. I has roughly 4k miles on it as of now.
I also installed an external cooler with a Magnefine filter bought from amazon. The magnefine I installed on the output of the external cooler. I opted to keep the cooler in the radiator and add the external after the output of the radiator. I haven't installed a gauge or a bypass controller, or a fan yet. All are in the plans though.
I put some washers on the return line for the power steering to make enough room for the cooler to mount to the crash bar. I bolted it in with lock washers, I pre drilled my holes and used a punch to mark them, all in all took a couple hours to complete. The headlights on these cars are extremely difficult to remove, I ended up dremeling off a few tabs and mounting them by 3 out 5 mounts.
As of now I have about 500 miles on the transmission. I realized that sonnax makes a tool to adjust the linear solenoids which affects line pressure. I was having shutter between 1-2 2-3 3-4 shifts. also reverse engagement didn't feel 100%. Sonnax provides instructions on adjusting the solenoids. I took a screen shot below. for $20 its hard to beat.
Adjusting solenoid A & B for more line pressure made an immediate difference in the feel of the transmission Compltelely got rid of all shutter between gear shifts. Shifts felt more crisp and secure.
I also replaced Pressure switches for 3rd and 4th gear. Shifts in 3rd and 4th improved exponentially.
The dealer wanted $50 a piece for these. I was already over $700 into this rebuild and didn't want to risk the pressure switches being out of whack. more information on a blog here @brisdance.com @ https://www.brisdance.com/Honda/Pressure.html . Fantastic information about the failure of these units and how to prevent it.
Overall this transmission is worlds better than it's ever been since it's been in our ownership. The vehicle is 20 years old and does need quite a bit of work more before I would consider it done.
My next Projects are:
Dual Linear Solenoid replacement (mine has cold sickness)
A/c Expansion Valve / Receiver Drier and recharge (a/c is not cycling properly, comp just runs and runs)
Gate's Timing Belt & Component kit (due by time & mileage)
all 4 brakes rotors and pads. (debating front 4 pot calipers with brackets)
Android radio Install with amp and subwoofer (using bose door speakers)
Let me know what you guys think. I'll be more camera happy in the future. & try to be more thorough with my how-to's.
I now have about 700 miles on the transmission since the rebuild. On cold start ups in the AM the vehicle would have a hard reverse engagement and a hard 1-2 2-3 shift till warmed up. I mean HARD too. Practically could feel it destroying the clutches.
I don't own a pressure gauge to verify what my working pressures are on my way to work in the morning. After learning a bit more about the dual linear solenoid and how it's basically in charge of regulating pressure directly to the CPC (clutch pressure control) valves. (I have installed the shift technology products shift kit) so i know the cpc valves aren't sticking)
I figured that the only viable thing that could be causing the morning sickness issue was the dual linear solenoid. I purchased the TRANSMAXX dual linear solenoid from Rock Auto. The part arrived in a box from a company called rostra. (i purchased this part because from the photos it appeared to be adjustable). That not ended up not being the case I tried adjusting the solenoid after my first test drive. It felt a tag more sluggish than what i would want from an automatic with a shift kit installed. The adjuster cracked and I almost ruined my brand new part (plastic). However, I re-installed the part and drove the vehicle again for a 15 mile test drive. Shifts did improve overall. Definitely feels like the stock slush box that it is, but overall shifts did improve in all driving conditions.
The vehicle drives worlds better when cold. The vehicle has no signs of morning sickness and I'm able to take off in the morning without letting the car warm up for 5-8 minutes. Which destroys gas mileage. I do get on the highway right away in the am, about 1 1/2 miles from my house. The TCC lock up doesnt seem to happen for about 5 miles (about 65 F in the morning here in vegas right now.
Overall the part appears to be tested for working pressure associated with Honda/Acura transmissions. I will give it a 4/5 on performance and fit / finish. It is a tad larger than the oem unit which makes it a little more difficult to install. After install I did have a transmission leak. I did overfill the transmission by a quart or so. With the new regulated pressures in transmission it caused fluid to come out of the vent tube. (my dumb mistake), after draining some fluid and getting it to the right level the leak has stopped.
If you see the symptoms listed with the solenoid, I was experiencing many of these conditions. A week ago the vehicle wouldn't go into gear. (it would shift but not engage drive, Reverse was also delayed)
I let the vehicle sit for a few hours and it shifted fine. I truly thought there was a ghost in this transmission.
You can see my adjustment marks on the solenoid. Pictured left is solenoid B and pictured right is solenoid A. its upside down.
I am very happy that i have figured out this transmission. After all the headache i finally have my head somewhat wrapped around honda/acura automatic transmissions. I'm figuring out what my next rebuild will be. Stay tuned!
I still have on my list to complete:
Timing belt / water pump / oil change/ coolant change
Expansion valve/ receiver drier/ Evac recharge and re oil system
HIDS / H1 mini projector install
Power steering flush/ new magnefine filter install
Paint correction and buff and wax with a DA
If anyone would like How-to threads on anything mentioned I will do my best to put something together.
I am not sure on how much activity there is left on this forum. However, if there is anyone lurking that wants to get involved on the forum. I am willing to get involved and stay current
I really enjoy these vehicles even though they are finicky. I recently went for a drive in a 2018 honda accord and couldn't help but feel my 1999 acura feels more well built. I really enjoy all the features on this car even though its nothing compared to the new accord. It's a wonderful car but for the 30k price difference i'll take my dinosaur.
The right hand mirror with the cameras built in costed my mother in law about 1,200 for a new one. (ouch) I rebuilt this trans for about $950 with all my mistakes. Quite a difference in fixing these two vehicles lol!
Stay tuned. I will be doing much more work on the vehicle after the big move in 3 weeks. (to Idaho) I will be in the market for a 1999 ford f250 4x4 7.3 6 speed manual. that will be my second project.
Absolutely awesome, informative thread. I plan to rebuild mine using a lot of these same parts, albeit with upgraded clutches. I've band-aided mine right now with replacement pressure switches and adjusting the dual linear solenoid(after removal and cleaning), as well as using Valvoline max life ATF after researching the bobistheoilguy forums and on here. Helped out a TON but the car still has some flare between 1-2 and 3-4, with mildly harsh engagement, especially when cold.
I love these cars, incredibly well built and solid. I'm still chipping away at mine and I'll keep a close eye on your thread as well!
Thank you sir, very much appreciated.!If i were to rebuild this unit again i would a few things differently. I would def use raybestos clutches. Sadly i had already ordered my rebuild due to being in a bind. I just went with my normal parts sourcing. Rock Auto is pretty decent about sipping parts in a timely manner. Also their quality of parts I receive from them I would consider Aftermarket parts of pretty decent quality. (if not the oem part). Doing the pressure switches on mine before swapping the dual linear solenoid did really improve the quality of shifting. Replacing the switches with the dual linear solenoid really made the transmission feel right again even after the rebuild.
I have been a skeptic on running anything but DW1 on these units. Just the horror stories you hear of people using a different fluid in general with Honda/Acura automatic transmissions. From my understanding the Clutches in this transmission sit in drums and are of similar quality to a motorcycle Clutch. it's basically a wet clutch and the materials they use in the manufacturing of the clutches doesn't mix well with AFT's that contain a too excessive amount of friction modifiers. I may be wrong on this. Just from my brief experience with these Honda designed units they do like that thin viscosity fluid. It does make me question whether Dw1 truly is the best fluid for this transmission. However I don't have any true comparison just yet as i've only used DW1 thus far... As far as the bobistheoilguy forum I will check that out! Getting rid of those flares was work after rebuilding this unit. I removed that OEM dual linear solenoid and adjusted it probably 5 times (and going for a test drive to see if i like the shifting behavior before finally replacing it with a rebuilt one. A new Dual linear solenoid did make me feel all the work i had done was finally worth the hassle. The car now has about 1,000 miles on it and running smooth as can be.
I check the fluid like clock work and doesn't seem to even be turning color. I check it on a new white napkin and aside from having a tad bit of metallic residue. It smells right and hasn't turned color at all. I have checked temps on the inlet and outlet of the cooler and from what i can tell I am seeing 15-18 degree Fahrenheit difference in fluid temp from in to out flow with the a/c fan and cooling fan running to pull air through the cooler. I will change the magnefine filter every 15k miles just for good measure.($25)
I feel these cars are at such an age now that they do need quite a bit of work before being able to be given to the daily grind of running 200-500 miles a week at times. Overall this vehicle is extremely well built and should be an example of how long a vehicle should last.
I have some Information to add to this thread, Ill include all links to any videos/ reading material to help fully understand the nature of these transmissions.
Here is every web page, Blog, PDF, Youtube video that assisted me in this rebuild. If you aren't sure of the nature of these rebuilds or nervous about starting your own. All this information listed below gave me the confidence i needed to begin tackling this battle. (yes it was difficult to have the courage to start). However if I had this information before I started all laid out in front of me. It would have taken me a 1/3 of the time to complete.
Kurt's blog <--- here did a great how to on rebuilding this unit Sonnax <--- here has some great info on the nature of failures Sonnax 2 <--- here talks about lube circuit defects and how to relieve them of burnt converters ect
<--- here on youtube was extremely beneficial to have during the update and reassembly of this transmission Brisdance <--- here helped me understand the nature of these transmissions and how to properly cool one
All this information was golden to understanding what i was trying to prevent in the rebuild of the unit.
Here's a couple pics out from Valley of Fire NV
You can also follow me on Instagram @Jf0to
My GF happy to be able to travel again!
Overall very much enjoying the car. My gas mileage is improving tremendously. I will be comparing MPG with the trans in working order vs not. I am thinking to see a 20% improvement in gas mileage with the Transmission not only engaging tcc lockup correctly, But the transmission also isn't overheating anymore.
As always will keep updating progress as i go along.
Hey Acura_CL3.0, one of the Best, most comprehensive DIY write-ups I've seen. Thank you so much for taking the time relate your experience. Your in the wrong business though, You should have been a surgeon!
@frankjnjr Thank you kind sir. I in the future would like to do an even more comprehensive DIY on this unit or even possibly the 5 speed AT unit. I didn't originally plan on doing a sort of DIY/ How-to but I saw a need for more write-ups for these transmissions from Acura/Honda. I feel it's the best way to give to the honda/Acura community. I know there isn't a ton of traffic on this forum, But for anyone experiencing trouble with this transmission before a rebuild or even after this will help. There are so many parts that went into this transmission it adds up quite quickly. This to me is the best way to reassure you won't be pulling apart this trans for 100K. The only thing i will change with the transmission in the future is possibly adding more filtration/ a temp gauge/ and a cooling fan for the cooler.
Stay tuned, I will be sending a sample of ATF to a lab after 10k miles to see how things are holding up! as of now im over 1,500 miles in. so far SMOOTH sailing!
here's another Pic cause im Picture happy with this Car.
Just a small update. Decided to change the oil in the CL today. Checked the local Autozone Circular and found Castrol Edge full synthetic with a K&N Filter for $40.04 with tax. Which I thought was a pretty good value. Check out your Local AutoZone for the current Ad. I really need to put all the plastic covers in the engine bay and the under tray back together. My undertray bolts have seen better days. I will eventually need to replace all the bolts. The are slowly getting old and destroying one by one.
There is roughly 3,700 miles on this oil. Pretty dirty if you ask me. Car was feeling sluggish before oil change. Note my perfect oil level haha.
Oil on a white rag for reference.
Put the car up on stands
Cheap Harbor Freight long handled 17mm is the drain plug size. I do not recommend these wrenches. The cast is horrible. Spend a $100.00 on a decent set.
Oil drained...
Cheap STP filter. I don't usually go cheap but I change my Oil right @ 3K miles NO MATTER WHAT. I know its overkill but it has saved me a ton of money in the long run!
Filter Removed
I personally fill my oil filters when changing oil. When i worked in a dealership they didn't require this. Once you start filling them during oil changes you realize how much oil they hold. To me im helping prevent dry startup where the engine isn't trying as hard on initial start up after an oil change to build oil pressure. When I went to MMI (Motorcycle Mechanics Institute) they taught me that most engine wear is caused by insufficient oil pressure on initial start up after an oil change, since then i've always thought it was good practice.
Clean Oil
Not a real update of any real sort. However changing oil is vital to keeping an engine alive. Now a 177K a still kicking. Our engines (J30A1) takes 4.65 quarts of oil w/ filter change. In case anyone was interested,
Stay Tuned. Still on my list
Timing belt / water pump / oil change/ coolant change Expansion valve/ receiver drier/ Evac recharge and re oil system HIDS / H1 mini projector install Power steering flush/ new magnefine filter install Paint correction and buff and wax with a DA
I may not get any of this done till after my move. However I will try to do the Timing Belt/ Water Pump done and the Projector Retrofit done before the move (2 weeks) we shall see..
I have been giving some thought into the projectors for the fog lights and what my plan of attack will be. I will be purchasing a set of projectors with an hid kit from Amazon. The company is DDM TUNING. They seem to have decent reviews for their products.
All said and done im guessing this to be around a 250-300 dollar project, I have all tools needed just need the projectors and HID kits. I am very excited to see what i can come up with.
Next week I will try to tackle the Timing belt And water pump.
I received my DDM Tuning projectors in the mail the other day. The projectors of choice are Mini H1 Bi-xenon. I've been getting a plan of attack for how I'm going to paint and assemble everything.
I will say that this project overall is pretty tedious and will take me 20 or so hours to finish. Even being a somewhat plug and play affair this is very time consuming. At least to me.
I would rate this project a 4/5 on difficulty and a 5/5 on time needed to complete if you are expecting what I would call decent this will take some time. If this is your daily ride I highly suggest purchasing a second set of headlights.
Supply cost
Projectors = $100.00 Amazon
Hid Kit = Included with kit
Shrouds = Included with kit
h7 headlight connectors = $10.00 x4 Amazon
Morimoto bulb holders = $17.00 Ebay
70mm angel eyes = $10.00 Amazon
3m Automotive tape - $10.00 Amazon
Primer = $4.00 Wally world
Paint = $8.00 Wally world
Clear Coat = $4.00 Wally wprld
Sandpaper = $14.00 Wally world and HF (harborfreight)
Oven cleaner = $3.00 Wally world
Epoxy = 3.50 HF
Picture hanging wire = Girlfriend
Black RTV = $3.50 HF
Heat Shrink Tubing = $10.00 Amazon (had plenty leftover)
Tack cloth = $2.00 Wally world
Led high beam bulbs (9005) = $20.00
Led running light bulb = $10.00 x10 (had 8 extra)
Total: $224.00
I will report on how long everything lasts. My first time ordering from DDM Tuning. The kit was purchased through Amazon.
Shields seem decent and the bodies of the projectors appear to be made out of pretty decent metal.
I will comment on the output after I have the retrofit finished. So far I am more than happy with the unit for the 95 dollars they cost with an HID kit and shrouds. Bulbs are h1 to match the projectors. I tested the bixenon function in the projector with a 9v battery pretty vigorously. I must have tested each one over 50 times to be sure there weren't any hickups in the shield function. Not one time did they show any signs of sticking. the ballasts included in the kit are slim enough to install them on the crash bar under the front bumper.
I will also report on the output of the bulbs. Reviews of DDM bulbs are hit and miss on Amazon. The bulbs are 6500k. with 55 watt ballasts they will appear more like 5500k with the wattage difference. Which is great output to me.
I chose to use Morimoto H1 bulb holders to try and solve the hotspot issue which is known to these Mini H1 Projectors. From my understanding lining the bulbs correctly in the housing has proven to be more trouble than its worth. Hopefully these will solve any issues without much hassle. I really dislike the clips that these projectors use.
Picture is from The Retrofit Resource
The Projectors are stamped with 7.1 on the bottom. Which appear to me like an updated design.
The kit from DDM included gatling gun shrouds for the projectors. These shrouds mount by screws instead of the traditional glueing that most kits require. The screws are not included. I ended up using old scres from the 9006 mount which wasn't used any longer. A key I learned deciding to tackle the royal pain in the ass it was too paint chrome plastic. Make sure to use oven cleaner to eat all the chrome off or the paint will not stick. After removing the chrome i sanded them down with 400 grit to promote primer adhesion. Painting is not something i consider myself good at so bear with my process. My first coat of paint I tried to scuff them down with sandpaper without removing the chrome and the paint only partially stuck.
You can see the shrouds really didnt take well to paint without the chrome removed first.
Weapon of choice, worked well enough for my liking.
Shrouds covered in oven cleaner.
Primer used for this project.
Much better than my 1st attempt.
Second coat of primer.
As you all know our vehicles are 9006 low beam and 9005 high beam. I am converting the low beam to a h7 connector ordered through amazon. I boiught a set of 4 so if i messed up or if one burns out in the future I have replacements. I opted to not run a relay harness. I have had extremely good luck in the past with not needing one. I will be running the projectors as low beams, the shroud will be wired to the high beam. That way when you flip the high beams on the projector shroud will drop and the LED 9005 bulb will illuminate as well. For reference the halogen bulbs pulled from the low beam were 55 watt. I know that Hid's pull more amperage upon start up but it's only for less than a second. which doesn't lead me to any worry.
They are snug and fit will.
I ordered some 70mm Angel eye Leds in a plastic case. The first set i ordered were not up to par with what I had in mind for this build. They were not encased which is partially my fault for not noticing before placing the order. The soldering was also pretty shotty as well.
Really starting to get an idea of how this is coming together.
I marked the holes for the wires with a sharpie. I used a punch to get the wholes started then drilled them out with the smallest bit I had.
The Lip sits a bit high for me. I will sand the lips down with a belt sander carefully. That way the Led sits flush on the shroud. I will use epoxy to glue the leds on.
Color is Satin Black. Hopefully sticks well with primer.
Decided to get the headlights apart.
Baked them in the oven at 220F for 14 minutes. Was just long enough be sure to work quick before it hardens!
Reflectors covered in oven cleaner. This stuff works great for the cause. Just be sure not to breathe it in the fumes are insane!
Chrome removed and sanded with 400 grit.
Lenses will be sanded with 320,400,600,800,1000,2000 and then buffed and clear coated.
Re cleared Unfortunately the clear coat cracked from being to cold outside. This spring I will re sand and clear coat them.
Marked for dremeling. This will hopefully be the only trimming i need to do for this project on the reflector.....
Tool of choice is a dremel.
Trimmed down. Came out decent enough. I trimmed as much as i could without going through the plastic.
You can see a small section where i went through the reflector. I used some quick setting epoxy and filled the hole in. Be careful trimming as this plastic is thinner than you think!
I drilled a hole where the old reflector screw went for the projector shroud wiring.
Before trimming the mount.
After.
Checking for lock ring being flush.
Mocking up the projector in the reflector housing.
mocked up the angel eye.
Color difference of HID to halogen.
Test fit before paint and assemble. AND THEY DO NOT FIT!!! The led hits the lense of the headlight.
I REALLY wanted them to fit but aftering adjusting the reflector over and over again there is no way to get them to fit with the led mounted to the shroud.
Back to the drawing board.
This project is for my girlfriend and she did want the leds in the headlight so i figured why not install them BMW style in the High beam reflector housing. I ripped the leds off the shrouds and went to town figuring out how to mount them.
Filled the holes in the Shrouds with epoxy and sanded them flat with 220,300,400,600
trimmed the shrouds so they clear the garnish.
I decided since the project was no where near completion. I didn't like the lines in the reflector and decided to sand them flat for a more streamlined look.
Mocked up and getting a plan of how to mount them.
This will work for my girlfriend. Similar to a BMW.
I marked the holes for the picture wire and the wires with a punch and drilled away
Picture wire twisted tight and clipped.
Projector now doesnt hit the lense. I will re sand and clear coat the lenses this spring when i know they will come out right. for now this will have to do.
I laid some epoxy down and sanded the shrouds back smooth for a clean look. Not sanded pictured.
I'll be using marine 2 pin connectors to incorporate everything into the new harness. that way if i need to remove the headlights for any reason in the future I won't have any problems doing so.
I used 3m automotive tape to mount the ballasts on the crash bar. Amazon had the best price for a roll and now i have plenty for future needs.
I decided to tackle the wiring that way when the lights are done its just plug and play. Pictured is the Low beam connector.
High beam with marine connector for the Projector Bixenon function.
I soldered all connections and used Tesa fleece wrap to protect all wiring. Euro cars use this stuff and it works quite nicely.
All Bulbs installed in headlight. You can also see my leads coming out of the headlight for the angel eye and Projector function. I sealed the hole with black RTV. I will report how it holds up.
Led high beam bulb. This is a fantastic bulb for 20 bucks for the pair!
black rtv sealant pictured.
Mocked up to aim the projectors before locking the rings down.
After aiming the projectors i realized the garnish on the headlight cover was hitting the projector. Time for MORE trimming......
I used tape to keep the cuts with the dremel cleaner.
These lights are by no means "perfect" but for lights that are over 20 years old they came out okay. I consider this a good practice run.
running lights on.
Daytime photo in the garage with the headlights somewhat aimed. I will be aiming them correctly tonight on the side of a building where i have 25 feet to spare. My driveway is a 30 degree angle and my shop has 3 feet of snow in front of it so i'll aim them later tonight. Also you can notice the right bulb is more blue than the left. I swapped them and the blue tint shifted to the other side. I emailed Amazon and will see what they do to resolve the issue. overall I'm pretty happy with how they turned out. I will have night time pictures up tonight. Stay tuned. More in line for this car coming. Let me know what you guys think!
Wow, that is an intense conversion. I REALLY love the Xenondepot LED bulbs in my FiST, but converting to projectors in this car, as I figured, is a massive pain in the ass. Guess I'll just deal with halogens until I feel like dropping the $$$ for drop in LED's.
here is a couple photos after aiming the projectors a bit better, Unfortunately due to the lenses not being perfectly clear the cut offs are slightly blurred making it not as pretty to look at. However the light output is easily 3-4x's the stock halogen which I am happy with.
@Beanstune Yeah It was rather labor intensive. I wouldn't do another set of this specific headlight again and if i did it would have to be a 2 inch projector. I learned a lot and am happy with the output. Once it warms up here ill re sand the lights and either have a shop clear coat them or use my old minwax and thinner trick. For the high beam I am using a cheapie 9005 led bulb which if it was in a reflective headlight i'm sure would be at least double the halogen output. I used them just to keep the colors right. overall I can see worlds better and my girlfriend is more than happy she can see now. Its scary driving out here without good lights at night = NO street lights for 10 miles feels pretty eerie when you have halogens!
Light output looks great, that would be amazing to have with my car! I know what you mean about no lights out there, but sometimes with everything being snowcovered, and a full moon, you don't even need lights on it's so bright hahaha!
After driving around a bit with the projectors installed I realized the bulbs ddm included the colors or Kelvin didn't match. I emailed them and they sent out a replacement set of 6k bulbs. Long story short both bulbs flickered and the Kelvin yet again didn't match. I went ahead and ordered a set of OPT7 8000k H1 bulbs through Amazon. I figure if they don't do the trick I will then go ahead and order some morimoto xb bulbs. Being over 50 dollars shipped I didn't want to spend that kind of money on a set of bulbs unless absolutely necessary.
Also when I trimmed the projector shrouds that allowed some light to bleed causing a beam of light to emit out of the top of the headlight. Since I am really trying to make these as less blinding as possible I went ahead and ordered some matte black vinyl so I can make a sort of sleepy or angry eye. Basically removing any glare coming from the shroud and also making the cutoff as clean as possible.
Another issue I ran into is not using new headlight sealant / butyl rubber to seal up the lights. I used the oem glue and that proved to not be sufficient enough. It has snowed / rained on the car every day since finishing this project and I ended up with moisture inside the headlight which for me is extremely annoying.
Overall I am very happy with the output of the projectors. Being my first retrofit I really had a lot to learn. Within the next week or two I'll have all this buttoned up and have the cutoff / output I was envisioning. Its tough being a perfectionist at times but usually for me does pay off.
I will take some pictures with my "real" camera once everything is buttoned up.
Also I will end up dropping the headlights off this spring for a real 2k clearcoat. The weather really won't allow me to do this till May or so.
You can see some light bleed in the above photo. The vinyl will help stop any bleed from showing. Hopefully helping the cutoff!
as always more to come. I have other projects in mind for this vehicle. Real pictures with my dslr to come.
Heres a few photos out in the middle of nowhere showing the glare. For me this is a big no no. Make sure when trimming shrouds to be sure not to trim to much. Otherwise the hids are so powerful they will cause glaring.
You can see the 2 glare spots shooting straight into the air. Not what I intended but I do think the vinyl will cure that.
So far I have them aimed at 25 inches which is basically even to where the headlights are. You have to keep in mind aiming projectors that you are aiming for best combination of low and high beam.
you can see the moisture that has built up in the light.
As you can see my right side bulb is cooler than the left. The right side will flicker a bit at times. But only for a short time.
This is where I'm at till my parts show up on Tuesday I believe. Hope this helps anyone interested in projectors.
Hey how�s the project coming along, anything new? I picked up a 99 3.0 today. Original owner came in sat and traded it with tears in her eyes. Bought it from us and ONLY had us ever touch it. I�ve been at Acura 14 yrs so going through the 105k and oil pump reseal will be easy. Found a cheap abs modulator too! Keep in touch! Even the pen is still in plastic
@rootsgsr Hey there! As of now I still have a few maintenace and repairs to finish up. T-belt water pump and thermostat. Among some other repairs that I'll be doing some posts on. To be honest its been on the back burner for a couple months. My gf and I recently picked up a CRV AWD 5MT and it was pretty beat up so most of my extra funds have been used up.
looks like an awesome find. Looking forward to what is to come with your new project. These cars ride incredible. Im suprised its having an abs issue and an oil pump leak.
I will be digging into my car in a couple weeks and will be doing write ups on the work performed. Keep in touch!
I�ve dealt exclusively with Regan at DDM tuning for about 6-7 yrs now and I used to HID for everyone, but now their new 25W LED are unbeatable! I�ve done a few dozen kits in the last year... he and I talk a lot lol.
So basically I�m just saying they�re on the way hahah
Yeah I�m super excited. I�ve wanted one for years and finally the right one came through the shop. Obviously needs work but I�ve worked on these for 15 hrs so NBD. First service lol
@97BlackAckCL thank you! I will be back on the ball with this thing here in the next couple weeks. I still have a couple things left to do to tidy everything up. What projectors did you use on your retrofit?
@97BlackAckCL I'd imagine the output / cutoff is exceptional on those projectors. Personally with my set up the high beams really aren't needed. They are plenty bright with the low beams. The highs are just overkill. I'm running high beam cheapo led bulbs with the 55 watt hids. Just to keep the the bulbs similar kelvins.
Yeah, the light output is fantastic and I'm throwing in a set of LED bulbs into my high beams once I finish the retrofit on my 4Runner so definitely don't see a need to change the projectors
@97BlackAckCL I think you jinxed me on the oil leak haha! I put the acura up to rotate the tires and noticed some oil leaking from the vtec gasket. The nearest dealer is 40+ miles away so I went with a fel pro part purchased from my local napa.
Fel Pro part number # FPG 73040
Not quite oem but saved me a 80 mile ride.
3 12mm bolts is all you need to remove and 2 plugs.
Torque is 16 ft lbs per PRO DEMAND
I will be installing after this rain stops. With photos of course.
Just read through the whole thread, awesome stuff man. I thought those were aftermarket wheels but looks like a stock center cap. Pretty cool- Good work
I know it's been a while since I updated my HID projector project so here we are...
I have now went through 3 different types of HID bulbs and NONE of them have lived up to my expectations so far. First I ordered a set of "opt7" H1 8000k bulbs. They did not work out due to constantly not igniting, and when they did they constantly flickered. The next bulb I tried is a "Xentec" brand off of Amazon, They did not work due to constant flicker as well. Put my original set of DDM Tuning bulbs that came with the projector kit and no more flicker but the kelvins are a bit off from each other. They fire every time without issue and are fairly bright IMO. So this leads me to think I either need to order TRS bulbs or another set of DDM Tuning bulbs. Any other bulb so far hasn't seemed to agree with my 55 watt DDM Tuning ballasts.
I did add black matte vinyl to the headlights to prevent any further glaring that HIDs get a bad wrap for. I haven't taken any photos from a distance yet but it seems to me the headlights glare has gone down at least 50%. I have yet to be flashed with them aimed at 25 inches from the ground. To me they are almost as good as a high end retrofit, no guarantees but it sounds good lol. The Bi xenon function has yet to give me any issues. We will see next winter when the temps get below 0 but I think they will hold up just fine. Also my cheapie high beam LED bulbs have worked flawlessly without issue as well. Great buy for $20.
I know I pictured some moisture getting into the driver side headlight. That issue was fixed by ordering some butyl rubber off Amazon. Its called "second skin" and worked excellently. Since re sealing the driver side headlight I have had zero issues with moisture getting into the head lamp.
I still need to re-sand the lenses on the headlights and re clear them. They look horrible but I know i'll be fixing it soon.
Now for some pics.
Here's the moisture before re sealing the light with butyl rubber.
Butyl rubber, probably enough here for 10 sets of lights.
Xentec bulbs that didn't work out
Opt 7 bulbs were well packaged. I wish these bulbs would have worked out.
These bulbs really appeared to be good quality I might give them another try.
How the lights look as of now with the vinyl on them
Where she sits as of now waiting for the oil leak to be fixed. I will probably do the Vtec gasket after I come back from travel in the next 5 or 6 days.
@97BlackAckCL I have installed 10 or so HID kits without the need for them. The kit from DDM claims to be an AC ballast. I know there is a ton of debate about running them or not. This is my first 55 watt kit. Every time before installing these current hids I've never needed a relay and harness. I have done some pretty extensive research about whether a relay is truly needed or not. (I can private message you as to why I think that way). It's way to much information for this thread lol. Since the original bulbs that came with the ddm kit do not flicker at all or ever not fire. I am leaning torwards a bulb quality issue rather than a issue with voltage. I'm betting if I buy a set of trs bulbs I will rid this problem entirely.
By all means correct me if I'm wrong. All my connections are soldered well and each of its wiring has its own fuse in the box. I've never blown a fuse.
Regan at DDM sent me another 25w LED kit and they�re perfect. Now I just need to replace one of the housings.
Mad for the oil leak, mines not just the oil filter housing, I�ll have to drop the pan and the oil pump to reseal it all.... we do a few a week here on all the older V6�s
@rootsgsr I'm really hoping that isn't something I'll need to do anytime soon. However with my mileage that is a possibility (180k). I'm thinking mine was the oil filter housing and I caught the leak. I pressure washed everything underneath and will check for any leaks after I've put some miles on the car.
I'm thinking on my crv I may go with those ddm led bulbs you speak of! Let me know how they hold up over time.
Their new 25w saber lights have awesome output and are basically regular halogen size. I�m doing an 05 TL oil pump reseal now, we see several a week come through the shop on most of the Honda/Acura v6 cars
Great thread. Love the detailed explanation and photos! I'm the 2nd owner of a '97 CL 3.0 and just now starting to give her some 'upgrades' after 153k miles. Just installed some 18" wheels. In the works: coilovers (Tein Street Advance Z's), dual piston front brake calipers, valve adjustment, plasti dip chrome trim. I love these cars and it's cool to see this forum still has some activity. I truly believe Honda quality has dropped off since the 90's. Keep up the good work.
Great thread. Love the detailed explanation and photos! I'm the 2nd owner of a '97 CL 3.0 and just now starting to give her some 'upgrades' after 153k miles. Just installed some 18" wheels. In the works: coilovers (Tein Street Advance Z's), dual piston front brake calipers, valve adjustment, plasti dip chrome trim. I love these cars and it's cool to see this forum still has some activity. I truly believe Honda quality has dropped off since the 90's. Keep up the good work.
Welcome to the forum, please post your mods and updates as you have them, feel free to start your own thread. The more traffic here the better!
 10-07-2018, 09:09 PM