When you click on links to various merchants on this site and make a purchase, this can result in this site earning a commission. Affiliate programs and affiliations include, but are not limited to, the eBay Partner Network.
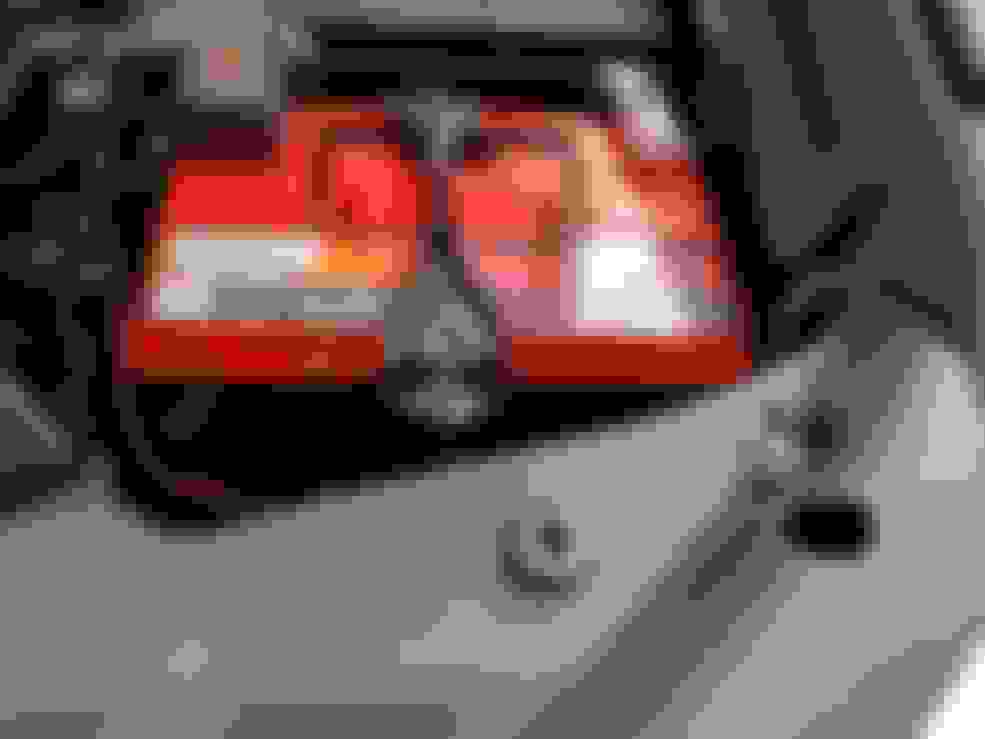
Got my rear window storage panels back from the powder coater and couldn't wait to install them, I installed the Driver's side since I still have to remove the passenger side at some point for another project, here's the panels fresh from the powder coater
And here's a before of the driver's side all stock and unmolested.
And since I was installing these, I grabbed some stock rubber coated D-Rings from the FJ to help fill in the stock holes
I didn't want the open holes around the bolts, so these helped fill the space around
Another neat feature about these panels is that they come with a built in bottle opener for tailgating!
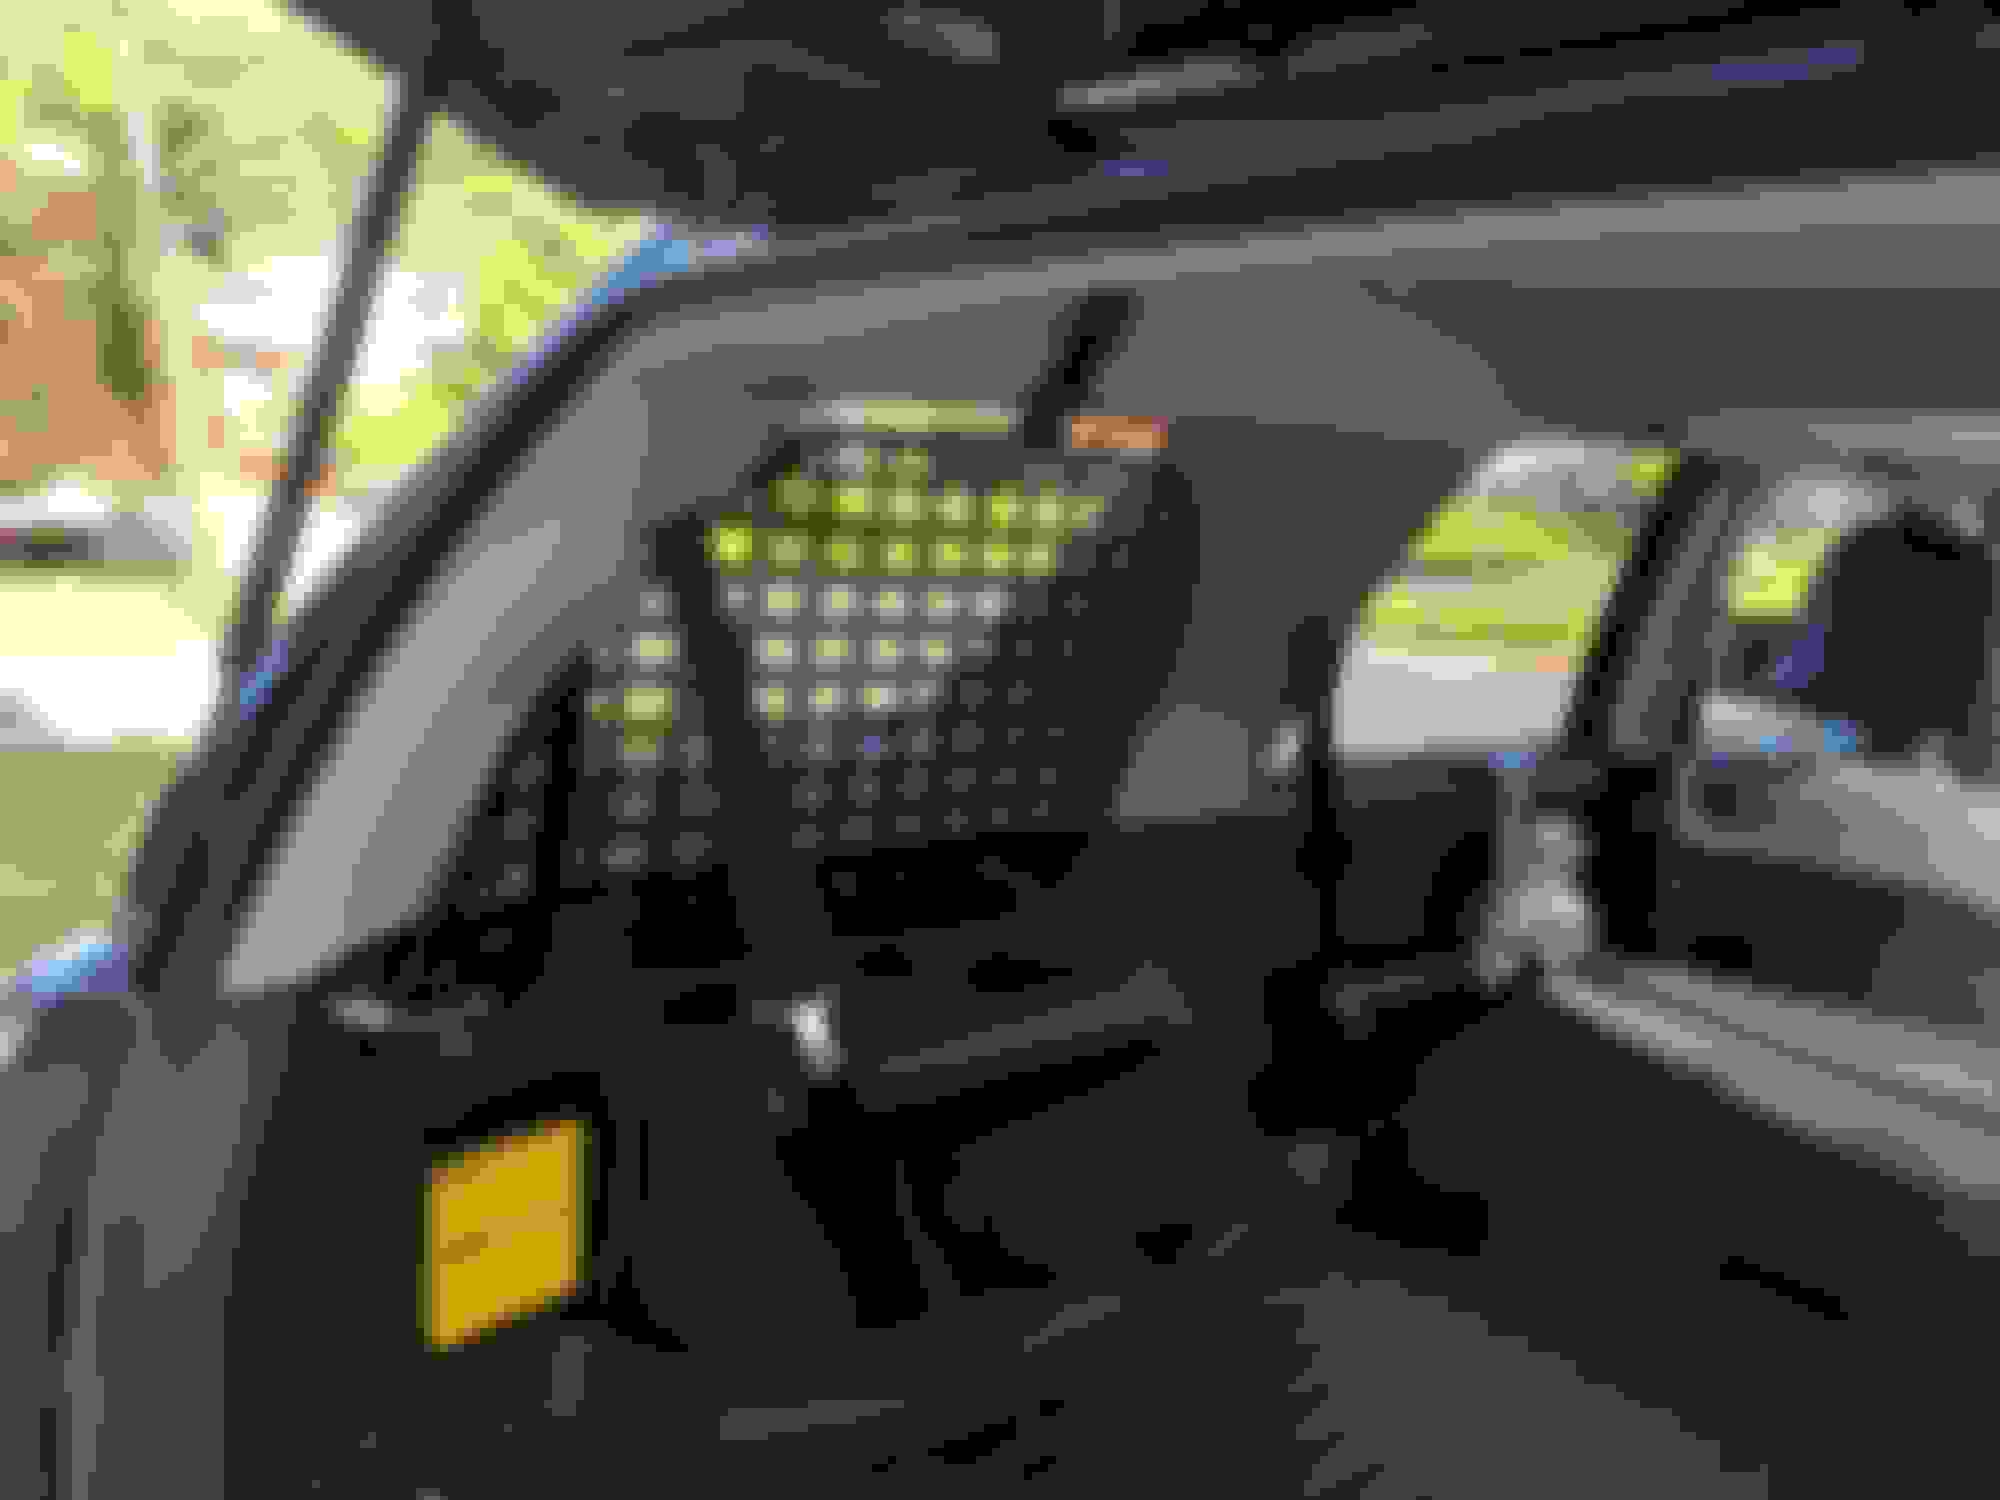
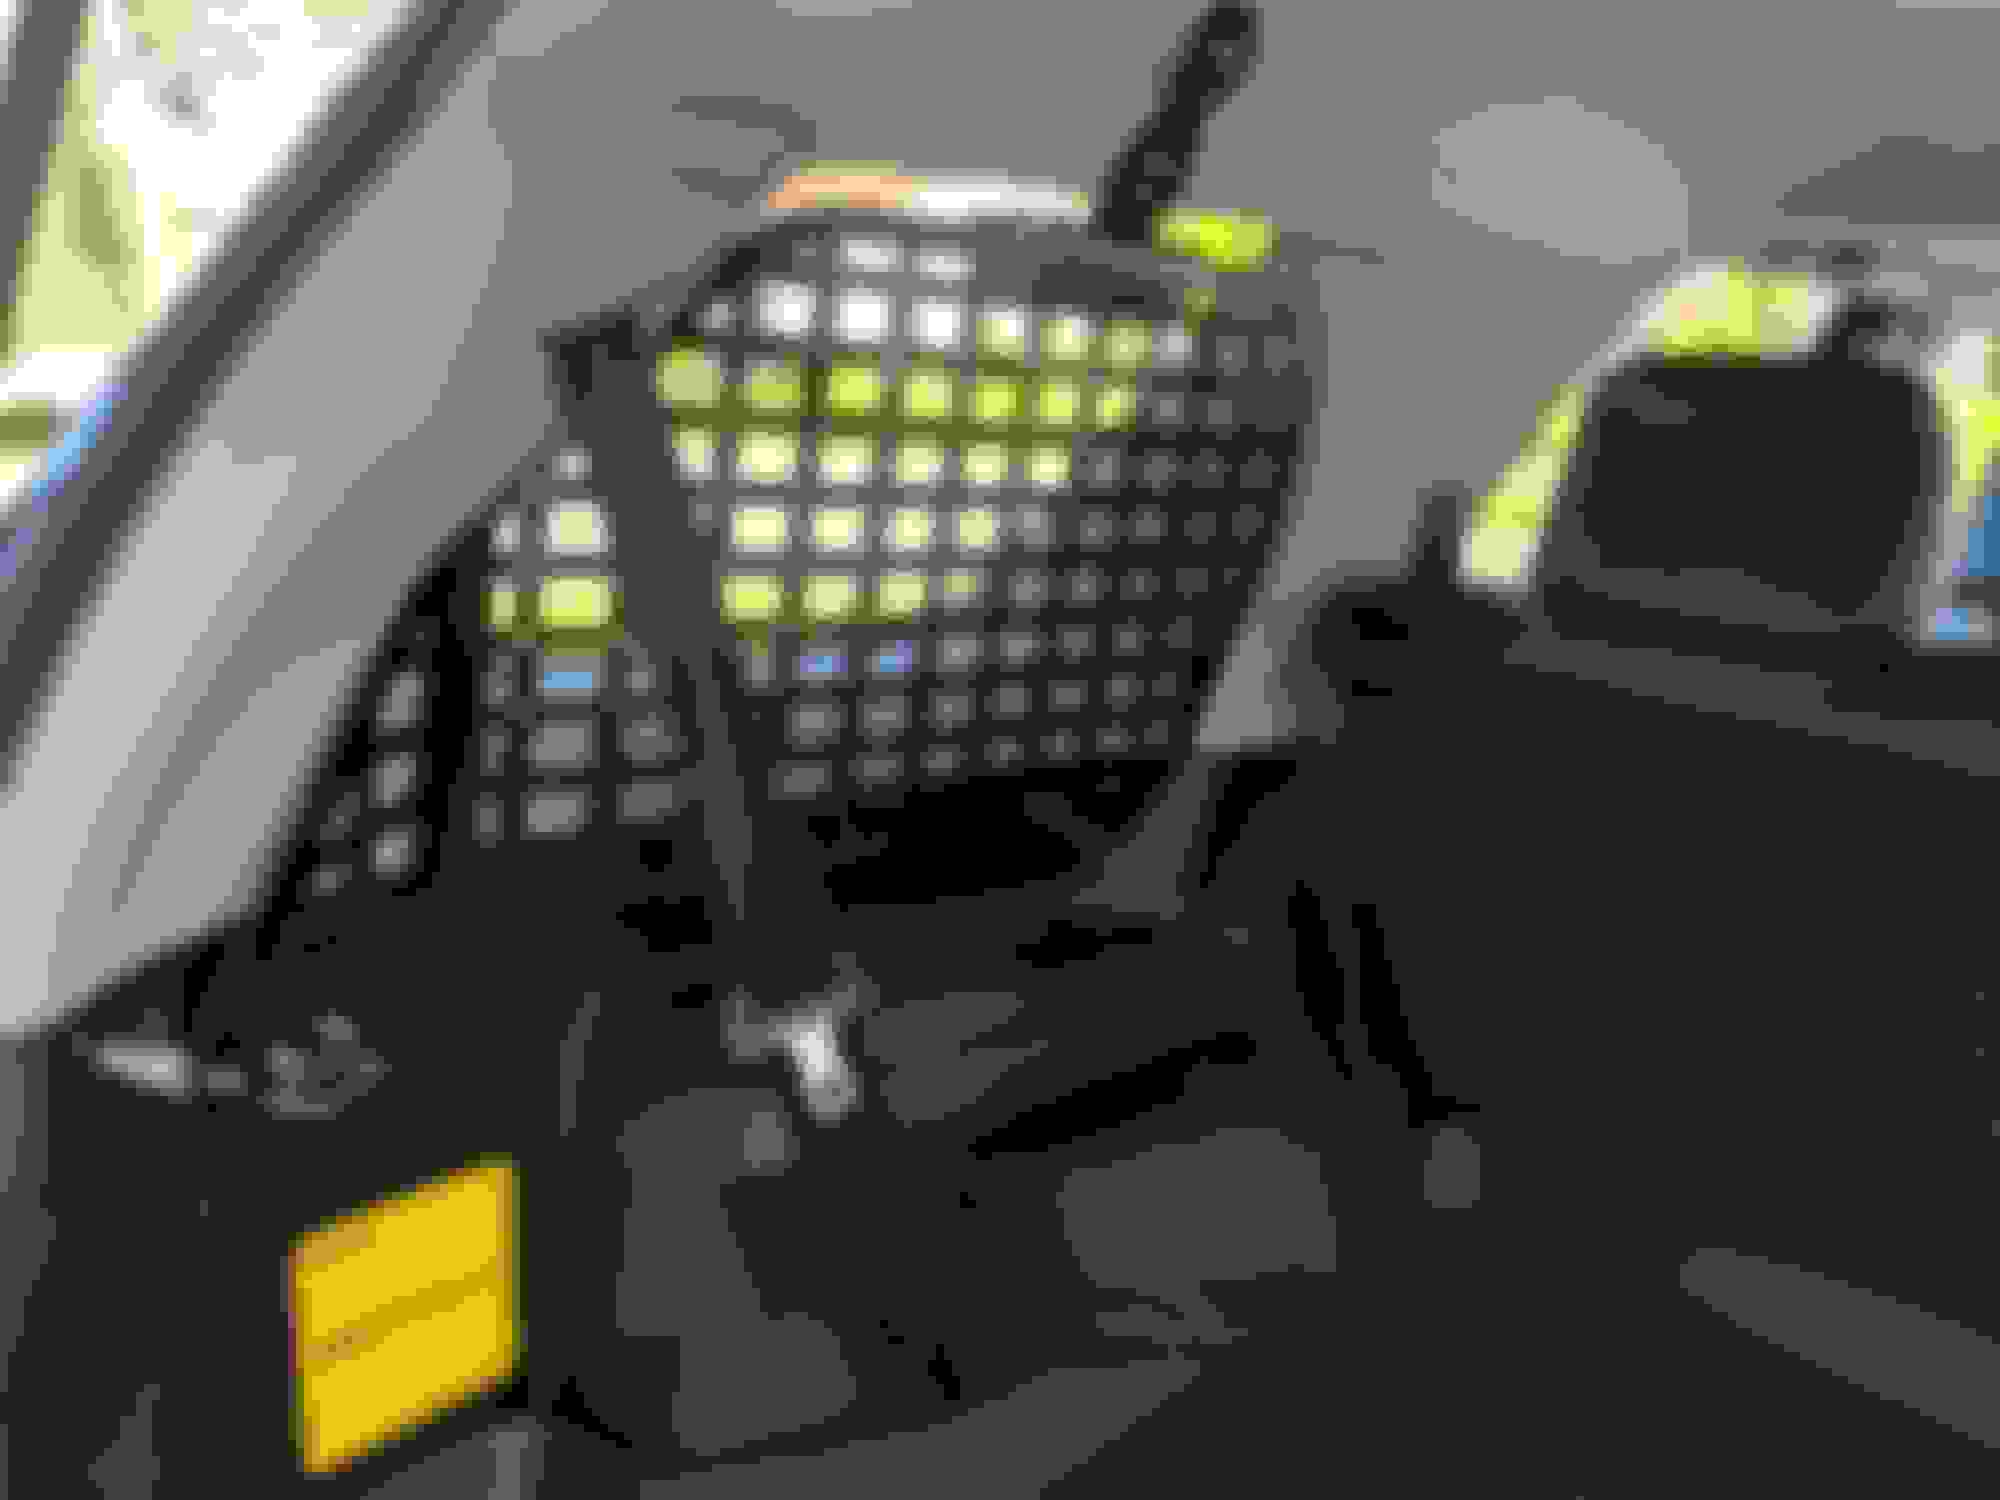
Here's the panels all installed, I really like these, and can't wait to mount all my tools and supplies to these guys
I had them powder coated satin black, I think they look really good
And here it is all installed with the rear seat folded back up, no fitment issues
You're gonna hang yourself from that rack?
that's cool, C Murda...
very cool.
I'm gonna eventually start adding zombie apopkilllips stuff to my yukon too once i get it sorted.
When you texted me a picture of these I literally had no idea what it was
Much more obvious on a computer screen than my phone. They look good. What other project is keeping you from installing the other side? Subwoofer install?
Yeah man, I've bought just about every part they make for the 4Runner lol, trying to get a few more things installed this week hopefully
Originally Posted by rockstar143
You're gonna hang yourself from that rack?
that's cool, C Murda...
very cool.
I'm gonna eventually start adding zombie apopkilllips stuff to my yukon too once i get it sorted.
They actually have a video of their kids hanging from these racks as a demonstration lol, I did a stress test on the rack by shaking it and literally the whole truck moves, these things are solid as hell.
Originally Posted by Ampliified
Saw those racks on t4r looks so badass! Truck looks good!
When you texted me a picture of these I literally had no idea what it was
Yeah, your response had me and the gf laughing though
Originally Posted by CCColtsicehockey
Much more obvious on a computer screen than my phone. They look good. What other project is keeping you from installing the other side? Subwoofer install?
Yeah, planning to rip that whole side of the truck out to put my sub and stock enclosure in so didn't want to have to take the rack out and back in again. Have a number of mods I still need to do
Looks great! Nice that it uses factory mounting points too. Had to go back & forth to see where it mounted. Who needs a coat rack?
Yeah, it mounts to 3 stock bolt locations, that coat hook in the middle of the trunk area is completely useless anyway, plus I added the D-Rings while I was at it, so much better use of space. Need to start hanging my shit on it. The gf didn't get what it was for, she's like you paid all that money to have a built in bottle opener? Yes dear, that's exactly what I did...
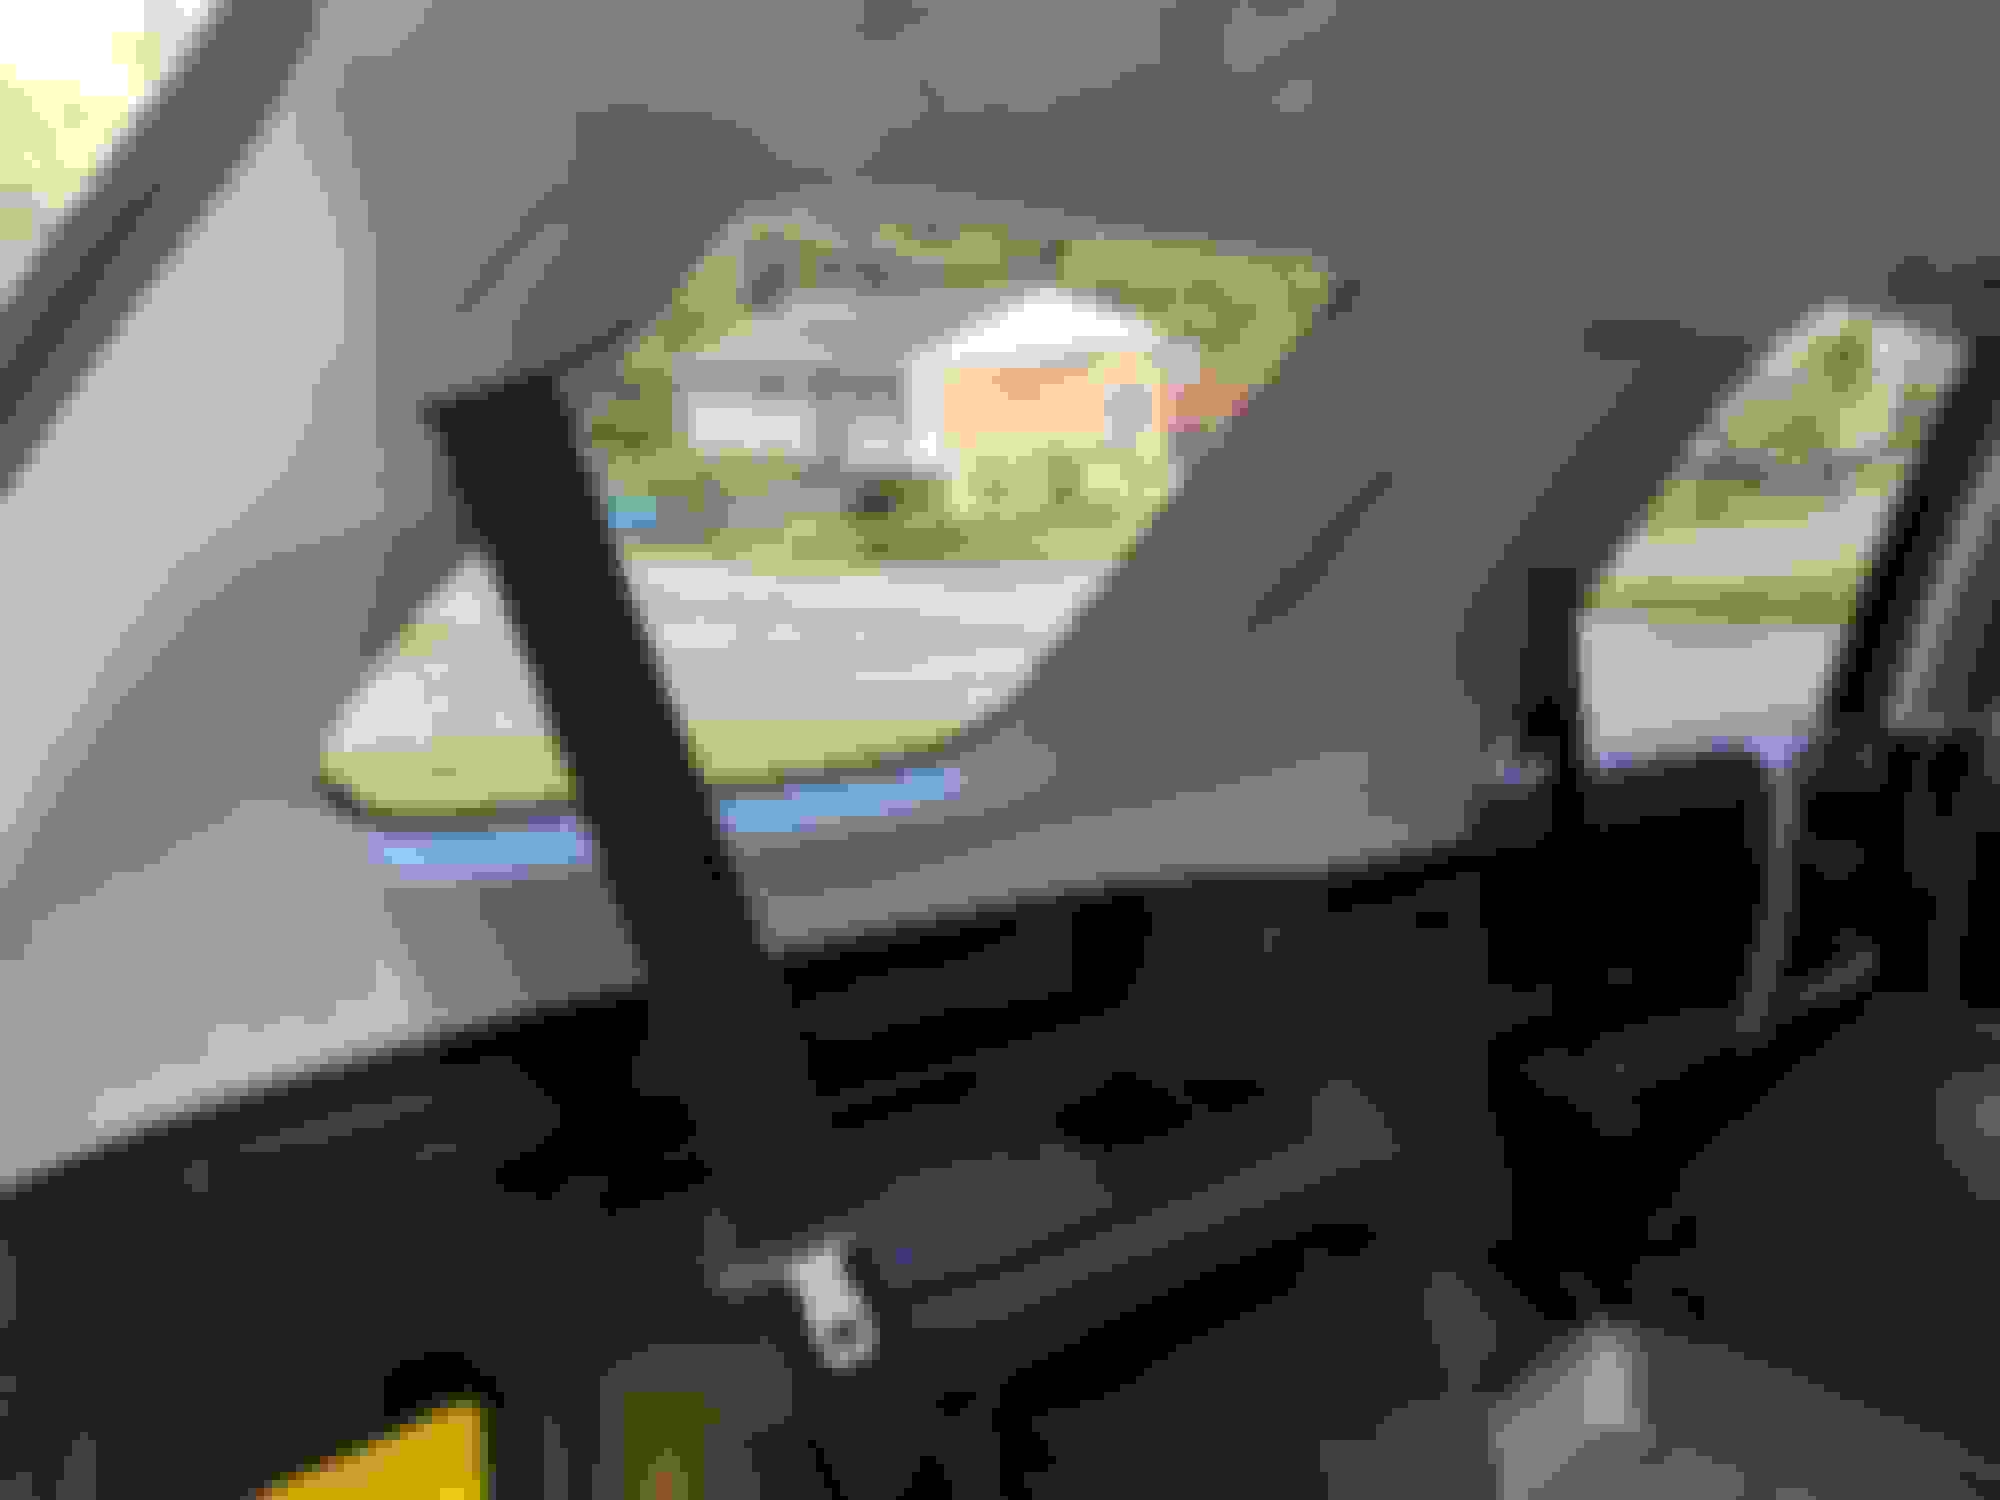
It was kind of funny, I didn't tell her I bought these or that I installed the one. We're sitting at breakfast on Sunday and she looks out the window and goes, did you put some kind of netting in your back window... Me:
Quick mod yesterday, it's still super hot outside so I've been limited in how much work I can do. I've had this underhood LED kit sitting in the garage for the last couple years, I actually bought it for my last 4Runner but never installed it. This LED was super long so I had to follow the contours of the hood. I routed the wires down behind the hood skirt, I didn't get a good pic of the wire routing but it was very easy. I need to clean the salt stain off the hood skirt, it's bugging the crap out of me
Here's the hole that I used for the hood switch, I had to widen the plastic cover and widen the hole itself to fit the switch in there
Here is the switch installed.
And all the wiring cleaned up.
And the final product, this thing is like day light, definitely what I was hoping for, and not bad for something I had just laying around waiting to be installed!
Lord have mercy!
Should have bought a car that was less reliable...you'll never have to pop that bitch open at night to troubleshoot anything on a damn Toyota!
Also there is a red power wire coming off your battery that is begging to be wrapped with wire loom like the rest of the wires and routed in a more hidden path.
That light is really awesome idea though. You are making me think of building one to have in the garage only to use when working on something in the engine bay of any car.
Lord have mercy!
Should have bought a car that was less reliable...you'll never have to pop that bitch open at night to troubleshoot anything on a damn Toyota!
Yeah, I know.... I thought the same thing lol
Originally Posted by CCColtsicehockey
Also there is a red power wire coming off your battery that is begging to be wrapped with wire loom like the rest of the wires and routed in a more hidden path.
That light is really awesome idea though. You are making me think of building one to have in the garage only to use when working on something in the engine bay of any car.
Heh, that's the wire I just ran, and it is wire loomed up until it splits out to the ground for the switch. I zip tied it up for now, may clean it up further at some point, but this is by no means a show vehicle, it's going to have wires all over the engine bay. I'm keeping it as clean as I can lol
Heh, that's the wire I just ran, and it is wire loomed up until it splits out to the ground for the switch. I zip tied it up for now, may clean it up further at some point, but this is by no means a show vehicle, it's going to have wires all over the engine bay. I'm keeping it as clean as I can lol
Had a nice cool afternoon yesterday so I was able to get out and do some more work on the truck, first here's a better pic of how I ran the wiring for the engine bay light behind the hood skirt since I didn't really take one the other day.
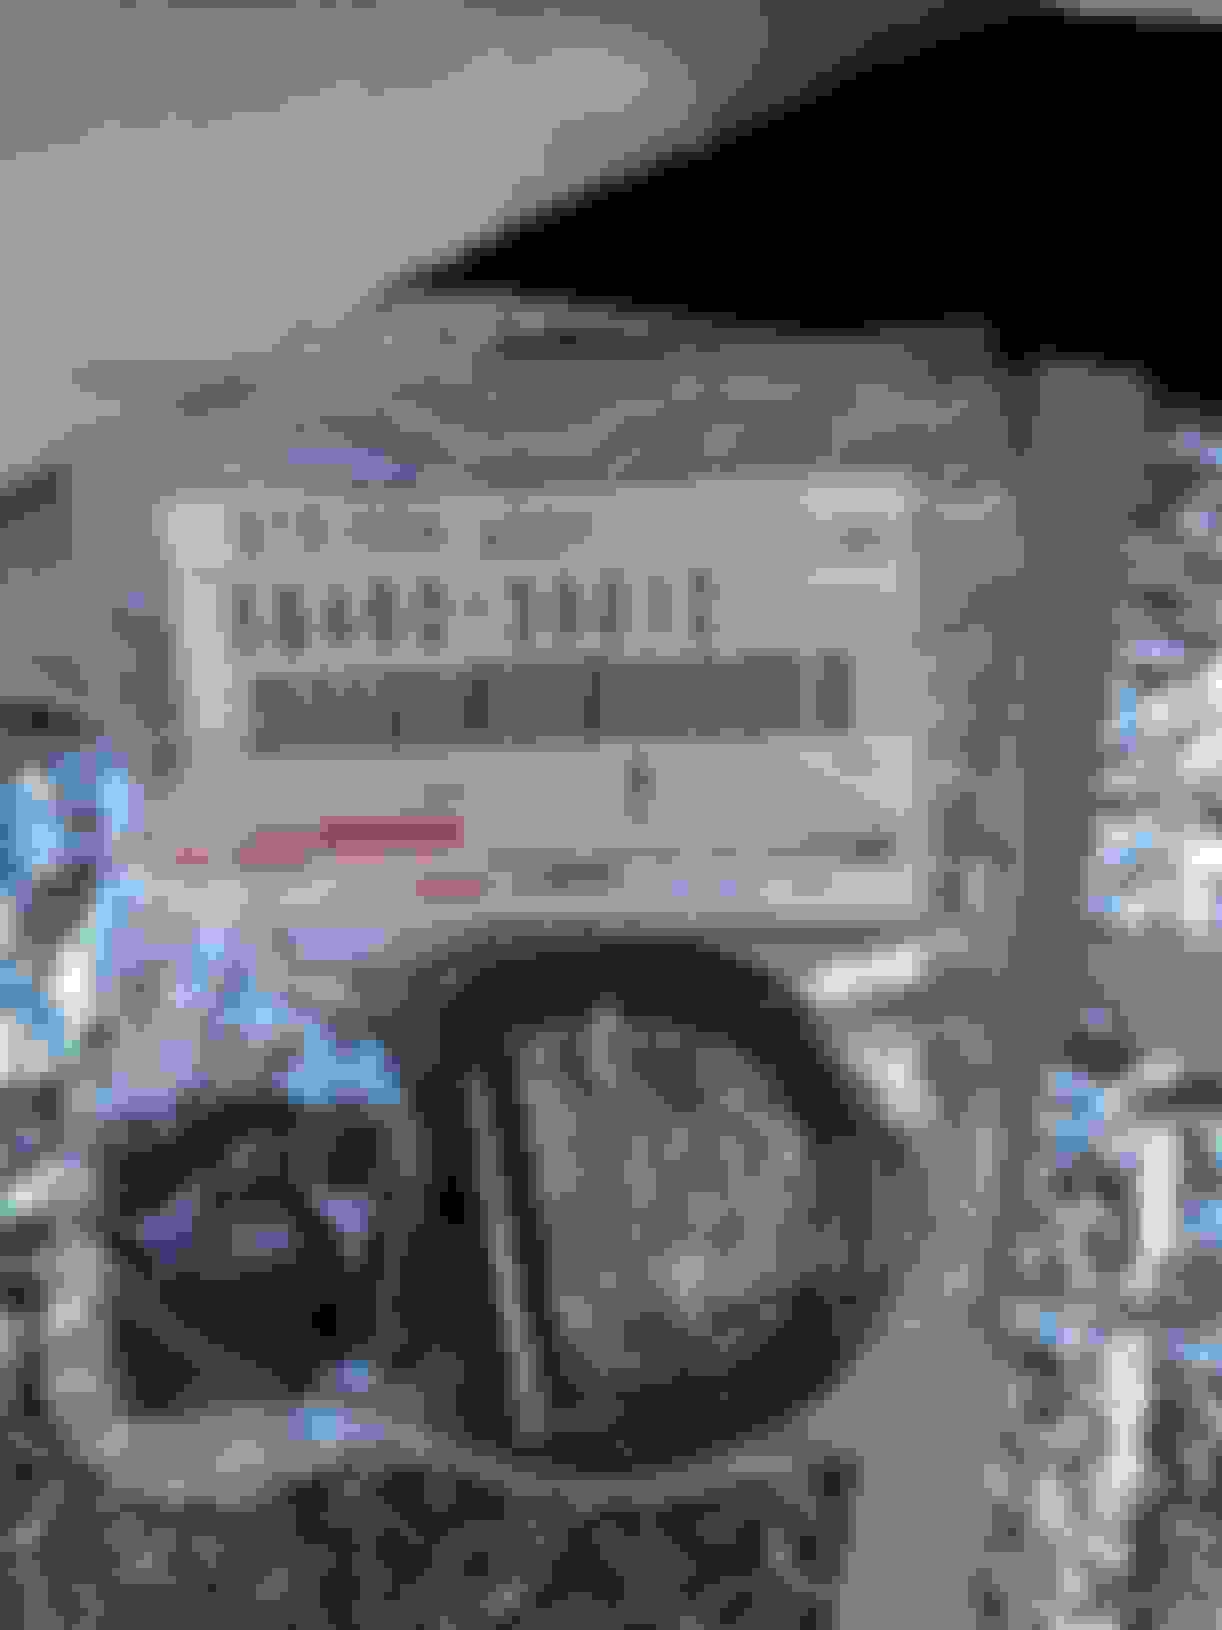
A few months back, one of the fab companies that I support had a "Garage Sale" and had some ditch light brackets along with 6 LED ditch light pods on sale for a ridiculous price, and the whole package cost less than their brackets normally, so I jumped on them. I never really thought I would be putting these on the truck, but for the price and the chance to supplement my 32" LED bar, I said wth. The brackets mount right to the hood bolts and open and close with the hood.
Here they are all installed, I think they'll compliment my black on blue theme nicely.
Getting the lights mounted was the trickiest part, once I got the brackets figured out, I went to work on the wiring.
Wanted to make it as simple and clean as I could so I used connectors, usually I'd just solder and be done with it.
I originally tried fishing the passenger side wire through the hood, but my gf wasn't home and I didn't have anyone to help me fish it out the other side, after about 20 minutes I gave up and ran it along the firewall where I plan to run my amp power wire. I was OCD and tucked it way back and ziptied it up so you can't see any of it and it's nice and stealth.
Then I connected the wires and packaged them all up nice with some heatshrink, after that i wrapped the whole thing in electrical tape and tucked the wires down and ziptied them out of sight.
Here you can see the wiring all tied up and neat, I tried to make it as clean as possible so it's out of the way.
Here's the lights all mounted up on the hood and wired up.
I'm still getting used to them being there, driving this morning with them in view was interesting, I'm debating getting a low profile bracket that would lower them a bit, but for what I paid for the whole set I am very happy with them.
And the aftermath, you can see just how many zipties I used lol, but it looks clean and stealthy in the engine bay.
I didn't get a chance to wire up the switch on the inside, I got the wires fished into the cabin but had to go to dinner with the gf, so I will finish that up this evening.
Looks good, lower profile would look a little better, IMO, but a deal's a deal.
Any excessive wind noise/whistling with them?
No, no wind noise that I've noticed, and I drove on the highway this morning on the way in to work. Funny enough, I already ordered lower profile brackets this morning after I posted pictures lol
Last edited by 97BlackAckCL; 06-01-2018 at 11:48 AM.
It's a fine trade-off as they need to be high enough to throw light over the hood. Otherwise, they're the equivalent of diamond earrings... Shiny, pretty, but ultimately just expensive decorations.
It's a fine trade-off as they need to be high enough to throw light over the hood. Otherwise, they're the equivalent of diamond earrings... Shiny, pretty, but ultimately just expensive decorations.
The higher and further outboard, the better.
Exactly, I like the look and function, they just stick up a bit too far into my driving view for my tastes. The low pro brackets were cheap, so I'm going to give them a go. I can always raise them back up. The Low Pro only lower the lights down about an inch total which should be all I need
Took a couple of farther back shots to show the height and all the LED's together. Honestly from further away I like the look, the only time they bother me is when I'm behind the wheel they're up a bit in my vision, but I feel like they do flow pretty good and look aggressive.
Can't wait to try them on the back roads tomorrow night when I drive out to a concert
Well, Friday I was able to get the switch wired up and all the loose ends tied up with the ditch lights. I shortened the wire so that it would tuck more easily behind the dash, then soldered the wires to the wiring harness.
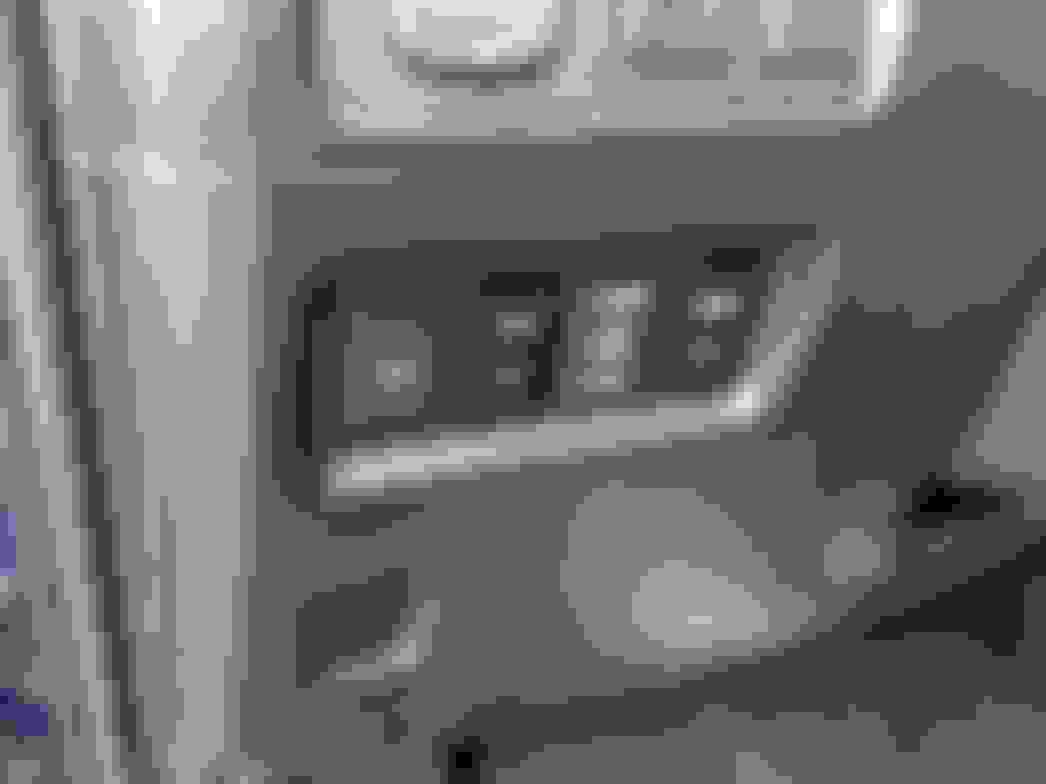
And filled in the rest of the switch bank. I tried moving the wiper heater and outlet buttons over, but they would need to be trimmed and modified to fit which I wasn't a big fan of doing so I'm going with this look for now.
All wired up and working! These things are insanely bright!
I also wire tapped the illumination wire of the wiper heaters button and wired up both switches to illuminate. The top parts light up when the buttons are pushed. (not shown)
Once it got dark I snuck out and snapped a quick pic of the lights. This is just the 2 x 6 LED pods lighting up the garage door. These things are impressively bright and I defintely had some fun on dark roads over the weekend. Can't wait for the low pro brackets to come in and finish the look
And I had to blind myself and snap a pic of all the lights, sucker is looking mean!
 05-23-2018, 10:37 AM


 mods I still need to do