When you click on links to various merchants on this site and make a purchase, this can result in this site earning a commission. Affiliate programs and affiliations include, but are not limited to, the eBay Partner Network.
So I noticed a nice rock chip on the front of my hood, so I ordered a hood rock protector to go with my black out theme on the front, not sure if I'm going to like it, but for $40 I can always remove it if I hate the unibrow look. Hoping it makes the truck look more aggressive with the black emblems and such that I have planned. We'll see when it gets here, need to get some touchup and fix the rock chip now... Here's what it would look like installed, it's low profile enough that I hope I won't mind it, but I won't know till I get it
I was thinking what the best way to color match it would be, apparently they make color matched ones for Fords but not my truck...
Take brand new deflector to auto body shop. Have them paint it. Wait one month for the paint to fully cure. Have clear bra installed. Something Something....Winning!
Just a small update, not with the 4Runner, but I had the gf's Suby tinted by the same guy that did my truck, GF liked my tint job so much she asked for her fronts to be done for her bday, so I obliged. The 35% matches the backs almost perfectly
Nah, not with 35% I've had it on my last few vehicles and never had an issue. I got pulled over in my Ack once by a cop who was a member of Azine and all he wanted to do was check out my car. He told me he had no issues with my window tint but wasn't a fan of my tail light tint
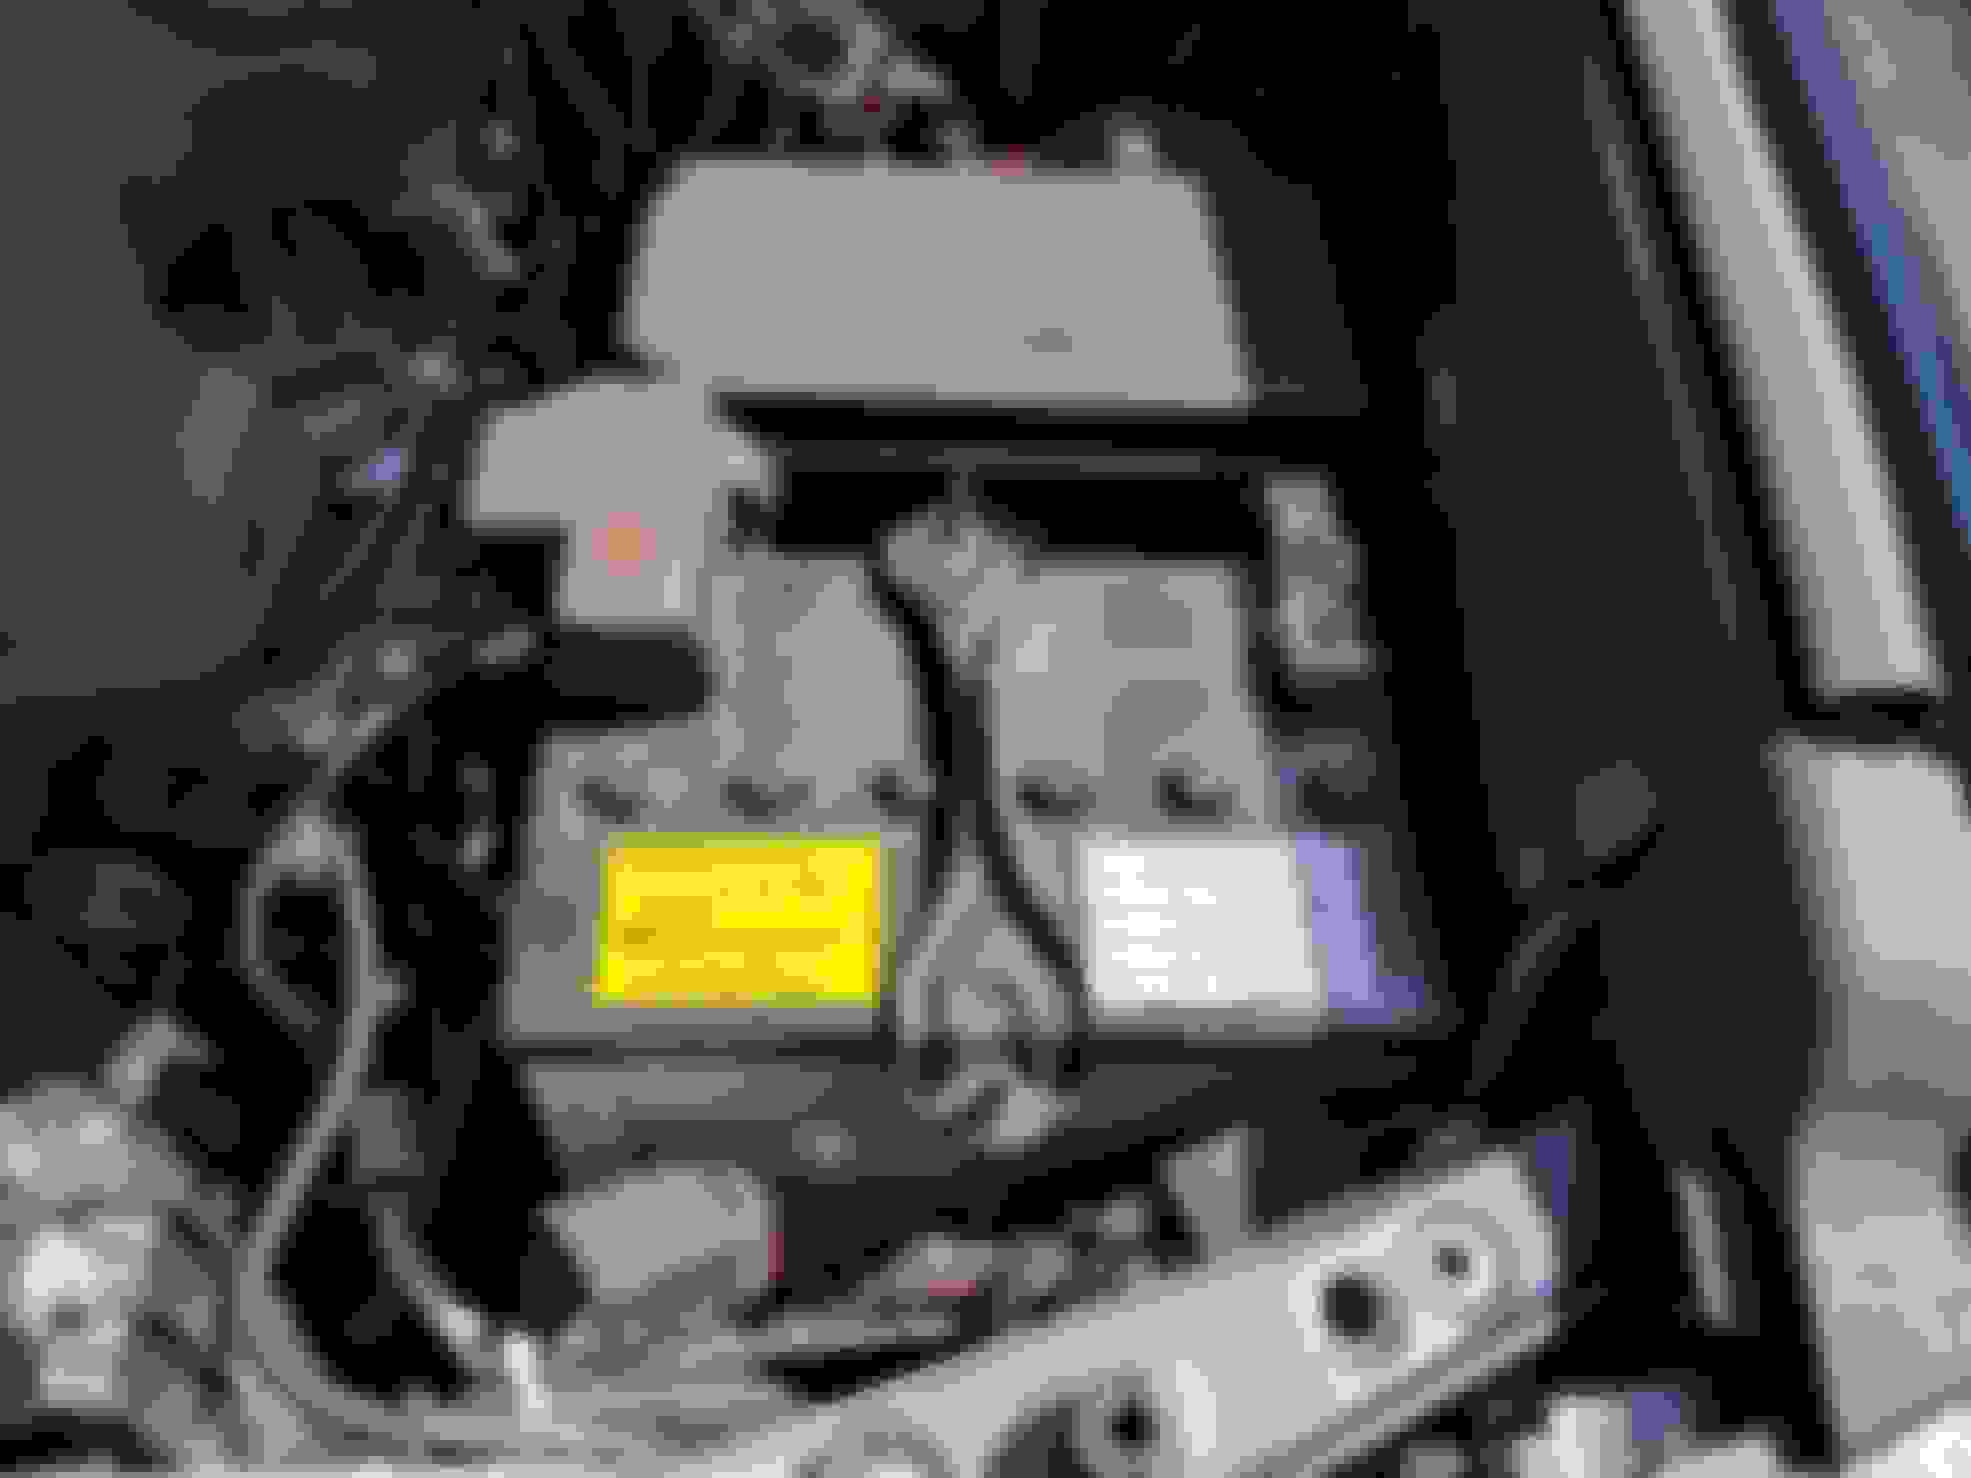
So, busy day yesterday. Got a number of small projects checked off the list all at once. I had some wiring that I wanted to clean up, a new battery to install, and some LED markers for the Raptor mod that I wanted to add, as well as a TRD Intake piece. So here's a quick run down of some of the work I did. The engine bay was dirty and had some salt residue from the winter so I wanted to detail that too while I was in there. Here's a before
And the stock battery. I wasn't real happy with the temporary way that I had some wires run for the HID's and such so I planned to clean those up while I was moving things around
Here's an example of the HID wiring that needed cleaned up, I wanted it more hidden and tucked away and not out in the open like this
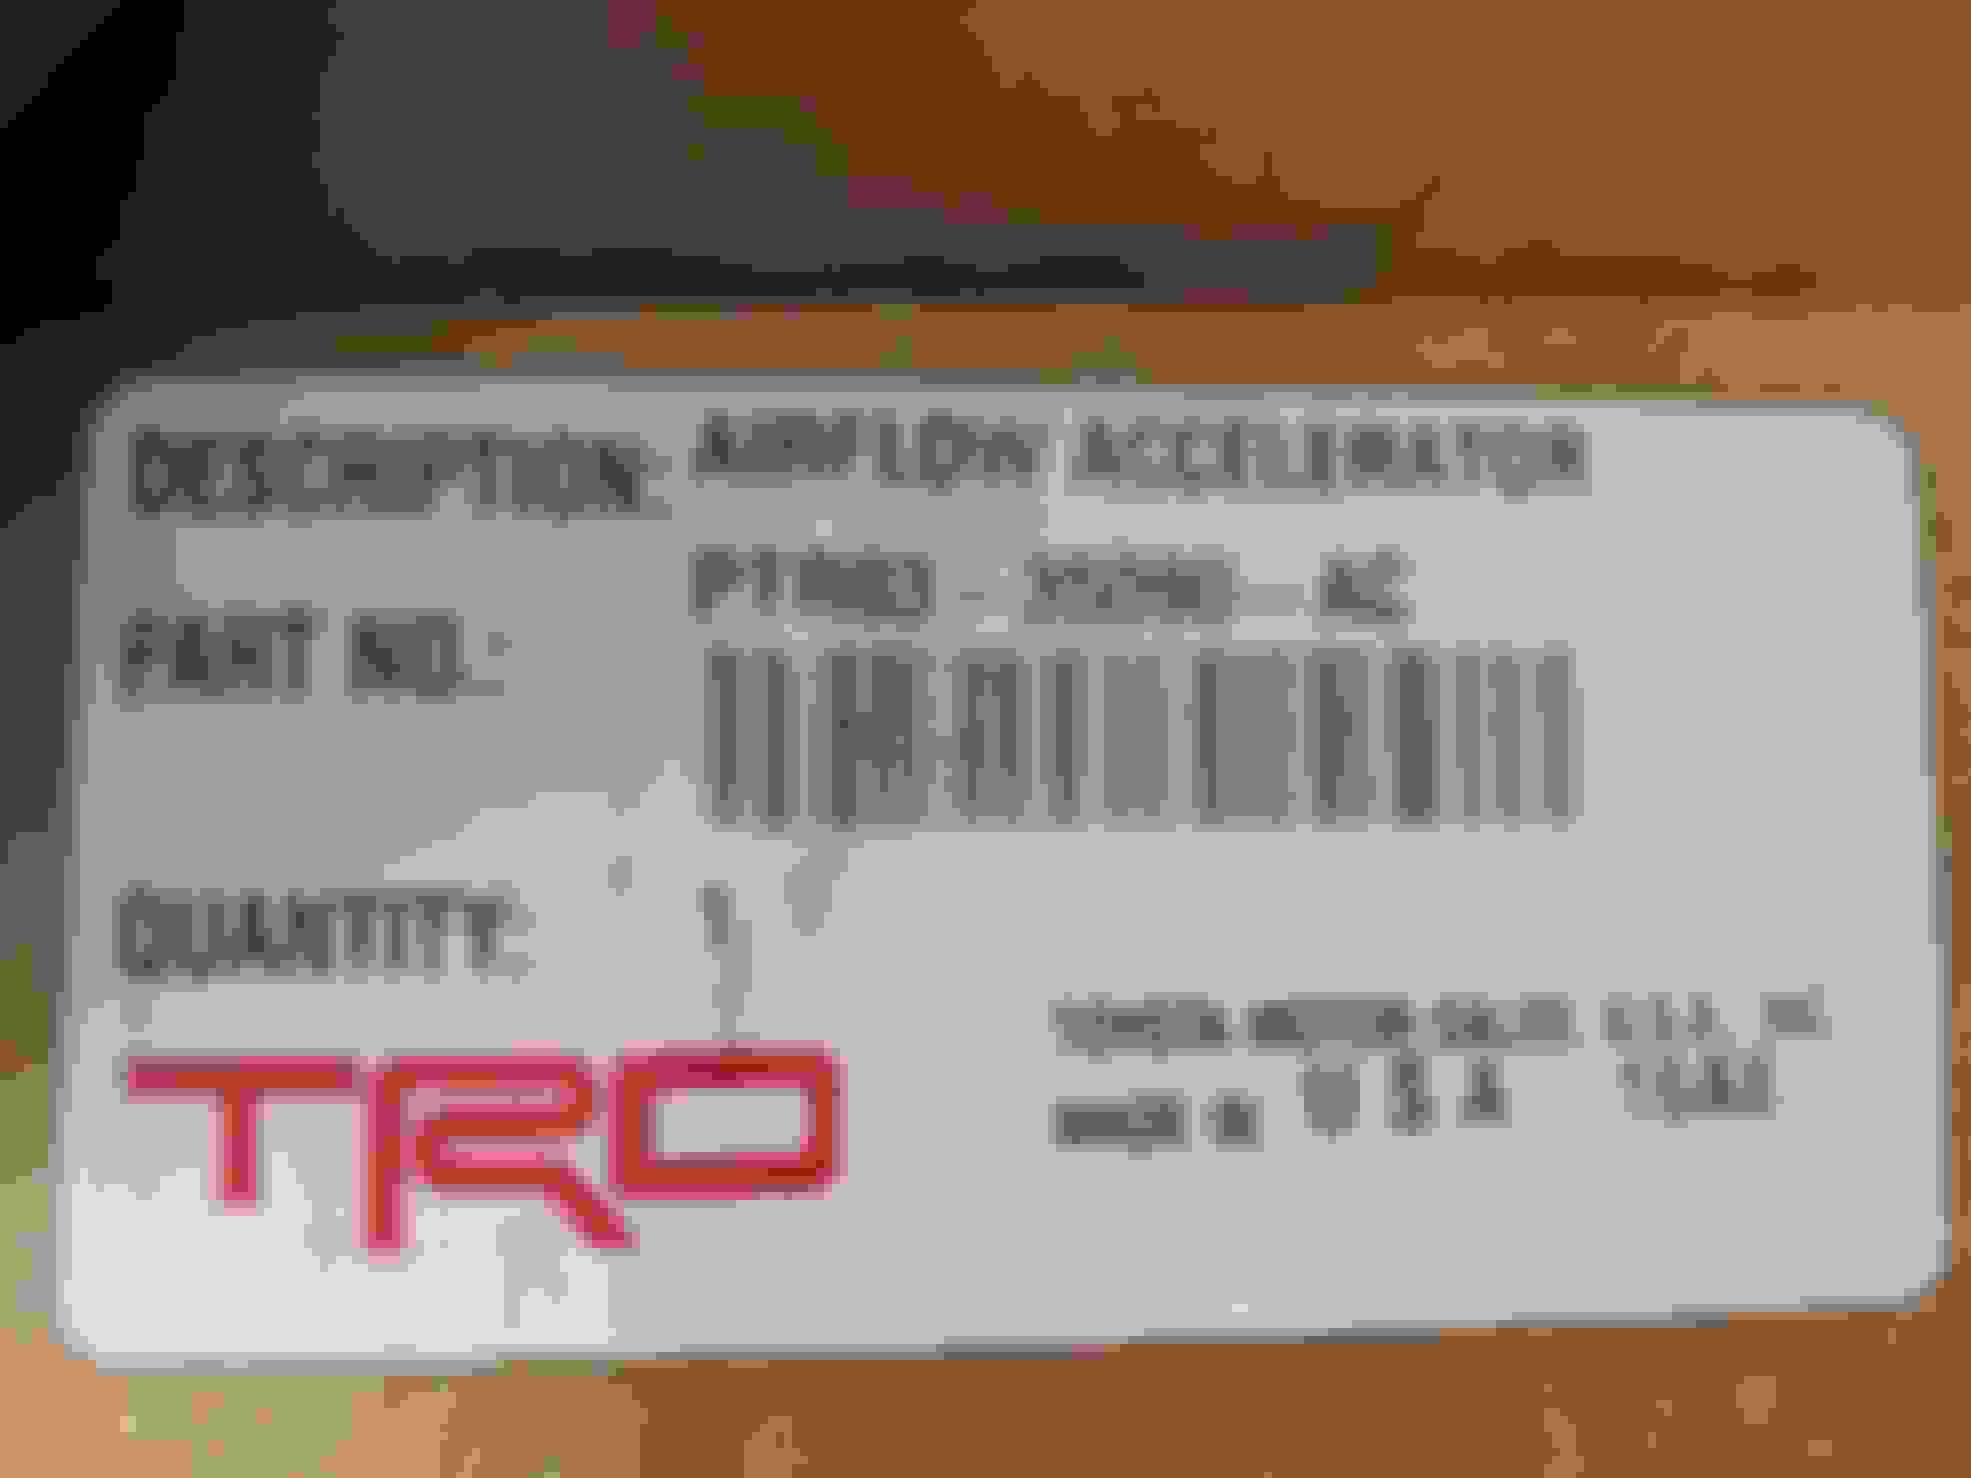
First mod was the TRD airflow piece for the intake, the TRD intakes run between 3 and 400 bucks and I really didn't want to pay for one, especially since I already dropped some coin on the K&N Drop in filter which isn't compatible with their intake (go figure). So I picked up this piece for like $10, this is one of the main components of the TRD intake, and aside from this and a better flowing filter, there isn't much difference between the stock air box and the TRD.
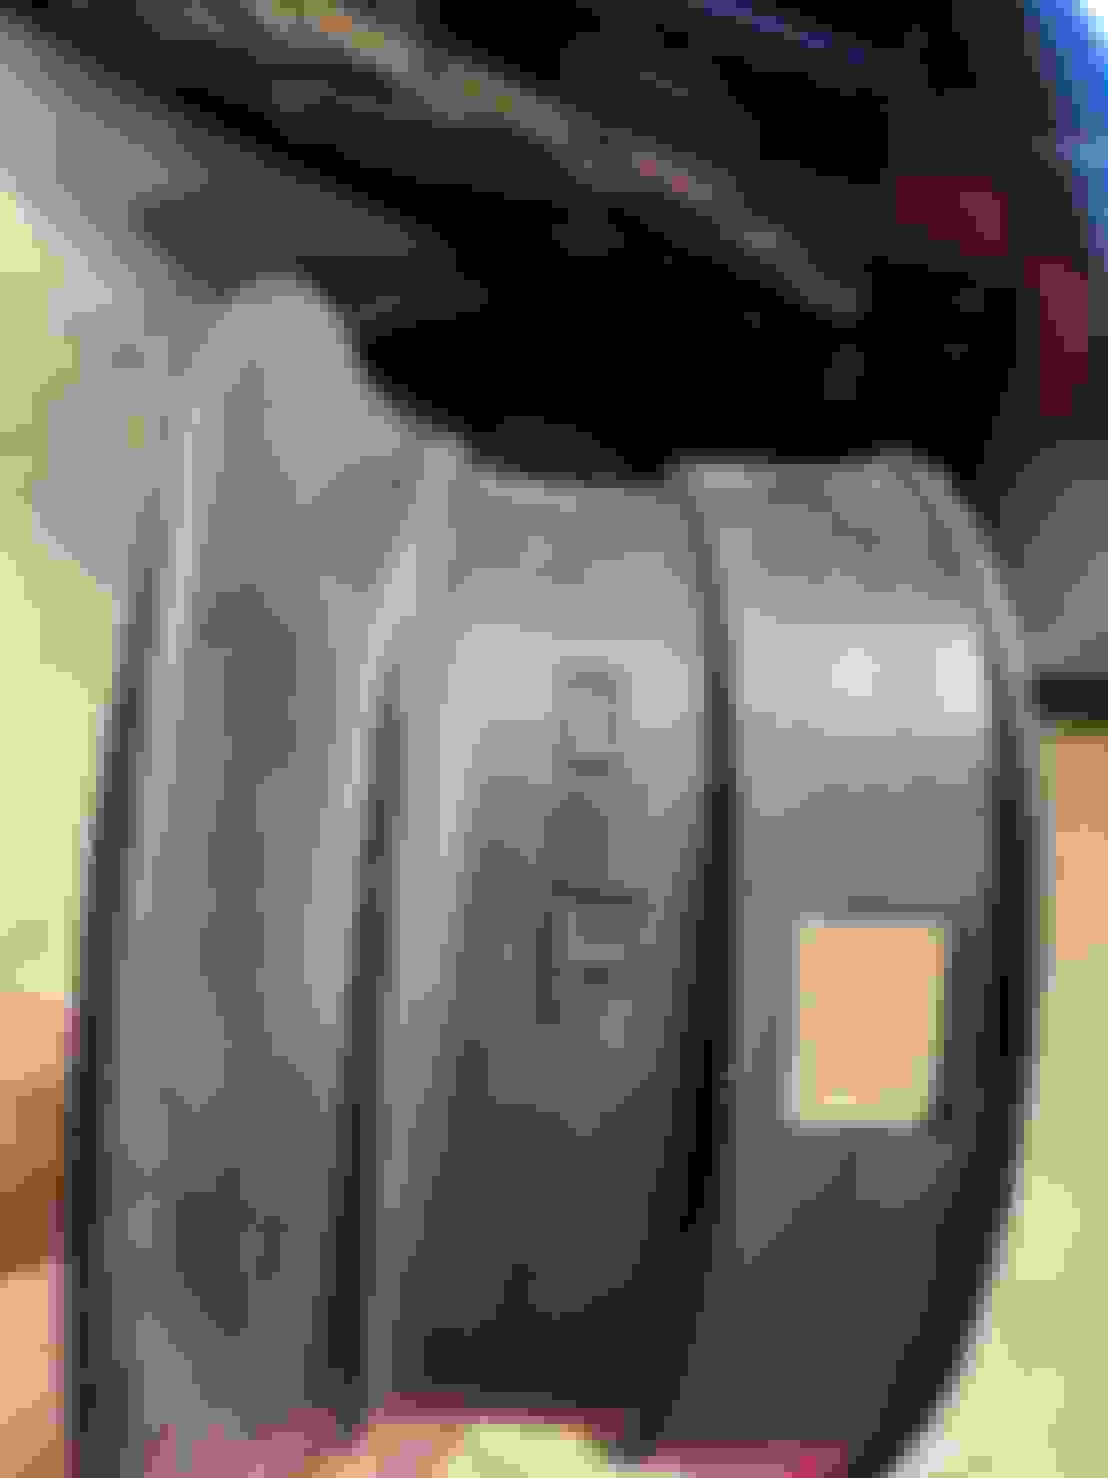
Here you can see the stock air box air inlet, it goes into the fender well for a CAI style, but it still draws warm air from the engine bay.
So for $10 I figured I'd throw this piece on which is designed to go into that inlet and force more air in from the fenderwell and not the engine bay, notice it even has the TRD stamp on it
So I mounted this sucker up, here you can see the difference in the air flow.
The notches don't line up between the stock air box and the TRD piece (go figure) so I threw on a hose clamp to seal it and keep it in place. This hose clamp was actually from my old dryer vent lol
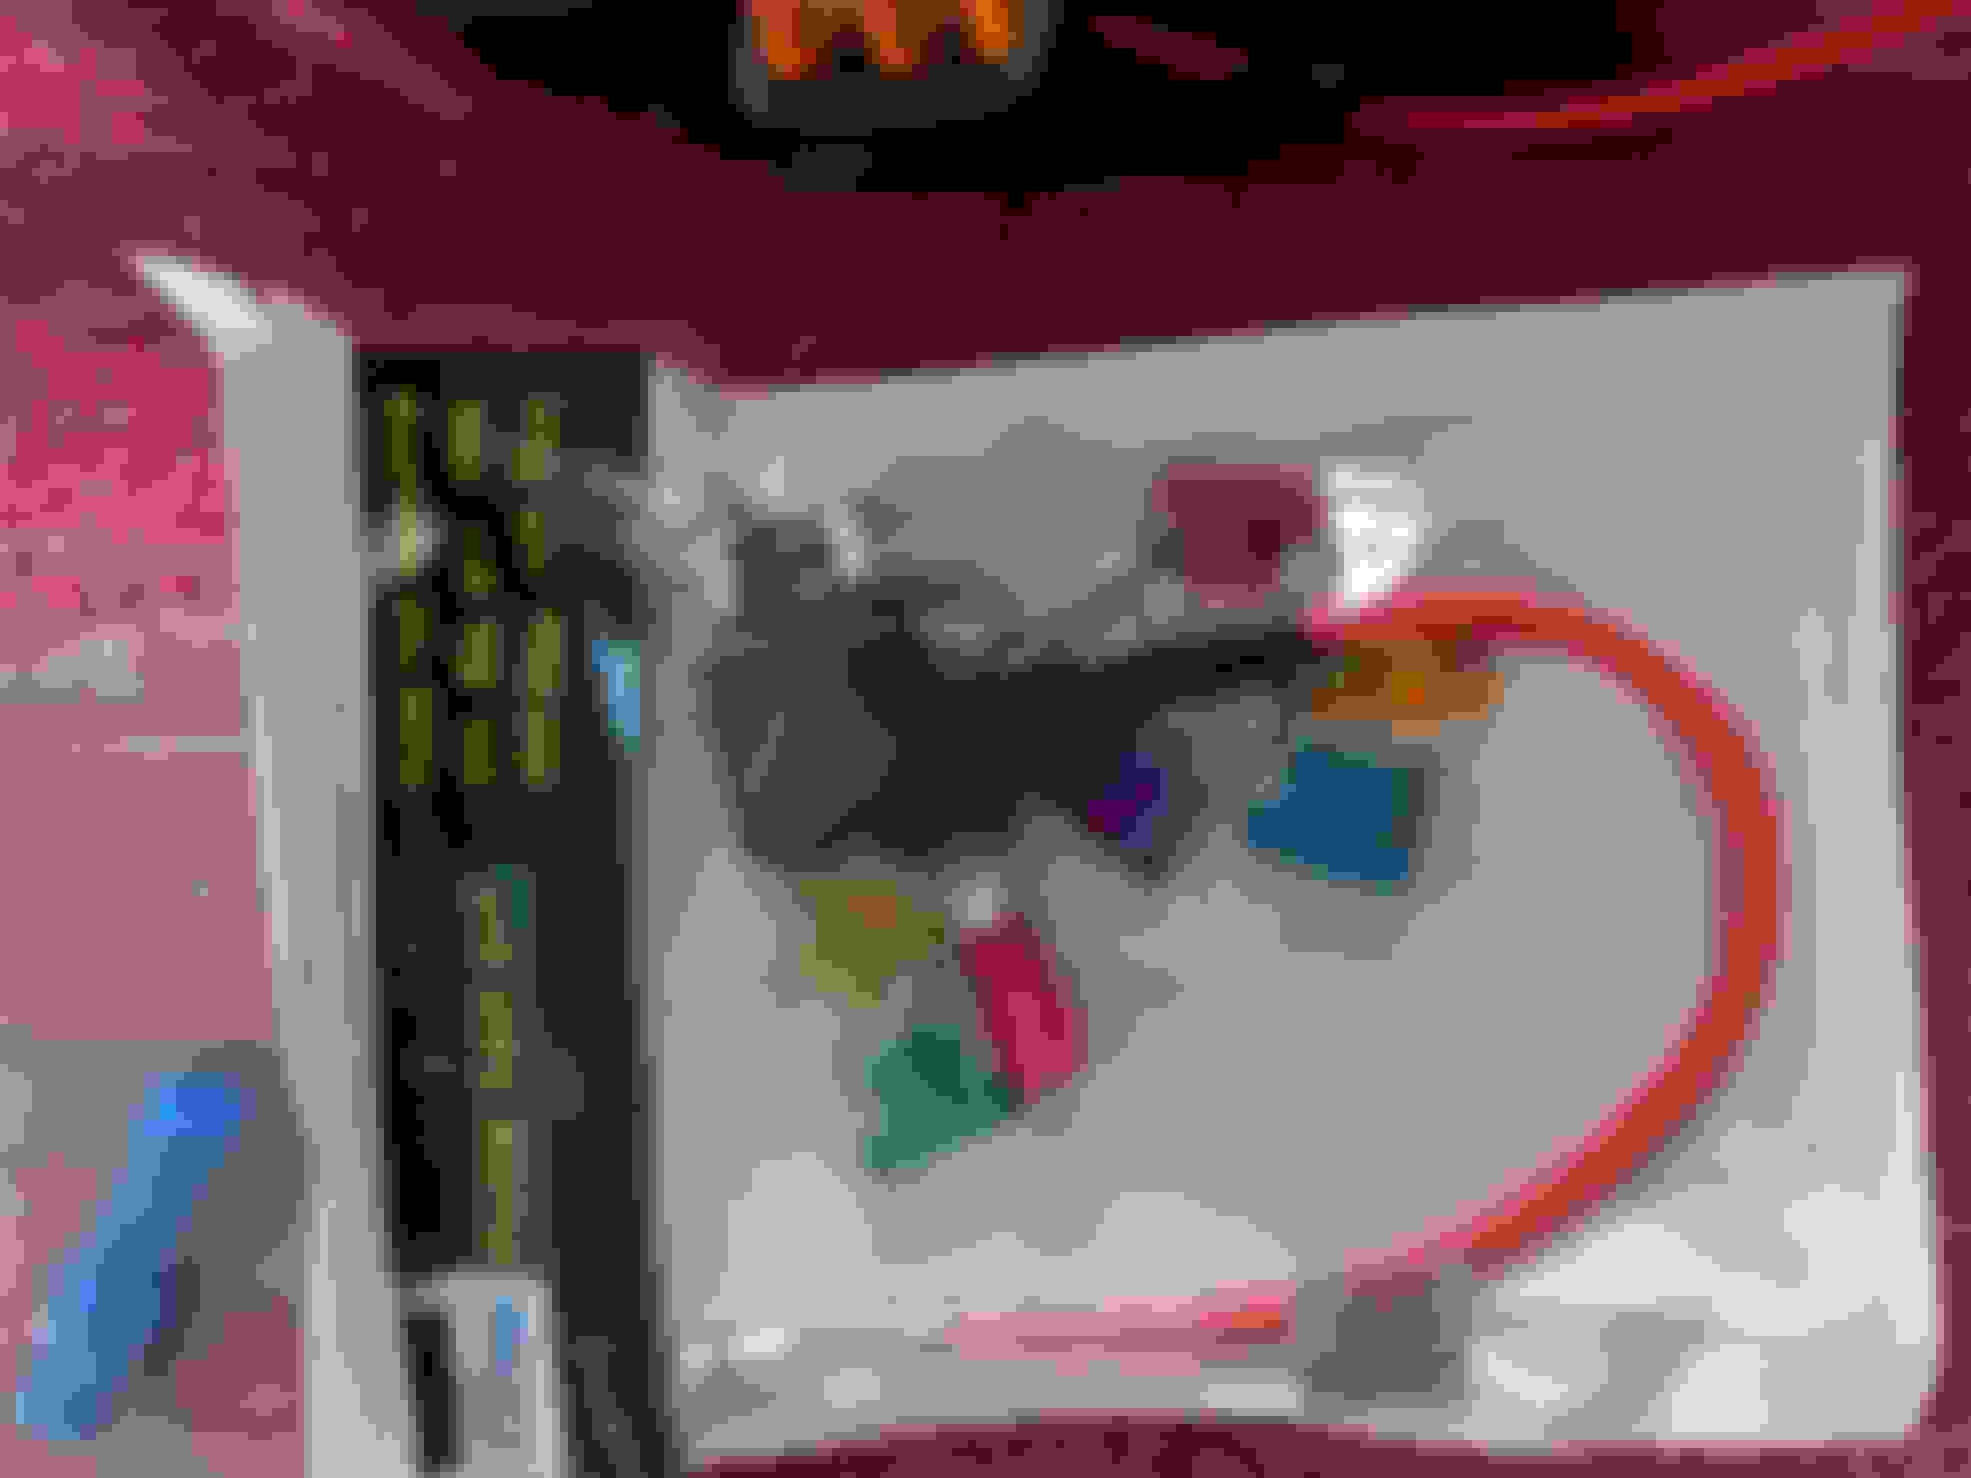
After I got the intake all reassembled and cleaned up I moved on to the next project on the list, the raptor mod. I got these from another member on my 4Runner forum and they were brand new, so I got a good deal on them and they came prewired and ready to install.
Install was pretty straight forward, just zip ties, I'm debating if I want to modify these at some point to go behind the grille to match the stealthier look of the light bar or if it's even worth the effort
Unfortunately for me the fuse box changed with my later model truck so I had to buy a different fuse tap, but big deal I still saved a bunch on this kit and didn't have to make my own so I grabbed one on Amazon
Testing out the lights
And here they are all installed, I tapped a spare fuse so that they only come on when the key is in the ignition or the vehicle is running so they act as day time running lights, mainly because my 08 had amber corner DRL's and the 4Runner's DRL's are the highbeams, so the amber is a nice touch
My original thought was to tap the amber corners so that they came on as driving lights, however I normally only run with no lights or the DRL highbeam lights, so I wouldn't get the use out of these that way or more at night, plus I am trying to avoid tapping stock wires to avoid any warranty arguments down the road, but it sure does look pretty this way
Here's some of the cleaned up wiring that i mentioned, I extended the passenger side wiring harness so I was able to tuck it down and clean up the wires, no more wires running across the top of the engine bay
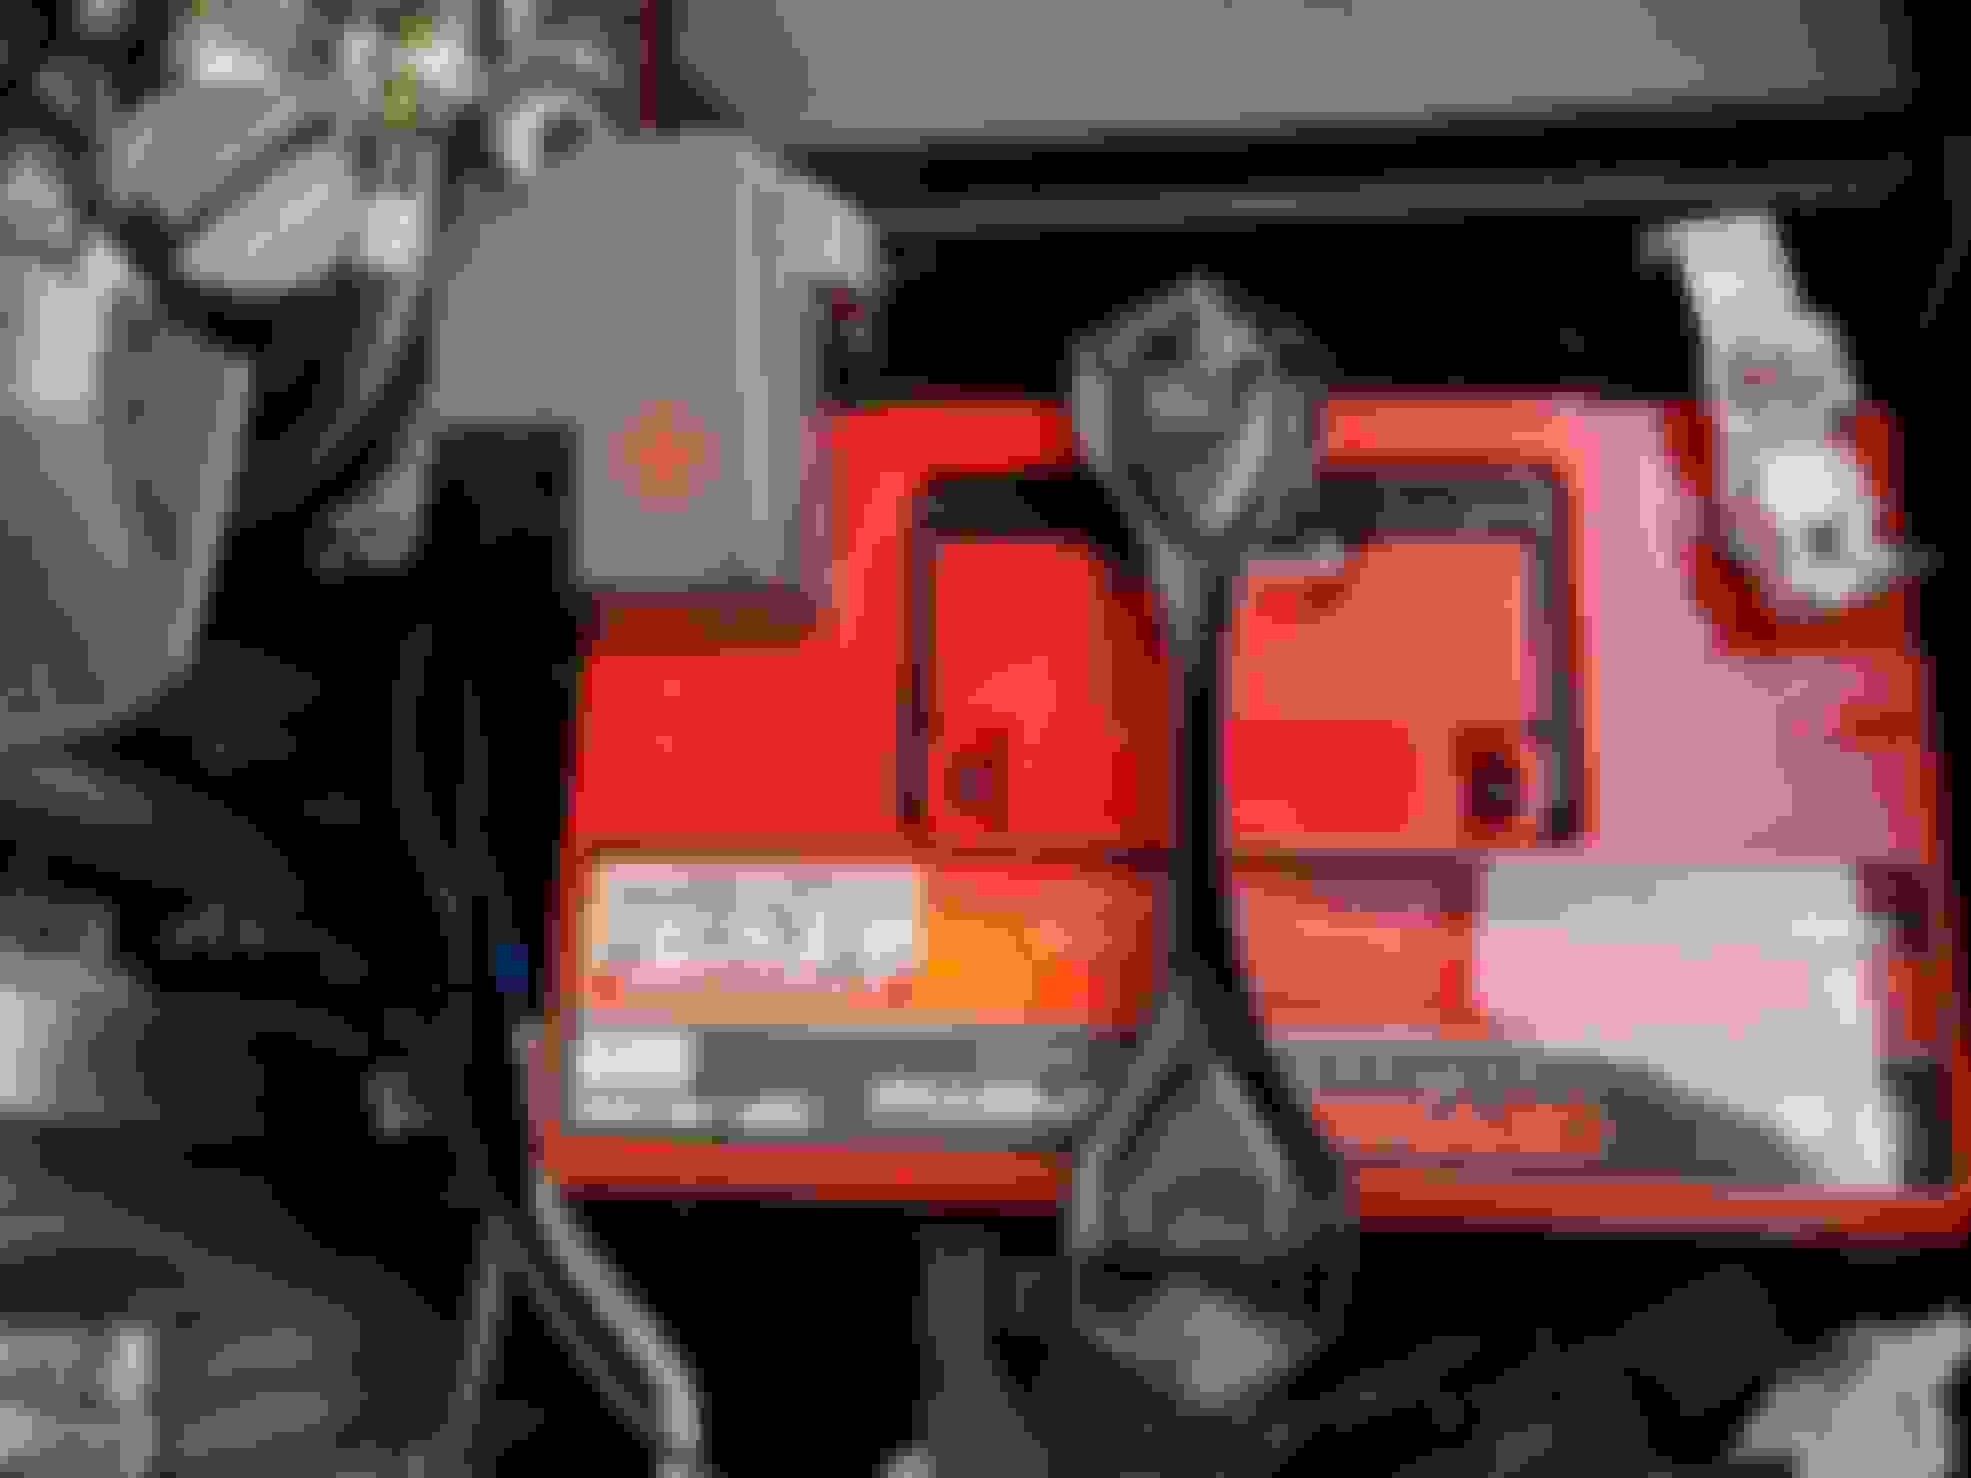
And now time for the new battery! It had been sitting on the landing by my front door for a couple months, so I'm sure the gf was happy to see the box gone, she commented on it as soon as she got home lol, and I was happy to see it go where it belongs!
Since this is a smaller form factor I also grabbed the spacer to ensure proper height, I've dealt with this on Optimas in the past, but never had to actually buy a separate spacer... But it was only 5 bucks so whatever
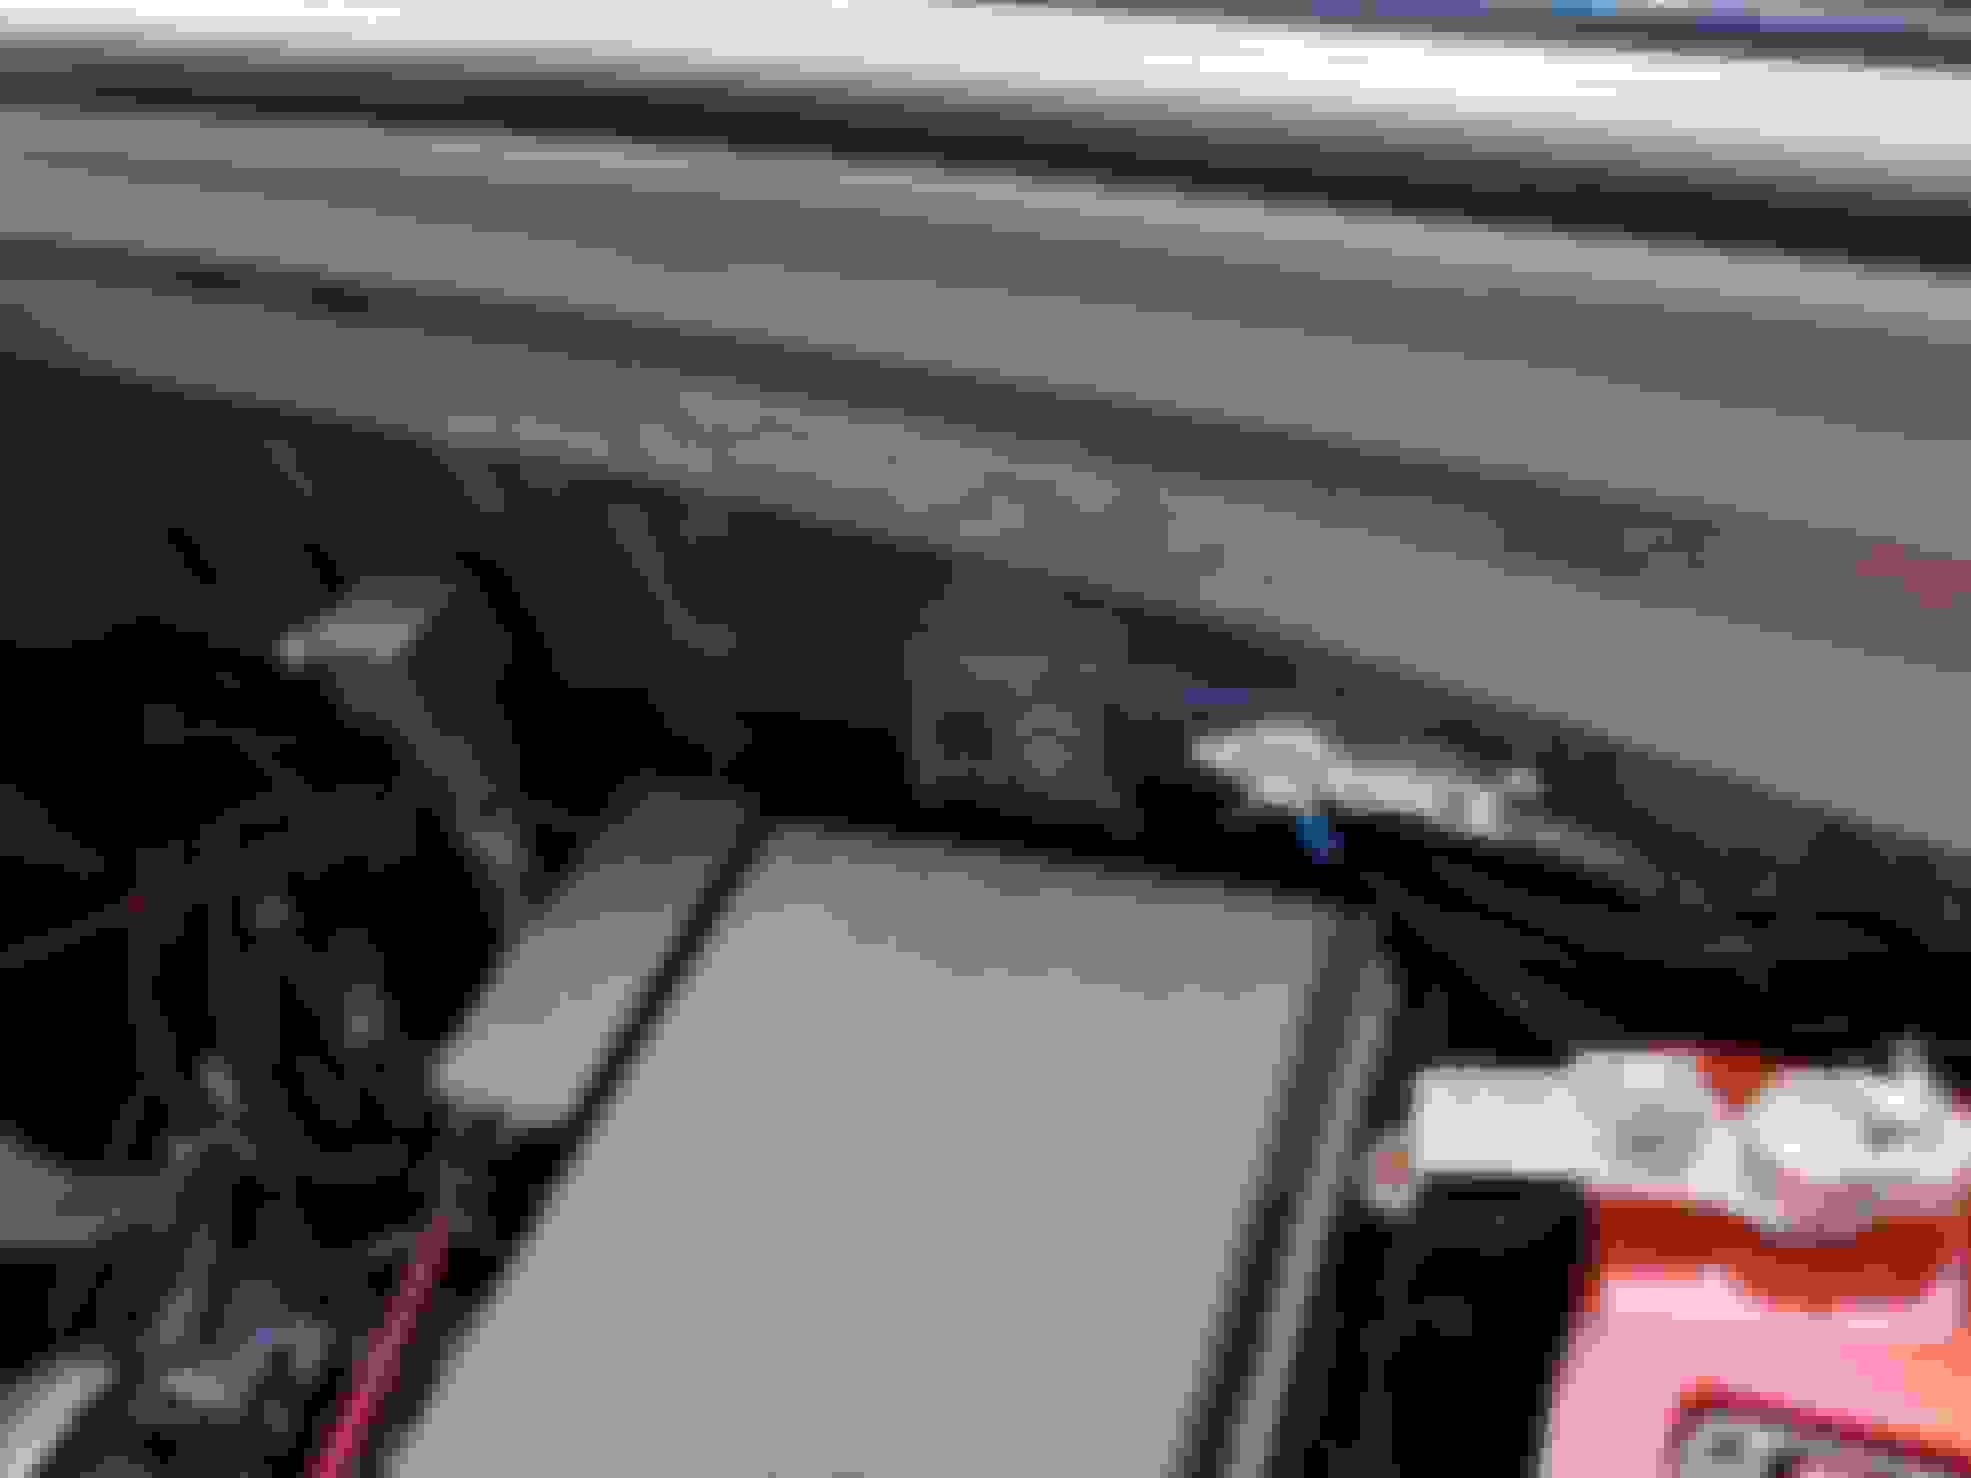
And here it is all installed with the wiring cleaned up and rerun. I don't plan to run too many accessories other than some more LED lights and a sub and amp, so this battery may be overkill, but you know me I like to go overboard
Here you can see the LED bar wires cleaned up and the relay mounted to the relay harness, I also had a bunch of wires by the negative post that had to be rerouted so it's a lot cleaner now
And here's the battery all completed and mounted like it belongs there
And here's the money shot! After I got everything all bolted up and put back together. I could have sworn that I took an after engine bay shot all cleaned up and detailed with the new battery but apparently I didn't. I was too happy to get everything back together and get the truck moved before the gf got home.
A bunch of little mods, but I'm happy to have knocked them off the list. I still have a little more wiring cleanup to do, I'd like to shorten the LED bar wires and reroute the HID relays to take advantage of the relay mount, but those can be addressed once some additional parts show up. Overall I'm very happy with the updates, and the battery is amazing, I started the truck this morning and there was zero hesitation on the fire, it started up instantly. Also, I'm not sure if the intake mods or resetting the ECU, or the battery, or all the above combined, but the butt dyno was definitely happy with the quicker throttle response this morning. We'll see if that continues, but either way I'm loving this truck more and more each day!
So I like those little lights on the grill but not a fan of the install. I don't think it would be hard to clean it up and make them look better. Since they already have screw holes get some small black bolts, some washers, and some nylon lock nuts. That together with a small strip of black coated metal or even some black plastic sheeting you can make a backing plate on the other side of the grill keep the nuts from pulling through. I think it would really clean the front up. You paid all that money for a nice truck you don't want zip ties holding your lights on
So I like those little lights on the grill but not a fan of the install. I don't think it would be hard to clean it up and make them look better. Since they already have screw holes get some small black bolts, some washers, and some nylon lock nuts. That together with a small strip of black coated metal or even some black plastic sheeting you can make a backing plate on the other side of the grill keep the nuts from pulling through. I think it would really clean the front up. You paid all that money for a nice truck you don't want zip ties holding your lights on
Geez, tough crowd
That's the plan, I wanted to see how I liked them there and if I wanted to try and modify them to go behind the grille or not. Since I like them on the front of the grille I eventually plan to do black screws and washers
Alright Colts, so another member on my 4Runner forum made a diy and did use black screws and washers, I was planning to follow his mounting technique down the road so this should make you happy. I grabbed these from his YouTube vid, this is what I will be doing with mine now that I've gotten used to the look. I ordered the same screws and bolts that he used, so shaddup!
Oooh... This would be a perfect candidate for some 3D printed plastic doohickeys that fit in the diamond grill cutouts with a flange on the back to pinch the lights in place and tapped for your mounting bolts.
Honestly, with the rubber seals on the back, they butt right up against the diamonds and don't move. Honestly the zip ties aren't even noticeable since they're black and blend right in.... But Colts had to say something
I dare you to make a plastic black shroud to go around the amber lights so it doesn't look like you tie wrapped/screwed some reflectors onto the grill of your $40K SUV.
Get off the 4runner forums, they are poisoning your mind!
You can't even see the black zip ties. Jason already got me to order new screws so it will be resolved shortly. Yes, I ziptied my amber markers on my 40K SUV, sue me! I also installed a $300 battery
I also ordered more extensions for the HID ballasts so I can tuck/hide the wires even farther and move the relays back away from the headlights, and ordered some roof rack mounts and another project. The sickness doesn't end!
I dare you to make a plastic black shroud to go around the amber lights so it doesn't look like you tie wrapped/screwed some reflectors onto the grill of your $40K SUV.
Get off the 4runner forums, they are poisoning your mind!
You can't even see the black zip ties. Jason already got me to order new screws so it will be resolved shortly. Yes, I ziptied my amber markers on my 40K SUV, sue me! I also installed a $300 battery
Just looking out for you so you don't ruin your new $40k 4runner
Oooh... This would be a perfect candidate for some 3D printed plastic doohickeys that fit in the diamond grill cutouts with a flange on the back to pinch the lights in place and tapped for your mounting bolts.
Originally Posted by cu2wagon
Yes.
But I don't have that grille. Nor the time. Or technically the software and printer but that's easier to overcome.
Originally Posted by cu2wagon
Hmm... But now that I think about it, I did recently convince a friend to buy a new Trail. Let me check out the grille and see what I can do.
Now this would be really cool if you can make something like that.
 05-07-2018, 02:18 PM


 yeah that might have come off a bit harsh