
FOCAL BERYLLIUM BMW 323ci (Belgium).
 06-02-2011, 02:14 PM
#1

FOCAL BERYLLIUM BMW 323ci (Belgium).
:spiteful: :spiteful: A little word of me...
I was always interesting in car audio.It Is my biggest hobby , every time i got i spend it on the car.12 year ago i had a fiat 500.I whurk 3 years one the car for restoration it and building a stereo in it..I did some competition wit it and from the 19 games i did I when 17 first ..My second contest was at the european final in PARIS en i was second afther THOMAS (swipe) WESTMAN from sweden.The next year I was in BIRMINGHAM ( IASCA FINAL).I was first in my class and the first place BEST OF INSTAL.Then i make a decision to stop white contest.I was one my highest level .
In the years i was competing i was always working on the car for making it better and better.Evry minit I got I spend on the car..
there was always the presure of performing beter . When i began on this project i make the decision ,to make something beautiful en having fun and now presure.I NOT going to compete whit this car..Not whit the speakers on the A pillar, and not with the plexy sub box.
Writing this is not so simple for me.I understand, and speak english but that's everything.i can't write englisch i am translating my words with the help off a translation program.It's not so simple for me to tell everthing in detail. But i hope you will understand.I realy hope to get some comments good or bad.everybody had his opinion about car stereo.
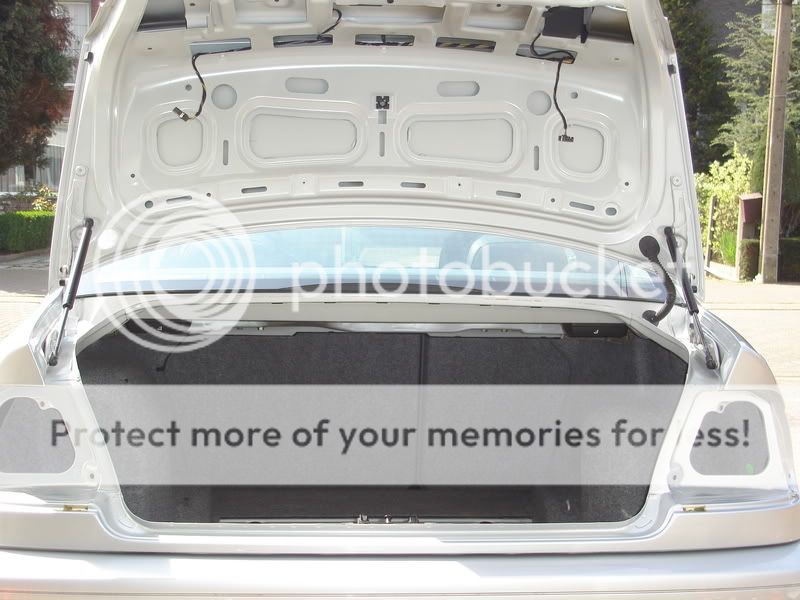
This is the car.


I was always interesting in car audio.It Is my biggest hobby , every time i got i spend it on the car.12 year ago i had a fiat 500.I whurk 3 years one the car for restoration it and building a stereo in it..I did some competition wit it and from the 19 games i did I when 17 first ..My second contest was at the european final in PARIS en i was second afther THOMAS (swipe) WESTMAN from sweden.The next year I was in BIRMINGHAM ( IASCA FINAL).I was first in my class and the first place BEST OF INSTAL.Then i make a decision to stop white contest.I was one my highest level .
In the years i was competing i was always working on the car for making it better and better.Evry minit I got I spend on the car..
there was always the presure of performing beter . When i began on this project i make the decision ,to make something beautiful en having fun and now presure.I NOT going to compete whit this car..Not whit the speakers on the A pillar, and not with the plexy sub box.
Writing this is not so simple for me.I understand, and speak english but that's everything.i can't write englisch i am translating my words with the help off a translation program.It's not so simple for me to tell everthing in detail. But i hope you will understand.I realy hope to get some comments good or bad.everybody had his opinion about car stereo.
This is the car.


 06-02-2011, 05:29 PM
#5
Senior Moderator
:spiteful: :spiteful: A little word of me...
I was always interesting in car audio.It Is my biggest hobby , every time i got i spend it on the car.12 year ago i had a fiat 500.I whurk 3 years one the car for restoration it and building a stereo in it..I did some competition wit it and from the 19 games i did I when 17 first ..My second contest was at the european final in PARIS en i was second afther THOMAS (swipe) WESTMAN from sweden.The next year I was in BIRMINGHAM ( IASCA FINAL).I was first in my class and the first place BEST OF INSTAL.Then i make a decision to stop white contest.I was one my highest level .
In the years i was competing i was always working on the car for making it better and better.Evry minit I got I spend on the car..
there was always the presure of performing beter . When i began on this project i make the decision ,to make something beautiful en having fun and now presure.I NOT going to compete whit this car..Not whit the speakers on the A pillar, and not with the plexy sub box.
Writing this is not so simple for me.I understand, and speak english but that's everything.i can't write englisch i am translating my words with the help off a translation program.It's not so simple for me to tell everthing in detail. But i hope you will understand.I realy hope to get some comments good or bad.everybody had his opinion about car stereo.
This is the car.
Welcome to acurazine! and once more, your car is amazing!
For those of you who haven't heard of this gorgeous can and the hard work that he has put into it, look here:
http://www.audiogroupforum.com/csfor...ad.php?t=66958
Last edited by csmeance; 06-02-2011 at 05:32 PM.
06-02-2011, 06:51 PM
#6
COME AT ME BRO!
This isnt an acura subsection.. To the OP amazing job! post all the pictures you want!. I for one would love to see them!
Trending Topics
06-02-2011, 08:02 PM
#8
AZ Community Team

Join Date: May 2007
Location: N35�03'16.75", W 080�51'0.9"
Posts: 32,488
Received 7,771 Likes
on
4,342 Posts

 06-02-2011, 11:06 PM
#12

Pictures of your audio system please!  Must be impressive to place first in a IASCA event
Must be impressive to place first in a IASCA event
06-02-2011, 11:23 PM
#13
Drifting
I remember reading that build thread, probably linked from DIYMA. Definitely gorgeous, build quality looks incredible. Love the copper leads, makes me want put a window in my sub box and do the same. Too bad mine are going under my seats, so you wouldn't be able to see them anyways.

 06-03-2011, 08:49 AM
#16
Moderator
Regional Coordinator (Southeast)
Regional Coordinator (Southeast)
Join Date: Dec 2003
Location: Mooresville, NC
Age: 38
Posts: 43,638
Received 3,858 Likes
on
2,579 Posts
I have been following this build on that forum for years. The work is absolutely stunning that you have done. I wish I had 1/10th of the skill in which you have to do things like you have done. Keep up the awesome work.
06-03-2011, 05:26 PM
#19
Whats up with RDX owners?
iTrader: (9)

Holy crap. Thats amazing.
 06-04-2011, 12:46 PM
#21
I totally missed csmeance's link....
Funny cause I saw people on a car audio forum talk about the OP's car and linked that same exact thread... people were drooling. You should be proud OP, you've got a lot of respect.
Funny cause I saw people on a car audio forum talk about the OP's car and linked that same exact thread... people were drooling. You should be proud OP, you've got a lot of respect.
06-05-2011, 01:33 PM
#22
Ok dude's, here we go...
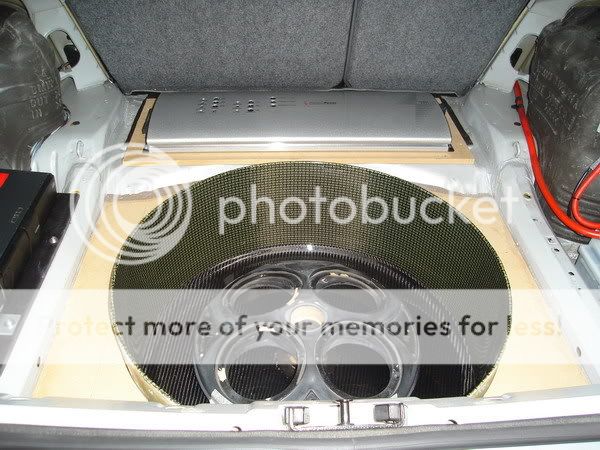
There is still some adaption work.
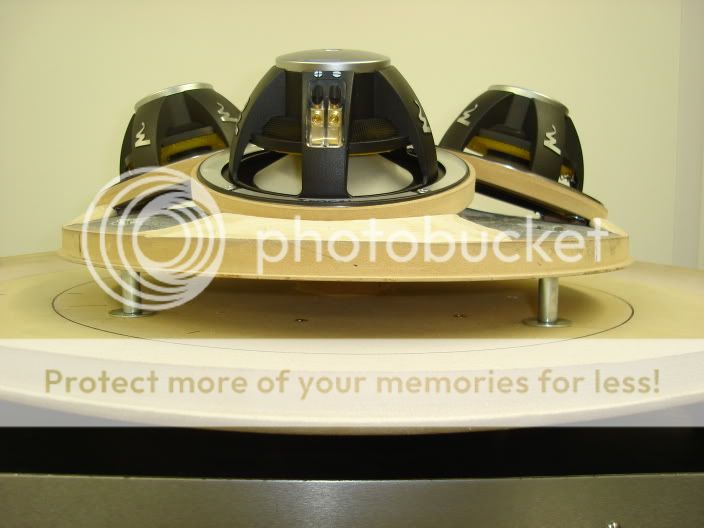
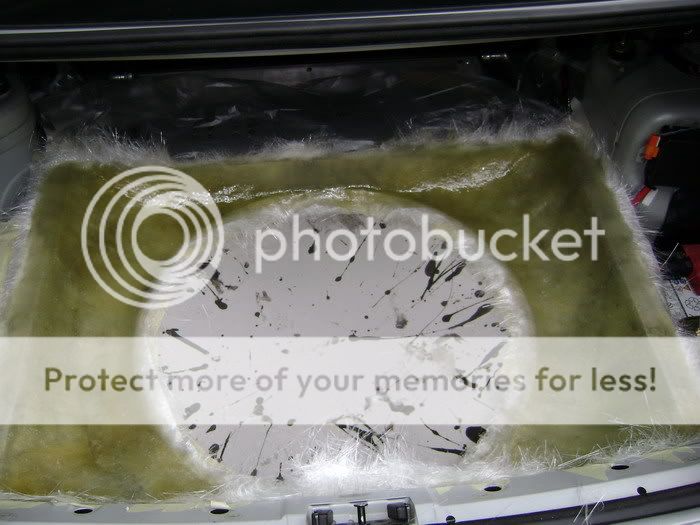
This will be the Sub-box.
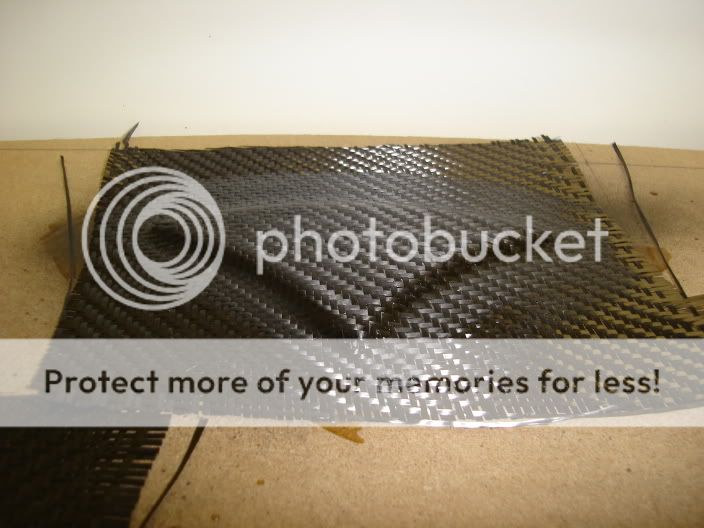
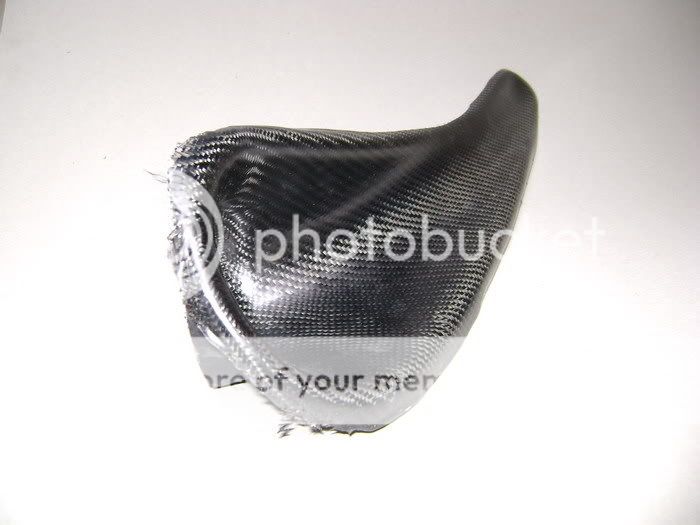
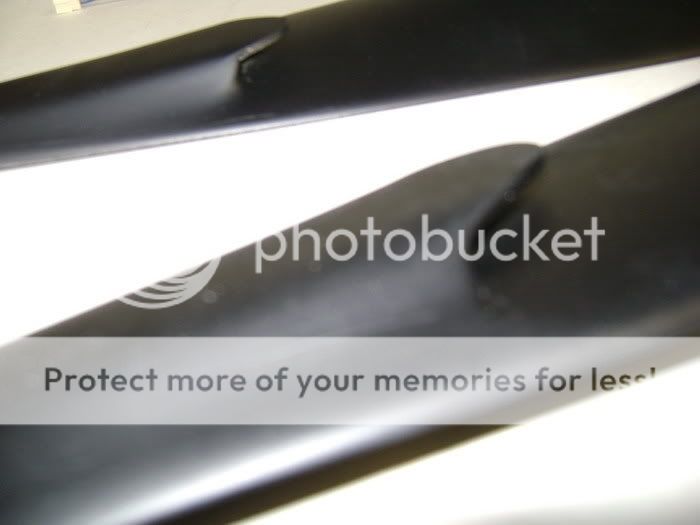
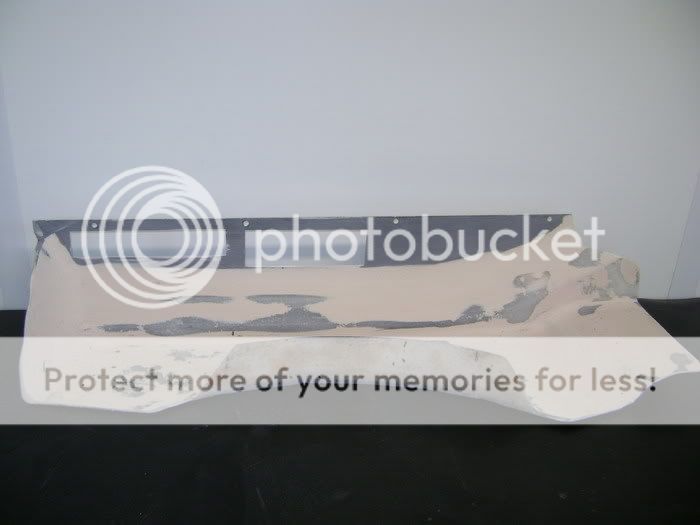
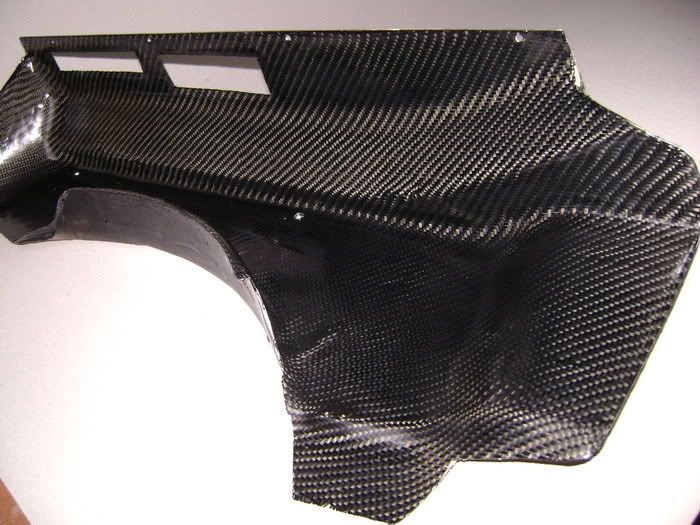
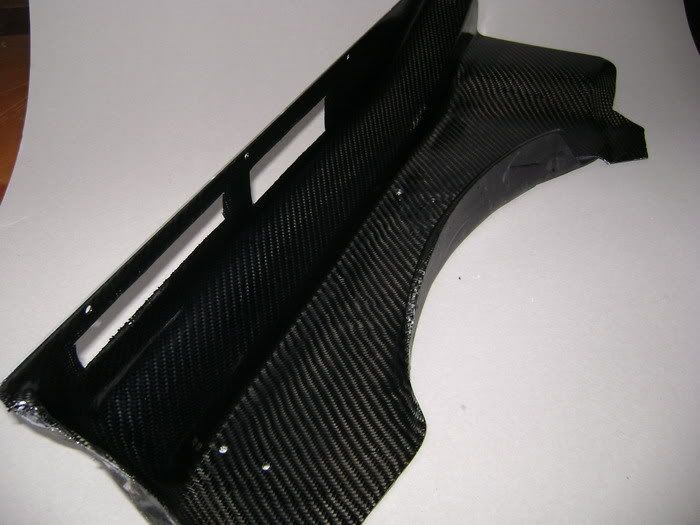
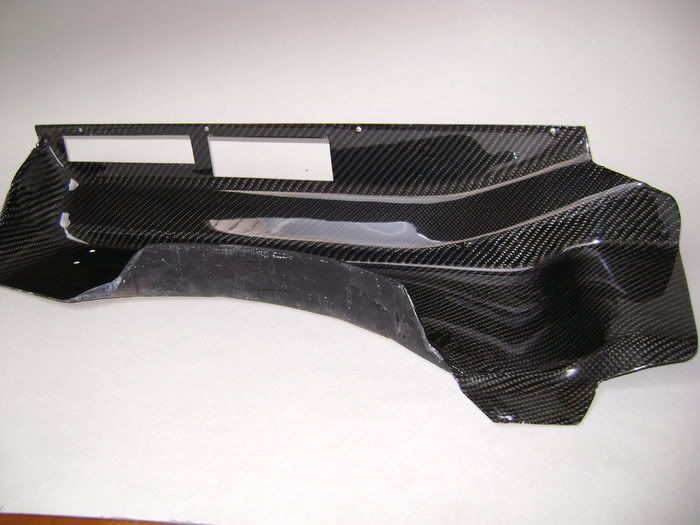
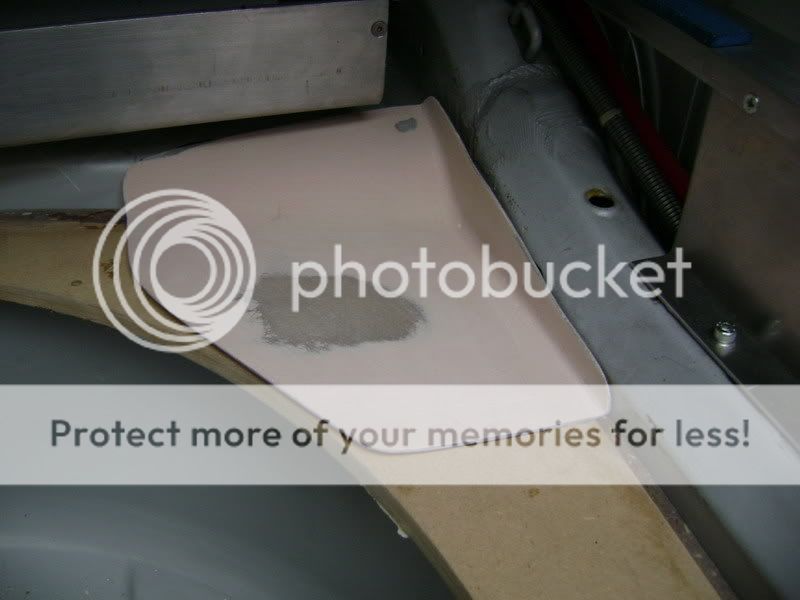
The piece I wanted to cover in Carbonkevlar, I painted black, to be sure the layer underneath won't show.
milled some rings to put the woofers in.
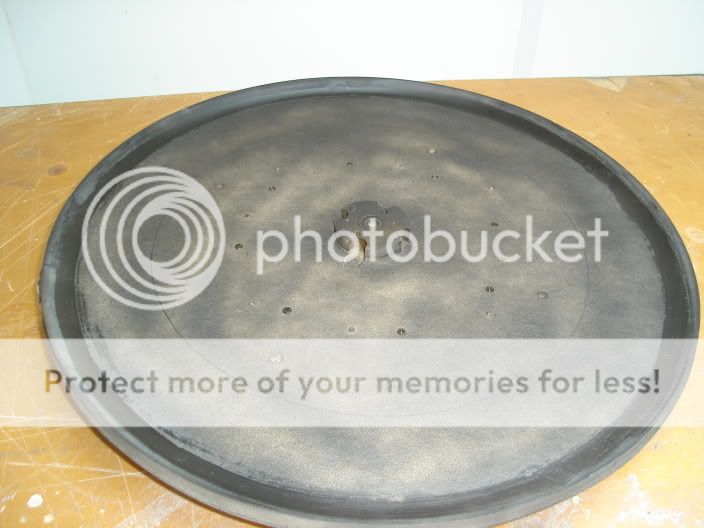
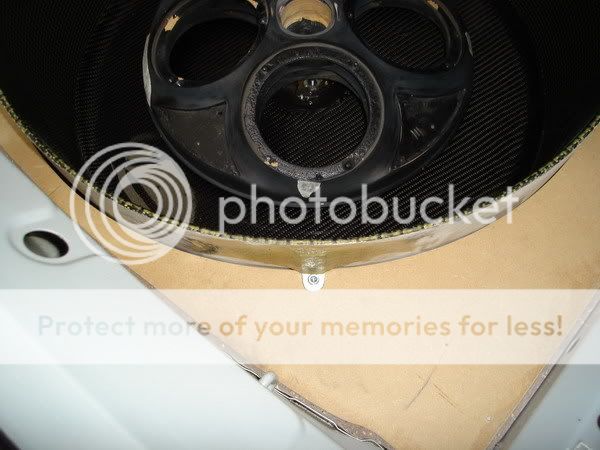
Here a picture of the bottomside, where he made wholes , to let the sound flow outside.
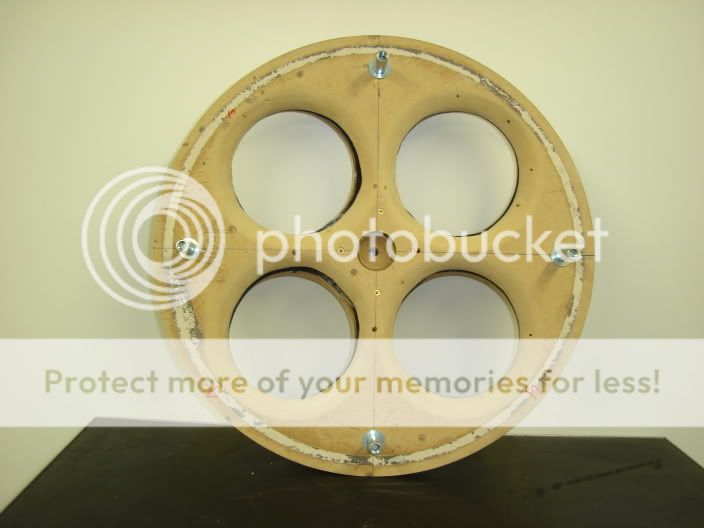
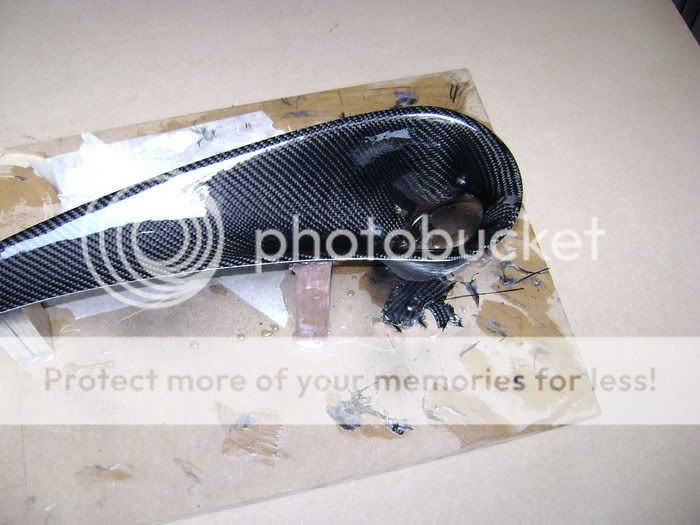
Still some more polyester work to do.
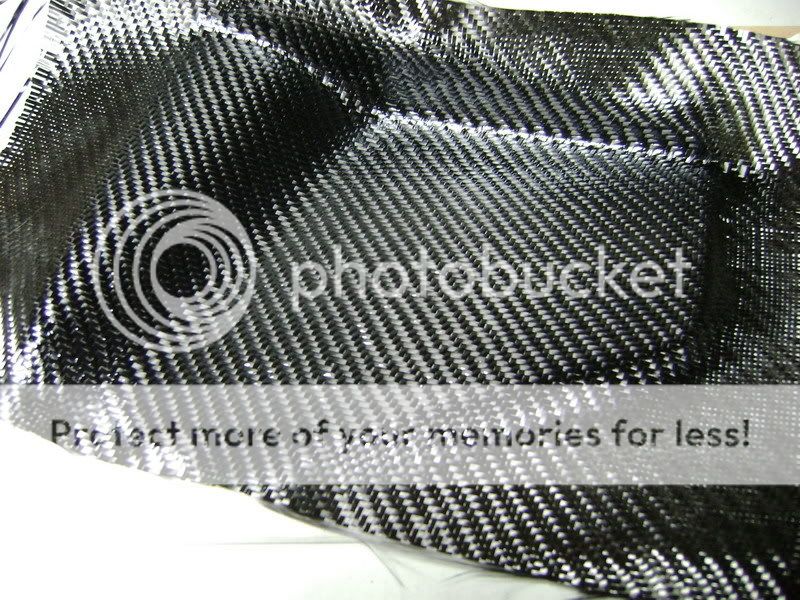
Did some preparation to stretch the cloth nicely.
There is still some adaption work.
This will be the Sub-box.
The piece I wanted to cover in Carbonkevlar, I painted black, to be sure the layer underneath won't show.
milled some rings to put the woofers in.
Here a picture of the bottomside, where he made wholes , to let the sound flow outside.
Still some more polyester work to do.
Did some preparation to stretch the cloth nicely.
06-05-2011, 01:34 PM
#23
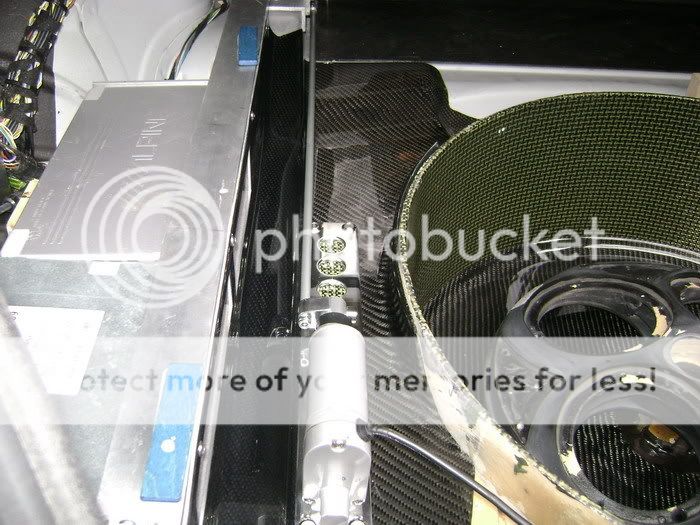
The wholes you can see in the alu, don't worry about it.
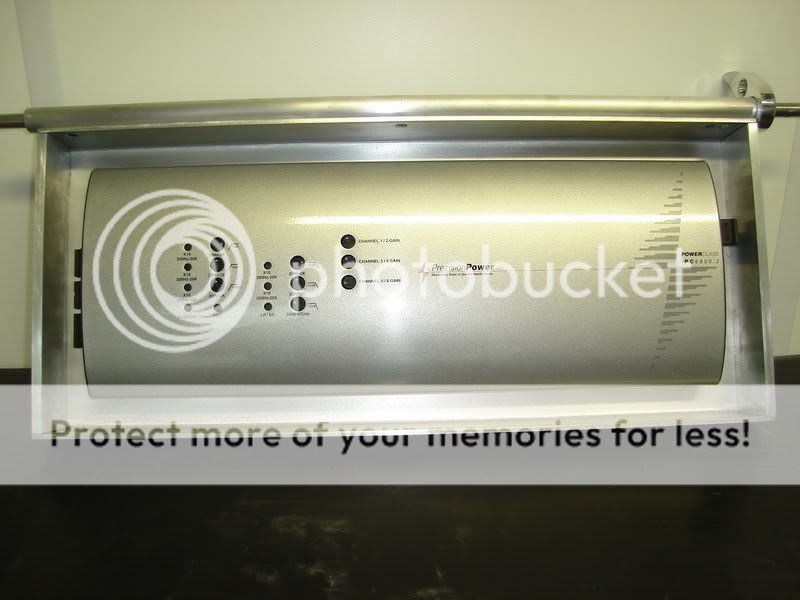
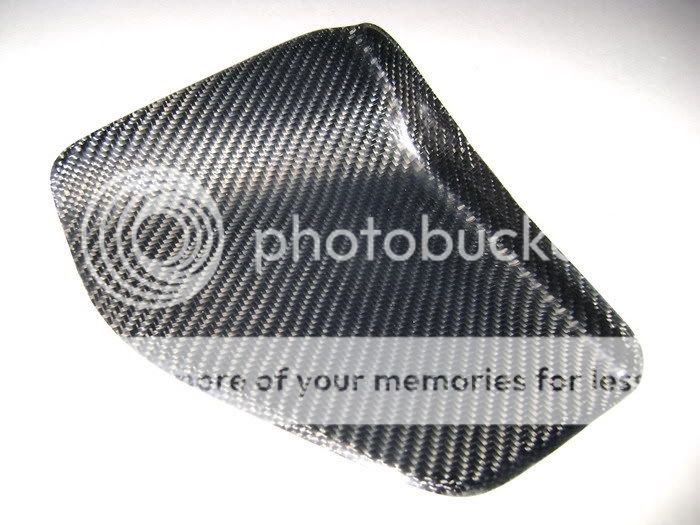
It'll be covered in CF..
The next thing on the list is something very difficult.
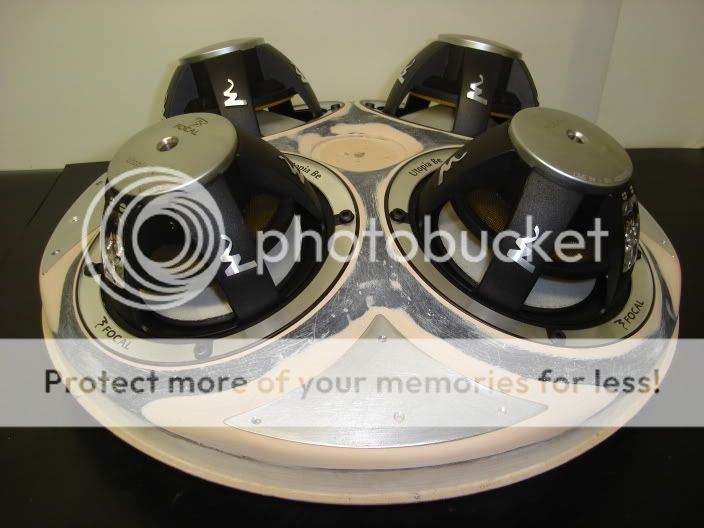
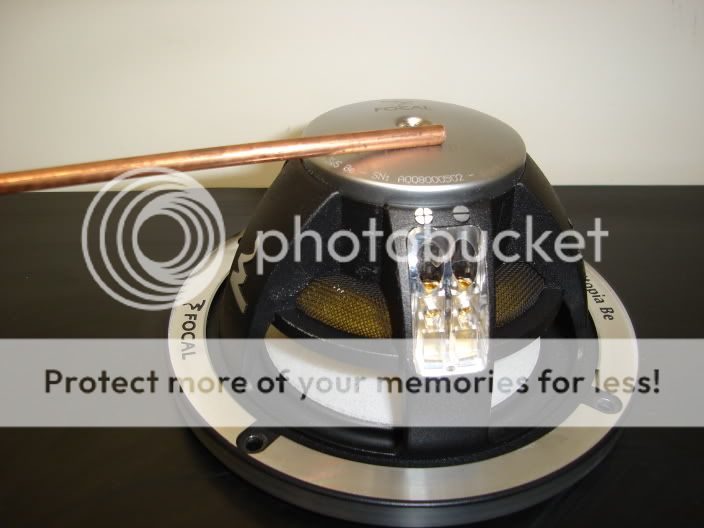
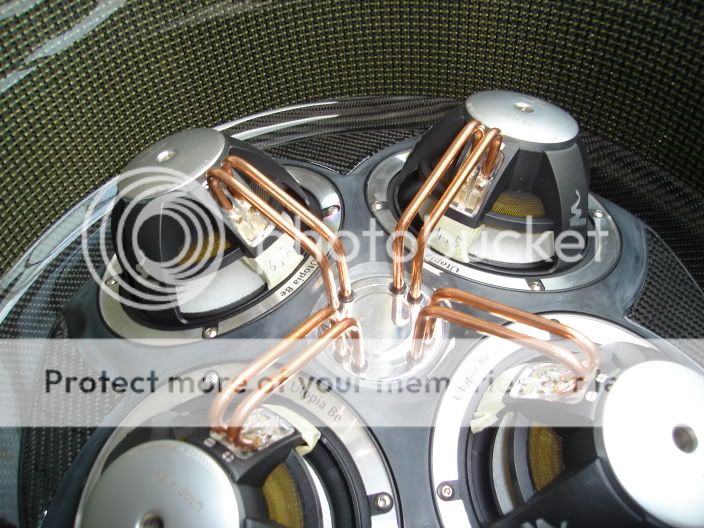
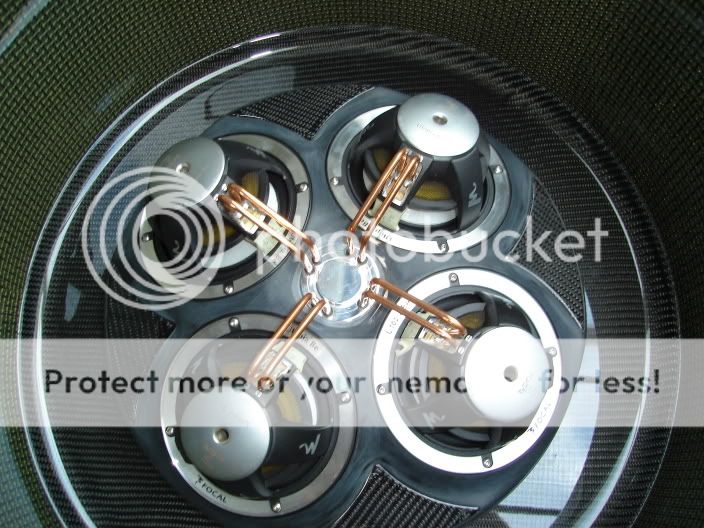
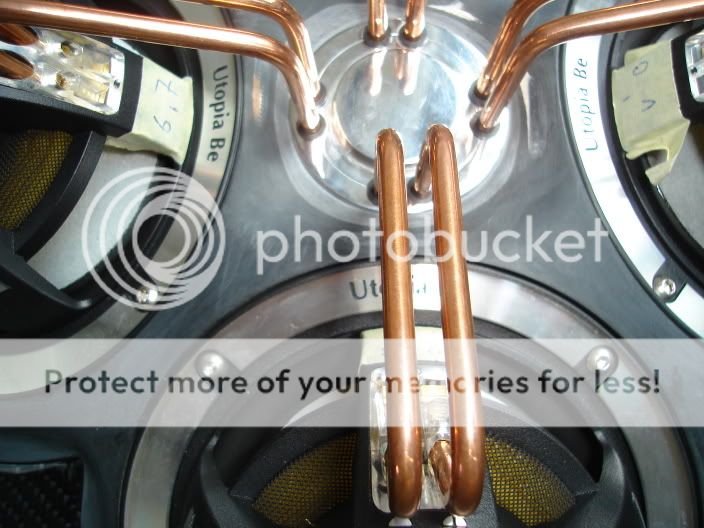
The connections of the speakers he'll make in copper, of 5mm thickness.
Cables are so boring
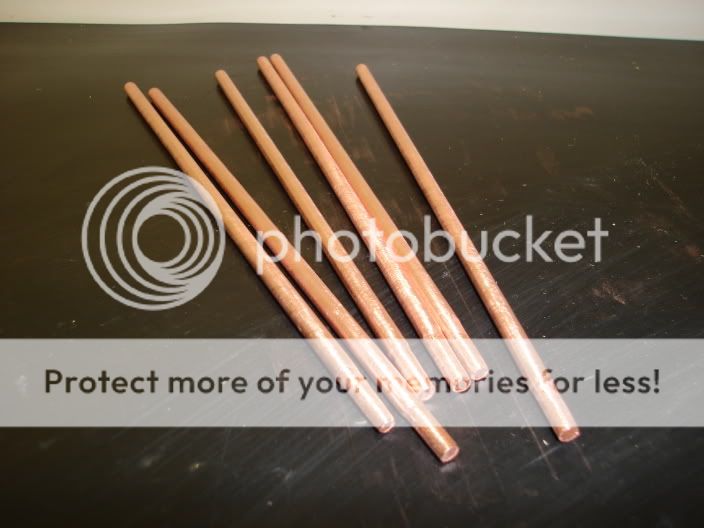
some cupper
5mm thickness, more didn't fit in the speaker.
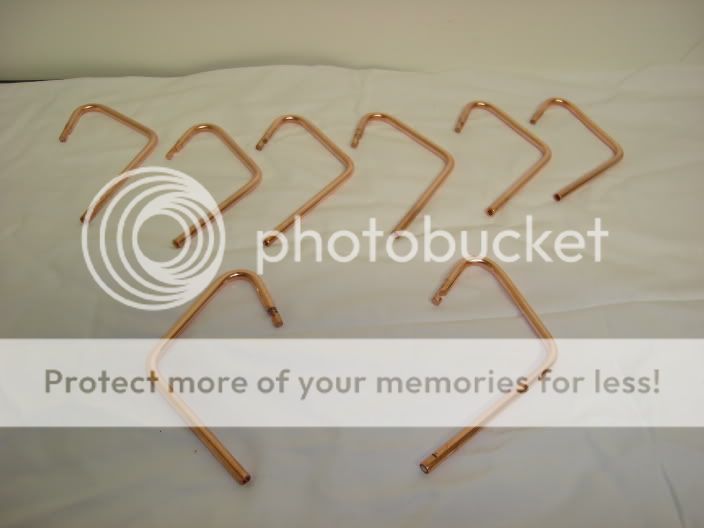
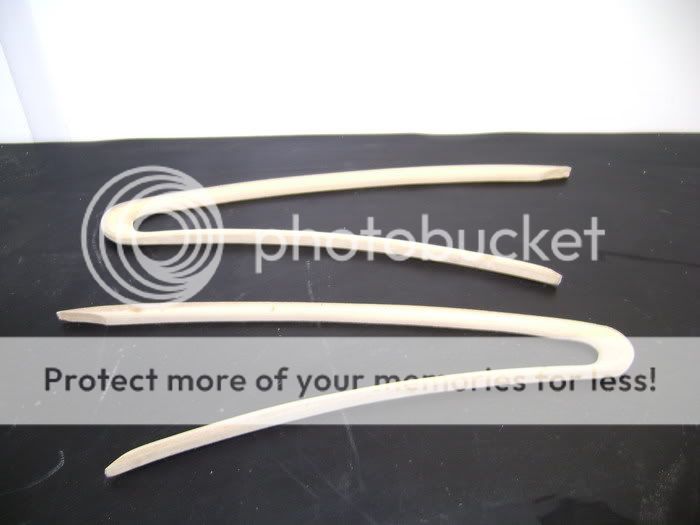
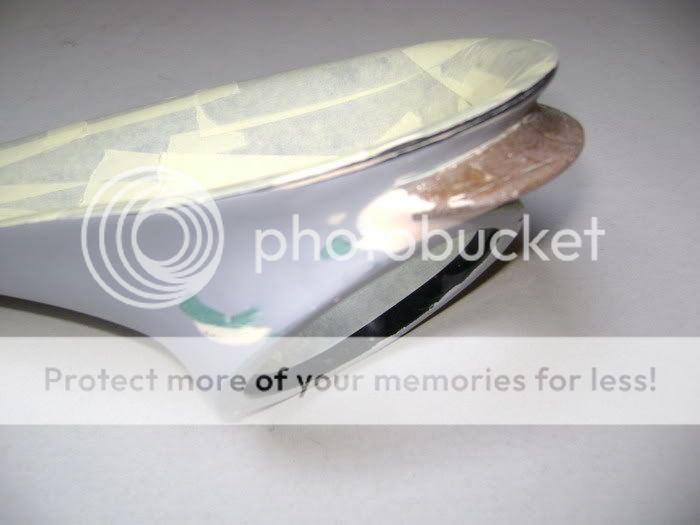
Copper connections are ready.
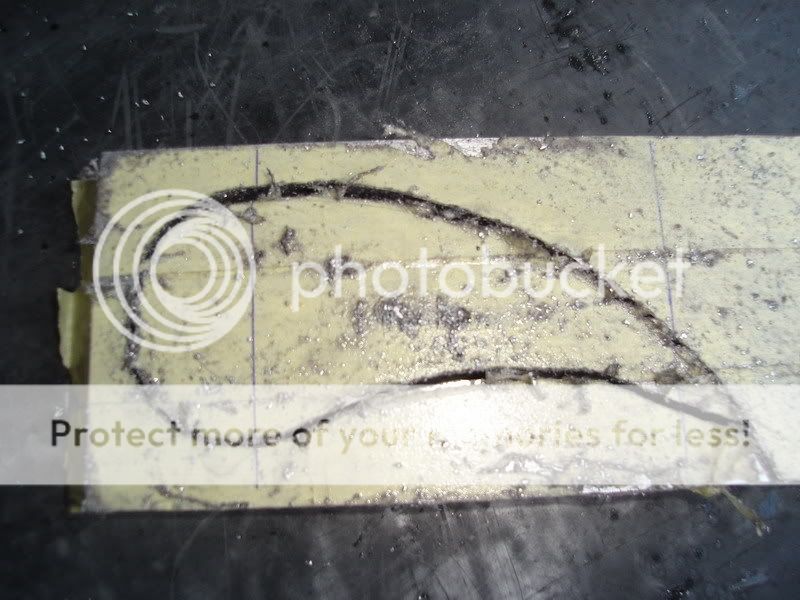
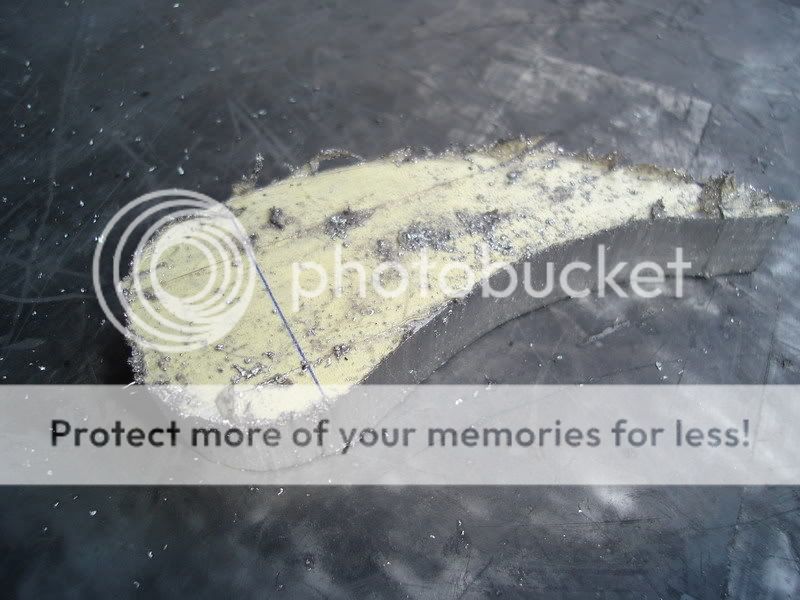
made a model first, took a mold, and fold it the same way.
Sawed it all, rubbed it, and polished.
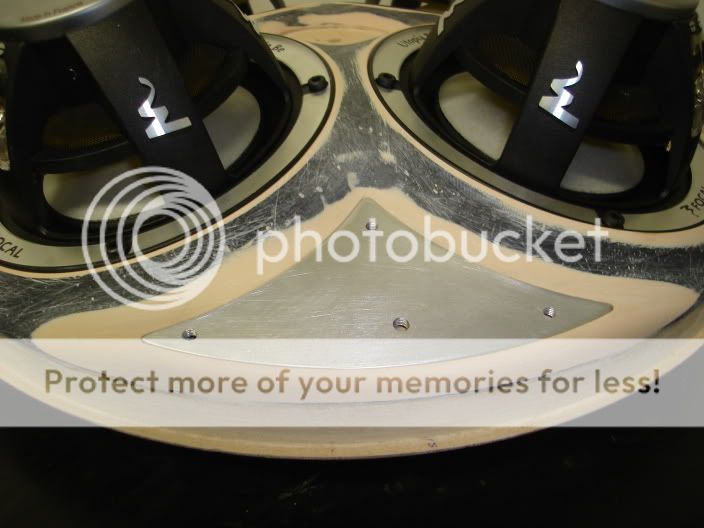
On this picture you can see he putt a whole in the bottomside to connect the cables.

The cupper wil go to the middle, so I made a alu plated where the bars fitt right on in.
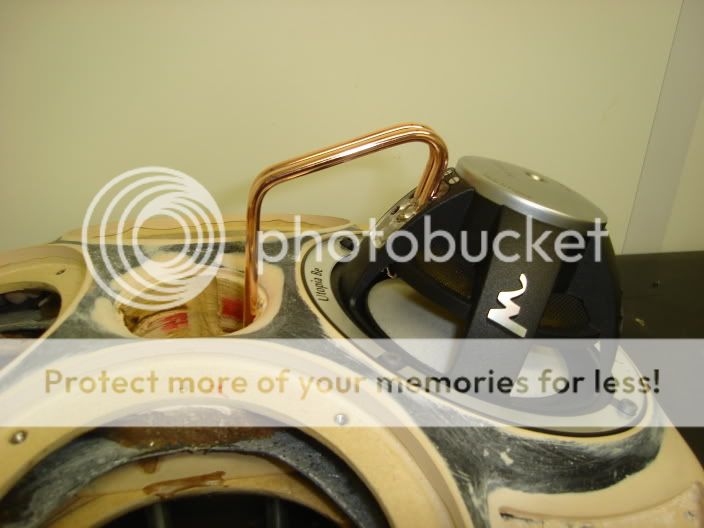


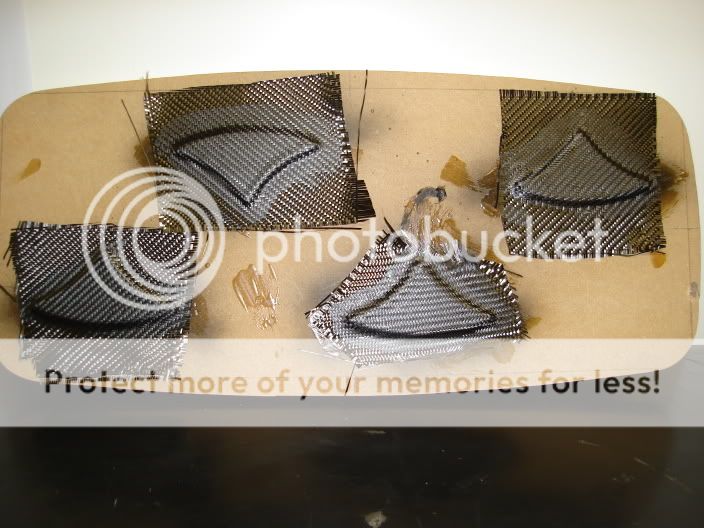
alu triangles bade in a little CF.
It'll be covered in CF..
The next thing on the list is something very difficult.
The connections of the speakers he'll make in copper, of 5mm thickness.
Cables are so boring
some cupper
5mm thickness, more didn't fit in the speaker.
Copper connections are ready.
made a model first, took a mold, and fold it the same way.
Sawed it all, rubbed it, and polished.
On this picture you can see he putt a whole in the bottomside to connect the cables.
The cupper wil go to the middle, so I made a alu plated where the bars fitt right on in.
alu triangles bade in a little CF.
06-05-2011, 01:35 PM
#24
some more CF.
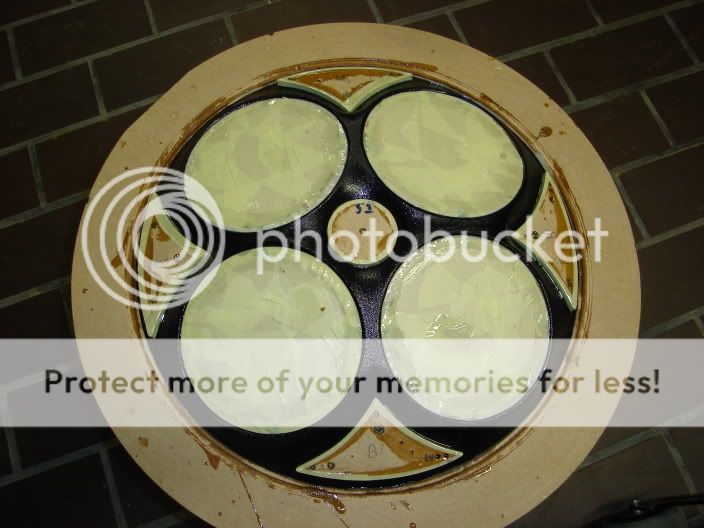
This is the bottom plate where the box is put on.
sprayed it in black offcourse, don't want the colour of the wood come throu
Varnished it for the first time, rubbed some more, varnished, rubbed, varnished, rubbed, ...........
This is the bottom plate where the box is put on.
sprayed it in black offcourse, don't want the colour of the wood come throu
Varnished it for the first time, rubbed some more, varnished, rubbed, varnished, rubbed, ...........
06-05-2011, 01:36 PM
#25
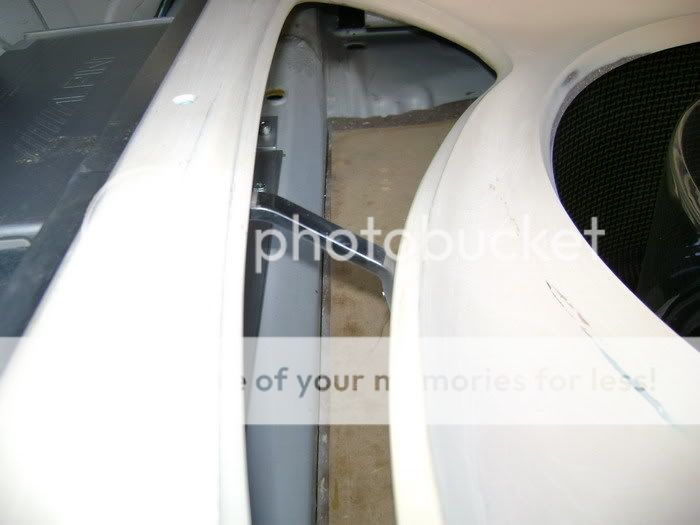
started to make the bottomplate. She will be around the BOX and rest on the chassis of the car. did it as good as possible. Leveled it with waterleveler.
Once this plate is right, you take the messurements always from this plate, so it has to be 100% correcT.

milled to upperboard


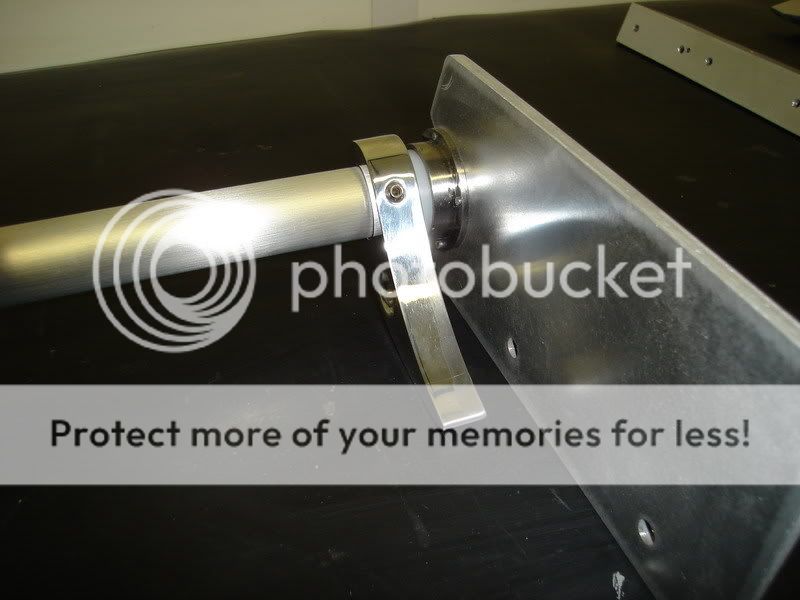
Started to make a hinge. He went to see the store, but they didn't had what he needed. So got some aluminium ..
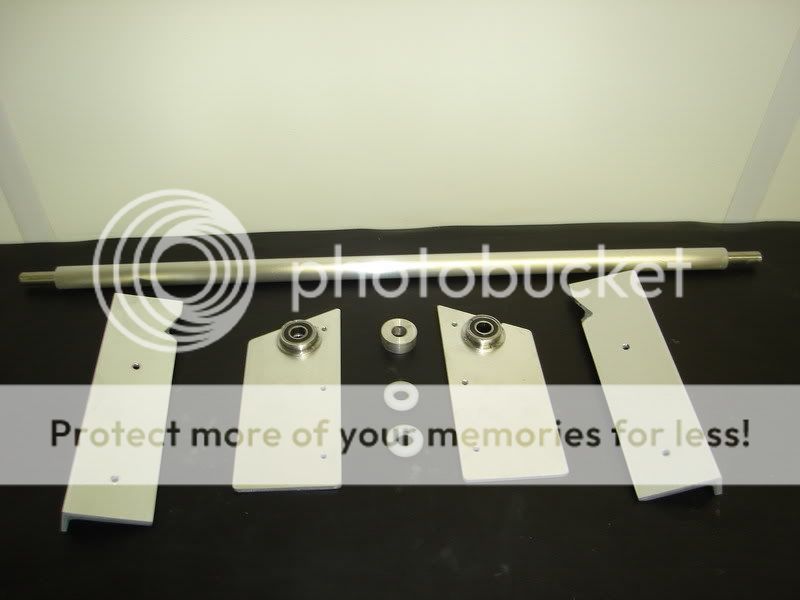
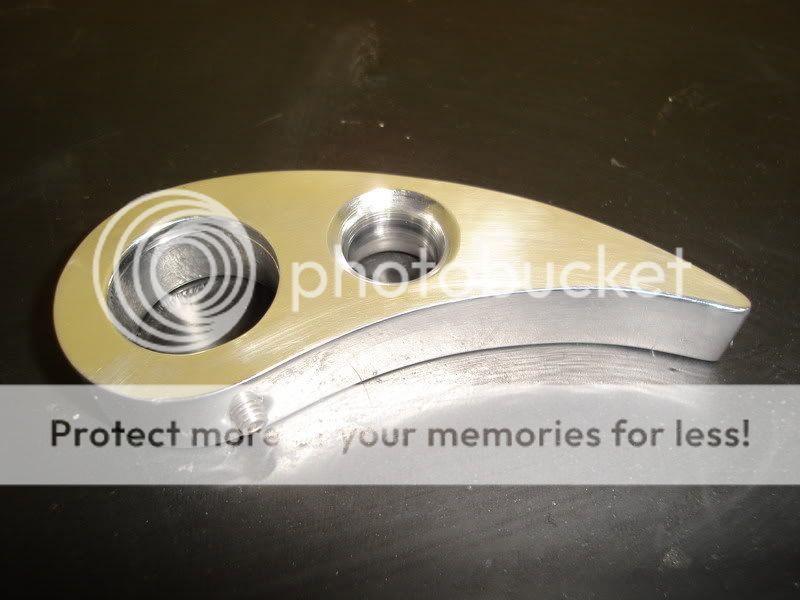
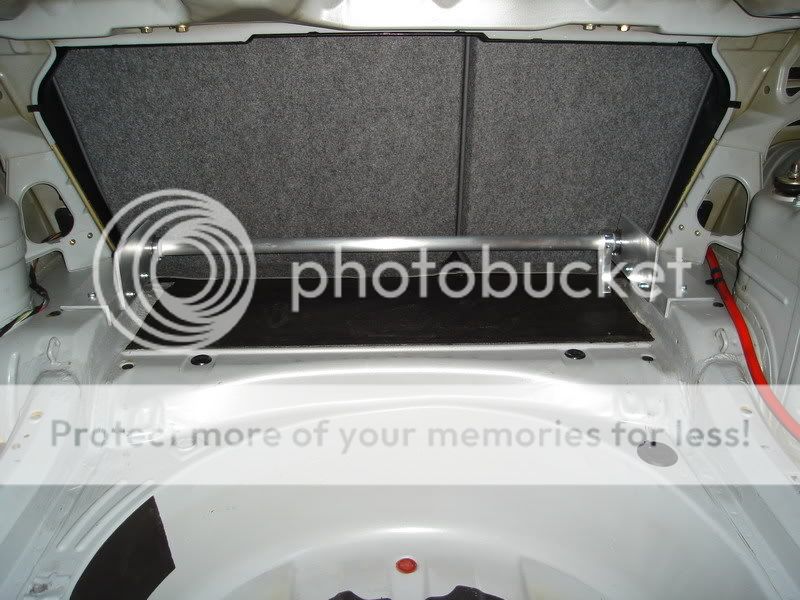
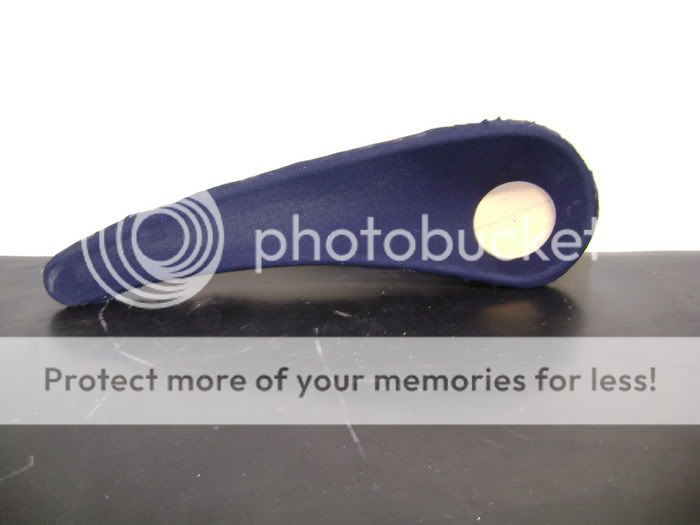
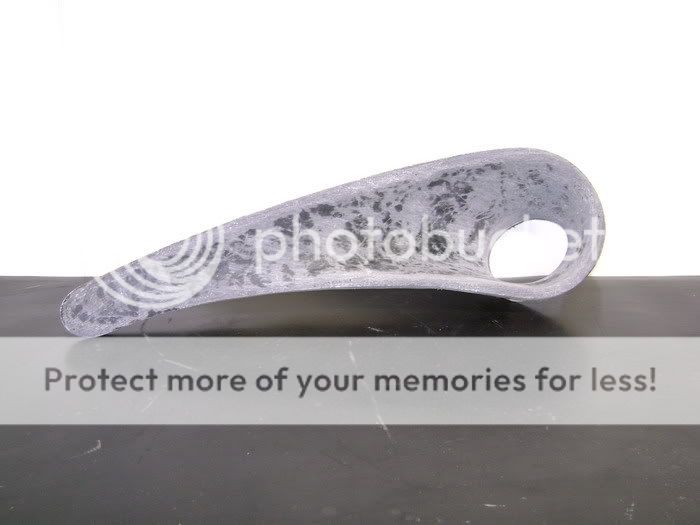
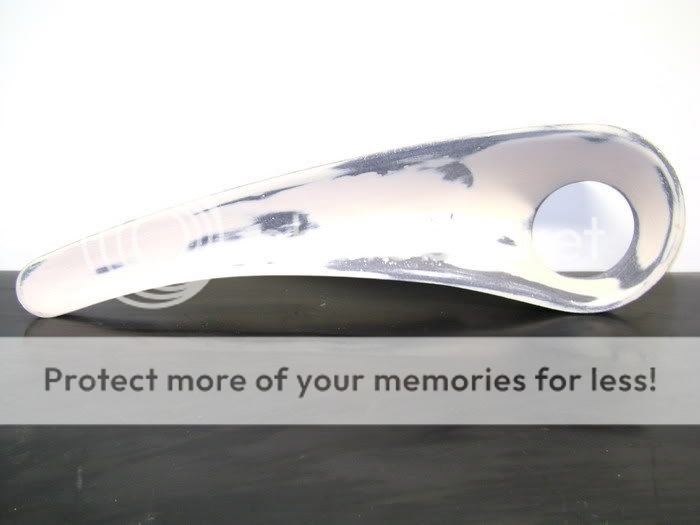
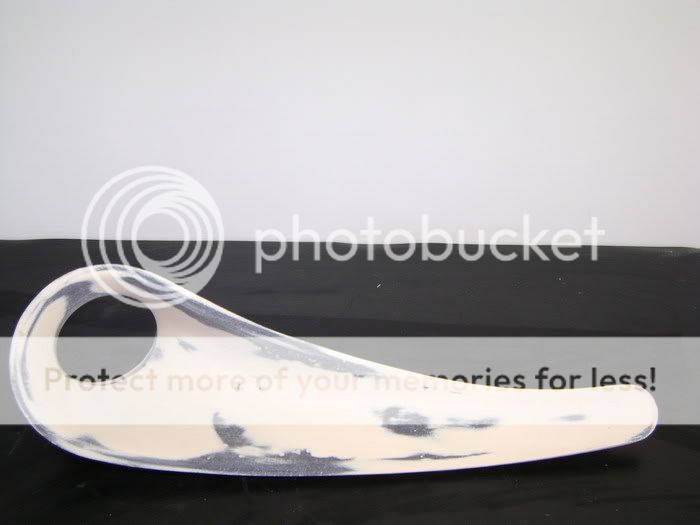
The meaning of this hinge, is that the amplifier can go up. So the crowbar needed to be something nice.
Cause the crowbar wil be very shot/small, he made it strong enought. (15mm thickness)
there are nicer things in life to do, but when it's finished, it was worth the work in his eyes.
Against the alu tube, he's going to weld a piece to, where he can hook the amp on.

Once this plate is right, you take the messurements always from this plate, so it has to be 100% correcT.
milled to upperboard
Started to make a hinge. He went to see the store, but they didn't had what he needed. So got some aluminium ..
The meaning of this hinge, is that the amplifier can go up. So the crowbar needed to be something nice.
Cause the crowbar wil be very shot/small, he made it strong enought. (15mm thickness)
there are nicer things in life to do, but when it's finished, it was worth the work in his eyes.
Against the alu tube, he's going to weld a piece to, where he can hook the amp on.
06-05-2011, 01:36 PM
#26
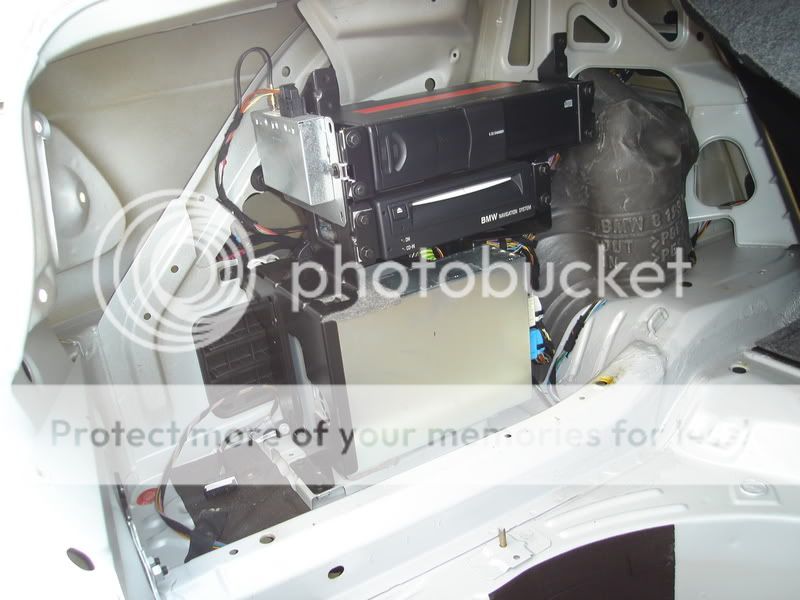
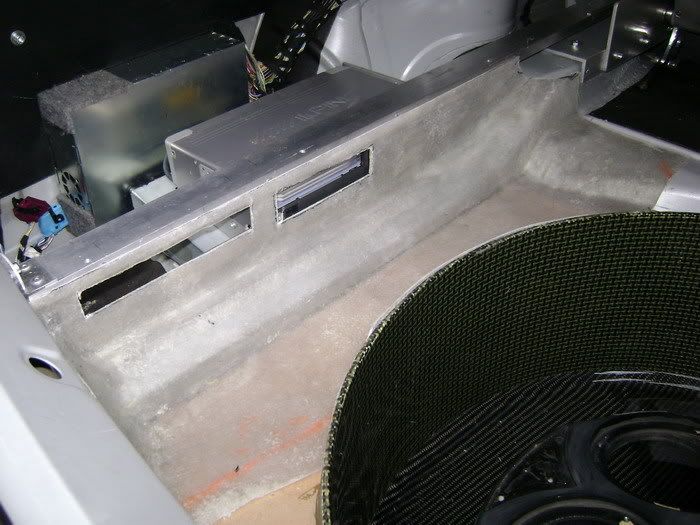
Then I started to tair apart the Alpine CD player.
Did away the front, and made some trolleys to fasten the thing.
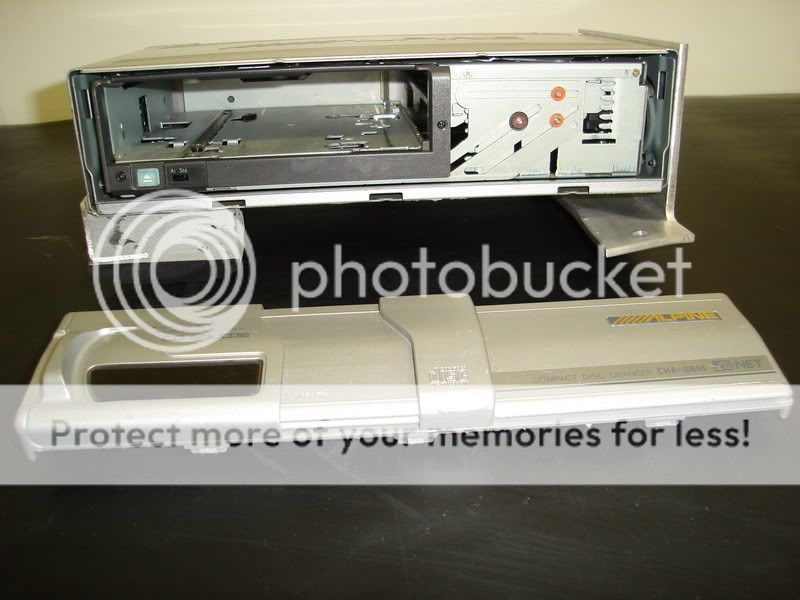
here you can see the front of the CD player

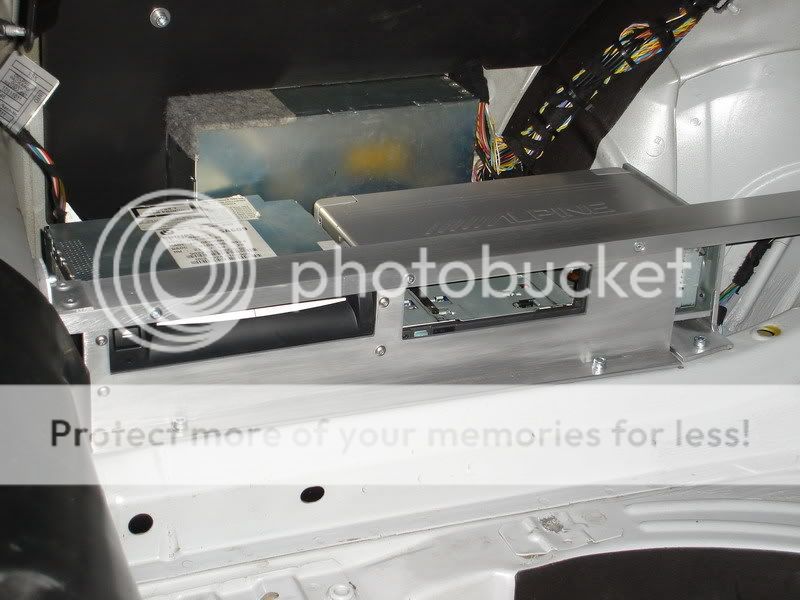
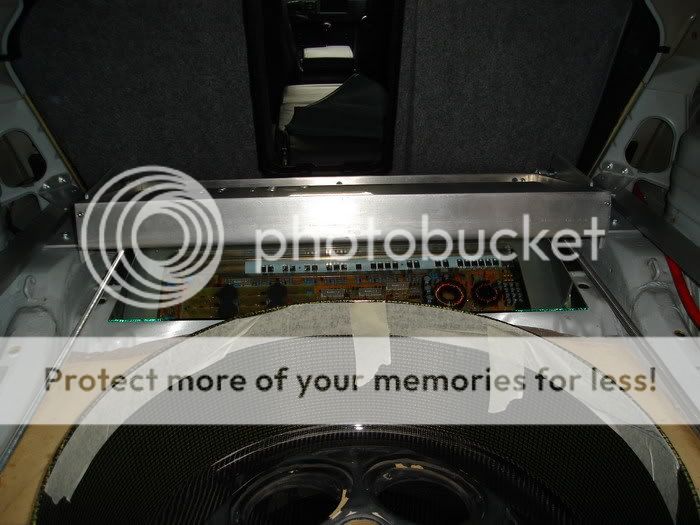
The ALU- box where the amp should come is foreseen with the hinge.
This one, he screwed on. I going to try it'l go this way.
If not, he can always weld it on...
I doesn't want to try it now, cause he's afraid it all bend of the heat.
But it's a final option...

Will look like......
put some movement in the amp.
Made a fiberglass plate.
Here will be some change soon, but you have to start somewhere.
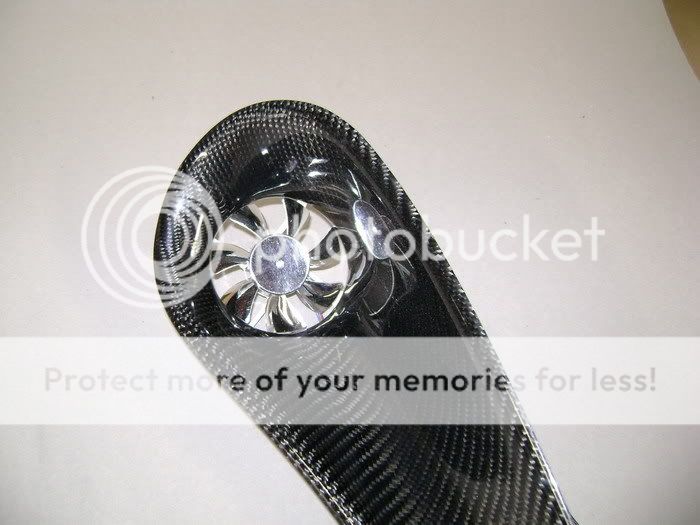
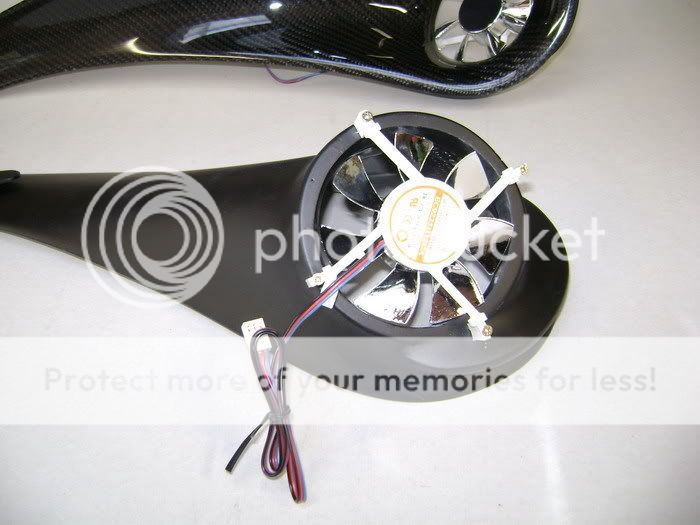
found some vents that you can take from each other.
These are from aluminium, but the frame they're in, goes in the bin.
There will be an -minor modded- version of it
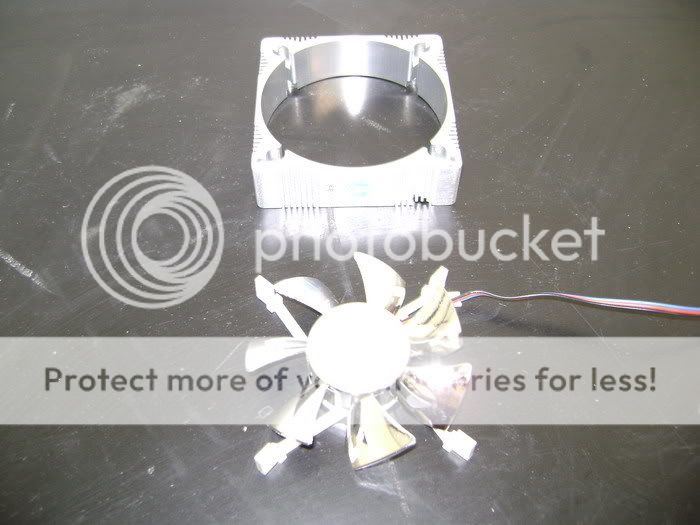
2 pieces to place in the vents, so the cooling on the amp will be better.
Did away the front, and made some trolleys to fasten the thing.
here you can see the front of the CD player
The ALU- box where the amp should come is foreseen with the hinge.
This one, he screwed on. I going to try it'l go this way.
If not, he can always weld it on...
I doesn't want to try it now, cause he's afraid it all bend of the heat.
But it's a final option...
Will look like......
put some movement in the amp.
Made a fiberglass plate.
Here will be some change soon, but you have to start somewhere.
found some vents that you can take from each other.
These are from aluminium, but the frame they're in, goes in the bin.
There will be an -minor modded- version of it
2 pieces to place in the vents, so the cooling on the amp will be better.
 06-05-2011, 01:37 PM
#28
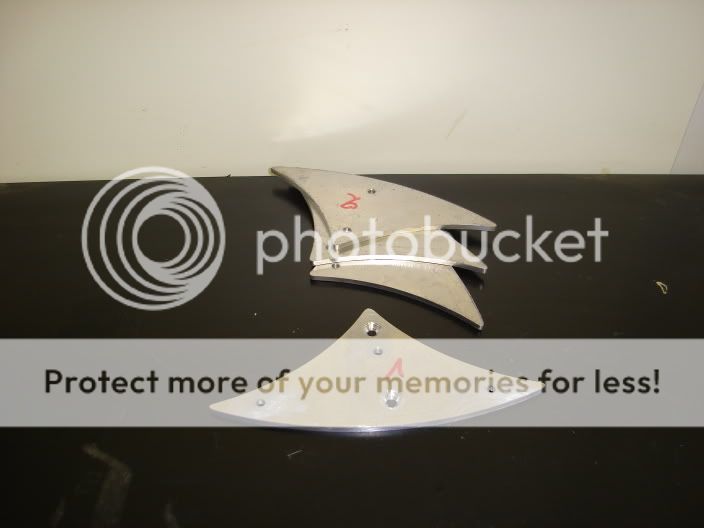
The pieces are finally done.
all that work, pppfffffff, but it was worth it .
Here's a picture from the front. You can see a V where everythings slides into.
Then he fiberglassed a little alu piece that is fastened bigtime.
In the whole those things are layed into, fiberglassed a firm alu bridge, and there the backside slides into.

These things have to come out really fast, cause his GPS and CD loader is behind it.
all that work, pppfffffff, but it was worth it .
Here's a picture from the front. You can see a V where everythings slides into.
Then he fiberglassed a little alu piece that is fastened bigtime.
In the whole those things are layed into, fiberglassed a firm alu bridge, and there the backside slides into.
These things have to come out really fast, cause his GPS and CD loader is behind it.
06-05-2011, 01:38 PM
#29
 06-05-2011, 01:39 PM
#30
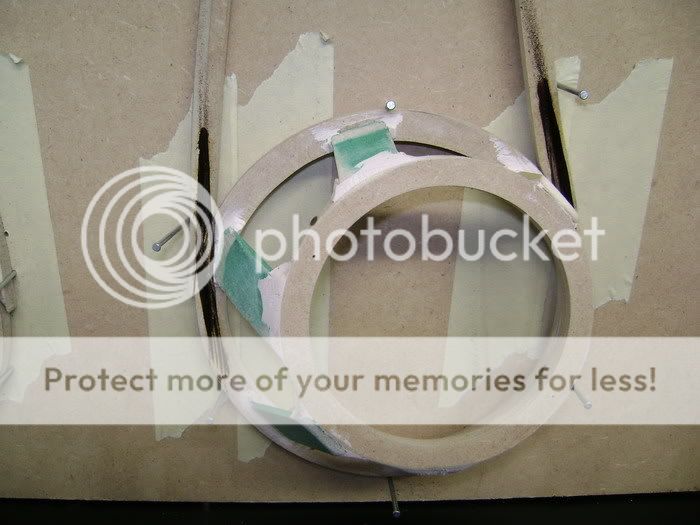
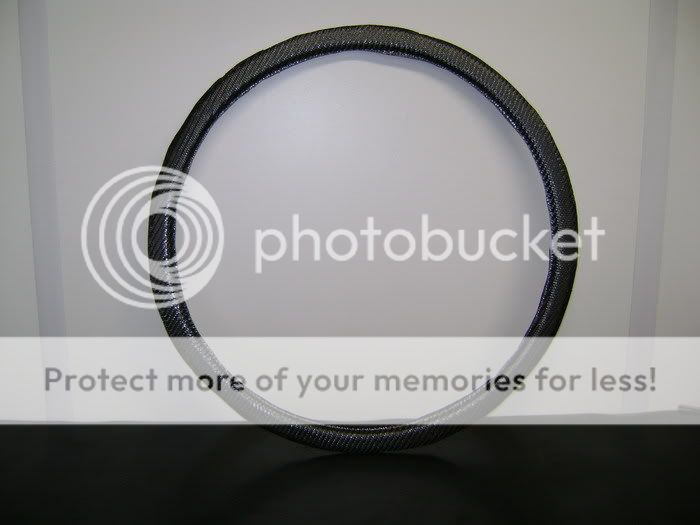
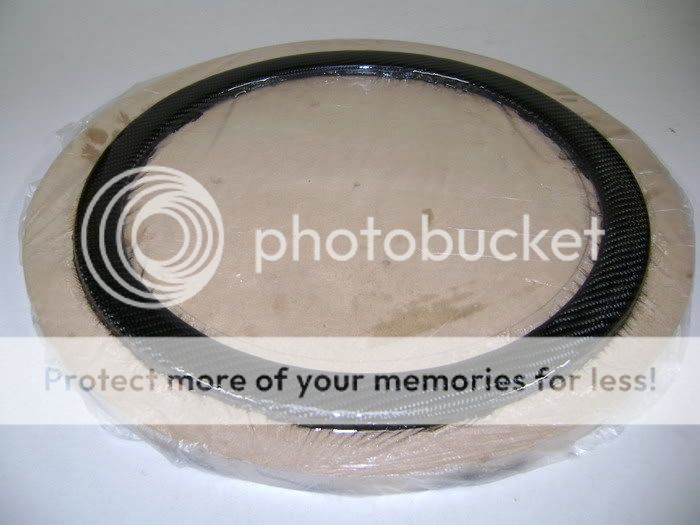
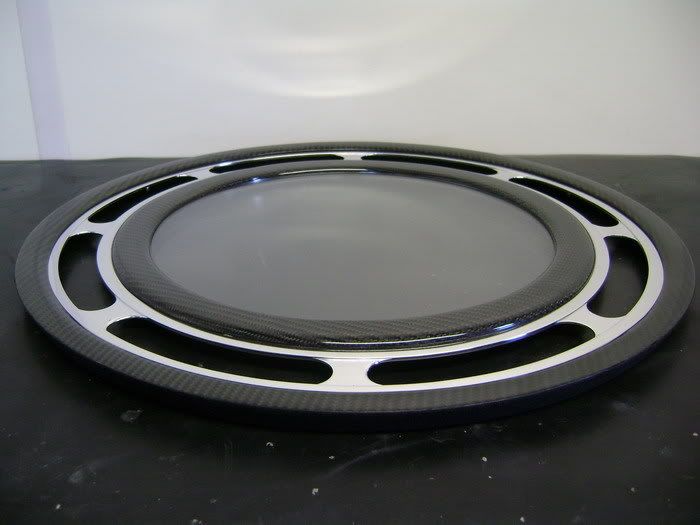
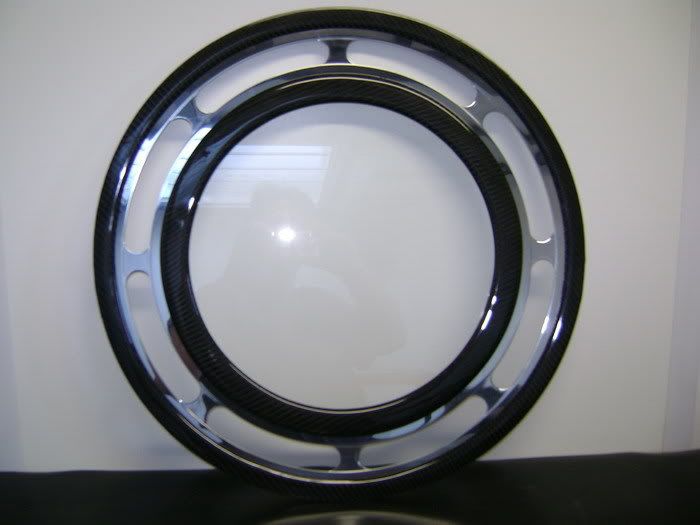
I made a grill, to cover the sub-box.
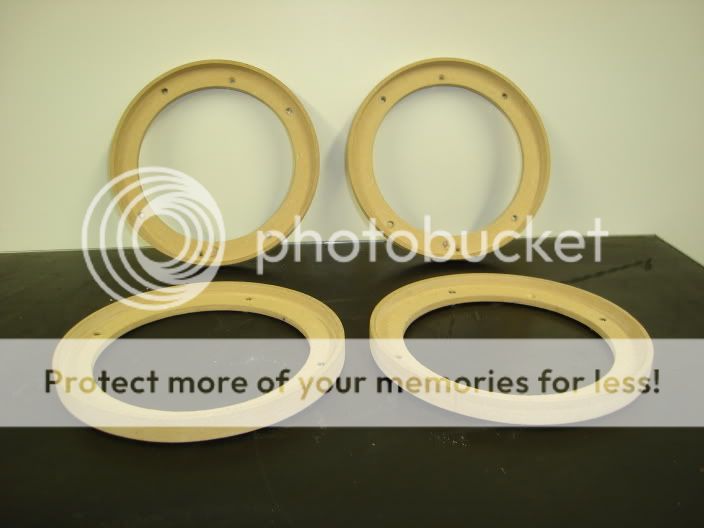
The frame es milled out of MDF wood.
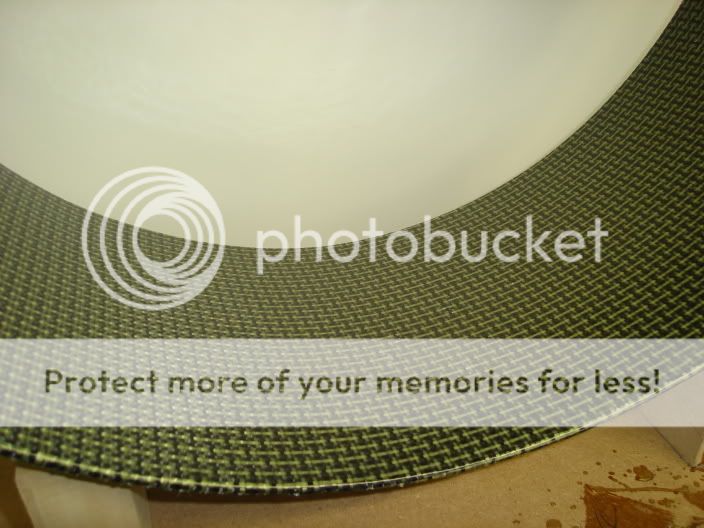
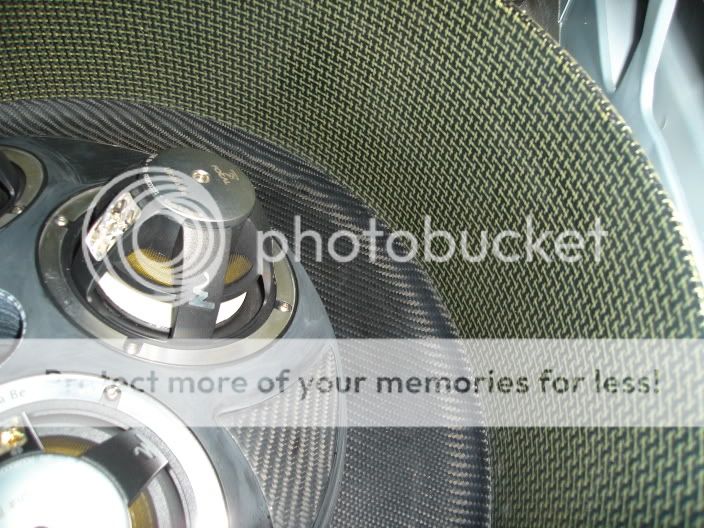
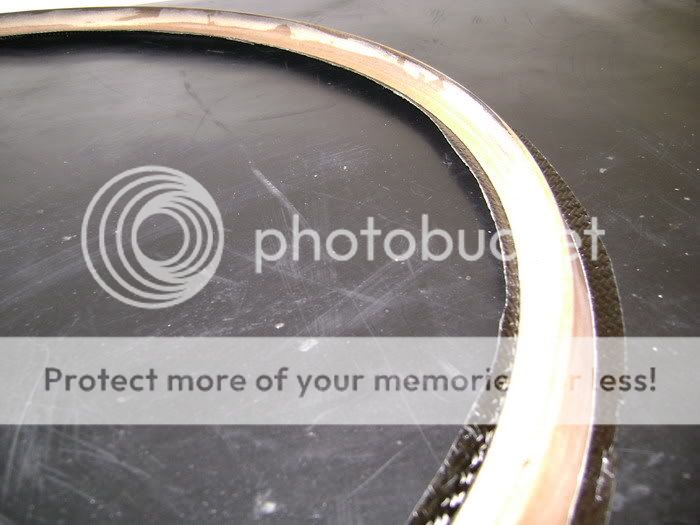
Here you can see the top of the upper ring. This one, you will see, and will be covered in Carbon

On the picture, you can see he miled a little ditch.

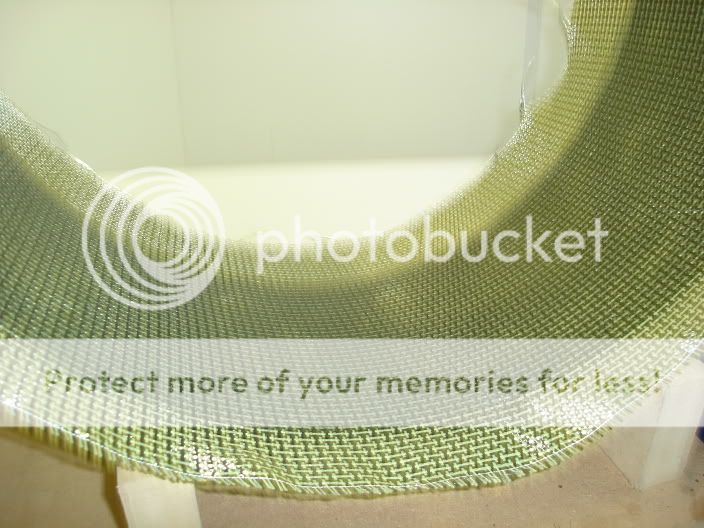
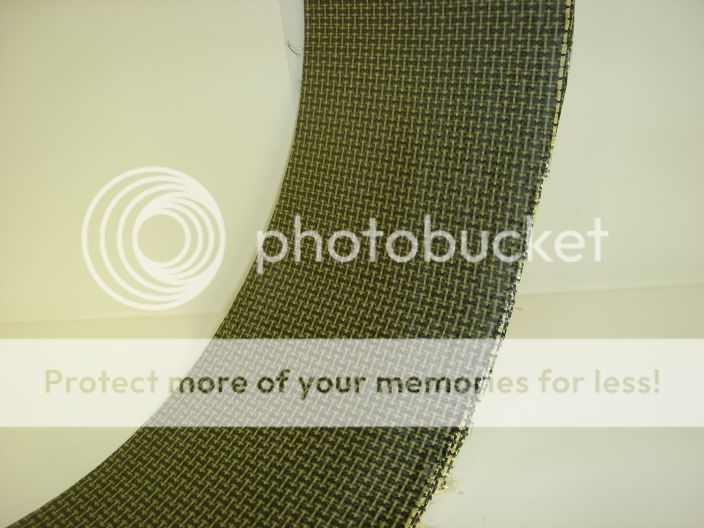
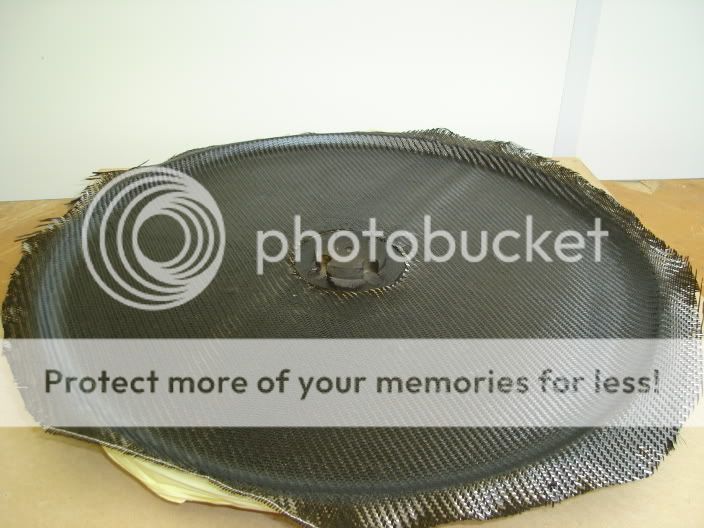
covering the frame in Carbon
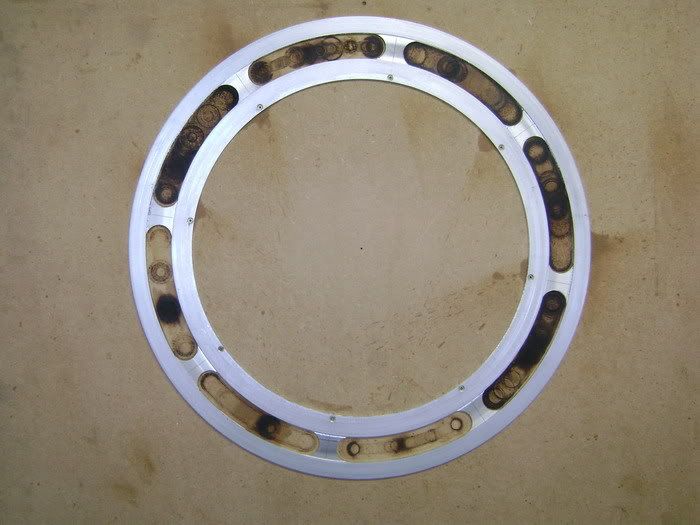
This will be the inner-ring, what goes in the grill.
First I mild a MDF wooden ring and rounded the edges. What you see now is the upperside. Comes in CF btw

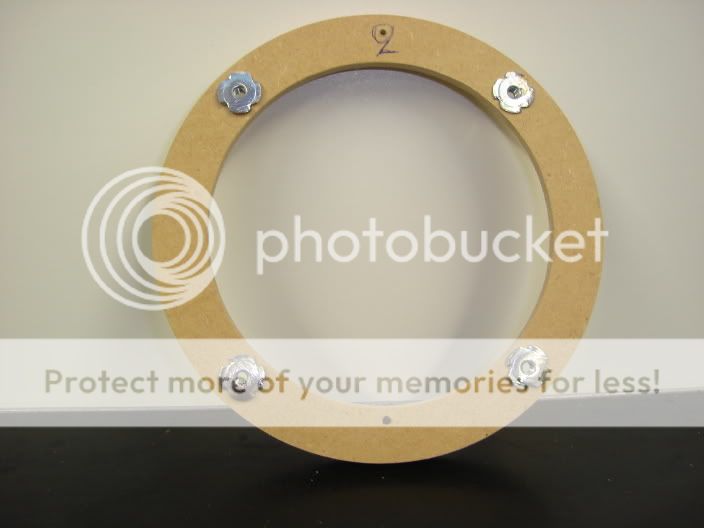
this is the bottomside. You see I made some screwbusses in it.

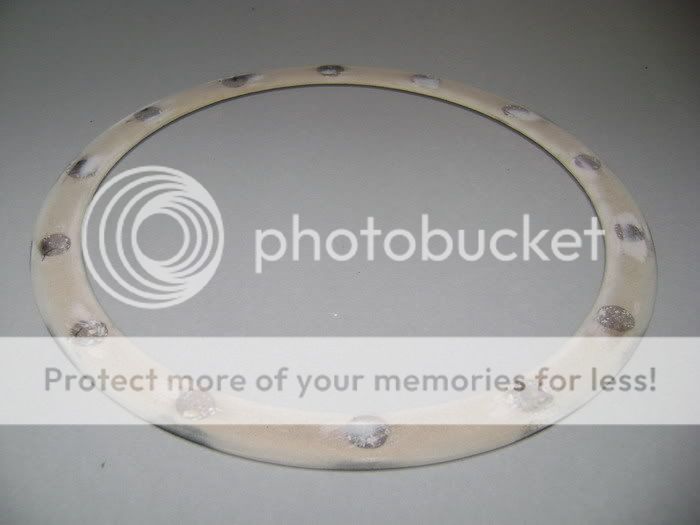

Made an alu ring of 3mm thick for on the bottomside. Must be very solid so the grill can't bend in the middle.

Here you see the 2 parts on each other. Between there's 2mm place for the innox plate on the outside, and the alu from in the centre.
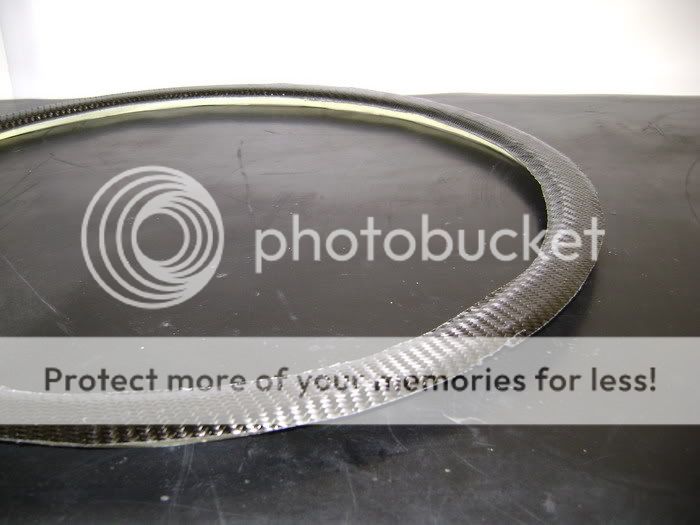
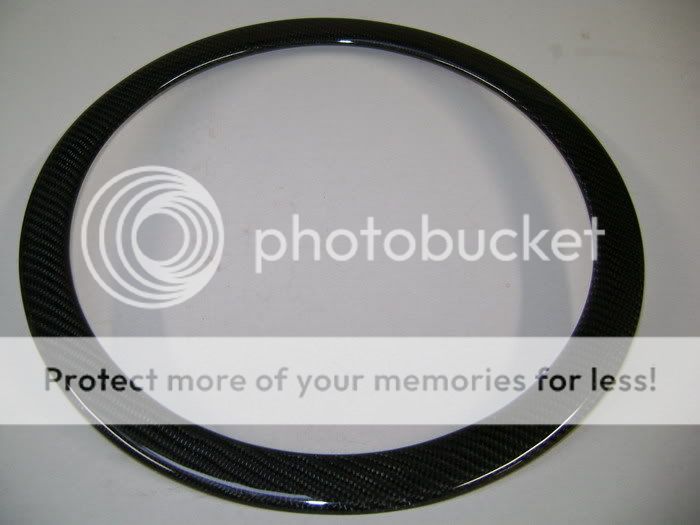
The middle ring going into Carbon Fibre. Need some more layers of epoxy though..
The frame es milled out of MDF wood.
Here you can see the top of the upper ring. This one, you will see, and will be covered in Carbon
On the picture, you can see he miled a little ditch.
covering the frame in Carbon
This will be the inner-ring, what goes in the grill.
First I mild a MDF wooden ring and rounded the edges. What you see now is the upperside. Comes in CF btw
this is the bottomside. You see I made some screwbusses in it.
Made an alu ring of 3mm thick for on the bottomside. Must be very solid so the grill can't bend in the middle.
Here you see the 2 parts on each other. Between there's 2mm place for the innox plate on the outside, and the alu from in the centre.
The middle ring going into Carbon Fibre. Need some more layers of epoxy though..
06-05-2011, 01:39 PM
#31
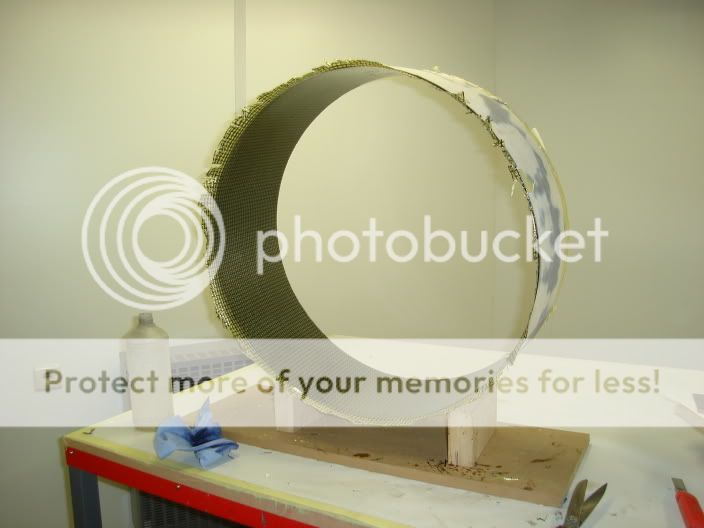
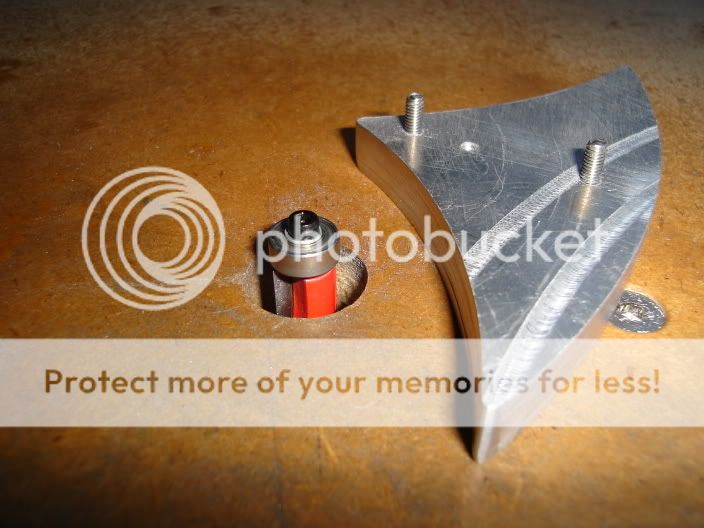
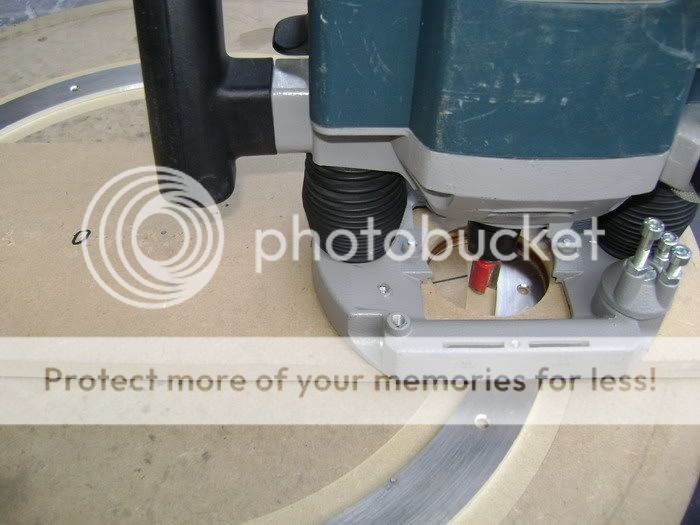
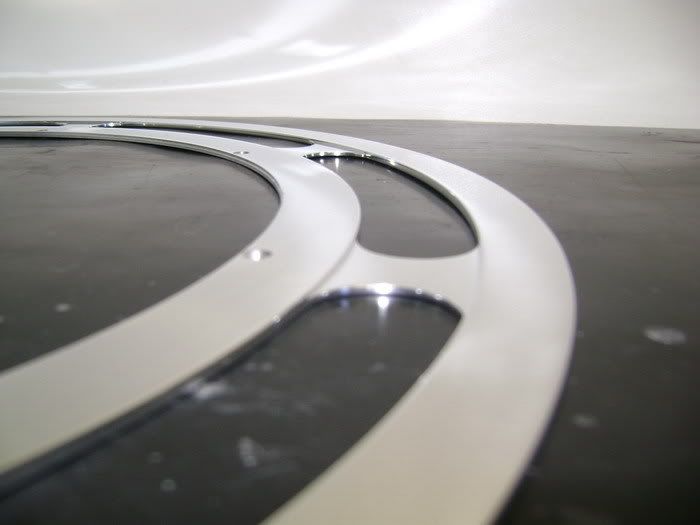
Took the uppermill and started the outer-ring.
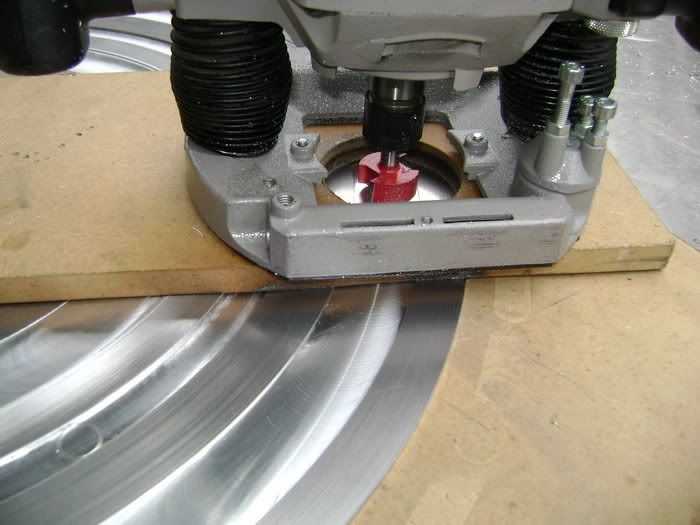
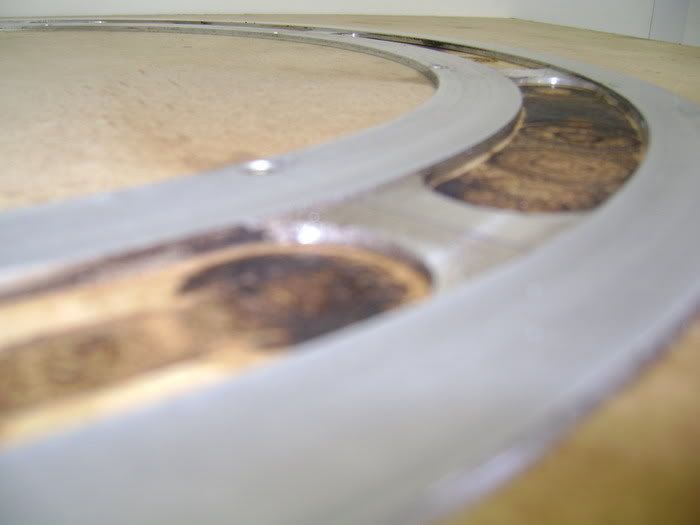

Started to begin polishing. Is a heck of a job, people who polished with heavy machinery before know...
It's kinda hard to do this without the brushes hacking into the alu..
I did this:
Screw the piece on a piece of wood that you can hold on tight.
1) you won't burn ya fingers/hands on the alu
2) the brush can't bite himself into sth
06-05-2011, 01:40 PM
#32
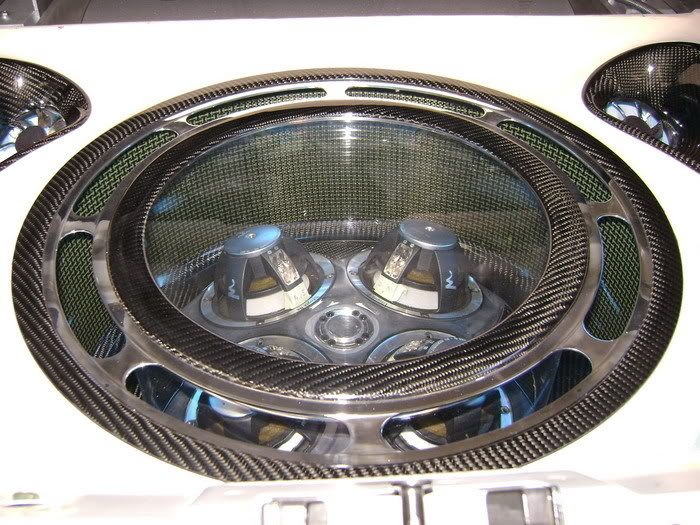

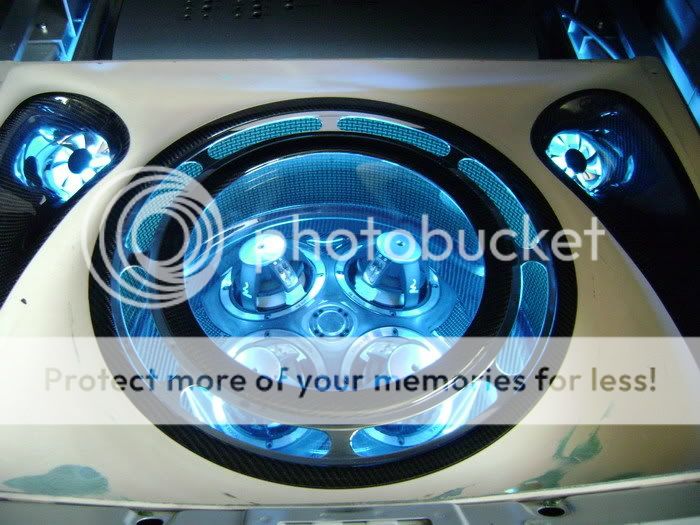
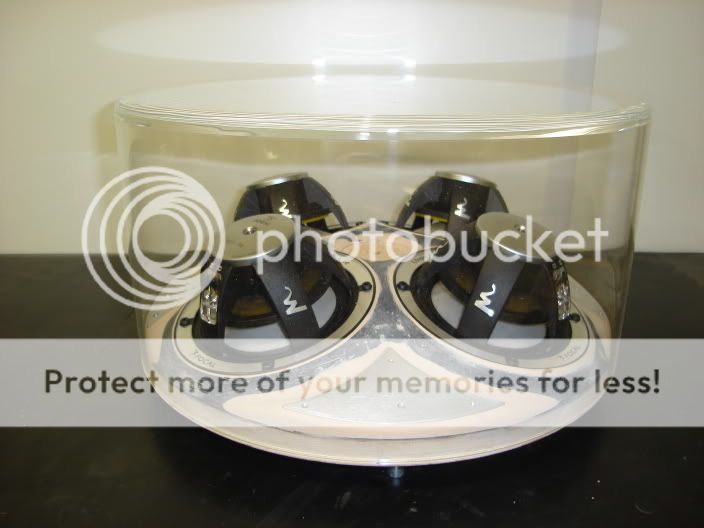
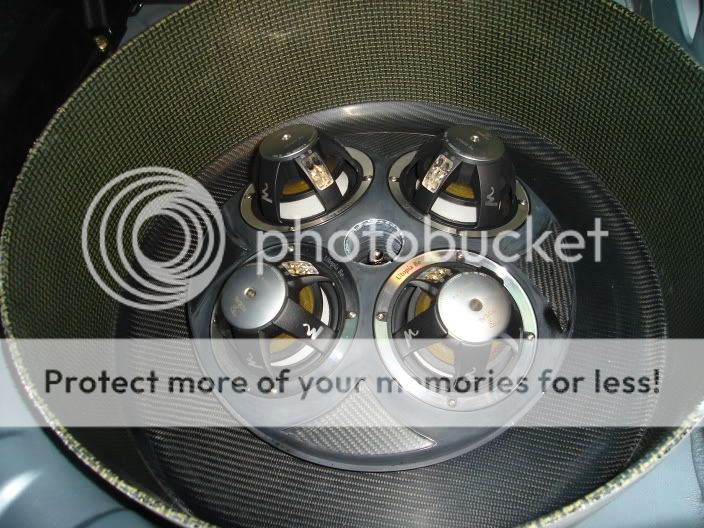
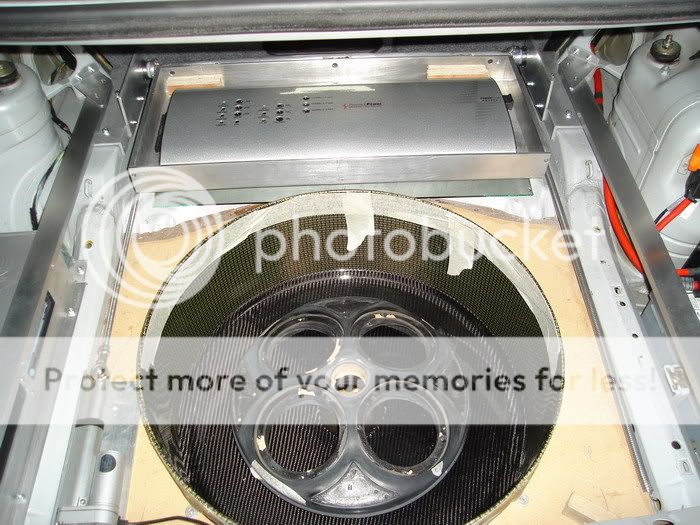
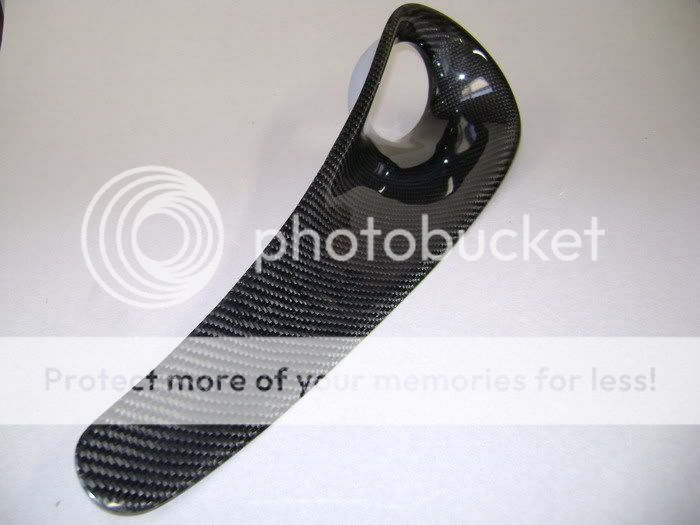
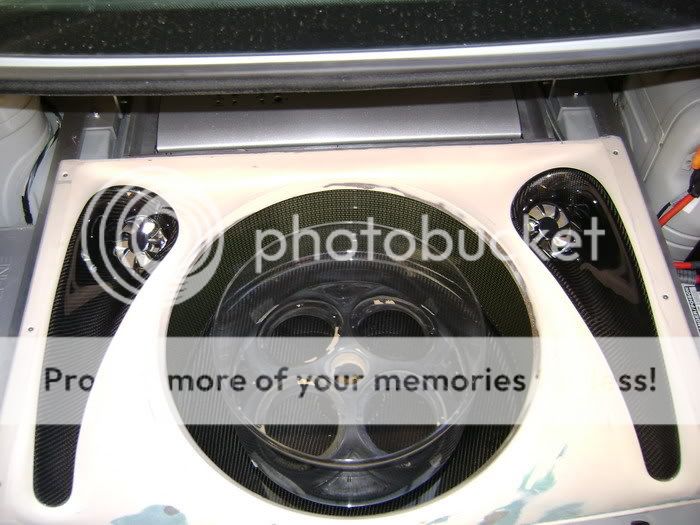
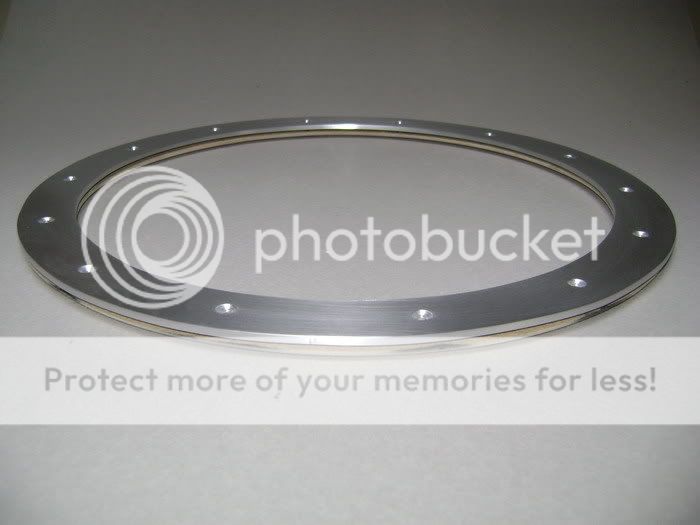
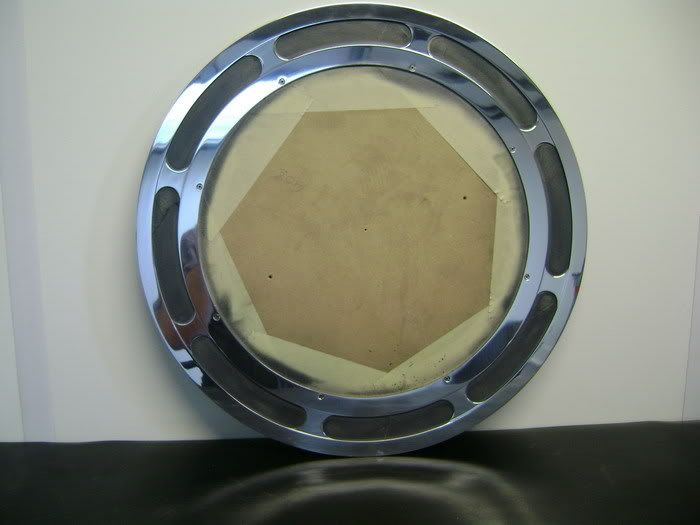
As you can see, the whoel sub part is see-able and yet, it's covered with real glass I can clean as much as he wants, without making scratches.
The nice thing about this grille, is that I made it with a simple milling tool. This is the proof everyone can make something really nice, with non-expensive equipment.
06-05-2011, 01:41 PM
#33
The grill is almost complete. for now, no Focal Logo's anymore
althought...
The next work on the list is for next days, maybe weeks.
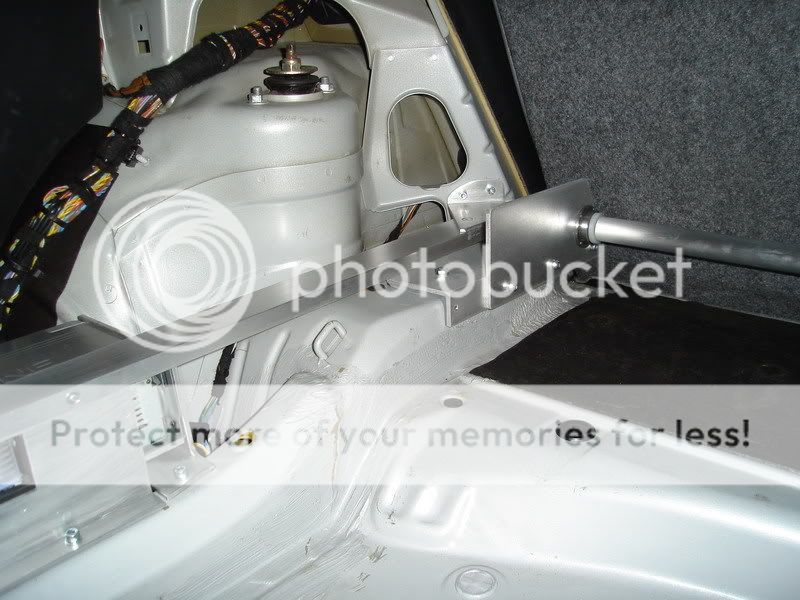
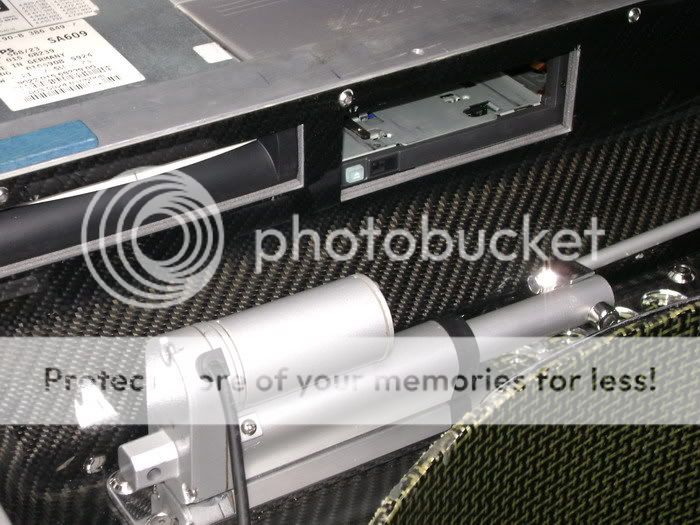
The actuator, that bringt the amplifier to life, will get a nice place.
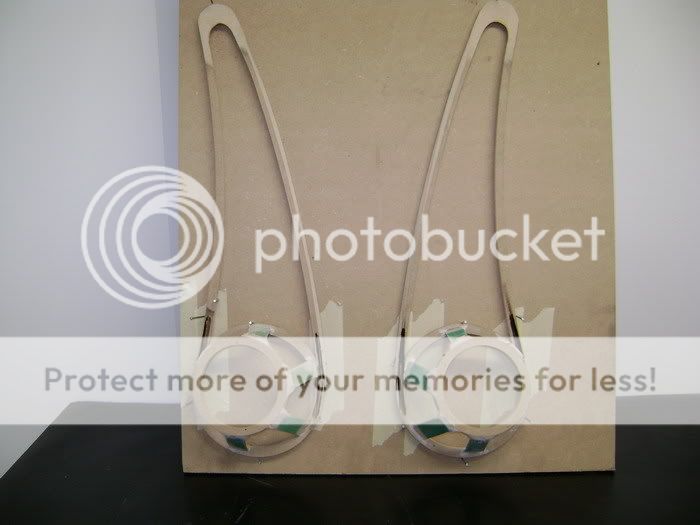
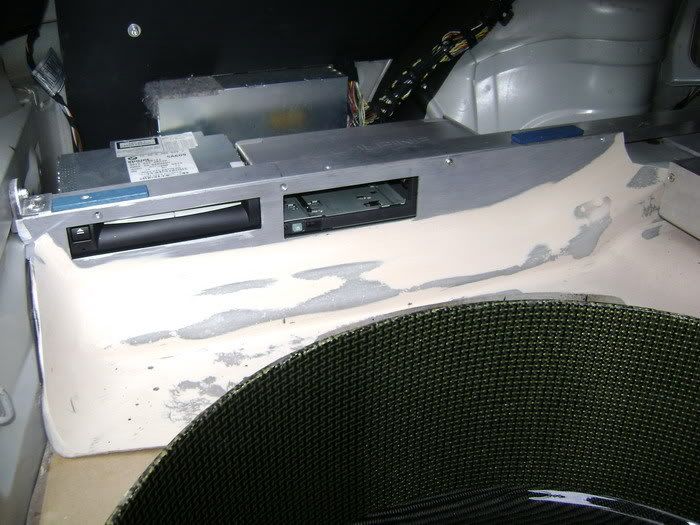
For those who forgot, this is how the motor was placed.
This was only to see if the thing worked like I wanted.
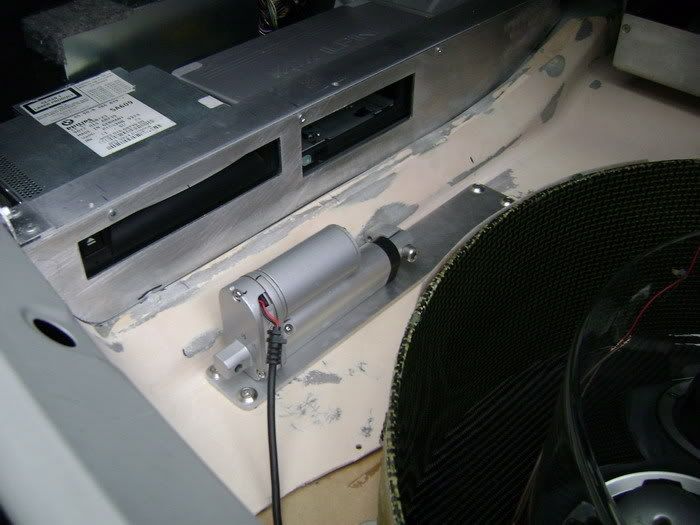
The meaning is, if you take the left carbon piece away, you see the motor and the cd-changer. If I wanted to show this, it must be made SHOWABLE
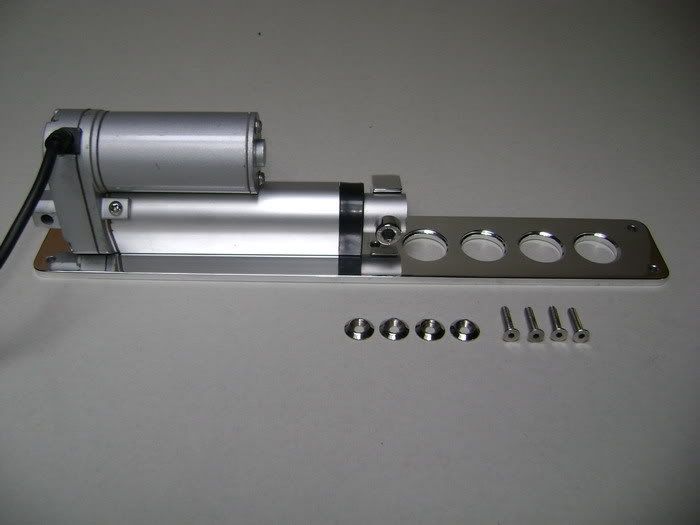
Then, I put the actuartor on a alu plate of 4mm thick.
The fiberglassed part where the motor will be put on tight, is as good as ready.
I sprayed this black. Those who read all thread, now what that means .
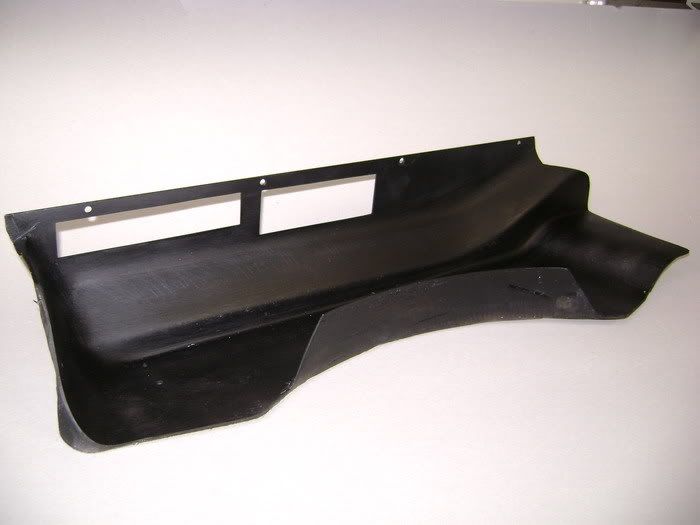
This will be the alu plated where the motor will locked on.
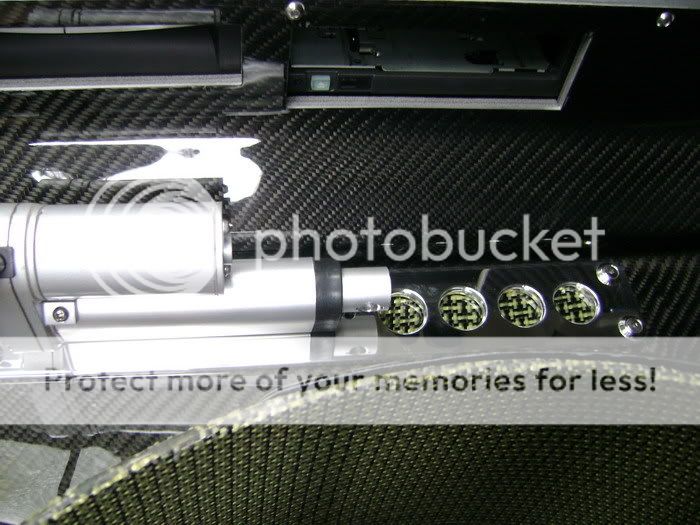
As you can see, I made 4 big wholes in it. Under these, put a carbonkevlar plate. The look will be a little bit better I think.
Also you can see I made a alu piece with M5 screws. Here will be a "bar" in connection with the amp.
I took everything on a trip to polish-land.
The fiberglass part that comes under the motor, is already covered in a layer of carbon... needs some more epoxy.
Not simple to cover it in carbon, but it worked.
Couple of layers of epoxy are needed, and then rubb the whole piece, while working on the sides..
Damn, this piece looks great, but you're not going to see much of it .
The CF piece, to put the motor on is ready... I did some long long long rubbing, but it was worth the effort.
althought...
The next work on the list is for next days, maybe weeks.
The actuator, that bringt the amplifier to life, will get a nice place.
For those who forgot, this is how the motor was placed.
This was only to see if the thing worked like I wanted.
The meaning is, if you take the left carbon piece away, you see the motor and the cd-changer. If I wanted to show this, it must be made SHOWABLE
Then, I put the actuartor on a alu plate of 4mm thick.
The fiberglassed part where the motor will be put on tight, is as good as ready.
I sprayed this black. Those who read all thread, now what that means .
This will be the alu plated where the motor will locked on.
As you can see, I made 4 big wholes in it. Under these, put a carbonkevlar plate. The look will be a little bit better I think.
Also you can see I made a alu piece with M5 screws. Here will be a "bar" in connection with the amp.
I took everything on a trip to polish-land.
The fiberglass part that comes under the motor, is already covered in a layer of carbon... needs some more epoxy.
Not simple to cover it in carbon, but it worked.
Couple of layers of epoxy are needed, and then rubb the whole piece, while working on the sides..
Damn, this piece looks great, but you're not going to see much of it .
The CF piece, to put the motor on is ready... I did some long long long rubbing, but it was worth the effort.
06-05-2011, 04:21 PM
#34
Someday, an RS6 Avant+
Your skills are beyond reproach. 
And I got excited throwing some Polk components and an Alpine sub in my car. Damn.
And I got excited throwing some Polk components and an Alpine sub in my car. Damn.
06-05-2011, 07:14 PM
#35
COME AT ME BRO!
Robo that is so awesome, its hard to convey the true skill and awesomeness that went into this build, into the proper words! (at-least for me)  to a true master of the craft like you! If I might ask, how did you form that big carbon-Kevlar tube/ ring (whatever you call it)
to a true master of the craft like you! If I might ask, how did you form that big carbon-Kevlar tube/ ring (whatever you call it)


 06-06-2011, 09:27 AM
#39
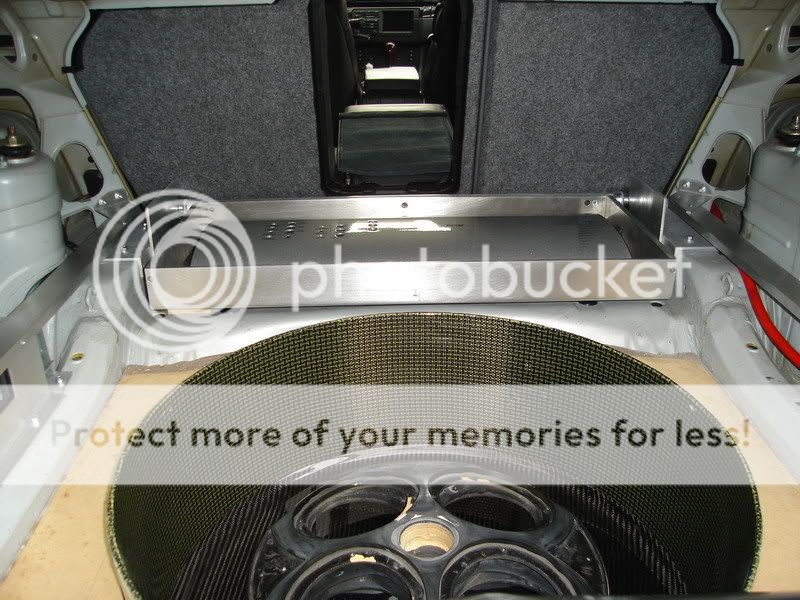
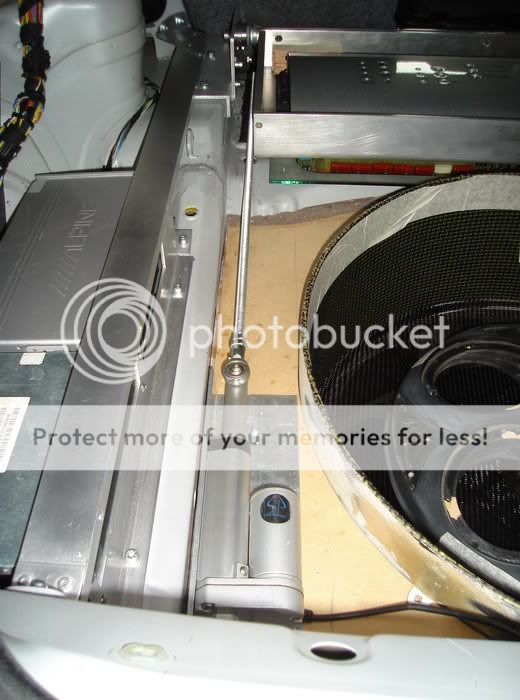
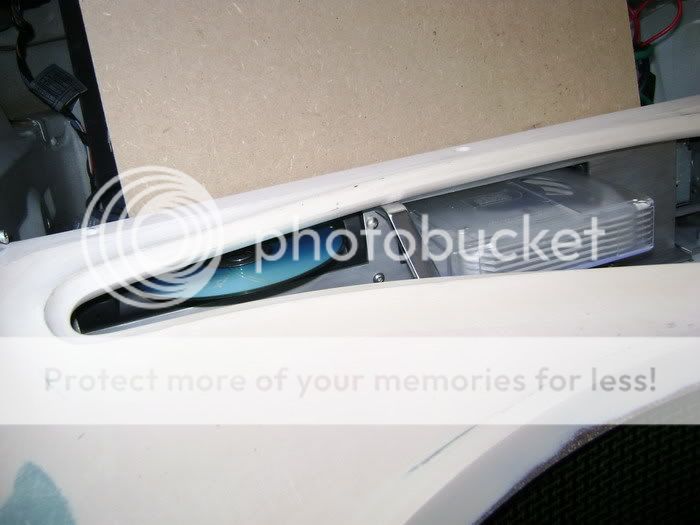
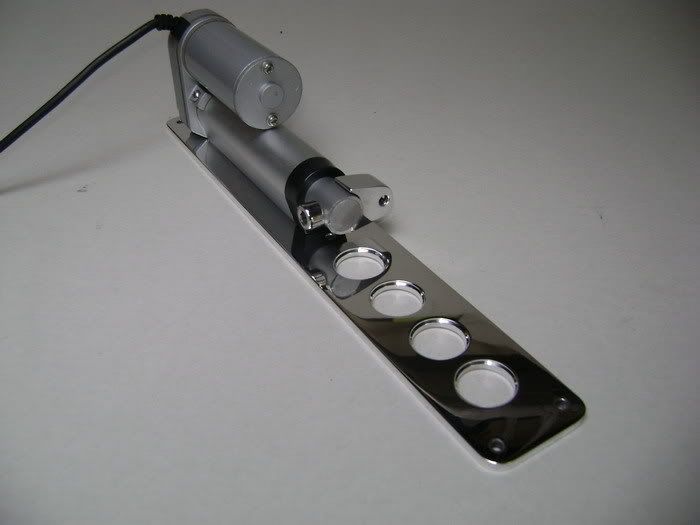
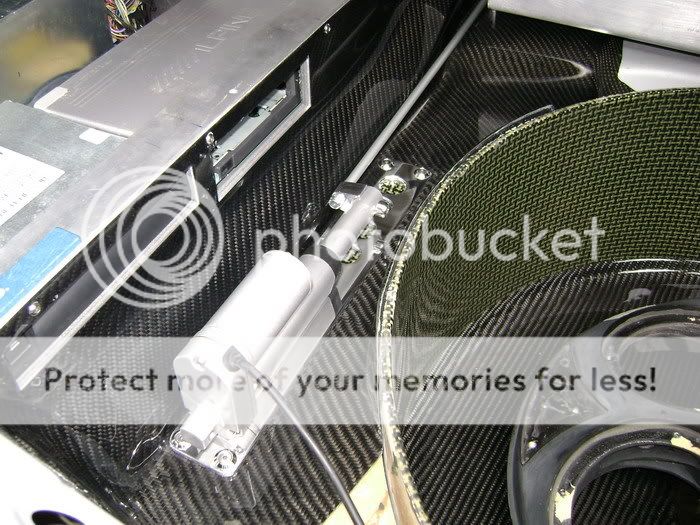
This is how the motor is beeing placed; You can see I put an little alu cover over the bar from the motor, not easy to find...
This is the same material as where the engine is screwed on.
Made an extra piece of carbonkevlar to fill in the big wholes on the bottom of the motor.
A little more contrast with the CF.
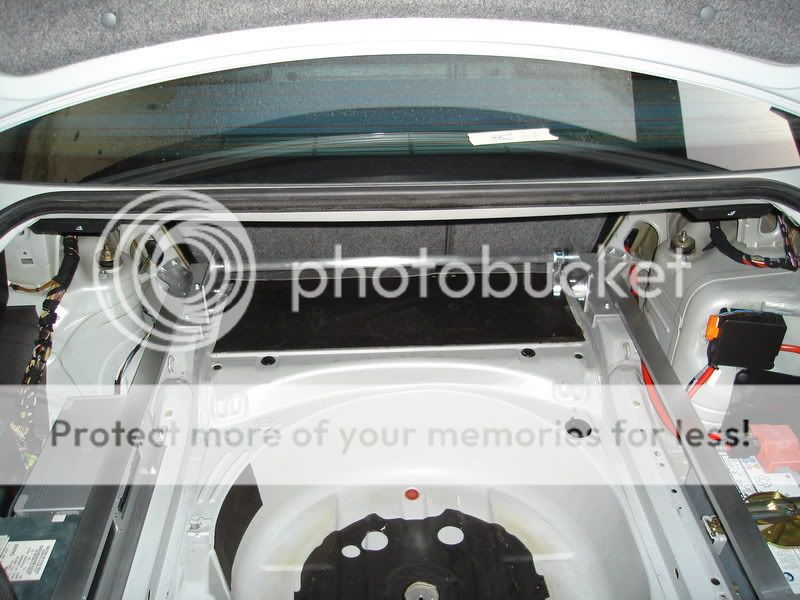
The picture is taken when you're standing right behing the trunk. Now you can see it all.
This is the same material as where the engine is screwed on.
Made an extra piece of carbonkevlar to fill in the big wholes on the bottom of the motor.
A little more contrast with the CF.
The picture is taken when you're standing right behing the trunk. Now you can see it all.
06-06-2011, 09:27 AM
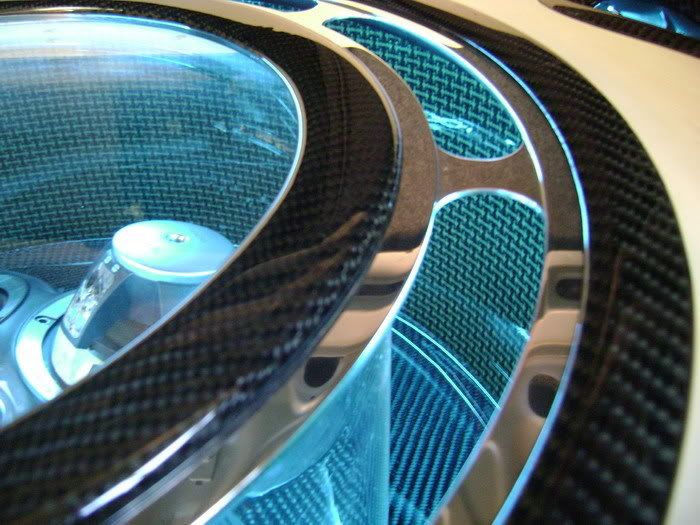
#40
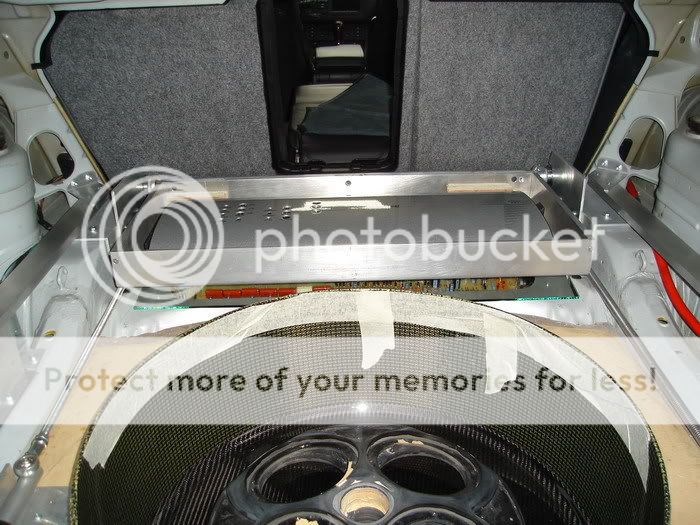
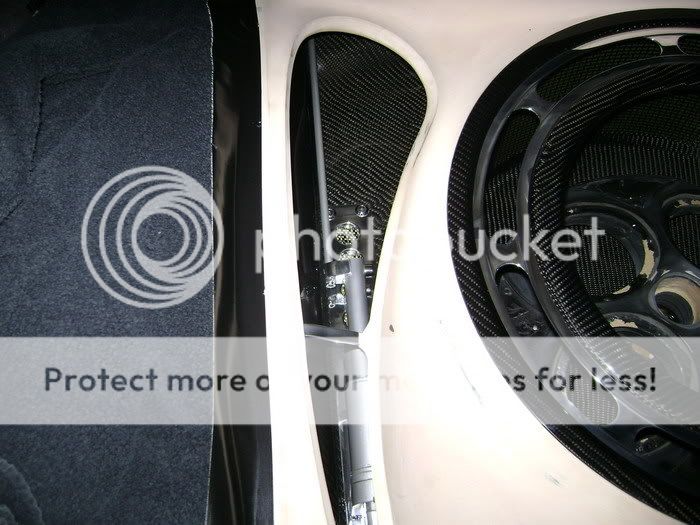
Now the big question is, WHY THE HECK make such a big piece of CF, but i wanted to be sure that EVERYTHING looks perfect, from what ever angle you look.
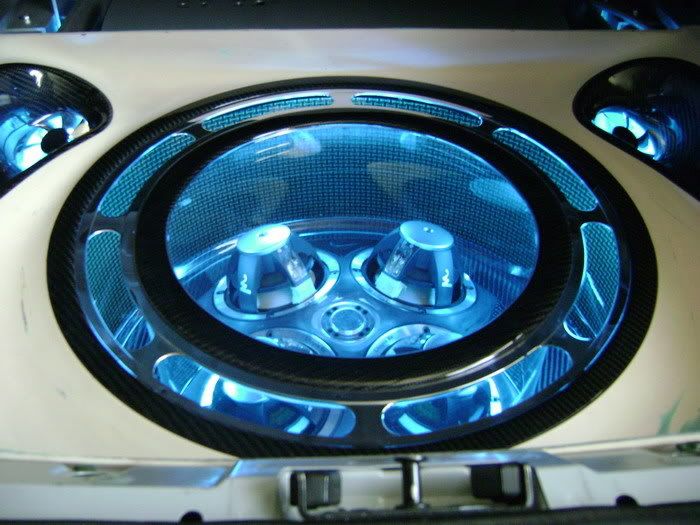
Again with the neon.


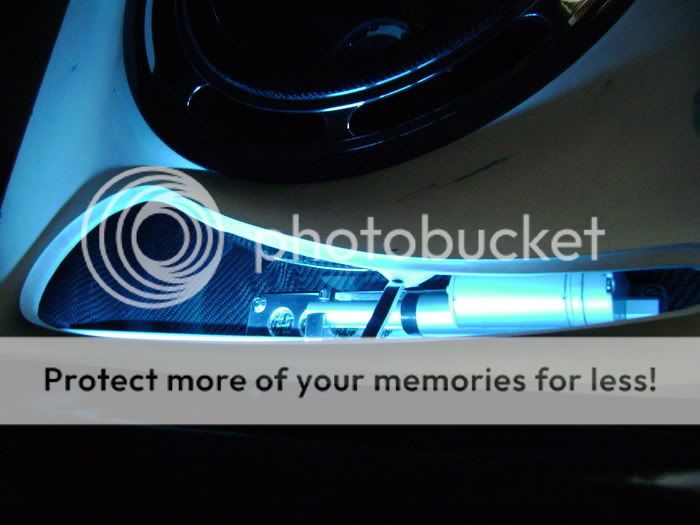
This will come under the right vent, just for looks.
On the leftside we have the CF piece where the motor is at, so it looks more the same on the right side went you look through the vents.

Again with the neon.
This will come under the right vent, just for looks.
On the leftside we have the CF piece where the motor is at, so it looks more the same on the right side went you look through the vents.