
My first box build log...
 10-09-2007, 07:56 PM
#1
My first box build log...
My first box build so don't flame me of my crappy job please =(
16cu ft (1.54) sealed box (figuring out dimensions & tuning of a ported got too confusing in my limited trunk space!)
What's going in:

Picked up what I could afford + the wood cut at home depot (no saw at home! and cant afford one) For the most part, the pieces are pretty good, theres a few that is off by about 1 or 2 cm at the most + or -, but it should be alright with a few screws.
Pretty much what i'll be working with =X!

First side up.. notice the little ammount of space i got to work with =(.. **** small house
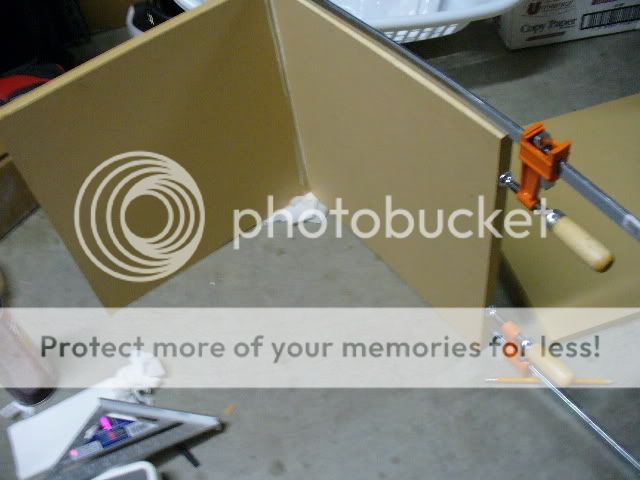
wall 2 up..
everything looking solid so far...
hope 3 screws is enough!

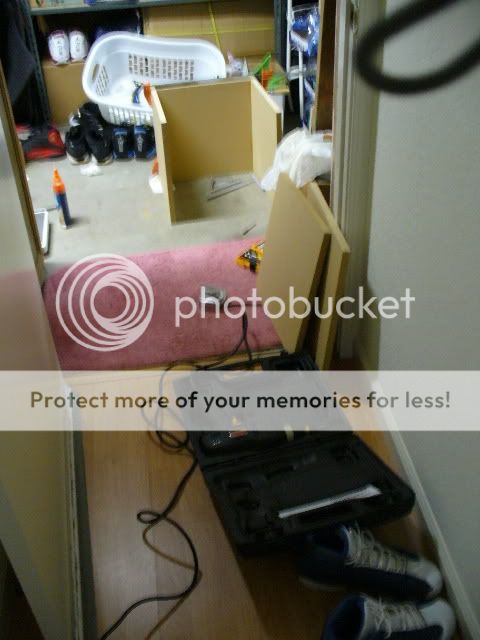
from afar.
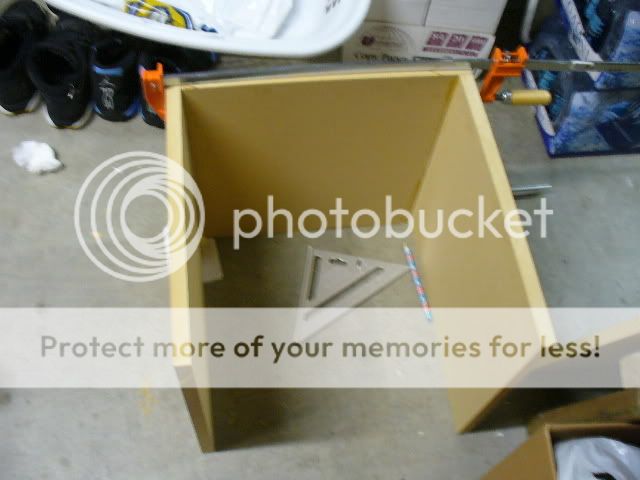
5 sides completed. the bottom doesnt exactly fit flush, but i suppose its close enough, i saw this polyurethane filler stuff thats suppose to fill in cracks at Home depot that i think ill pick up and just fill in the corners just in case there isn't air tight, but it looks air tight!
I wish I had a saw and like perfect cut pieces so that it would look better :\, but I suppose i gotta work with what i got..
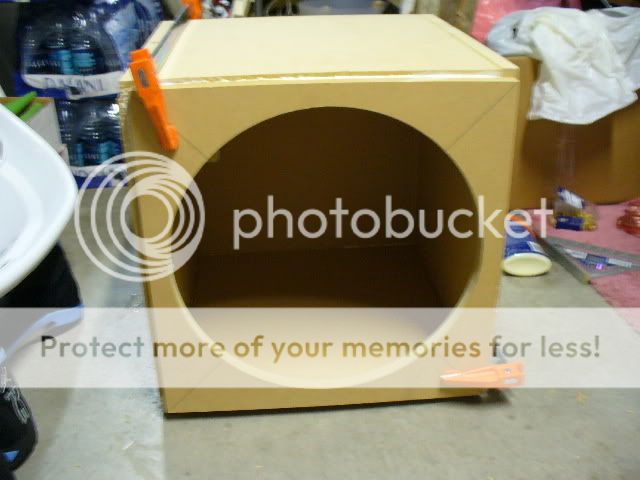
4 sides and the bottom on
about 2cm too short!, gonna fill this part in with that stuff from HD.
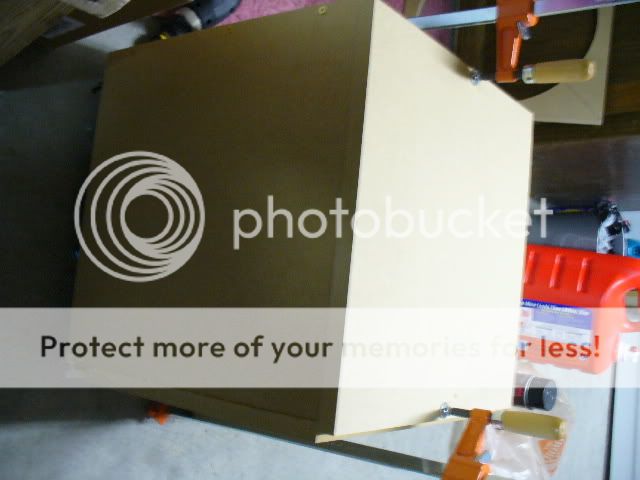
think i'll pick up some corner/L brackets for extra support too
All done!
just need to pick up some carpet now, but i'll probably test it before carpeting it... just incase >.<, and waiting for the idq to get here, should be here monday!
16cu ft (1.54) sealed box (figuring out dimensions & tuning of a ported got too confusing in my limited trunk space!)
What's going in:
Picked up what I could afford + the wood cut at home depot (no saw at home! and cant afford one) For the most part, the pieces are pretty good, theres a few that is off by about 1 or 2 cm at the most + or -, but it should be alright with a few screws.
Pretty much what i'll be working with =X!
First side up.. notice the little ammount of space i got to work with =(.. **** small house
wall 2 up..
everything looking solid so far...
hope 3 screws is enough!
from afar.
5 sides completed. the bottom doesnt exactly fit flush, but i suppose its close enough, i saw this polyurethane filler stuff thats suppose to fill in cracks at Home depot that i think ill pick up and just fill in the corners just in case there isn't air tight, but it looks air tight!
I wish I had a saw and like perfect cut pieces so that it would look better :\, but I suppose i gotta work with what i got..
4 sides and the bottom on
about 2cm too short!, gonna fill this part in with that stuff from HD.
think i'll pick up some corner/L brackets for extra support too
All done!
just need to pick up some carpet now, but i'll probably test it before carpeting it... just incase >.<, and waiting for the idq to get here, should be here monday!

 10-11-2007, 06:18 PM
#4
Did the siliconing yesterday and carpeting today... the damn carpet cost more than the box! (Jipped home depot, paid for one when i had 3 haha (cashiers cant tell when they cut it for you  )
)
Pic of the siliconing yesterday
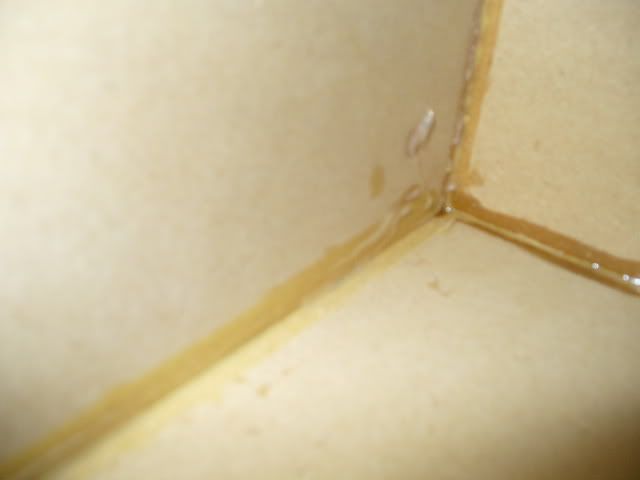
That thing should damn well be air tight now!
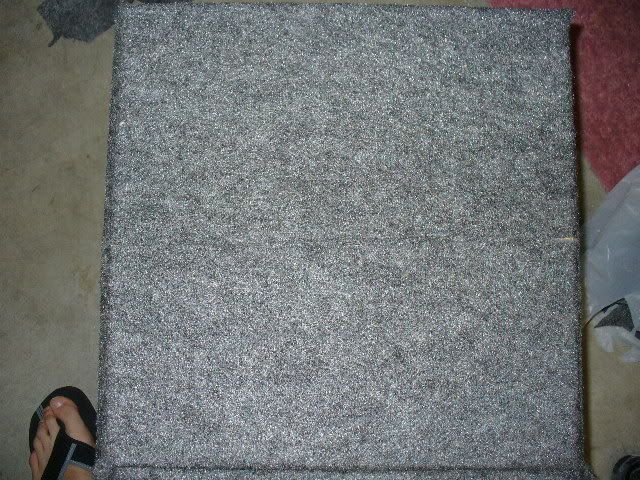
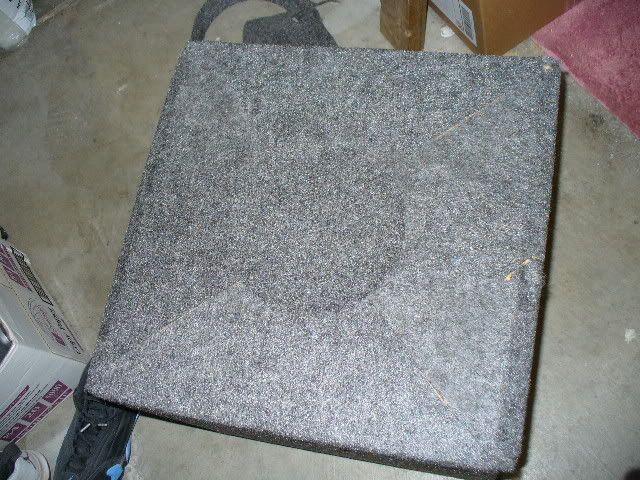
Pics of carpeting, it actually turned out pretty well, when I did measurements I kind of under estimated the amount of carpet I needed, so I was like half an inch short on flaps side, but i fixed it with a little bit of customization (cut out circles with the help of the bottom of my trash can so it kind of looks like it was intentional )
)
Finished product:
Bottom:
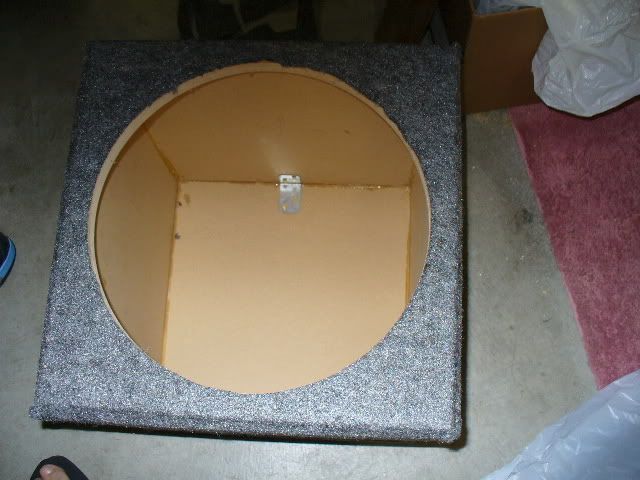
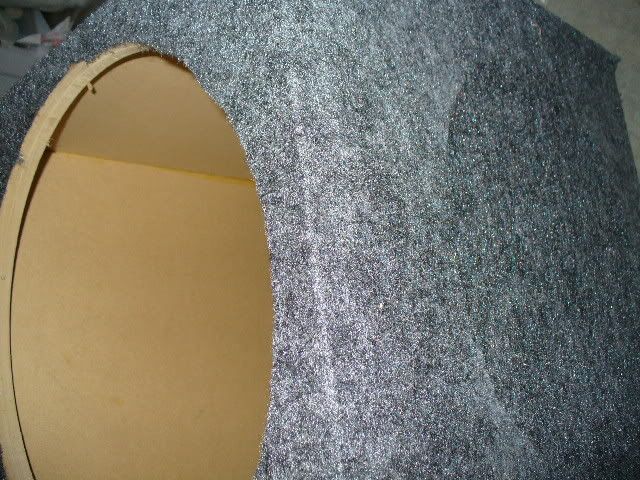
Side 1, this will be the only side you will see since itll be facing the navi unit side, think i did a good job with hiding the flaws with that circle

The other side, same thing, but the uncarpeted area was smaller so i only needed a smaller one, it won't be able to be seen if you just look at it anyway since it'll be against the wall of the car
)Pic of the siliconing yesterday
That thing should damn well be air tight now!
Pics of carpeting, it actually turned out pretty well, when I did measurements I kind of under estimated the amount of carpet I needed, so I was like half an inch short on flaps side, but i fixed it with a little bit of customization (cut out circles with the help of the bottom of my trash can so it kind of looks like it was intentional
)Finished product:
Bottom:
Side 1, this will be the only side you will see since itll be facing the navi unit side, think i did a good job with hiding the flaws with that circle
The other side, same thing, but the uncarpeted area was smaller so i only needed a smaller one, it won't be able to be seen if you just look at it anyway since it'll be against the wall of the car

Thread
Thread Starter
Forum
Replies
Last Post
InFaMouSLink
Car Parts for Sale
3
10-30-2015 09:43 AM
Sarlacc
Console & Computer Gaming
5
09-30-2015 02:15 PM