DIY: MDX, Pilot, Odyssey spacer install
 10-25-2009, 05:09 PM
#1
DIY: MDX, Pilot, Odyssey spacer install
What u need from the dealer:
Intake manifold spacer, part number 17108-PGK-A00
Intake manifold gasket, part number 17105-P8E-A01 (or reuse ur old one if u have the p2r thermo spacer(
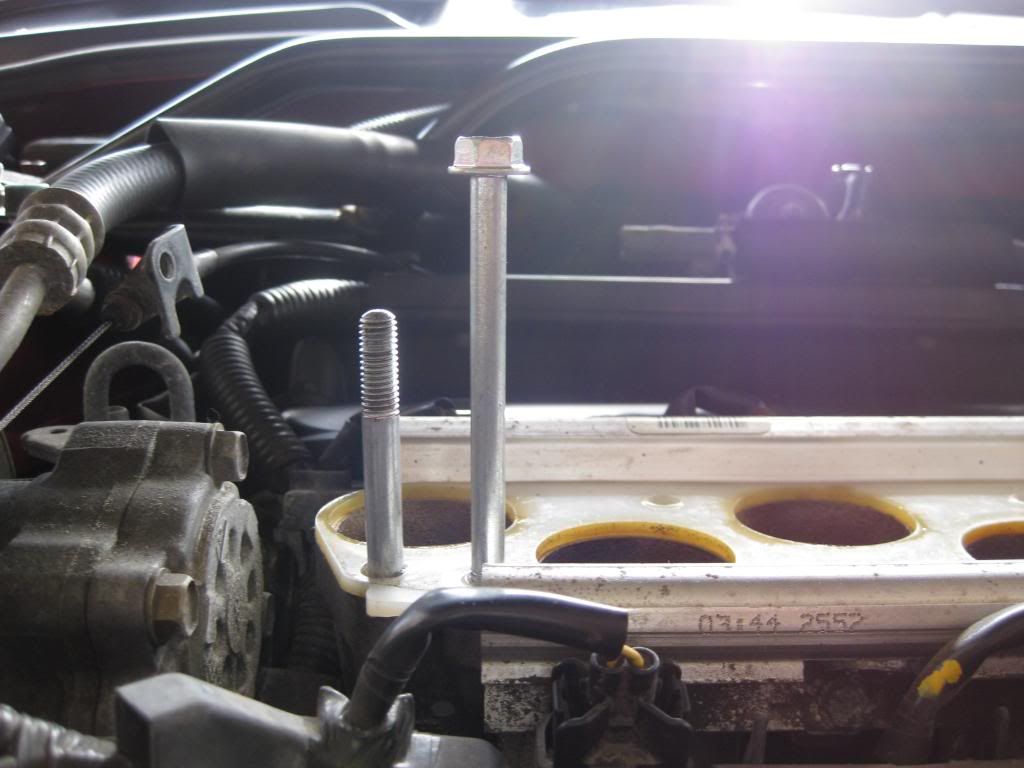
9 extedned bolts, part number 95701-08105-08
What u need to do the job
Ratchet
8 mm socket
10 mm socket
12mm socket
Screw drivers (+)(-)
Pliers
Dremel, cut off wheel
Safety glasses
mask or face shield
a rag or two
spacers (i used nuts)
1. take out these 4 bolts (10mm)
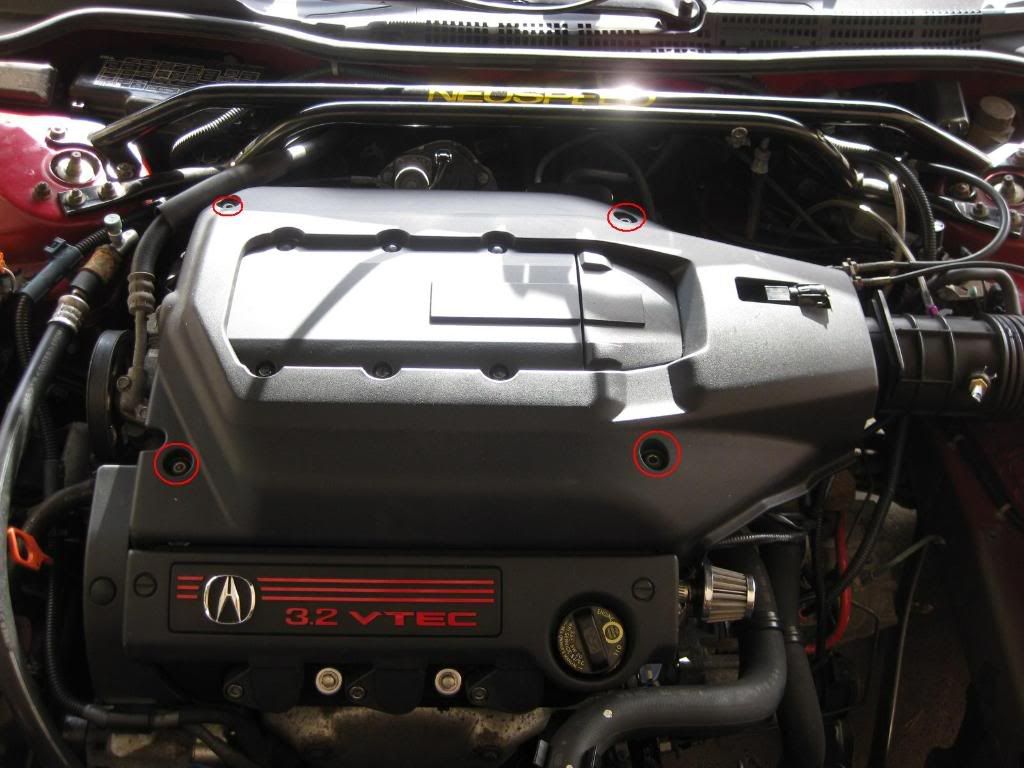
2. take off these 3 hoses and the one sensor
3. take out the bolt (10mm) and the cable
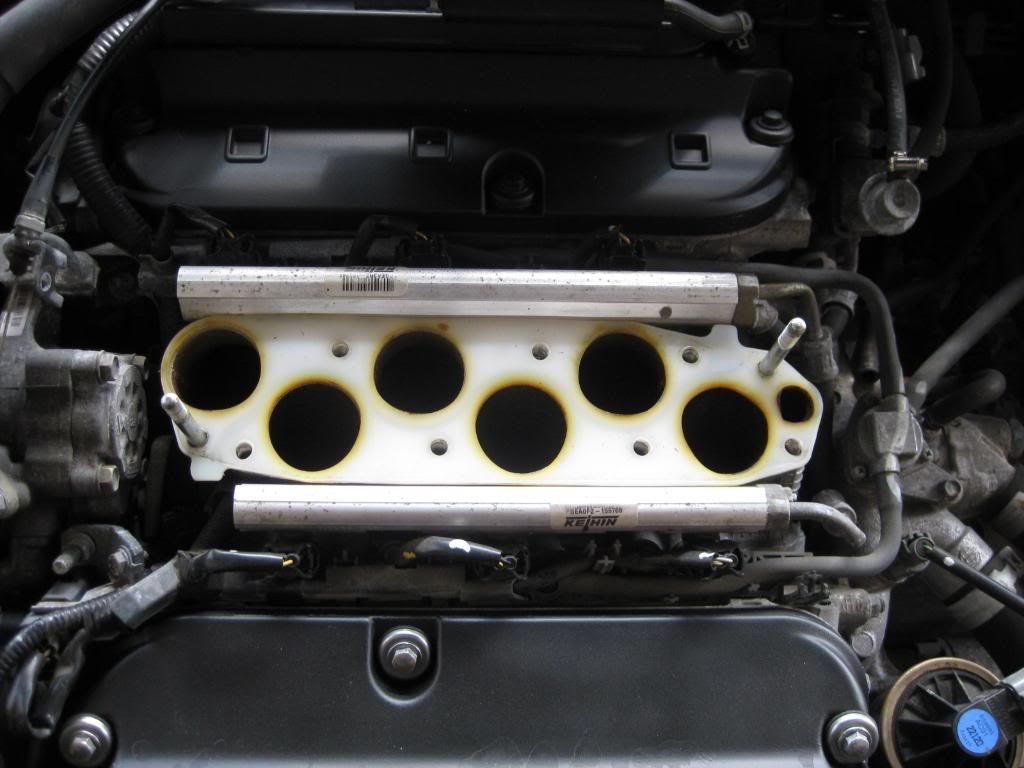
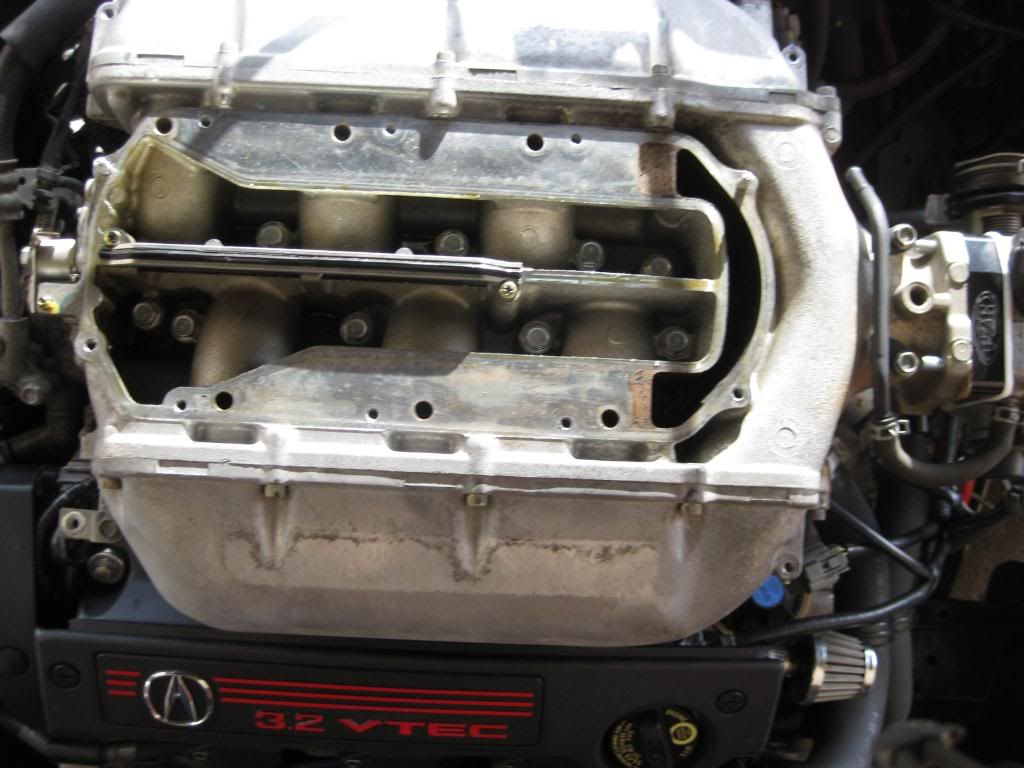
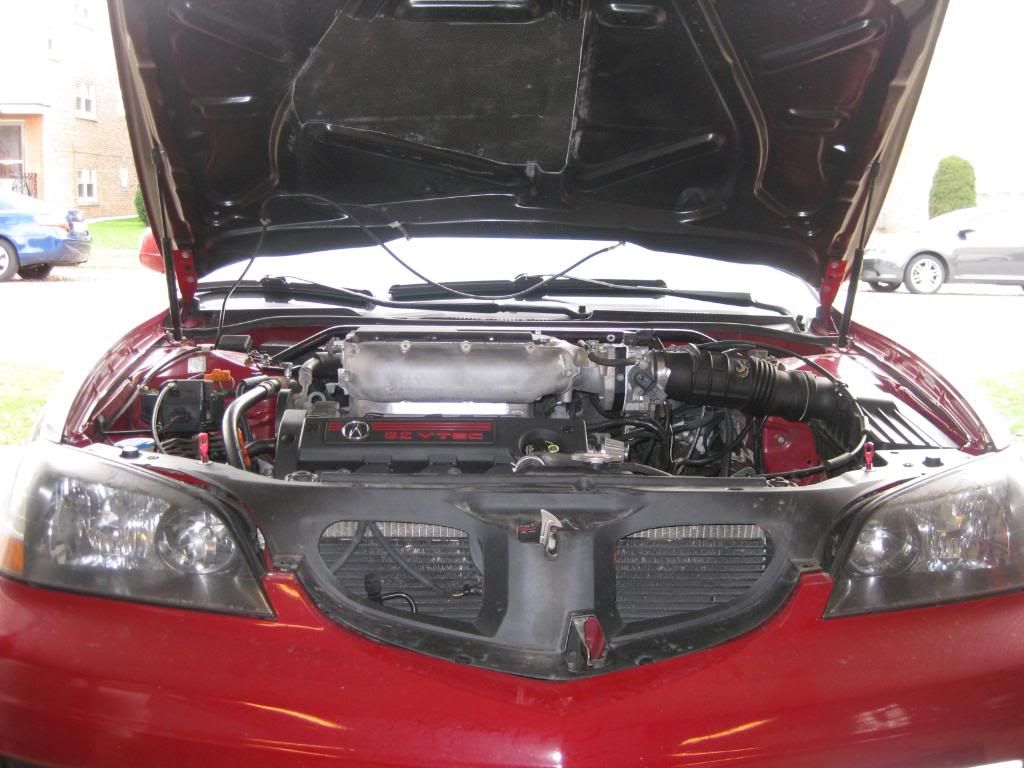
4. take off the intake (cl-s6 intake)

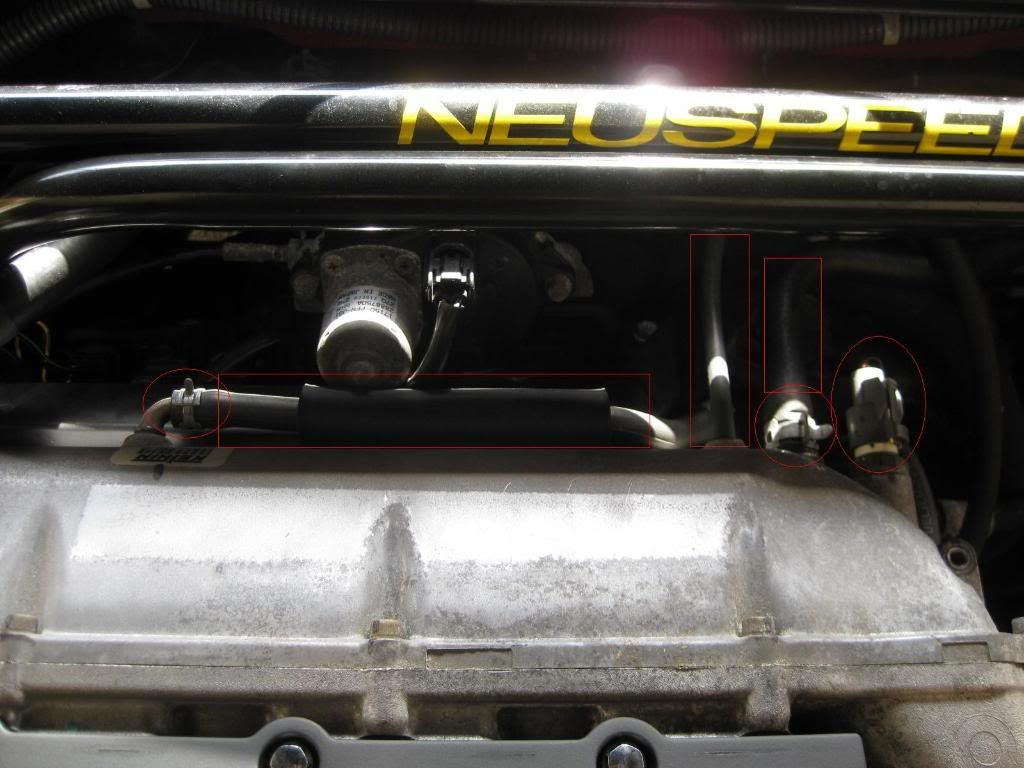
5.take off 3 sensors, two screws, hose, and the cables

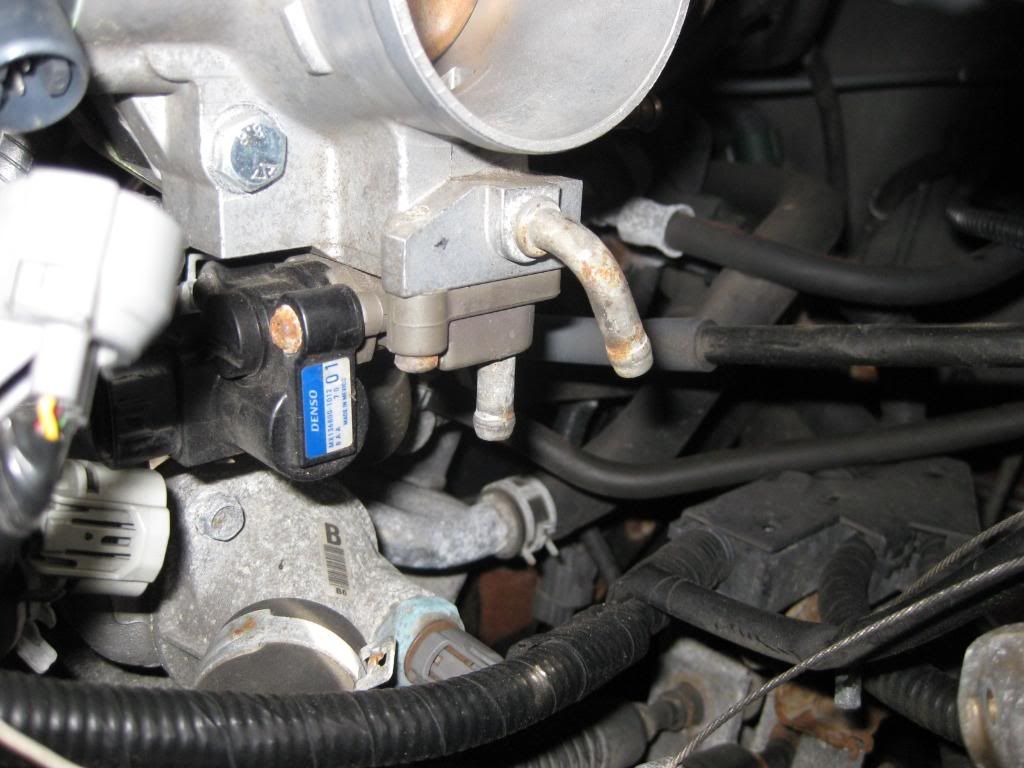
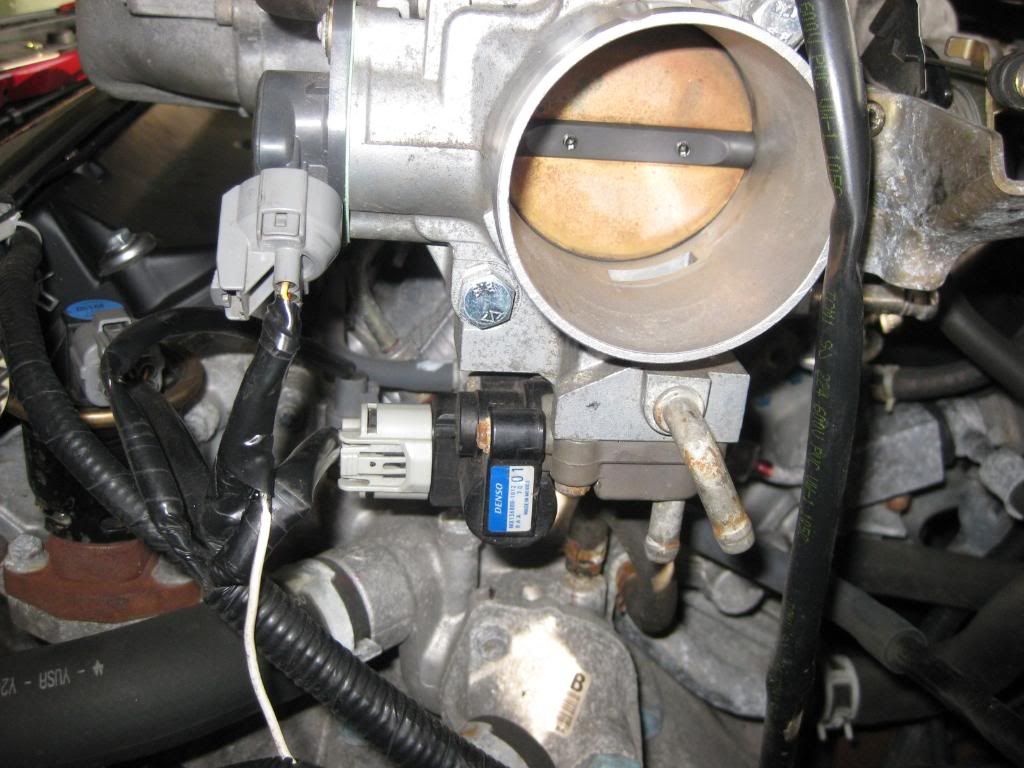
6. take off the throttle body coolant hoses (a good time to do the bypass mod, search for it)
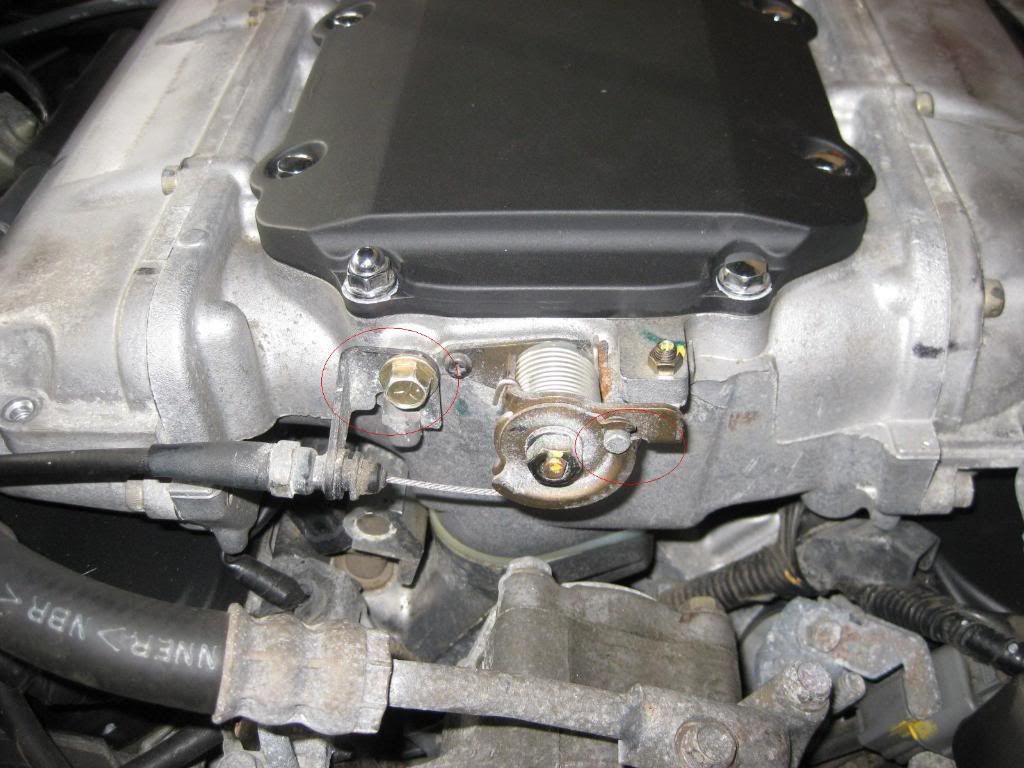
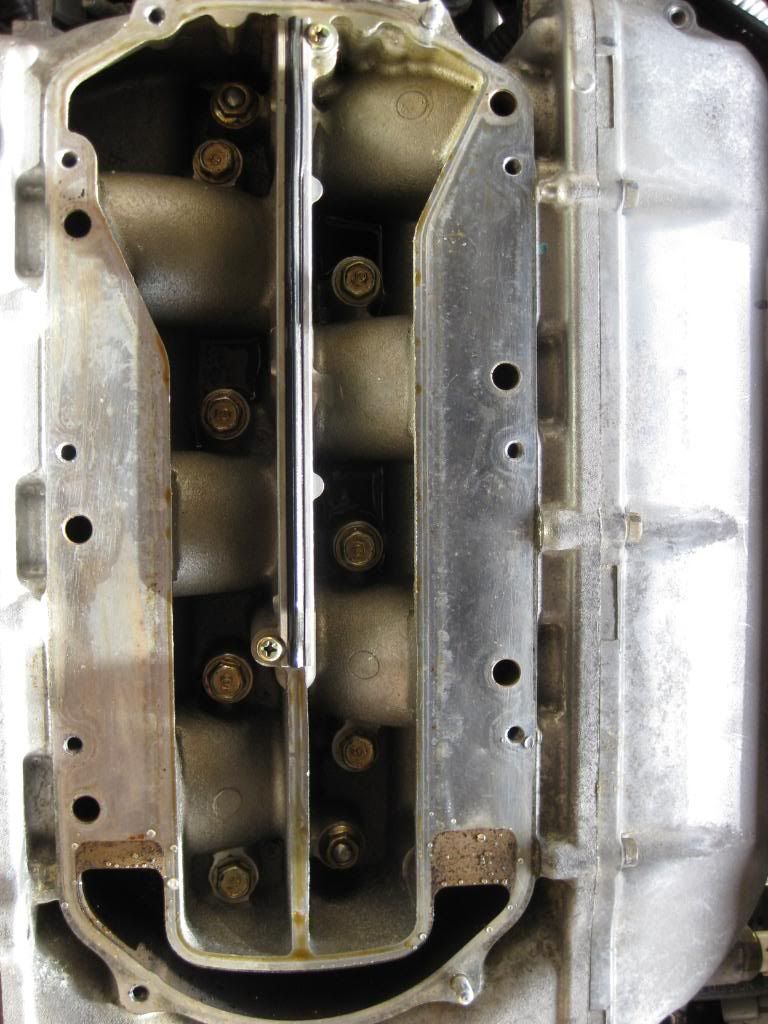
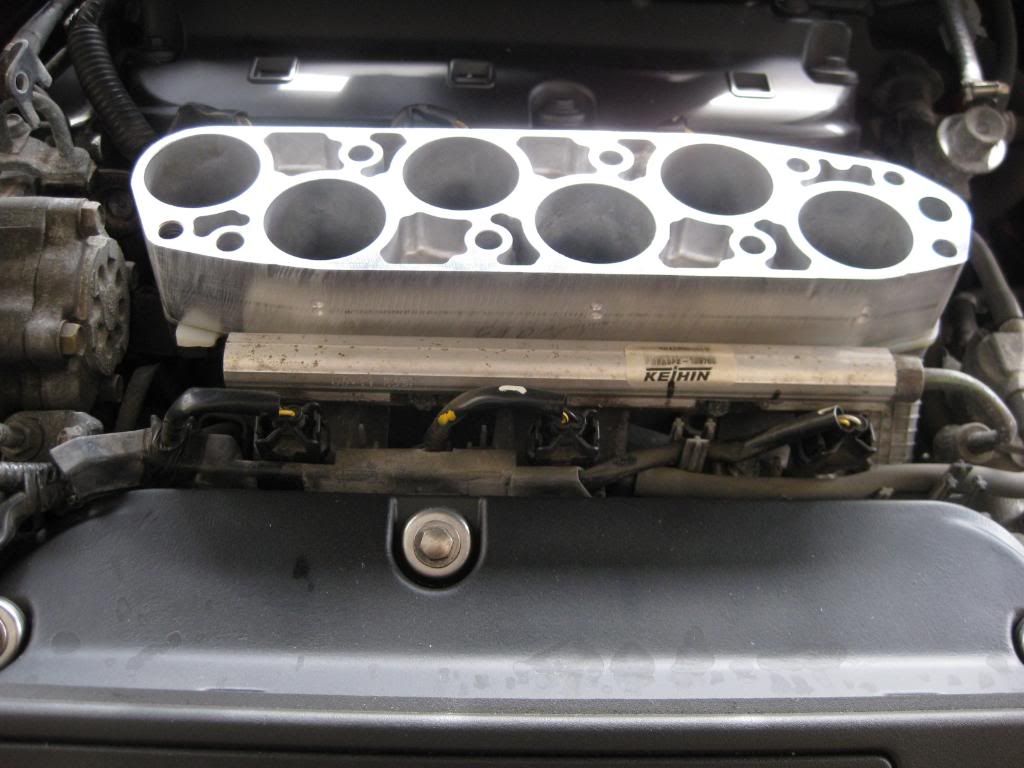
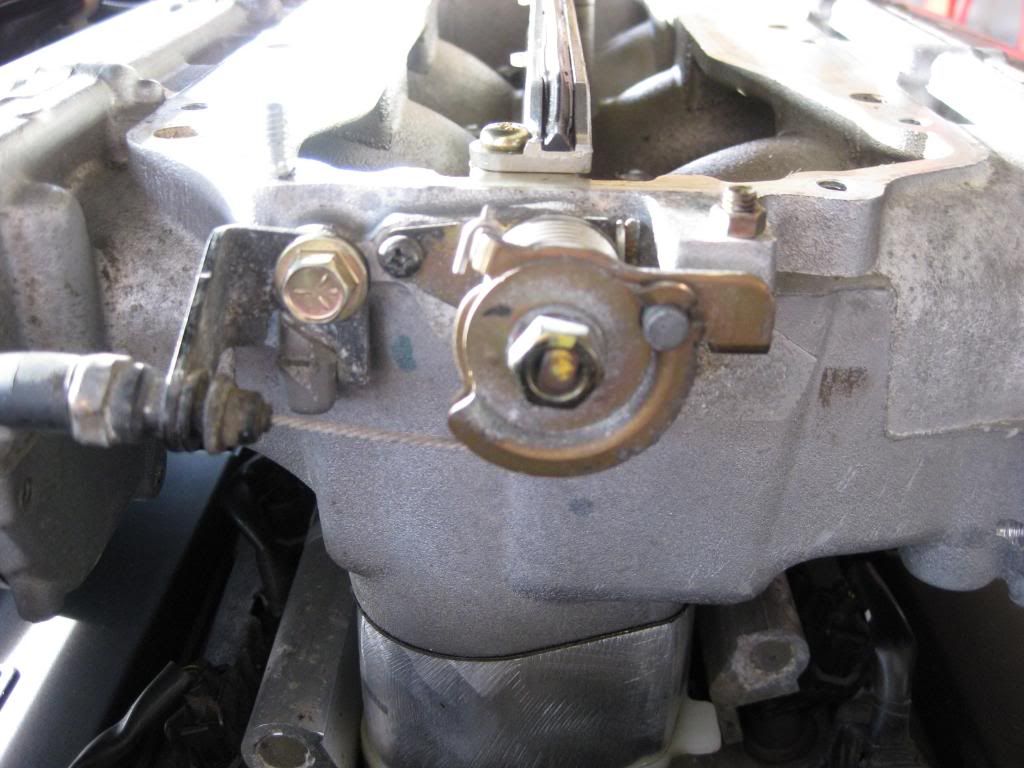
7. take off the 8 bolts and 2 nuts (10mm)
8. take out the 7 bolts and 2 nuts (12mm)
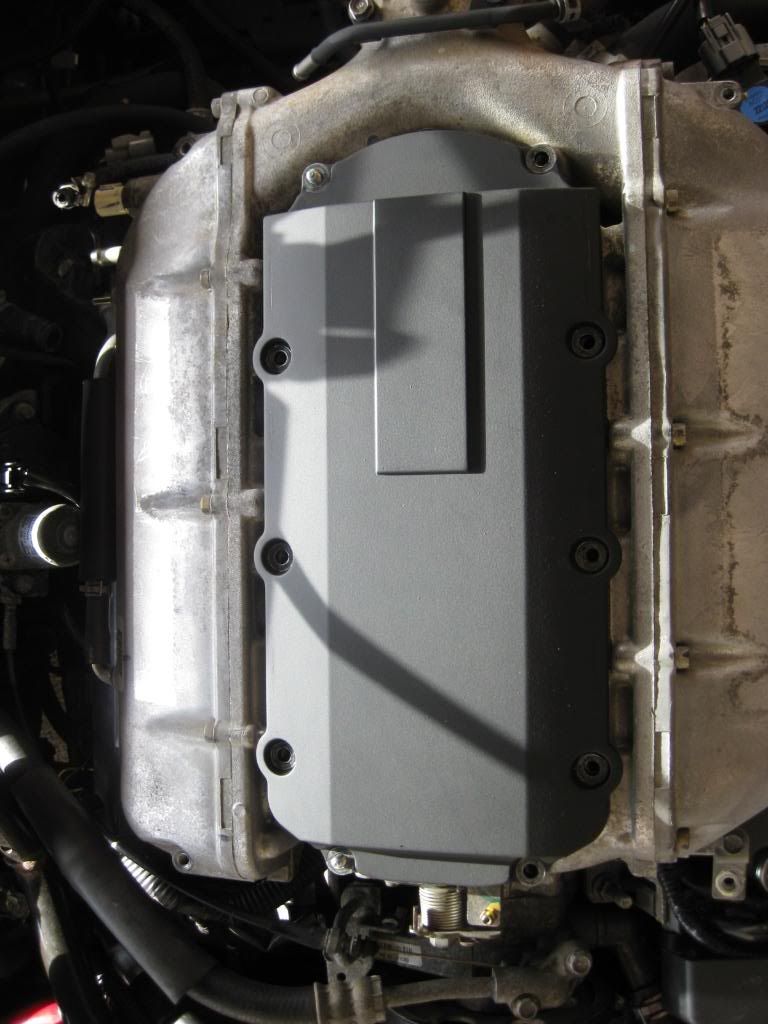
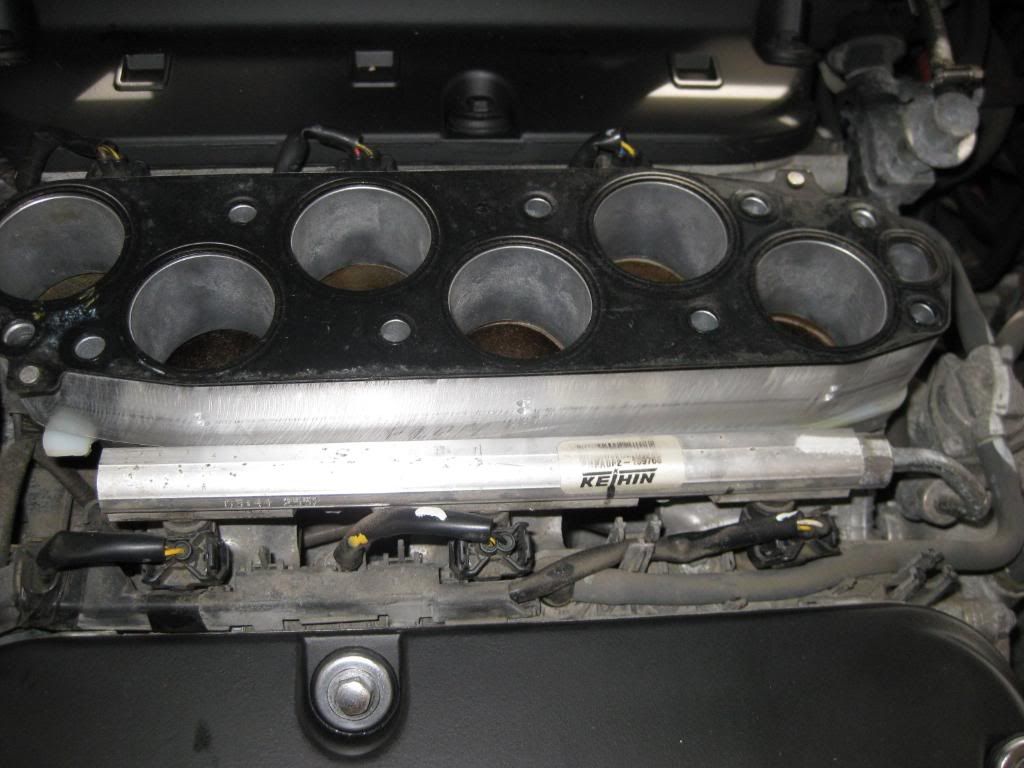
9. should look like this (thermo spacer on)
10. height comparison
11. take out the two studs with vise grips

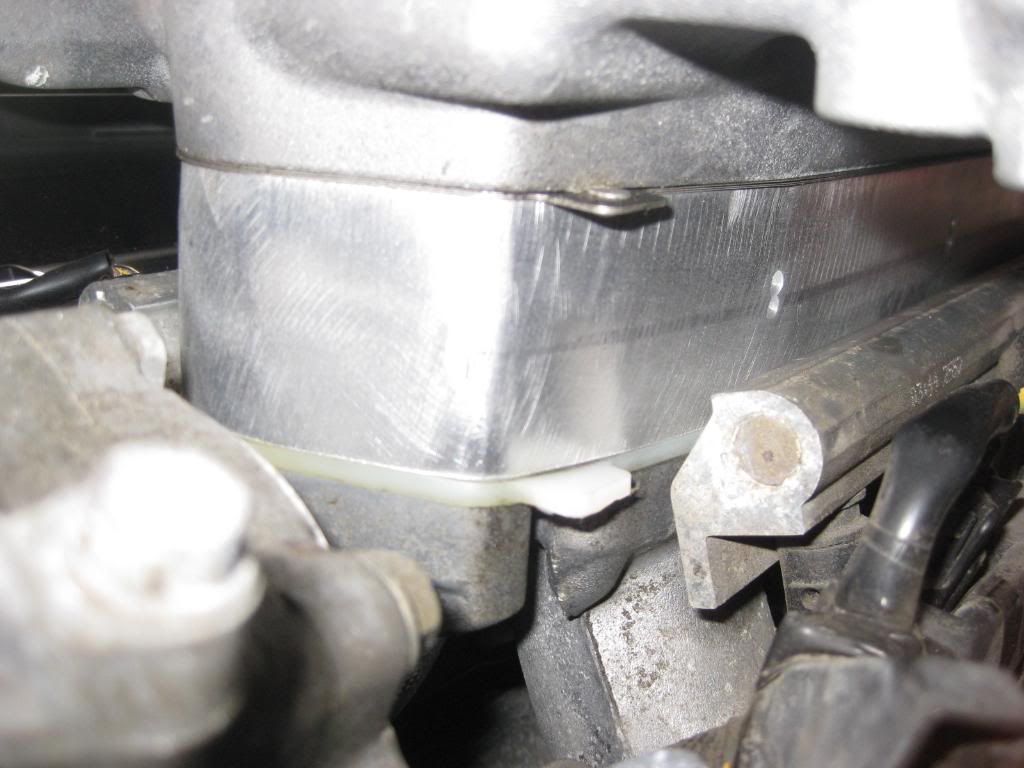
12. put spacer on
13. put gasket on
14. put bolts in, do it by hand, leave the first few bolts loose so u can move the intake manifold around a bit.
15. tighten all bolts. think it was like 18 ft lbs. i did it by feel and its all good (been doing this a long time)
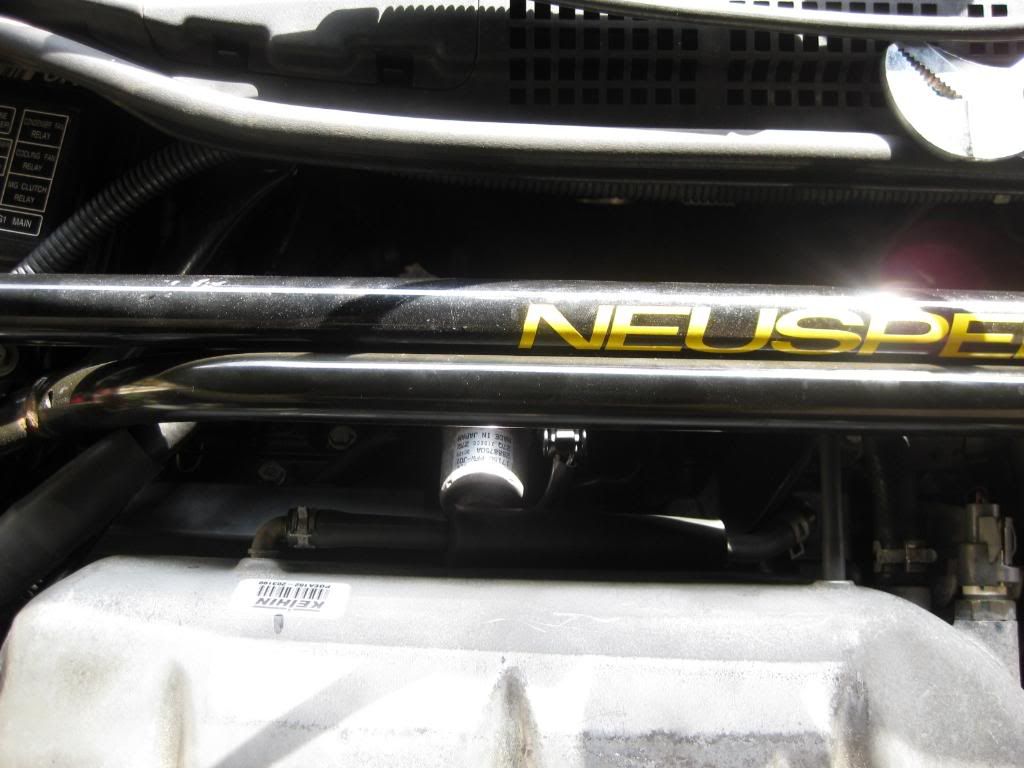
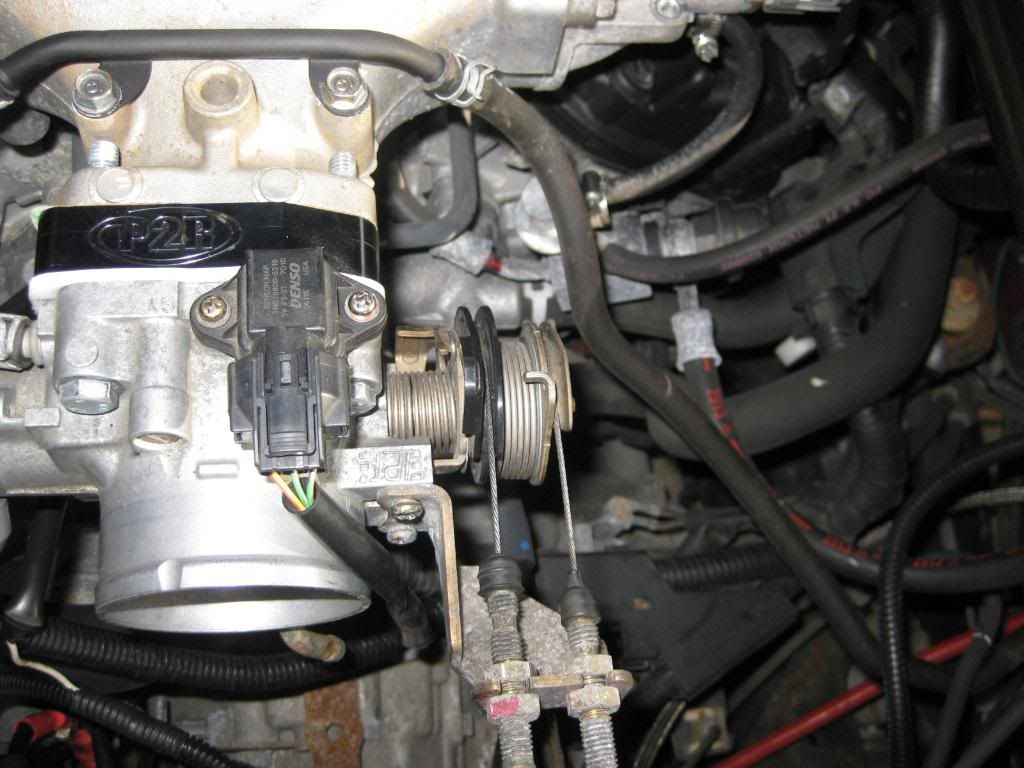
16. how it should look like
17. now, the imrc cable hooks on here, pull it out of the hook
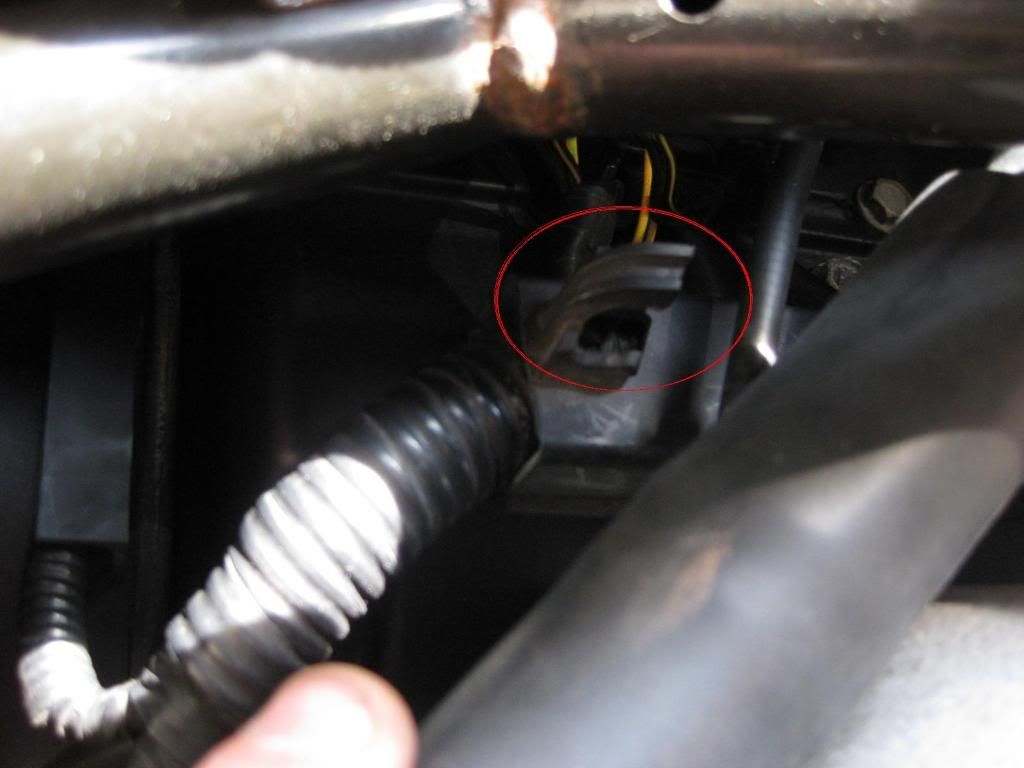
18. attach the cable and bolt in the bolt (10mm)
19. ur gonna need to put the wires that come out form this sensor. all u need is about half an inch, no harm done
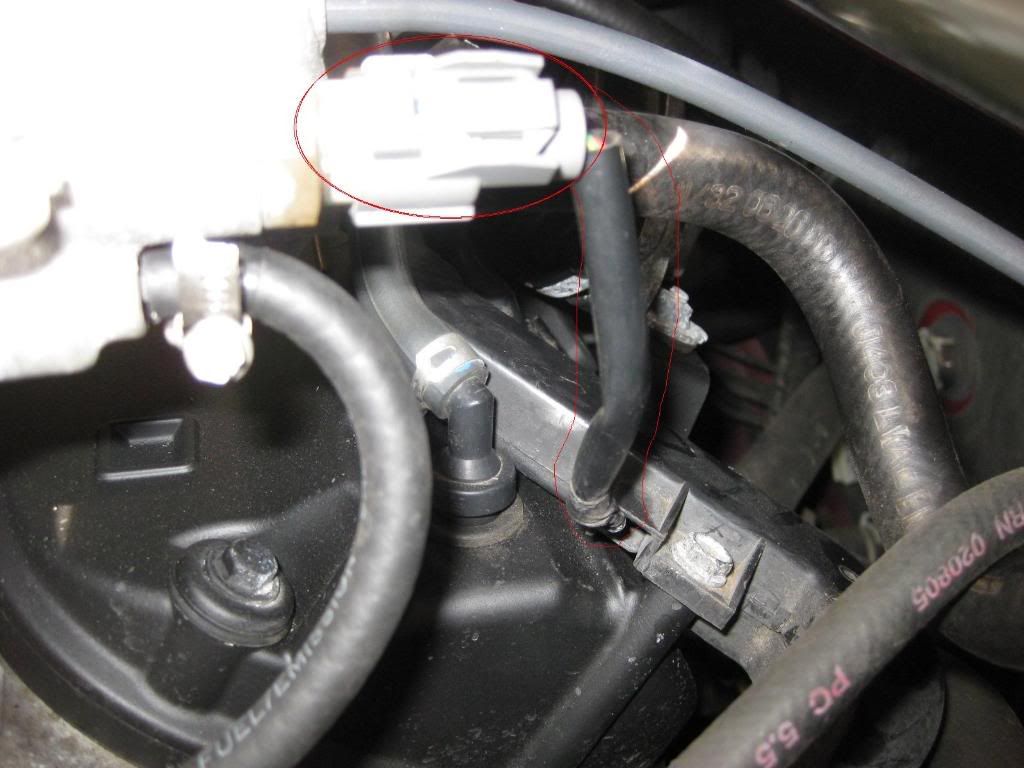
20. hook up the other 3 hoses and place clamps in place
21. hook up the two sensor and the coolant lines (not sure if u need to extend them)
22.hook up the sensor, hose, cables and screw in the two screws that hold the cables in place
23. bolt down top cover (10mm bolts and nuts)

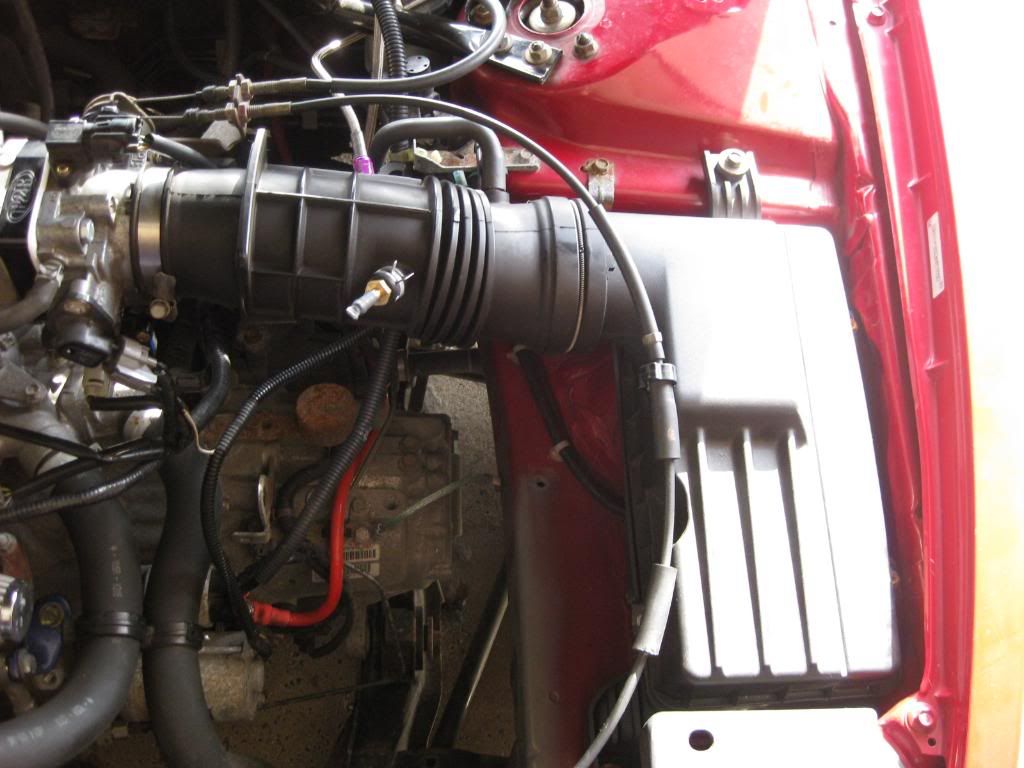
24. put intake back on
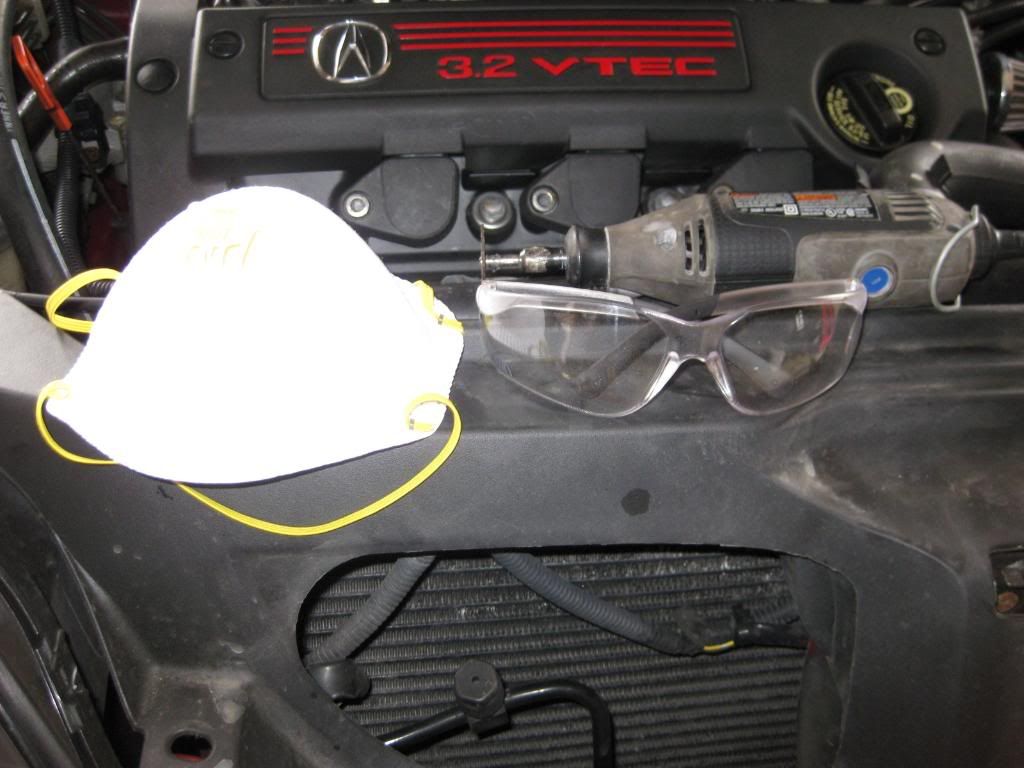
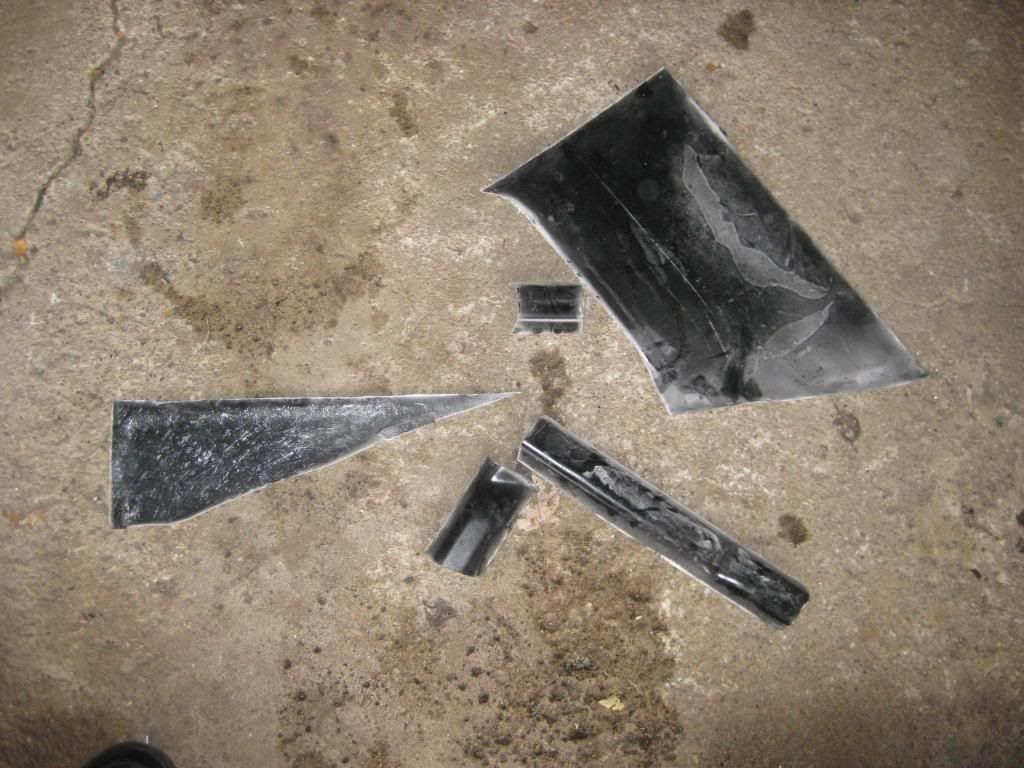
CUTTING THE HOOD
1. safety first, use a cut off wheel if u have the oem hood
2. i cut the brace but still needed more room
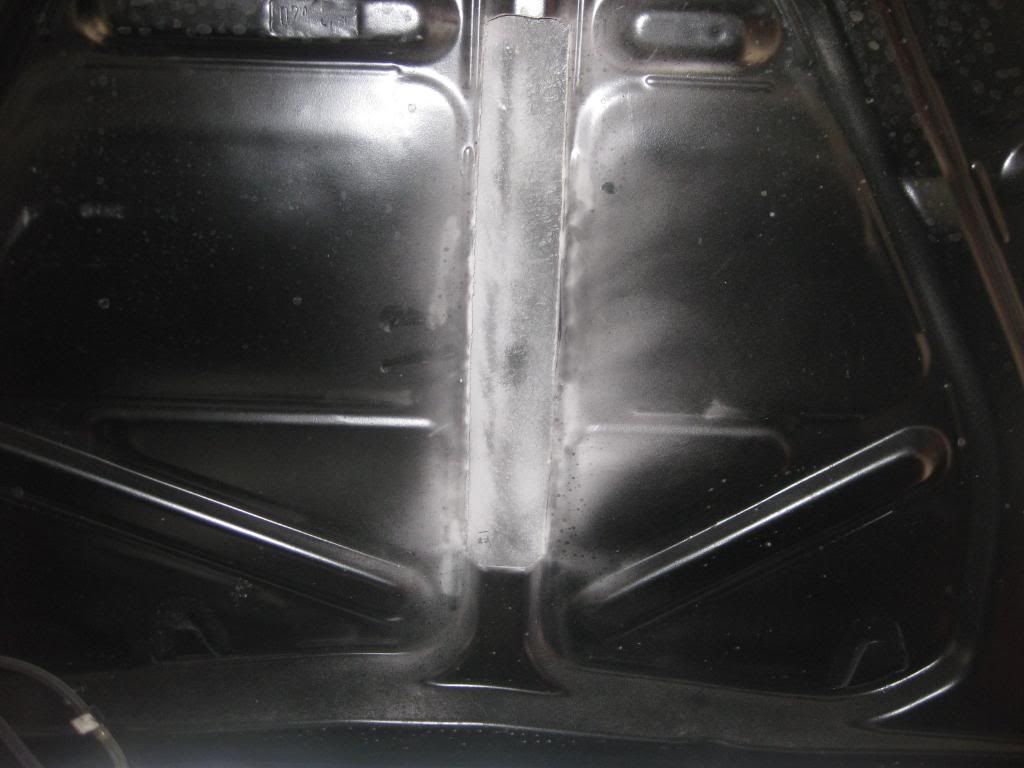
3. what i had to cut out
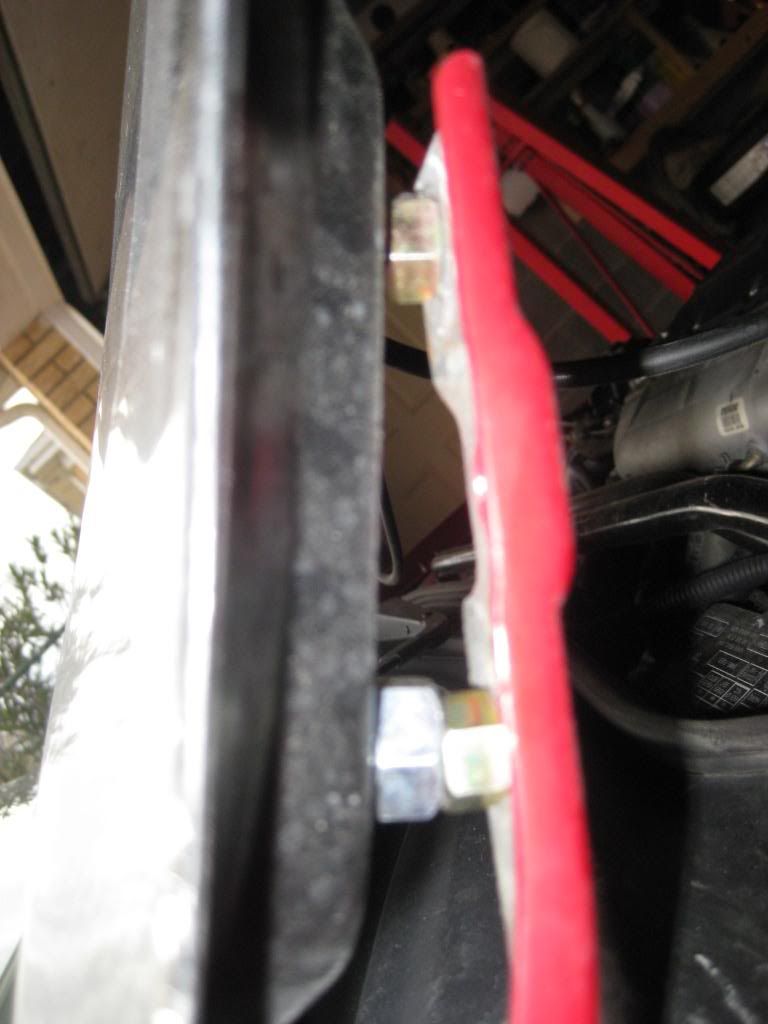
4. unbolt the bottom bolt and loosed the top bolt. put in two nuts on the on the bottom between the hood and hinge. hand tighten bottom bolt and take off top bolt. place one nut on the top screw. tighten it down, and do the same to the other side
end results
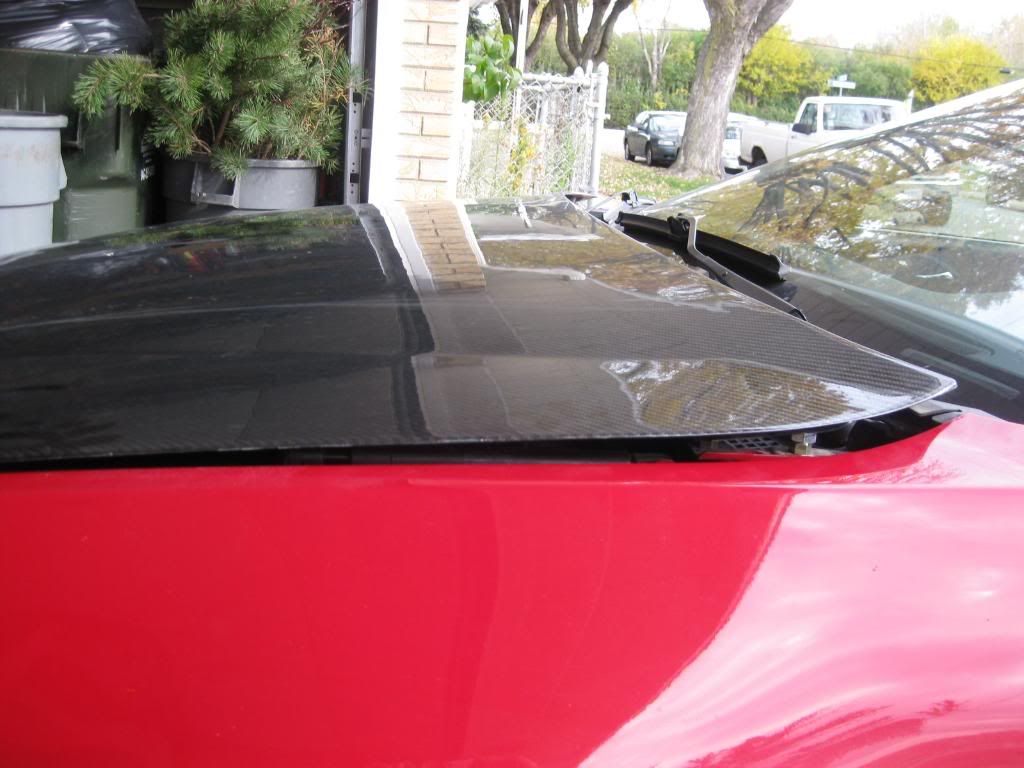
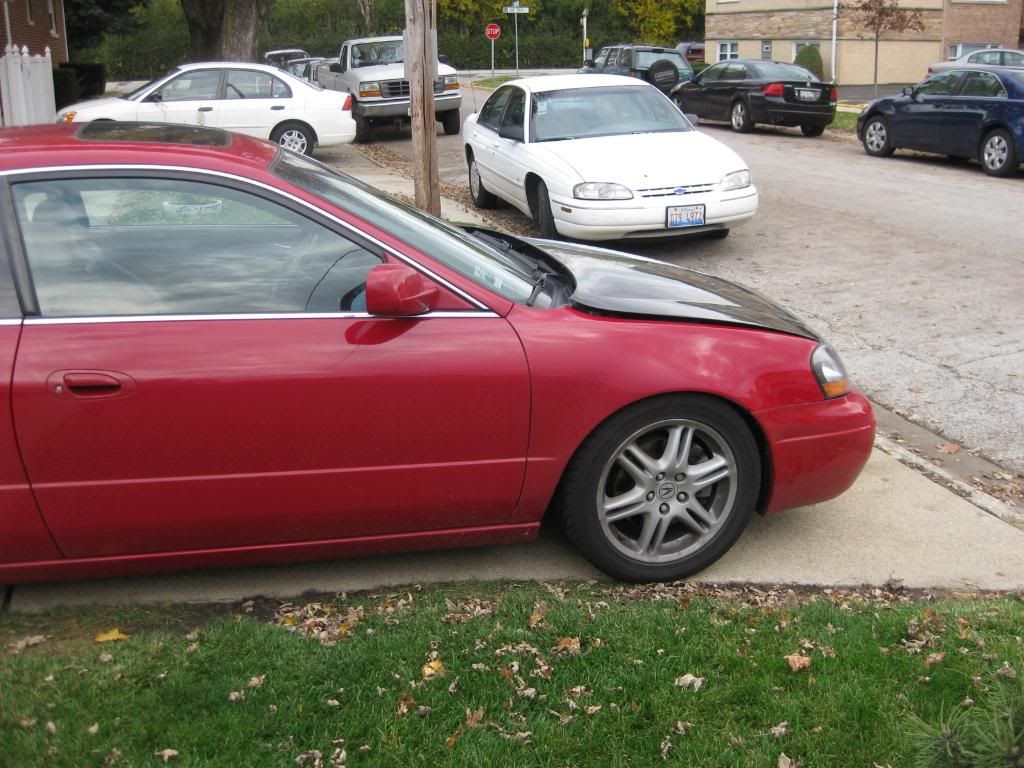
u get about a finger gap toward teh back.
i plan to take a piece of CF and cover the sides so it looks like a cowl hood.
Intake manifold spacer, part number 17108-PGK-A00
Intake manifold gasket, part number 17105-P8E-A01 (or reuse ur old one if u have the p2r thermo spacer(
9 extedned bolts, part number 95701-08105-08
What u need to do the job
Ratchet
8 mm socket
10 mm socket
12mm socket
Screw drivers (+)(-)
Pliers
Dremel, cut off wheel
Safety glasses
mask or face shield
a rag or two
spacers (i used nuts)
1. take out these 4 bolts (10mm)
2. take off these 3 hoses and the one sensor
3. take out the bolt (10mm) and the cable
4. take off the intake (cl-s6 intake)
5.take off 3 sensors, two screws, hose, and the cables
6. take off the throttle body coolant hoses (a good time to do the bypass mod, search for it)
7. take off the 8 bolts and 2 nuts (10mm)
8. take out the 7 bolts and 2 nuts (12mm)
9. should look like this (thermo spacer on)
10. height comparison
11. take out the two studs with vise grips
12. put spacer on
13. put gasket on
14. put bolts in, do it by hand, leave the first few bolts loose so u can move the intake manifold around a bit.
15. tighten all bolts. think it was like 18 ft lbs. i did it by feel and its all good (been doing this a long time)
16. how it should look like
17. now, the imrc cable hooks on here, pull it out of the hook
18. attach the cable and bolt in the bolt (10mm)
19. ur gonna need to put the wires that come out form this sensor. all u need is about half an inch, no harm done
20. hook up the other 3 hoses and place clamps in place
21. hook up the two sensor and the coolant lines (not sure if u need to extend them)
22.hook up the sensor, hose, cables and screw in the two screws that hold the cables in place
23. bolt down top cover (10mm bolts and nuts)
24. put intake back on
CUTTING THE HOOD
1. safety first, use a cut off wheel if u have the oem hood
2. i cut the brace but still needed more room
3. what i had to cut out
4. unbolt the bottom bolt and loosed the top bolt. put in two nuts on the on the bottom between the hood and hinge. hand tighten bottom bolt and take off top bolt. place one nut on the top screw. tighten it down, and do the same to the other side
end results
u get about a finger gap toward teh back.
i plan to take a piece of CF and cover the sides so it looks like a cowl hood.
 10-25-2009, 05:47 PM
#2
GO RANGERS!!!!!!!!!!!!!!!
iTrader: (6)
How much space would say you needed to create between the IM & hood?
Nice write up, thanks.
Nice write up, thanks.
10-25-2009, 07:11 PM
#4
Three Wheelin'
Nice write up. Now we need a hood bulge for those of us who don't want a raised hood. Rajca can you feel any gains from this? I imagine heat soak takes a lot longer to set in too.
10-25-2009, 09:33 PM
#6
Lead Footed

Yep, these engines love more air.
 It was the same for mine when I bored out the intake and throttle bodies.
 Can't wait to see the dynos.
Ruf
Trending Topics
 but whats the IMRC?
10-26-2009, 10:57 AM
but whats the IMRC?
10-26-2009, 10:57 AM
#12
What's with the fitment of the j-series engines now?
j series integra swap - hood doesn't fit
j series civic swap - hood doesn't fit
Acura CL with mdx spacer now doesn't exactly fit...
It's time for some aftermarket cowl hoods for everyone now
j series integra swap - hood doesn't fit
j series civic swap - hood doesn't fit
Acura CL with mdx spacer now doesn't exactly fit...
It's time for some aftermarket cowl hoods for everyone now
10-26-2009, 12:10 PM
#13
Whats up with RDX owners?
iTrader: (9)
 10-26-2009, 12:23 PM
#15
The plenums would get in the way. The intake manifold cover rubs a tad bit. Saw some of the paint come off tis morning. But no marks on the hood. It might have been from me pressing on the hood to see how much clearance I got. I dought that its from the engine rocking.
10-26-2009, 01:40 PM
#17
Whats up with RDX owners?
iTrader: (9)
I dont see why not, but a cowl hood on the CL would really throw the lines off 
 10-26-2009, 03:54 PM
#22
Whats up with RDX owners?
iTrader: (9)
 10-27-2009, 11:25 AM
#27
GO RANGERS!!!!!!!!!!!!!!!
iTrader: (6)
Sean @ P2R told me it would not be beneficial on my gen2 3.2.
Not arguing that you see gains, just saying what he told me. I'd have done it when I did my thermal gaskets over a year ago before headers/CAI/09IM.
Not arguing that you see gains, just saying what he told me. I'd have done it when I did my thermal gaskets over a year ago before headers/CAI/09IM.
10-27-2009, 07:01 PM
#30
Whats up with RDX owners?
iTrader: (9)
He said he would have done it when he did the thermo gaskets before everything else, but he didnt.
10-28-2009, 05:55 PM
#32
civicdrivr- can u measure the height of ur 09 IM. please
heres some more info,
outside temp. 65deg.
runner temp. 168deg
thermo spacer installed
spacer temp. 96deg
intake plenums temp. 83deg
intake top cover temp. 90deg
it actually felt cold. hr drive home, 80mph on highway, and about 15min in stop and go traffic. never felt like that. ill try to drive my tl somehow (zip tie the bumper on so it doesnt fly off) and measure the temps. im a believer of the termo spacer and spacer, along with lifting the hood to keep engine cool.
and tb temp was 72deg
 10-29-2009, 01:59 PM
#34
Whats up with RDX owners?
iTrader: (9)
Yea, Ill try to measure it when I get home from work. Ill also take some temps.
10-29-2009, 05:48 PM
#40
Trying to find the cheapest prices right now shipped.
I think this would work pretty well on a clp,due to shorter manifold,no p2r gasket and little hood work.might be a decent looking fit.
Has anyone tryed milling some off the manifold top plate to help with clearance ?
I think this would work pretty well on a clp,due to shorter manifold,no p2r gasket and little hood work.might be a decent looking fit.
Has anyone tryed milling some off the manifold top plate to help with clearance ?