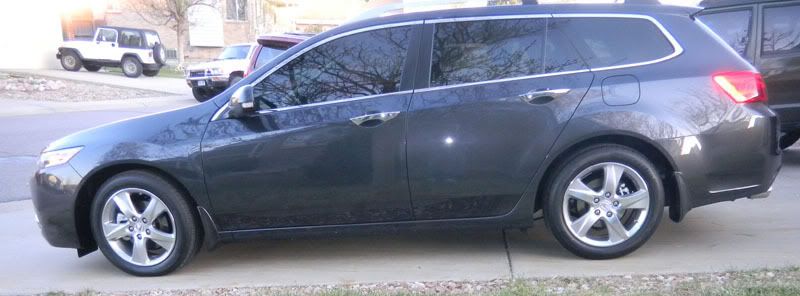
The Graphite Ghost: TSX Wagon

 03-21-2012, 06:25 PM
#42
I must know everything about these badges
03-21-2012, 07:03 PM
#43
ew blue
 03-21-2012, 07:49 PM
#45
well yeah i want to buy my own pair, i was doing it to replace my weathertech emblems too which fell off
where are you having them made?
where are you having them made?
03-23-2012, 09:53 AM
#46
guy named Nate I found. rebadge@yahoo.com
if you google that you can find lots of examples of his work. or Facebook

 03-23-2012, 04:20 PM
#48
 03-23-2012, 04:49 PM
#50
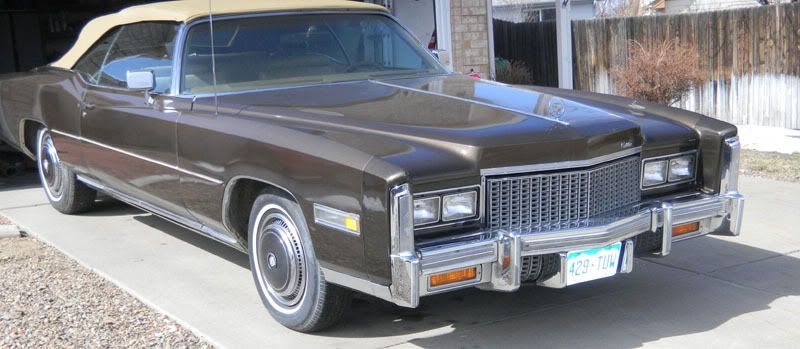
Nice car. I hope you didn't buy when the hype was that this was going to be the last convertible ever produced in the US. Georgeous and comfy car although you need to make continuous steering corrections to keep it going in a straight line.
My 75 Sedan de Ville had a 500ci (8.2 liter) engine, about 195 hp (SAE) and did (what was great for the time) 0-60 in a hair under 11seconds. It got 2 mpg when coasting downhill but I'd really to buy one again. Going uphill I got negative mpg figures.
My 75 Sedan de Ville had a 500ci (8.2 liter) engine, about 195 hp (SAE) and did (what was great for the time) 0-60 in a hair under 11seconds. It got 2 mpg when coasting downhill but I'd really to buy one again. Going uphill I got negative mpg figures.
The following users liked this post:
robpp (03-23-2012)
03-23-2012, 05:49 PM
#51
I bought it recently at an estate sale.
500 CID 4 barrel.
Needs some work but not much.
Passed emissions with new gas cap.
Noisy compressor pulley bearings.
No parking brake.
Seats need Leatherique
all window motors work but some switches intermittent
Drivers window not going all the way up.
Drive train is in Great shape as is the body....especially bumpers and trim.
Will be fun.
03-23-2012, 07:33 PM
#52
Bumpers and trim are the hardest to find so you are golden. Be very careful of the exhaust. The pipes rusted easily and would then melt the "5mph" bumper trim - that plastic between the bumpers and the body. Remember that those were the early days of modern crash worthy bumpers so to keep them from jutting out (think any European car of that era) GM used that filler piece. It doesn't take much to melt it and they are really expensive now to replace.
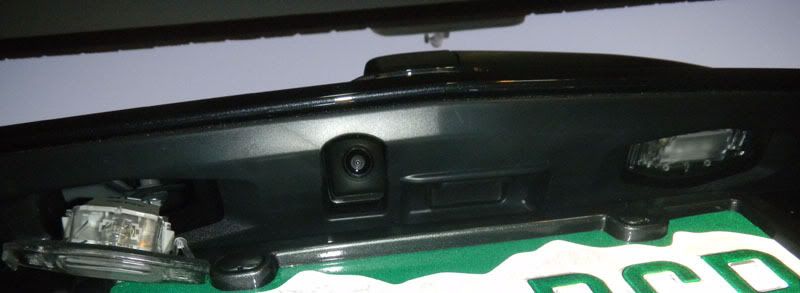
03-26-2012, 11:28 PM
#53
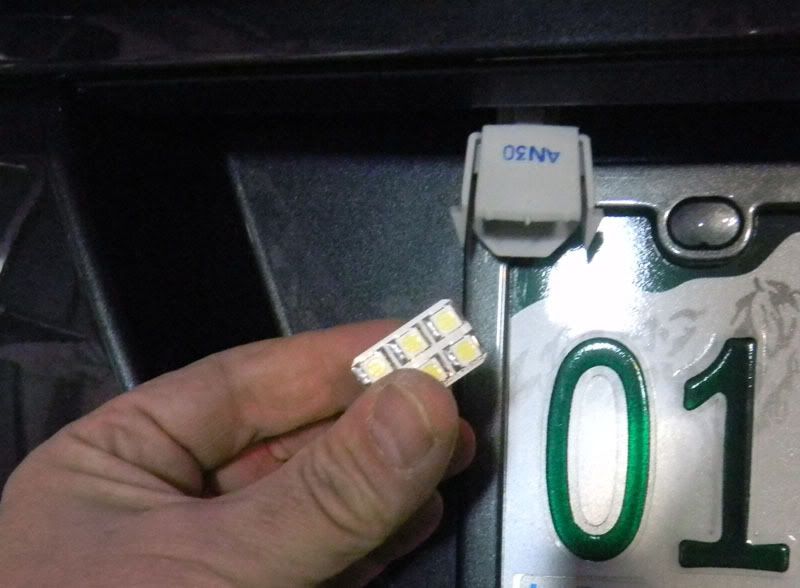
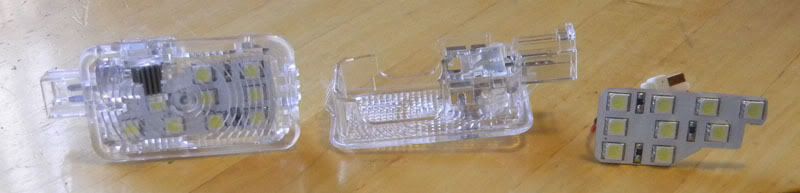
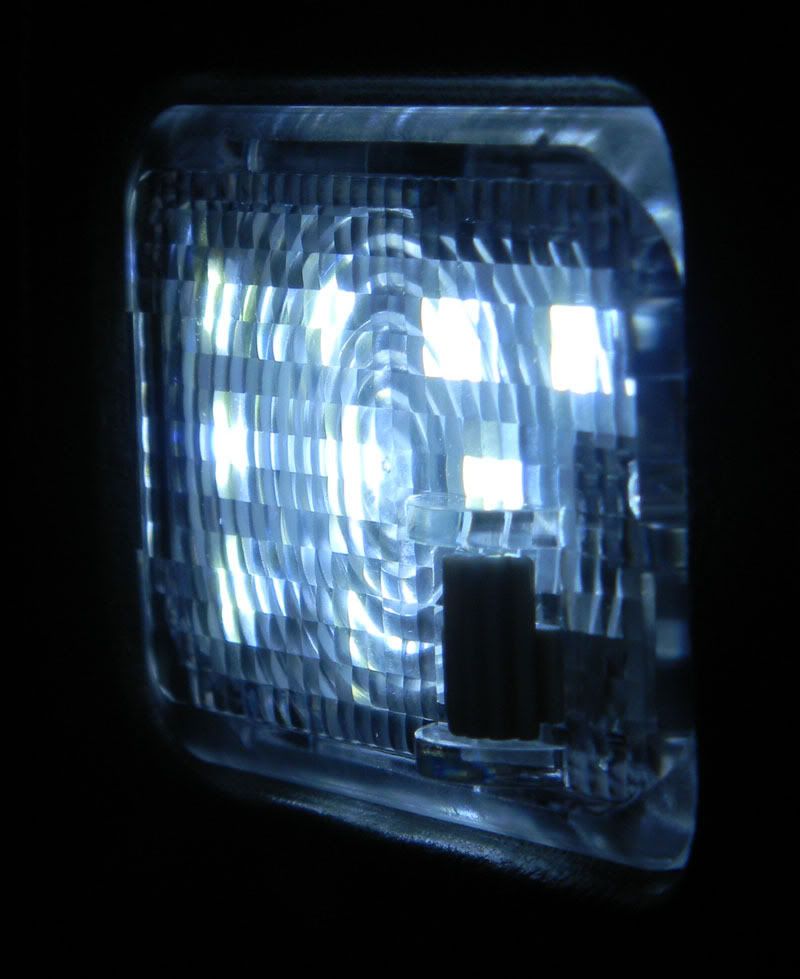
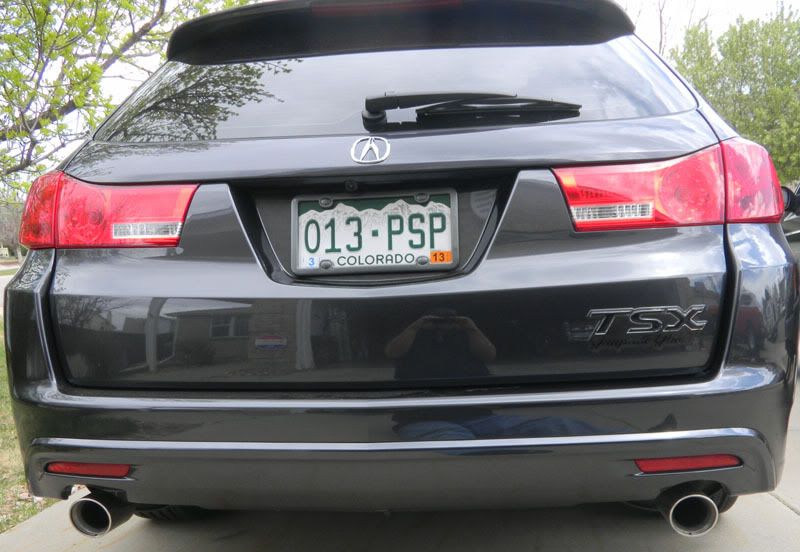
the wagon trunk light is different than the sedan and the exLED didnt fit. they are giving me credit towards something esle. GREAT CUSTOMER SERVICE from exLED>
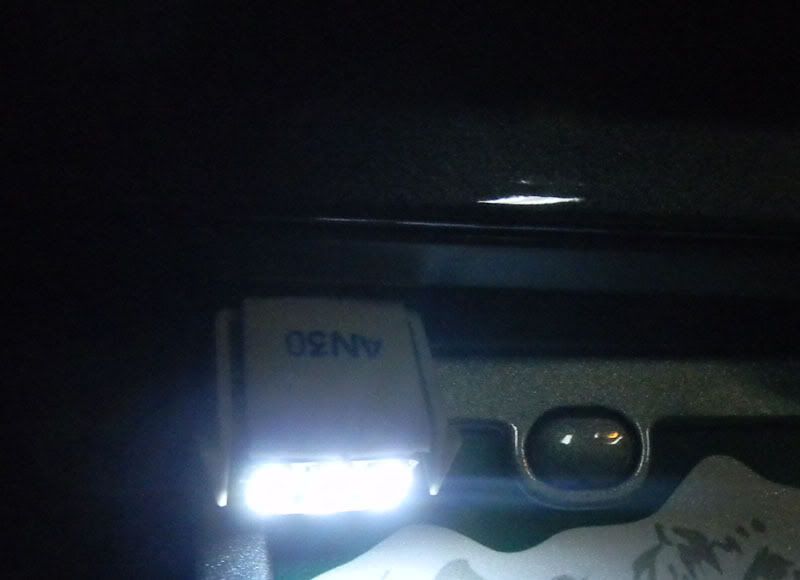
so i got some 6K 2w Flank bulbs from Vleds.
both on
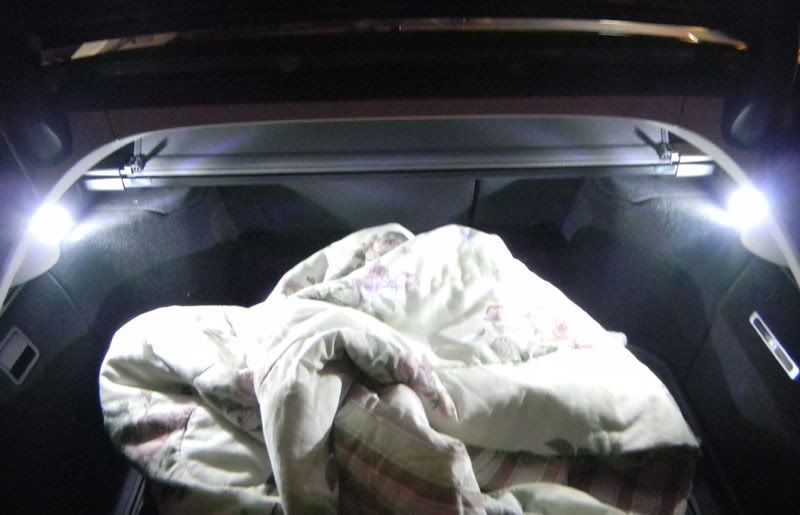
one with exposure turned way down/
and I got some supplies for some colormatching projects !
so i got some 6K 2w Flank bulbs from Vleds.
both on
one with exposure turned way down/
and I got some supplies for some colormatching projects !
03-30-2012, 10:48 AM
#56
exLED FTMFW!
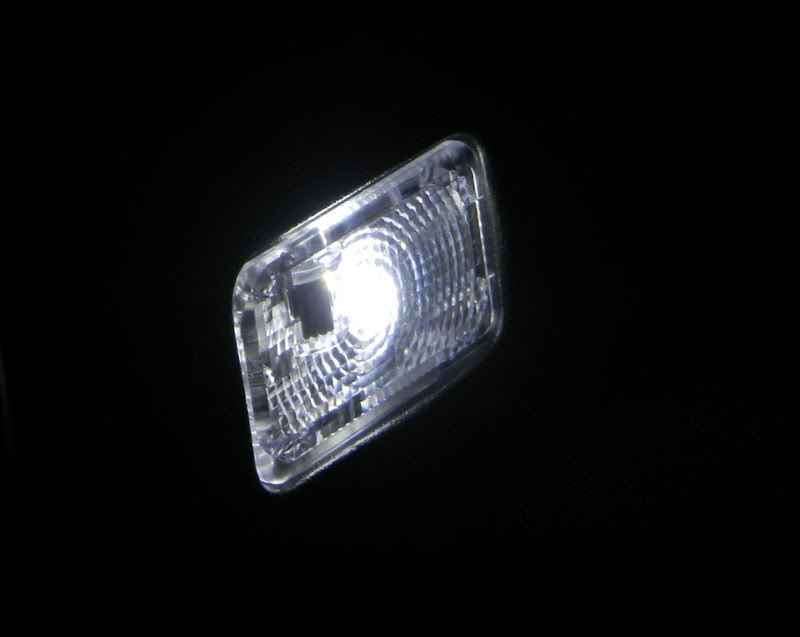
After I posted my OTHER trunk lights above I was in contact with exLED about exchanging the sedan trunk lights as they did not fit my wagon. In the midst of that discussion Jin told me that they MADE ME some trunk lights that would fit and match my 6K exLED kit. not only did he send me my exchange maney but he sent me the pair of trunk lights as well; basically for free/
and here they are......
i had to twist the small metal bulb holders out of the way to get the exled plug in.....not a big deal just use a needle nose.
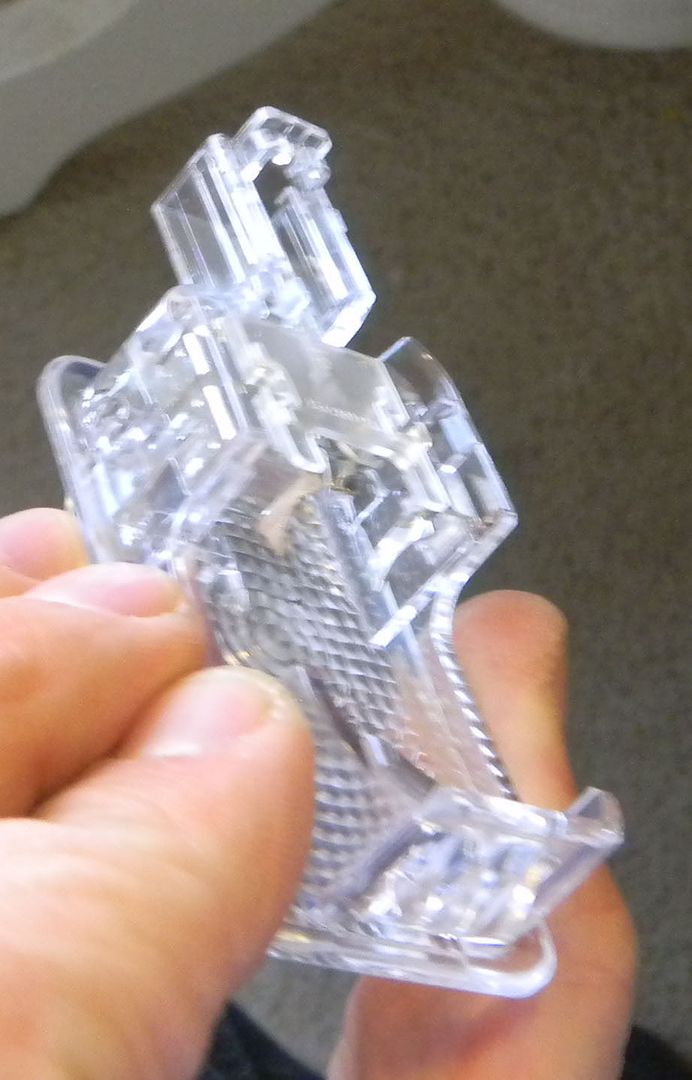
the pair

one closer
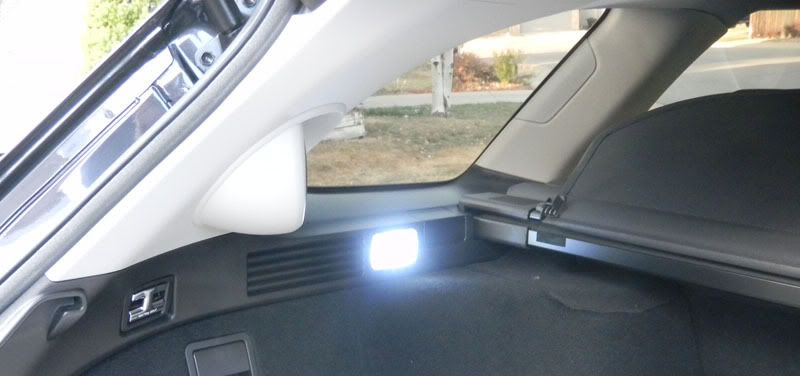
and real close
can't say enough about exLED customer service; and lets not forget how great of a product they make too!
After I posted my OTHER trunk lights above I was in contact with exLED about exchanging the sedan trunk lights as they did not fit my wagon. In the midst of that discussion Jin told me that they MADE ME some trunk lights that would fit and match my 6K exLED kit. not only did he send me my exchange maney but he sent me the pair of trunk lights as well; basically for free/
and here they are......
i had to twist the small metal bulb holders out of the way to get the exled plug in.....not a big deal just use a needle nose.
the pair
one closer
and real close
can't say enough about exLED customer service; and lets not forget how great of a product they make too!
03-30-2012, 10:58 AM
#57
None of the LEDs throw any codes, require any wiring mods or fail to turn off completely, correct?
03-30-2012, 11:31 AM
#58
correct. no GLOW or anything like that. they turn off completely.
they FADE out just the same as OEM. and no codes or anything on the dash.
i now have the exLED complete kit:
4 vanity lights
2 map lights
4 door lights (blue)
dome light
2 license plate
and now
2 rear hatch
all 6K except vanity are 3500K
and I did get the clear lenses to put on the map lights to tone down some of the glare.
The following users liked this post:
ceb (03-30-2012)
03-30-2012, 12:31 PM
#59
correct. no GLOW or anything like that. they turn off completely.
they FADE out just the same as OEM. and no codes or anything on the dash.
i now have the exLED complete kit:
4 vanity lights
2 map lights
4 door lights (blue)
dome light
2 license plate
and now
2 rear hatch
all 6K except vanity are 3500K
and I did get the clear lenses to put on the map lights to tone down some of the glare.
they FADE out just the same as OEM. and no codes or anything on the dash.
i now have the exLED complete kit:
4 vanity lights
2 map lights
4 door lights (blue)
dome light
2 license plate
and now
2 rear hatch
all 6K except vanity are 3500K
and I did get the clear lenses to put on the map lights to tone down some of the glare.
04-04-2012, 09:16 PM
#60
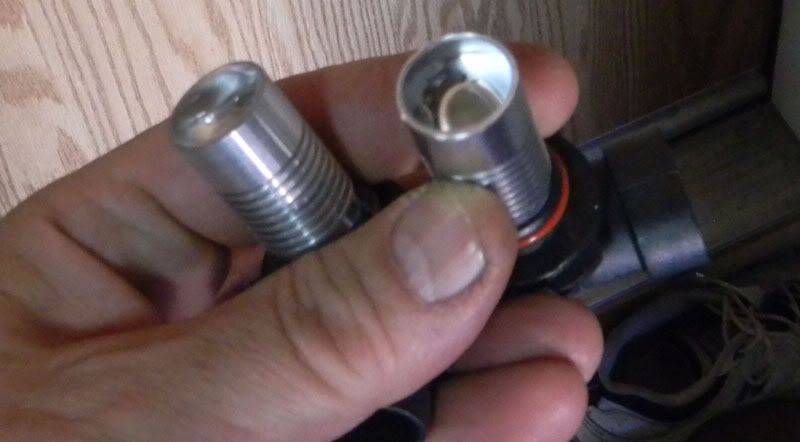
LED DRLs.
I bought the JLC Lightings 9w CREE kit with the resistors
http://www.jlclightings.com/9005-CRE.../001125-13.htm
I have them about a week and install opportunity arises. Open box and realize one of the LEDs is missing a lens.
ok i send an email to jlc. get a quick response. will take care of it. about a week later I recieve another bulb with lens and a return label to ship other one back. so I do that.
then sunday I go to do the install cause Monday is SNOW and cold.
open box.......and the other original has lens out. so i look at new bulb and I can see it has lens glued on. i can see the glue.
hmmmmm.
so i figure ill tackle that later let me do the wiring.
rather simple. on one side its just plug the resistor box into HB plug.
other side is all the power going to both PLUS a resistor for the error. so i hook it up as it came out of box......something dont look right but i say to myself 'what do you know/'. so i plug it all in. put bulbs with NO lenses in to test. NOTHING. pull one resistor put oem bulb in....GOOD. ok i didnt POP a fuse or breaker.
so i get myu test light and can see that nothing is getting power.
back to my earlier concern ...... WTF why does he have black to red and red to black on this power plug that gets the power for BOITH LEDs.
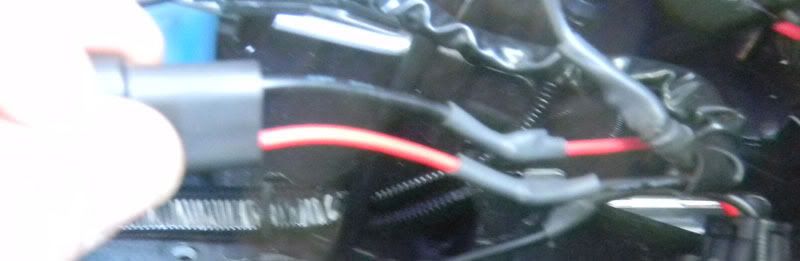
its a wiring error. red needs to go to red and black to black and VIOLA.
i havent bothered to discuss anything beyond the first bulb with JLC but IMO this is NOT ACCEPTABLE for a freaking $80 MOD!
so i had to get the solder and undo HIS HARNESS AND WIRE MY OWN. I also had to recement BOTH lenses onto the bulbs. Since I didnt know they type of plastic WHO KNOWS if that is even going to hold.
needless to say I am a bit PO.
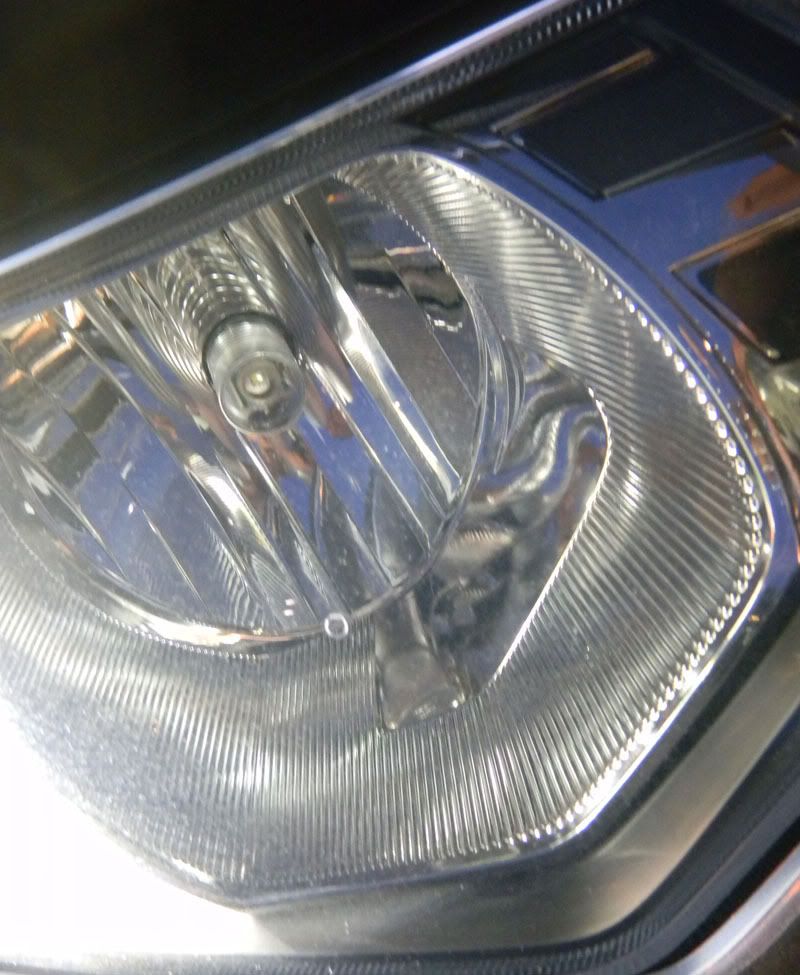
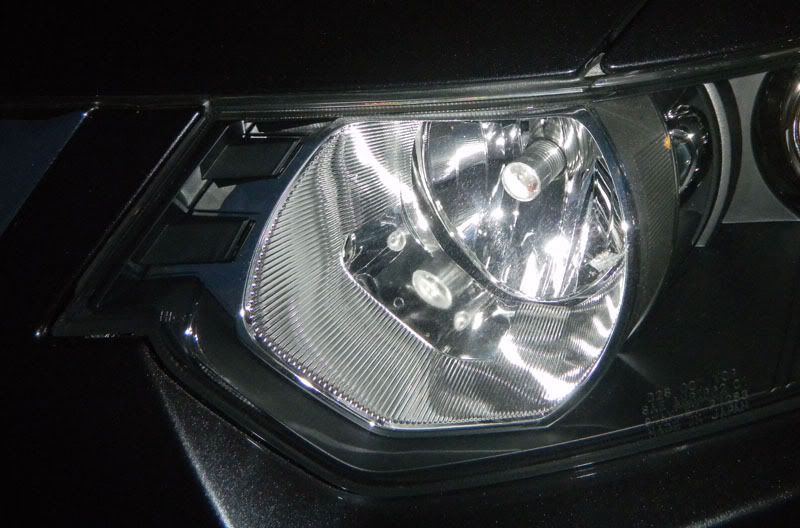
here are some more pics of them working.
i can tell that when i hit the Highs I do get some light on the house across the street.....we'll have to get some video to show that.
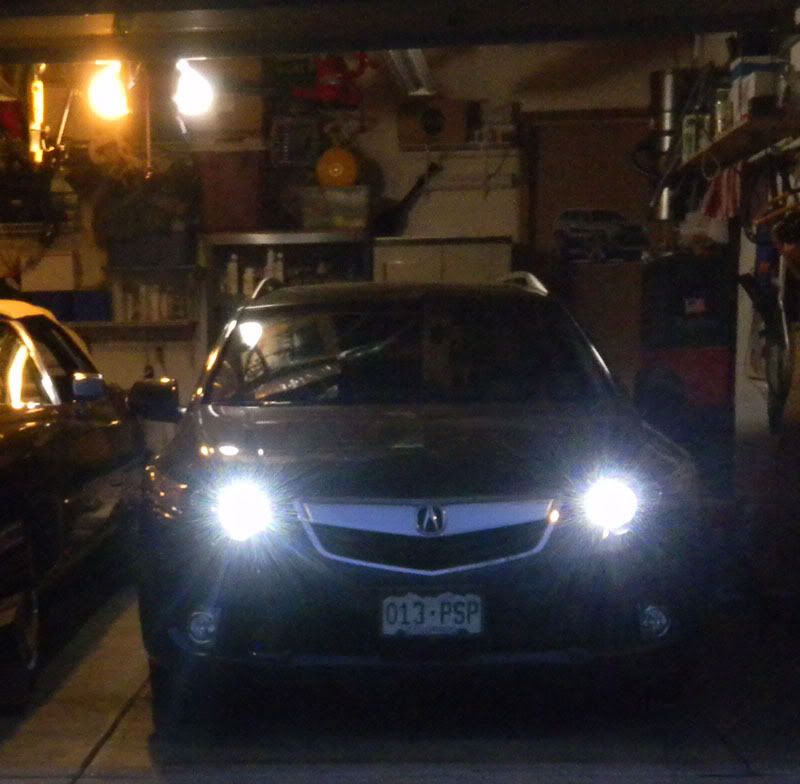
i am sure they would have replaced and fixed these things to me its UNACCEPTABLE for an $80 mod that I need to get the solder gun out/
I bought the JLC Lightings 9w CREE kit with the resistors
http://www.jlclightings.com/9005-CRE.../001125-13.htm
I have them about a week and install opportunity arises. Open box and realize one of the LEDs is missing a lens.
ok i send an email to jlc. get a quick response. will take care of it. about a week later I recieve another bulb with lens and a return label to ship other one back. so I do that.
then sunday I go to do the install cause Monday is SNOW and cold.
open box.......and the other original has lens out. so i look at new bulb and I can see it has lens glued on. i can see the glue.
hmmmmm.
so i figure ill tackle that later let me do the wiring.
rather simple. on one side its just plug the resistor box into HB plug.
other side is all the power going to both PLUS a resistor for the error. so i hook it up as it came out of box......something dont look right but i say to myself 'what do you know/'. so i plug it all in. put bulbs with NO lenses in to test. NOTHING. pull one resistor put oem bulb in....GOOD. ok i didnt POP a fuse or breaker.
so i get myu test light and can see that nothing is getting power.
back to my earlier concern ...... WTF why does he have black to red and red to black on this power plug that gets the power for BOITH LEDs.
its a wiring error. red needs to go to red and black to black and VIOLA.
i havent bothered to discuss anything beyond the first bulb with JLC but IMO this is NOT ACCEPTABLE for a freaking $80 MOD!
so i had to get the solder and undo HIS HARNESS AND WIRE MY OWN. I also had to recement BOTH lenses onto the bulbs. Since I didnt know they type of plastic WHO KNOWS if that is even going to hold.
needless to say I am a bit PO.
here are some more pics of them working.
i can tell that when i hit the Highs I do get some light on the house across the street.....we'll have to get some video to show that.
i am sure they would have replaced and fixed these things to me its UNACCEPTABLE for an $80 mod that I need to get the solder gun out/
04-04-2012, 09:47 PM
#61
outside of the awful issues you incurred (makes me think thrice about JLC)
how would you say you like the CREE as DRL?
do they fill the housing adequately with light given that the CREE is a very focal light source,
Do they appear bright during the day still?
and when you say they reach the next house, is that a comment on their brightness, or on their dimness?
how would you say you like the CREE as DRL?
do they fill the housing adequately with light given that the CREE is a very focal light source,
Do they appear bright during the day still?
and when you say they reach the next house, is that a comment on their brightness, or on their dimness?
04-04-2012, 10:44 PM
#62
outside of the awful issues you incurred (makes me think thrice about JLC)
how would you say you like the CREE as DRL?
do they fill the housing adequately with light given that the CREE is a very focal light source,
Do they appear bright during the day still?
and when you say they reach the next house, is that a comment on their brightness, or on their dimness?
how would you say you like the CREE as DRL?
do they fill the housing adequately with light given that the CREE is a very focal light source,
Do they appear bright during the day still?
and when you say they reach the next house, is that a comment on their brightness, or on their dimness?
I need to drive behind a bud to see what they look like in the day.
They are bright but like you say .... focused. So can't answer you fully about filing housing.
When it was dark with headlights on and car in garage I can see light across the street on the house above the headlight beam. Meaning there is SOME OUTPUT in high beam mode.
I also tested DRL ON hit high beam and they do get brighter
I will get some other feedback.... but I suspect a bulb with leds all around will be a better choice for DRL.
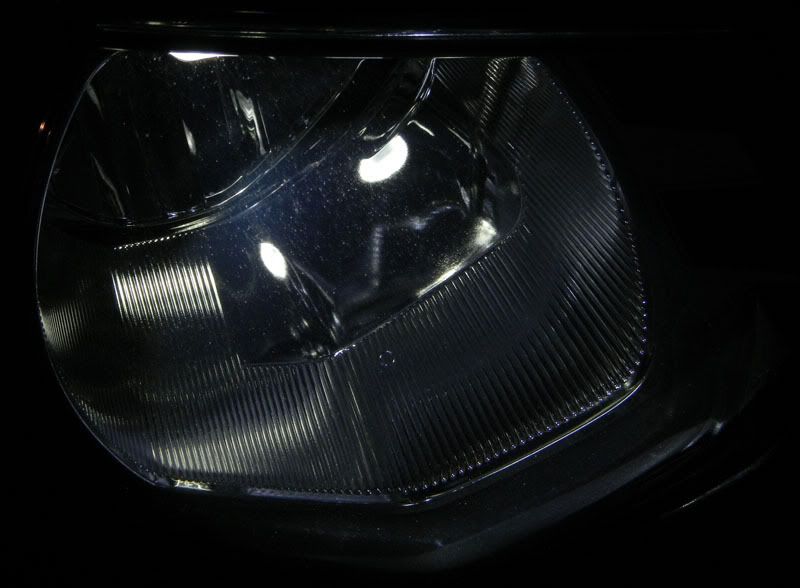
04-05-2012, 02:23 PM
#63
Danger, Will Robinson, Danger.
Check those lenses to make sure that they are glued on tight. You DON'T want that thing falling off - you'll never get it out of the housing.
Well, you will, but it won't be easy.
Check those lenses to make sure that they are glued on tight. You DON'T want that thing falling off - you'll never get it out of the housing.
Well, you will, but it won't be easy.
04-05-2012, 08:07 PM
#64
yeah they are on good ceb. i used a plastic epoxy sparingly but 4 good dots on each.
I dropped a 3157 inside my Jeep headlight and I did get it out WITHOUT removing the headlight LOL
i dont think i will be that lucky on the tsx .....
but
i did some further testing today in the bright sun. just walking perpendicular about 50 feet back I couldnt see them until I see right inside the bulb tube. and there was a glare of the grille that washed out one side as it hit my eye for a step/
I will keep these in for a bit longer but AM ACTIVELY shopping for some SMDs......and searching here to see what others use/
dont get me wrong they are bright it just doesnt fill the reflector area so that in daylight you can see the light.
04-05-2012, 08:11 PM
#65
04-05-2012, 10:31 PM
#67
i found one///
http://www.ebay.com/itm/9005-Hi-Powe...770a36&vxp=mtr
I think exLED has something too. going to talk to Jin/
http://www.ebay.com/itm/9005-Hi-Powe...770a36&vxp=mtr
I think exLED has something too. going to talk to Jin/

 04-08-2012, 07:29 PM
#69
Woo-hoo 
 04-08-2012, 08:20 PM
#71
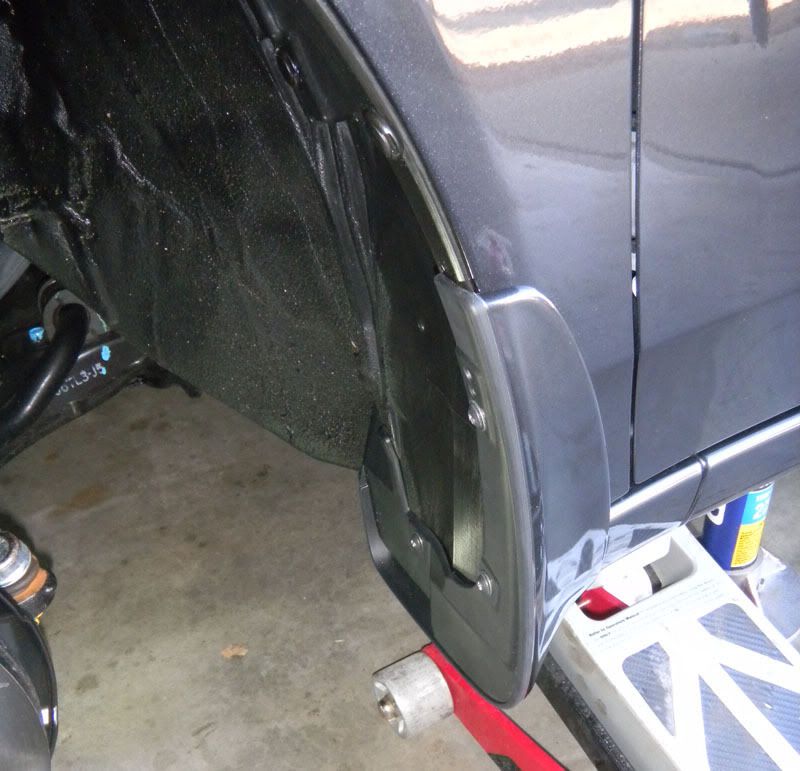
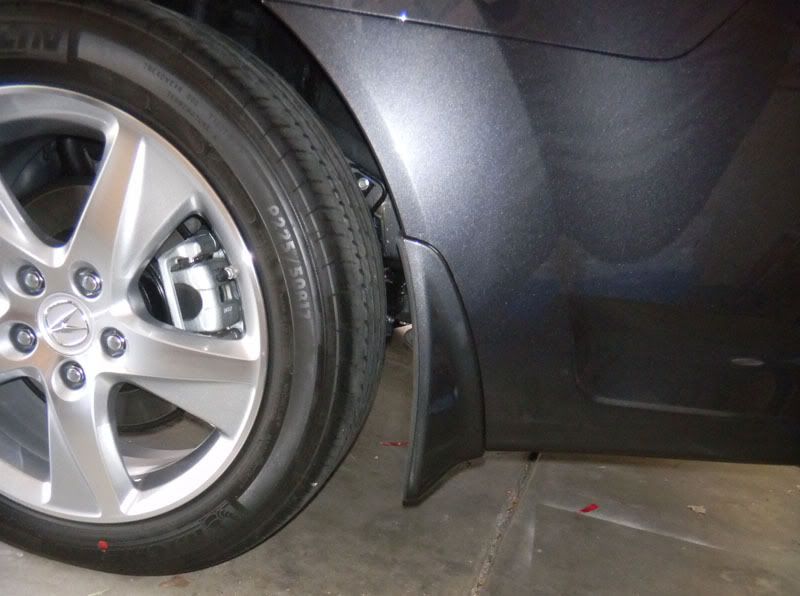
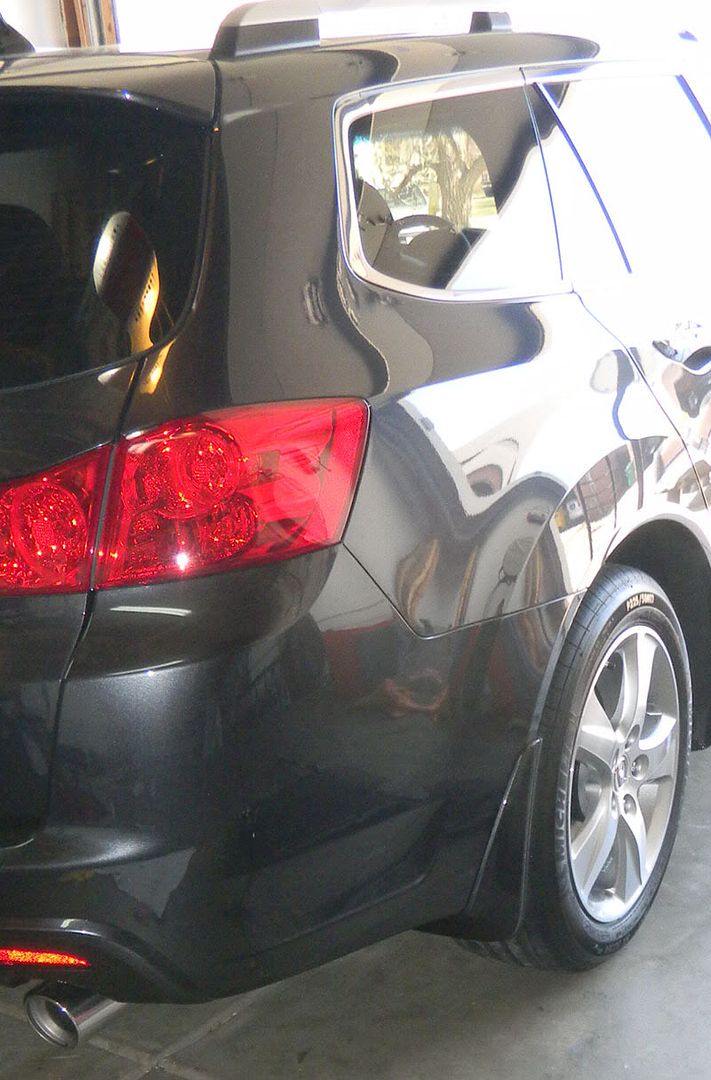
Burning Brakes
The splash guards look great... very beefy yet they still flow nicely.
04-08-2012, 08:20 PM
#72
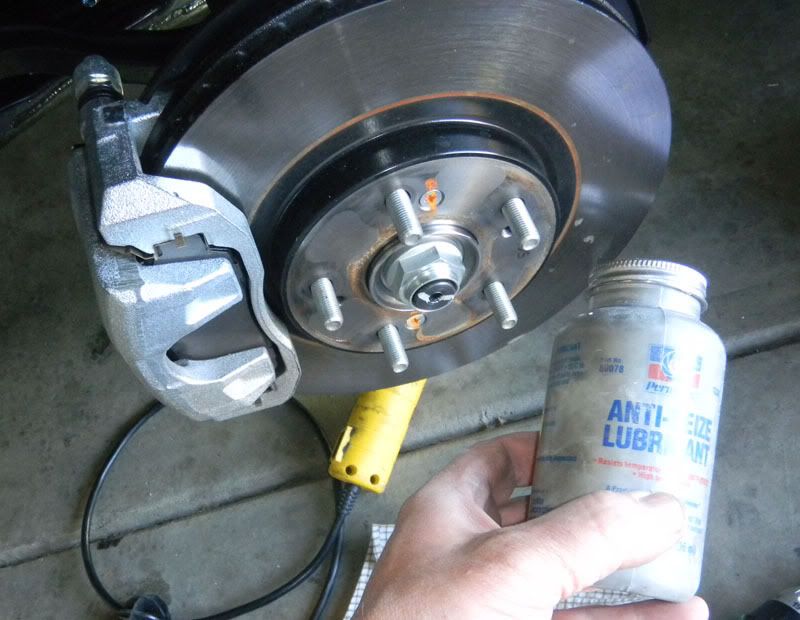
ROTAREDOM
DUDE!!! good idea on the anti-seize. Those were a B**** to get off when I was doing my rotors!
04-10-2012, 12:00 AM
#73
clear bra:
suntek PPF:
18" hood and fenders, headlights, door handle pockets, mirrors, full front bumper w/seam.
i let him seam the front bumper using 18" film. I think he did a good job.
took pics of the hood and the front bumper seams......

suntek PPF:
18" hood and fenders, headlights, door handle pockets, mirrors, full front bumper w/seam.
i let him seam the front bumper using 18" film. I think he did a good job.
took pics of the hood and the front bumper seams......
 04-14-2012, 09:21 AM
#75
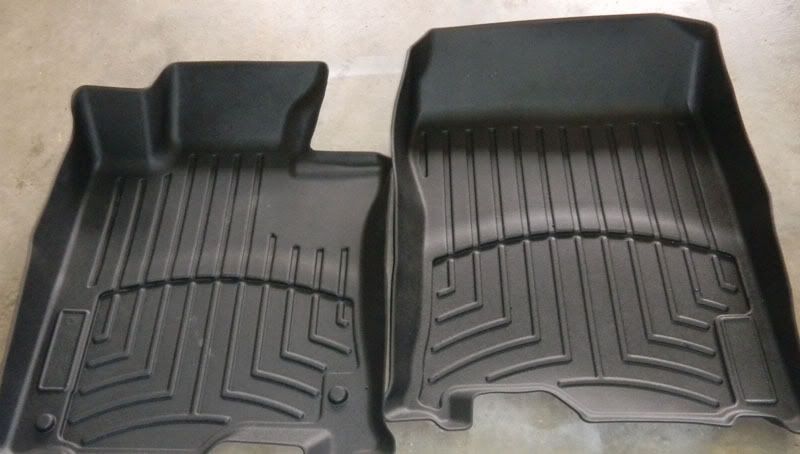
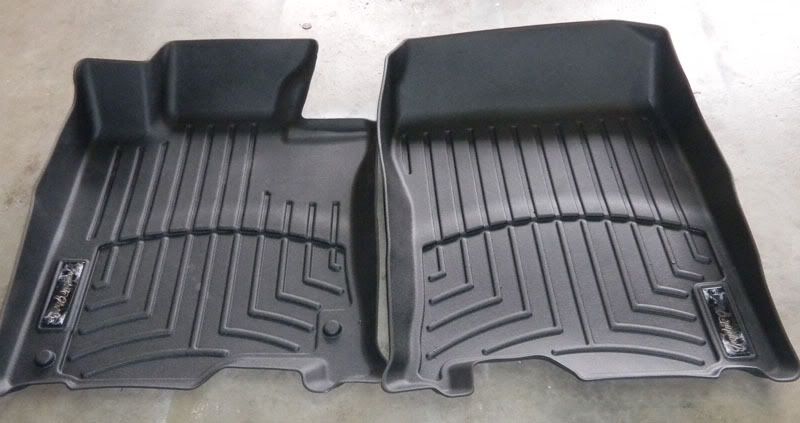
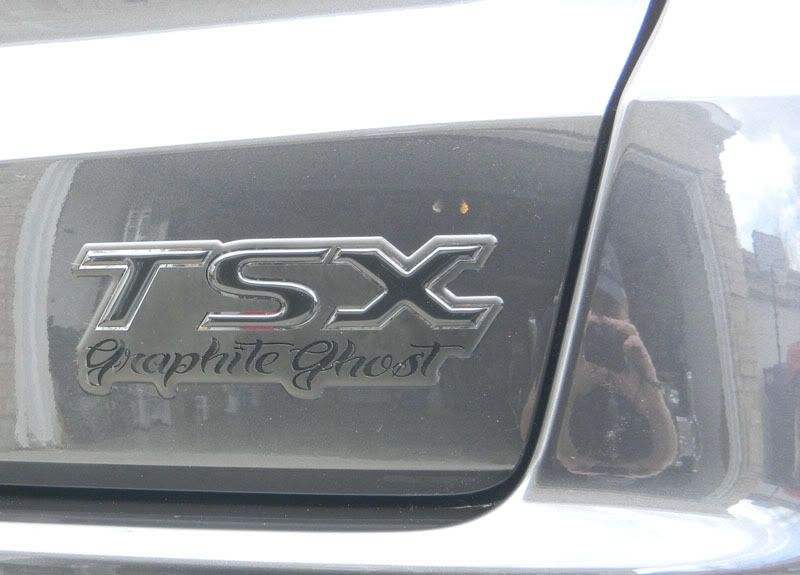
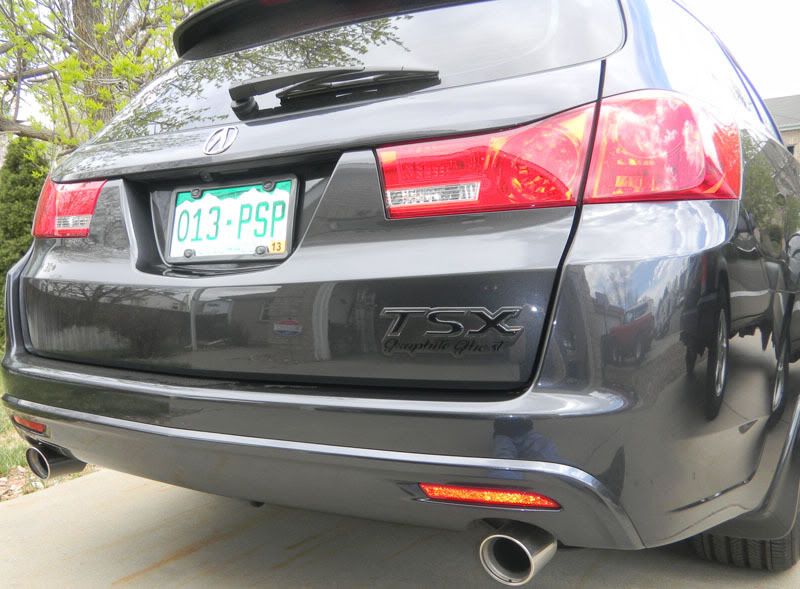
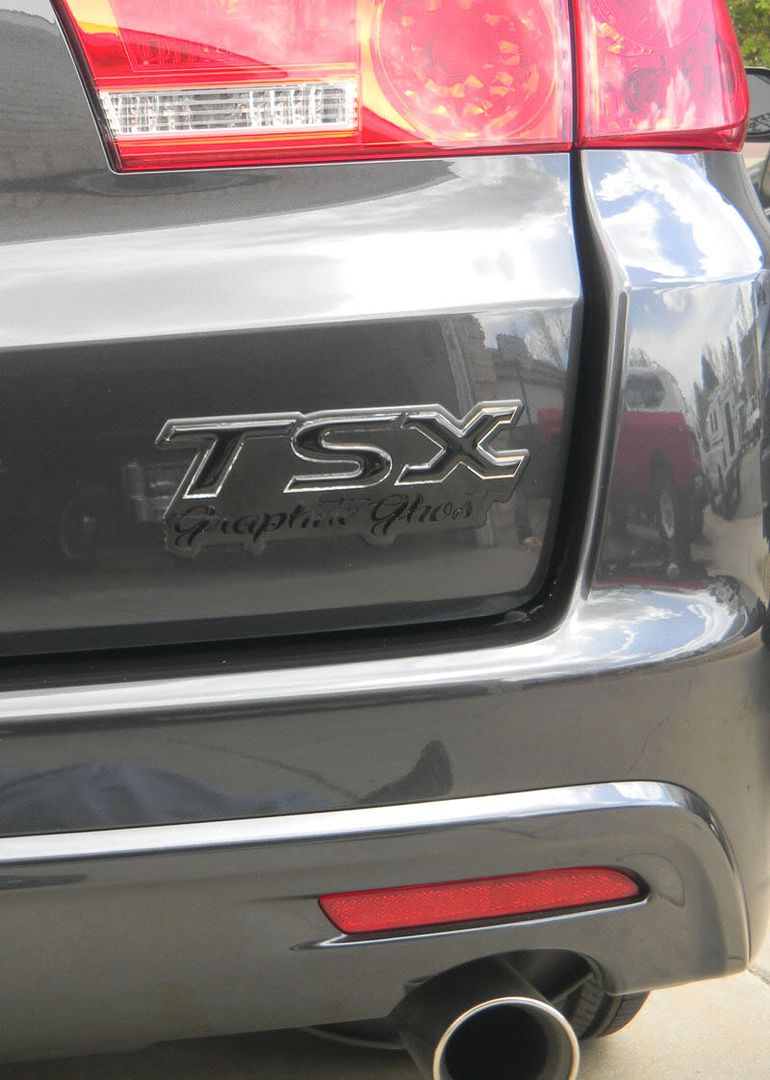
my REBADGE badges showed up today WOOT!
the lot
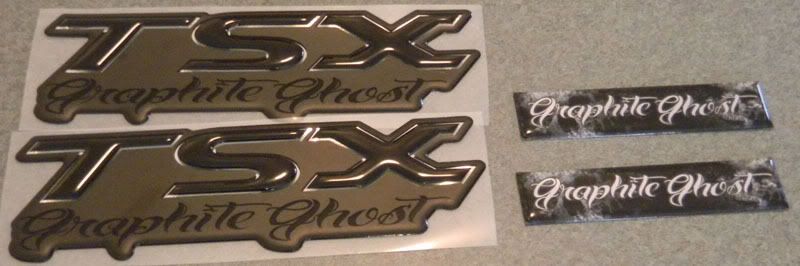
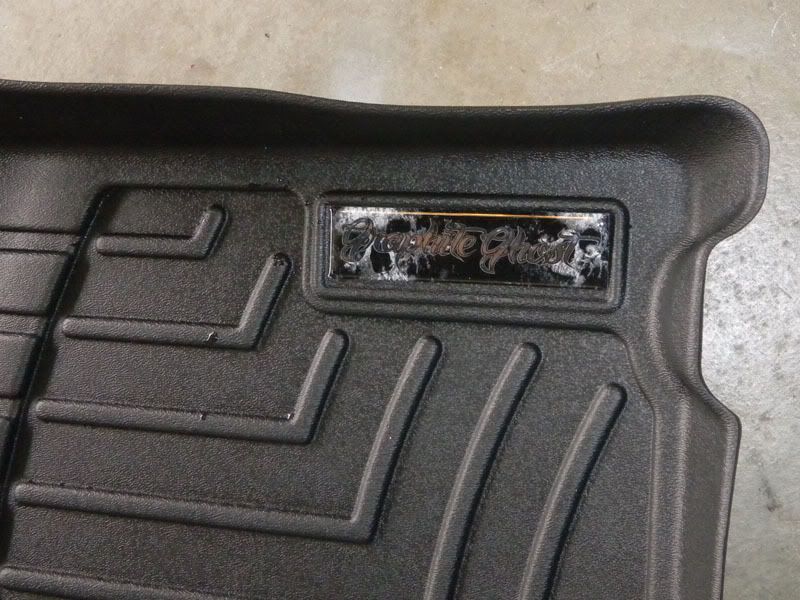
closeup large one
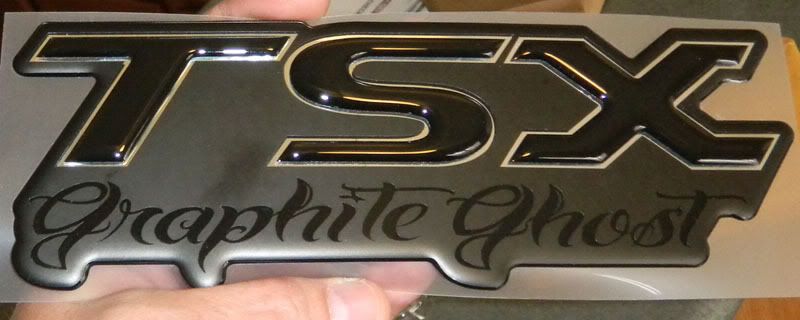
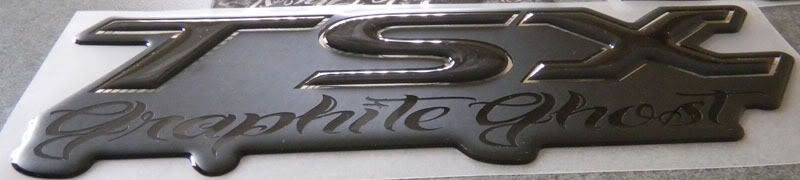
these have some dimension to them. the "TSX" is a second layer.

the weathertech ready for a re_badge
i always use a primer for foam tape. this one is special for plastic.
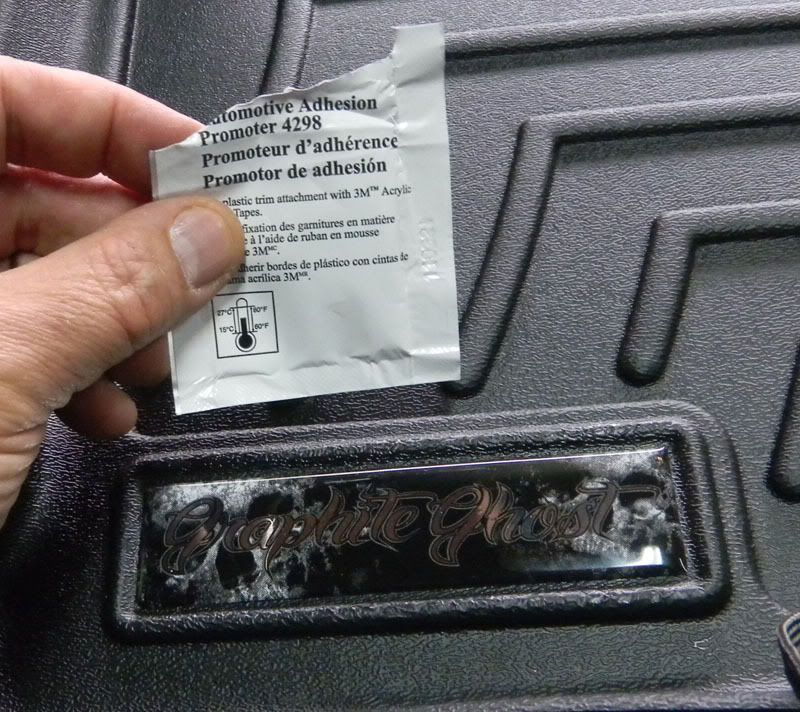
ok done/
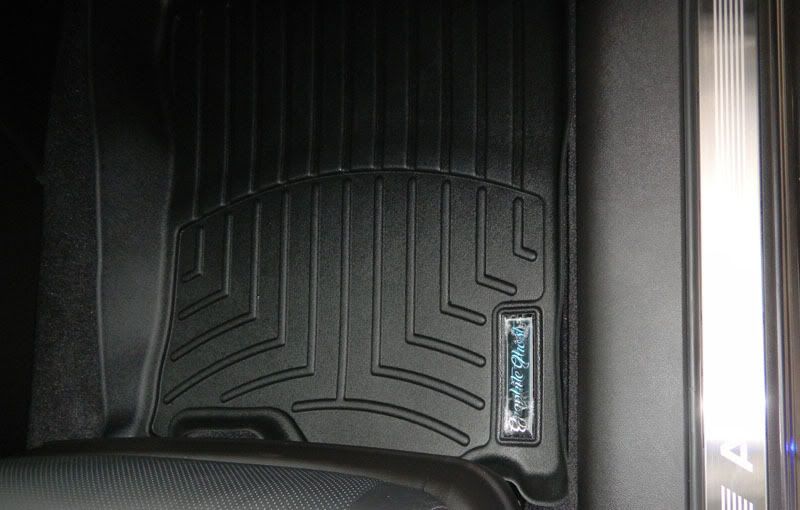
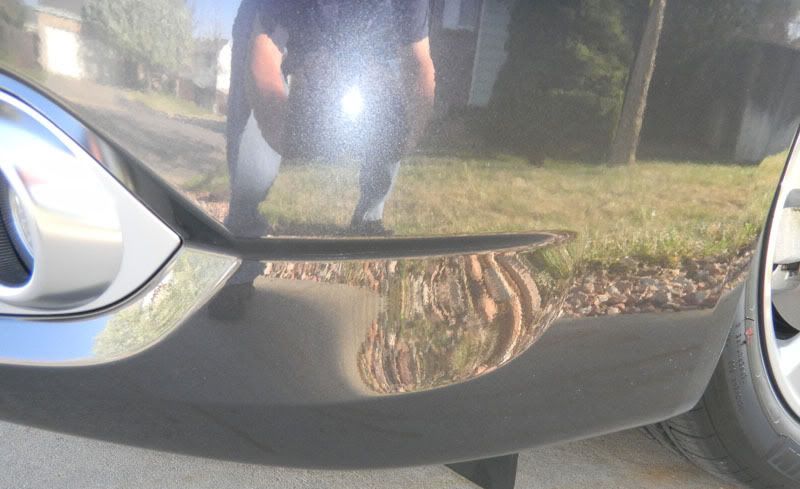
the outside one needs some prep. i need to remove my sealant from the paint.
post pics of that installed when its done/
the lot
closeup large one
these have some dimension to them. the "TSX" is a second layer.
the weathertech ready for a re_badge
i always use a primer for foam tape. this one is special for plastic.
ok done/
the outside one needs some prep. i need to remove my sealant from the paint.
post pics of that installed when its done/
Last edited by robpp; 04-14-2012 at 09:23 AM.
04-14-2012, 10:05 AM
#76
I don't know. I'd leave the outside ones off.

 04-14-2012, 07:45 PM
#80
Is it stuck on yet? If not, then I'd move it a bit inboard - it appears to close to the edge of the door.