When you click on links to various merchants on this site and make a purchase, this can result in this site earning a commission. Affiliate programs and affiliations include, but are not limited to, the eBay Partner Network.
Really appreciate all the info, enjoying this this post a lot! Can't wait to hear the difference when I do the same to mine.
Keep up the great work!!
Hey, thanks! Glad you're enjoying it! I've been trying to include as much info as possible to encourage people to do some of this stuff yourself, instead of paying the dealership or a shop. Please, let me know your results!
Took a test drive this morning. Everything felt great. No vibrations and the car might feel a little more planted due to the wider stance. Very satisfied with the results. I think I paid around 75 bucks a pair for the spacers, so they are really affordable too. Check it out if you're looking for a small upgrade without going full out with the 25mm spacers. Gotta take some good pictures this weekend.
First one on top of the factory ground - 10mm, out to the frame - 14mm
For the 2nd and 3rd. You probably only need one of them, but still haven't added one to the transmission yet, so I have it as a 2nd one on the engine for now.
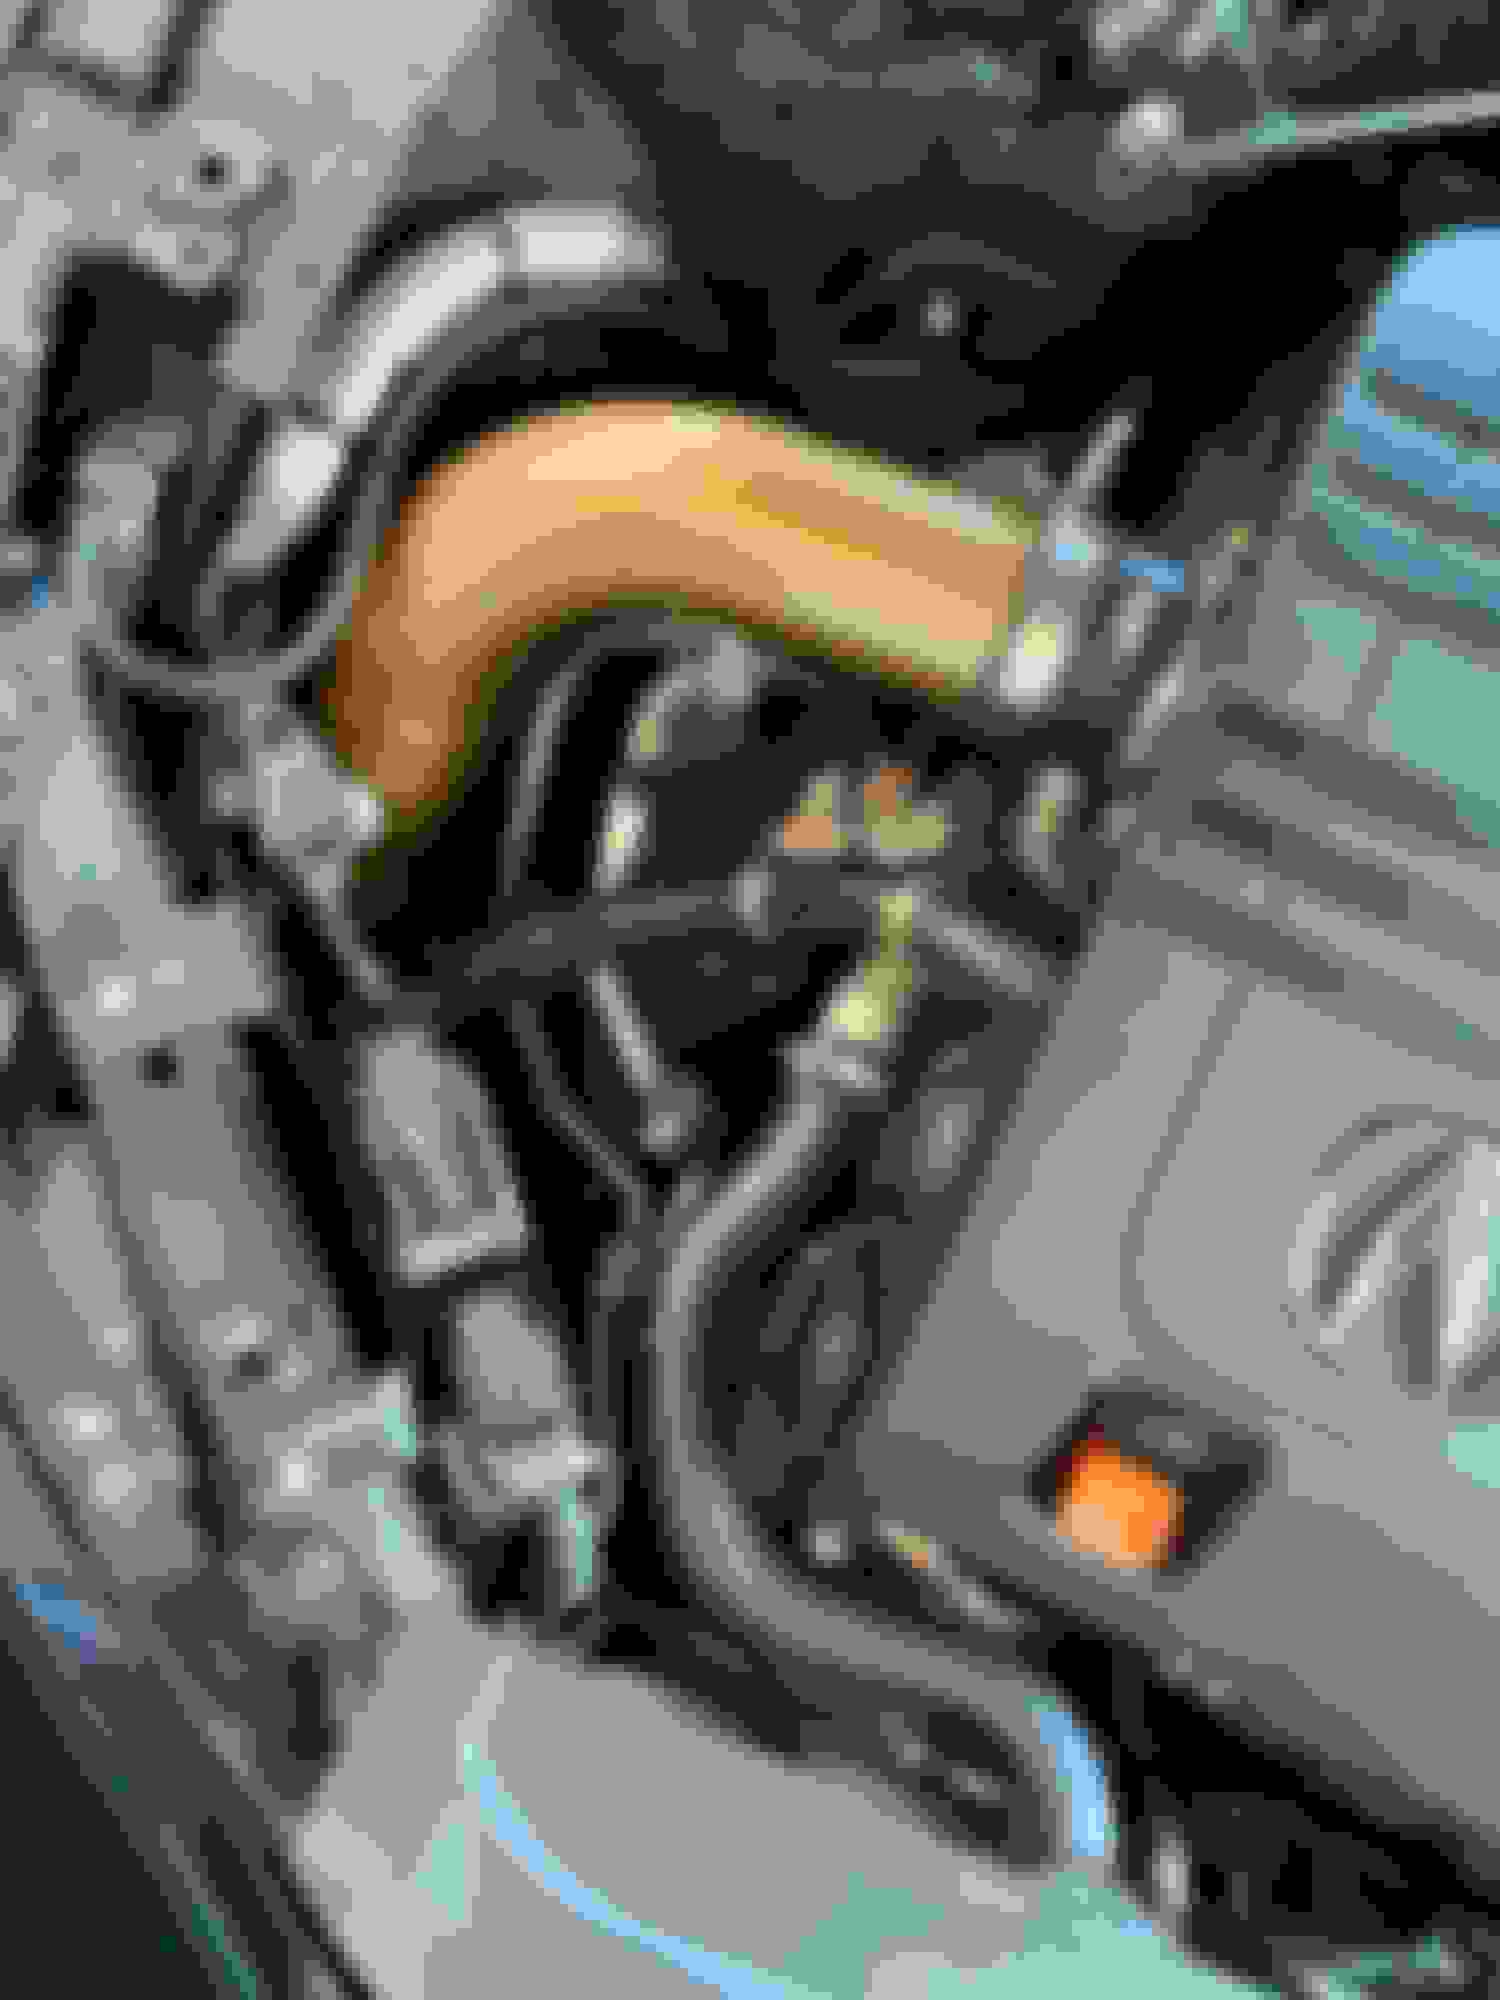
If you pop off the engine cover. There are 2 little black brackets with 10mm bolts on them on the left and right side. You can see the left one without taking the cover off.
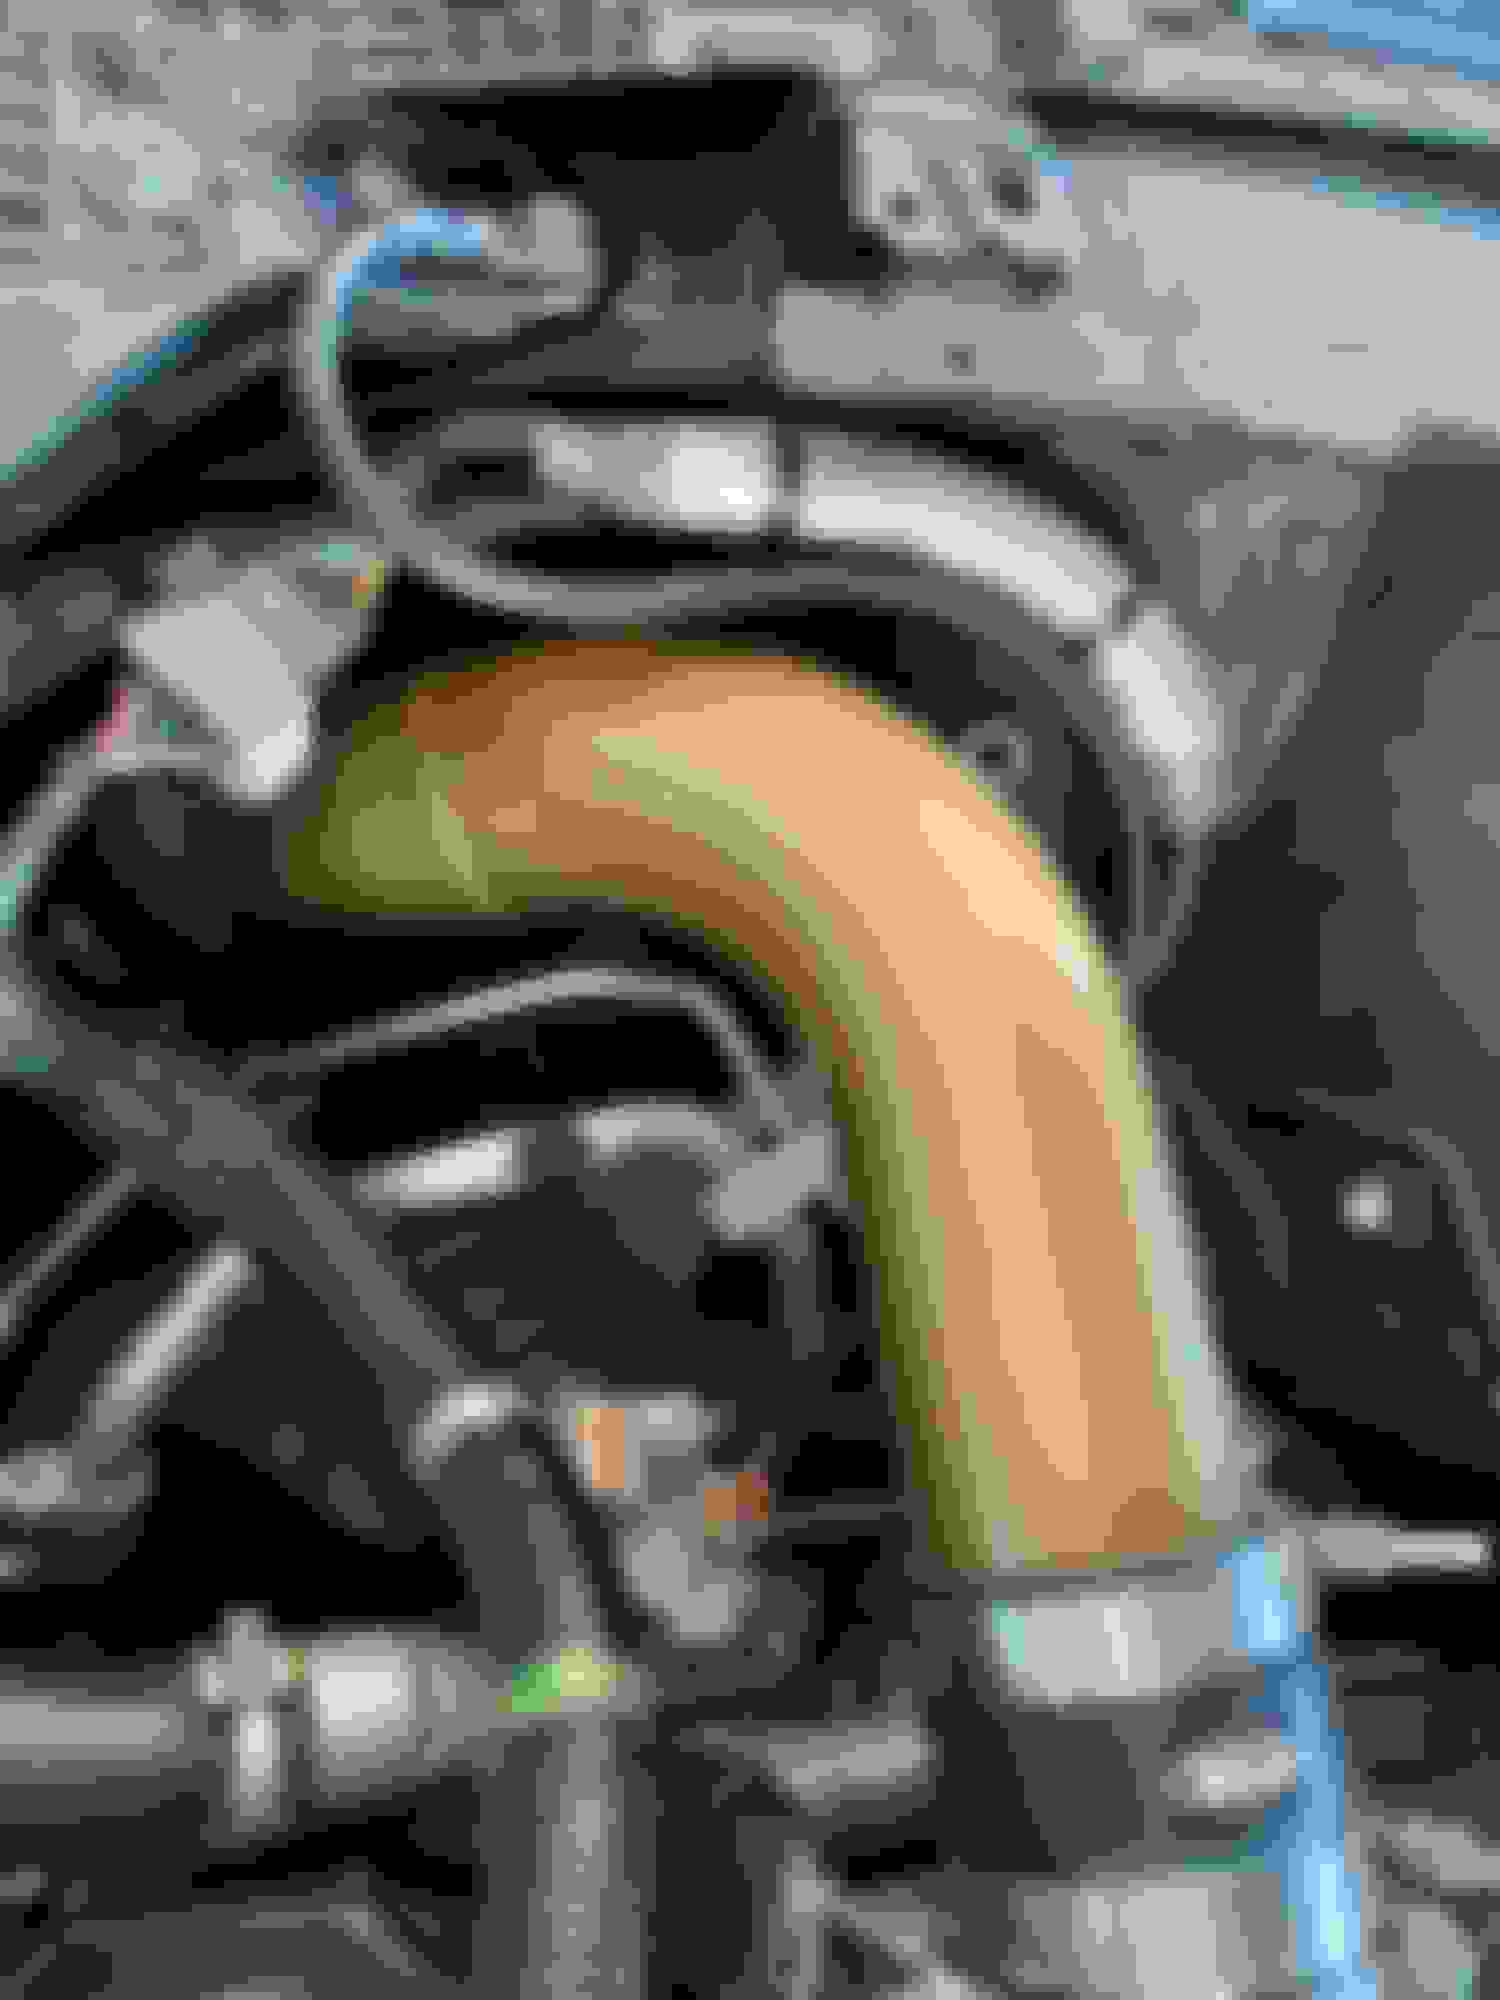
Then both of the engine wires are going to the front black bracket, next to the radiator hose
Make sure to zip tie/secure the wire to something, especially if it's a little too long.
If your engine bay is dirty, use a wire brush and make sure the bolts and the connections to the grounds are nice and clean
This is 4 gauge wire. I ordered a box of terminals in different sizes. The frame screws need a bigger one, so it's handy to have different sizes.
Total cost was probably 30 bucks, if you have the crimping tool.
Do you remember if you used 5-16� terminals for the 10mm bolts and 3/8� terminals for the 14mm bolts? I�m gonna order some now.
Do you remember if you used 5-16� terminals for the 10mm bolts and 3/8� terminals for the 14mm bolts? I�m gonna order some now.
That sounds about right. I ended up getting a bunch in all different sizes and just picked the right one for each side of the connector as I built them out by test fitting them. I think it was the 3/8ths size hole that fit both the 10 and 14mm bolts, not 100% on that though.
Started the install of the carbon fiber trim pieces for the interior. Got everything on without any problems, except the driver's side door. I stripped the screw in the door handle and now I can't get the door panel off. So for the time being I'm cruising around with all carbon trim pieces except the drivers side. It's a hex screw head with the blue thread sealer on the bolt. Not a good combo if you're the one hoping to remove the screw.
Also trying to figure out what I screwed up on my intake. Sounds like there's a leak. Everything is tight and properly fitted. It makes no sense, but I know it's the intake because it started after I took it apart to install the trans ground.
Finally got around to installing these extra grounding wires today. First off they are very easy to install. Easy to make the wires too. I ordered a kit wire 4awg wire and 5/16 and 3/8 terminals with heat shrink off Amazon for $40cad.
I just installed the 2 easy ones for today. I didn�t do the transmission ground yet.
I took it for a drive and didn�t really feel anything different with response or shifting.
I then did some stereo testing and that�s where I THINK I can hear a difference in bass clarity. Not so much that it hits harder, just that you can go higher bass level and higher volume with better clarity if that makes any sense. Maybe with the transmission ground it will be more noticeable? As of now, I�m not sure what my recommendation is. I will post back in a few days.
Nice! looks good - Disappointed you didn't feel the same results as me. I feel like the transmission definitely added more to the audio, but I was pretty impressed with the first two myself. Now I want to try disconnecting them and see if I can tell a difference immediately or not.
I did try disconnecting all added grounds and running around the block. I think it's mostly added throttle response I'm noticing, maybe a feeling of a little extra torque? I can for sure feel a difference between the two. The audio was still a major change. Just the low volume bass hits a lot harder without touching any settings. Everything just sounds clearer to me.
@MytypeisS what year is yours? I'm not sure that would make a difference, but maybe?
Installed thin carbon fiber trim pieces. Pretty easy process.
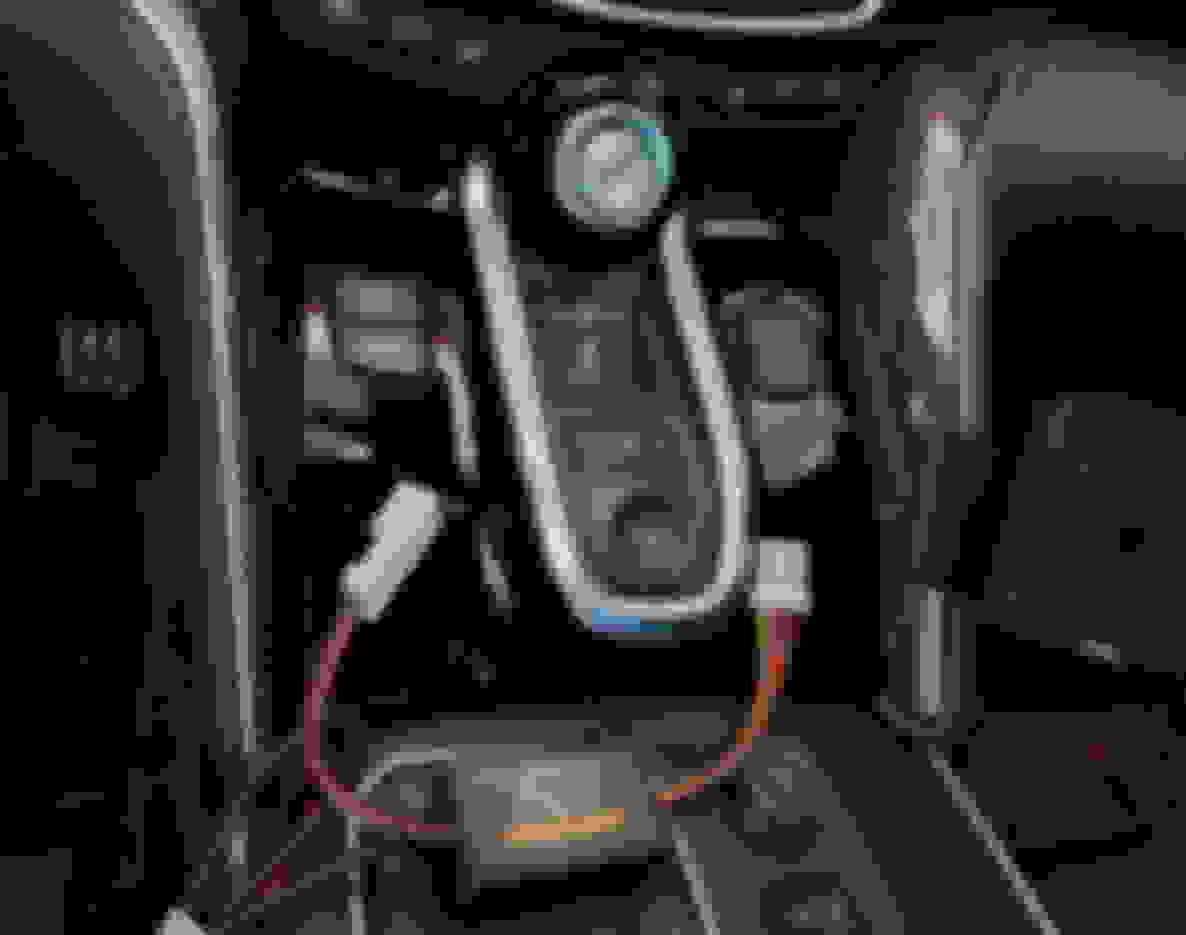
Also picked up this idlestopper thing. It plugs into the back of the button and basically just presses the button for you as soon as you turn on the car. I hate forgetting to press the button and then the car dies at a stop light. It still scares me a little when it happens. So, no more of that.
I did try disconnecting all added grounds and running around the block. I think it's mostly added throttle response I'm noticing, maybe a feeling of a little extra torque? I can for sure feel a difference between the two. The audio was still a major change. Just the low volume bass hits a lot harder without touching any settings. Everything just sounds clearer to me.
@MytypeisS what year is yours? I'm not sure that would make a difference, but maybe?
Mine is a 21
Also I had an idle stopper on my rdx and it worked great you�ll really appreciate having it.
I want to try the one that keeps you in sport or individual mode even after turning off the car.
Last edited by MytypeisS; Oct 5, 2023 at 05:51 AM.
Also I had an idle stopper on my rdx and it worked great you�ll really appreciate having it.
I want to try the one that keeps you in sport or individual mode even after turning off the car.
I actually ordered that one too. I know they said it was out of stock but that it would ship soon. I could probably just use that and have it auto start in individual mode with the auto start/stop disabled. I don't normally use individual mode though. I'll just have to try it out and see if I can figure out a good combo.
Let me know how that works out I have been looking at that. Also LOVE the carbon fiber trim you added. That is also high on my to-do list.
Will do! Should be installing this weekend. The carbon fiber trim is such a nice upgrade. My wife immediately noticed it last time she got in the car, which surprised me, but it does really grab your attention, without overdoing it. Definitely a recommended upgrade for any tlx!
If you do get them, watch some videos on how to install them. All you need a screwdriver and one hex key to get the door panel off. It can definitely be done at home. Take your time though. I rushed one side and started stripping the hex screw because I was trying to just use a flathead with a steel tip that just ate up the aluminum screw lol
Got around to adding the transmission ground today. Fairly easy enough to do as I don�t have the entire air box in. Using the pics that Sur shared definitely helped the process go smoother so thanks for that.
After this third ground wire I must admit that I truly do hear a difference in stereo sound. Particularly the bass. Now it seems more pronounced at lower volumes. If you wanna go above 20 let�s say, I feel like the bass needs to be turned down a bit. Hard to explain but happy I did this easy and inexpensive experiment along with Sur. Others need to try this too.
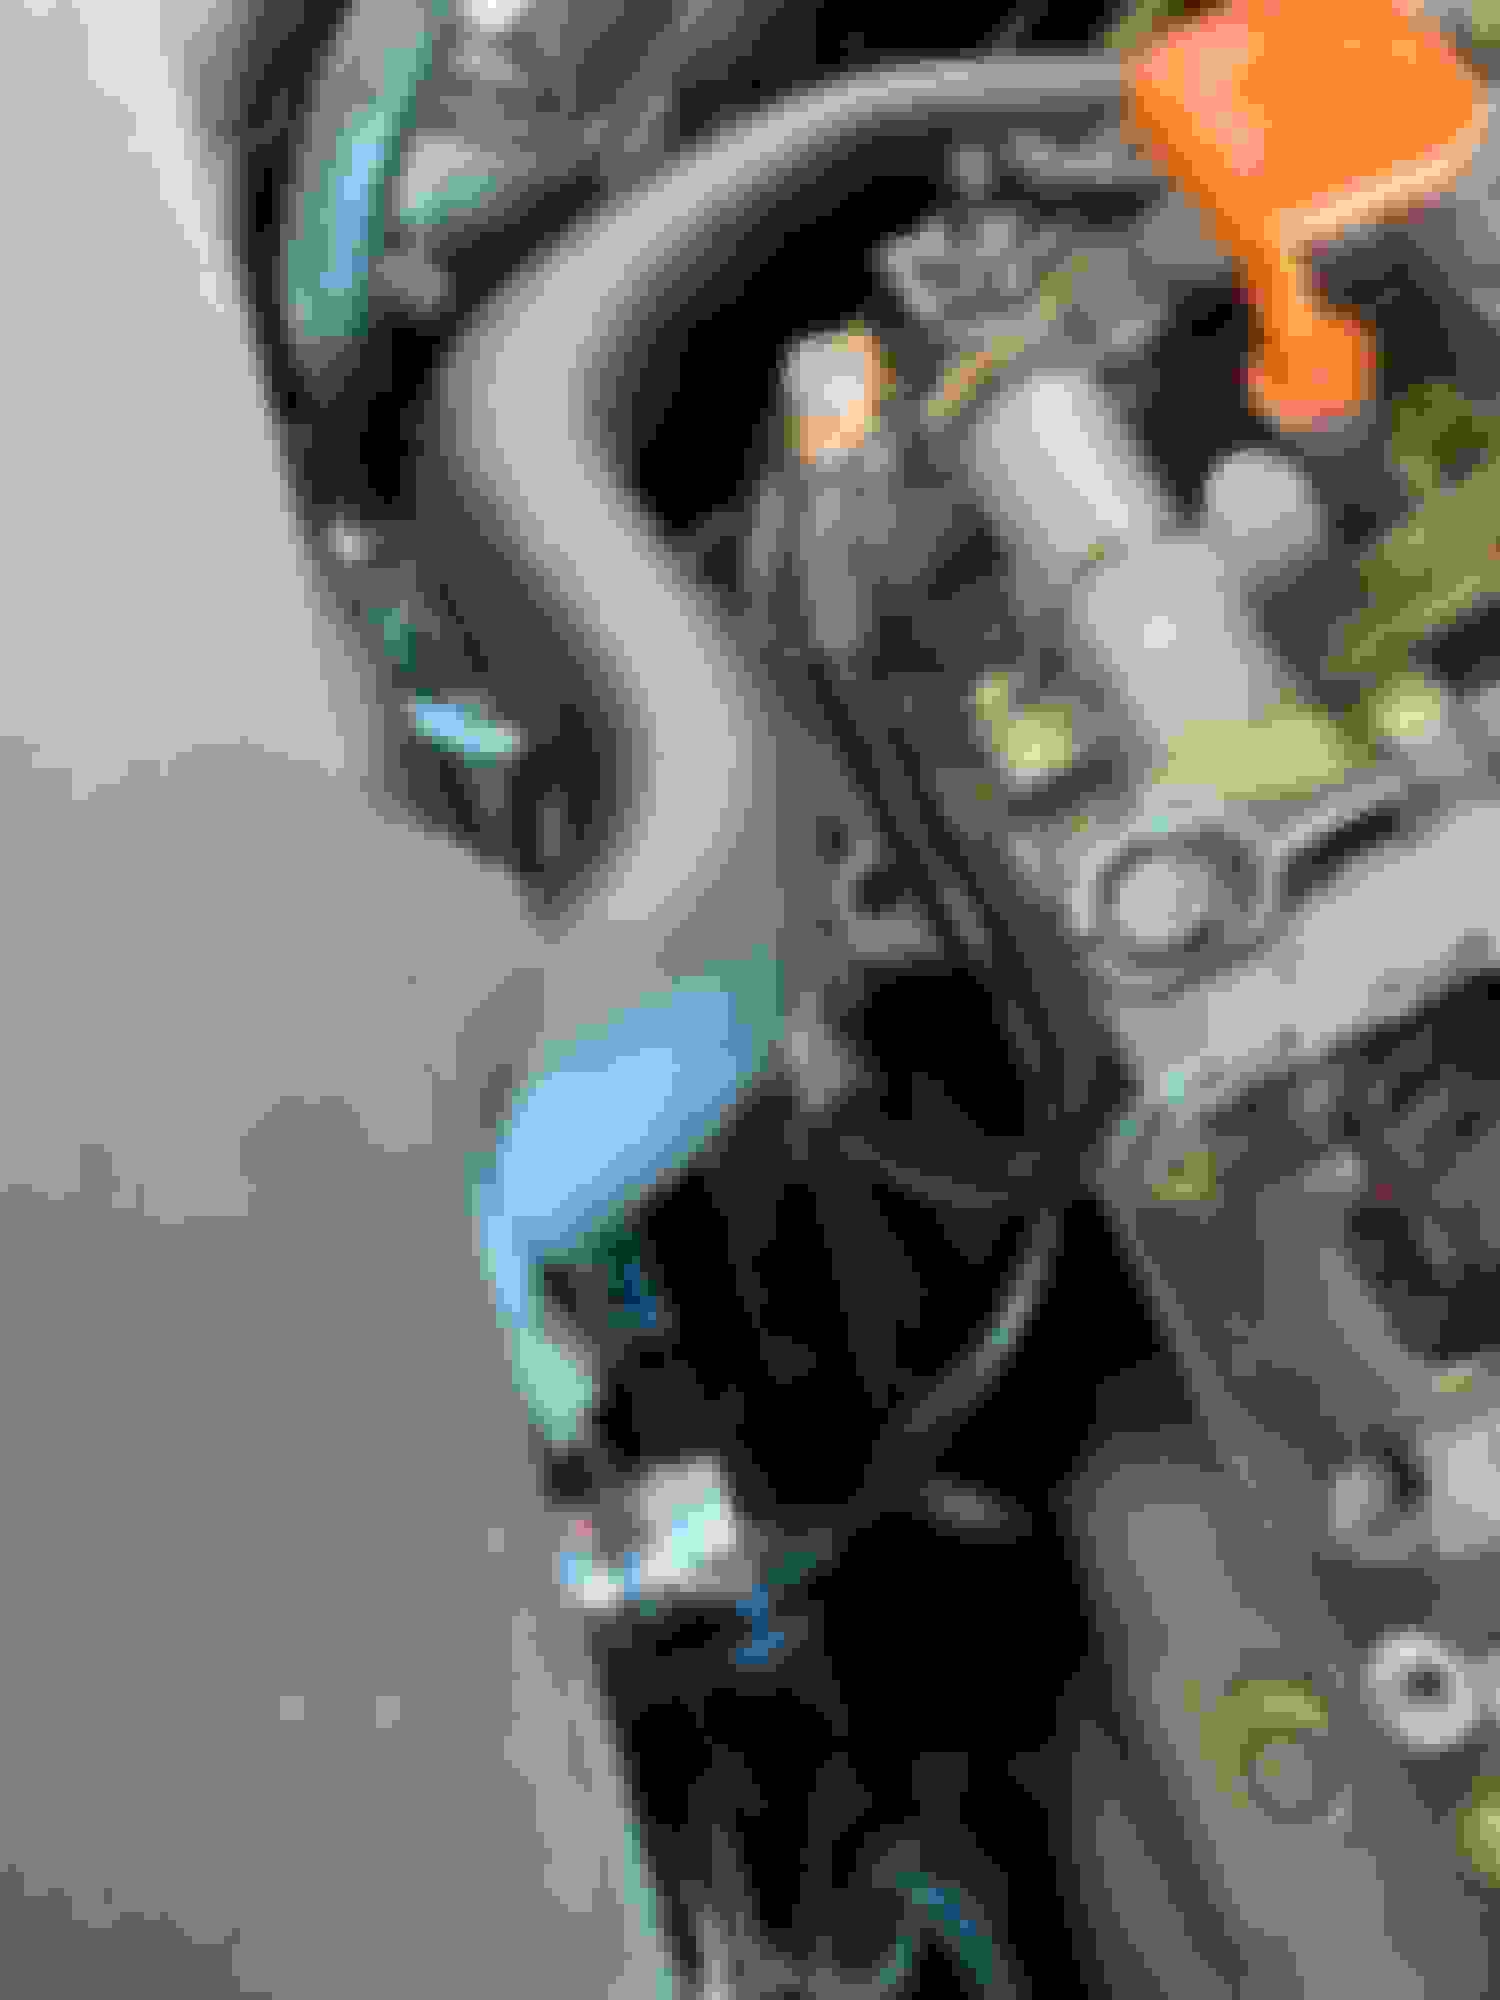
Airbox removed Going from transmission bracket bolt to airbox mounting bracket bolt. Another angle Another angle Airbox lower portion re installed
Got around to adding the transmission ground today. Fairly easy enough to do as I don�t have the entire air box in. Using the pics that Sur shared definitely helped the process go smoother so thanks for that.
After this third ground wire I must admit that I truly do hear a difference in stereo sound. Particularly the bass. Now it seems more pronounced at lower volumes. If you wanna go above 20 let�s say, I feel like the bass needs to be turned down a bit. Hard to explain but happy I did this easy and inexpensive experiment along with Sur. Others need to try this too.
That's awesome! Glad you were able to make sense of my pictures and happy to hear you heard a good difference in audio too It seems like this works well on a lot of Japanese cars. I put 2 grounds on my wife's RX350 and got similar results.
Everything works as expected with the idlestop device. It's a nice little addition that you don't have to think about and it always works.
Found a good deal on the rear pieces of the underbody kit. Was excited to get them on so I went in the garage to check it out. Taking off the rear bumper seems like it would be pretty easy, but with my track record so far, I would F something up by the end of the install. I remember reading someone saying they just stuck them on there with the adhesive and they've been fine for awhile. Problem is, there's not a ton of adhesive there to start with and I don't want to worry about it falling off and hitting the car behind me.
As I was feeling behind the wheel, I noticed that one of places you screw into the bumper is accessible without moving anything. I decided that was the extra insurance I needed over the adhesive. After that it only took about 20 minutes before I had the first side done. It could be done without taking the wheel off, but the combination of large hands and lowered car, made it a little difficult in my situation.
The area you are supposed to drill out and attach the screw to is raised a little
I love destroying brand new things. Had take off the plastic ziptie lines. The middle one just pops out. The ones on the sides are just held on by an adhesive patch. I had to use something to pry them off. Then cleaned off all the extra gunk that was left over.
I found some extra 3m pads and replaced both the sides. The middle was set a little deeper and the pads I had weren't thick enough to get contact. You should add some 3m to the middle if you have thicker tape/pads. I didn't want to risk doubling it up and then it being too thick, so I skipped it.
I just hit the middle of the screw target area with a dremel and drill bit. Just wide enough so the screw would have a guide to start with. I screwed in the back part of the piece so I had a reference to go off of and then lined up everything and stuck it in place. I tightened down the screw and it had a good bit of bite. It's screwing into a metal tab and not just plastic, so it feels strong.
The finished product looks great. It really completes the flow from the side skirt to the back of the car.
It's got this grey rubber seal around the top edge to keep the water away from the adhesive. I think this will hold up well over time.
Put everything in the engine back to stock and went to the dealer for an oil change at 4.5k. Didn't know if they would praise me or kick me in the shins and void my warranty. Turns out the owner of the dealership has a type s too and they put all the PRL upgrades on it for him. Might end up letting them install the upgraded intercooler and charge pipes. That's too much of a mess/pain for me to too. It was a positive experience to say the least. I had them not reset my oil light so I could come back in another 4-5k and get the first free oil change that's included with 2023's.
Here are some updated pictures. Only new mod is 50% tint on the windshield. It's barely noticeable, but looks great and helps with having sensitive eyes.
Notice the amount of road crap that gets kicked up on to the front doors. The bottom of the car slopes in and the tires stick an inch or so past the bottom of the door. Slightly annoying, but that's the price that has to be paid for being flush at the top of the fender.


 It seems like this works well on a lot of Japanese cars. I put 2 grounds on my wife's RX350 and got similar results.