When you click on links to various merchants on this site and make a purchase, this can result in this site earning a commission. Affiliate programs and affiliations include, but are not limited to, the eBay Partner Network.
hey guys. i got a v6 tech from work. i sold off the ka9 awhile back to a coworker and have been messing with the buick which i just recently sold to get back into hondas/acuras.
in hindsight i wish i got the aero kit when i first got the car but i didnt. in the beginning of the year ill be ordering the aero kit to go with these.
planned to make a box and intall it under the car but looking at it closer i think there wouldnt be enough room and too much hassle to have the compressor under the car and it being too close to the exhaust and all.
so the immediate plan would be to get the aero kit. planned to get the optional 20" zdx wheels (adapter are on deck already) but im open to other 20" options out there though.
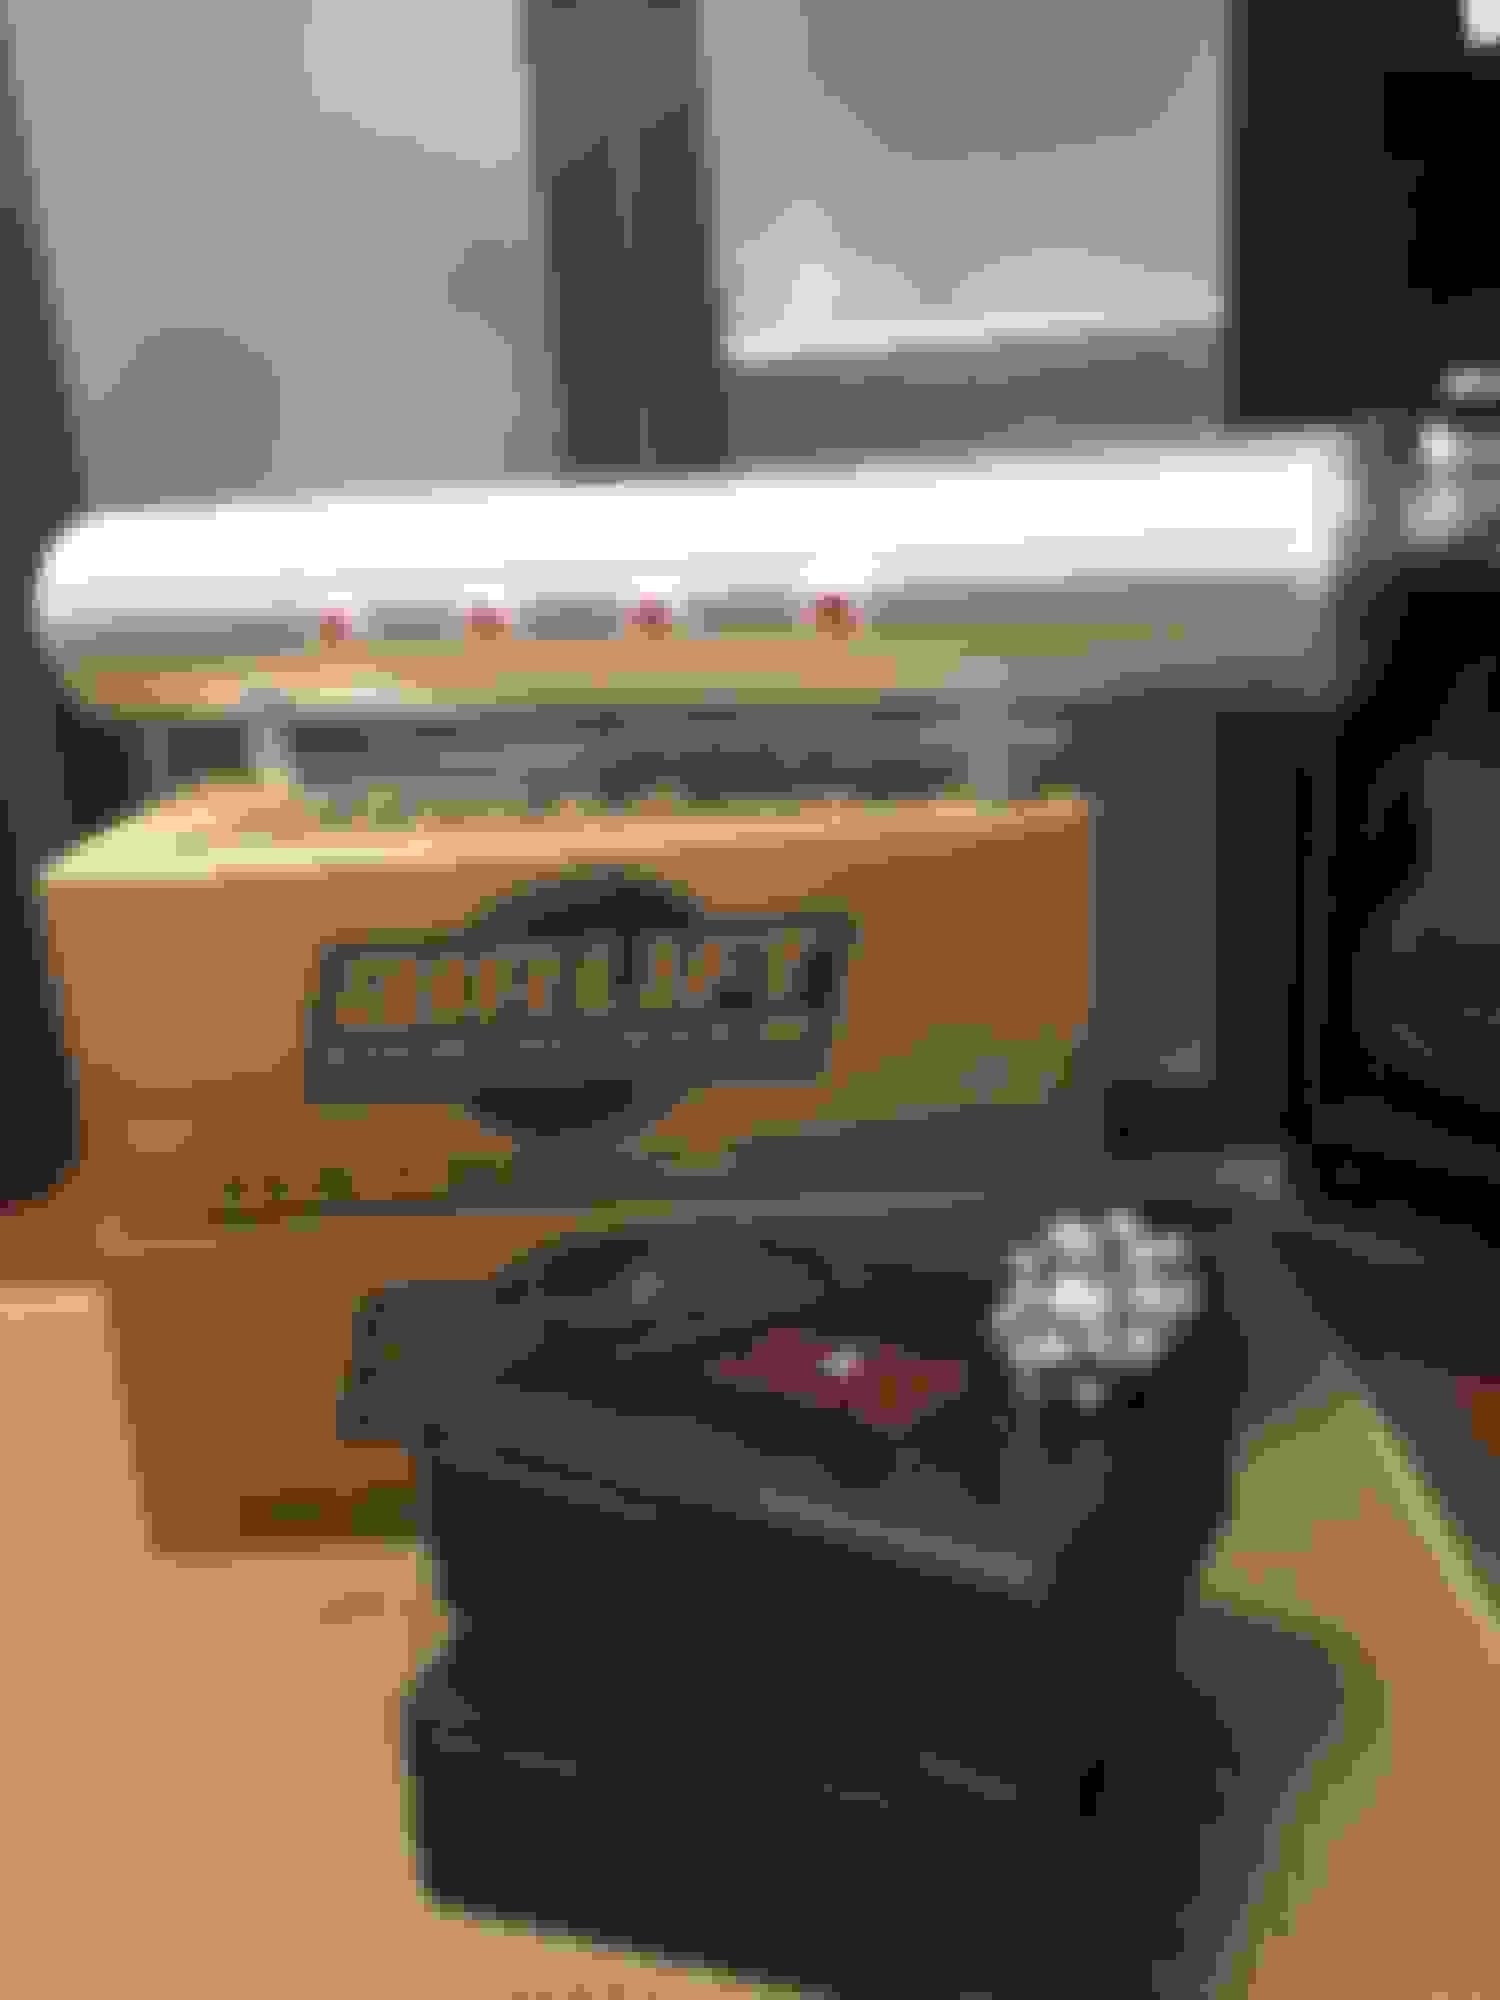
i also planned to fab up a stealth install for the airlift stuff having the tank in the trunk and the compressor, module, etc in the wheel well. wood/laminate floor is also on the list.
this would be my first dance with bags/air suspension and false floor/woodtrunk so if you guys have any advise or constructive criticism please let me know!
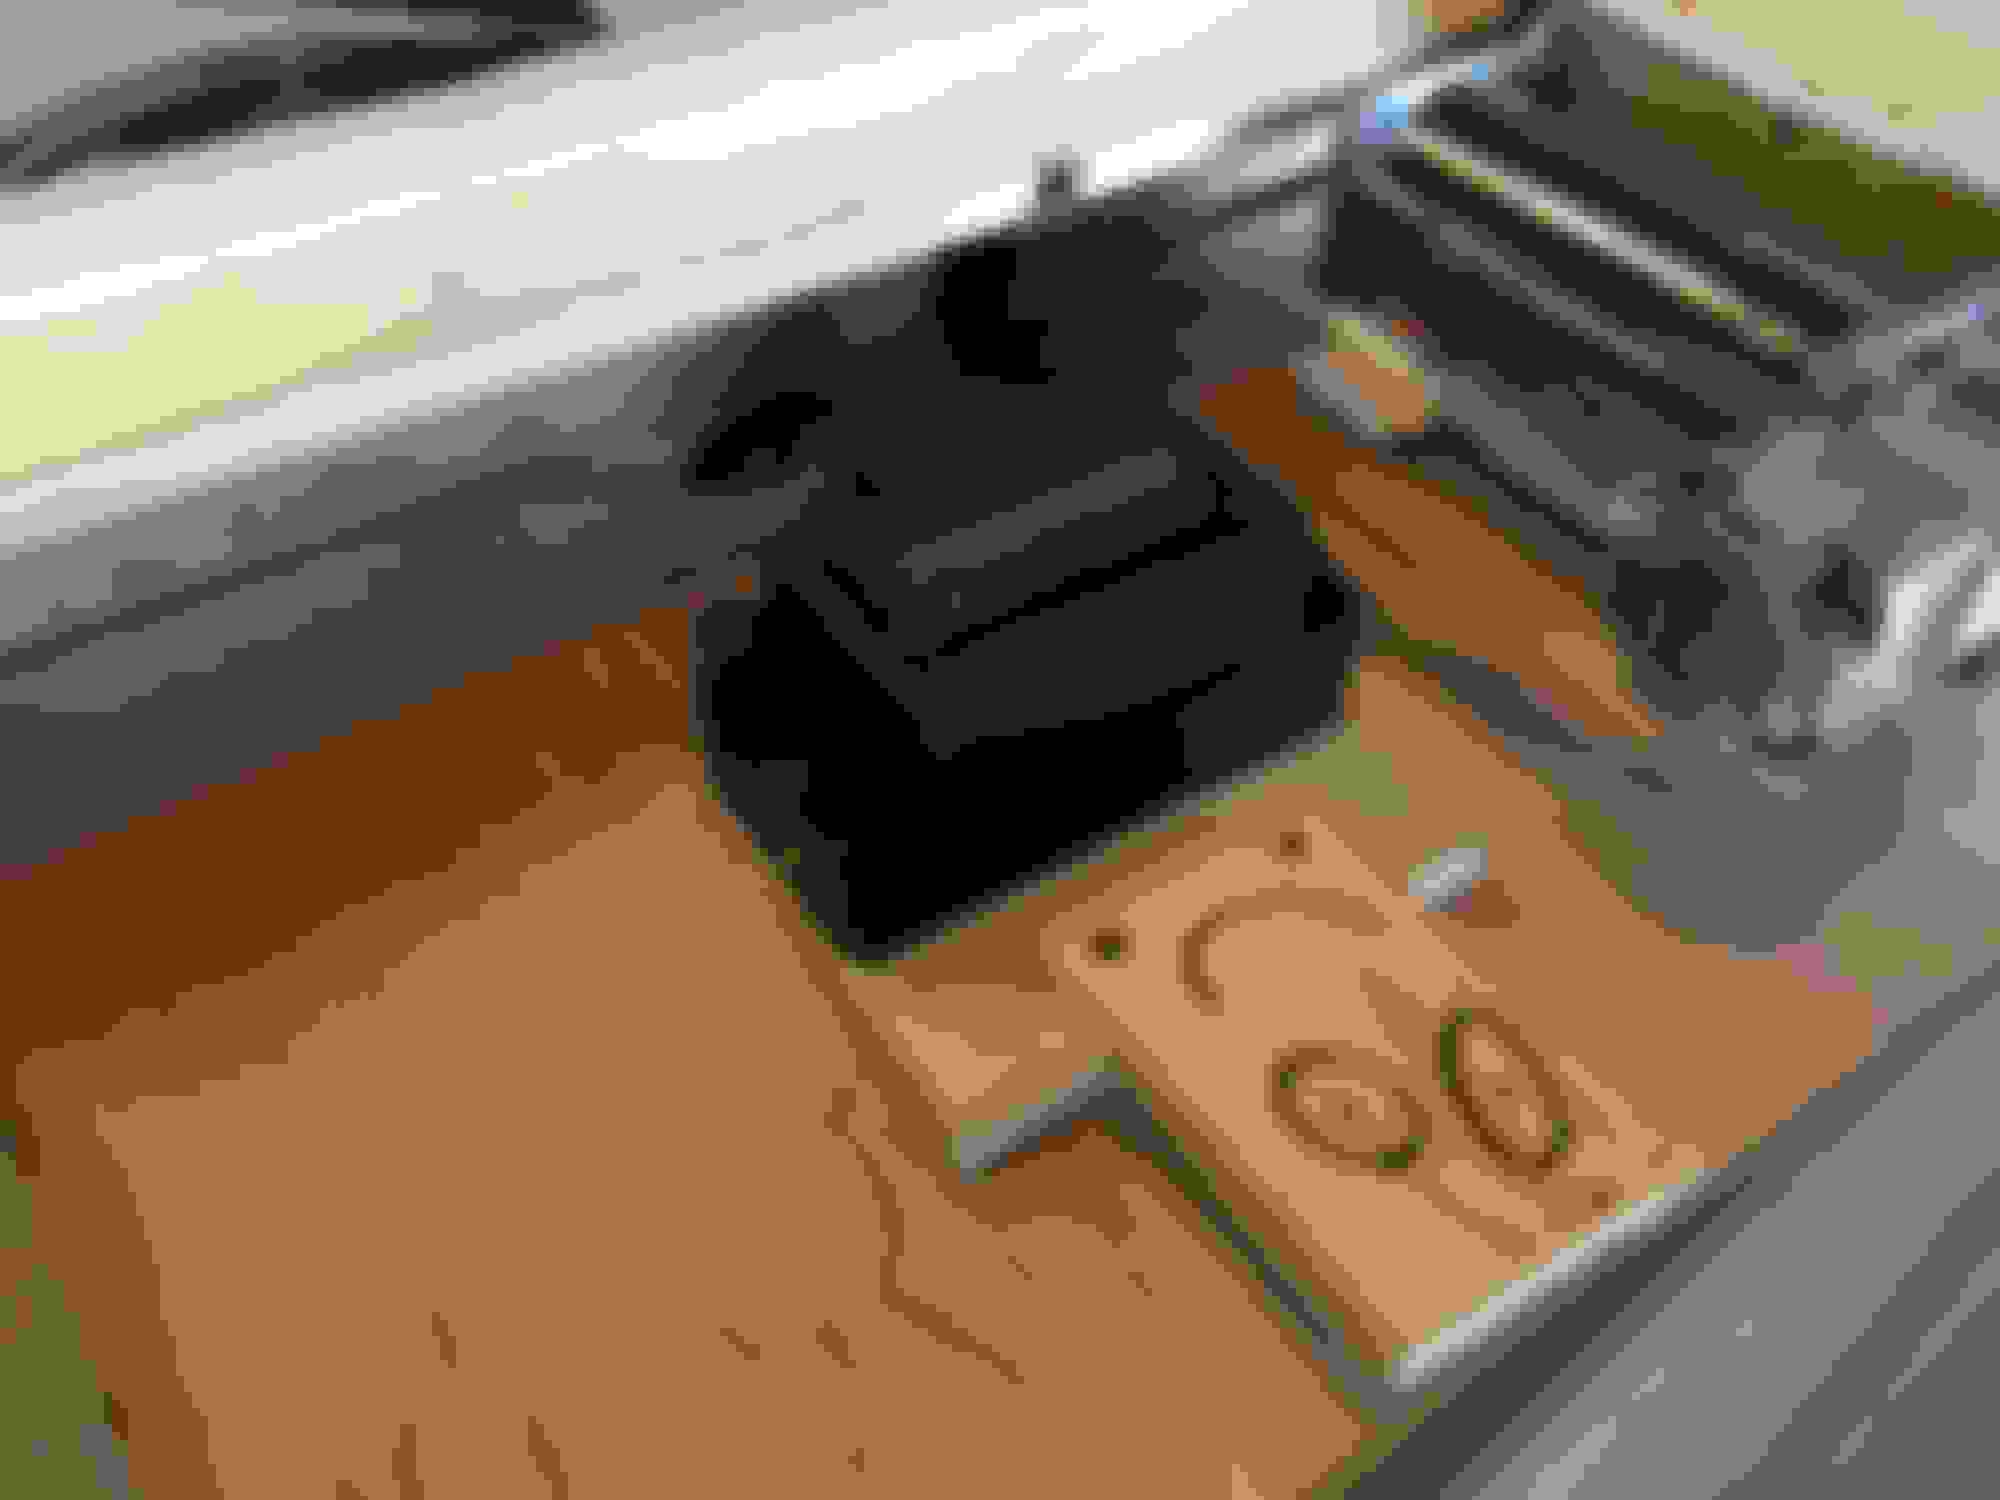
Slow start but it's a start. I think I want the bottom to float above the part that holds the spare wheel. Foam or sound deadening on the structure itself instead of the body.
By doing that, the compressor will be mounted sideways. The tank is also too long to shove it all the way in so it'll just sit where it's at on top.
Yes everything but the tank since it's too long. Wanted the compressor to mount right side up but I also wanted the bottom to float over the wheel well to help lessen possible vibrations and noise so it's looking like the compressor will be mounted sideways.
I would show you guys the pile Of s*** I've made so far but I'm too ashamed lol. It's proven my woodworking skills are none existent.
Ok so I finally got the trunk setup to somewhat be done. At least the majority of planning, cutting and placement is done for the trunk. I don't have to worry about much of it come Wednesday.
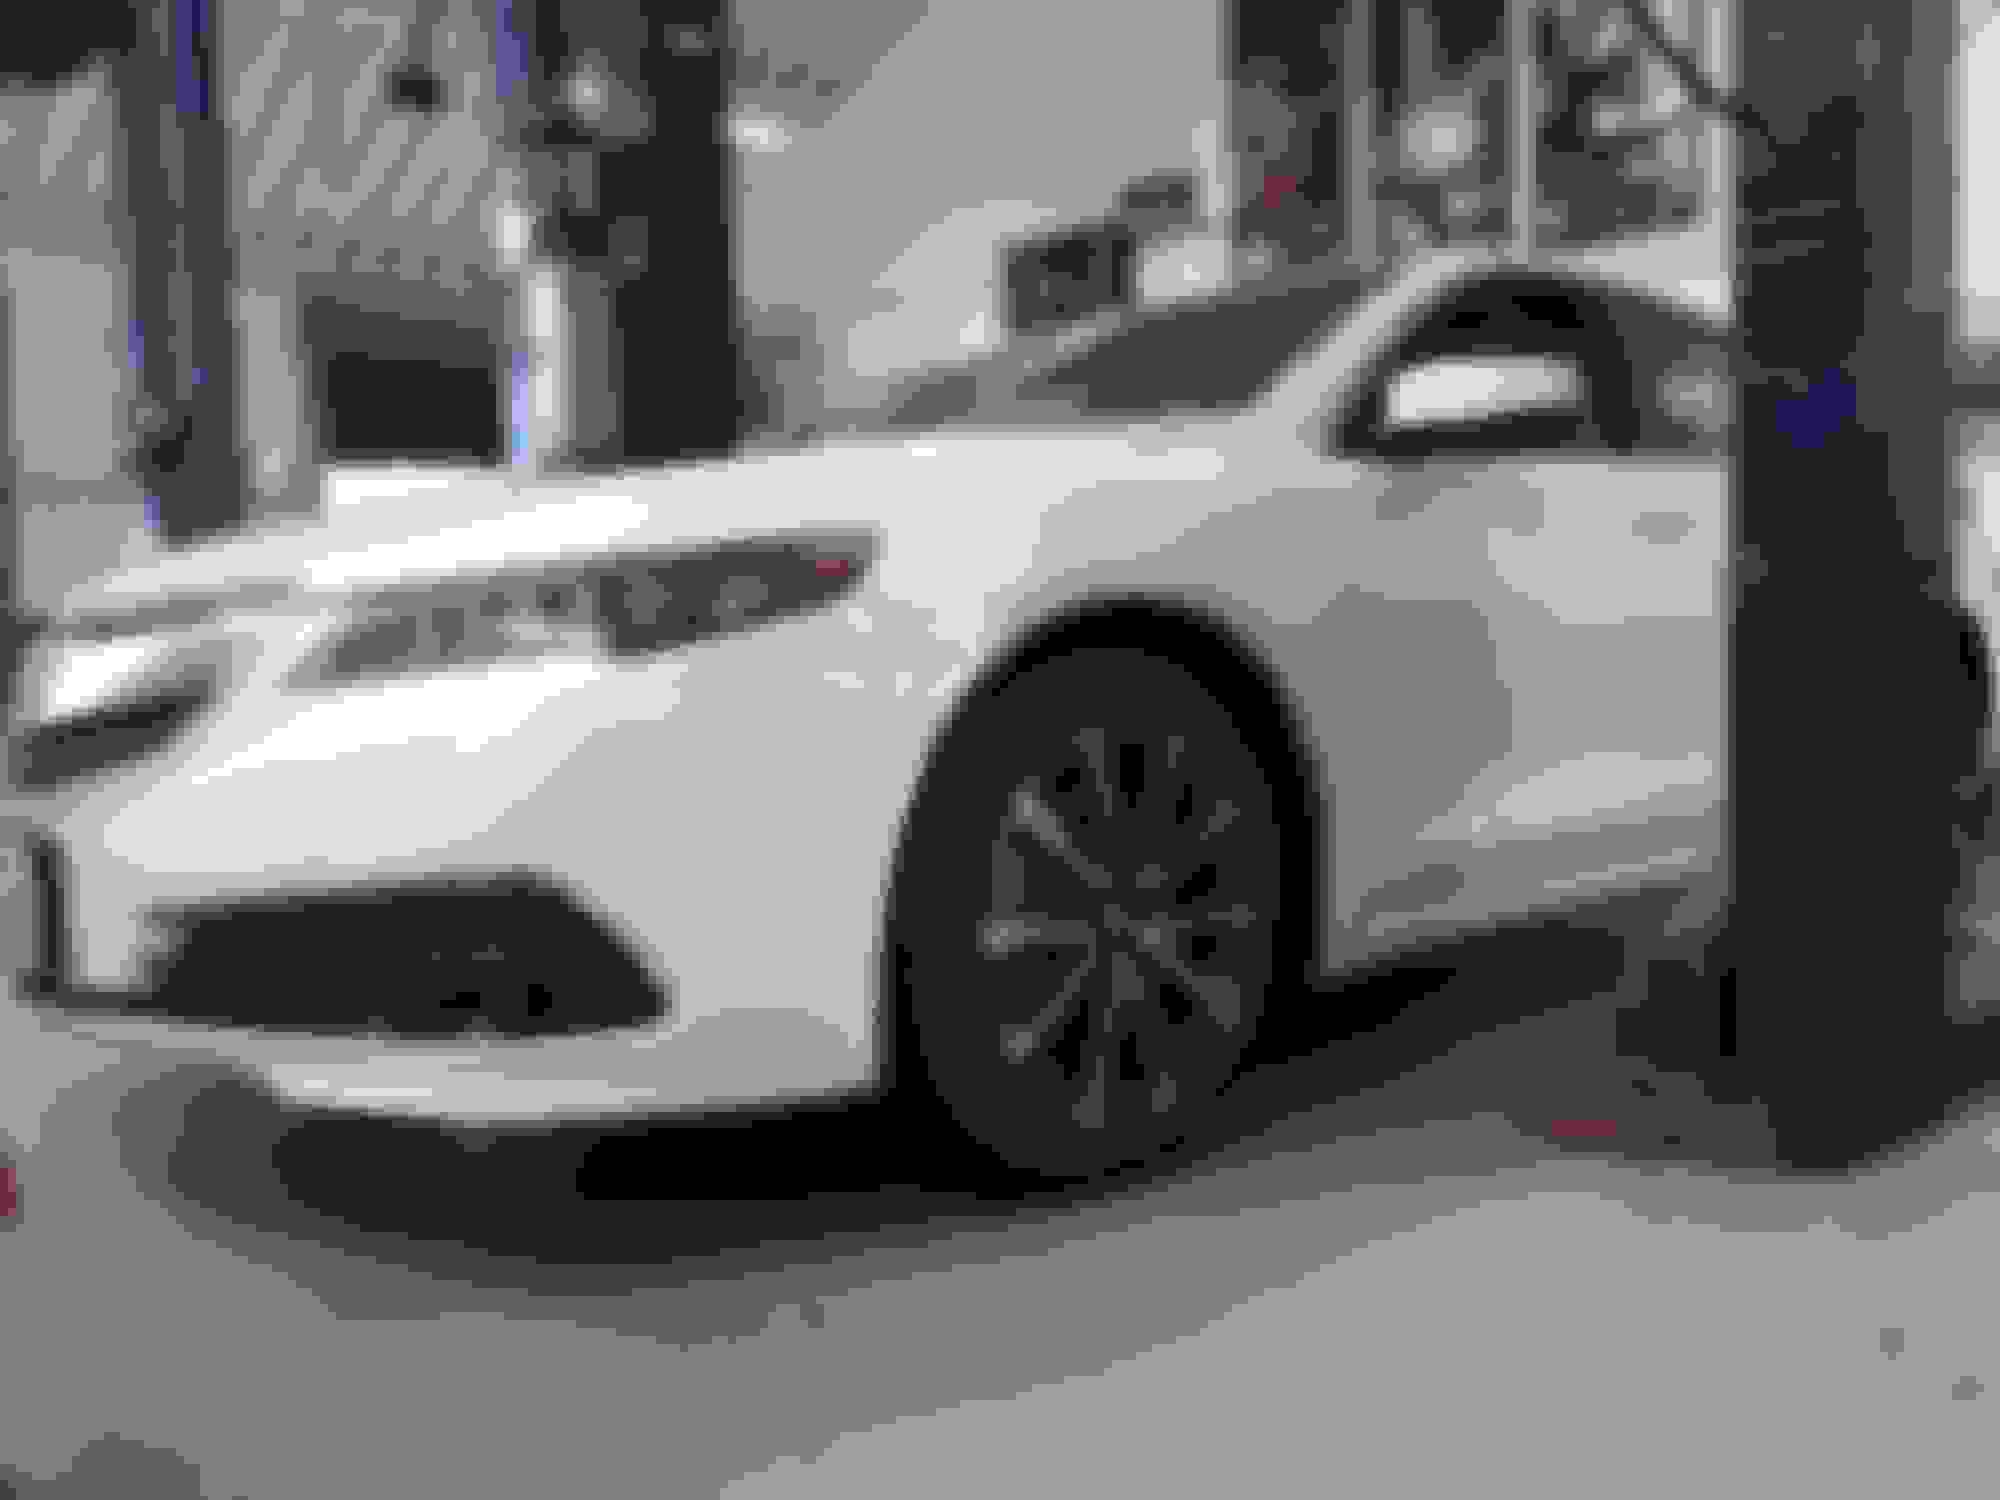
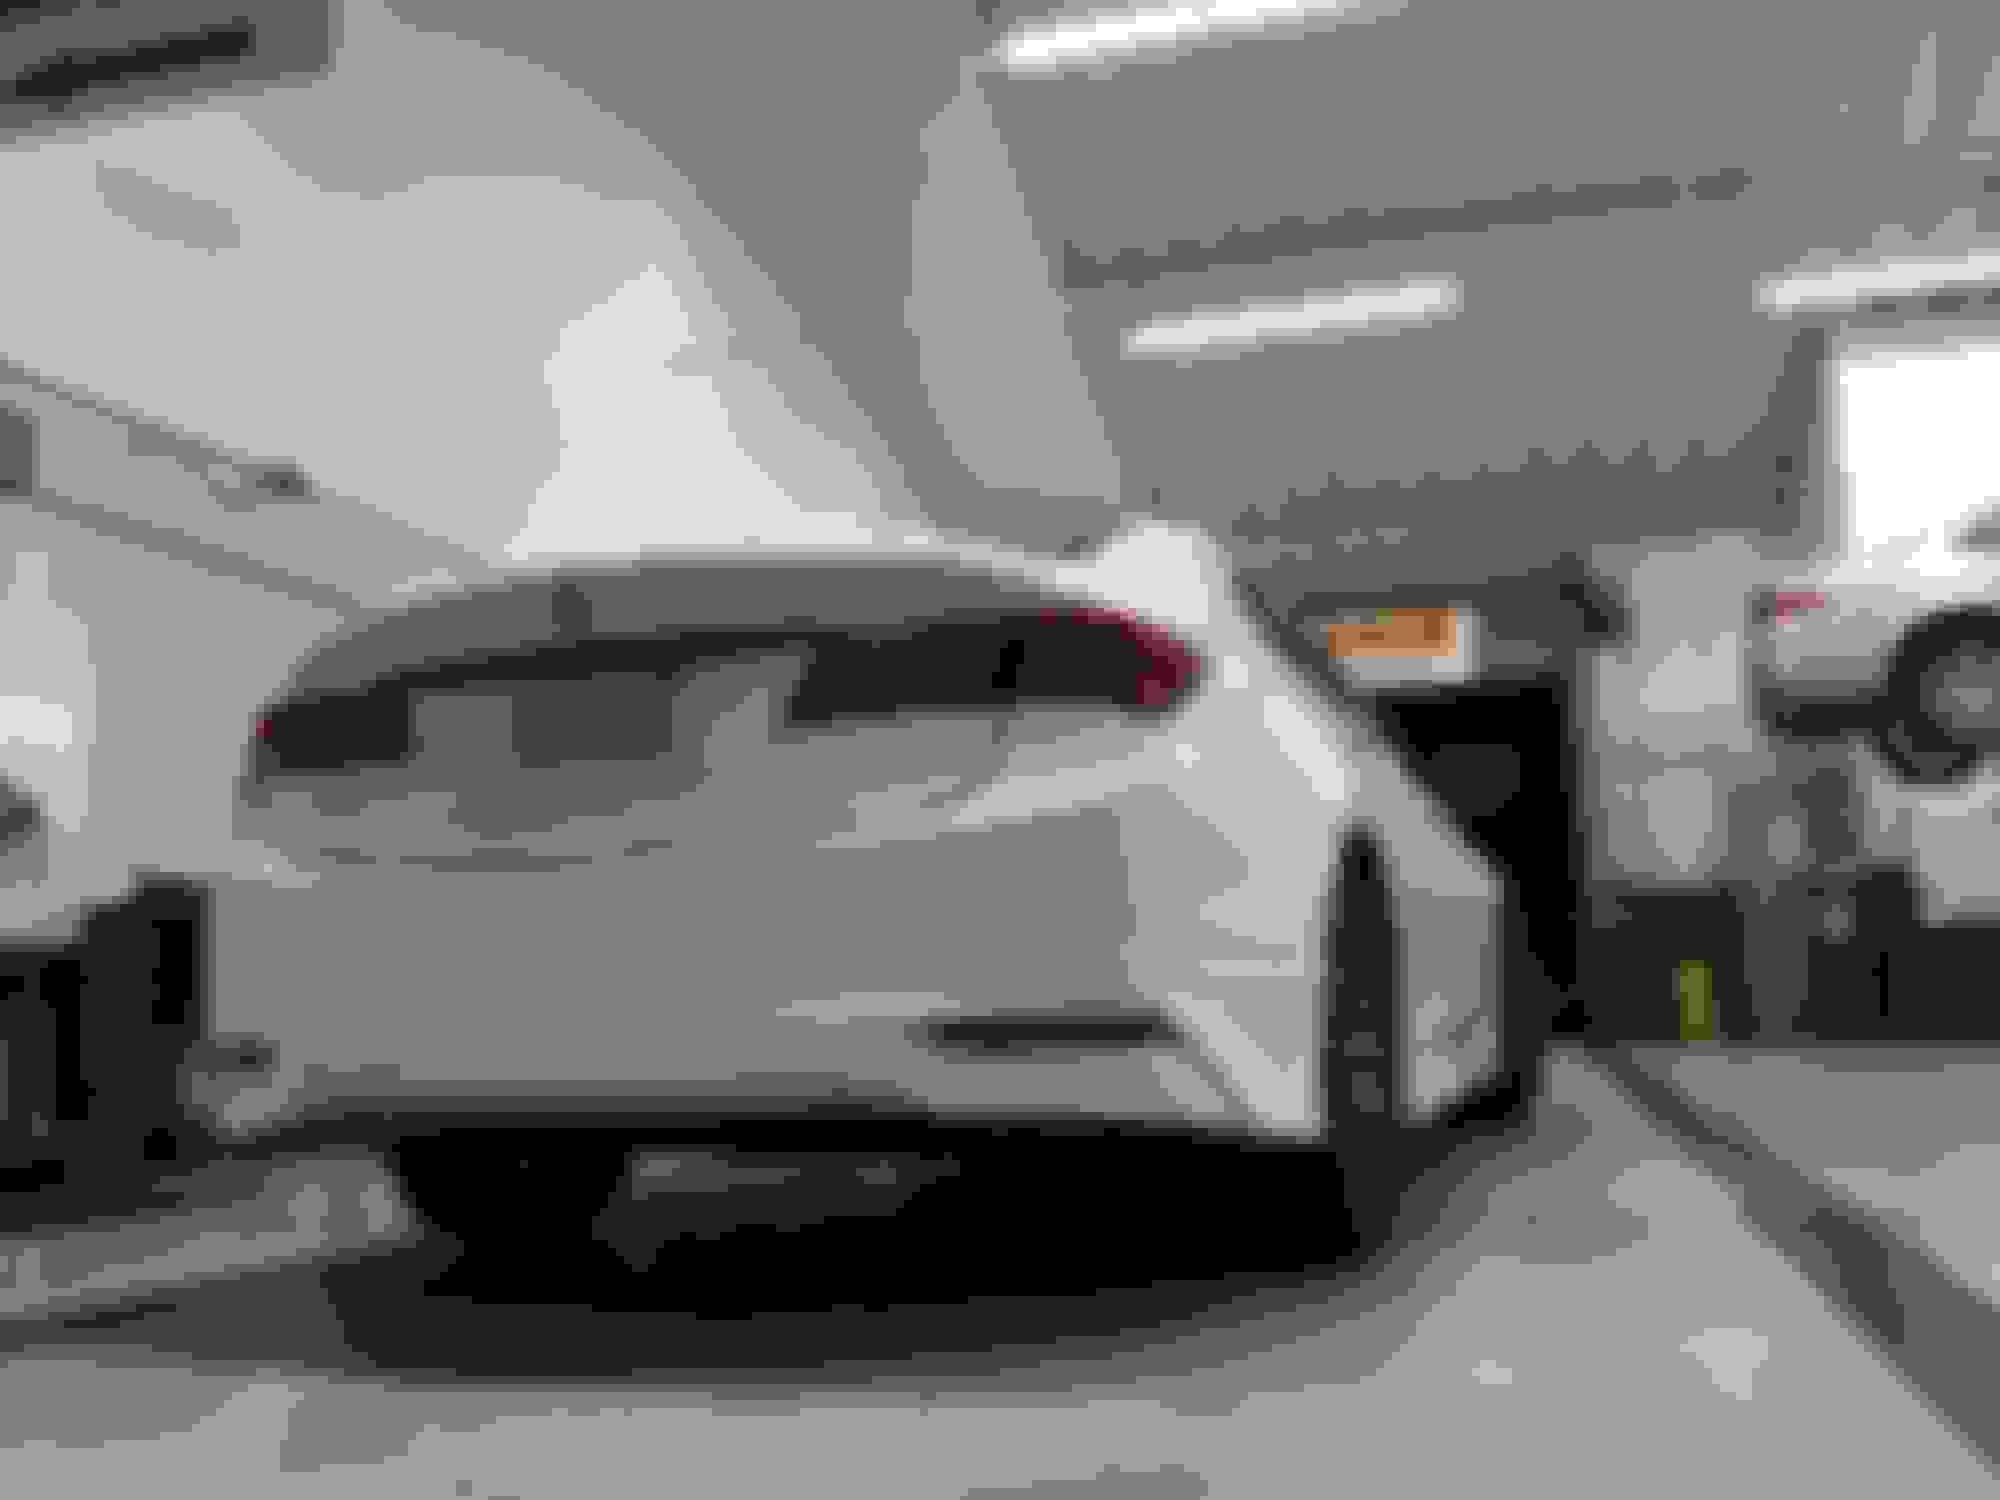
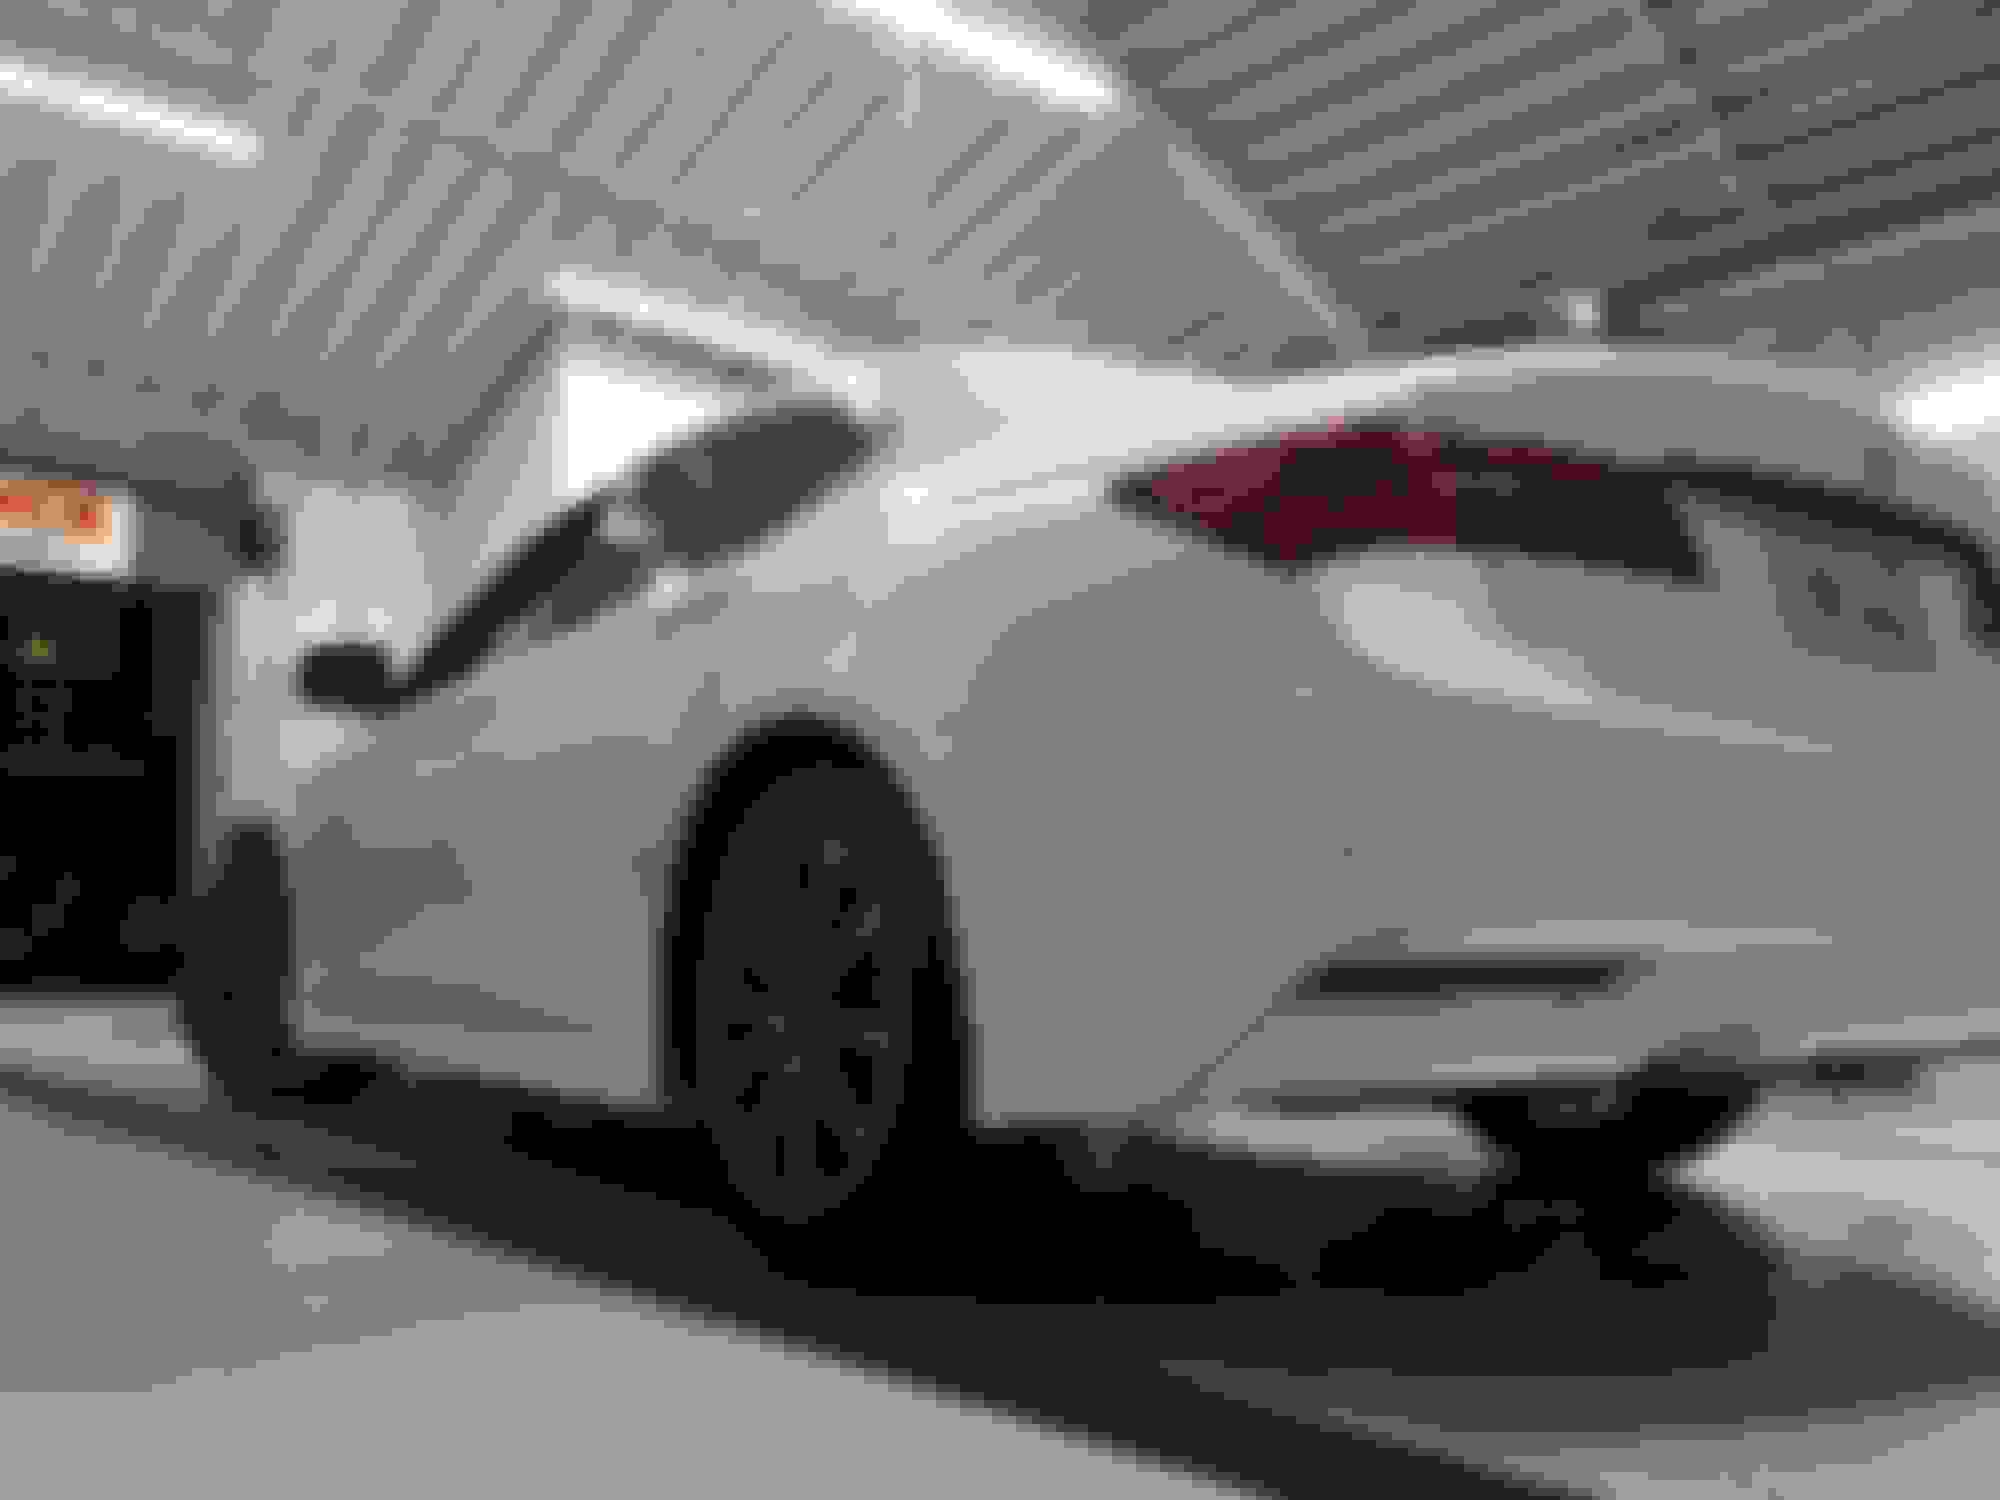
So It was slow enough at work today that I had time to put on the aerokit. Had to rush towards the end but got it done in time. This saves me a few hours and have more time for the suspension install.
Looking good. Where you able to install the front kit without removing the bumper?
Negative. Couldn't see or reach the scribe marks without taking it off. Rather than struggling with it I figured it was much easier to just take the bumper off. The side skirts took more time than anything though.
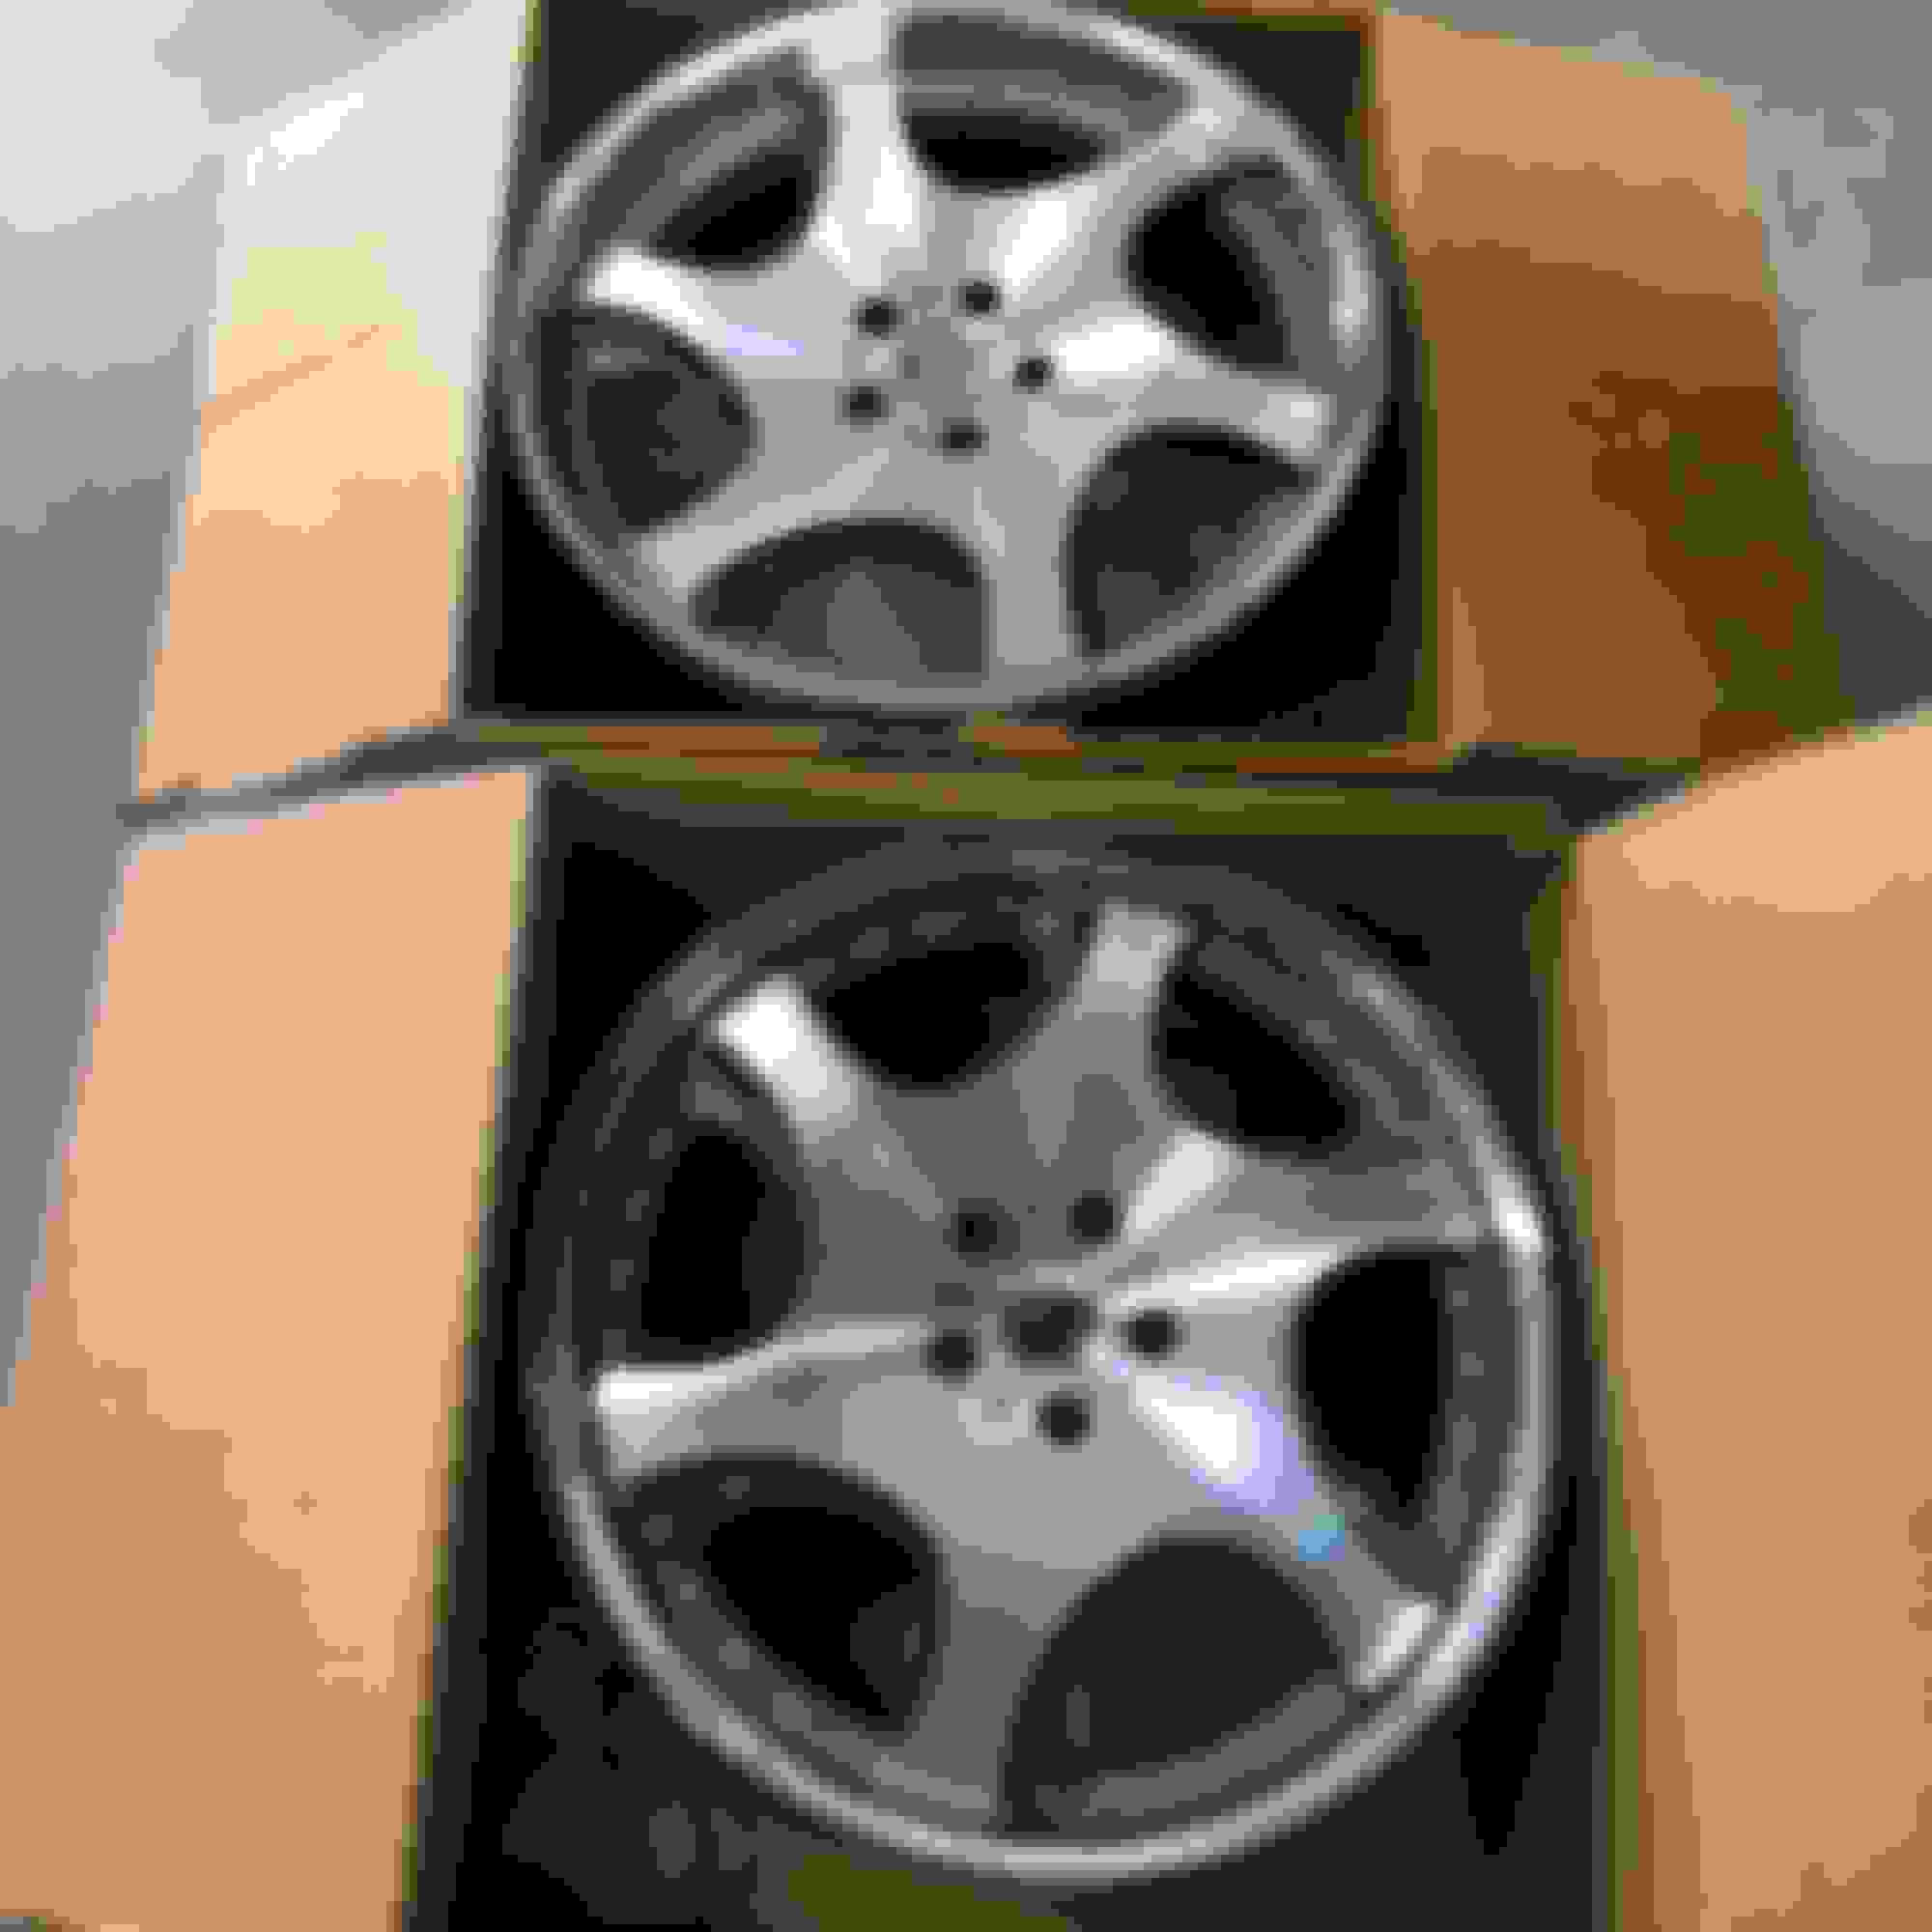
Yes! one of the wheels ive wanted for some time now. the gf picked it out of the bunch. shes more excited about them now that shes seen them close to the car.
Originally Posted by rockstar143
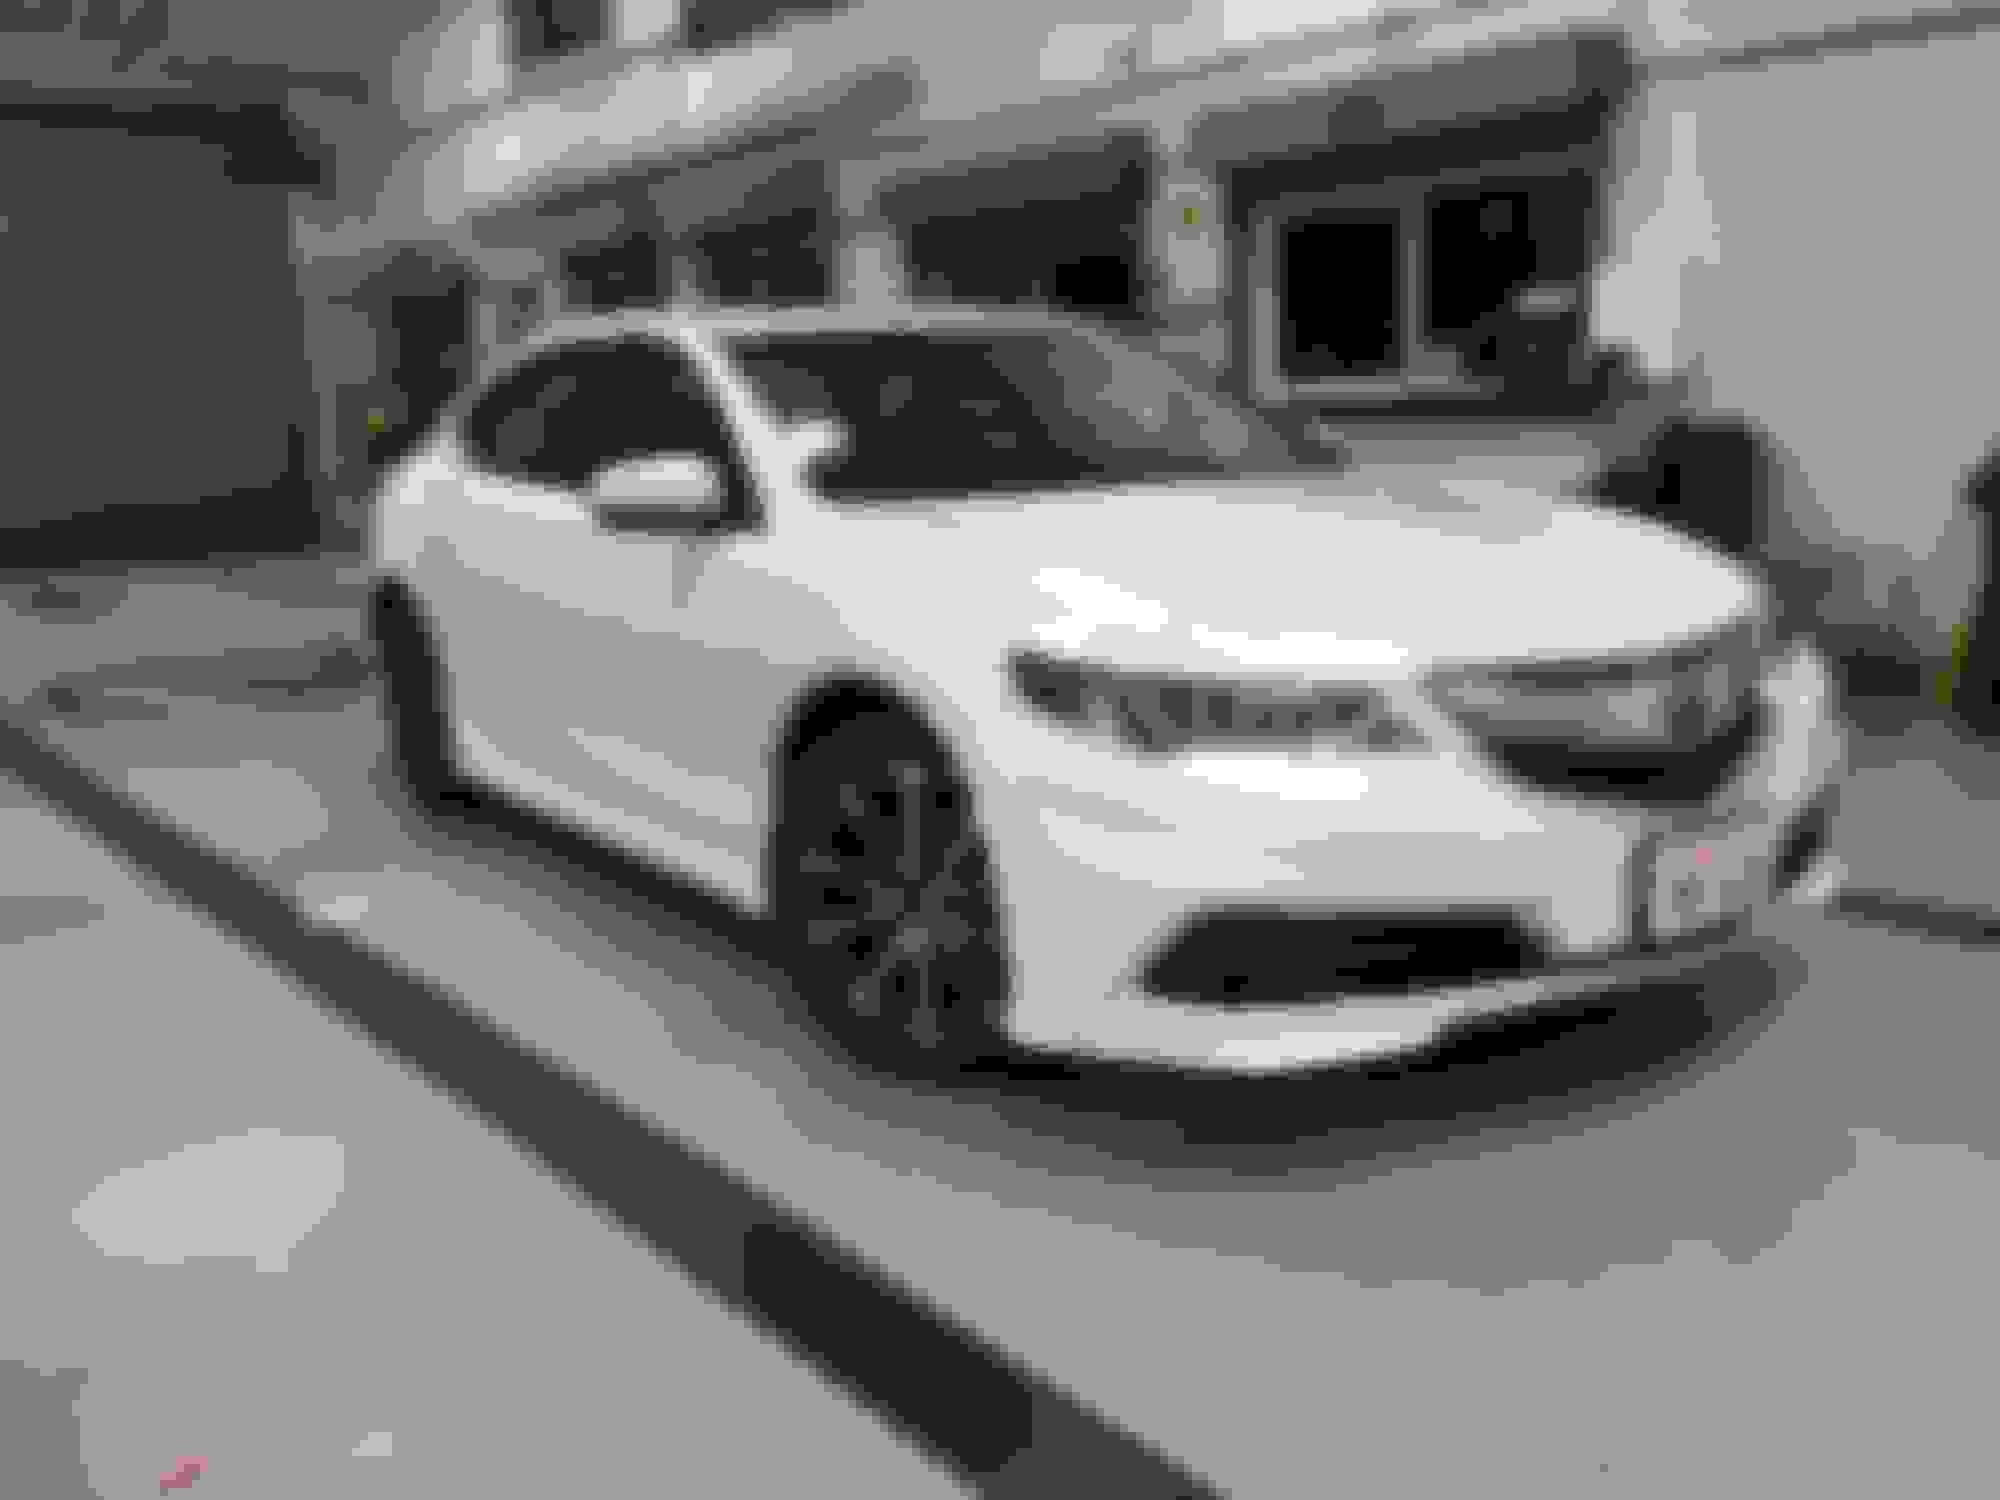
wow...that car is looking great, man...
hey i really appreciate it man. im just hoping everything goes well during the install.
Of course it will, you know what you're doing! Great color, great wheels...aspec finishes it off.
Having seen a ton of these at the local dealership (modified...one on air, my buddy eric)...I can tell you, total transformation. It literally goes from being bland cannot differentiate it sedan for a 50 something...to fuck my dick pimp shit cuh balling ass ninja wtf awesome great looking aggressive ride.
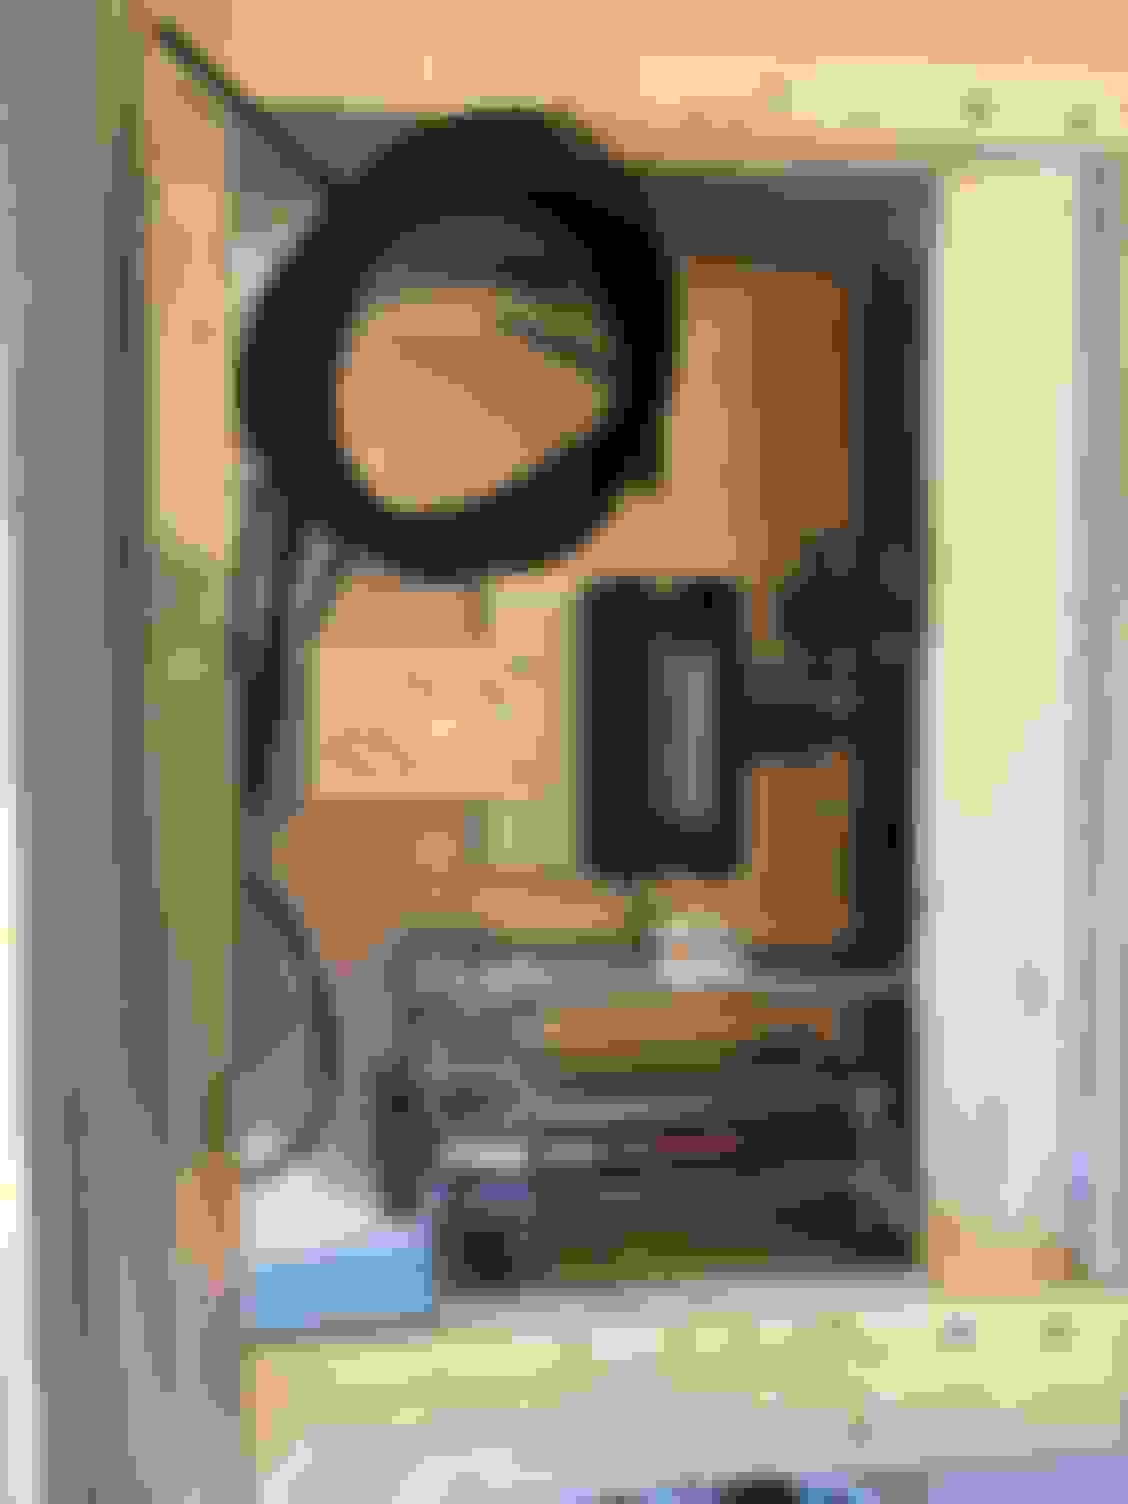
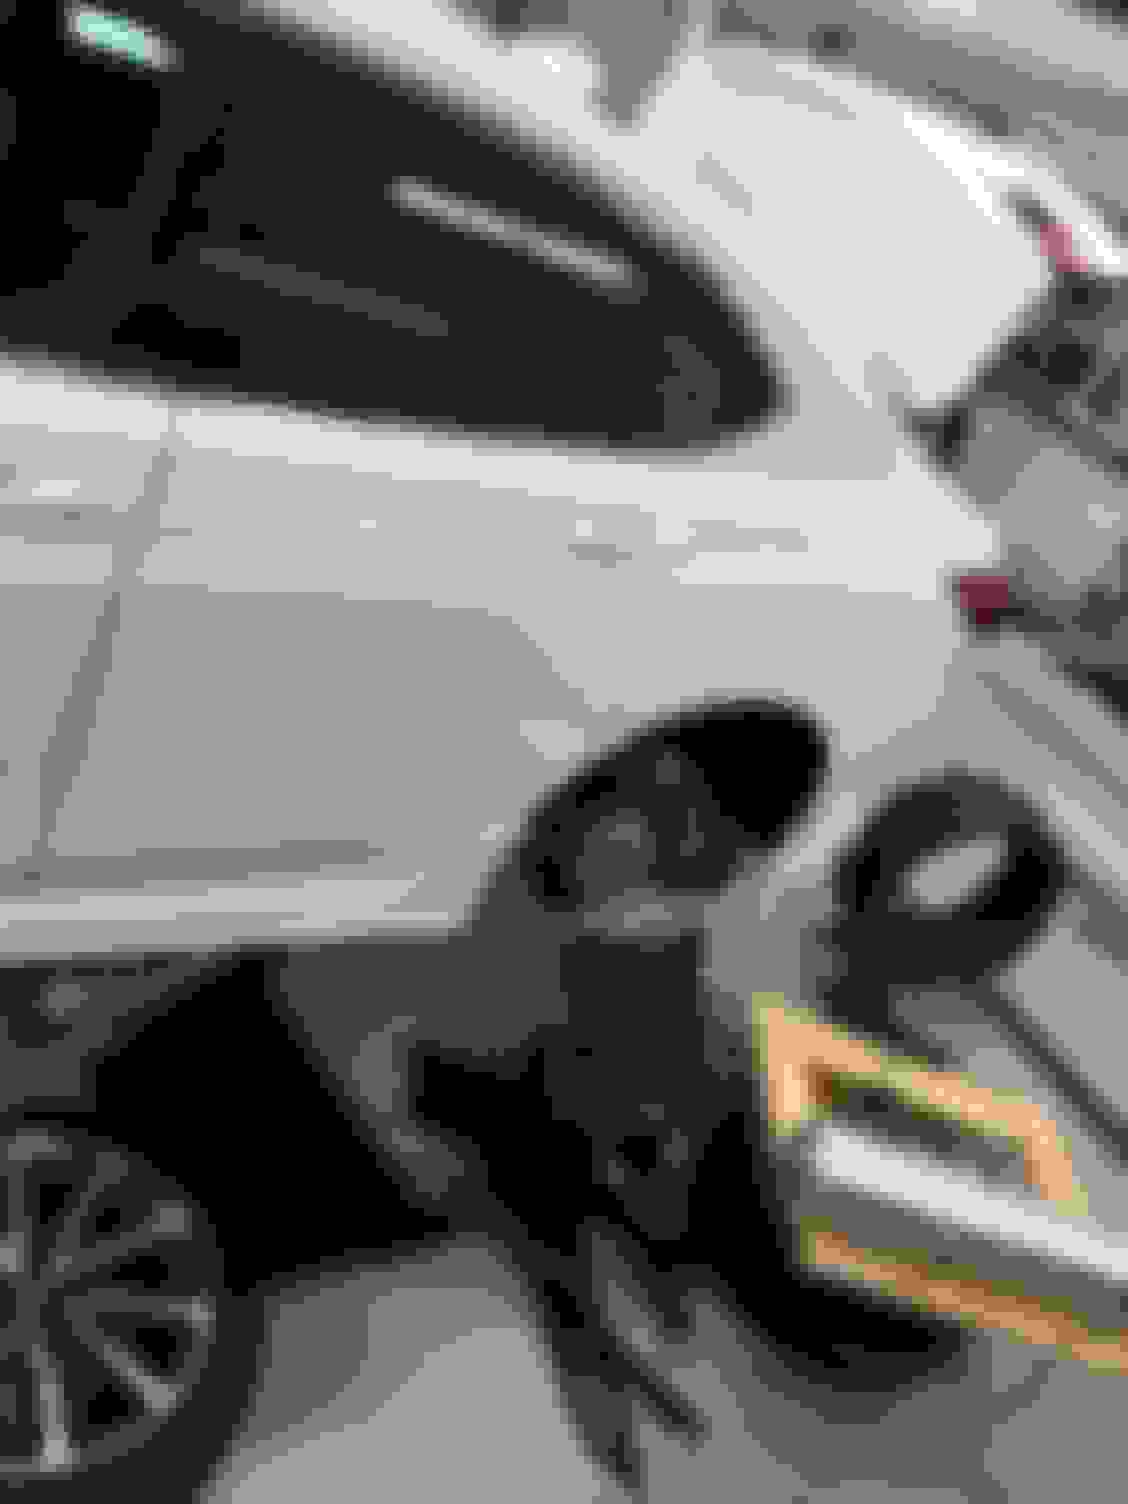
So this was yesterday. I decided to run the lines and the power side of the harness and to start figuring out what to do with the height sensors. Didn't get much done. I overestimated my ocd when it comes to my own projects.
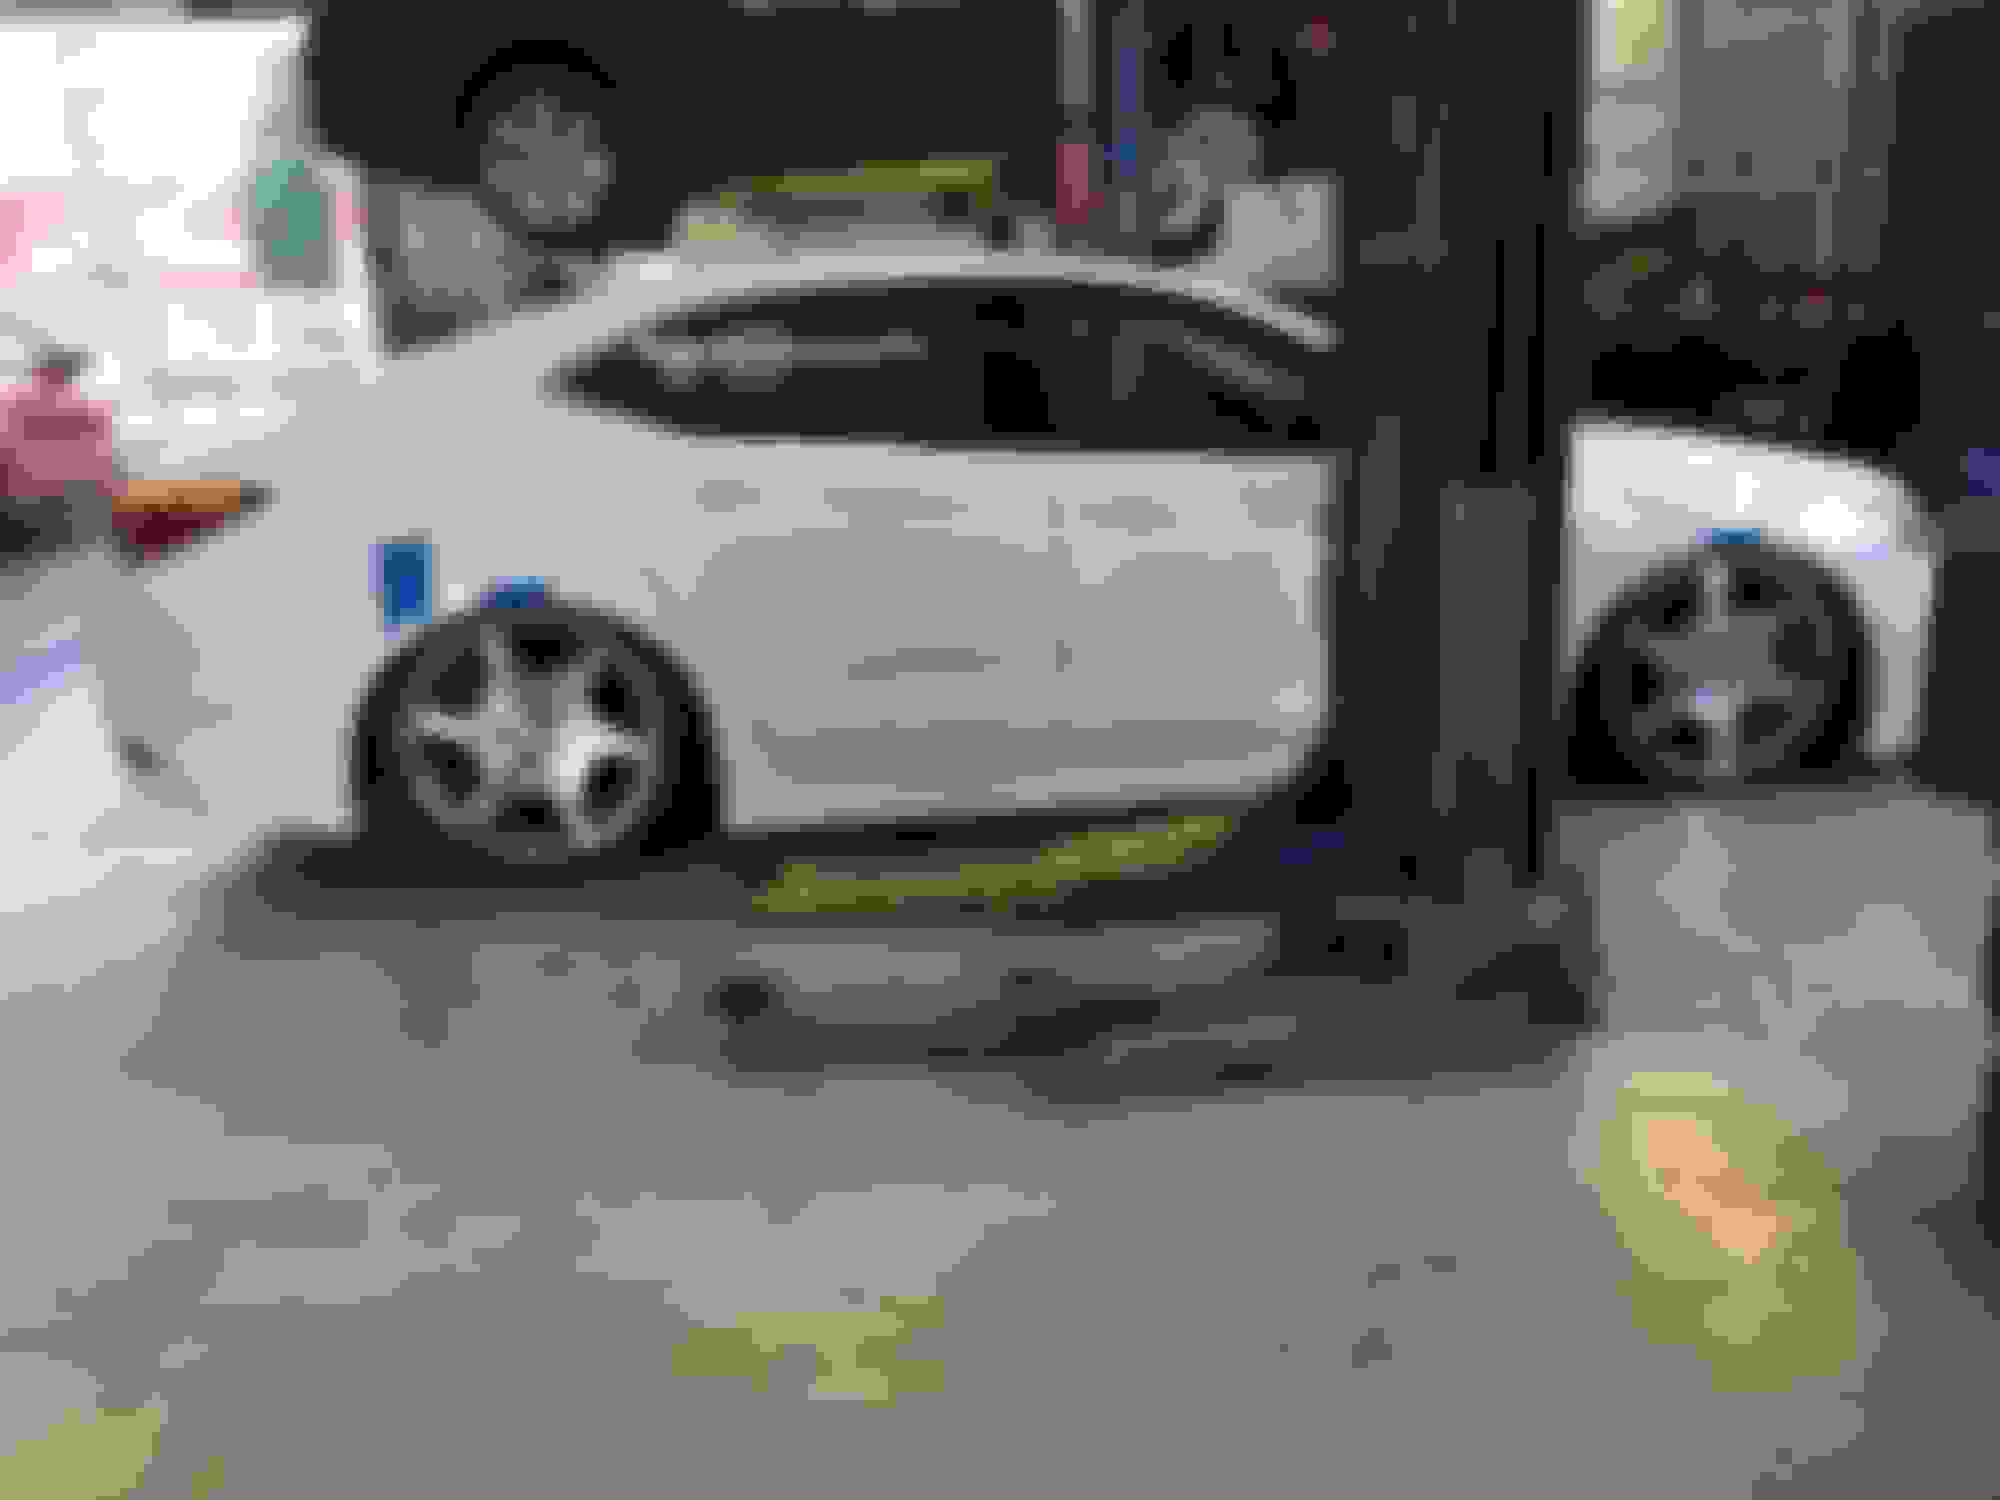
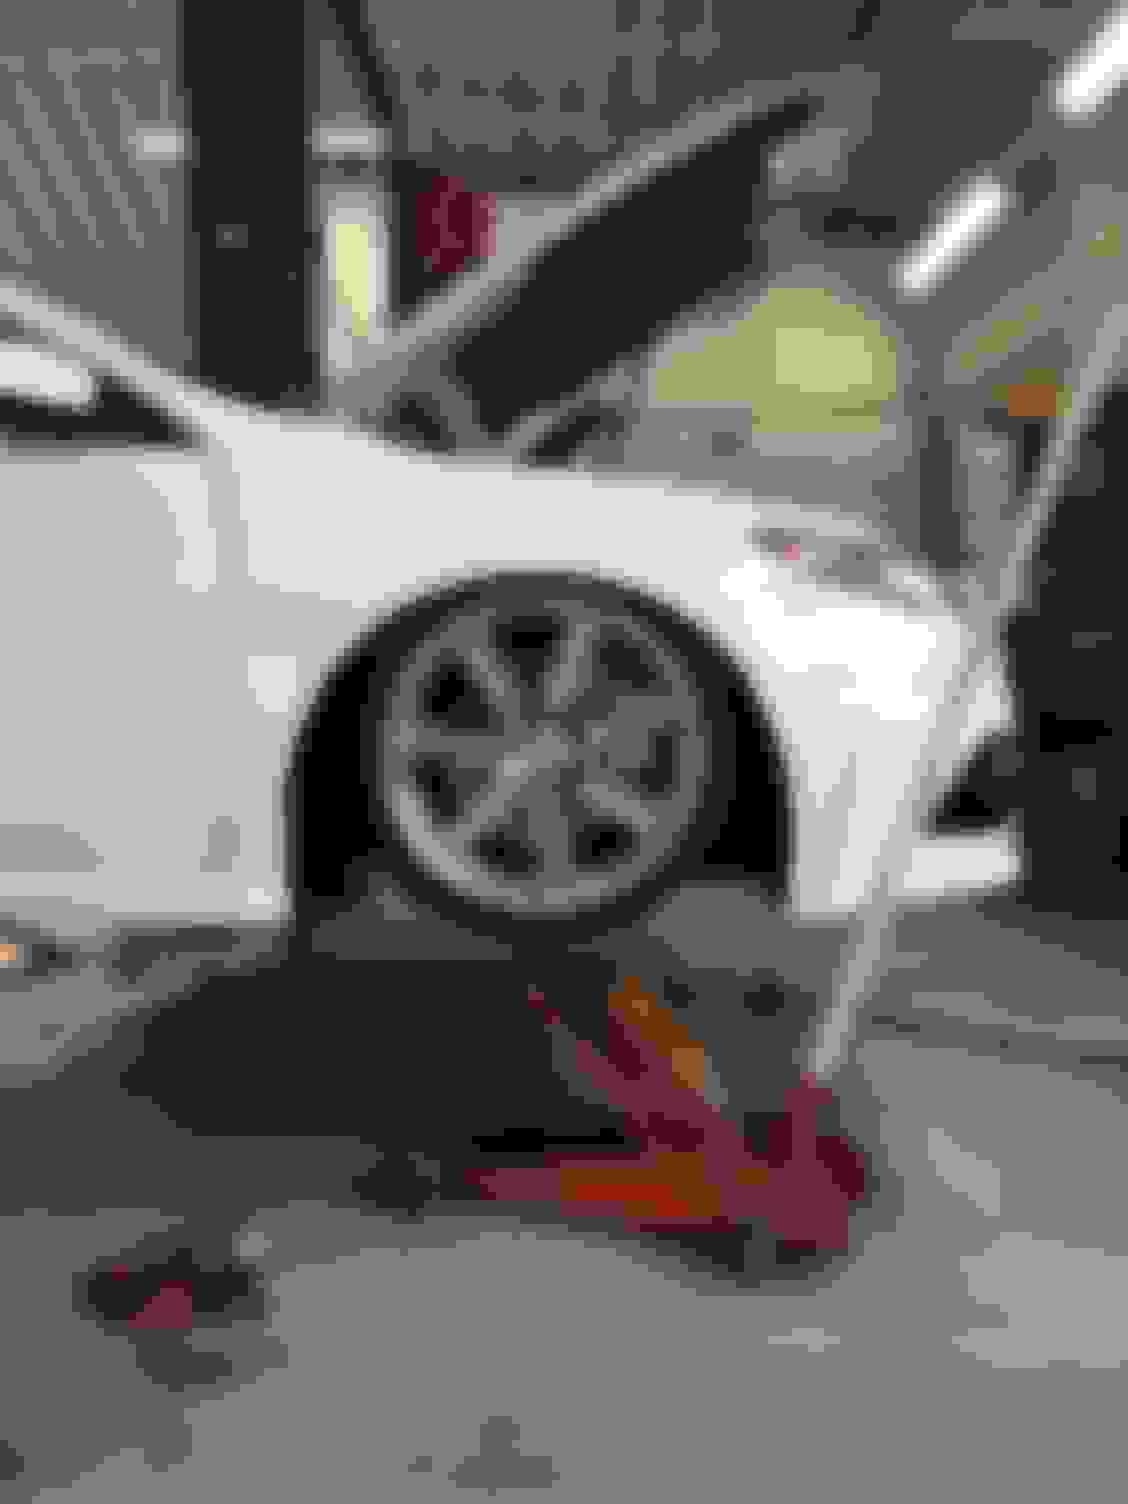
And this is today. I started with the the struts themselves. Had to do a little bit of math early in the morning. Tape was my scratch paper. Next I worked on the height sensors with the bags in place. Where I mounted the sensor brackets wasn't cooperating. And when it was the brackets I made wasn't. That took the majority of my day. Finally after lunch I decided I'm not going to be able to install the sensors and finish the car. Since I took the stock struts already, it was imperative that I get the car rolling. Got it enough to get the car home.
I didn't get to install sensors, reset suspension, align the car, mount tires, mount wheels. Have to go back and recheck lines and harness for rubbing. Didn't get to route the controller wire properly. The interior is just thrown together just to get my shit home. In all I'm happy the car looks great and it's bagged but I'm disappointed at myself for overestimating the job.
On a side note. I didn't know the fronts have a little camber adjustment. Good to know.
So I had a bit of time today. Couldn't find the leak just yet. I'll try again the next time around. I did have time to mount the tires though. I was going to use the tpms from the stock wheels but I didn't know if the weds were setup to use toms sensors and if they were the 90 degree bend wasn't going to work airing up the tires. I went the got a price quote from work on how much a new set would cost me. $130 that I wasn't ready to spend. I did have 4 new sensors that had a different part number on them. I didn't know if they would work so I read the frequency they ran and the frequency the stock one ran and they matched at 315mhz. I took the chance and used them. I didn't know how to mount them so I went ahead and gorilla taped then around the wheel hahah. I don't know if this is how it's done. It's crude but it works! And the best part is I didn't have to spend any money and no tpms light on!
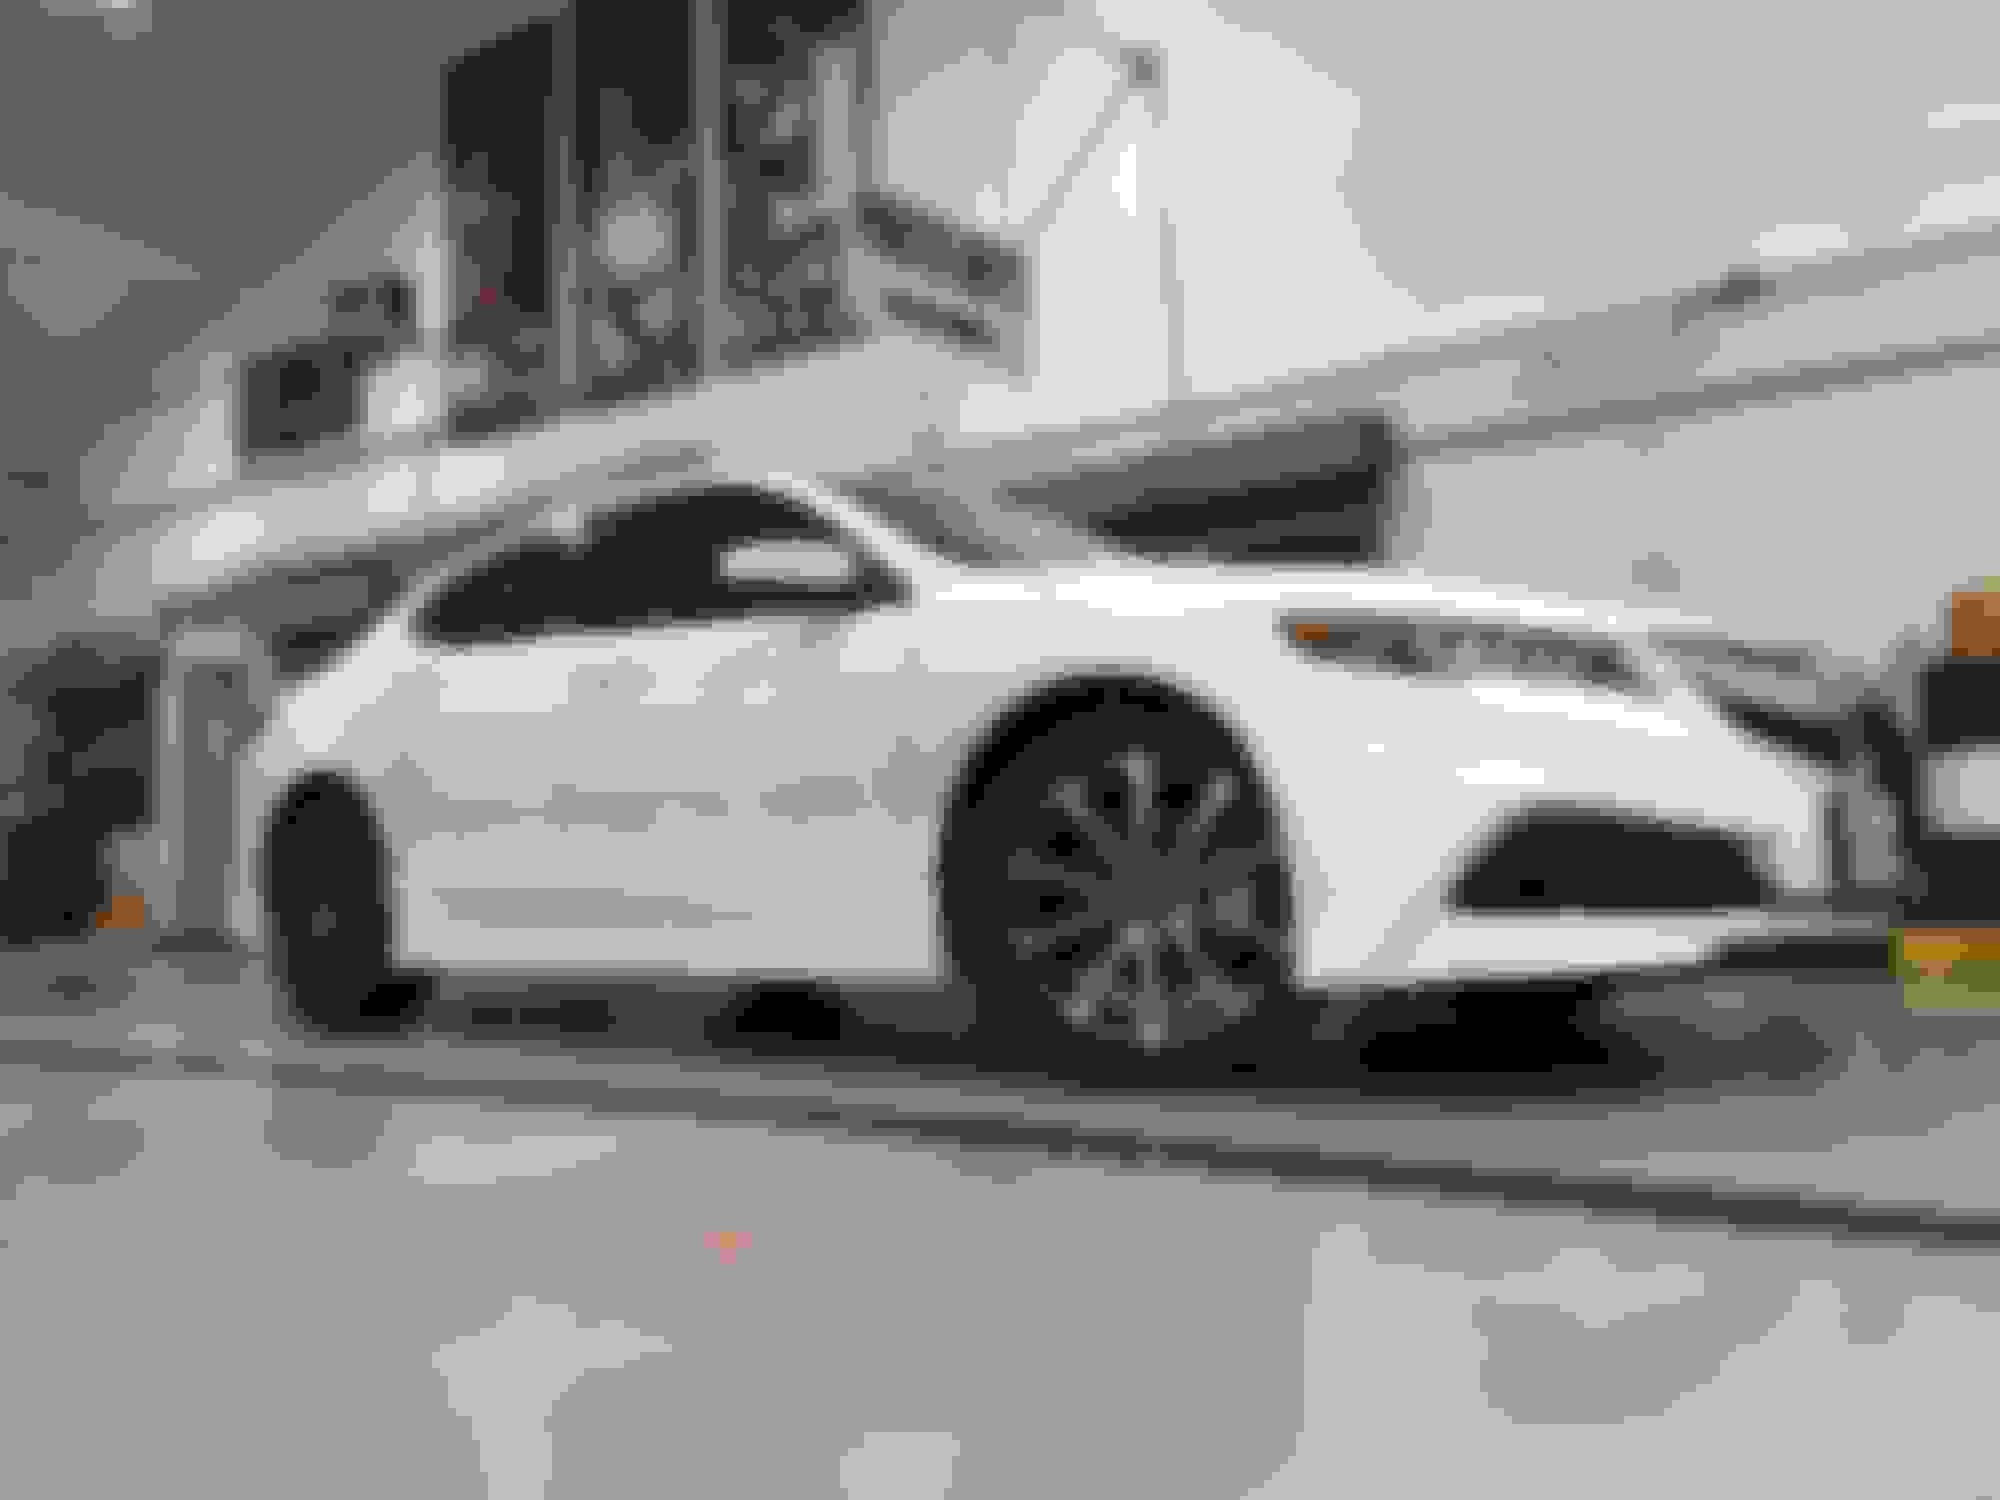
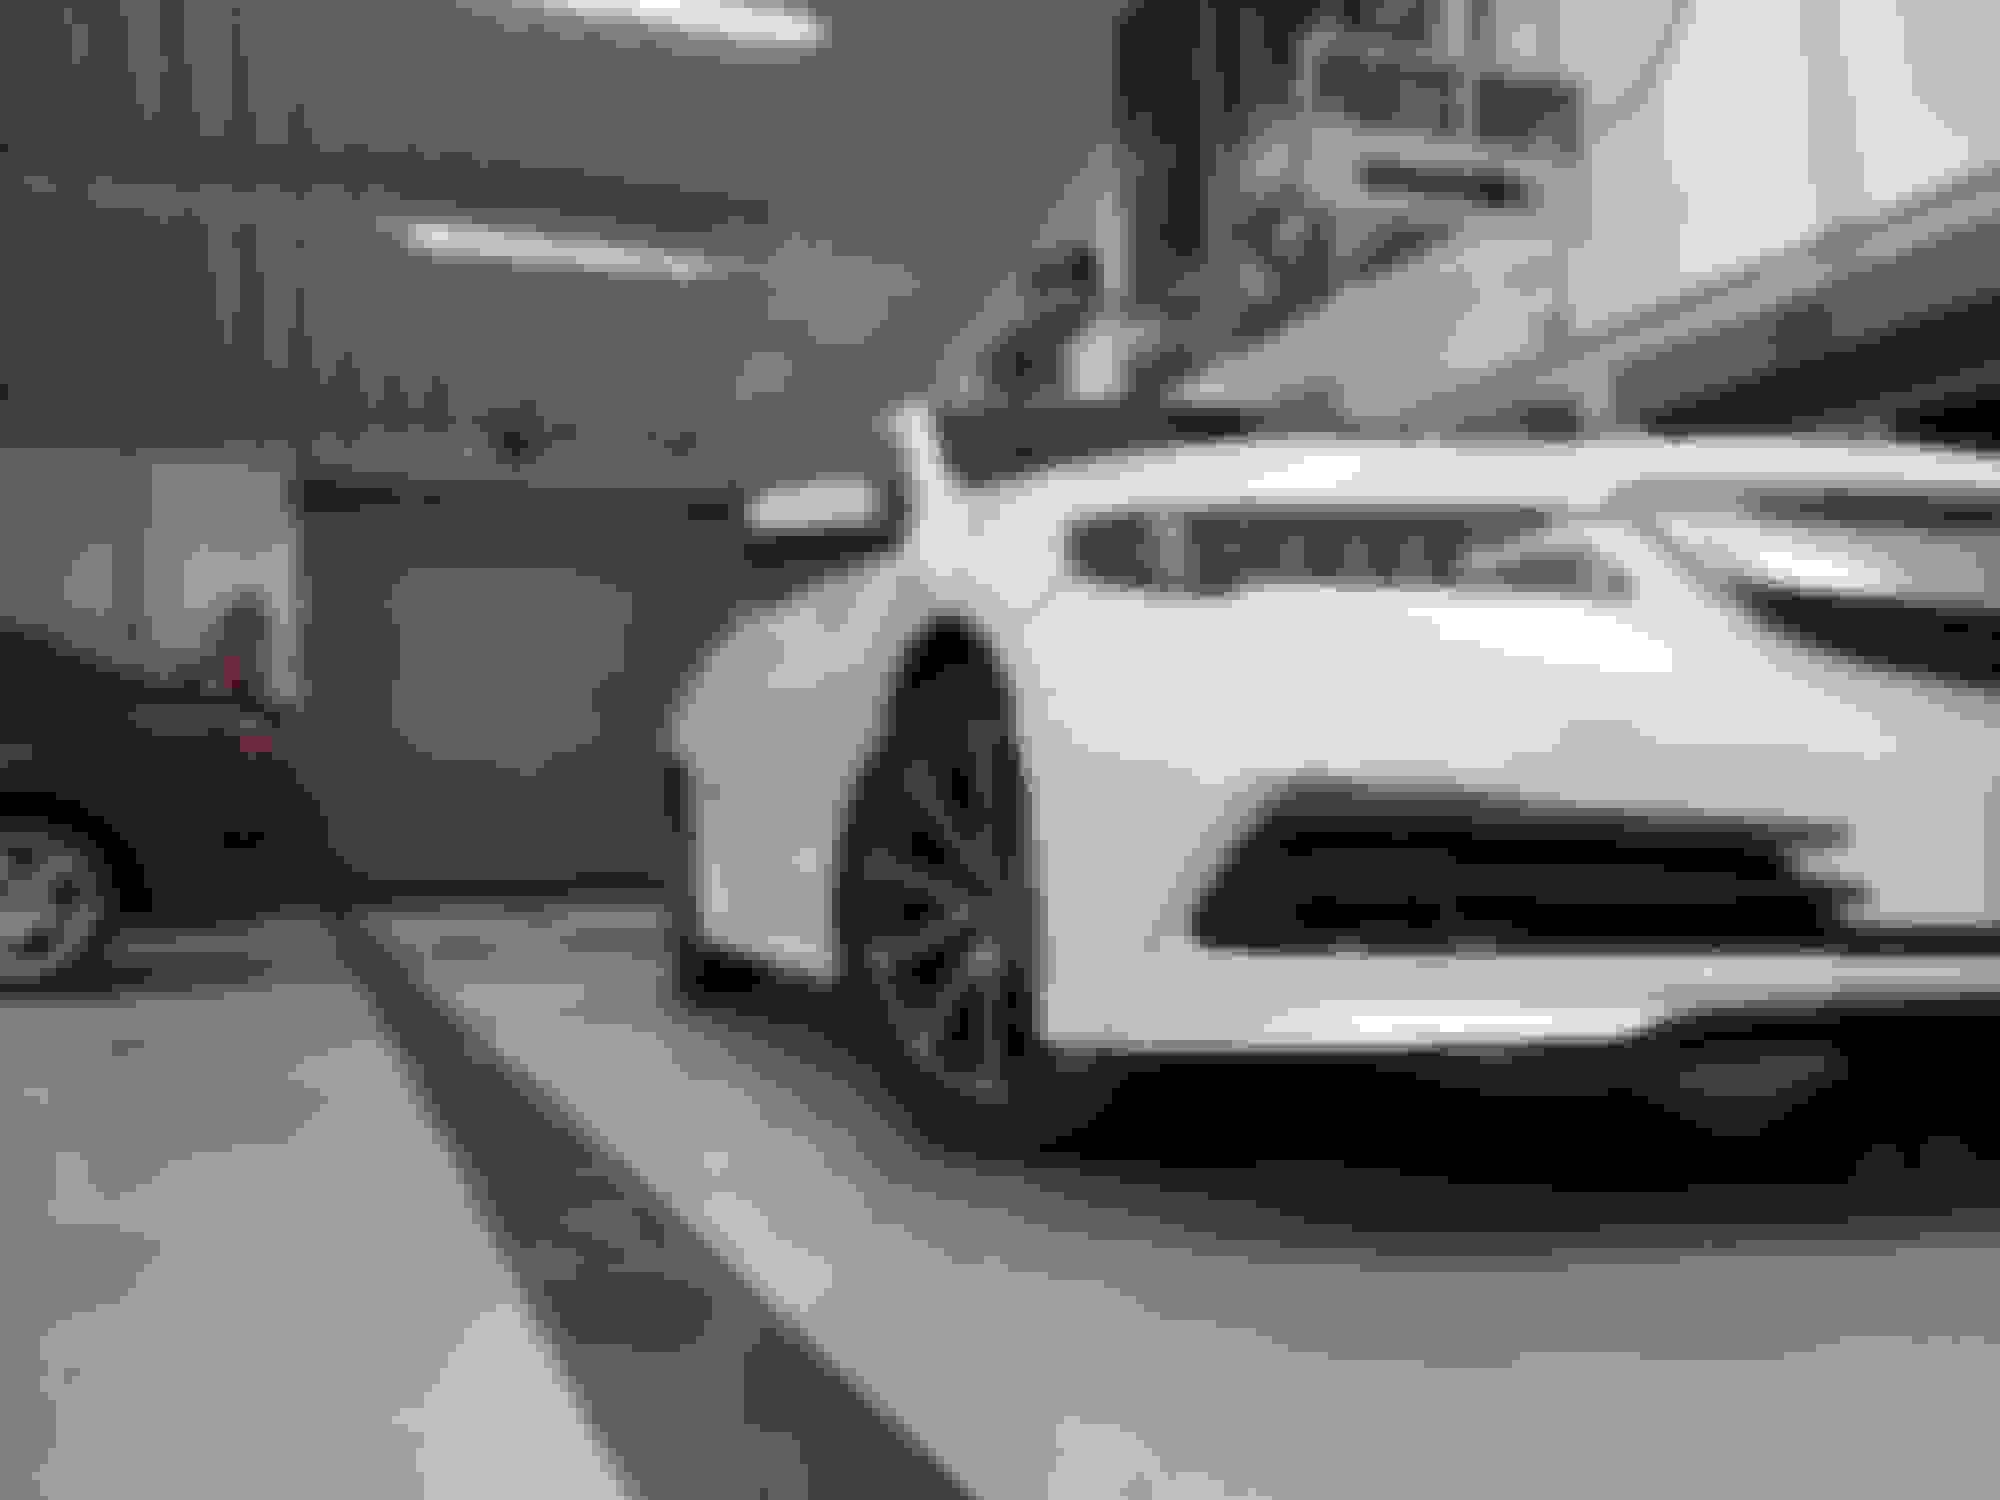
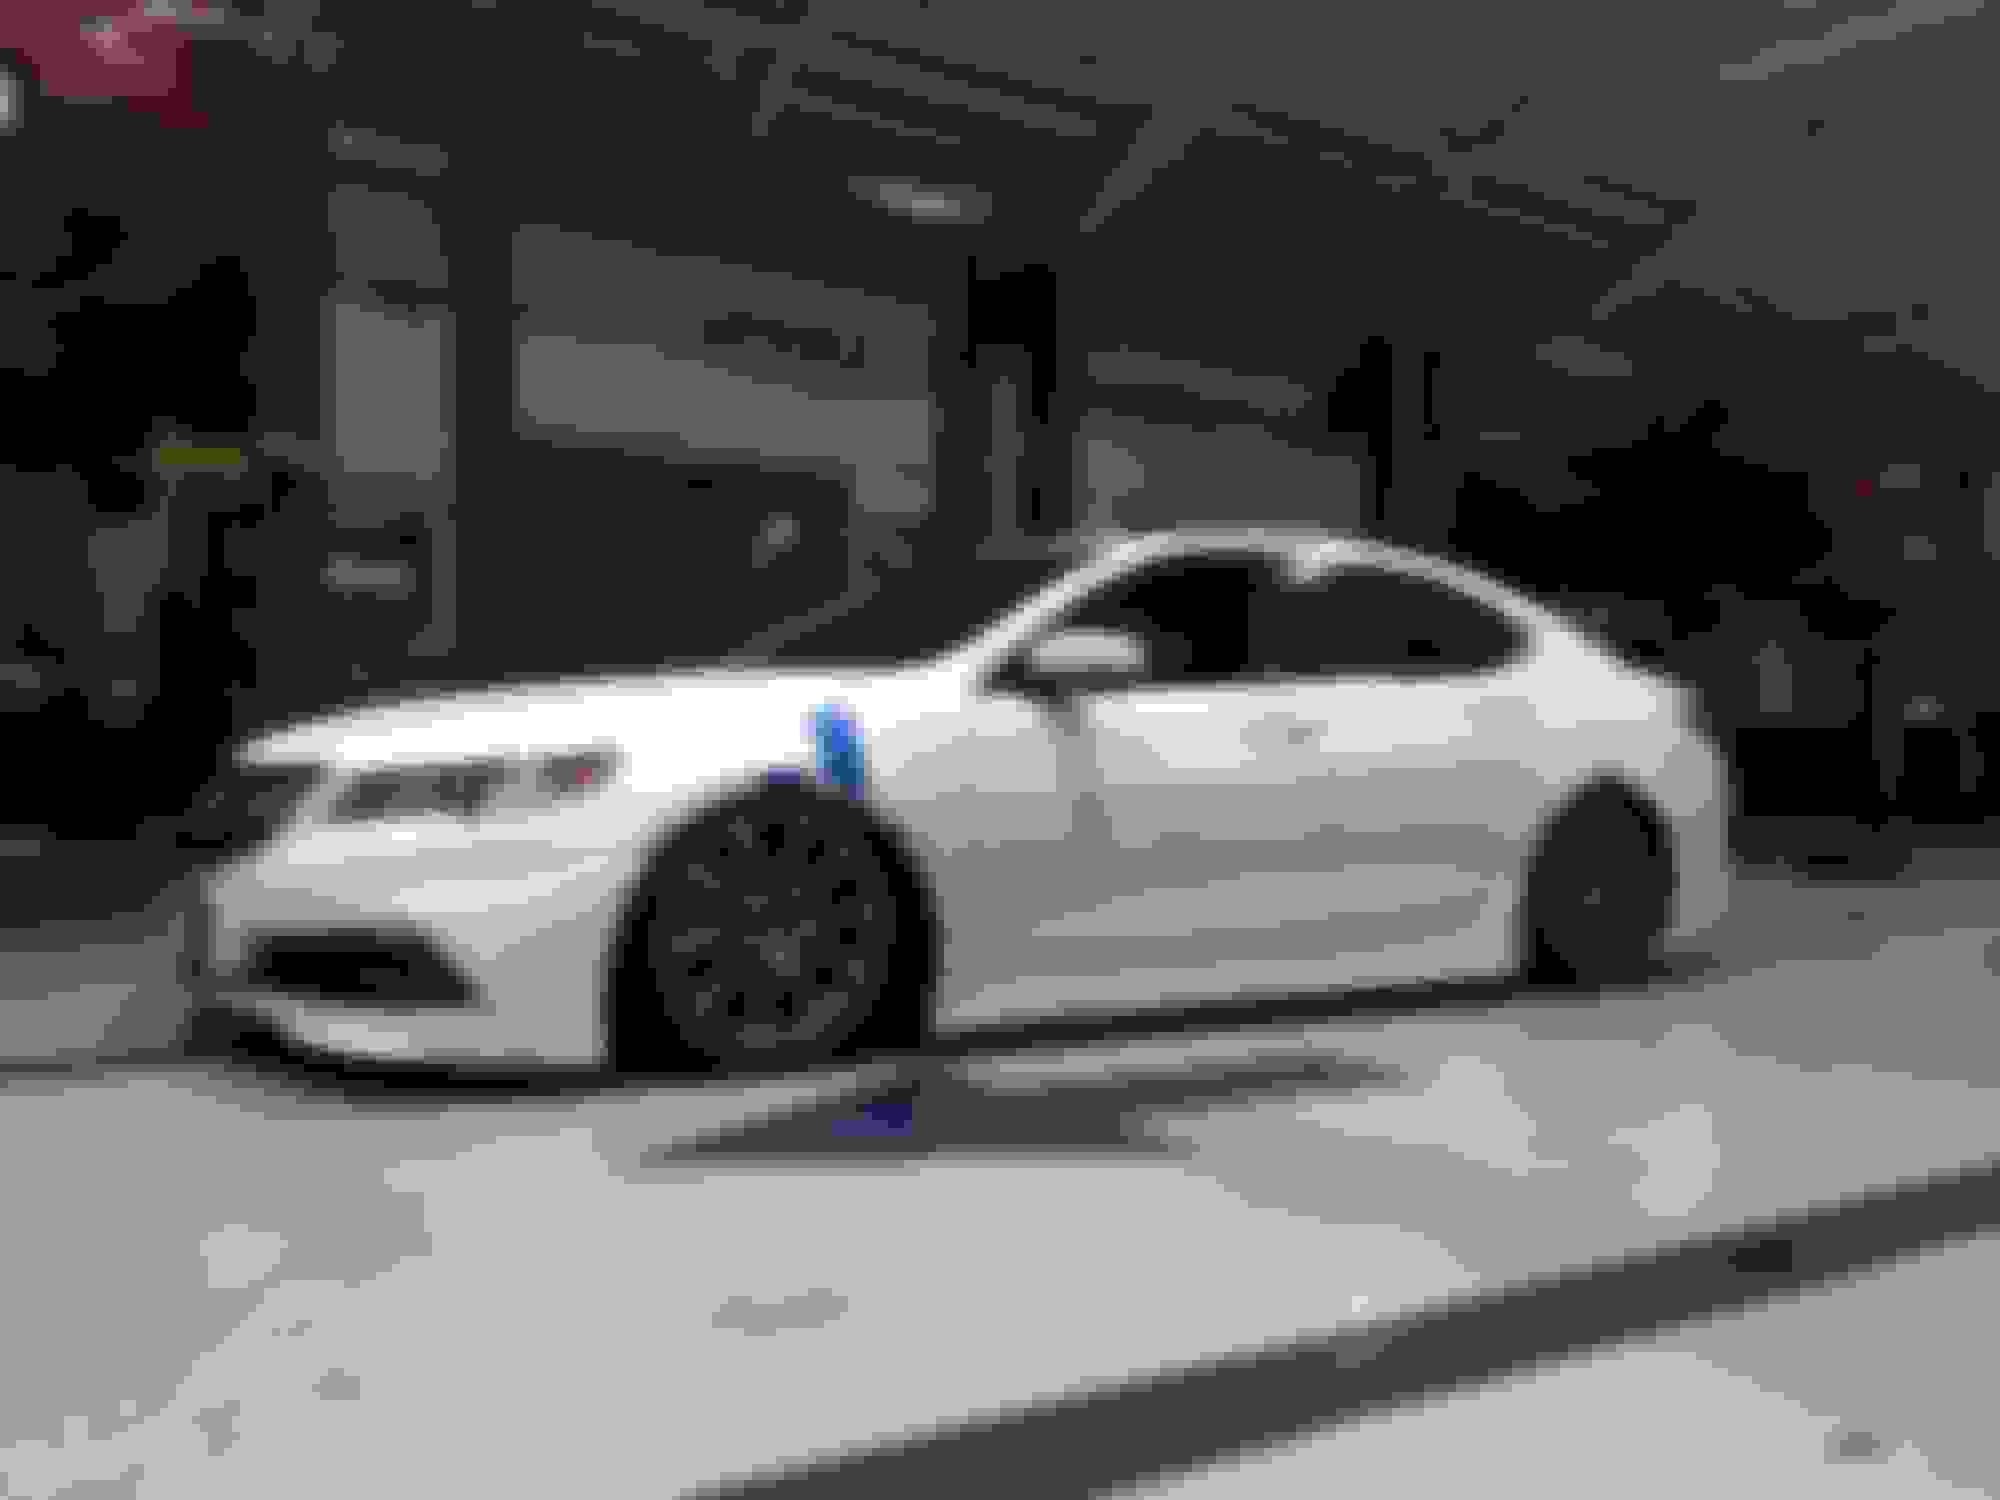
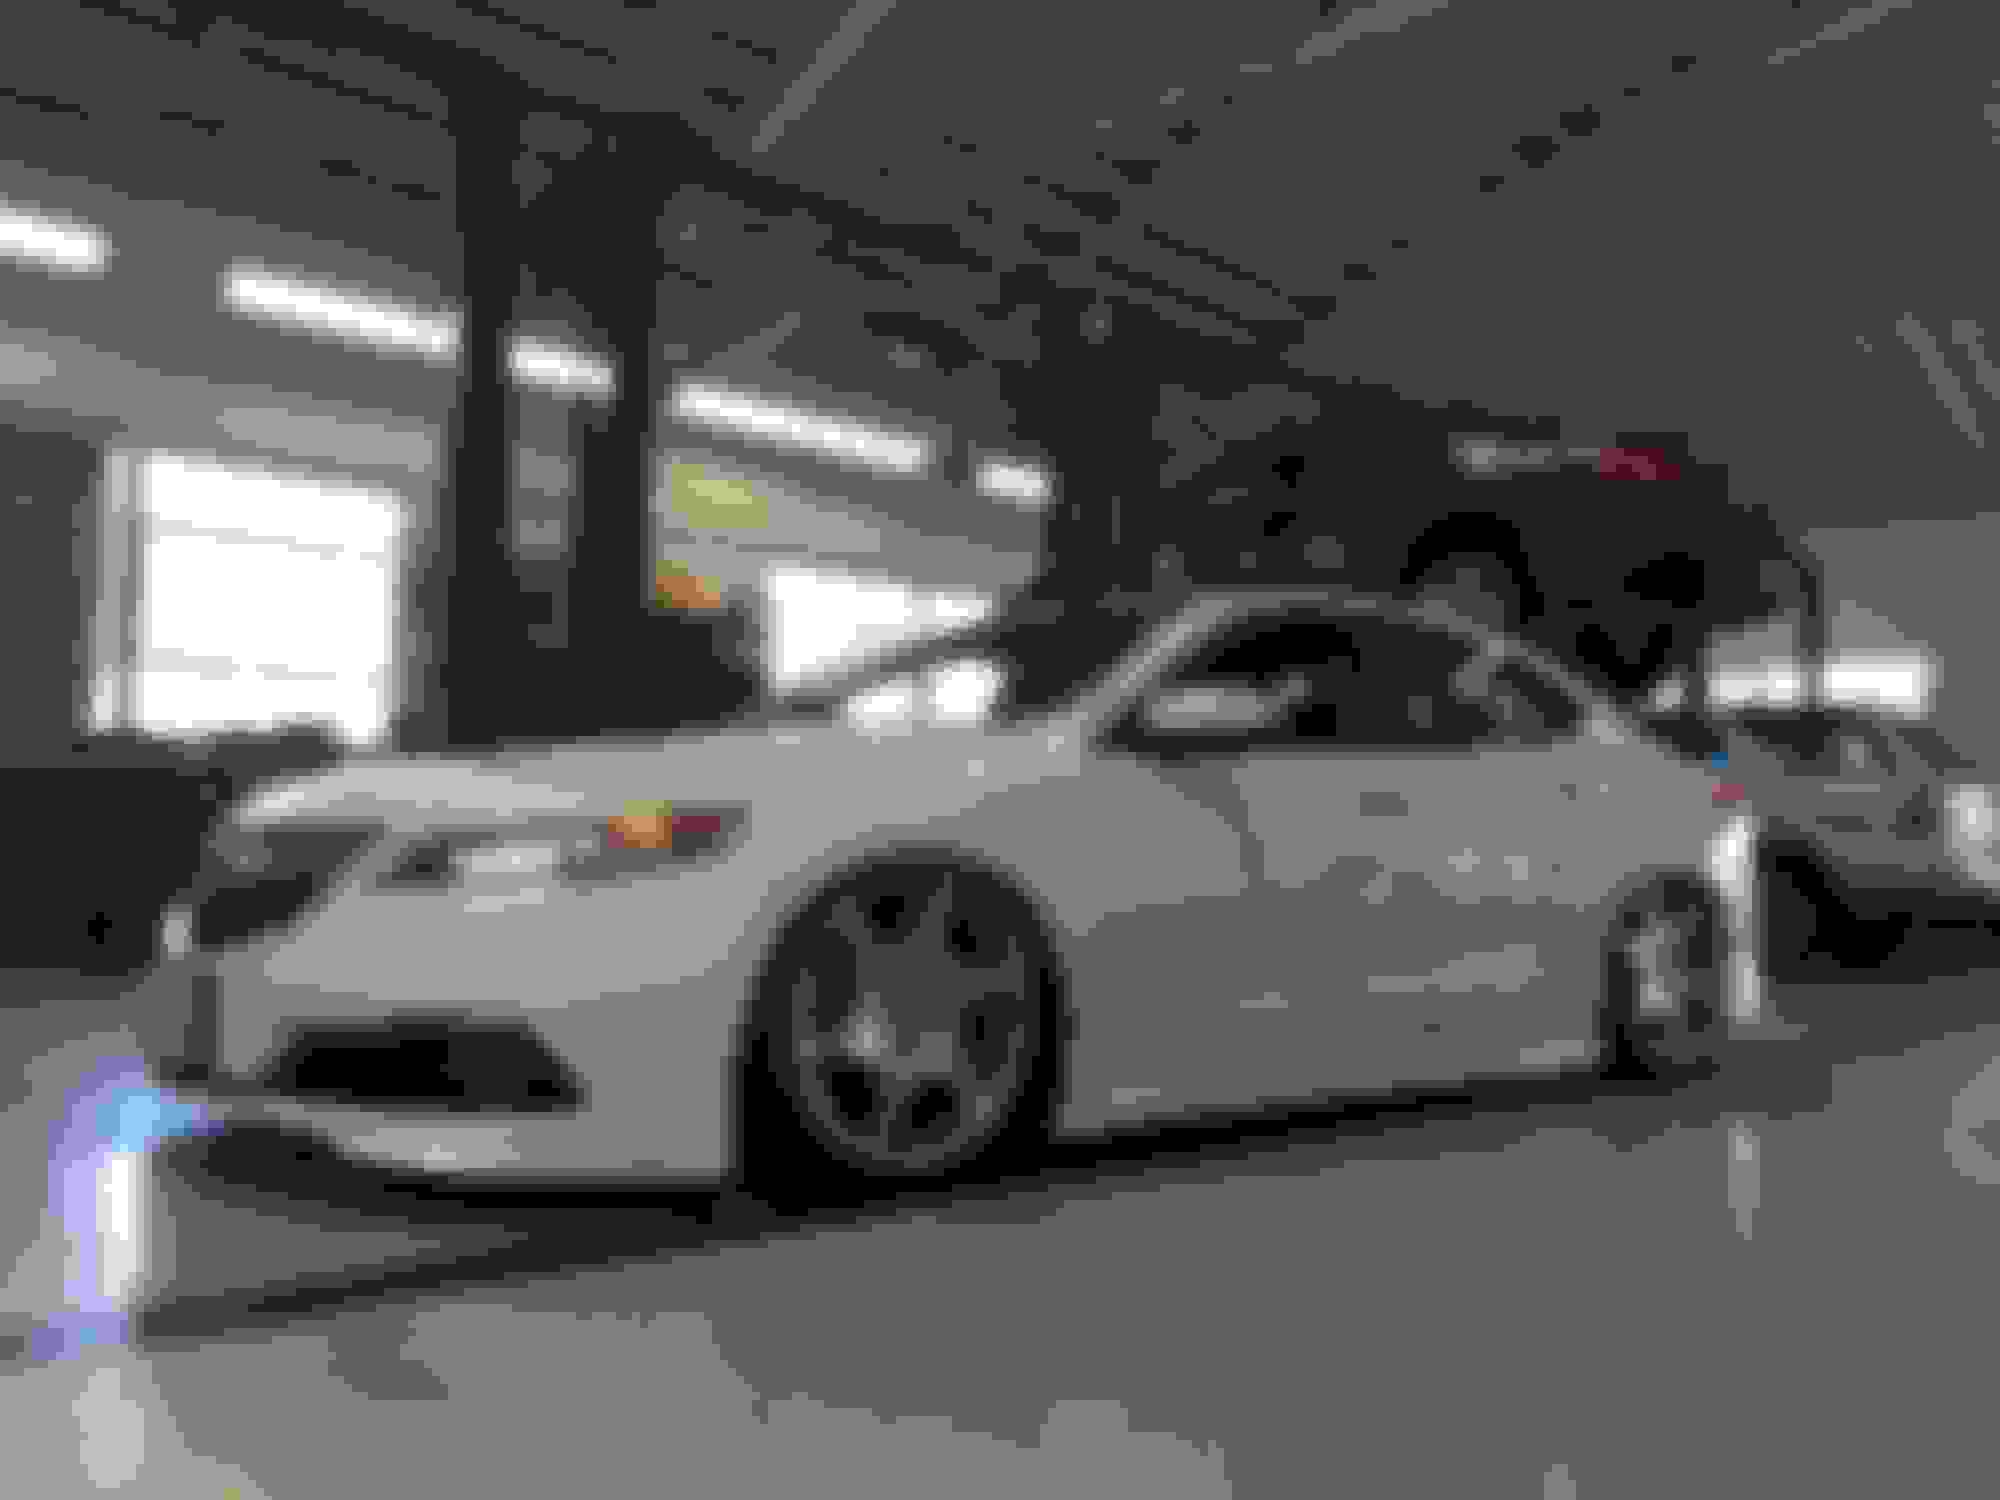
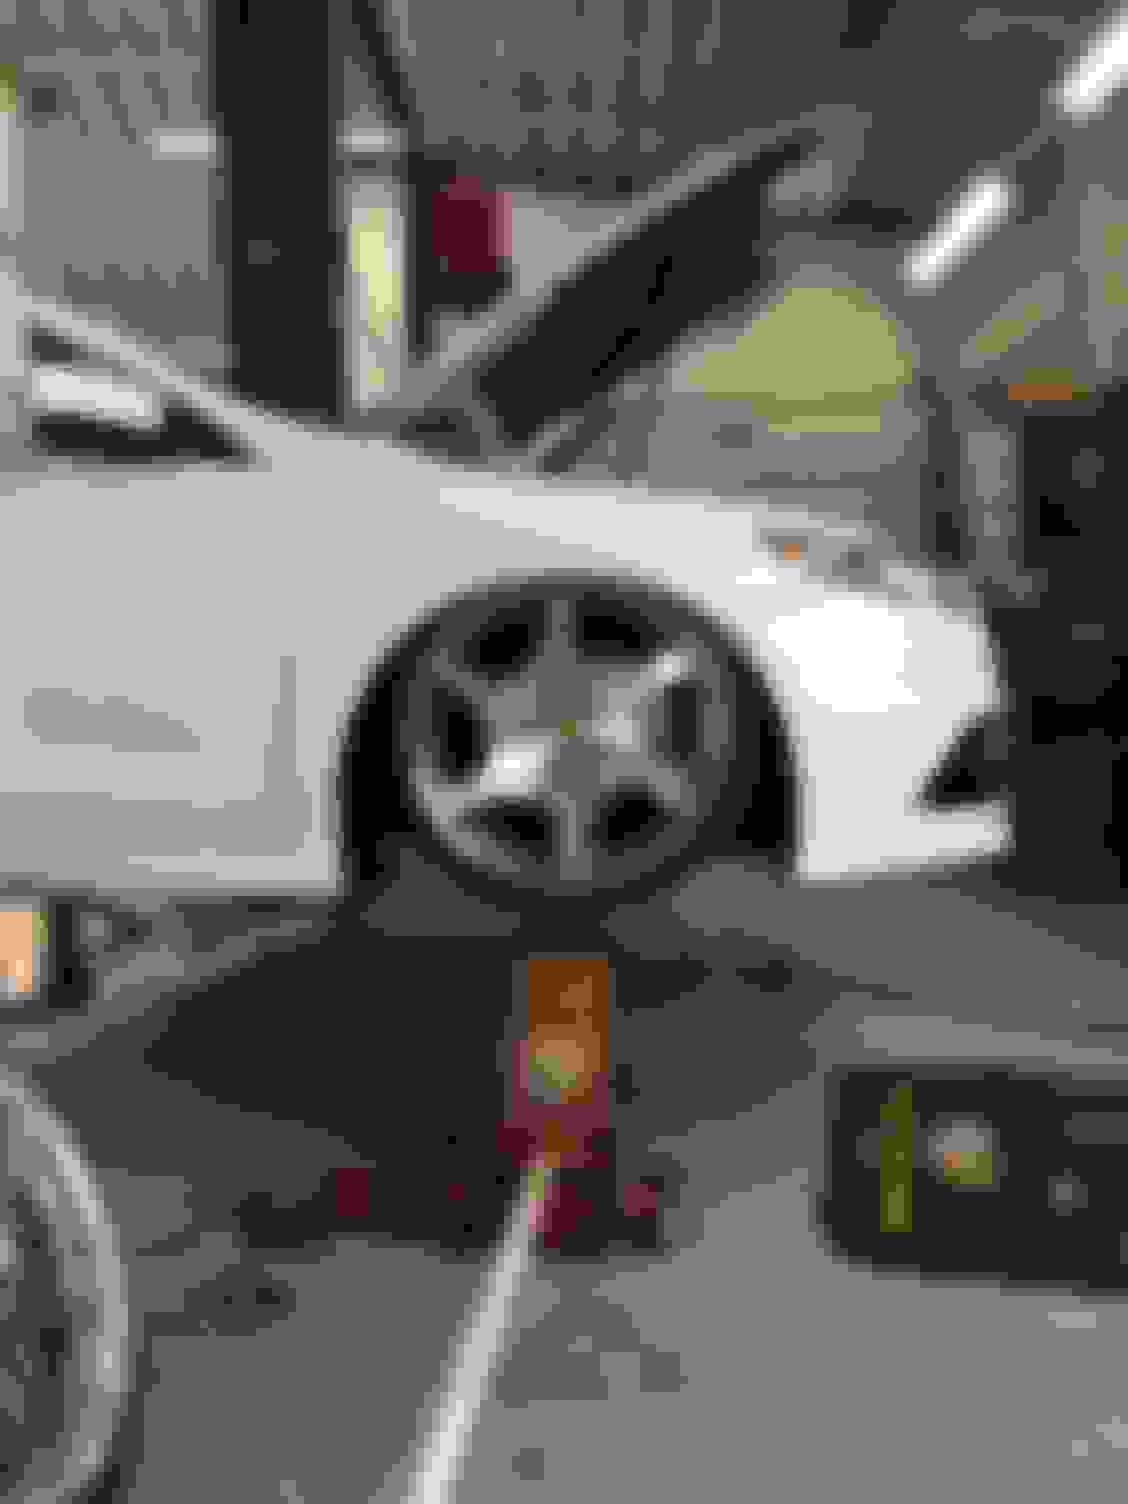
I reset the suspension and aligned the car today also. The car is not at 100% where I want it to be but it looks great.
Wow, car looks great! I wasn't sure how I felt about the wheels before they were mounted on the car, but now that you have them installed, they look great! Good job man, very impressed with the outcome!
So yesterday I found the leaks. Pretty much all 4 braided lines leaked. Next time I'll install them on the struts before I install the struts. There wasn't enough space to get a wrench back there to fully tighten it. Had to get creative but I got it done.
Dude, nicely done! I love where you're at.
Yeah, I doubt it's meant to drop 10psi overnight, maybe some of the fittings at the tank need a little teflon tape?
Oh no no the bags themselves weren't leaking. It was the lines coming off the bags. I think I finally got them to stop leaking. Couldn't see any more bubbles and it held pressure the entire way home.
went to check line and harness placement yesterday and realigned the car. found out the airlift app doesnt like having the bluetooth used by the car while connected. i had to trun off music streaming to be able to keep connected and synced with the module.
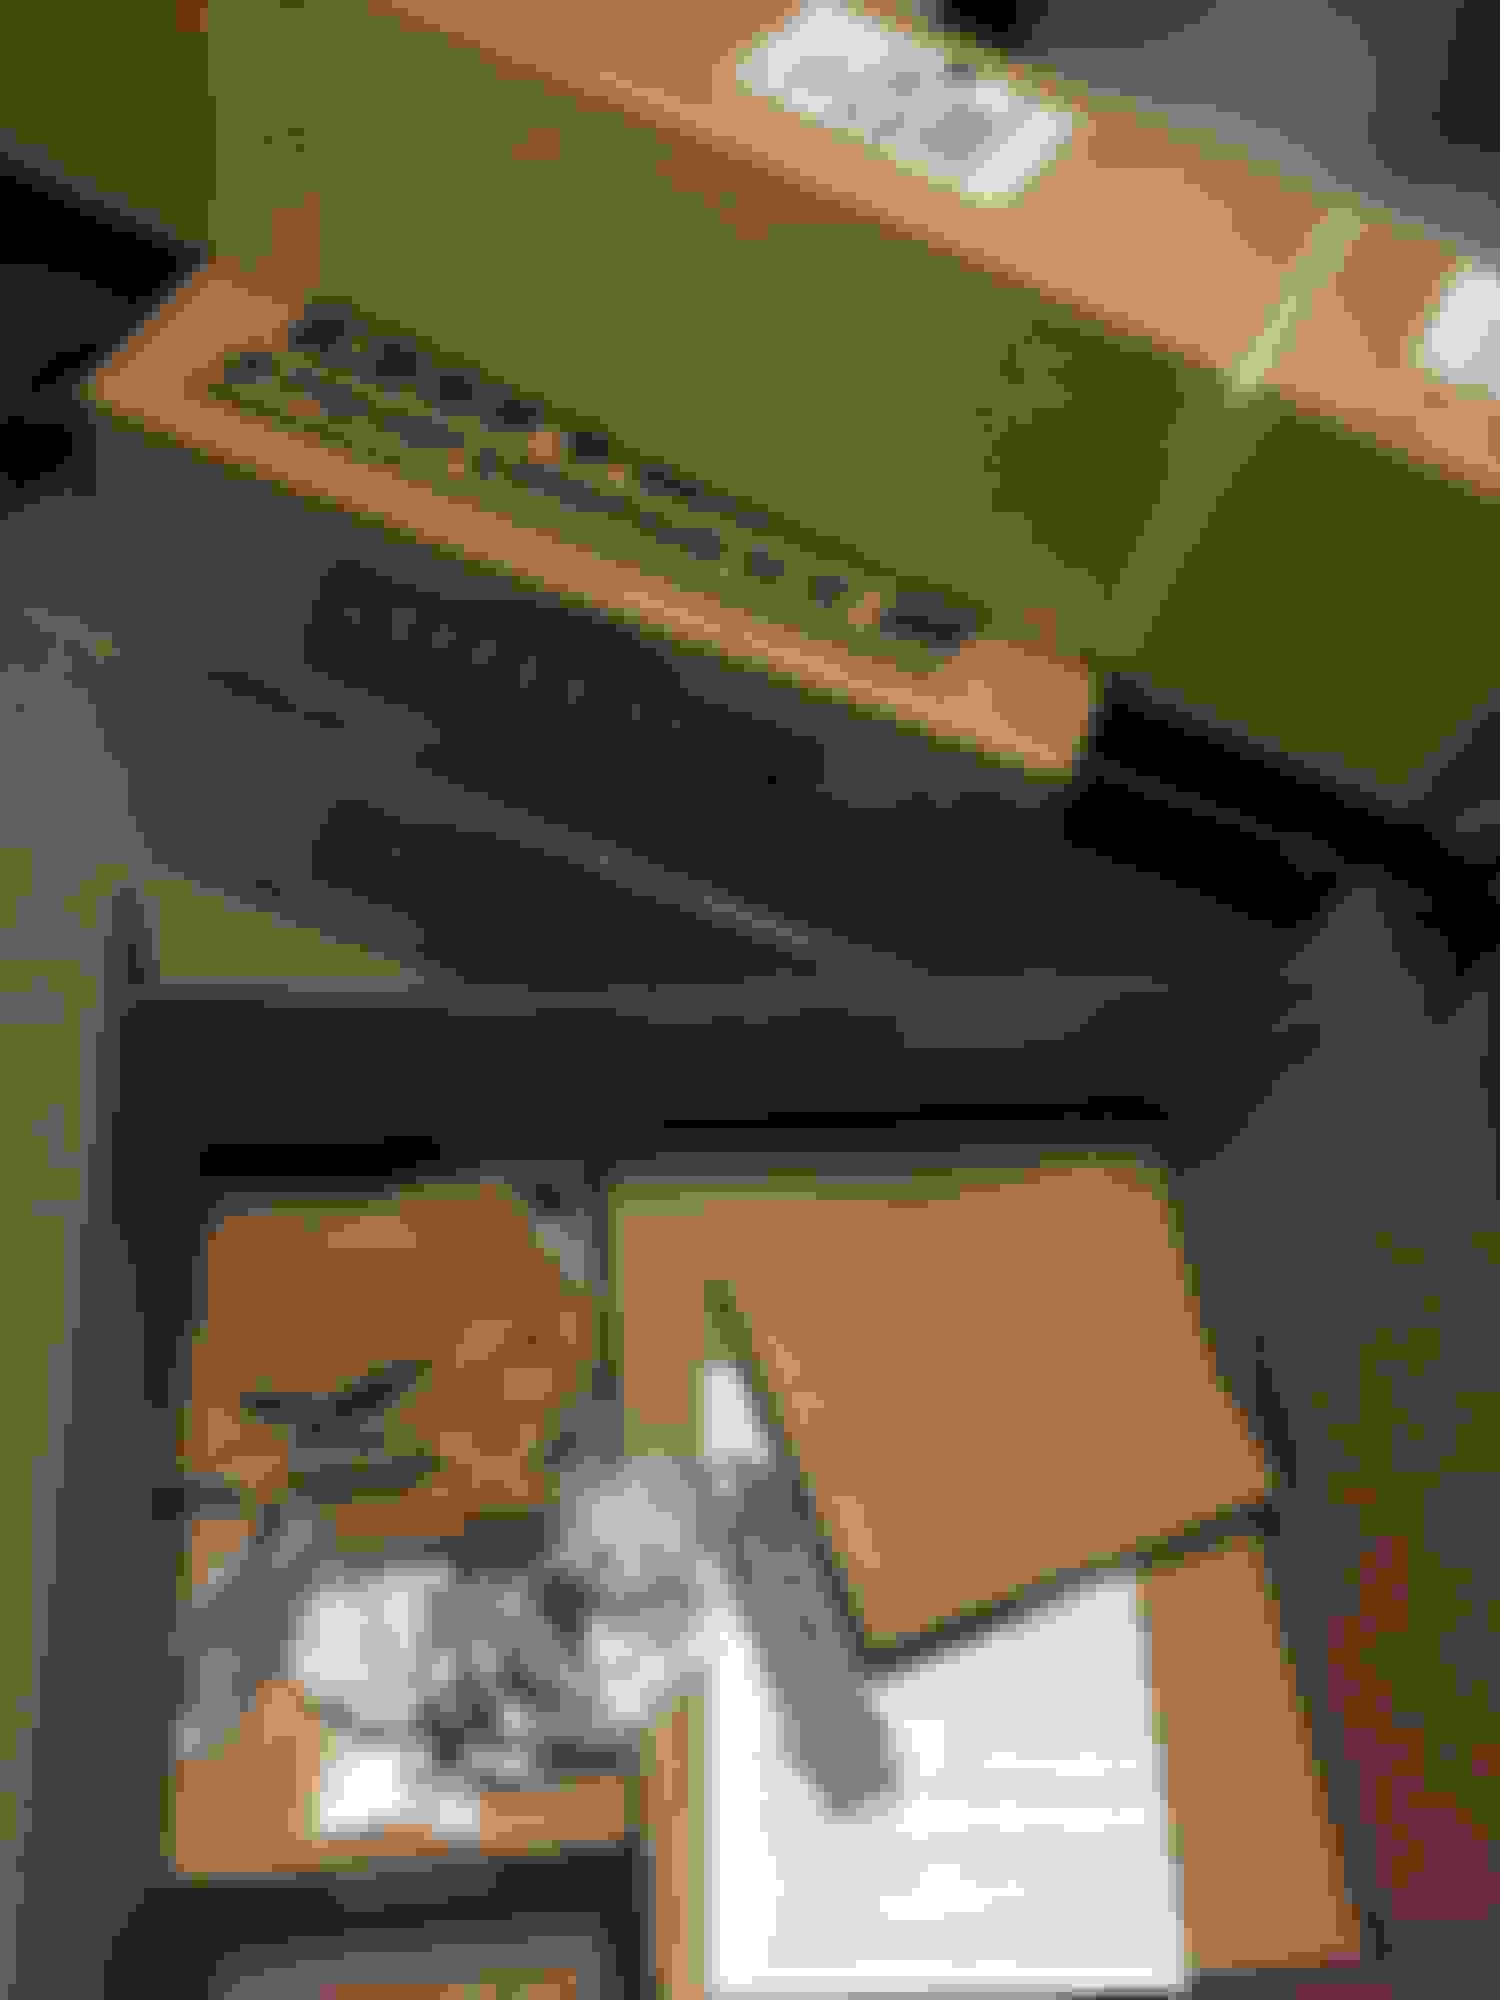
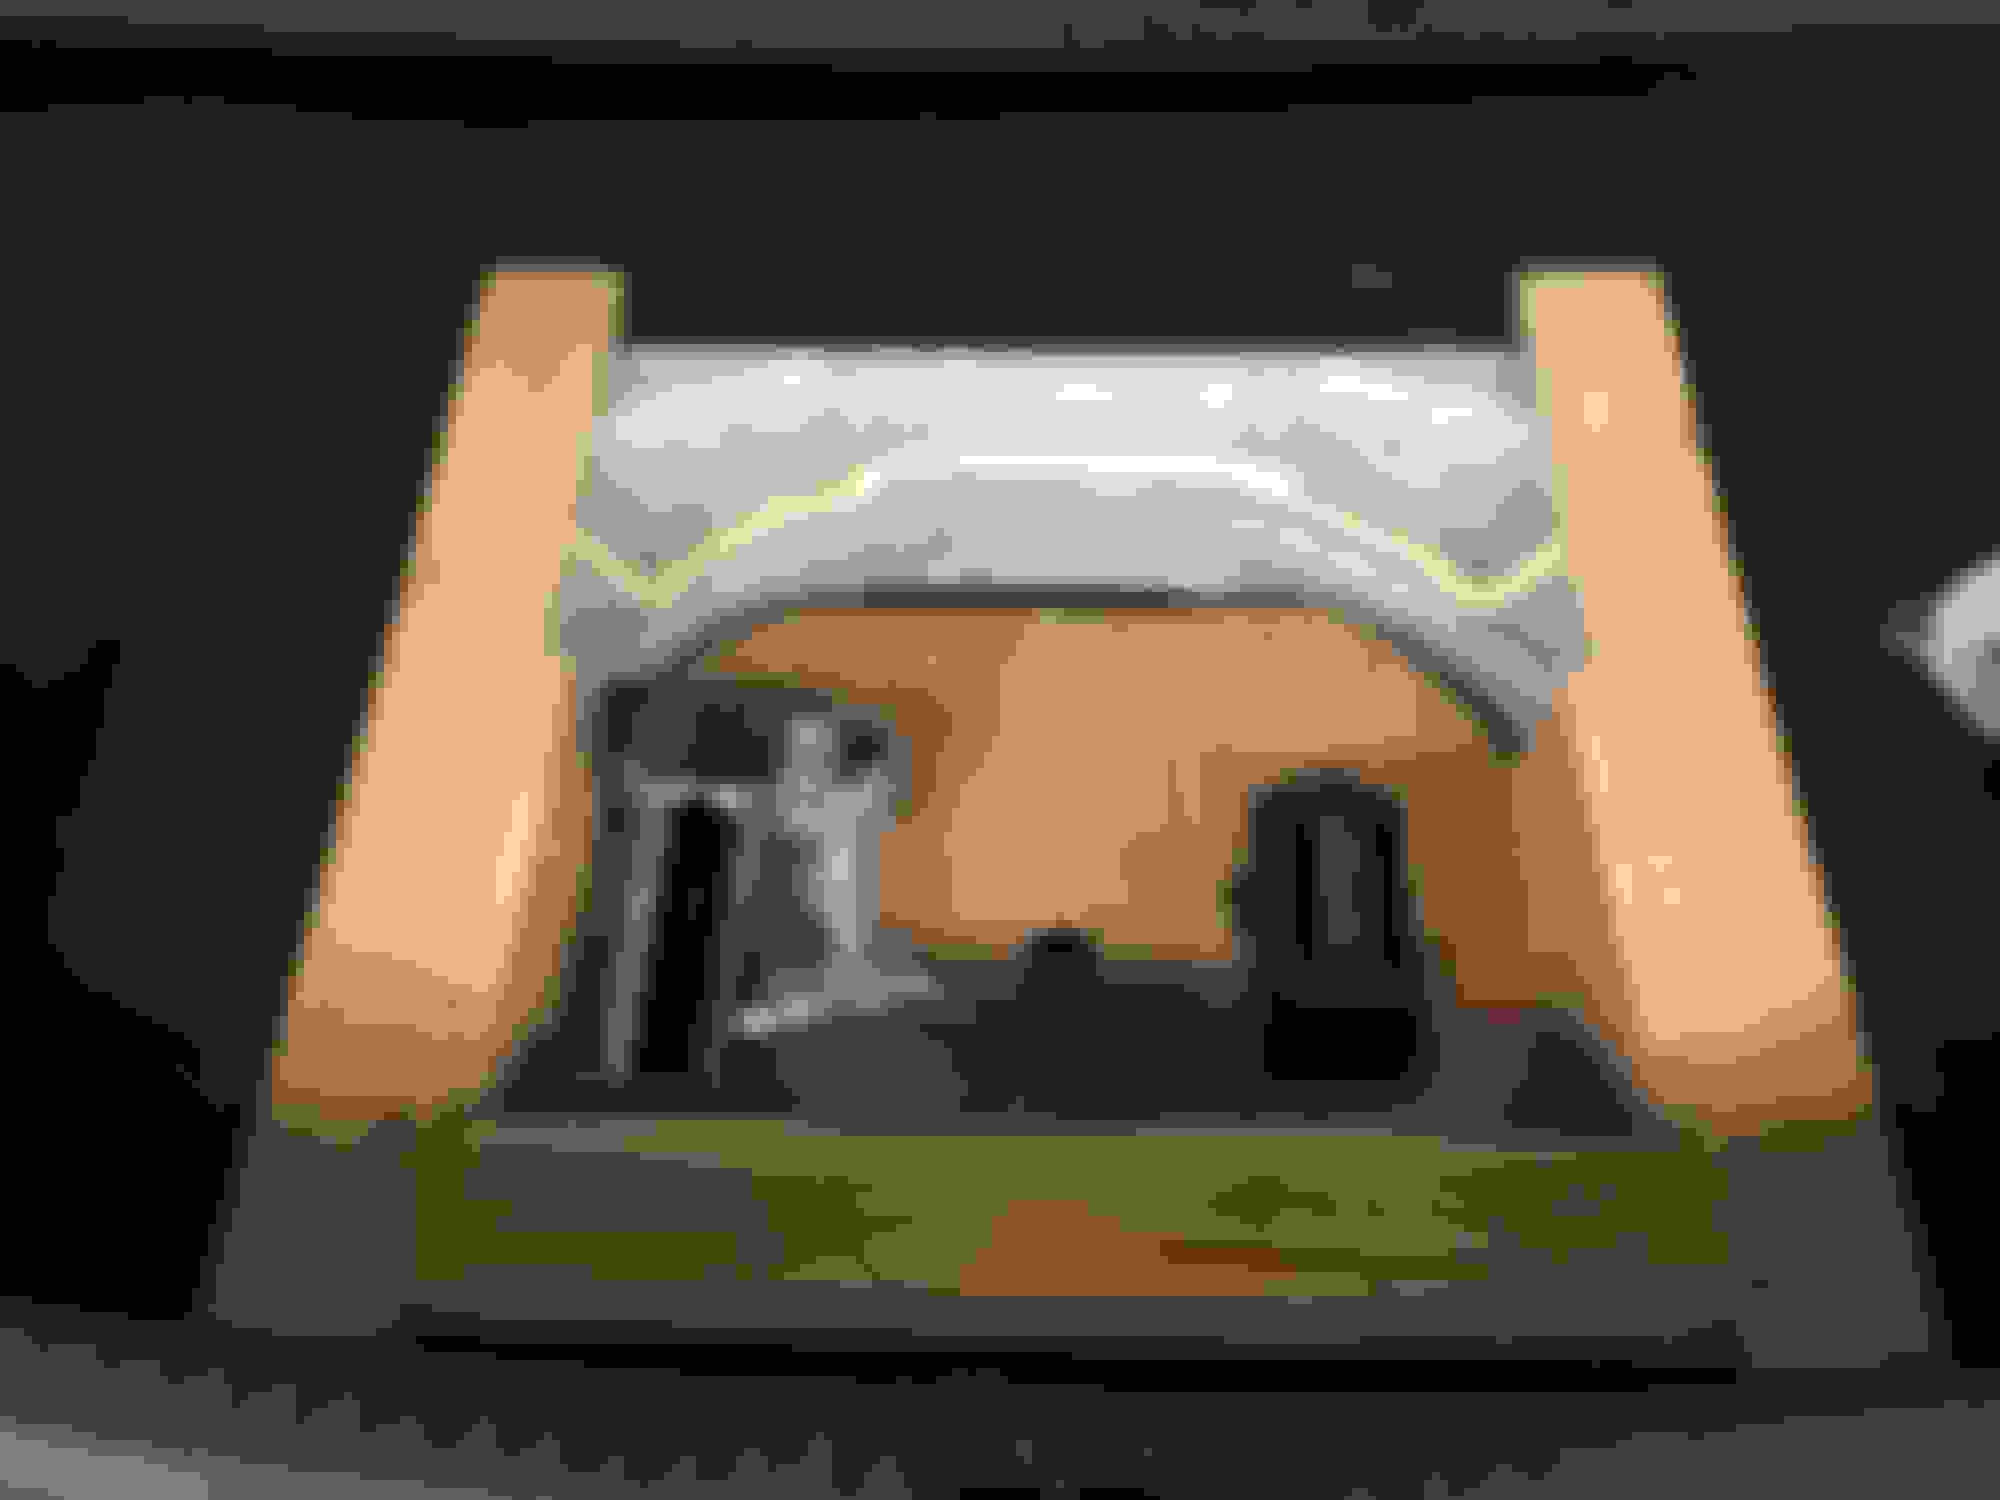
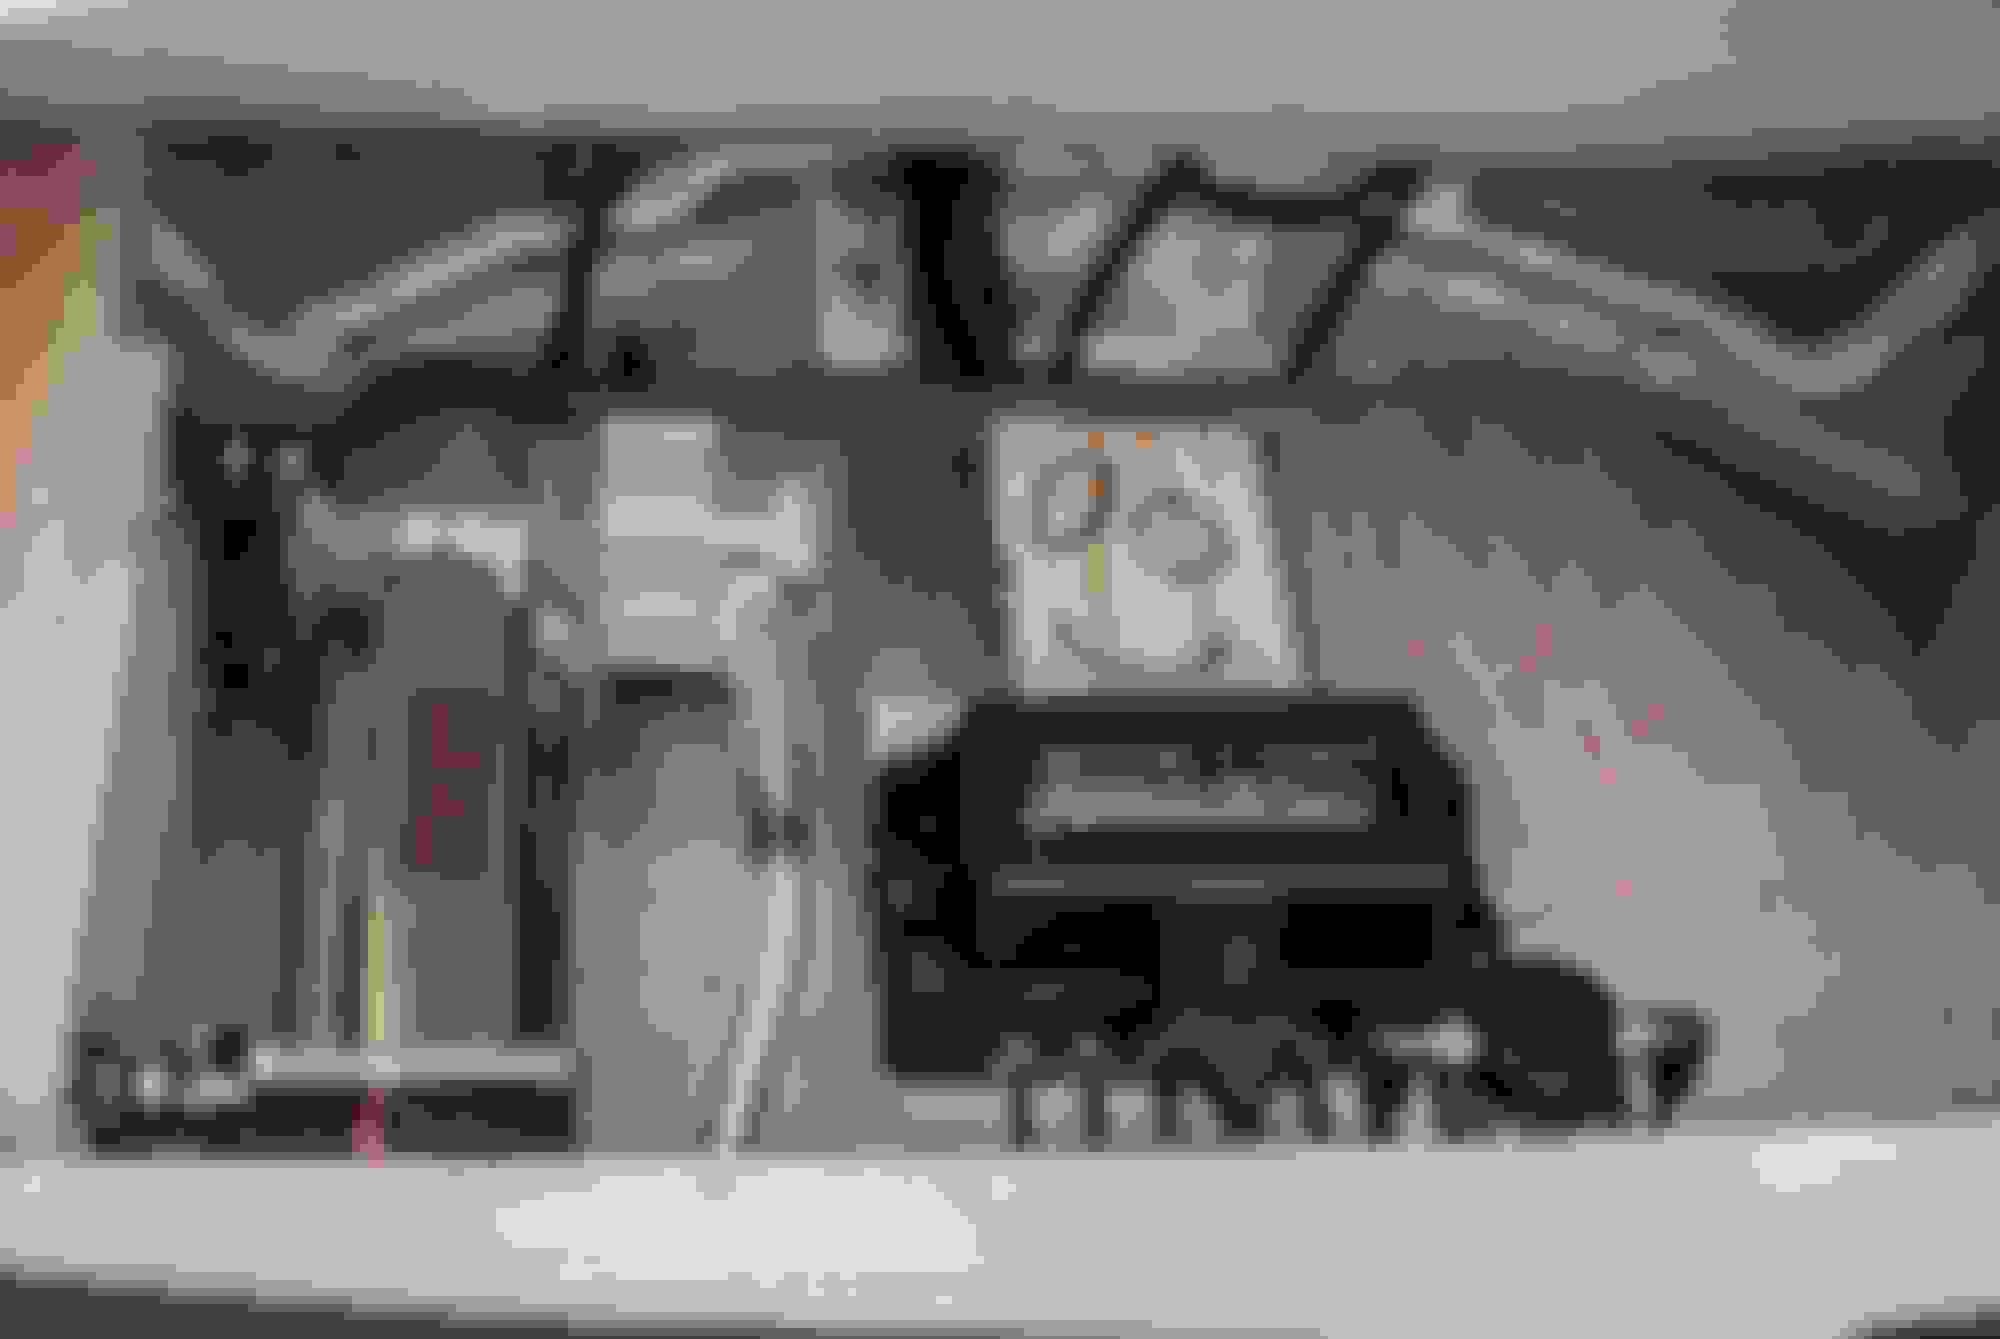
Finally mounted the compressor like I wanted. The bolts I'm using are a bit long that's why there's spacers in between.
The compressor seems louder now after I did that though. I need to redo the floor assembly anyway. Might work it to where both compressors would sit upright.
And going to my first meet this Sunday since moving to California like 2.5 years ago.
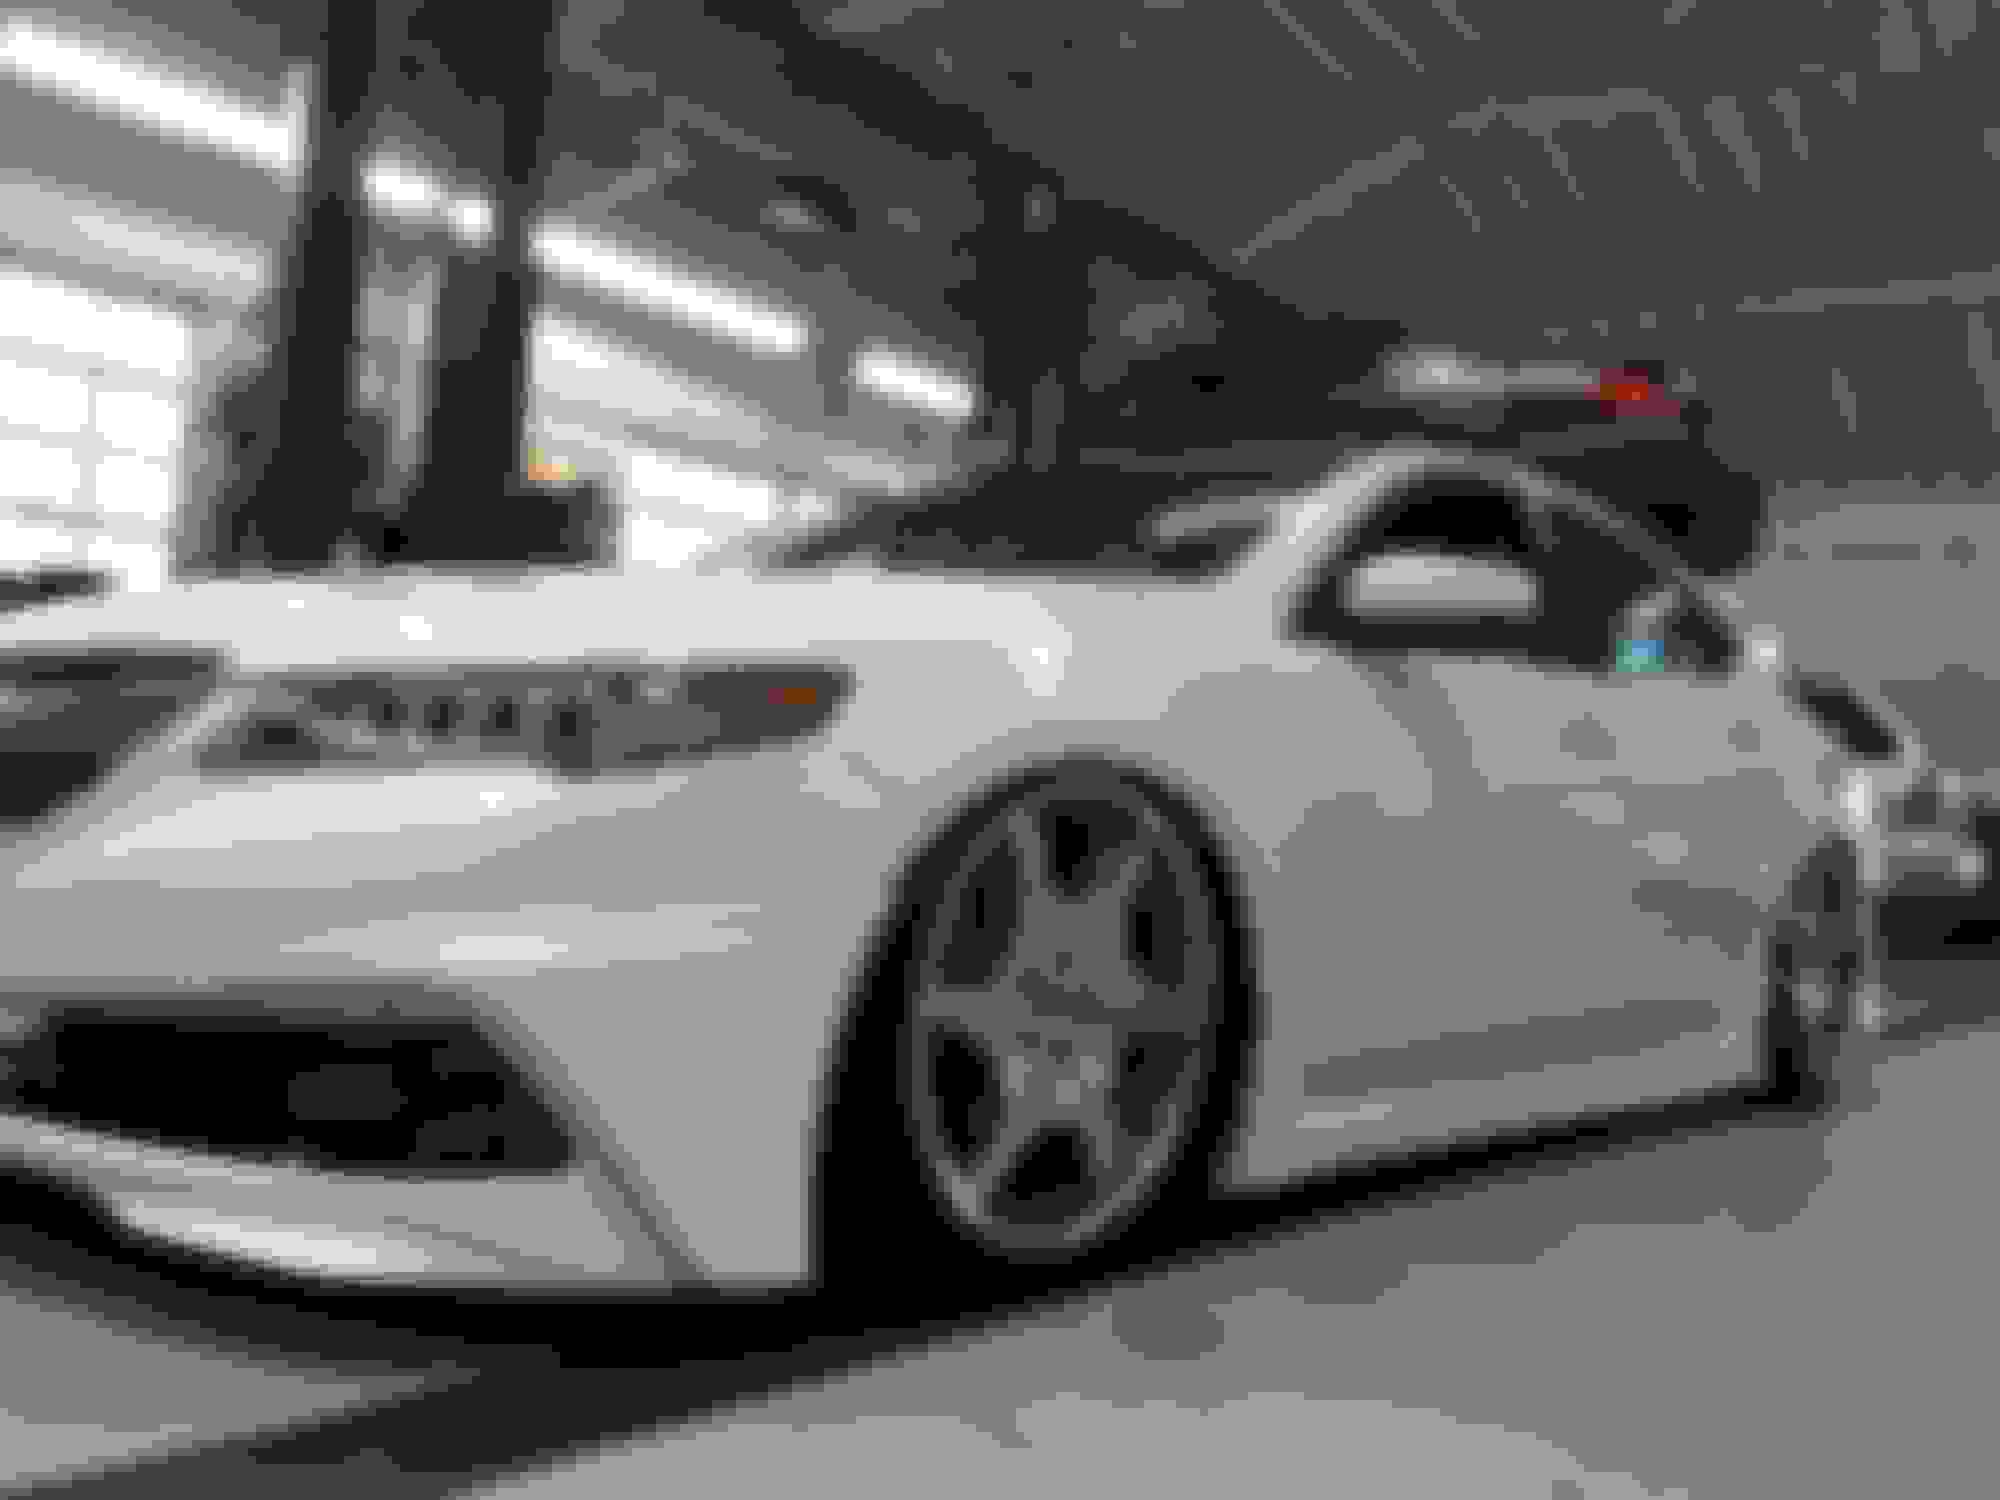
Went to work today and cleaned up the line and harness. Also lowered the suspension more so I can gain more pressure aired up. It was too soft. Good thing too coz I found the left front bag turned. The lock jarred loose!
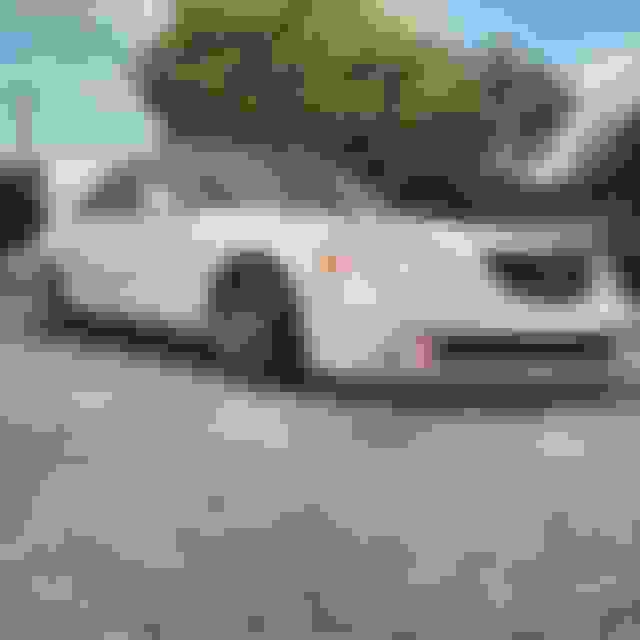
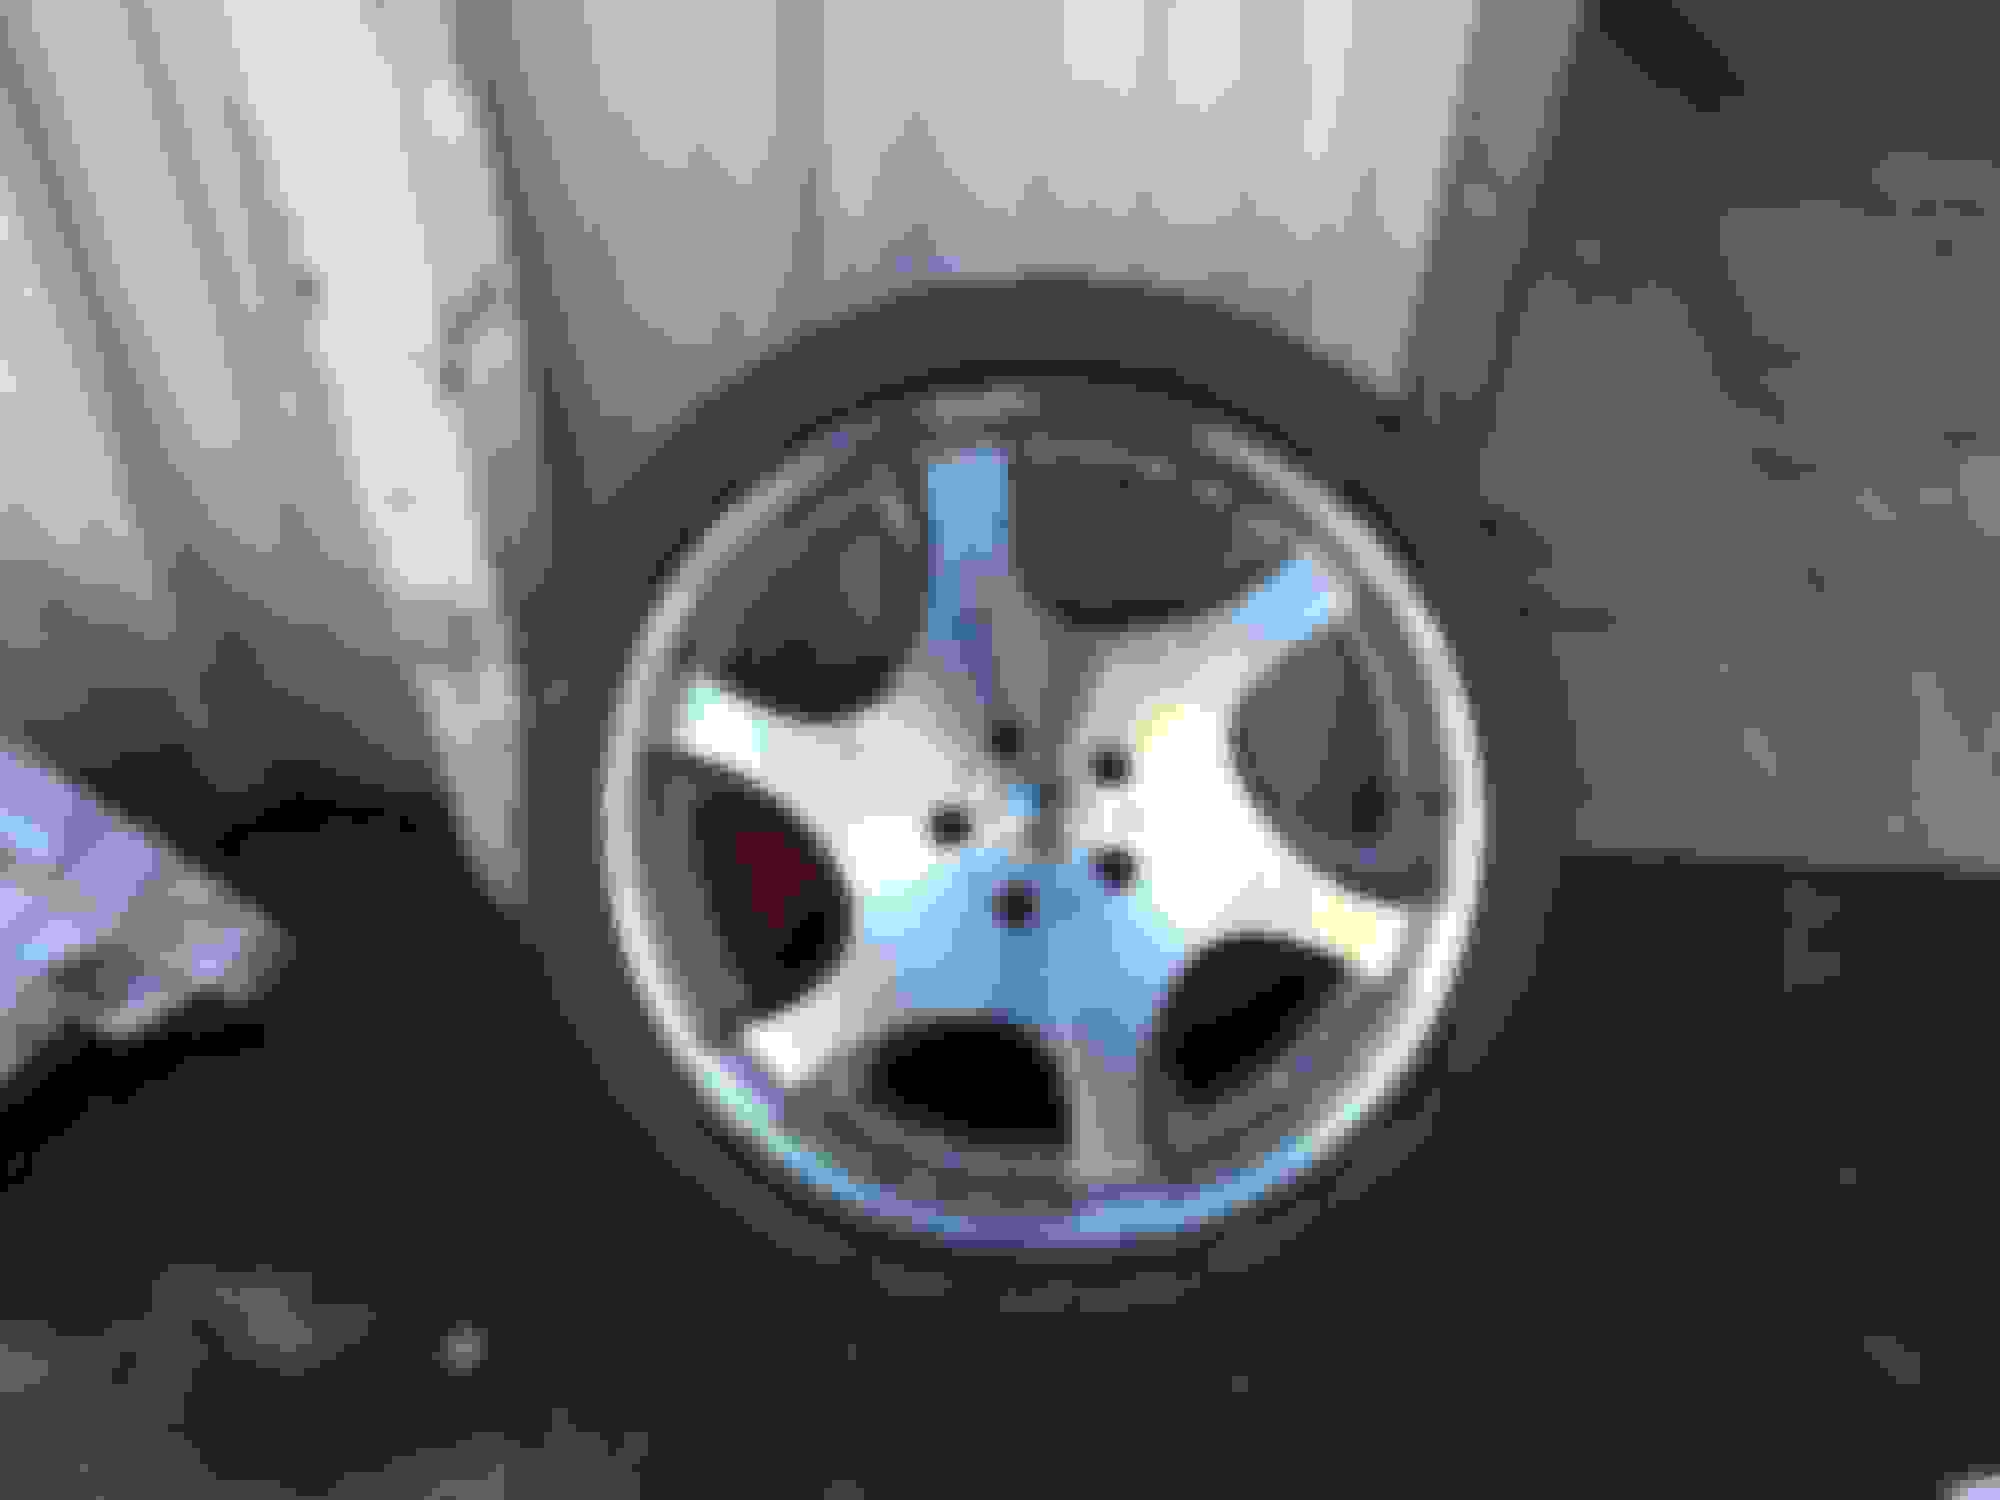
Went ahead and tried on the autocotoures I had to use them as a daily so I don't mess up the bazreias.
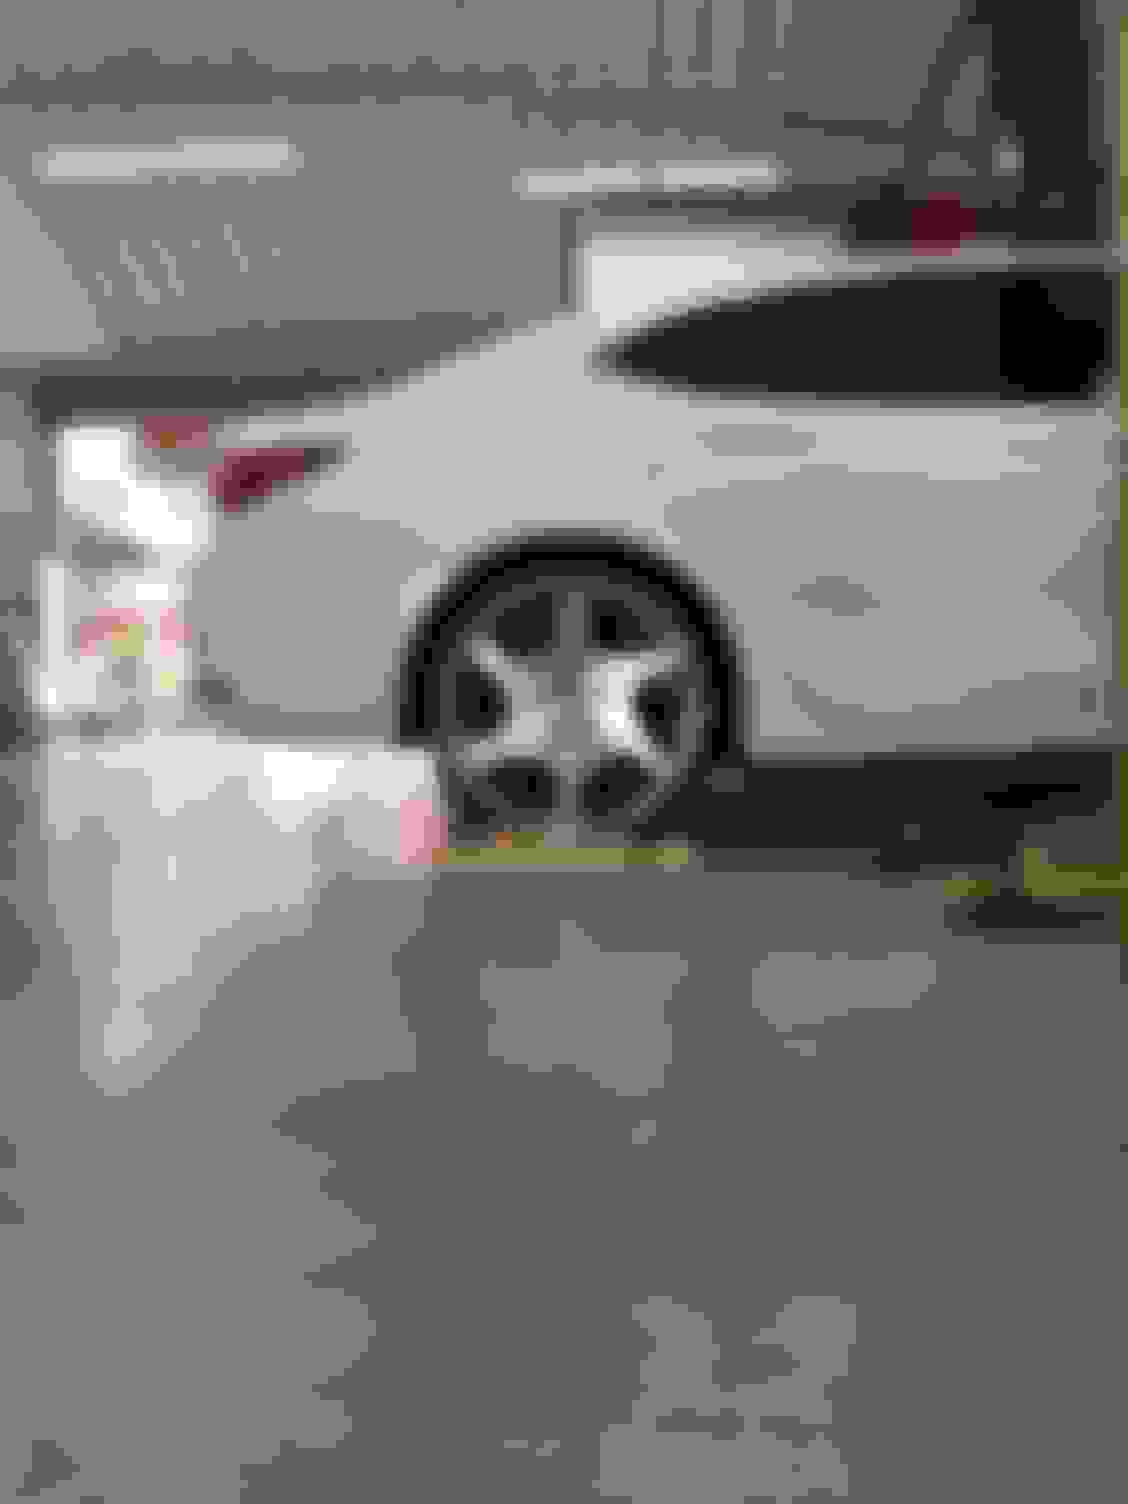
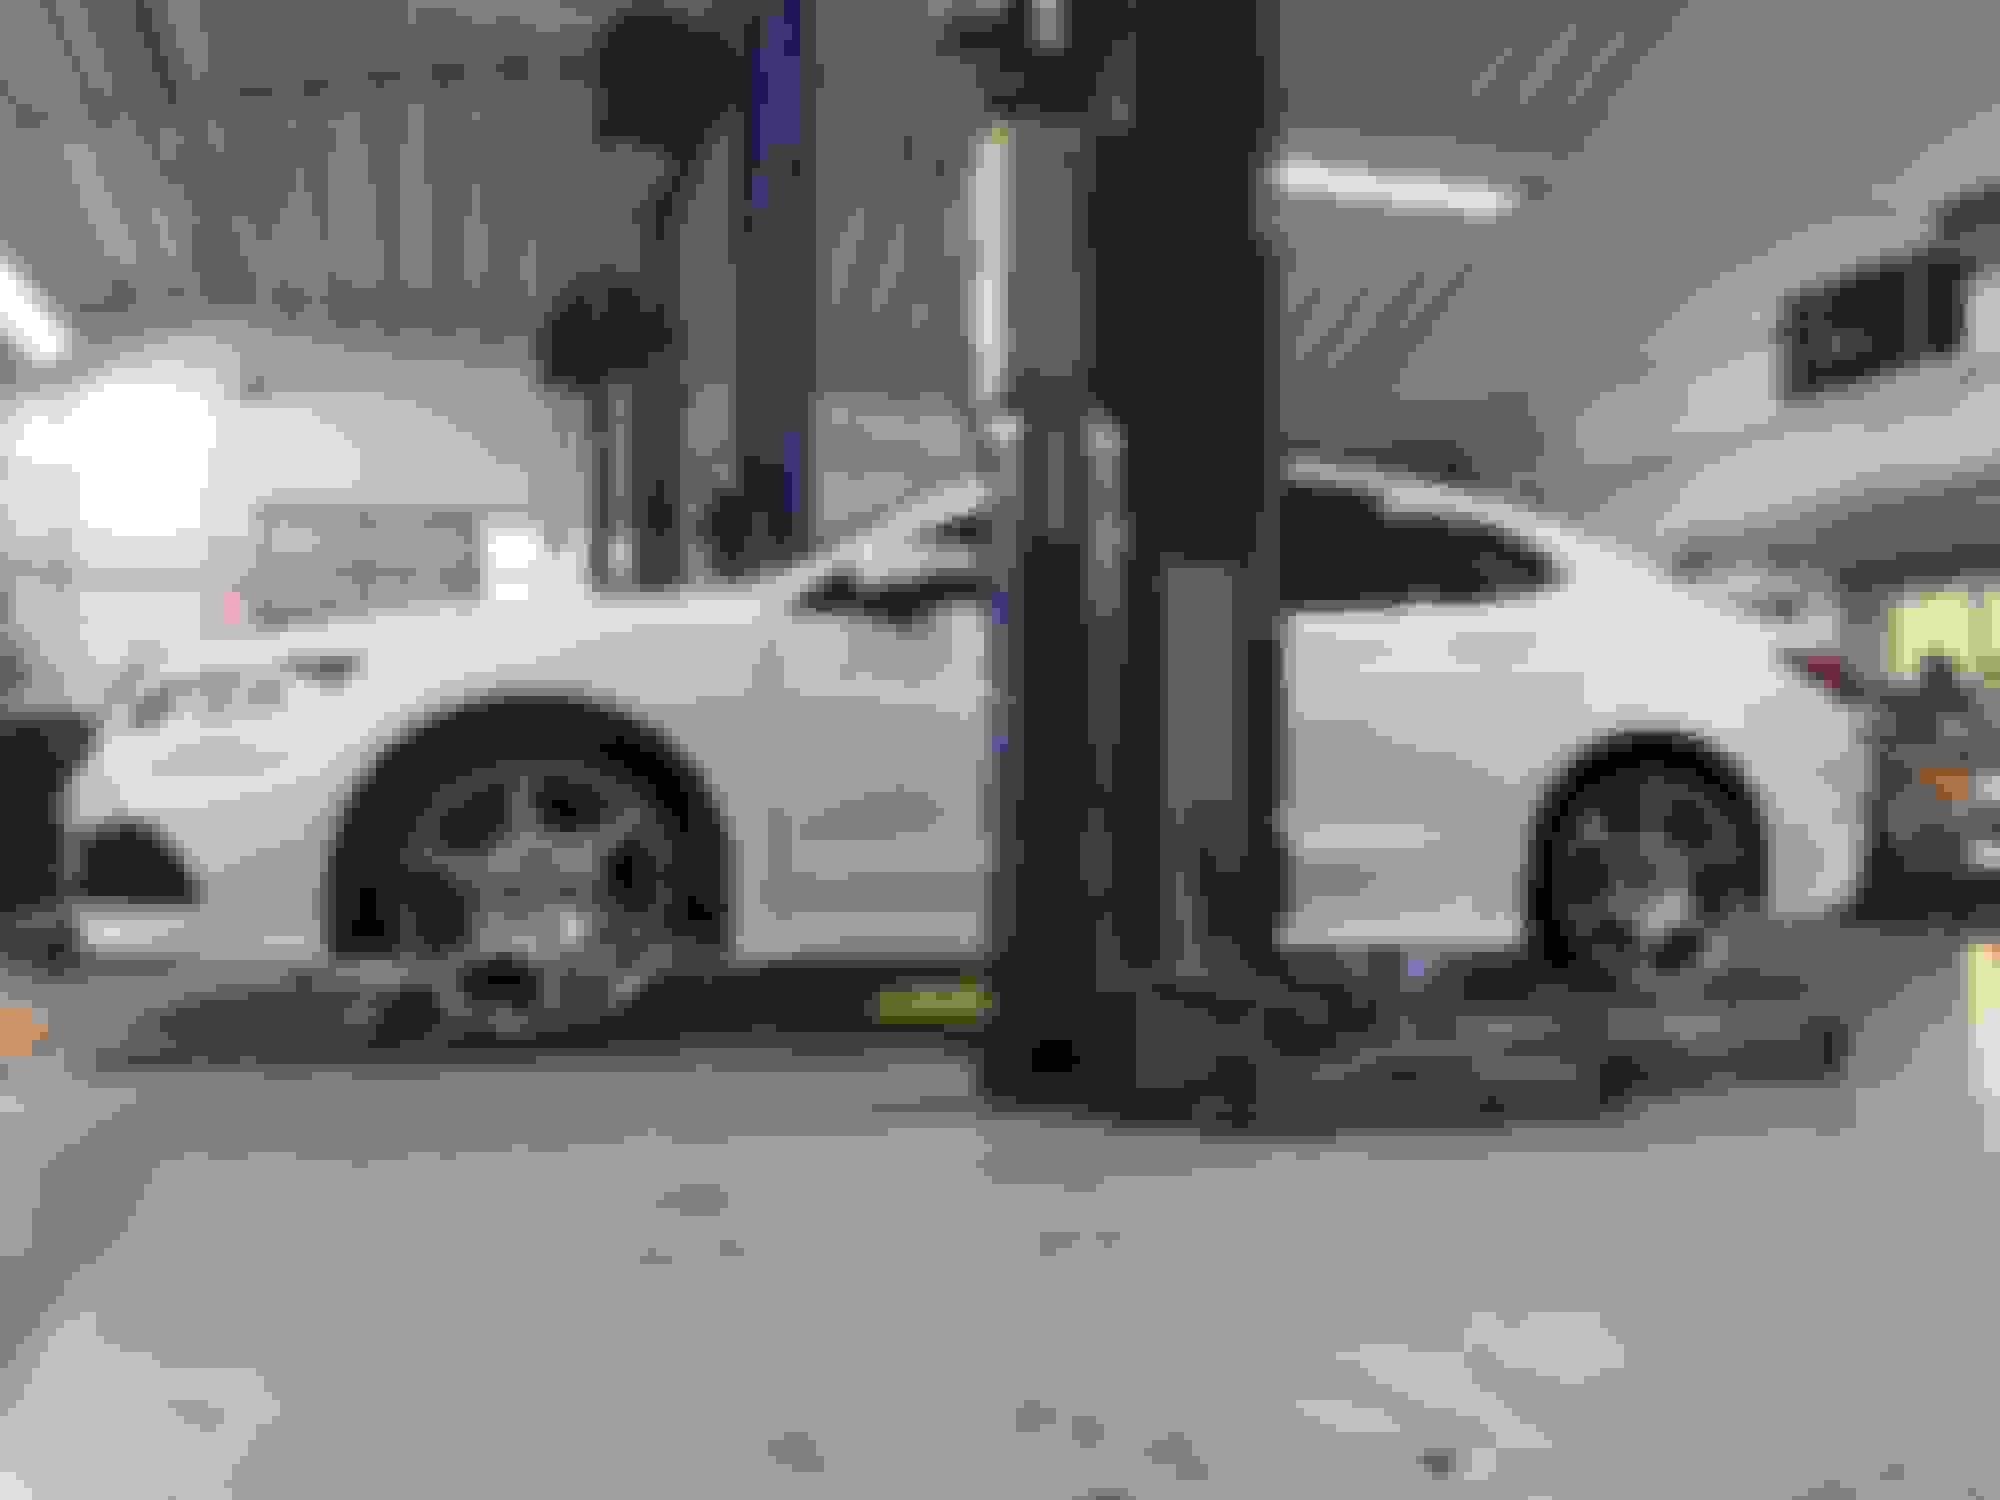
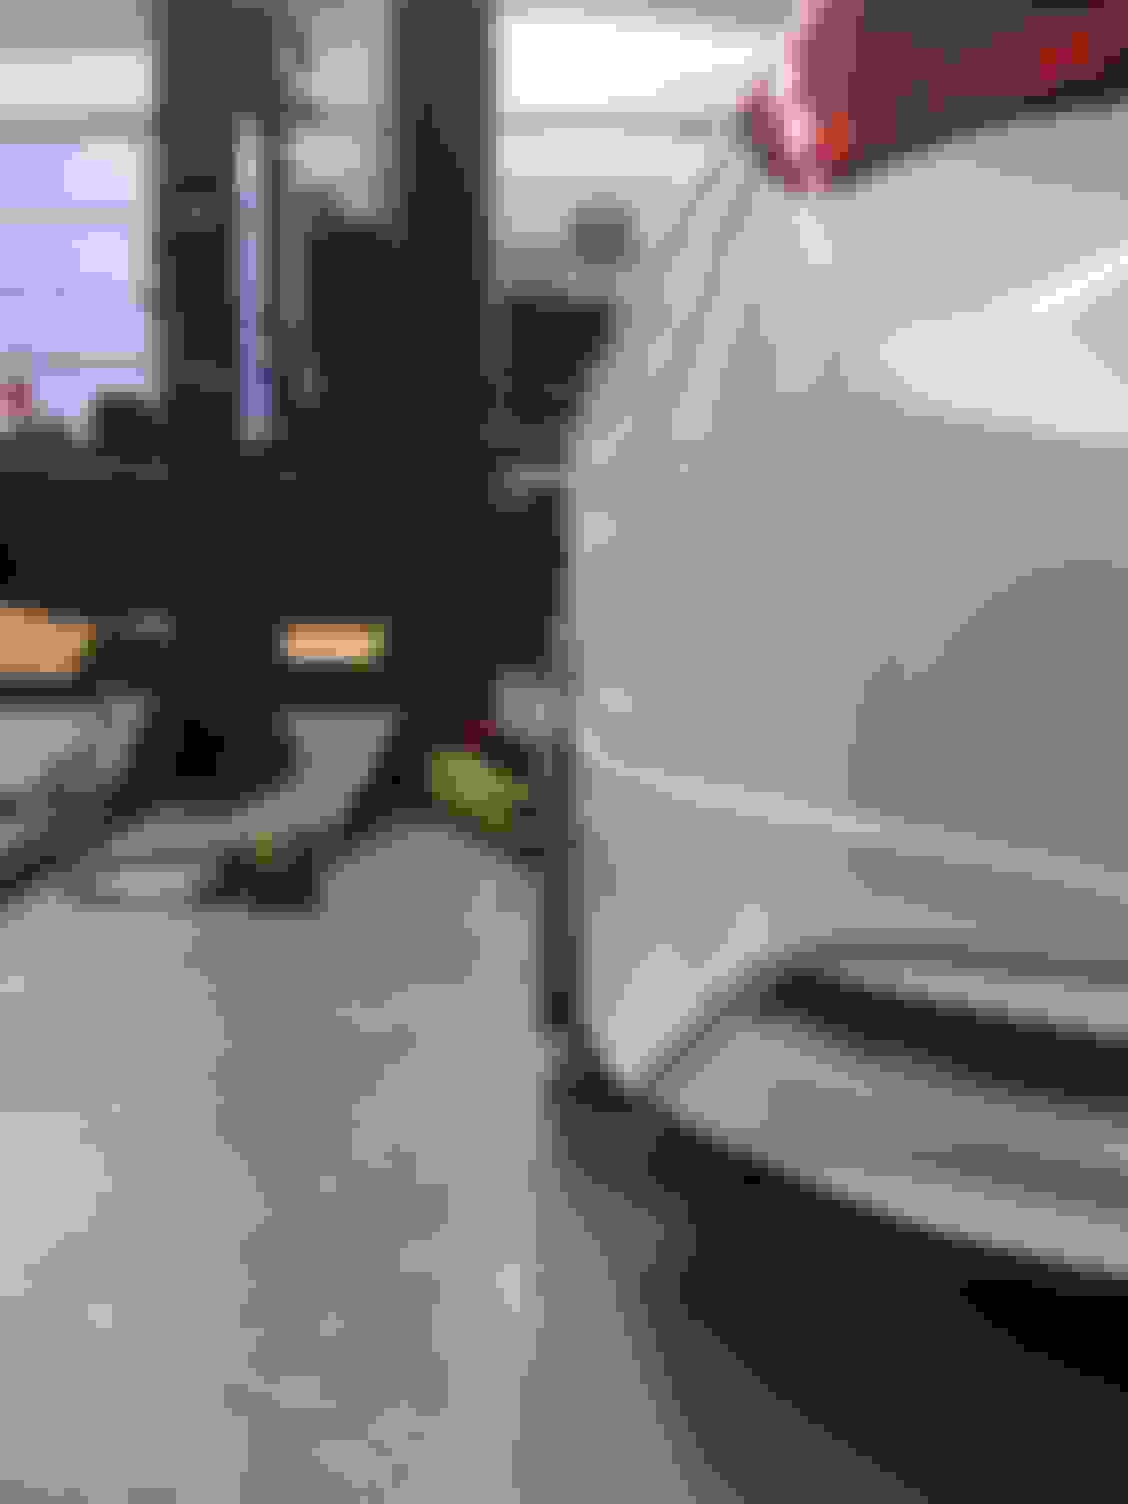
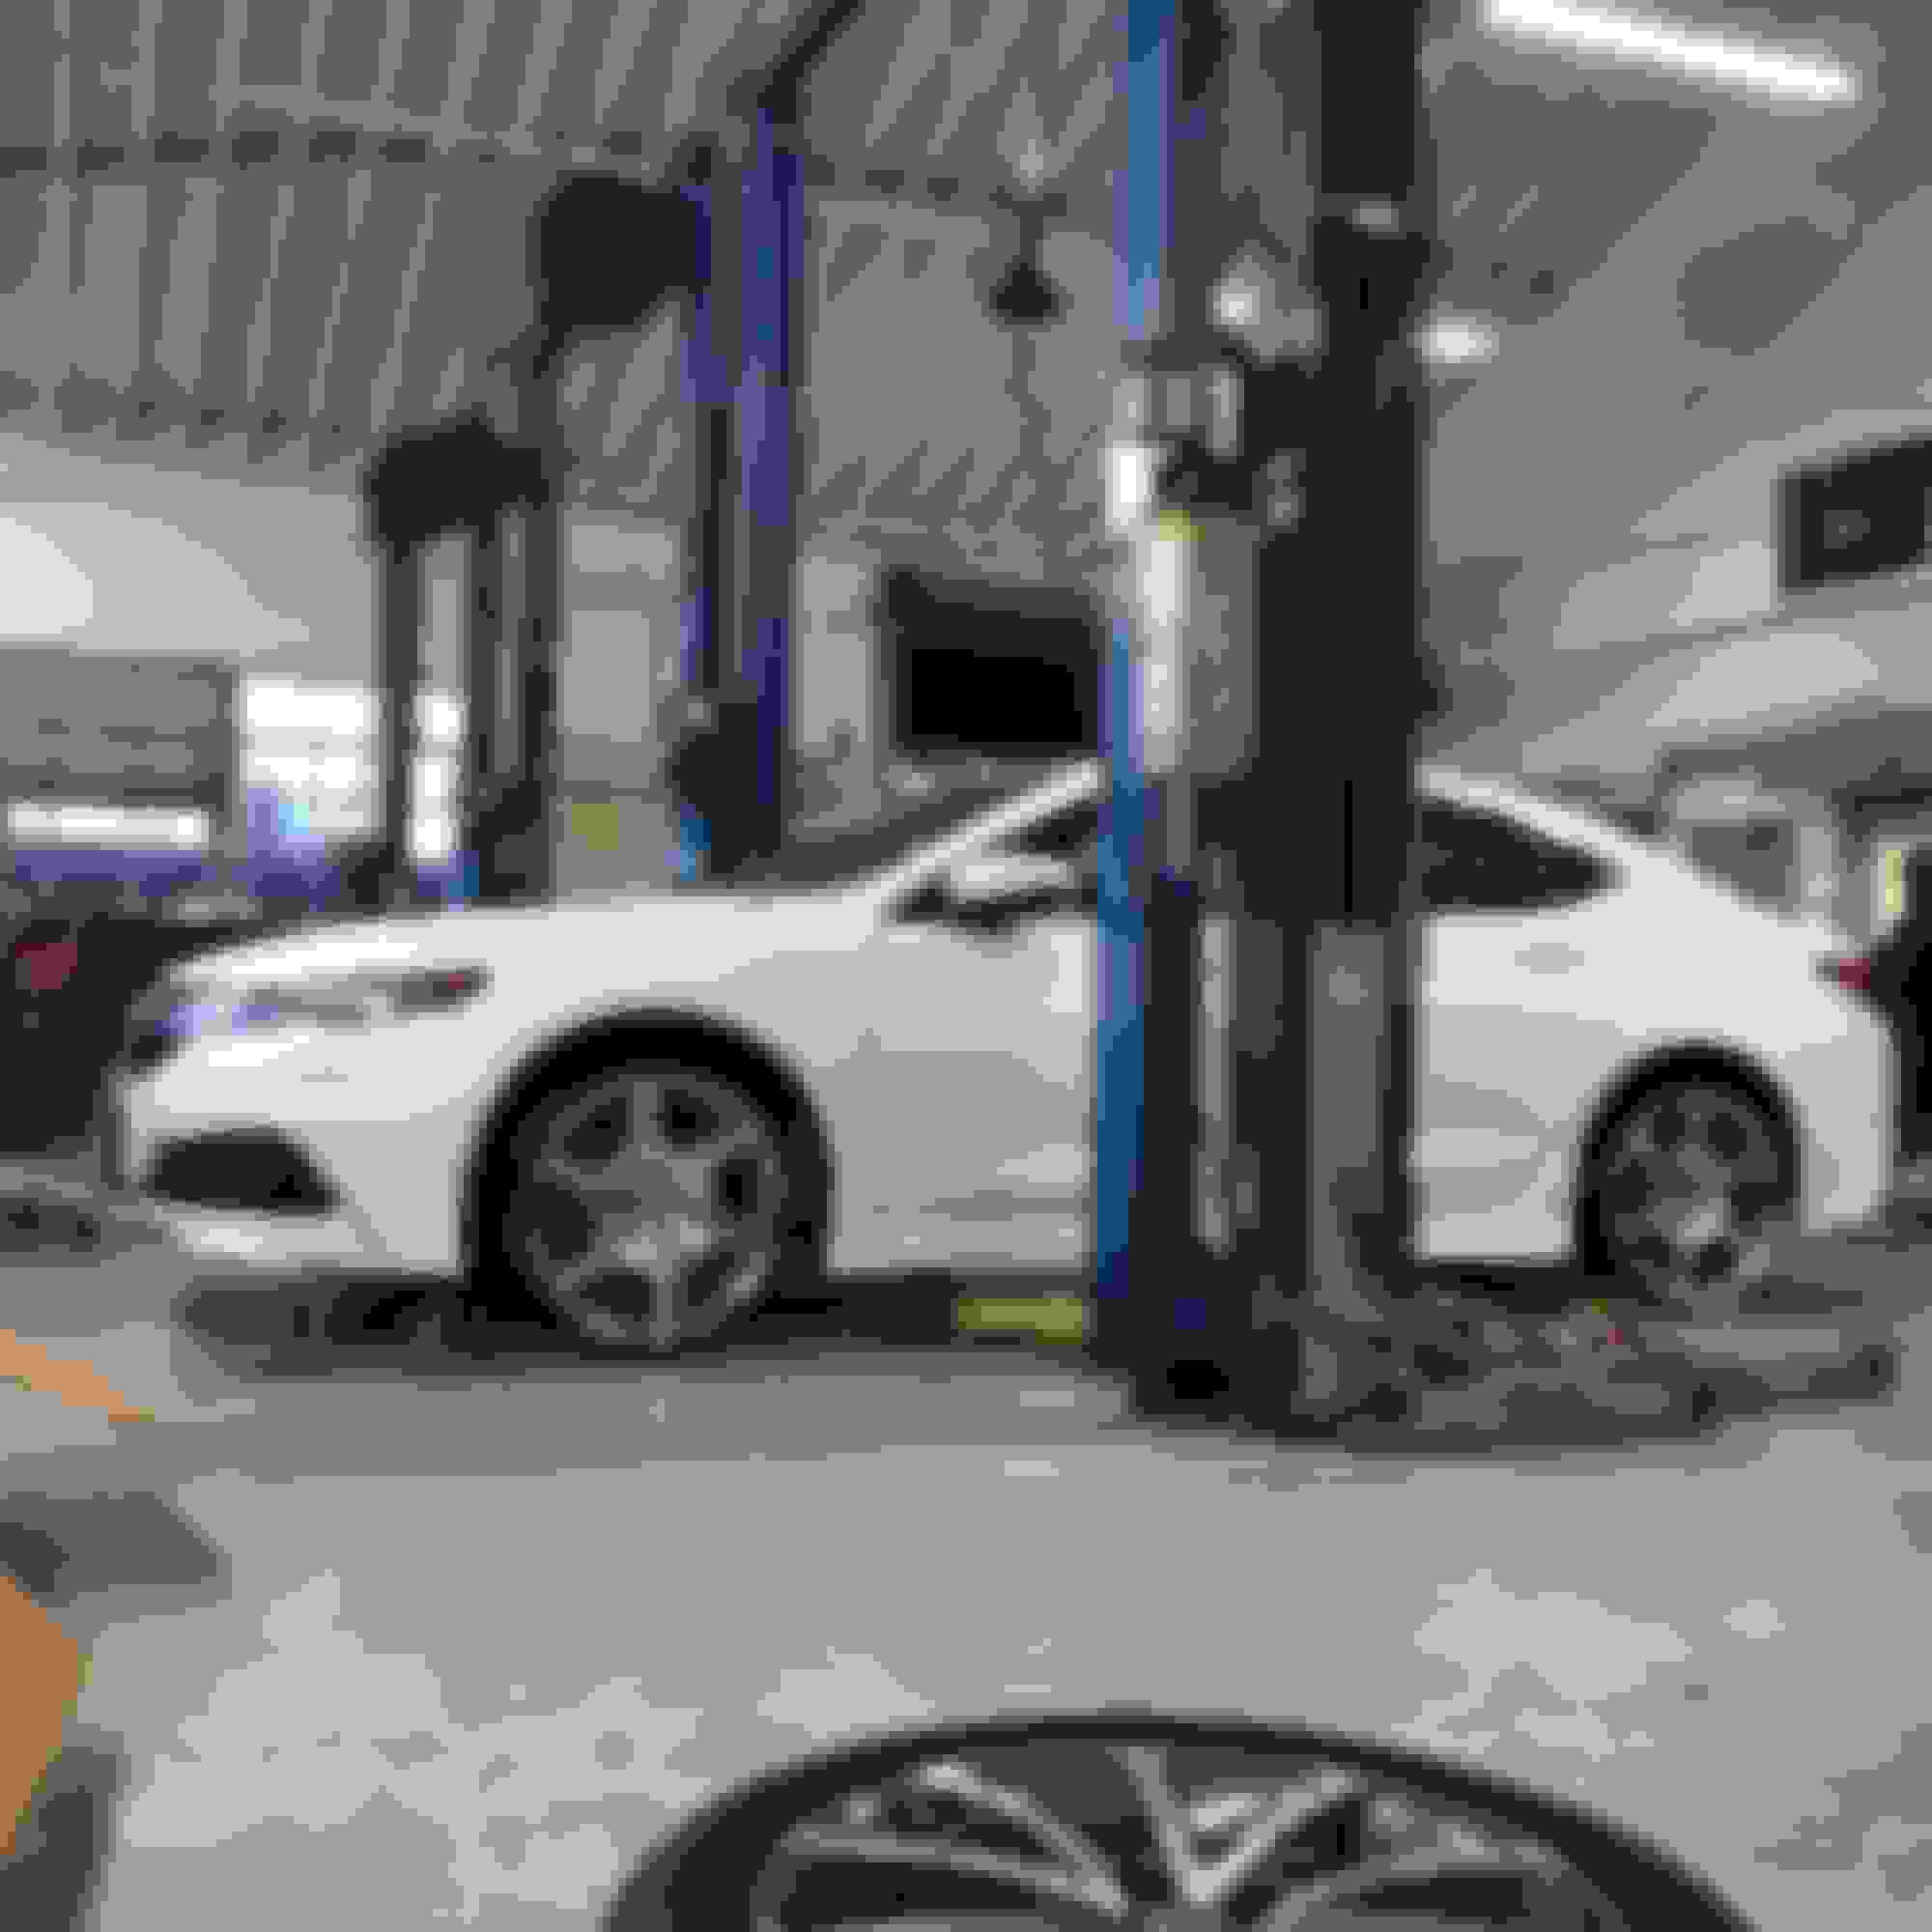
This is after I adjusted the suspension.
Comparing with the 20s
The rears adjusted with the valentes on
The problem is now the 18s are too small. So small in fact that at 125psi I couldn't get the lift arms out from under the car. Needless to say I'm stuck using the 20s for now.
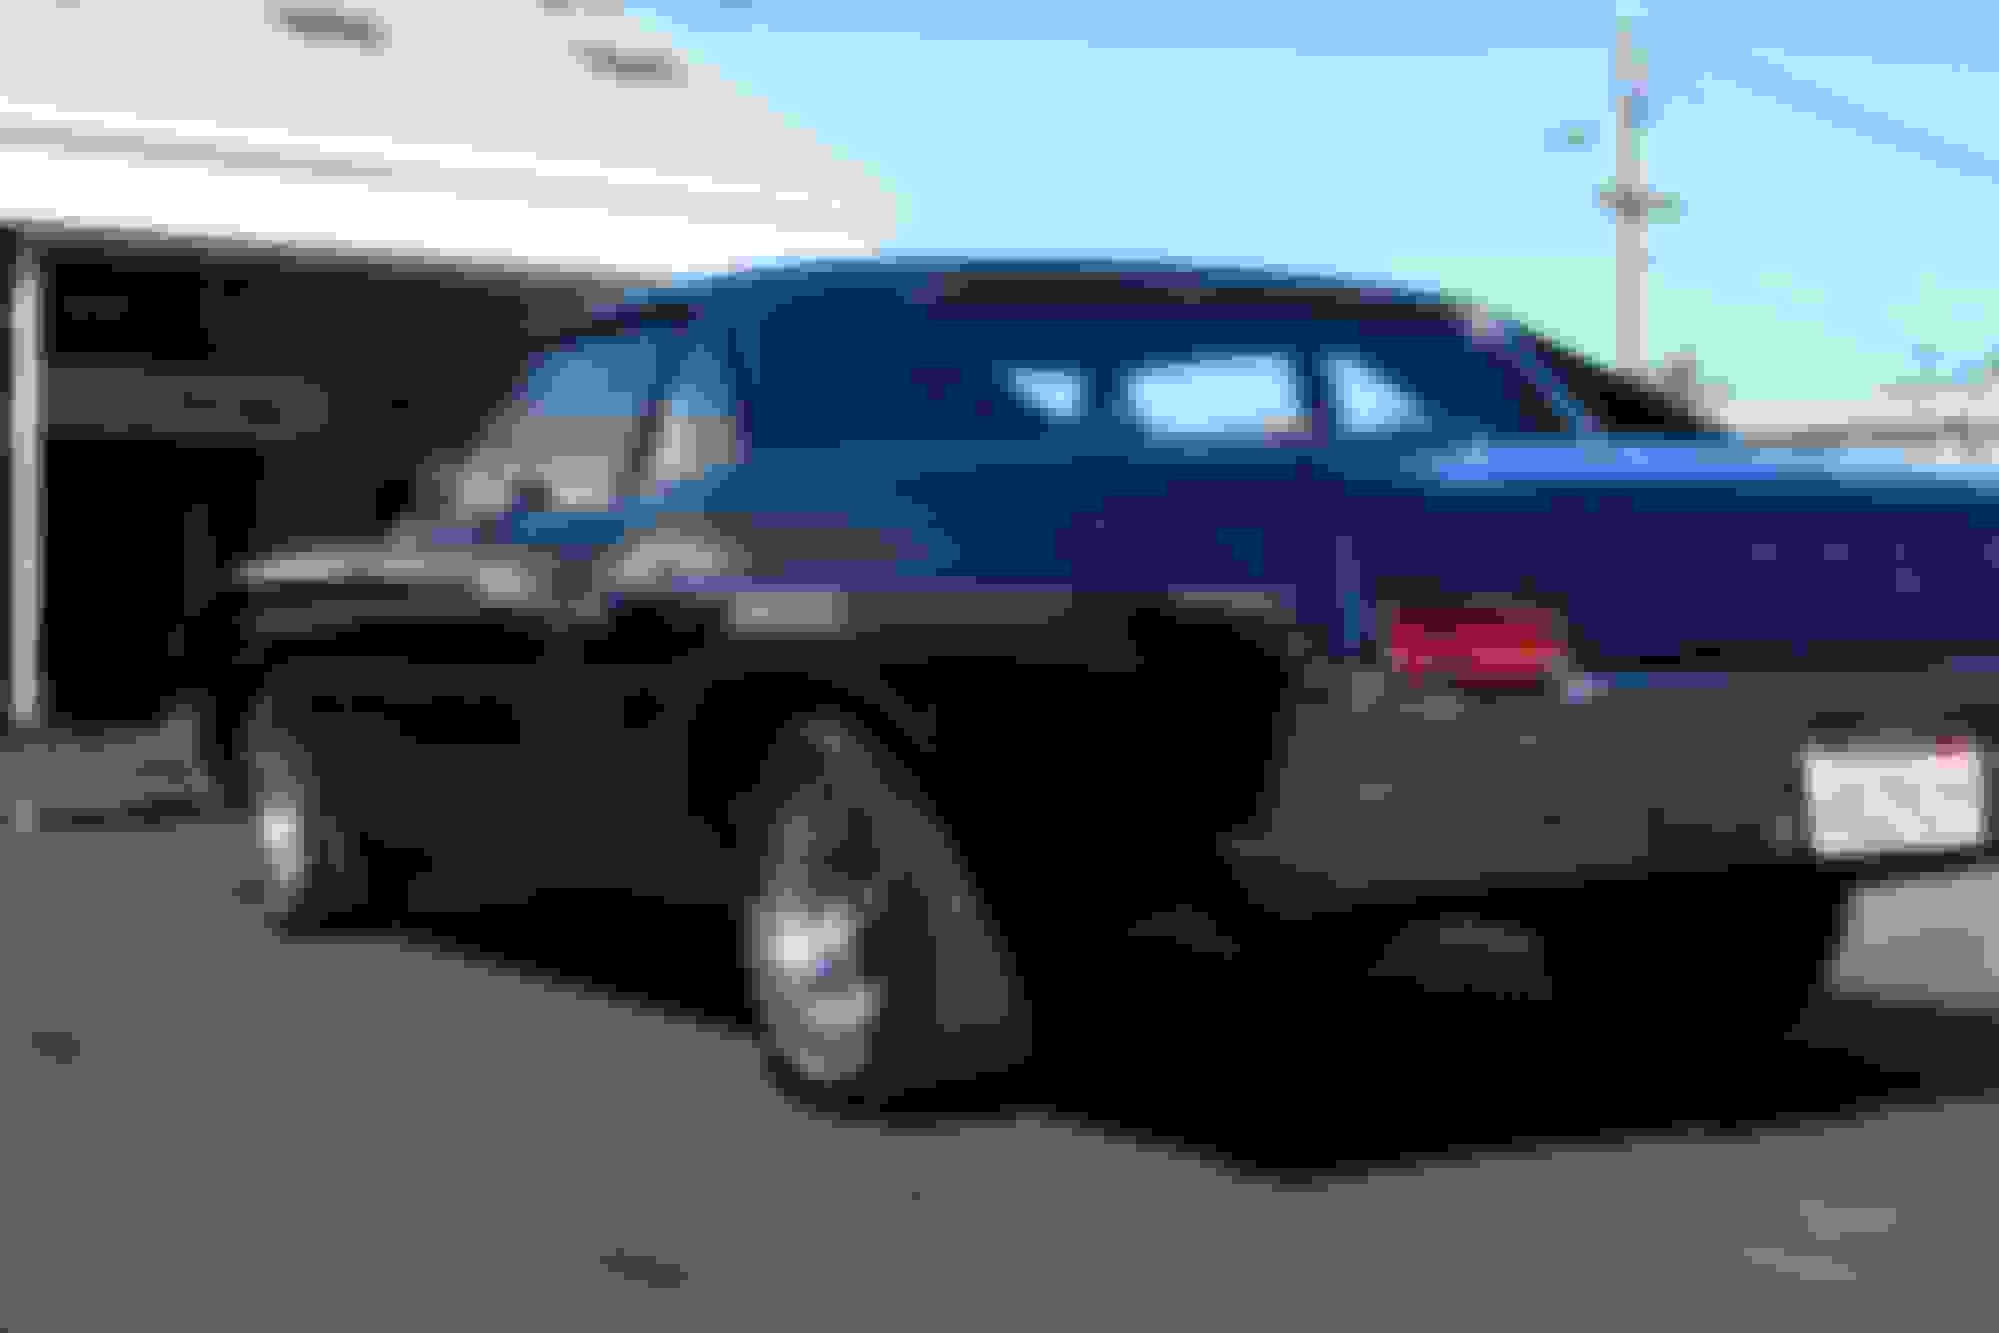
Aired out. Suspension readjusted on the baz.
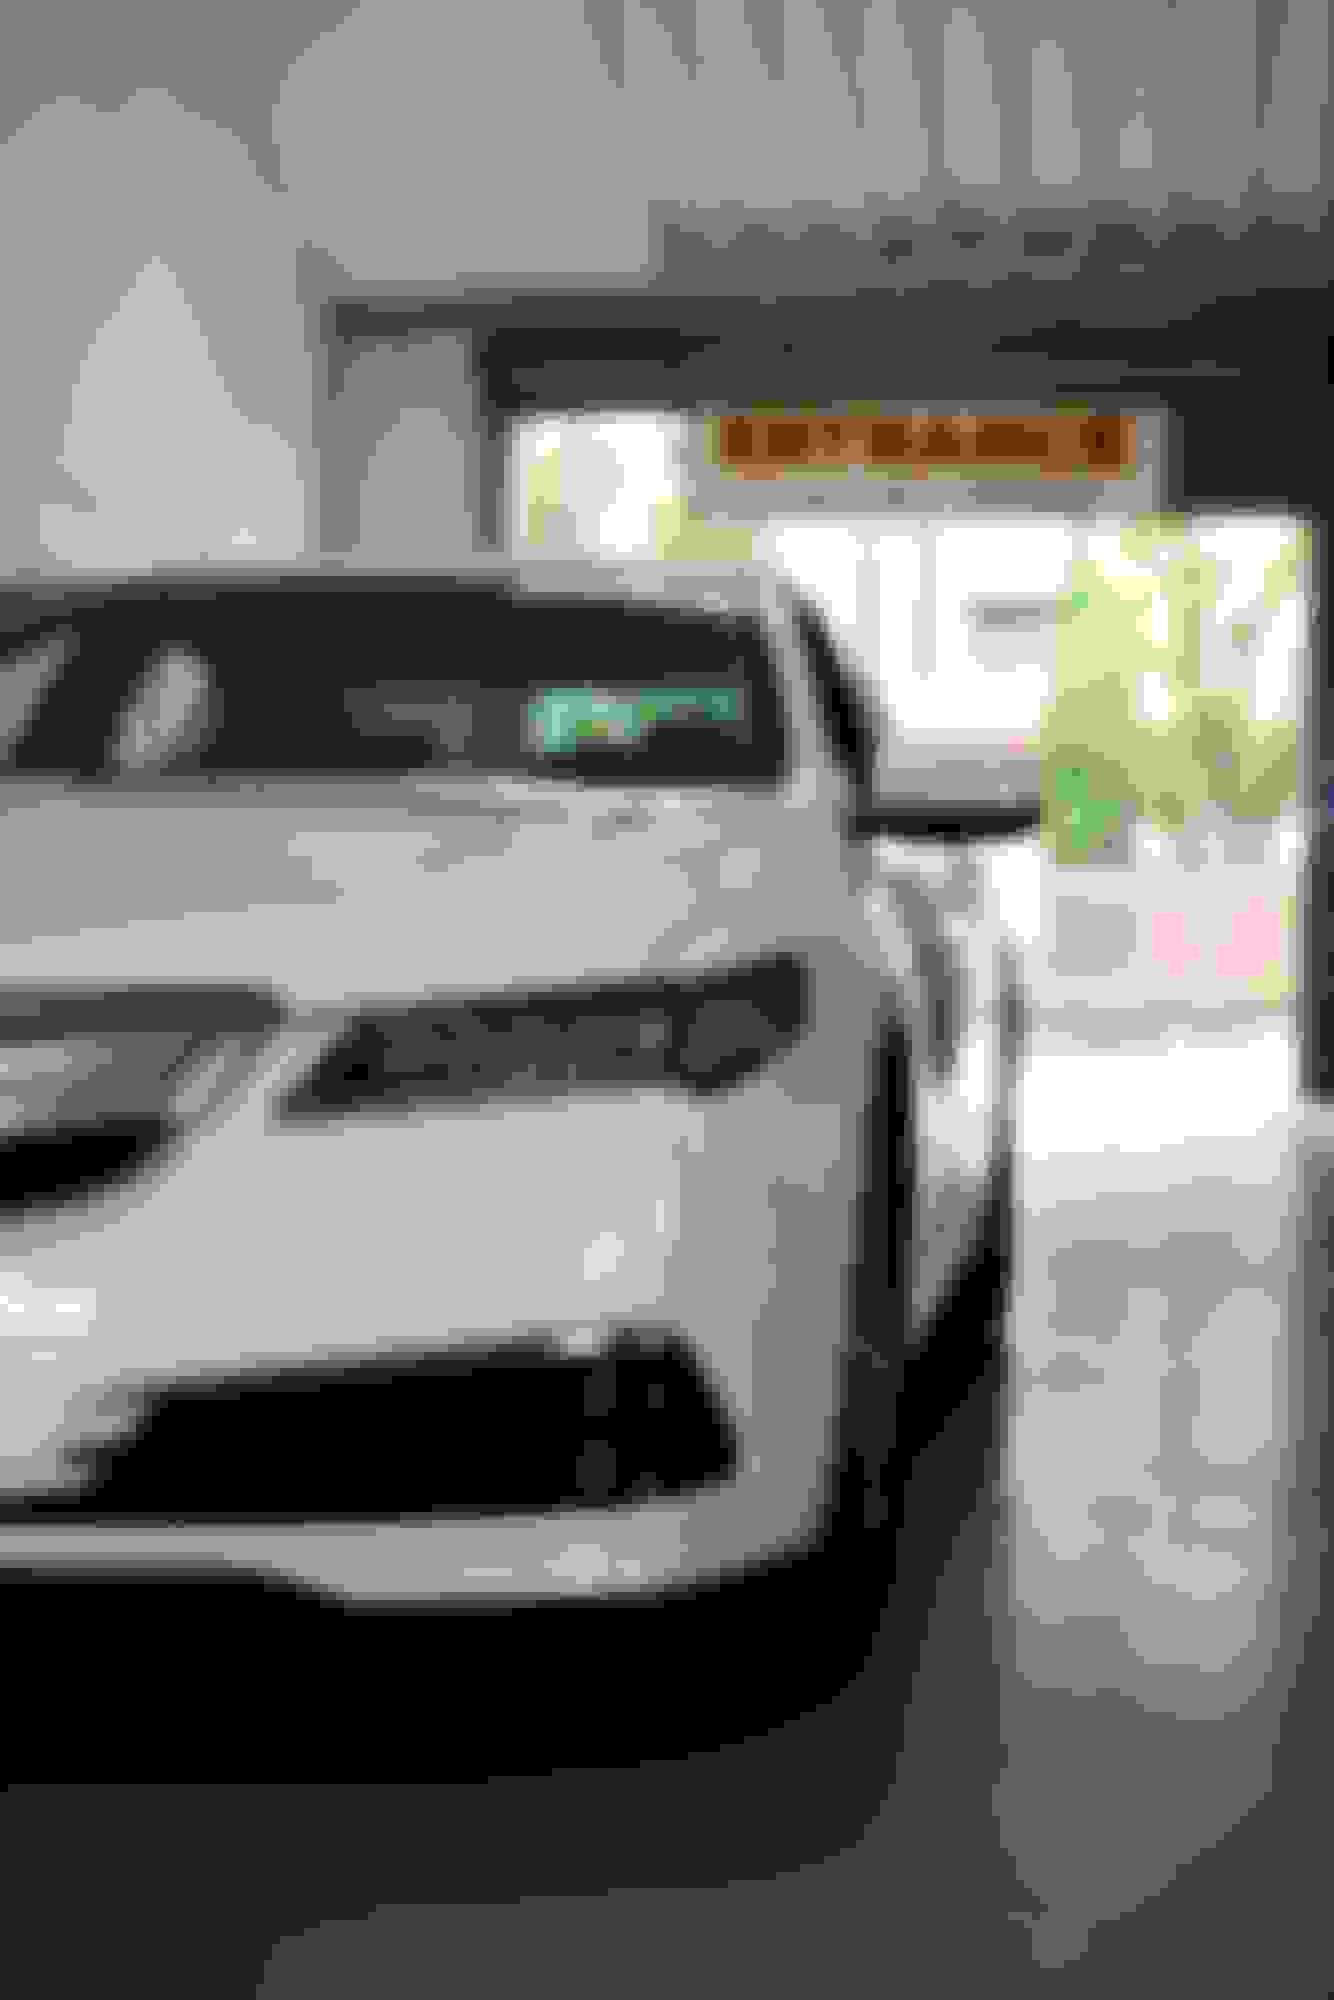
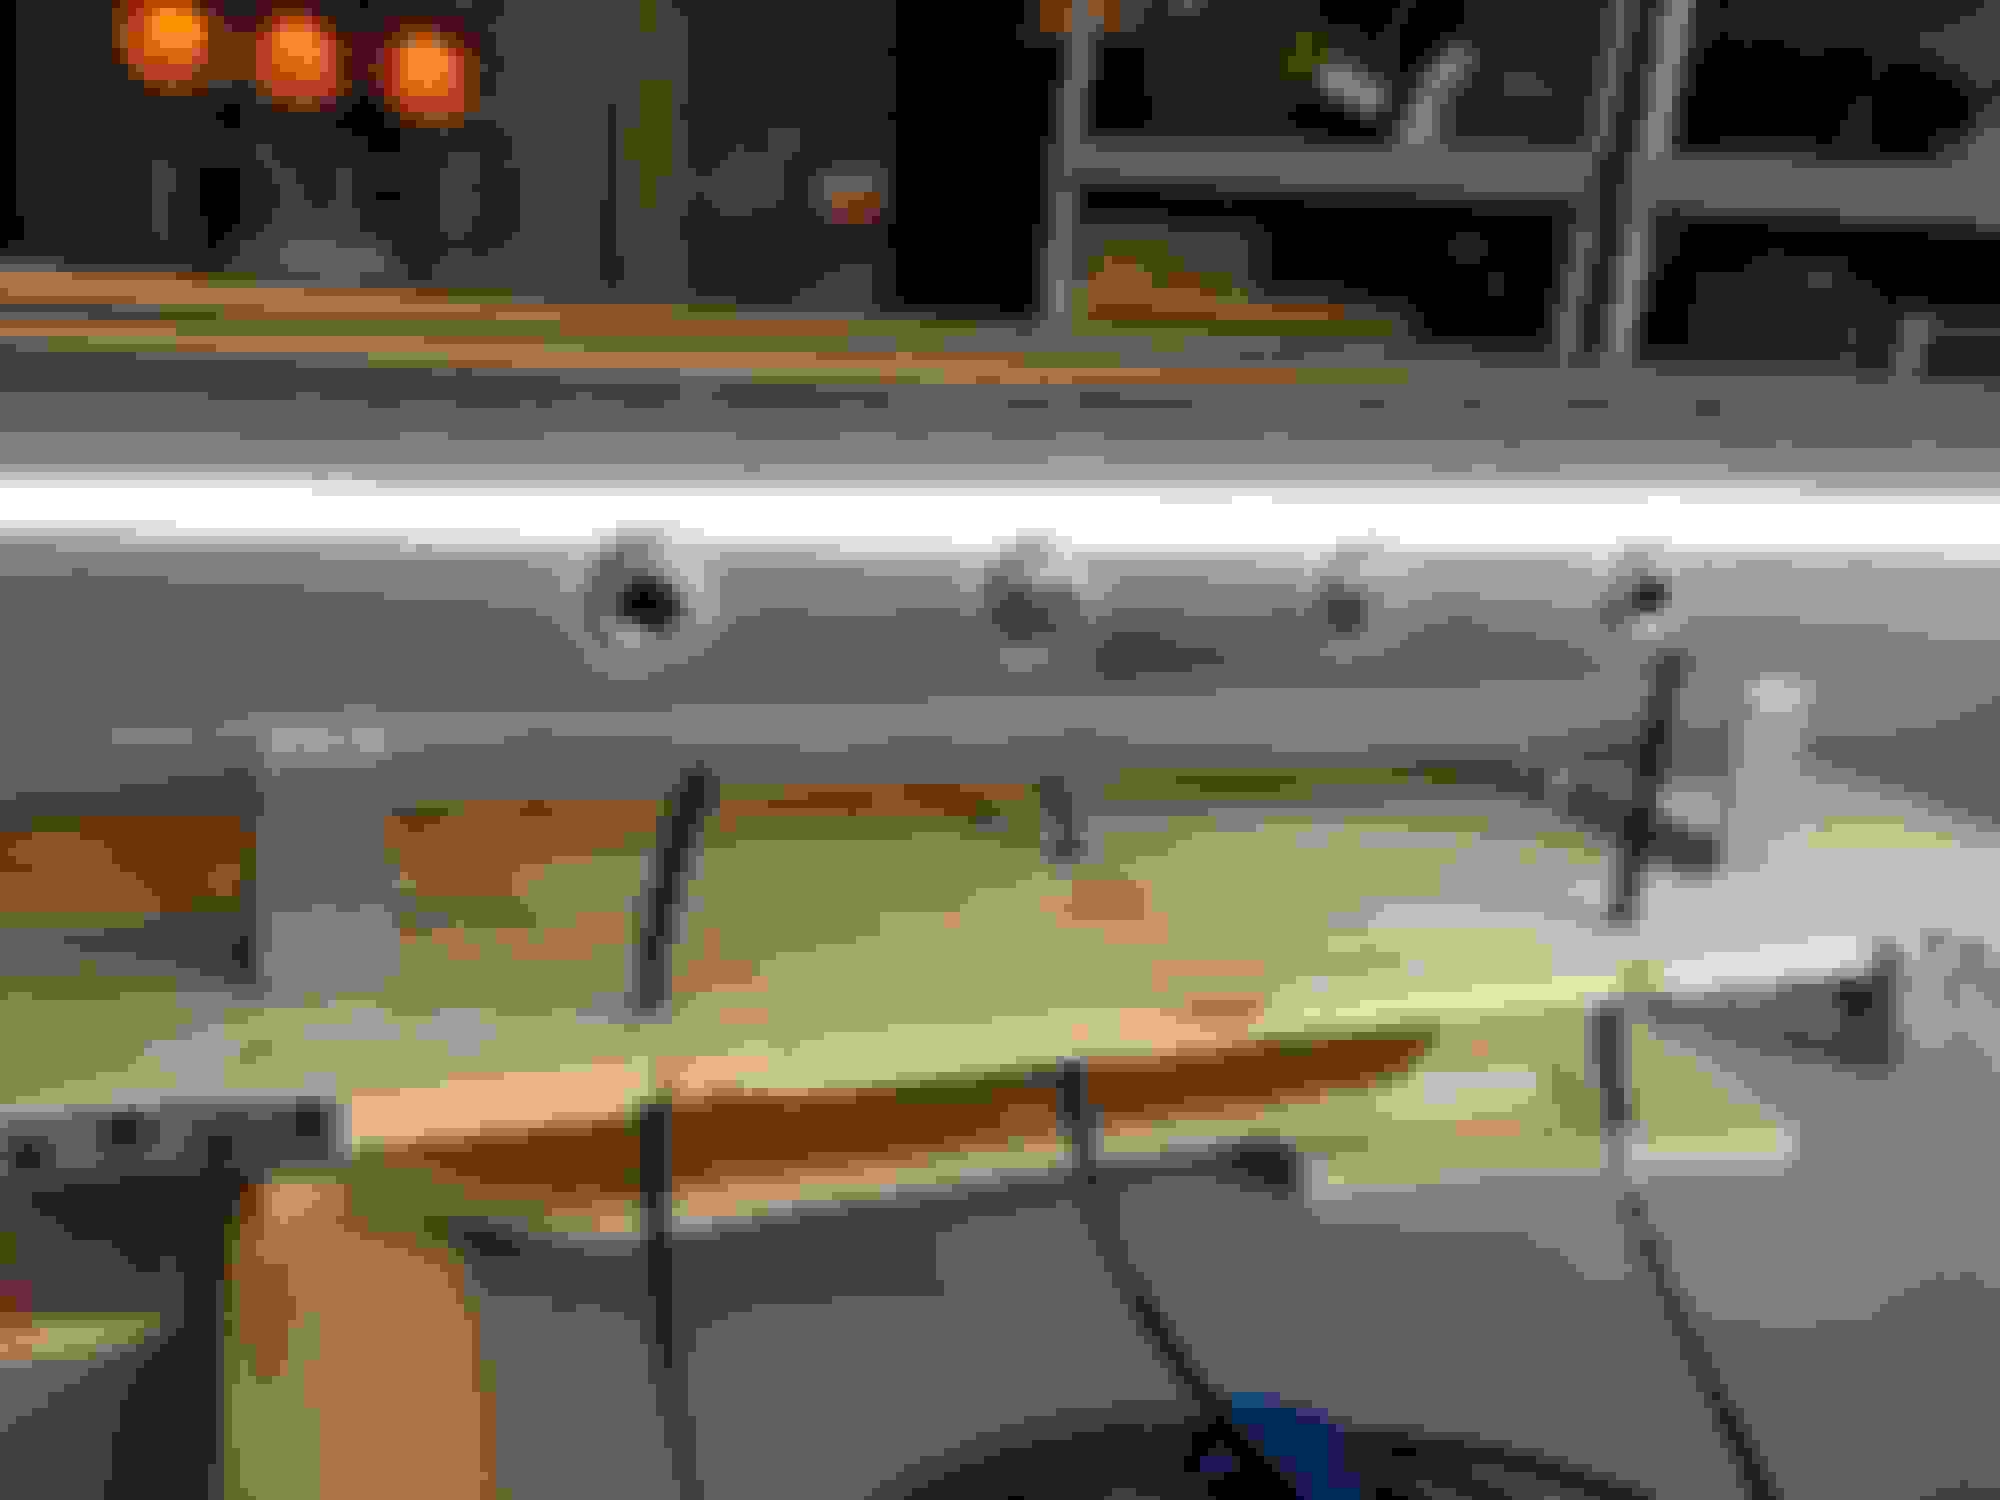
Also went to the initial d world meet last Sunday. It was cool. Only photos taken by a friend.
This was when we first parked. I got out to take photos of the cars rolling by and Alvin got a candid of my ugly ass. Don't mind the bird poop! Ahaha
 12-22-2015, 01:20 AM