KK's modded WDP Sh Awd with Rotora BBK


The following users liked this post:
KarKraze (09-16-2014)
 09-16-2014, 12:24 AM
#723
The Original Shawdy
They turned out nice. Way cleaner then tinting them. Great work like always!
The following users liked this post:
KarKraze (09-16-2014)
09-16-2014, 07:55 AM
#724
The following users liked this post:
KarKraze (09-16-2014)
The following users liked this post:
KarKraze (09-16-2014)
09-16-2014, 06:49 PM
#726
Drifting
Thread Starter
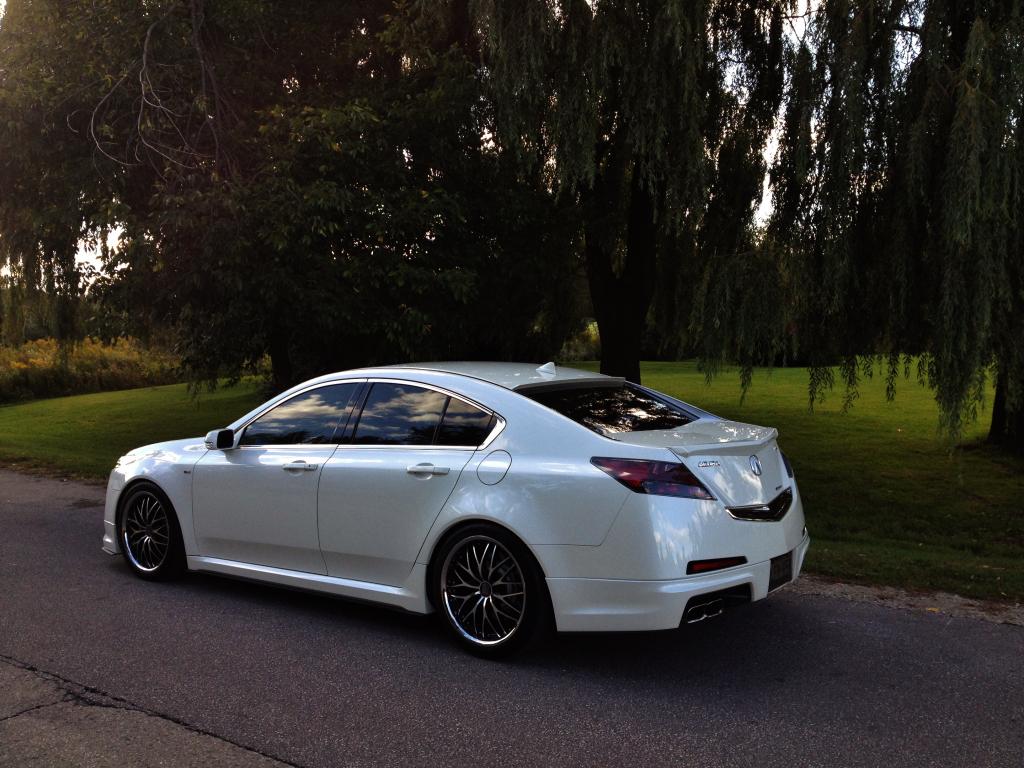
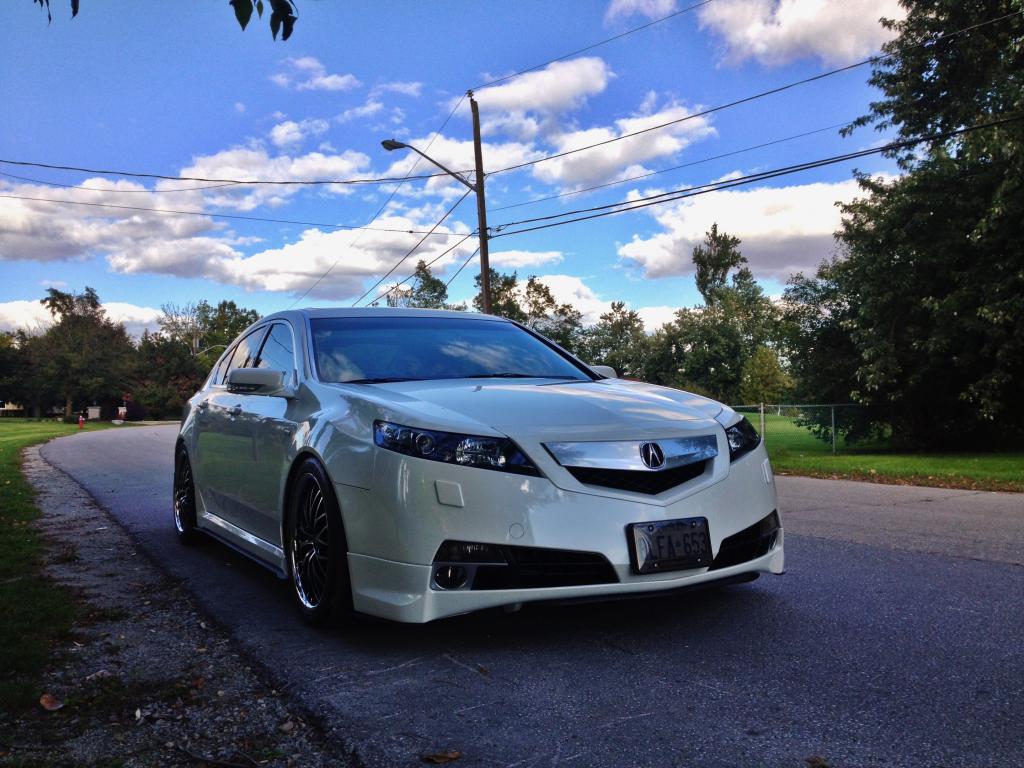
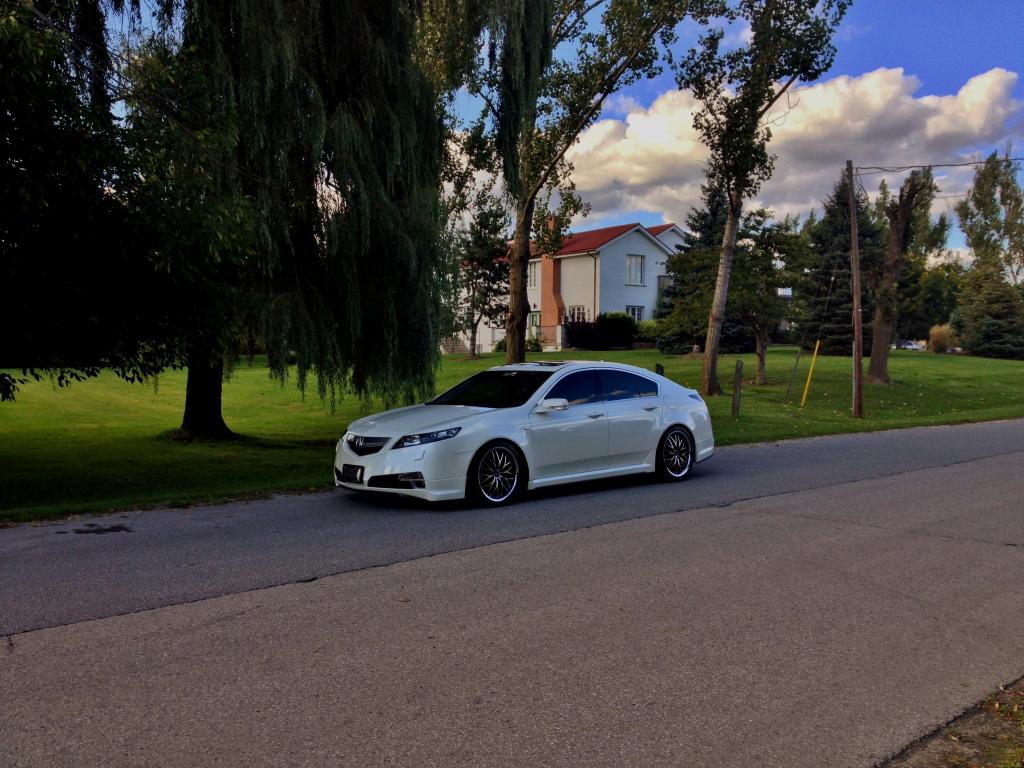
Well, this is it. All good things must come to an end, this last mod brings my build to a conclusion.I have totally enjoyed working on this car and feel that i am at a stage where enough has been done without going overboard.
I would like to thank everyone who followed my thread,left comments,offered advice and made suggestions.I would also like to thank Acurazine for having me as a member,this is an awesome forum with many helpful members who were always willing to share information. I have learnt a tremendous amount being on here and hopefully i was able to contribute back in some small way.I will still be around,reading and assisting whenever i can.
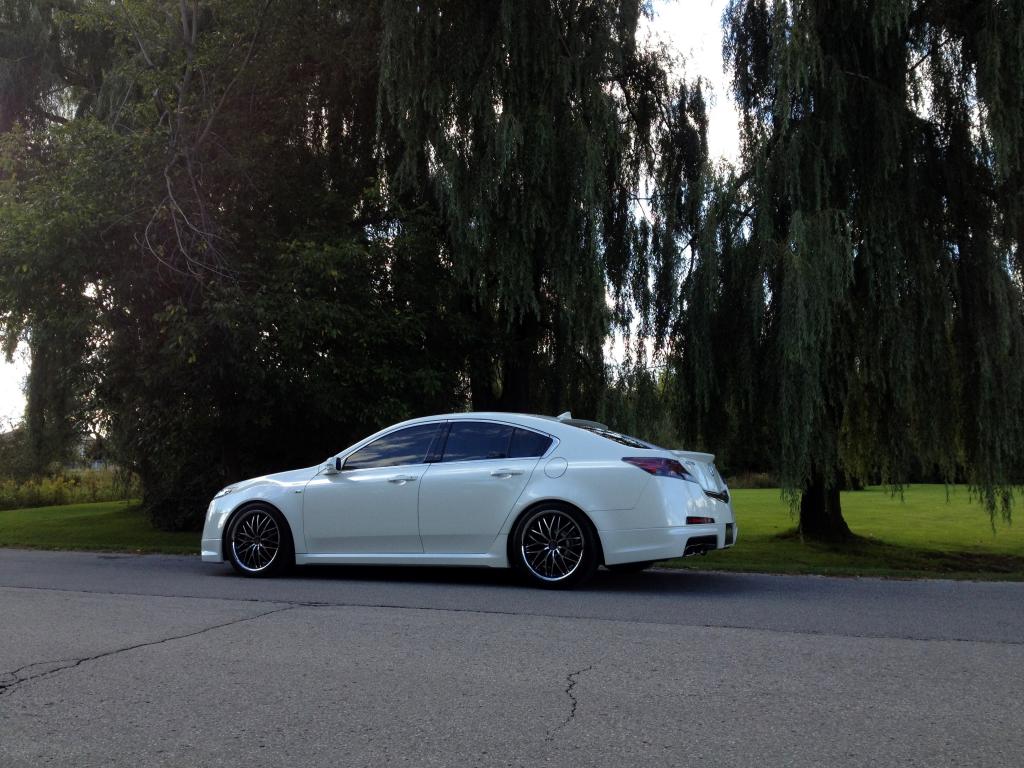
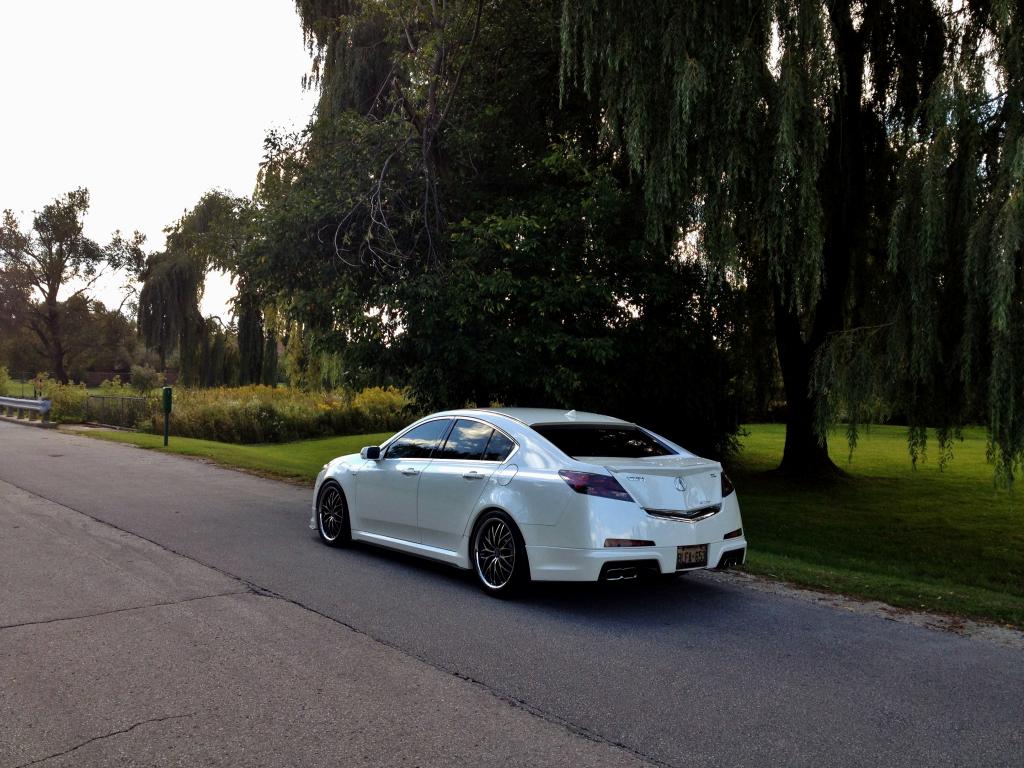
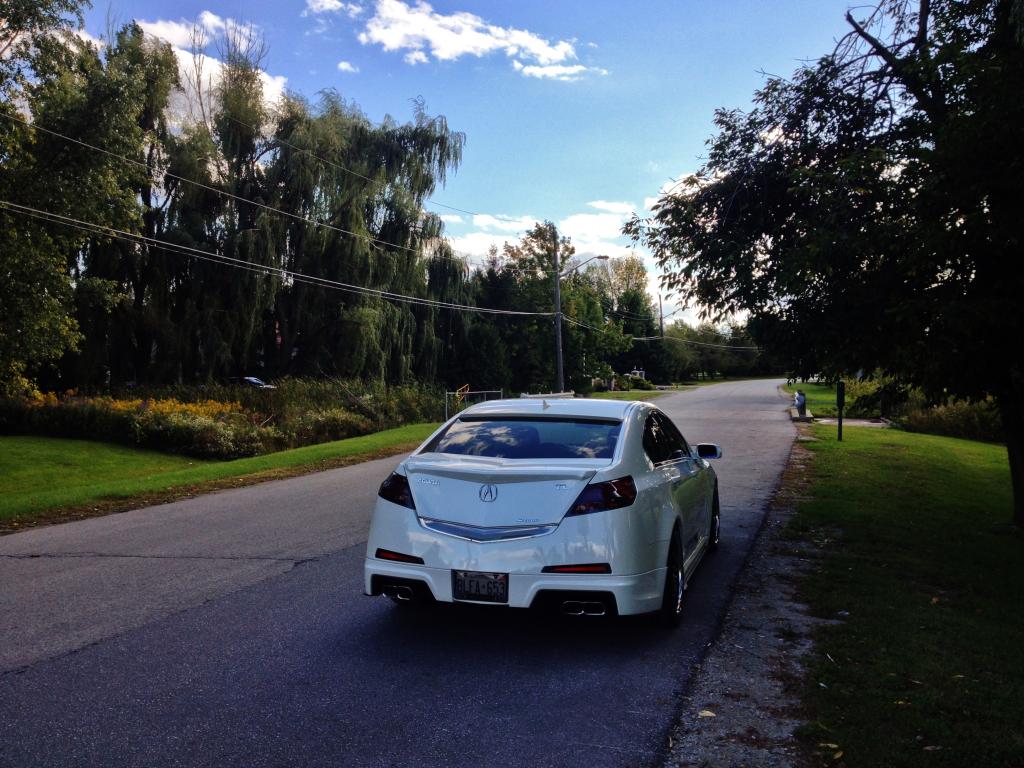
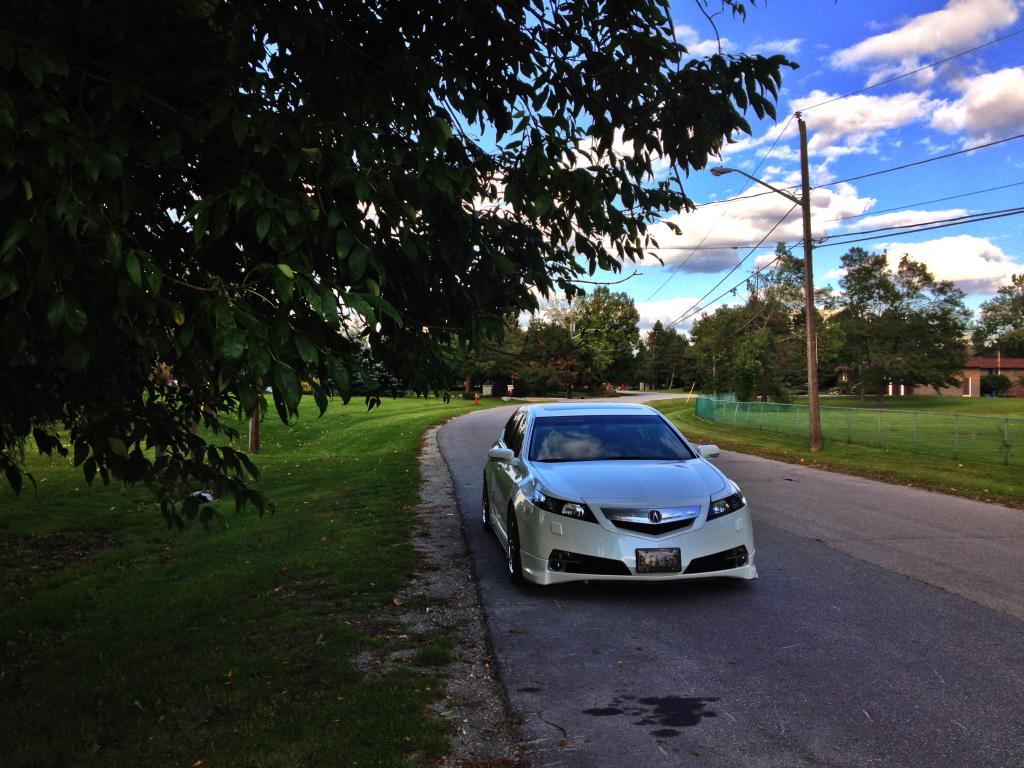
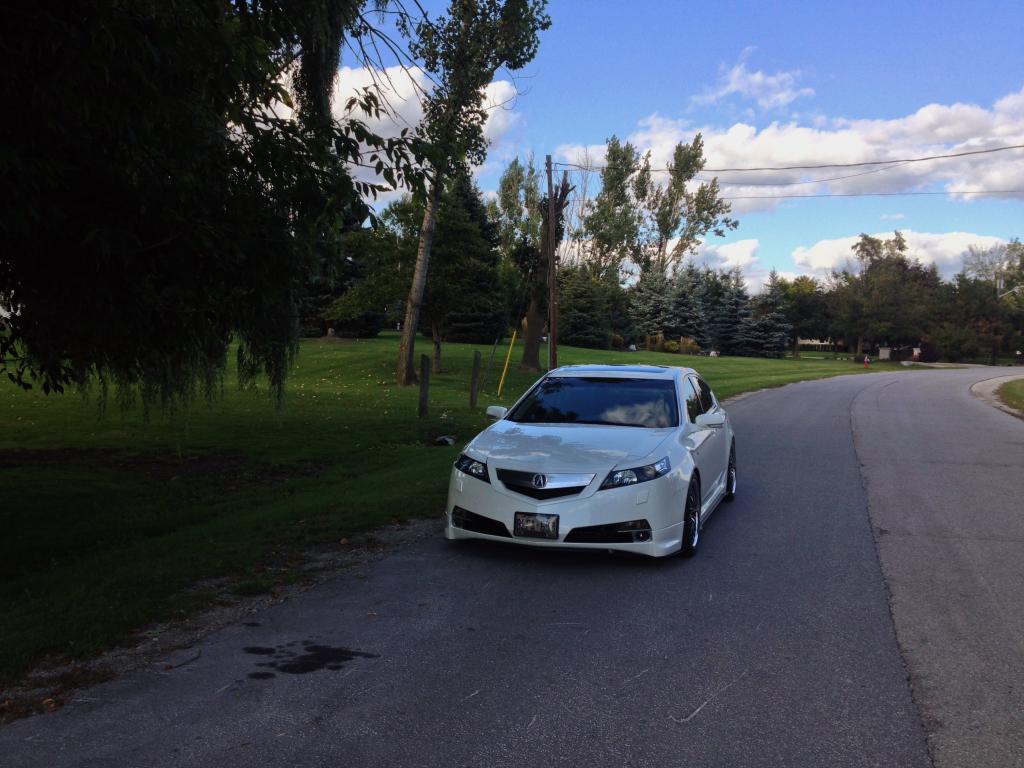
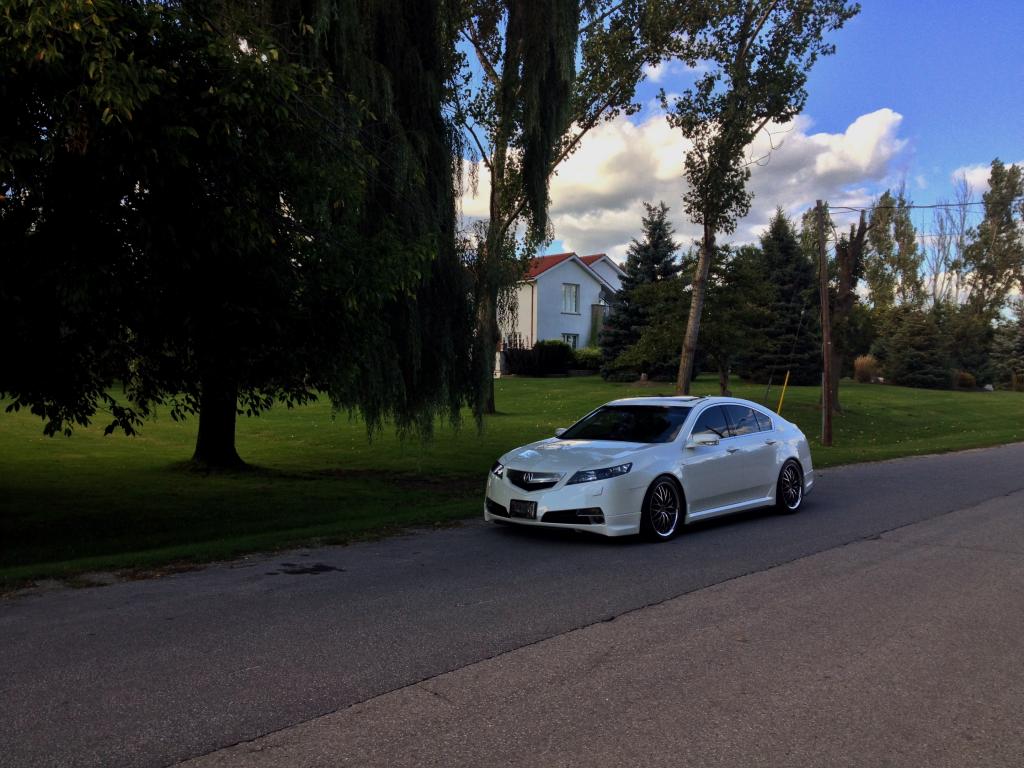
I took these pictures today and all i can say is "you have come a long way"

I would like to thank everyone who followed my thread,left comments,offered advice and made suggestions.I would also like to thank Acurazine for having me as a member,this is an awesome forum with many helpful members who were always willing to share information. I have learnt a tremendous amount being on here and hopefully i was able to contribute back in some small way.I will still be around,reading and assisting whenever i can.
I took these pictures today and all i can say is "you have come a long way"


The following users liked this post:
KarKraze (09-17-2014)
The following users liked this post:
KarKraze (09-17-2014)
09-20-2014, 05:25 PM
#729
Team Owner
iTrader: (2)
Join Date: Jan 2008
Location: Kansas City, MO (Overland Park, KS)
Posts: 36,545
Received 6,470 Likes
on
5,162 Posts
Beautiful shots.
The following users liked this post:
KarKraze (09-20-2014)
09-25-2014, 02:44 PM
#730

KK, if you are done modding your car as you claim, then I want to thank you for sharing your awesome build thread with us. Love all your one of mods and your unique way of tying everything together.
The following users liked this post:
KarKraze (09-25-2014)
The following users liked this post:
KarKraze (09-26-2014)
09-27-2014, 12:55 PM
#732
Team Owner
iTrader: (2)
Join Date: Jan 2008
Location: Kansas City, MO (Overland Park, KS)
Posts: 36,545
Received 6,470 Likes
on
5,162 Posts
I like the new Avatar too!
10-19-2014, 08:39 PM
#733
Drifting
Thread Starter
Thank you,love that BBK of yours.
Thanks, i like the tinted one's, but these are much nicer.
Sometimes i wished i lived close to another member with a 4G so we could do projects together.
Appreciate it.
Appreciate the kind words,it was my pleasure to share my ideas and mods.
I will be keeping this car for a long time but have my mind set on a real summer car,so time to stop the modding and start saving for another toy in a few years.
The TL is currently in hibernation mode,winter is coming .
.
Appreciate it.
I will be keeping this car for a long time but have my mind set on a real summer car,so time to stop the modding and start saving for another toy in a few years.
The TL is currently in hibernation mode,winter is coming
.
Last edited by KarKraze; 10-19-2014 at 08:45 PM.
 .
03-12-2015, 05:11 AM
.
03-12-2015, 05:11 AM
#737
Drifting
Thread Starter
I purchased them from the store several years ago,not sure if they still carry them, give them a call @ 416 740 4757.
However,similar pedals are available on Ebay, perhaps there is a difference in quality but the appearance is the same.
The following users liked this post:
stevesin (03-12-2015)
03-12-2015, 09:16 AM
#740
that's why i asked about how long it's been. i'm guessing my TL has yellowed a touch, and Nexson's work would look great on a brand new white TL... but may not match mine perfectly.
Any thoughts on that?
03-12-2015, 09:26 AM
#741
Drifting
Thread Starter
Good question,actually he did a great job on the matching, he actually sprayed a sample and match it up to a WDP on a dealer lot. It is still risky since cars may fade/ yellow differently. As you know the bumpers are off in colour from the other body parts and is something we have to live with, especially noticeable on the WDP.
There is always some risk, tell you what, when I bring the car out I will send you a PM and we can meet up and you can see for yourself if you are happy with it.
There is always some risk, tell you what, when I bring the car out I will send you a PM and we can meet up and you can see for yourself if you are happy with it.
03-12-2015, 09:44 AM
#742
Burning Brakes
KK, your 4G looks fantastic. Super clean.  Awesome job. Nothing over the top but nice attention to detail. Great build.
Awesome job. Nothing over the top but nice attention to detail. Great build.
The following users liked this post:
KarKraze (03-12-2015)
03-12-2015, 02:03 PM
#743
Good question,actually he did a great job on the matching, he actually sprayed a sample and match it up to a WDP on a dealer lot. It is still risky since cars may fade/ yellow differently. As you know the bumpers are off in colour from the other body parts and is something we have to live with, especially noticeable on the WDP.
There is always some risk, tell you what, when I bring the car out I will send you a PM and we can meet up and you can see for yourself if you are happy with it.
There is always some risk, tell you what, when I bring the car out I will send you a PM and we can meet up and you can see for yourself if you are happy with it.
The following users liked this post:
liquidneon (03-17-2015)
03-16-2015, 08:35 PM
#745
Drifting
Thread Starter
Coming from you that is much appreciated. Love your car as well.
My car came out exactly how I wanted it,a lot of thought, time and mods went into it. The objective was to make everything blend in so much so that it wouldn't stand out too much but still be different.
The two things I stayed away from were a loud exhaust and overly wide wheels,not that i don't admire it but it wasn't what i wanted for this car.
The following users liked this post:
TeamAcura (03-24-2015)
03-24-2015, 12:10 PM
#746
Burning Brakes
Coming from you that is much appreciated. Love your car as well.
My car came out exactly how I wanted it,a lot of thought, time and mods went into it. The objective was to make everything blend in so much so that it wouldn't stand out too much but still be different.
The two things I stayed away from were a loud exhaust and overly wide wheels,not that i don't admire it but it wasn't what i wanted for this car.
 . I want a loud exhaust and wide wheels but after experimenting with them; my next wheels will be the most aggressive without stretching tires which is 20x9.5. As money does not grow on trees for me, this year I will focus more on the performance end of things and some exterior mods. Nothing crazy. Next year, I want to upgrade to maybe a stage 2 brake kit and some nice lightweight forged wheels (preferable in the sub 20s) then I'm done.
Edit: my 1000th post on your thread!
 lol
lol
Last edited by TeamAcura; 03-24-2015 at 12:13 PM.
The following users liked this post:
KarKraze (03-24-2015)


 04-08-2015, 02:38 PM
#750
The Original Shawdy
Those headrest would be sick with my oem rear seat cover.
Nice collage!
Nice collage!
 05-01-2015, 10:30 AM
#754
7th Gear

Join Date: Mar 2014
Location: Greater Toronto Area
Posts: 7
Likes: 0
Received 0 Likes
on
0 Posts
KarKraze,
Can I ask which insurance company you went with or how you went about getting insurance for your car?
I am with RBC and they won't insure it once lowering springs are installed. In fact, just talking to them, I now have to provide evidence that I haven't lowered the car!
Realize I can find this myself, but perhaps there are insurers more open minded about this kind of thing? I plan on checking the GTA Subaru forums
Sweet setup btw. I have been considering going with the same setup as far as springs and wheel sizing.
TIA!
05-01-2015, 10:32 PM
#756
Drifting
Thread Starter
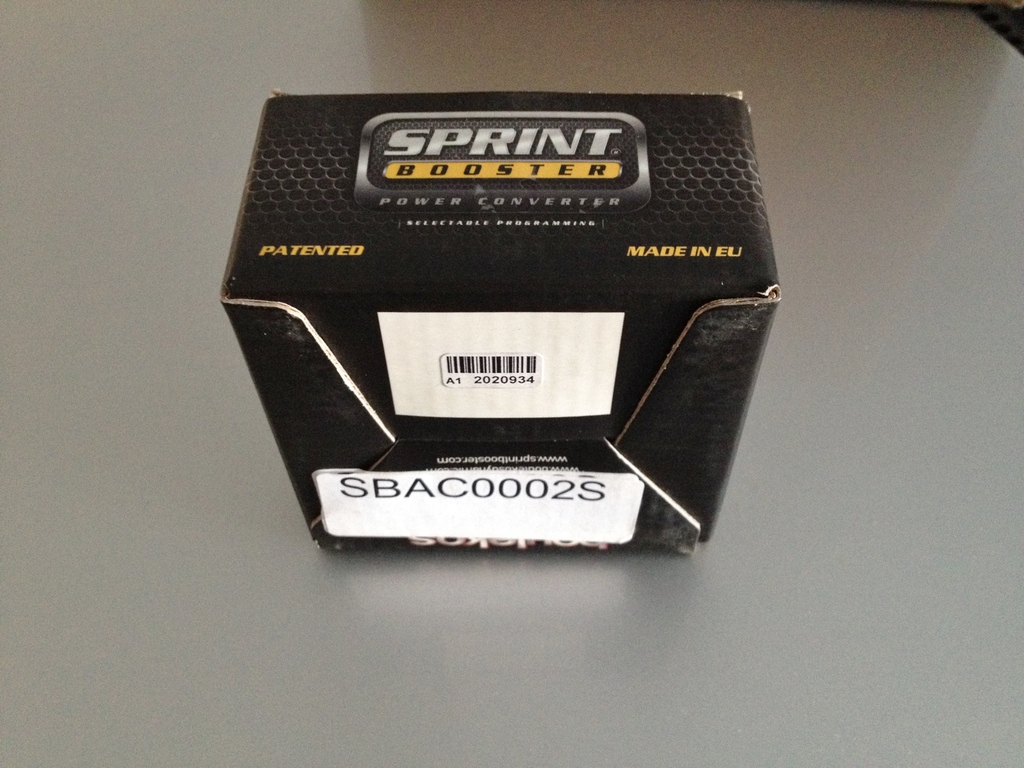
Decided to give the Sprint Booster a try, figured I can't go wrong with the 30 day refund policy. Been hearing good things about it so it's time to see for myself. Looking to install sometime this weekend.
 05-02-2015, 02:14 AM
#757
The Original Shawdy
Nice pick up. In for your review.
05-03-2015, 12:21 PM
#759
Drifting
Thread Starter
Installation of Sprint Booster
Switch off car,remove keys from the ignition,move seat as far back as possible and leave the door open for at least 5 minutes before installation for the power to drain from the accelerator module.Leave door open during installation.
Look under the driver side of the dashboard and locate the panel that has the puddle light,turn clip on the right side of the panel shown in picture below,pull down on the left side of the panel to remove the panel.
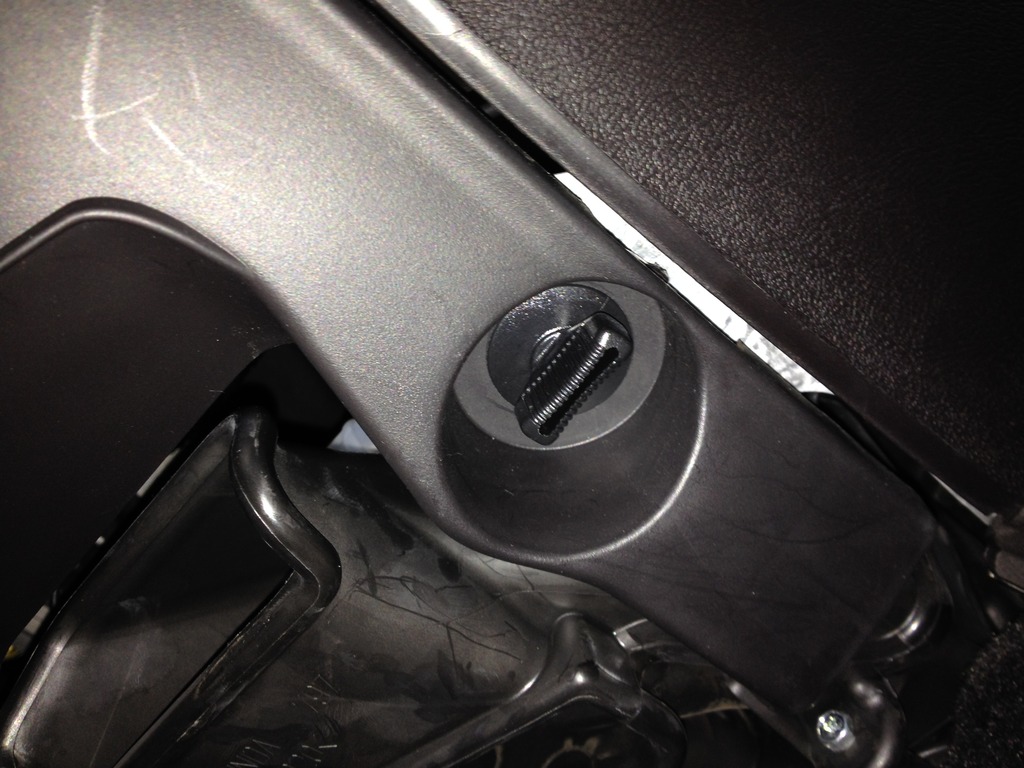
Panel removed
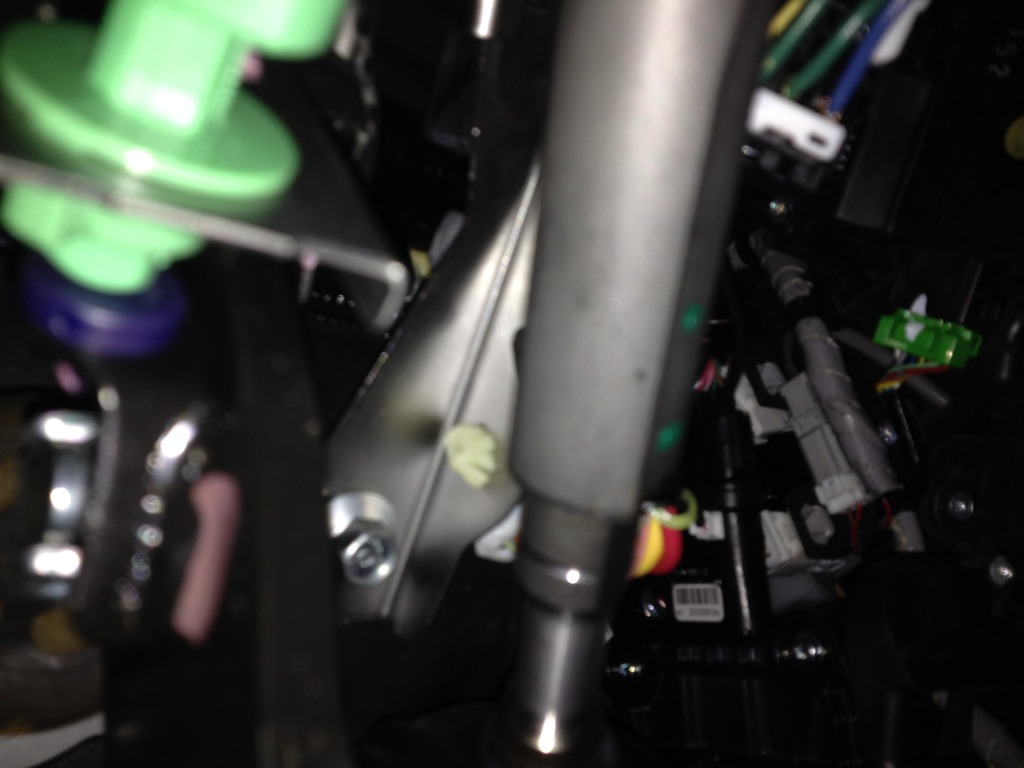
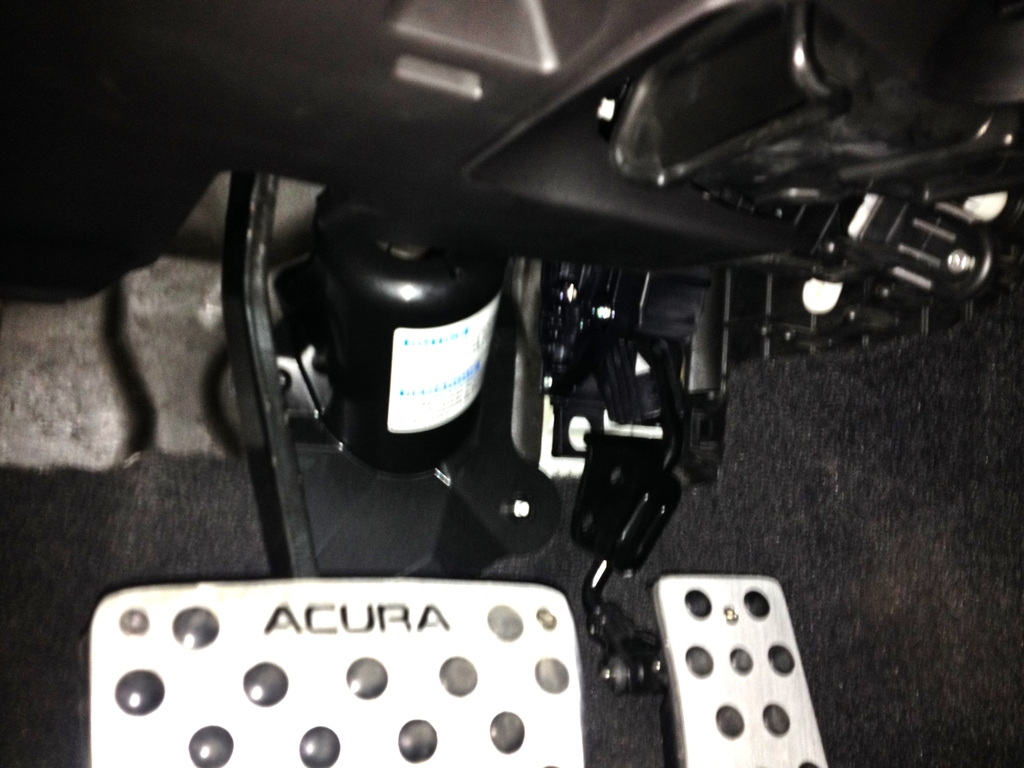
Locate the harness that plugs in to the the accelerator pedal, feel at the top right side of the harness and depress the clip that hold it in place,pull harness upwards to remove it.
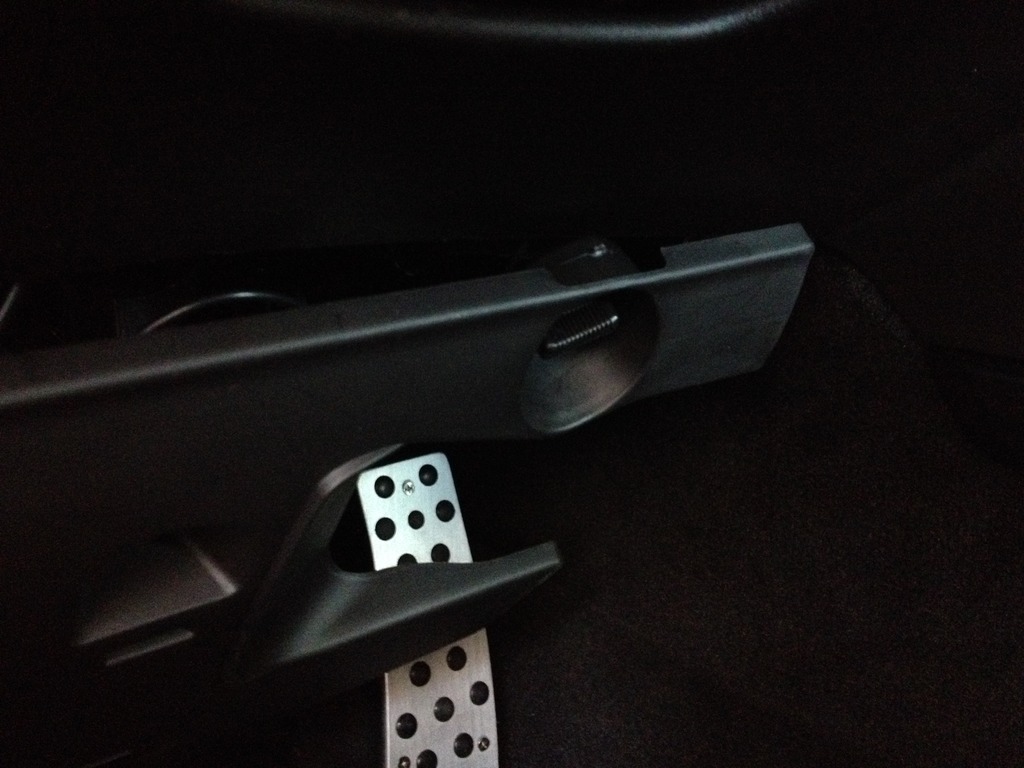
Plug one end of the Sprint Booster in to the accelerator pedal body,plush in until you hear a click.
Plug the harness in to the open end of the SB,push in until you hear a click. Plug on/off switch in to the SB (white end of plug to the white end on the SB ) Picture shows the SB installed.

Re install panel
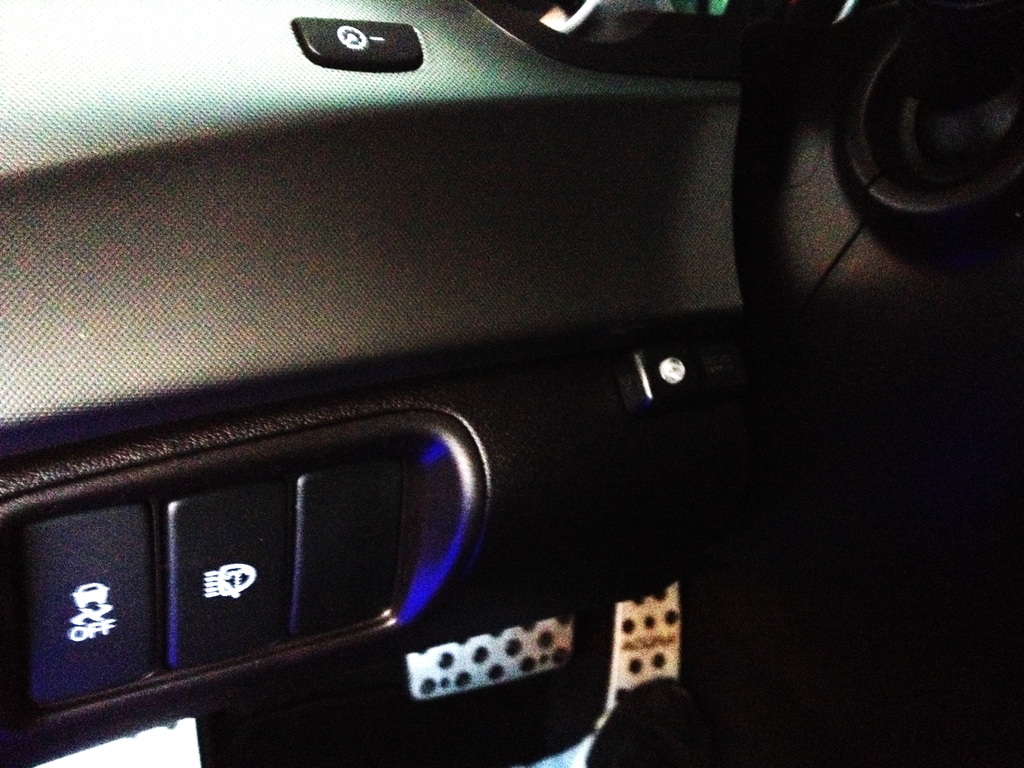
Attach the on/off switch in a location of your choice,show here in off position
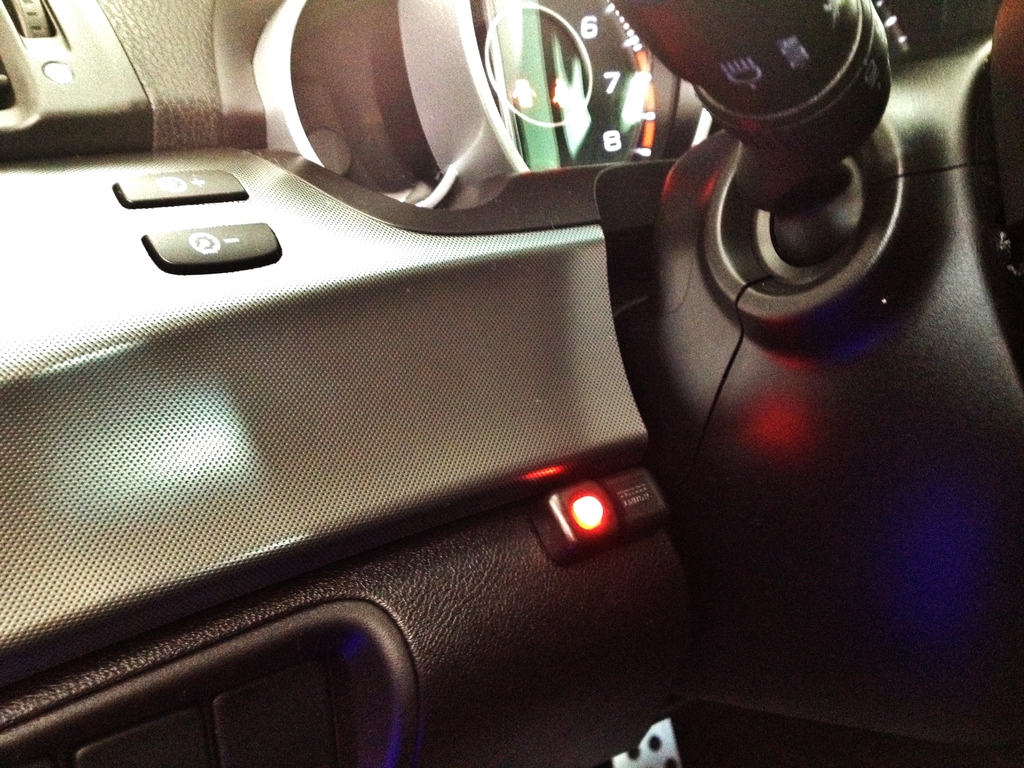
SB in race mode (red light)
Installation is not difficult and i did not remove the pedal to do it,however space is limited and that is what i had issues with,all in all it took me about twenty minutes.With more room to work it would be a breeze to install.
Will post a review later.
Switch off car,remove keys from the ignition,move seat as far back as possible and leave the door open for at least 5 minutes before installation for the power to drain from the accelerator module.Leave door open during installation.
Look under the driver side of the dashboard and locate the panel that has the puddle light,turn clip on the right side of the panel shown in picture below,pull down on the left side of the panel to remove the panel.

Panel removed

Locate the harness that plugs in to the the accelerator pedal, feel at the top right side of the harness and depress the clip that hold it in place,pull harness upwards to remove it.
Plug one end of the Sprint Booster in to the accelerator pedal body,plush in until you hear a click.
Plug the harness in to the open end of the SB,push in until you hear a click. Plug on/off switch in to the SB (white end of plug to the white end on the SB ) Picture shows the SB installed.


Re install panel

Attach the on/off switch in a location of your choice,show here in off position

SB in race mode (red light)

Installation is not difficult and i did not remove the pedal to do it,however space is limited and that is what i had issues with,all in all it took me about twenty minutes.With more room to work it would be a breeze to install.
Will post a review later.
The following users liked this post:
ripcityTL (06-02-2020)
05-03-2015, 08:18 PM
#760
Team Owner
iTrader: (2)
Join Date: Jan 2008
Location: Kansas City, MO (Overland Park, KS)
Posts: 36,545
Received 6,470 Likes
on
5,162 Posts
Well done, dude!