When you click on links to various merchants on this site and make a purchase, this can result in this site earning a commission. Affiliate programs and affiliations include, but are not limited to, the eBay Partner Network.
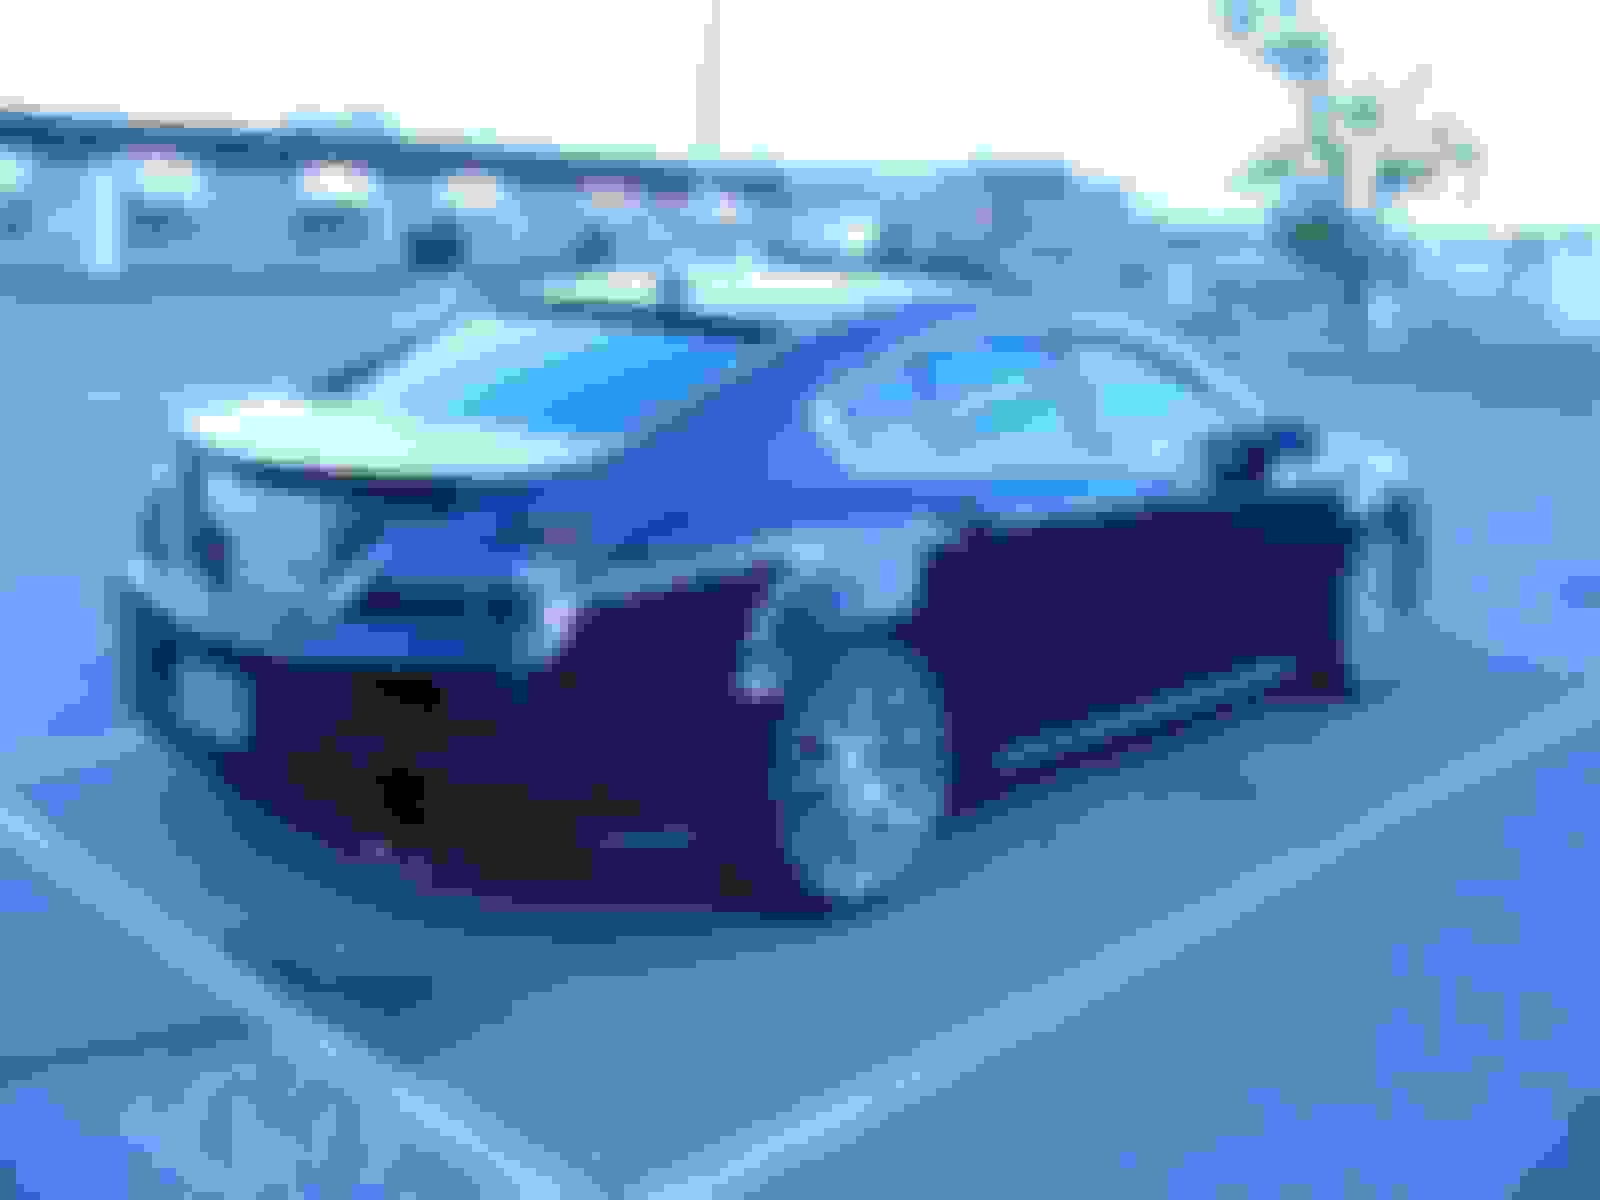
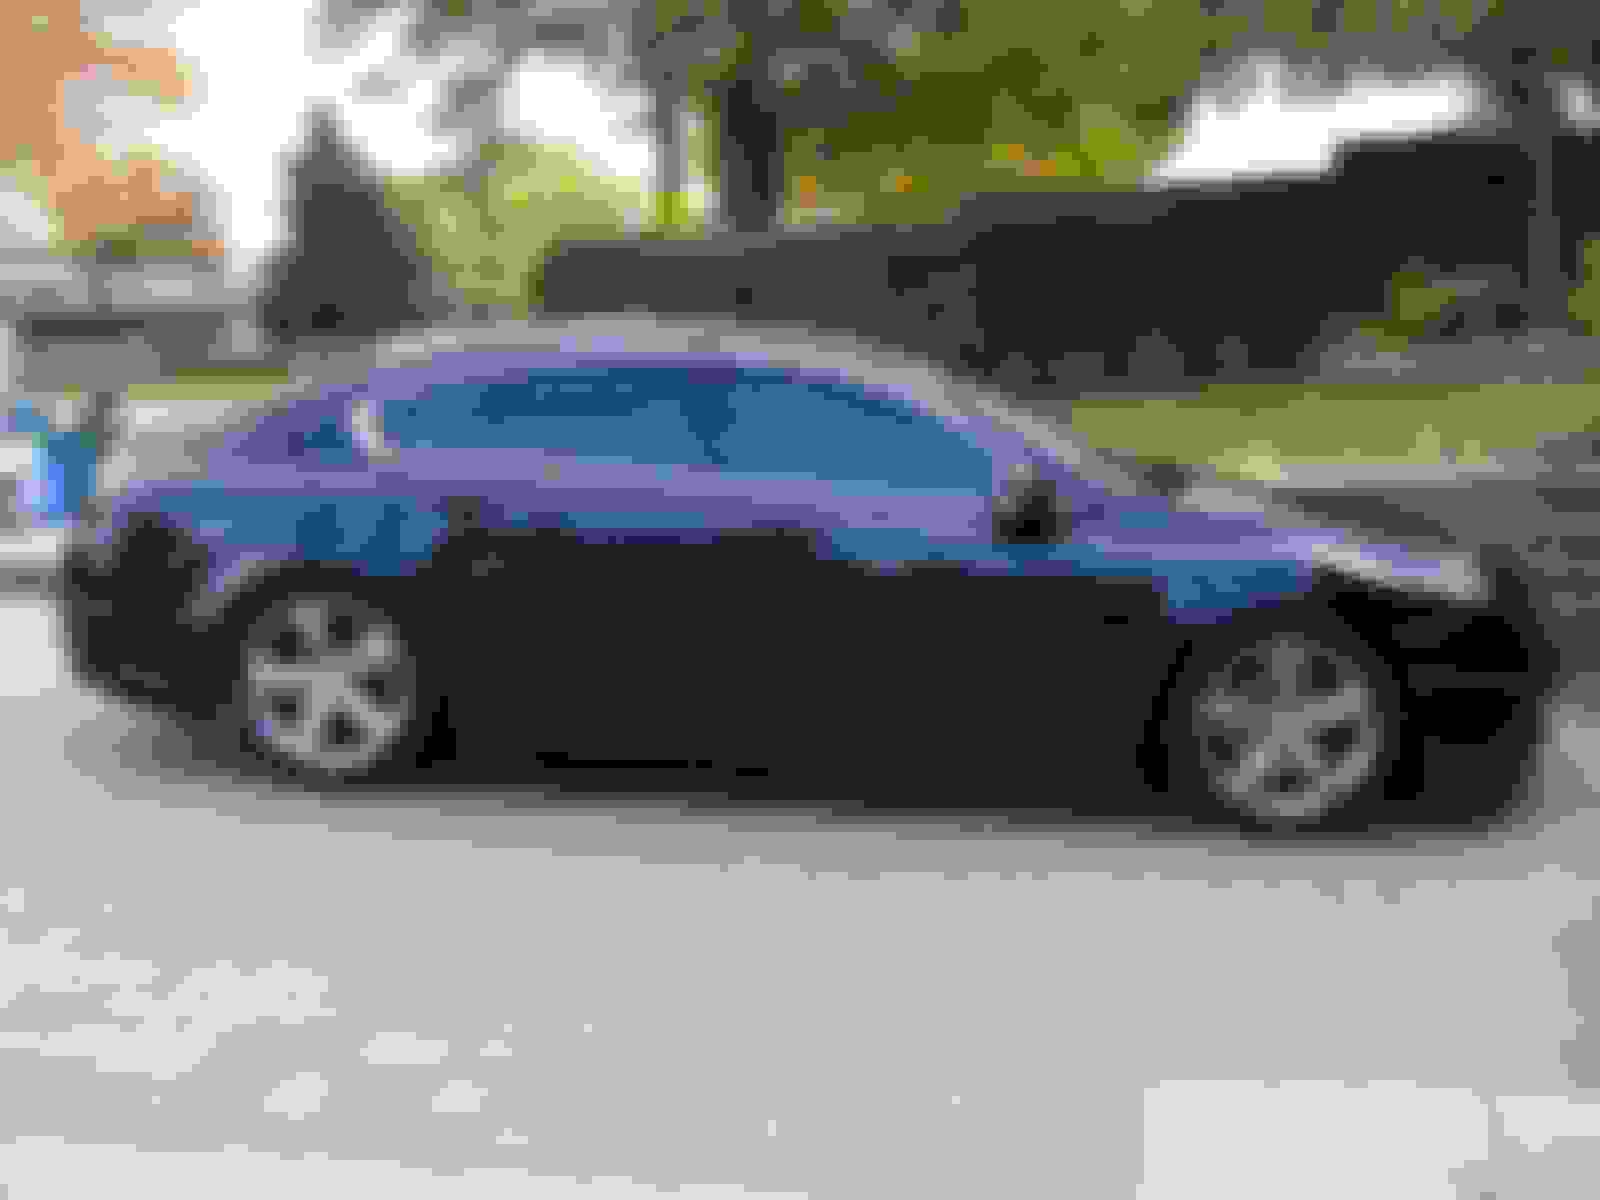
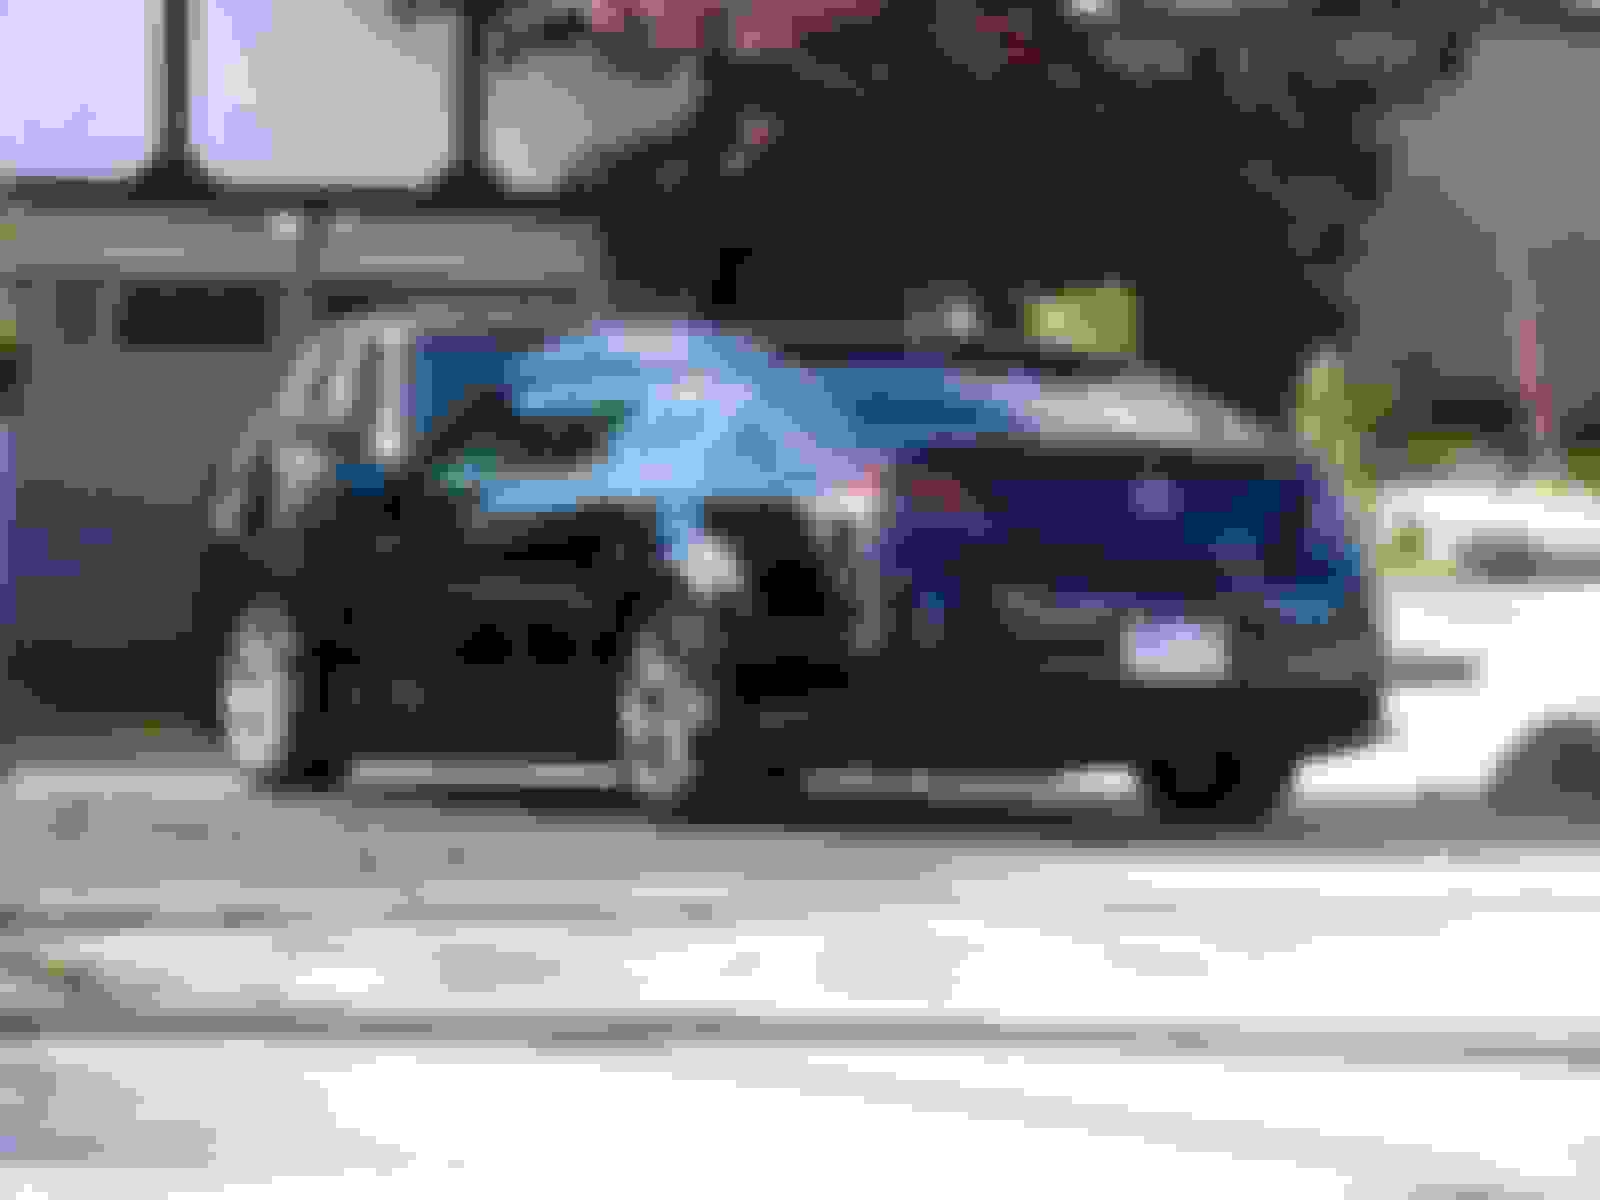
Some updates; the back tires are rubbing on the edge of the inside of the wheel wells and not that tab. I haven't done anything about it though. Since I plan to put the winter rims and tires back on in November ill wait to see how they fit. I haven't found anywhere to roll the fenders around here but the rubbing isn't too bad. I might run some more camber next year to tuck them more.
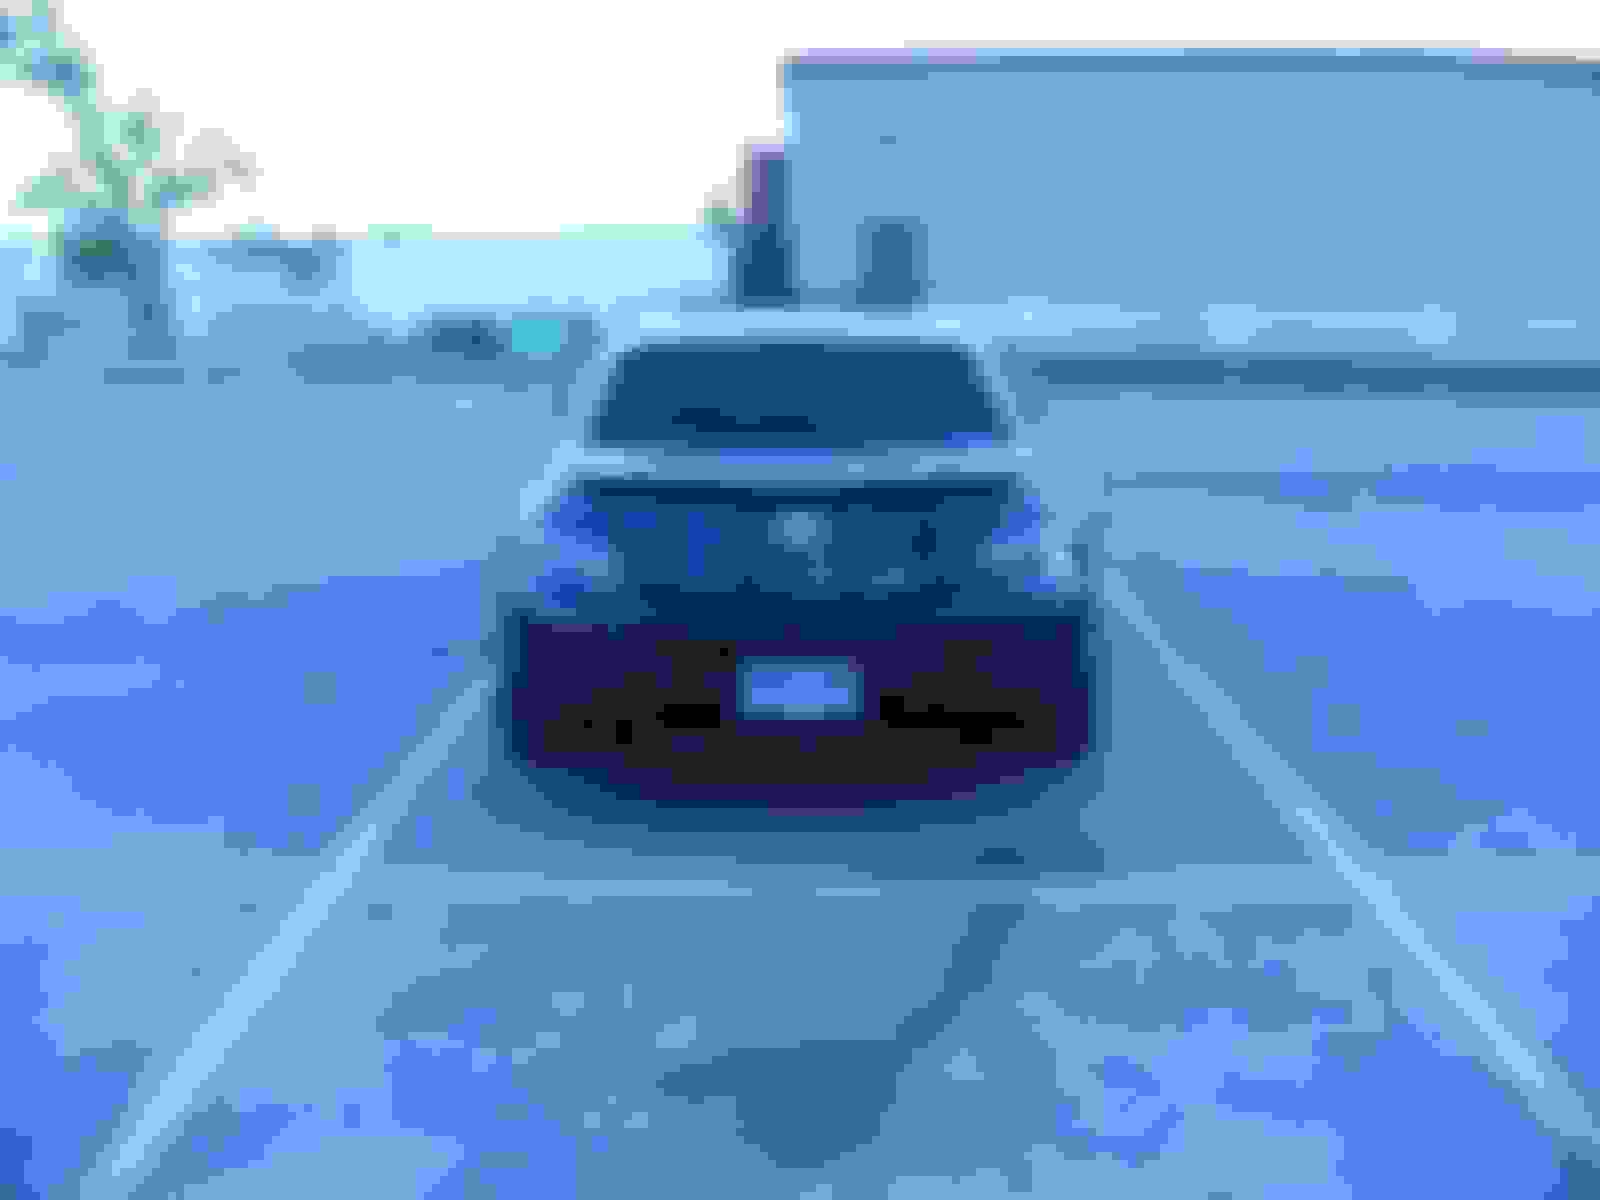
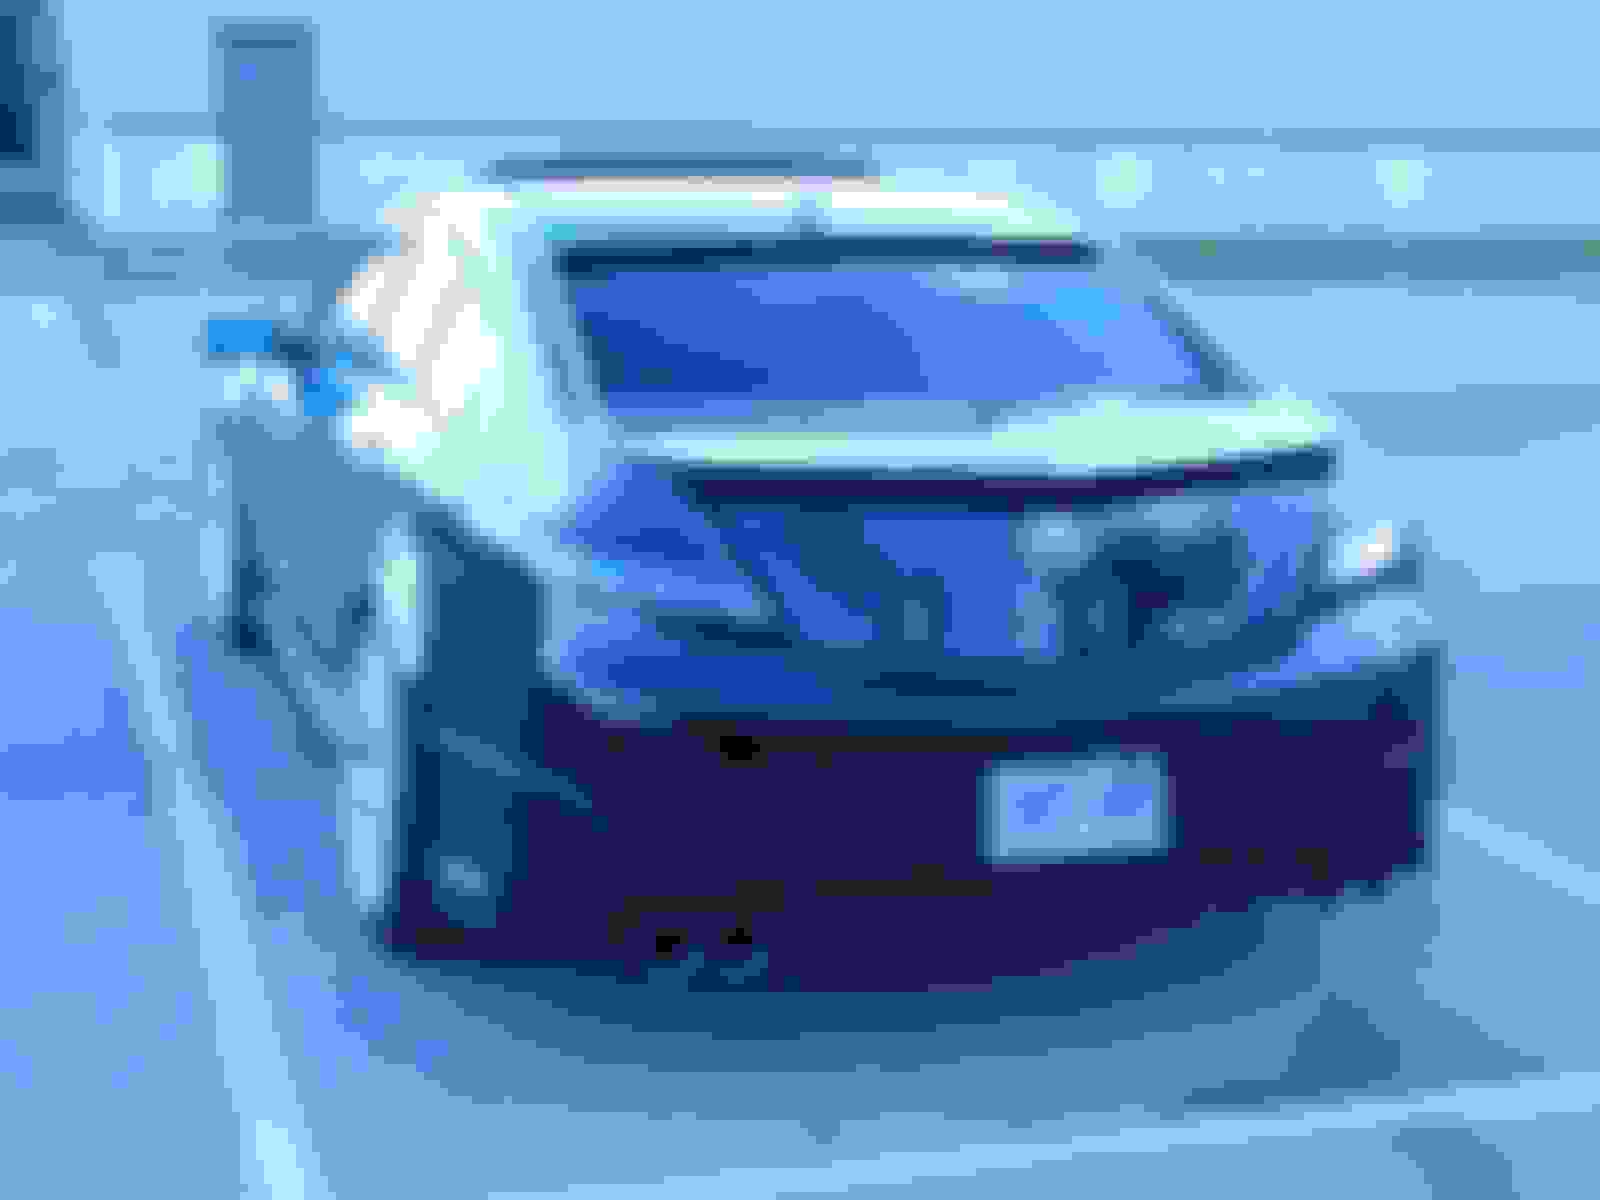
I ordered lamin-x tint film for the taillights in "gunsmoke". I would highly recommend this product as it was really easy to work with. I went with gun smoke because I still wanted there to be some color in them so I hopefully don't get pulled over for being too dark. Honestly the pictures on their website make gunsmoke seem darker than mine are but its only been 48 hours since I put them on so they might still be curing.
Looking to the future im really undecided what I want to do next. Ive got about 1500CAD that I can spend on mods between now and late spring/early summer 2018. Ive got two ideas and would like to hear any opinions which one I should go with or any other suggestions. I expect both to be 1500 including installation give or take a couple hundred and its not to say that I cant do both eventually but not for a while.
#1 j pipe and hfpc
pro: sound, power (both probably minimal on their own)
con: I drive in the city and rarely get a chance to give it much gas
#2 That package that includes 4 slotted stoptech rotors, 4 stoptech pads and stainless steel brake lines in addition to mgp caliper covers in the color of my choice.
pro: looks good, possibly increased stopping power
con: my current rotors and pads are quite new (approx 4000KM on them) and decently painted
To play devil's advocate here, I think your car looks excellent as-is.
The brakes on your car are pretty much new, I don't think its worth it to replace them already. The J-pipe and HFPC would be a nice addition to the car but in your situation like you said, driving in the city, would it be worth the money?
I'm not sure what mileage you have on the car, but my suggestion would be to use that cash and do preventative maintenance on the car (timing & drive belt, tensioners, water pump, thermostat, fluid changes like rear diff, trans, brake, coolant, etc) to make sure you get many more years of enjoyment. Whatever cash you have left over, spend it on a good cut + polish for your paint, the difference it makes is astonishing, especially on a black car. I'm not sure where you are in Ontario but if you're close to the GTA I have a close friend that details on the side and his prices are really reasonable.
Thanks Mickman that's some really good advice. Maintenance wise im more than up to date on everything and I don't plan on getting to 100k miles for a really long time so ill be doing that other stuff once its 7 years old. I have been meaning to get a really good polish done to it. Ive only really waxed it myself a couple times. Unfortunately im not in the gta im in the Niagara region. You are so right though im questioning if its worth it to do those things.
Nice looking ride my friend and I like those TSWs. I might have missed the info, but how did you do the rear diffuser
The diffuser I didn't post much info on since theres already a really good DIY on acurazine for it. It can be found here.
The only thing I would add is that I double layered the two sided tape and if I were to do it again id probably triple layer it. I also secured it using two screws on either side and they are screwed into clips on the other side so its not going anywhere.
Thanks Mickman that's some really good advice. Maintenance wise im more than up to date on everything and I don't plan on getting to 100k miles for a really long time so ill be doing that other stuff once its 7 years old. I have been meaning to get a really good polish done to it. Ive only really waxed it myself a couple times. Unfortunately im not in the gta im in the Niagara region. You are so right though im questioning if its worth it to do those things.
In that case, I would most definitely spend some cash for a full cut and polish. You don't realize how much of a difference there is to be had until it has been done. That gets my vote 100%. With a black car it will be a night and day difference.
In that case, I would most definitely spend some cash for a full cut and polish. You don't realize how much of a difference there is to be had until it has been done. That gets my vote 100%. With a black car it will be a night and day difference.
Will do! Actually been meaning to do it for a while I just need to find a reputable business to get it done at. Anyone know of any? Im just going to have to google search and call around tomorrow.
To summarize 8 months of ownership and money spent so far. This is in Canadian funds and includes everything; shipping, taxes, duties, install. Most numbers are rounded for simplicity.
Outstanding ride mate!! I just got my TL in June and I'm starting just like you did pretty much lol (just mine is a white pearl).
Saw you are interested in getting a good detailing done. I'm from Ottawa and I'm with a detailing company called Routier Motorsports. Amazing company with good prices and AMAZING quality and has the best products in the detailing business. The owner, Sylvain, is amazing and super client orientated. If ever your in Ottawa, that's the place to go! I can tell you more if your interested. Best membership I've ever had.
Also saw your not sure what to do with you exhaust system. Well I've done lots of research and I'm starting to do the exhaust system once my J-Pipe comes in next week. I got the RV6 J-Pipe and two magnaflow 11229's with two 3'' resonators. Since the TL's have 3 cats and only the two near the manifolds are monitored, the third cat can be eliminated without problems (plus it will still pass emissions in Ontario!). The RV6's J-pipe eliminates the 3rd cat and opens up at 3''. So, I'm getting a custom catback at 3'' and getting the two 11229 Magnaflow's with dual tips put in (hopefully will all be done in the next 2-3 weeks). Will purr real nice let me tell you.
Nice thread, I love what you've done to your car so far and the breakdown of cost. The wheels are much better than the other ones you had. Are the new ones TSW Amaroo?
Newb201Outstanding ride mate!! I just got my TL in June and I'm starting just like you did pretty much lol (just mine is a white pearl).
Saw you are interested in getting a good detailing done. I'm from Ottawa and I'm with a detailing company called Routier Motorsports. Amazing company with good prices and AMAZING quality and has the best products in the detailing business. The owner, Sylvain, is amazing and super client orientated. If ever your in Ottawa, that's the place to go! I can tell you more if your interested. Best membership I've ever had.
Also saw your not sure what to do with you exhaust system. Well I've done lots of research and I'm starting to do the exhaust system once my J-Pipe comes in next week. I got the RV6 J-Pipe and two magnaflow 11229's with two 3'' resonators. Since the TL's have 3 cats and only the two near the manifolds are monitored, the third cat can be eliminated without problems (plus it will still pass emissions in Ontario!). The RV6's J-pipe eliminates the 3rd cat and opens up at 3''. So, I'm getting a custom catback at 3'' and getting the two 11229 Magnaflow's with dual tips put in (hopefully will all be done in the next 2-3 weeks). Will purr real nice let me tell you.
Hey that's funny because I am planning on going to Ottawa to visit a friend of mine but I don't plan on driving this car. I think I found a place around here for the polish although its expensive. It seems like you've got a nice exhaust planned, you should post some count clips if possible when its done. Im just planning on starting with jpipe+hfpc and then ill have to do the research about what catback setup I like the most.
atomlinksNice thread, I love what you've done to your car so far and the breakdown of cost. The wheels are much better than the other ones you had. Are the new ones TSW Amaroo?
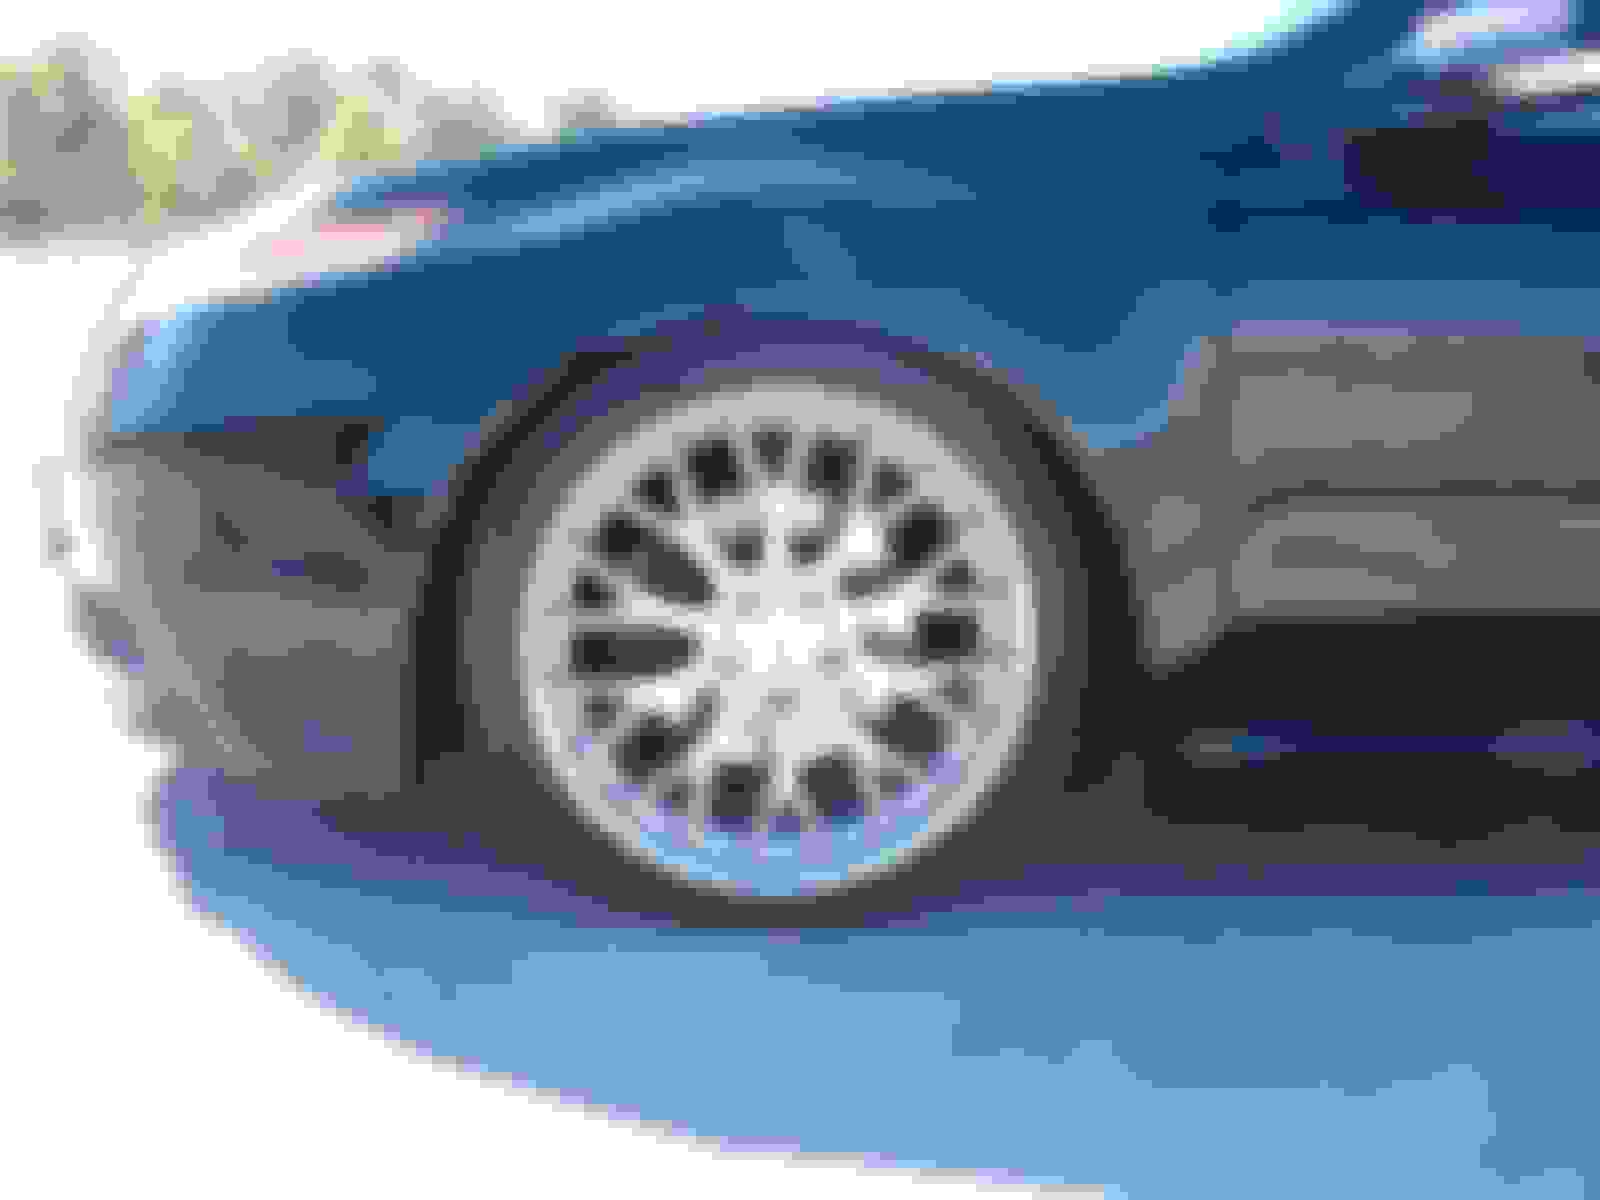
Thanks I think ive spent wisely only 2600 plus the cost of rims/tires to get here and yes they are TSW Amaroo.
teh CL
Car is looking real fresh, those wheels are definitely a game changer..
draginmoparCar looks great really like those TSW wheels and I like the wrap idea on the grill.
Thanks guys the wheels do make it for sure. Hard to believe they were for sale on acurazine for a year and no one bought them before me.
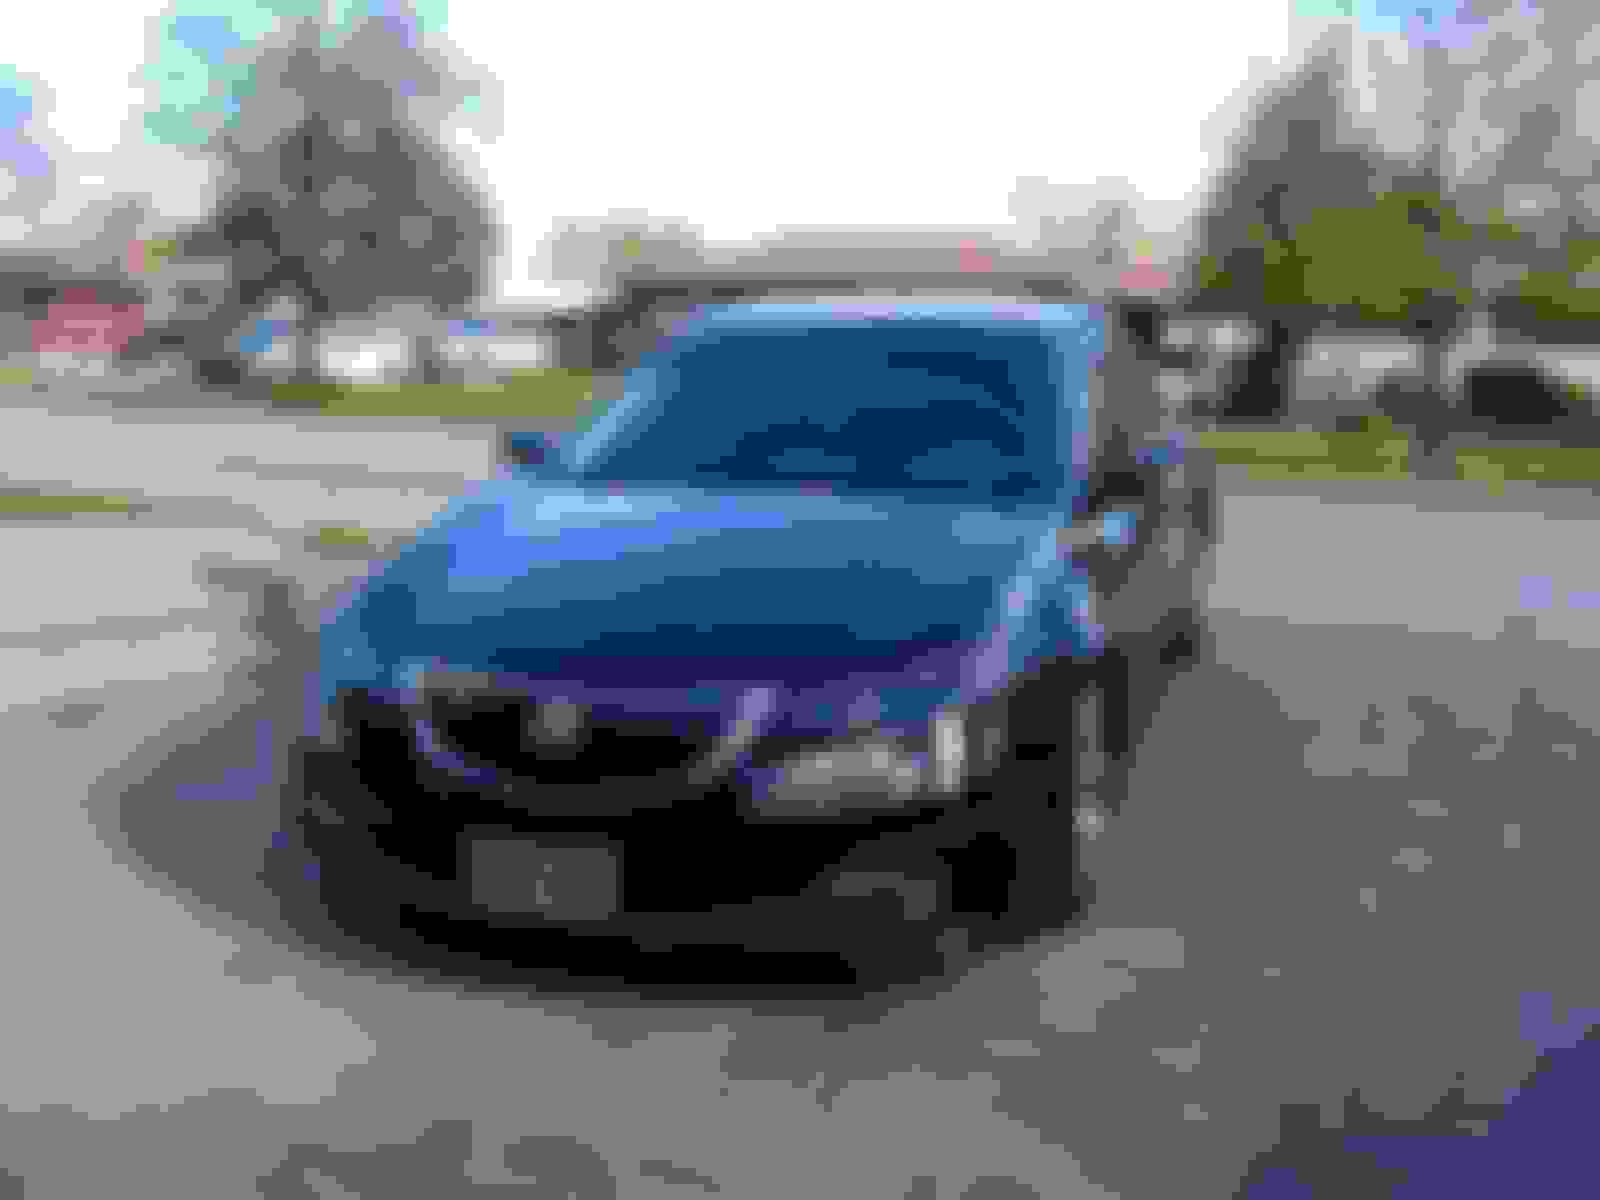
So I had a bunch of tint leftover from another project and decided to put it on the headlights. Its the same stuff that's on my rear reflectors and its essentially the same darkness as the 'gunsmoke' laminx taillight tint I got. Once the headlights were done the turn signals looked too bright and then once they were done the fog lights looked to bright. Long story short its all tinted up. The fogs have it over top the blue tint.
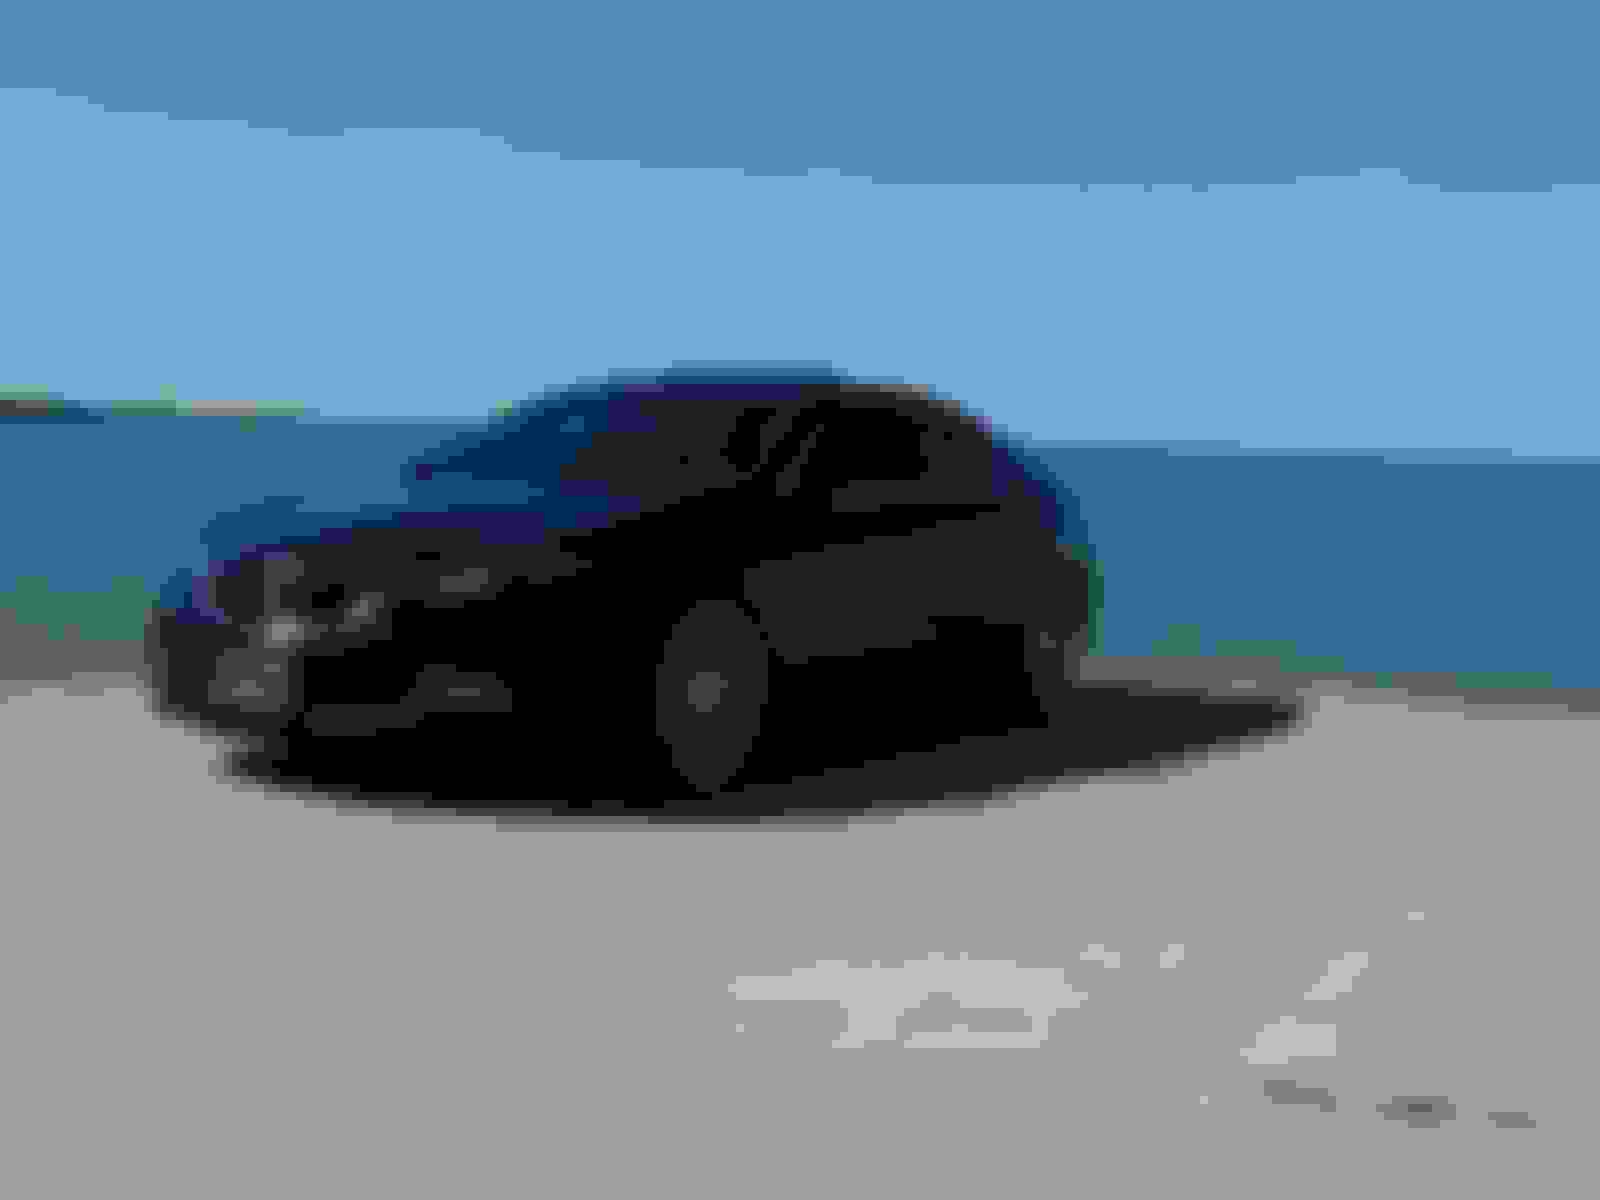
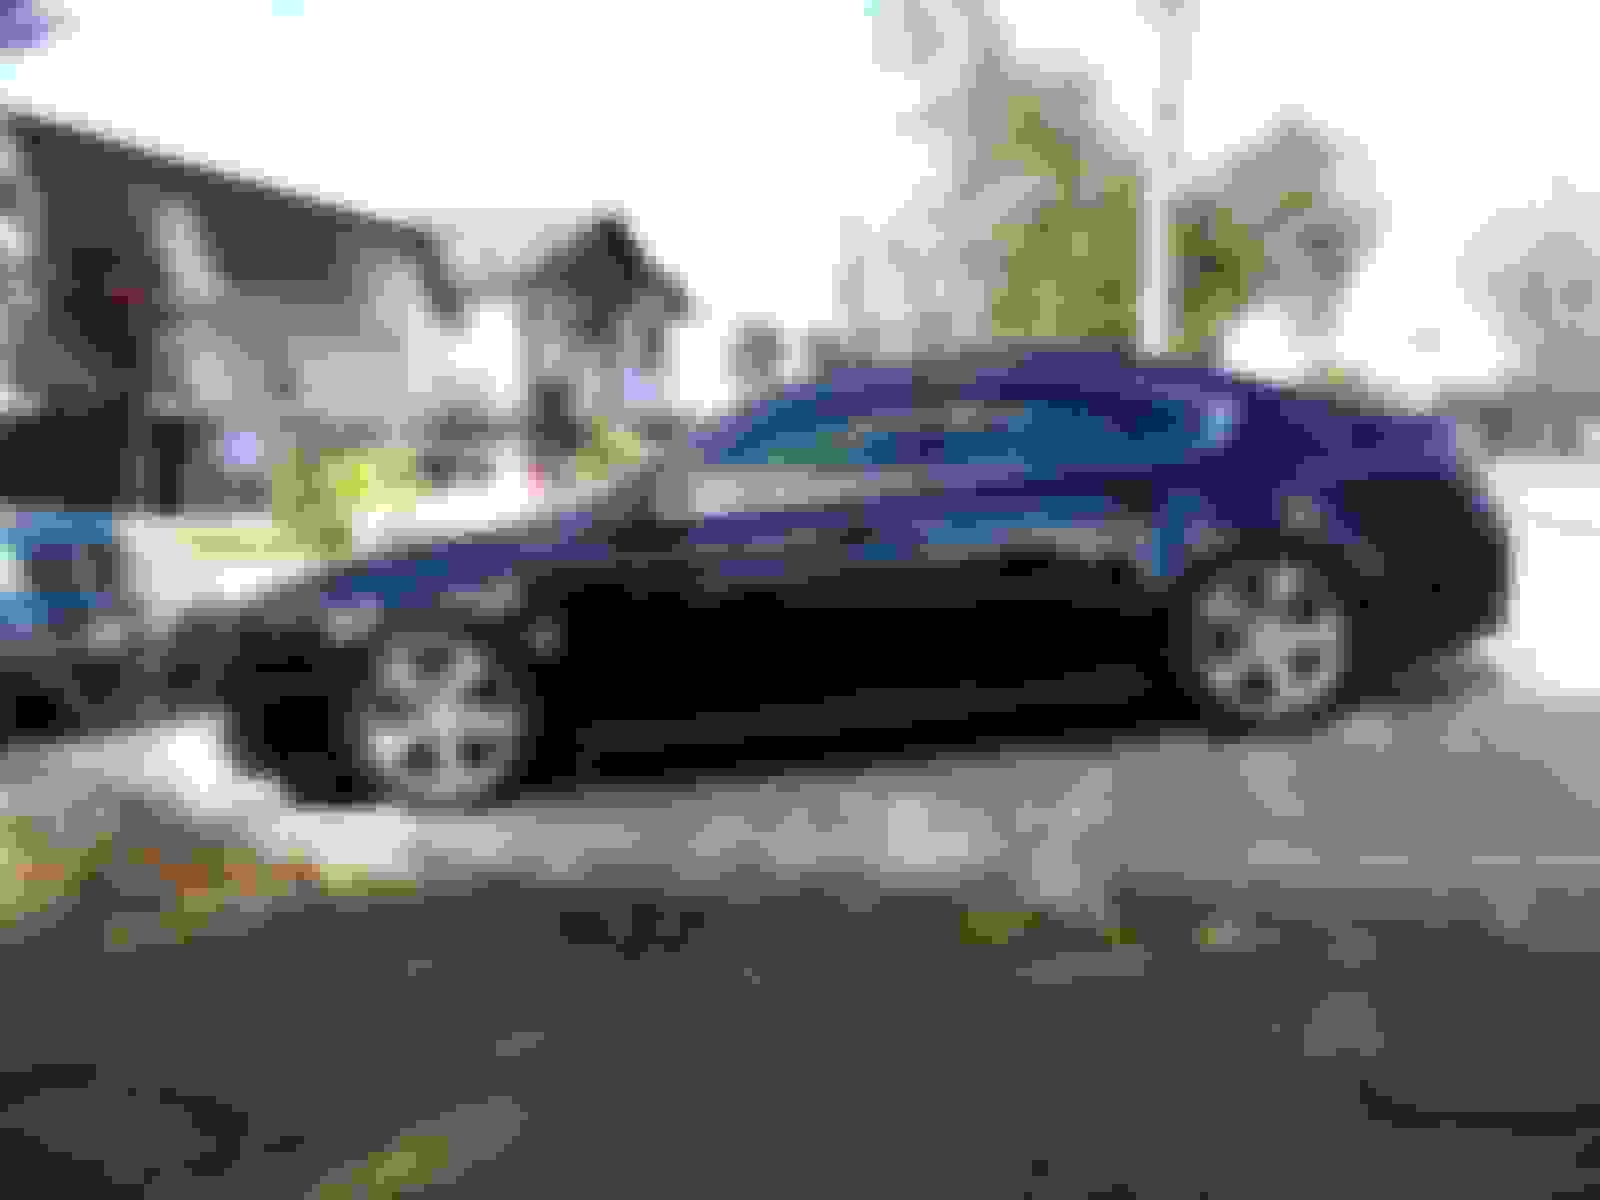
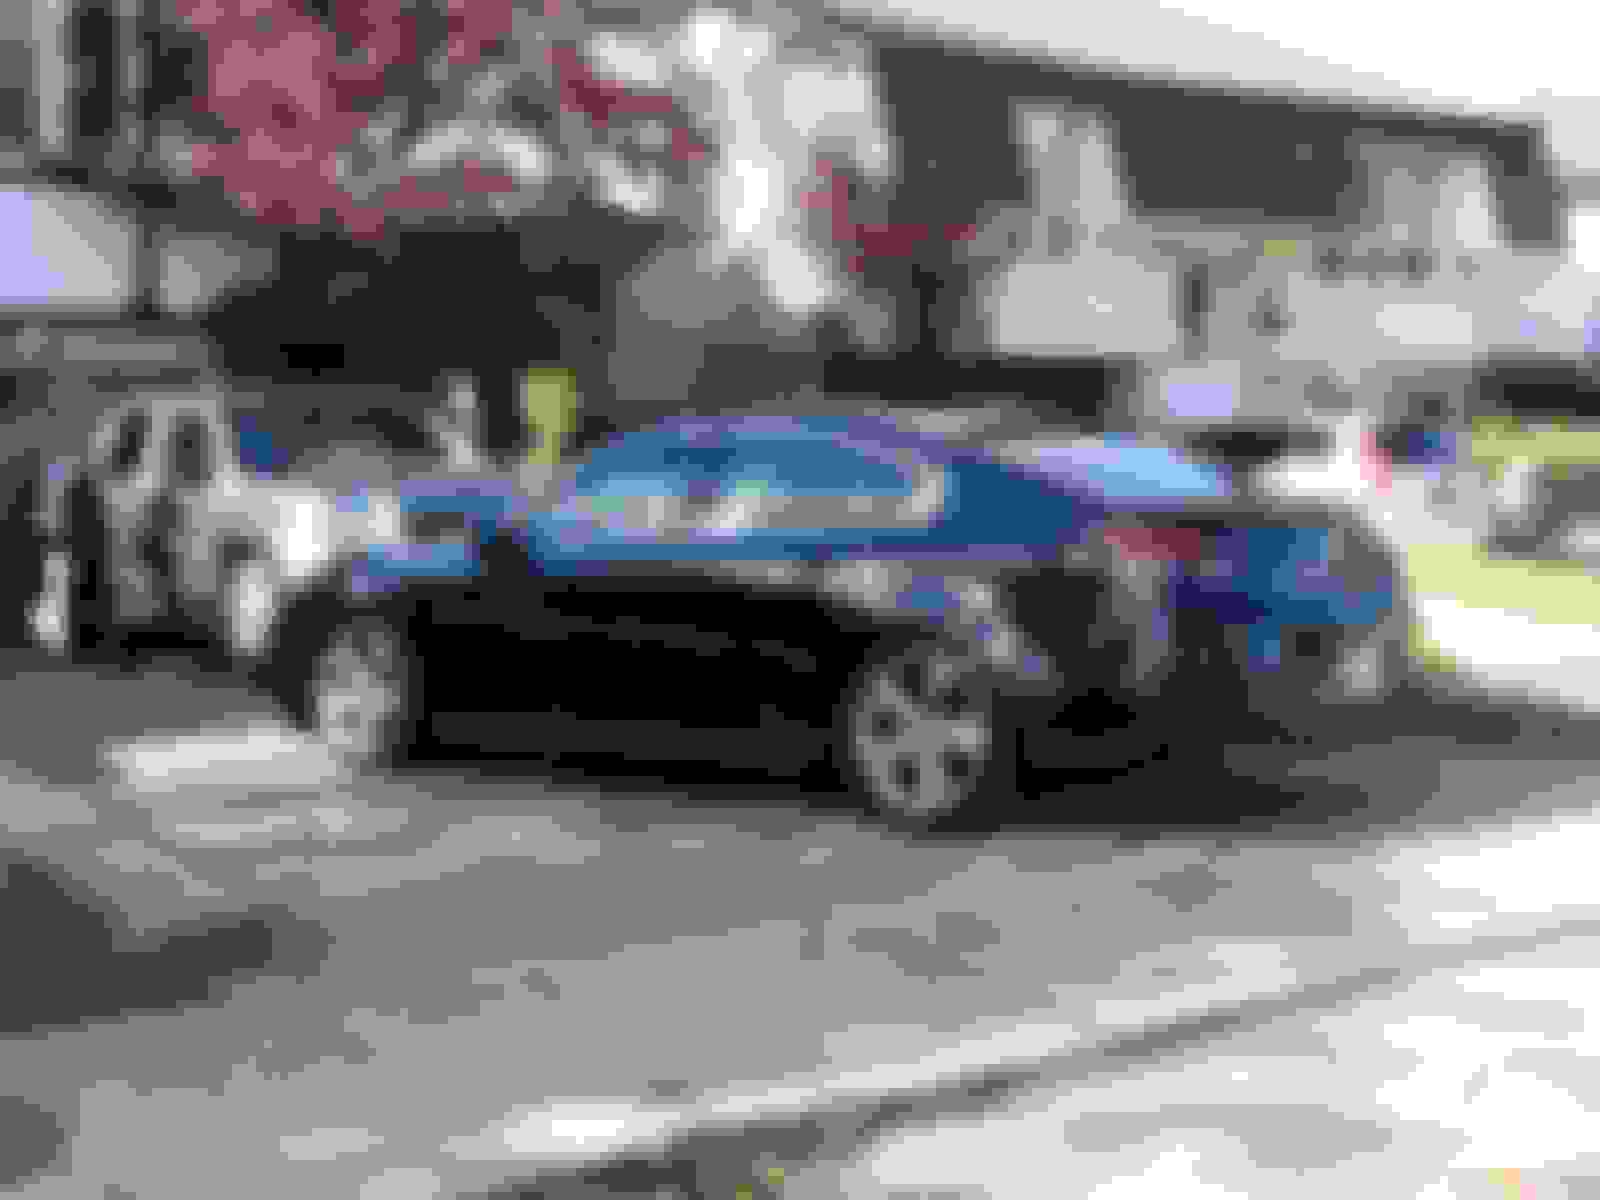
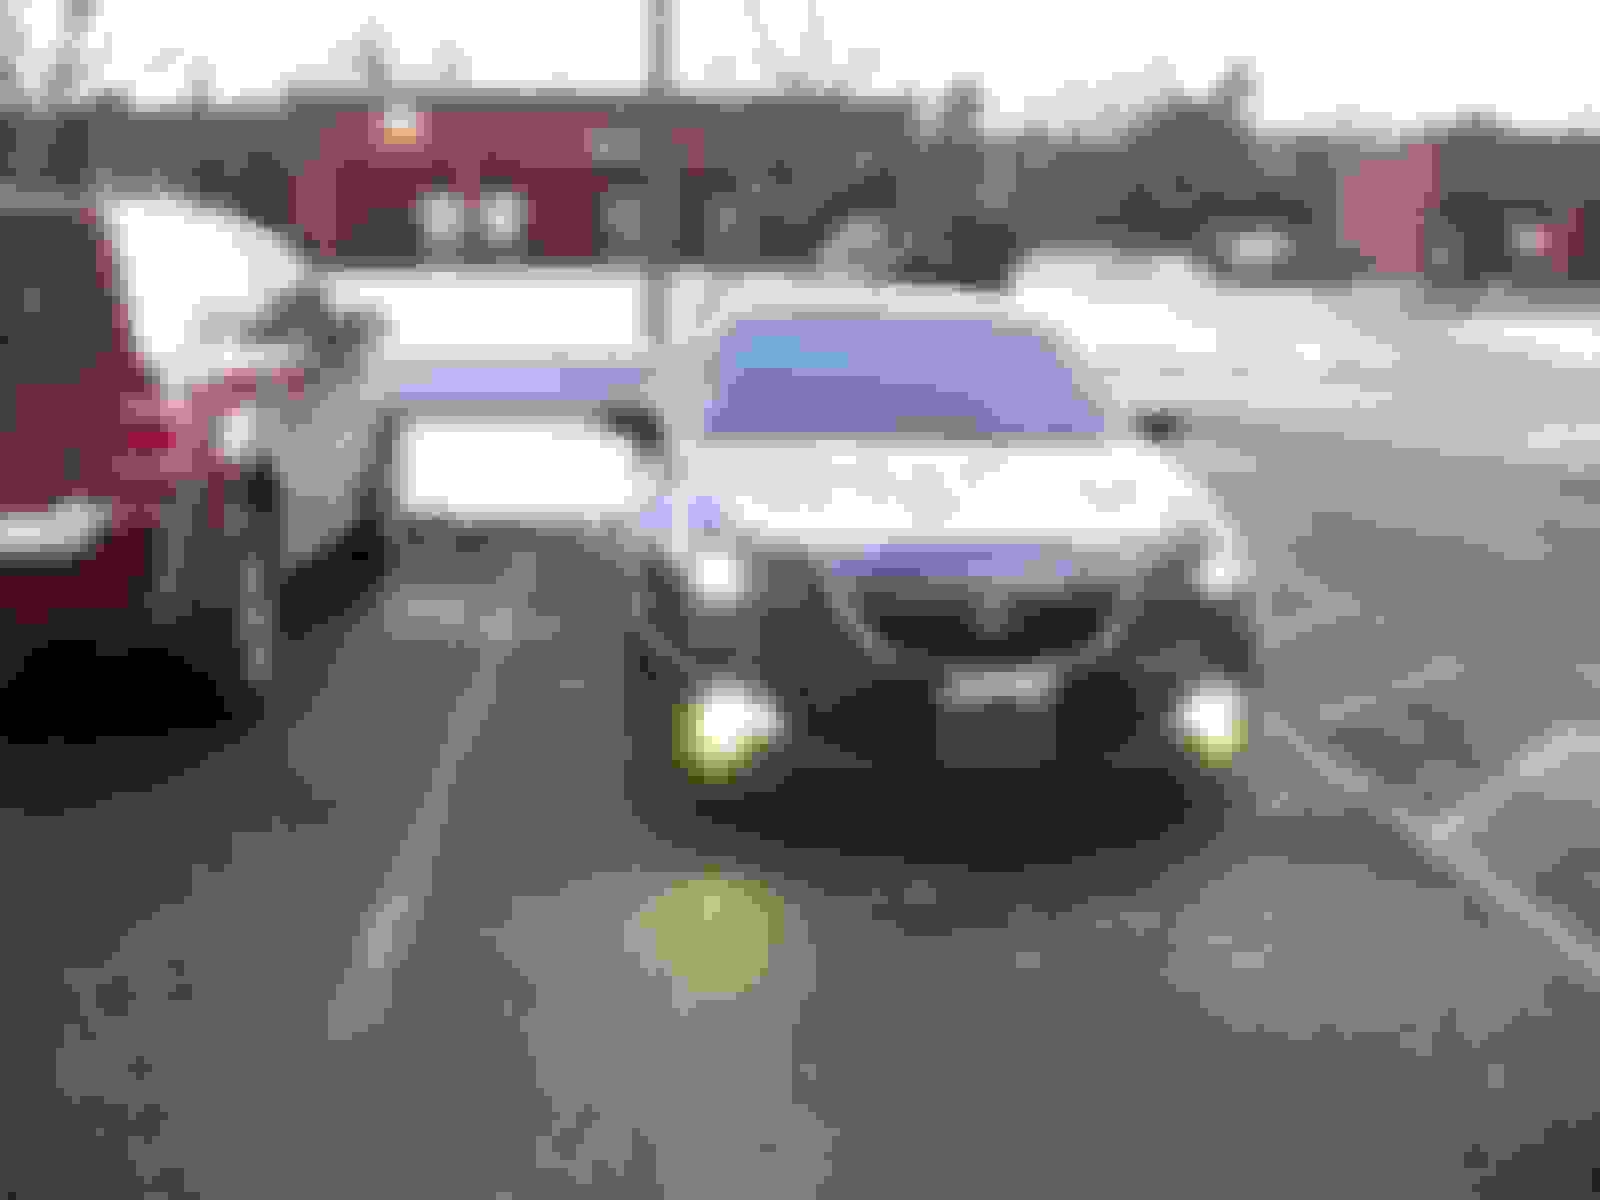
Couple quick pics of how it will spend the winter. Added super bright led drl/high beams to match the switchbacks. Cost $103 total including the resisters. I also recently took the it on a 1200km round trip to Ottawa. No problems at all and it was a very smooth and comfortable ride. I'm dropping it off this Thursday to have a 3 stage polish done to it. Looking forward to seeing it done.
Couple quick pics of how it will spend the winter. Added super bright led drl/high beams to match the switchbacks. Cost $103 total including the resisters. I also recently took the it on a 1200km round trip to Ottawa. No problems at all and it was a very smooth and comfortable ride. I'm dropping it off this Thursday to have a 3 stage polish done to it. Looking forward to seeing it done.
If you are getting a three stage polish done, I highly recommend you spend the extra money and get your paint ceramic coated if they offer it as a service because it will stay fresh for years and not need to be polished again. Just my $.02 as I am a detailer and I have done plenty of ceramic/hydrophobic coatings in my time, including my TL and my wife's RDX.
Yeah ive heard good things about ceramic coating, especially from a friend of mine who does detailing. I dropped the car off this morning and they are keeping it until tomorrow when ill pick it up around noon. I probably should have asked more questions lol but this place is highly recommended. The work papers says they are going to do 3 stage polish, wax and touch-ups. Ill see what they say tomorrow about what wax they used on it.
I did a clay/polish/wax x2 on my black TL this summer with my porter cable and it came out really nice. Since you took it to the pros they should really make the paint pop.
BTW if you decide to go the exhaust route, let me know if you want to sell me those ebay exhaust tips. Dollar sucks right now for US purchases. Car looks awesome.
jutes85I did a clay/polish/wax x2 on my black TL this summer with my porter cable and it came out really nice. Since you took it to the pros they should really make the paint pop.
BTW if you decide to go the exhaust route, let me know if you want to sell me those ebay exhaust tips. Dollar sucks right now for US purchases. Car looks awesome.
You got first dibs on them lol! It may be a while though. You right our dollar really sucks for us purchases and all the good stuff is in USD.
Right and I do want to protect what was an expensive polish. I love how much the paint sparkles in the sunlight. So I did look into ceramic coating but couldn't find anywhere around here that does it. Ill have to do it myself. Do you have any tips? Any particular product you recommend?
Right and I do want to protect what was an expensive polish. I love how much the paint sparkles in the sunlight. So I did look into ceramic coating but couldn't find anywhere around here that does it. Ill have to do it myself. Do you have any tips? Any particular product you recommend?
The main problem with not knowing someone is obtaining product due to companies claiming they need professional installation. I have experience with Cermoc Pro, Gtechniq and Cquartz. I believe Cquartz you can buy with having to be a company. I like the product a lot and it has hydroponic keenness in there as well.
When it comes to tips, the paint must be spotless!
Steps:
1. Wash exterior
2. Clay bar
3. Polish if needed (reason being, anything underneath the coating is permanent for years)
4. Wash again to remove any dust and polishing compound
5. Wipe entire exterior with alcohol or panel wipe
6. Make sure vehicle is 100% dry and in a dust free area
7. Apply a small amount of coating to the supplies pad and do small sections at a time to make sure you get full coverage
8. Use 2-3 microfiber to wipe coating off after you apply to each section (be careful, it can smear)
9. Let cure for 12-24 hours. Depending on temperature.
Extra tips: after applying the coating, Have a second person buff off the excess coating. It dries fast! The more lighting the better so you don�t miss a spot. In the case you do. Immediately clean with alcohol. To remove the coating after it�s dried, you�ll have to wet sand. Lastly, for the hydrophobic element to work at its best, keep the car clean.
Its a lot of work, but you won�t regret it! My car stays looking brand new even went dirty. Water doesn�t stay on the paint at all. Worth every penny. Protect your investment.
Just got in rv6 j pipe (deletes 3rd cat) and rv6 high flow pre cats. Lets talk price, the total shipped to my door was $1378CAD. I bought them during their "black Friday/holiday sale" which can hardly be considered on sale. But I figured it was better than nothing. j pipe cost 449USD and hfpc cost 535USD plus 86 USD for shipping. I ordered through heeltoe instead of directly from rv6 and that's only because rv6 had one shipping option which was about 136USD while heeltoe had many shipping options, the lowest being 86USD (ups standard). I got an email from heeltoe saying the j pipes were on backorder and would be shipped to me directly from rv6 in about 4-6weeks. It got here in almost exactly 4 weeks from when I ordered. Once the package got to the boarder I was emailed by ups saying I owed them $190CAD to import it. 90 as tax to the cdn gov and the rest to ups as a "brokerage fee". I guess UPS figured the 86USD I was paying them to ship it to me wasn't enough. Anyways the total then is 1070 USD = 1378 CAD + 190CAD (for import) = $1568CAD. My mechanic wants about 350 to install both. Im excited to get them installed but haven't set a date yet.
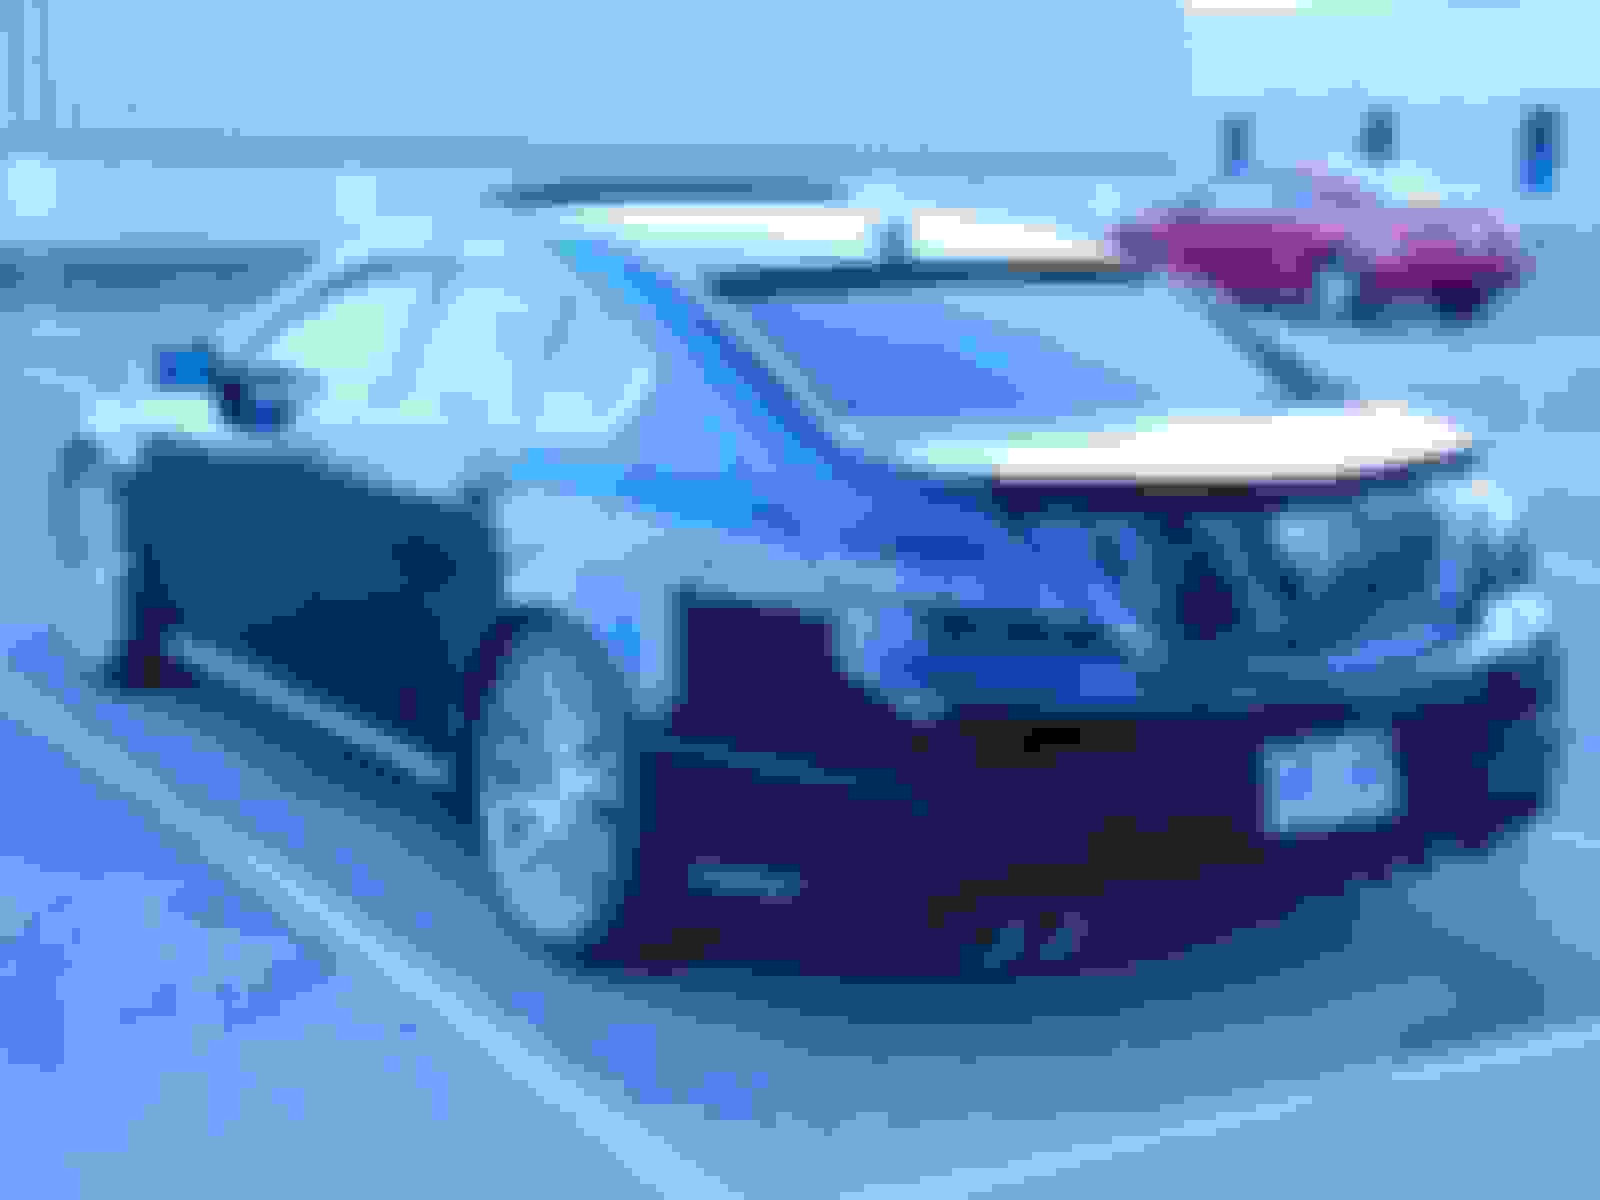
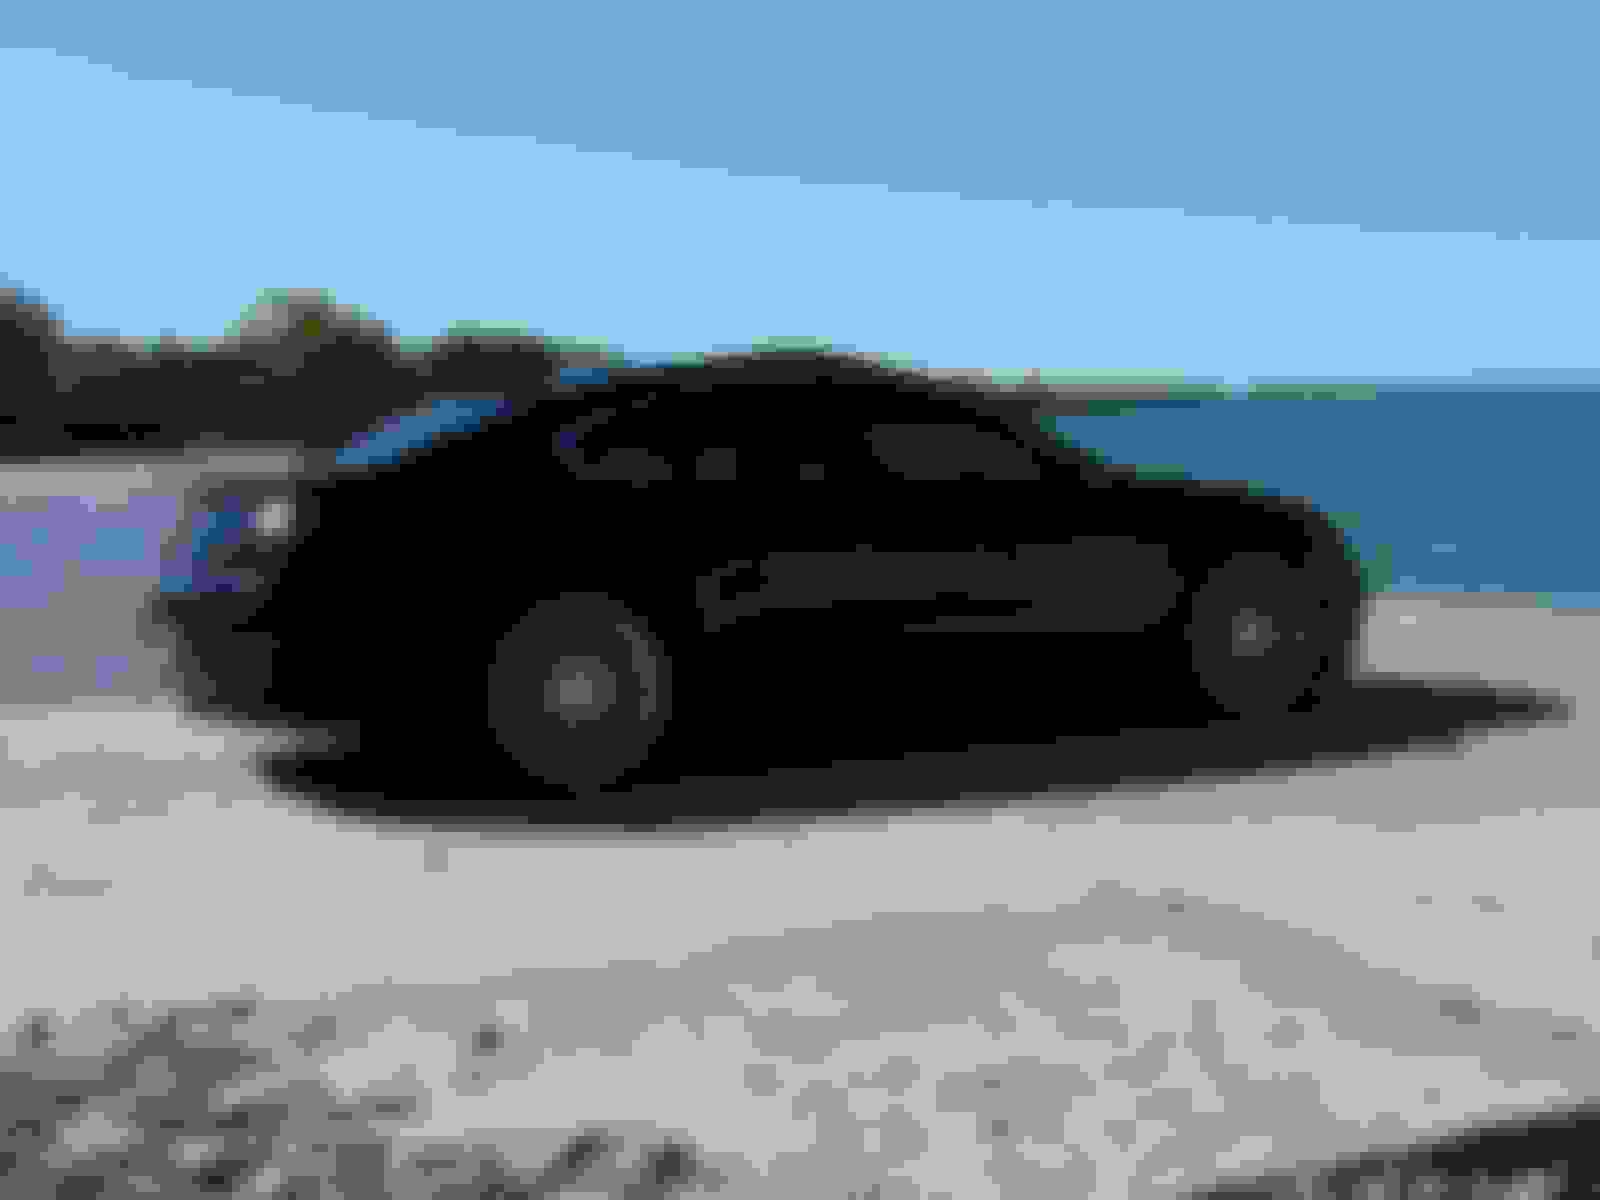
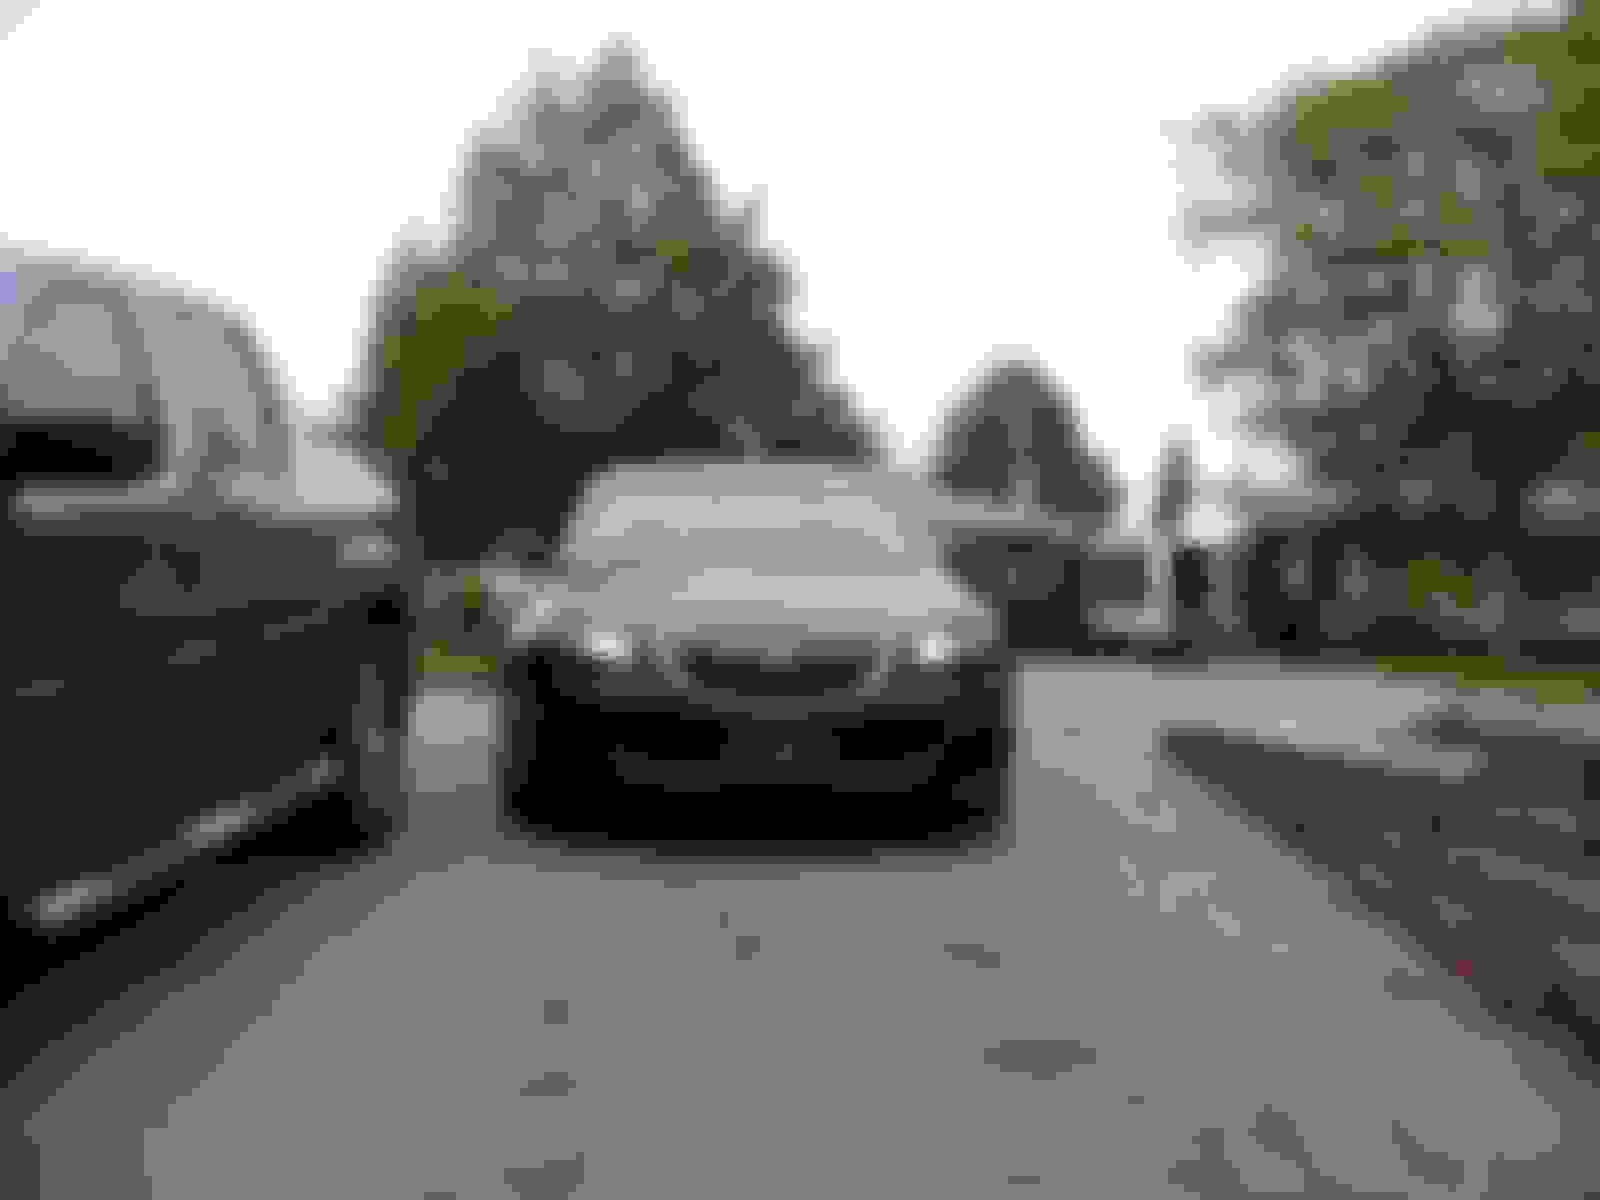
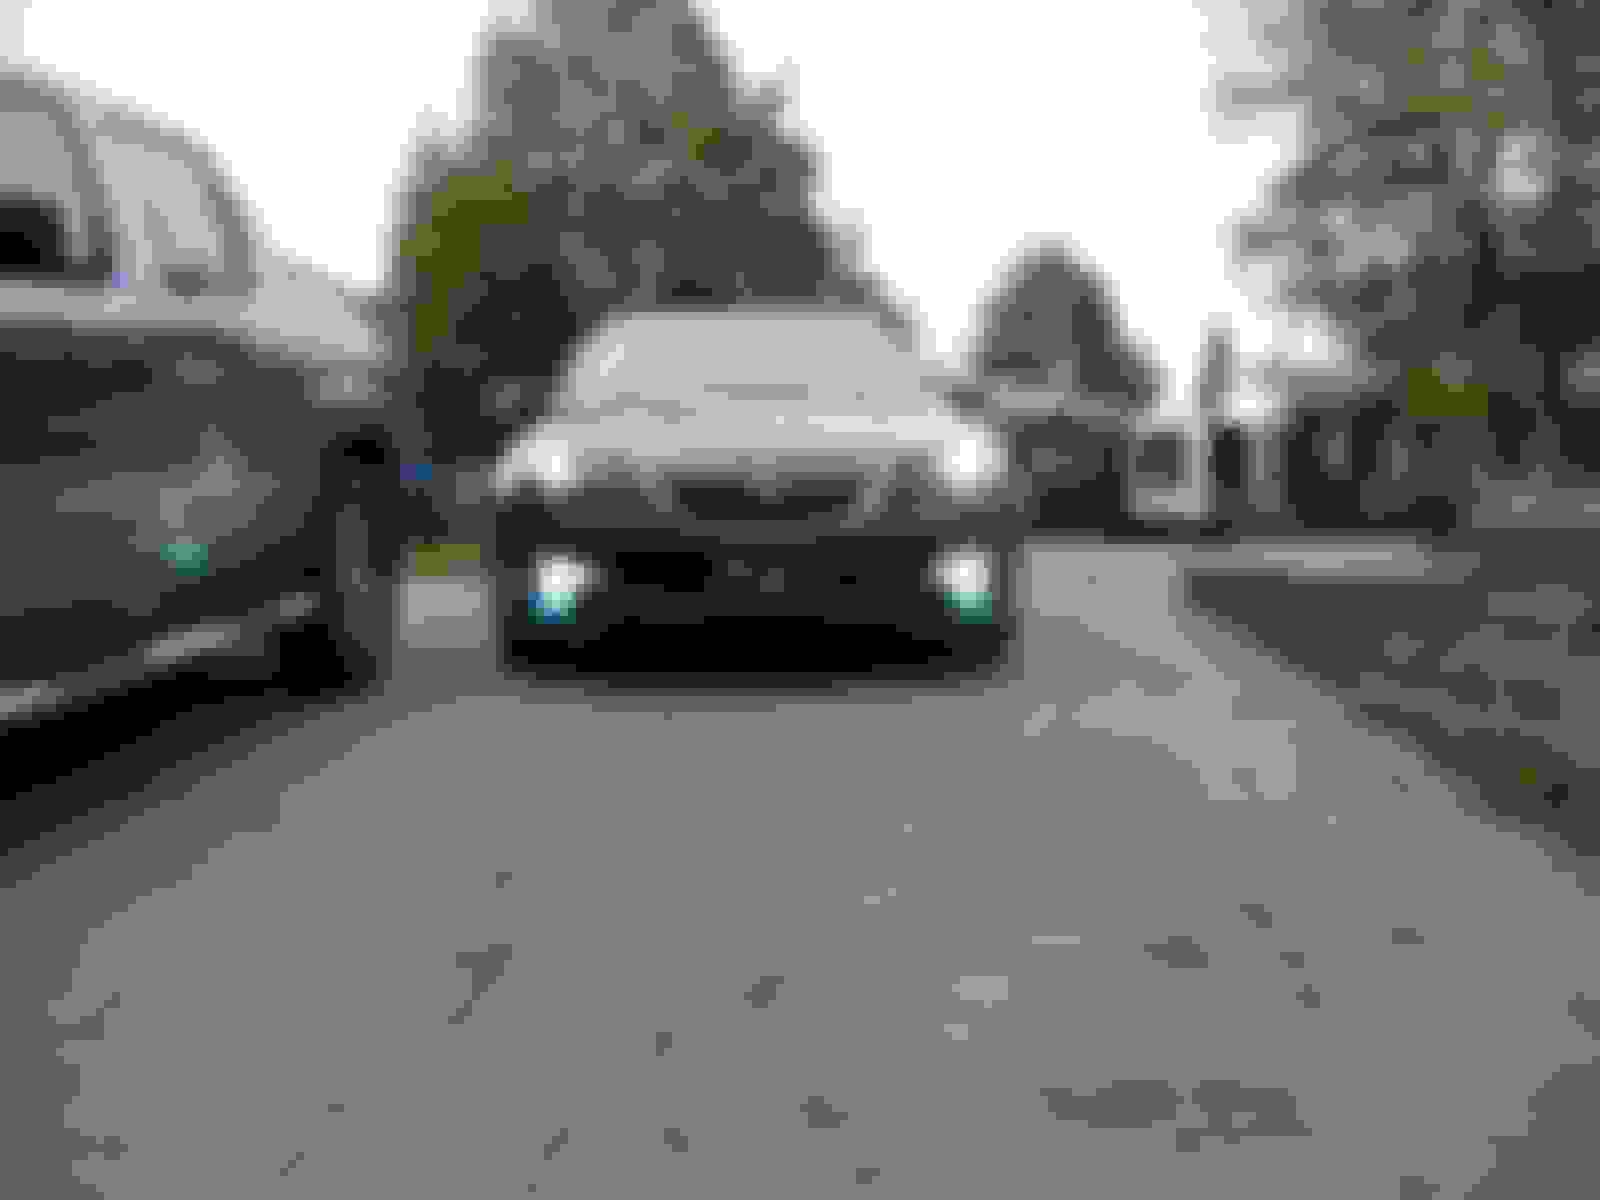
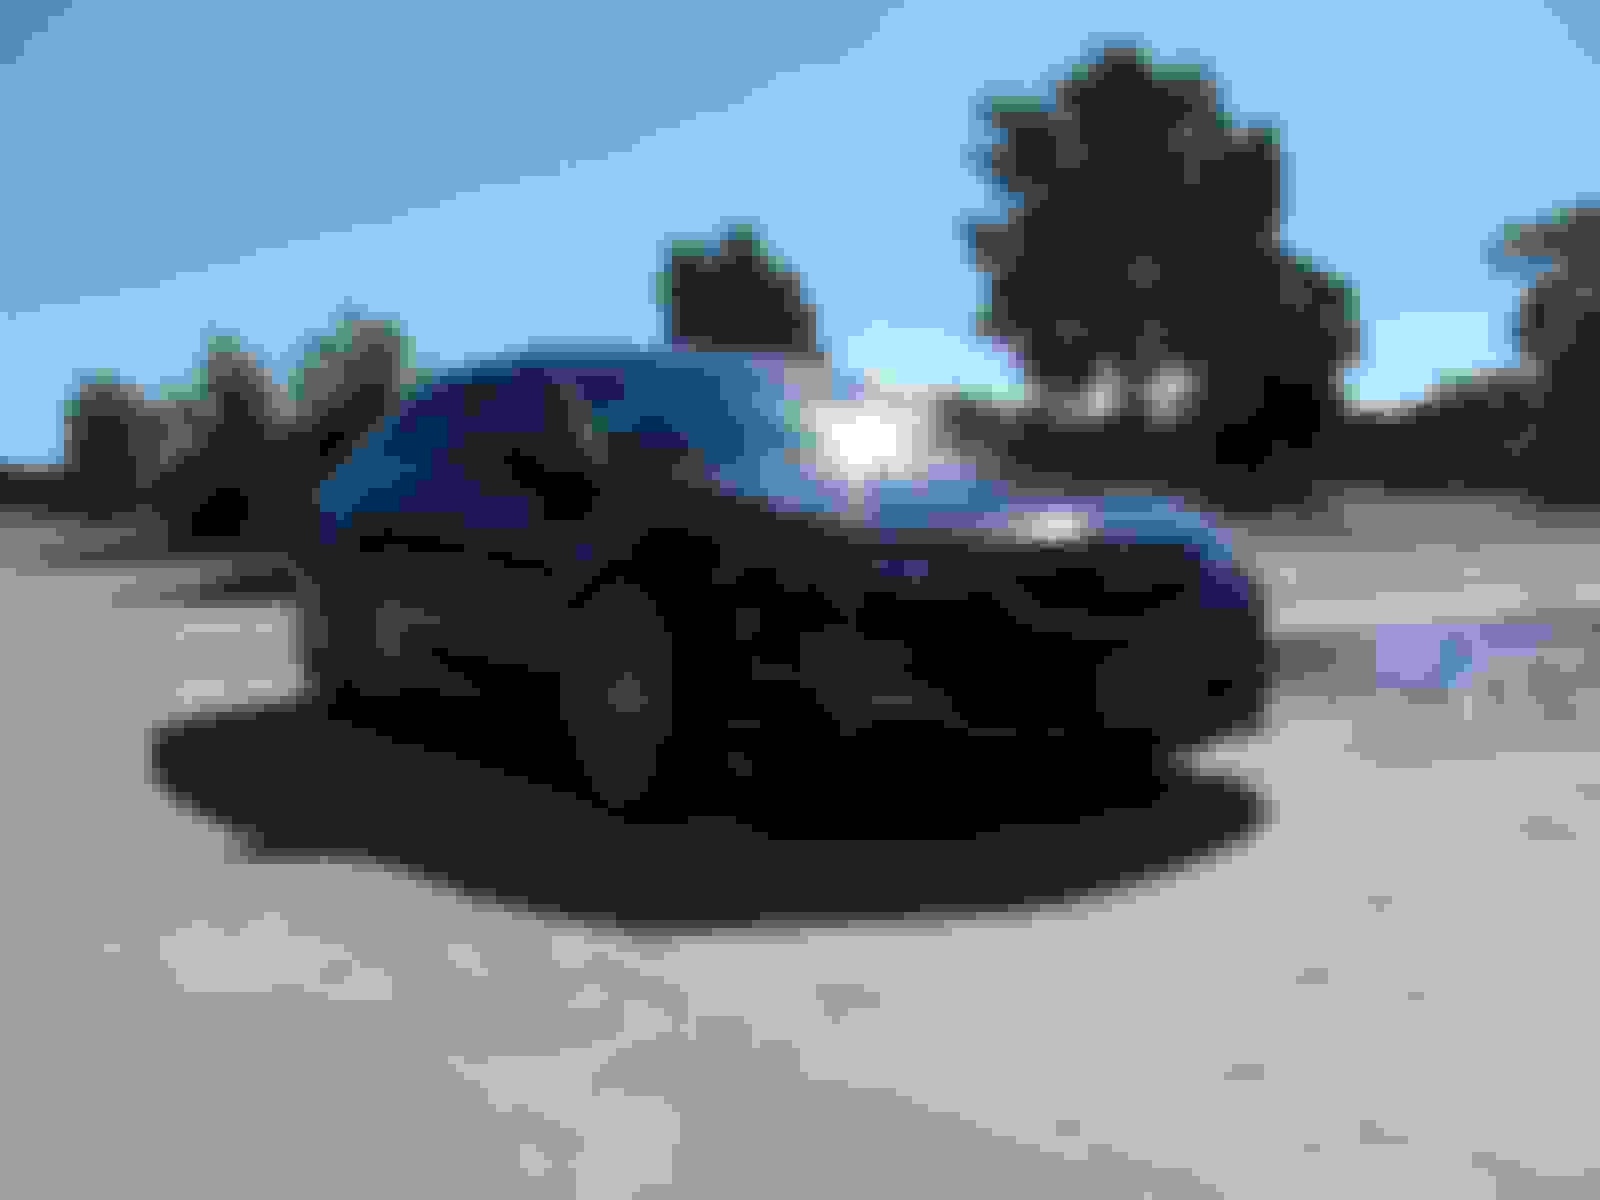
Here are some various other pictures for no particular reason...
qq regarding your hazed headlight/fog/turn signals.. they turned out amazing. I just picked up my Tl and want to do the same. Mind sharing what products/technique you used? Reason I ask is bc I’ve tried the Meguiars kit with the buffing pad drill bit and it really didn’t make that much of a difference... yours look brand new!!
I did it with just that kit, a bunch of rags and tape. No drill either just elbow grease. I pretty much just followed the instructions that it came with but I prepped the sh*t out of them. Instead of just scuffing them once what I did was scuff them with the scuffing solution really good as if I was going to clear them right away, But then I wiped them down with the rags until dry and scuffed them with the solution again just as good. Then I wiped them down and scuffed them a third time. Finally wiping them down a final time and then hitting them with the clear. Two medium clear coats and its done. I still have a lot of the scuffing solution and a little bit of clear left from the kit. So far so good they all look like the day I did them.
I did it with just that kit, a bunch of rags and tape. No drill either just elbow grease. I pretty much just followed the instructions that it came with but I prepped the sh*t out of them. Instead of just scuffing them once what I did was scuff them with the scuffing solution really good as if I was going to clear them right away, But then I wiped them down with the rags until dry and scuffed them with the solution again just as good. Then I wiped them down and scuffed them a third time. Finally wiping them down a final time and then hitting them with the clear. Two medium clear coats and its done. I still have a lot of the scuffing solution and a little bit of clear left from the kit. So far so good they all look like the day I did them.
Awesome thanks for the info man! I�m definitely going to give that a try and post some pics up once the weather gets better... csnt even wash the car before it turning into icicles seconds after. Cheers C
Awesome thanks for the info man! I�m definitely going to give that a try and post some pics up once the weather gets better... csnt even wash the car before it turning into icicles seconds after. Cheers C
Cool ya get some before and after pics for us.
Got a very nice upgrade here... some hood struts that actually keep the hood up! The stock ones would be fine for like a minute or two then the hood would come down on the back of my head. Happened once before I started propping the hood up. I wanted to get the struts from the USA but they cost $40 and then an extra $45 for shipping which is sad. So I got the ones from china cost a total of $28 to my door and work great.
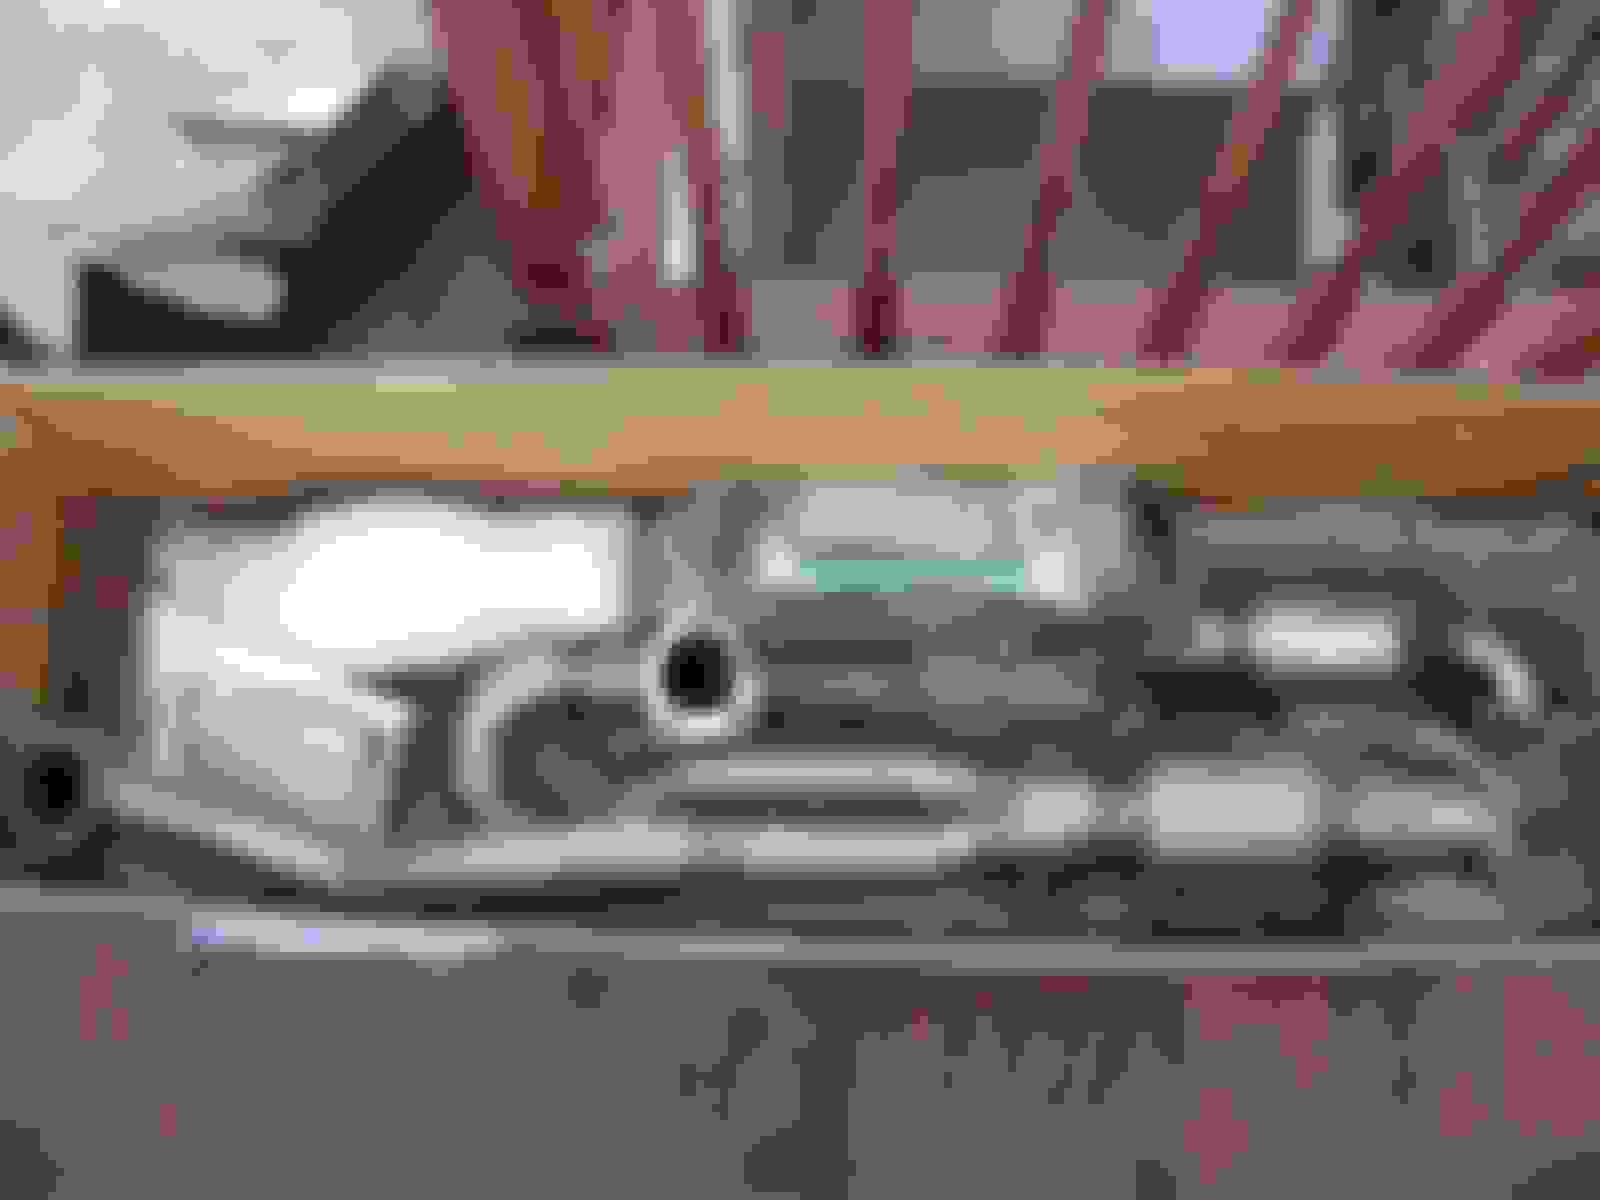
This morning I had some time to weigh the pipes and make sure they're all good. Im thinking of wrapping the HFPCs with exhaust wrap before the install. Anyways check these pics out.
HFPCs
Jpipe
What they come with
I hope I don't have to use those spacers included with the jpipe for if it rubs on the subframe or whatever. I don't really have much of any room to spare clearace wise when pulling in and out of my driveway. Its very very close to bottoming out on the sidewalk.
Jpipe 11.8lbs
HFPC #1 6.4 lbs
HPFC#2 5.6lbs
Ill weigh the stock parts after install to compare.
Heres what it looks like inside the HFPCs. You can pretty much see right through it. It looks like the consistency of a cross section of a piece of cardboard lol. The other end is just pointed towards a window and its a cloudy day.
Parts got installed yesterday. They charged me $400 straight up cash money which is what I was expecting. I drove it around a little bit last night and it is sweet! Defiantly think I can feel more power and the sound is so awesome. Biggest smile on my face last night. I almost feel like the rpms climb a little faster now and it screams at higher rpms. You can hear the exhaust flowing underneath you. It does sound normal and not at all noticeable when driving normally. But give it some gas and damn does it sound cool. Exactly what I was looking for. The only problem is that I did need the subframe spacers so the jpipe would clear. My mechanic said I lost about 3/4 of an inch of ground clearing with those spacers. Hes like you gotta be careful not to bottom out. Of course I did bottom out the first and only time I pulled into my driveway. Was going very slow but it scraped pretty good and left some nice marks on the sidewalk. Other than that im lovin it.
I did weigh the stock parts this morning and my calculations tell me the total weight savings is 10.8lbs.
stock jpipe 17.2lbs
precat #1 8.6lbs
precat #2 8.8 lbs
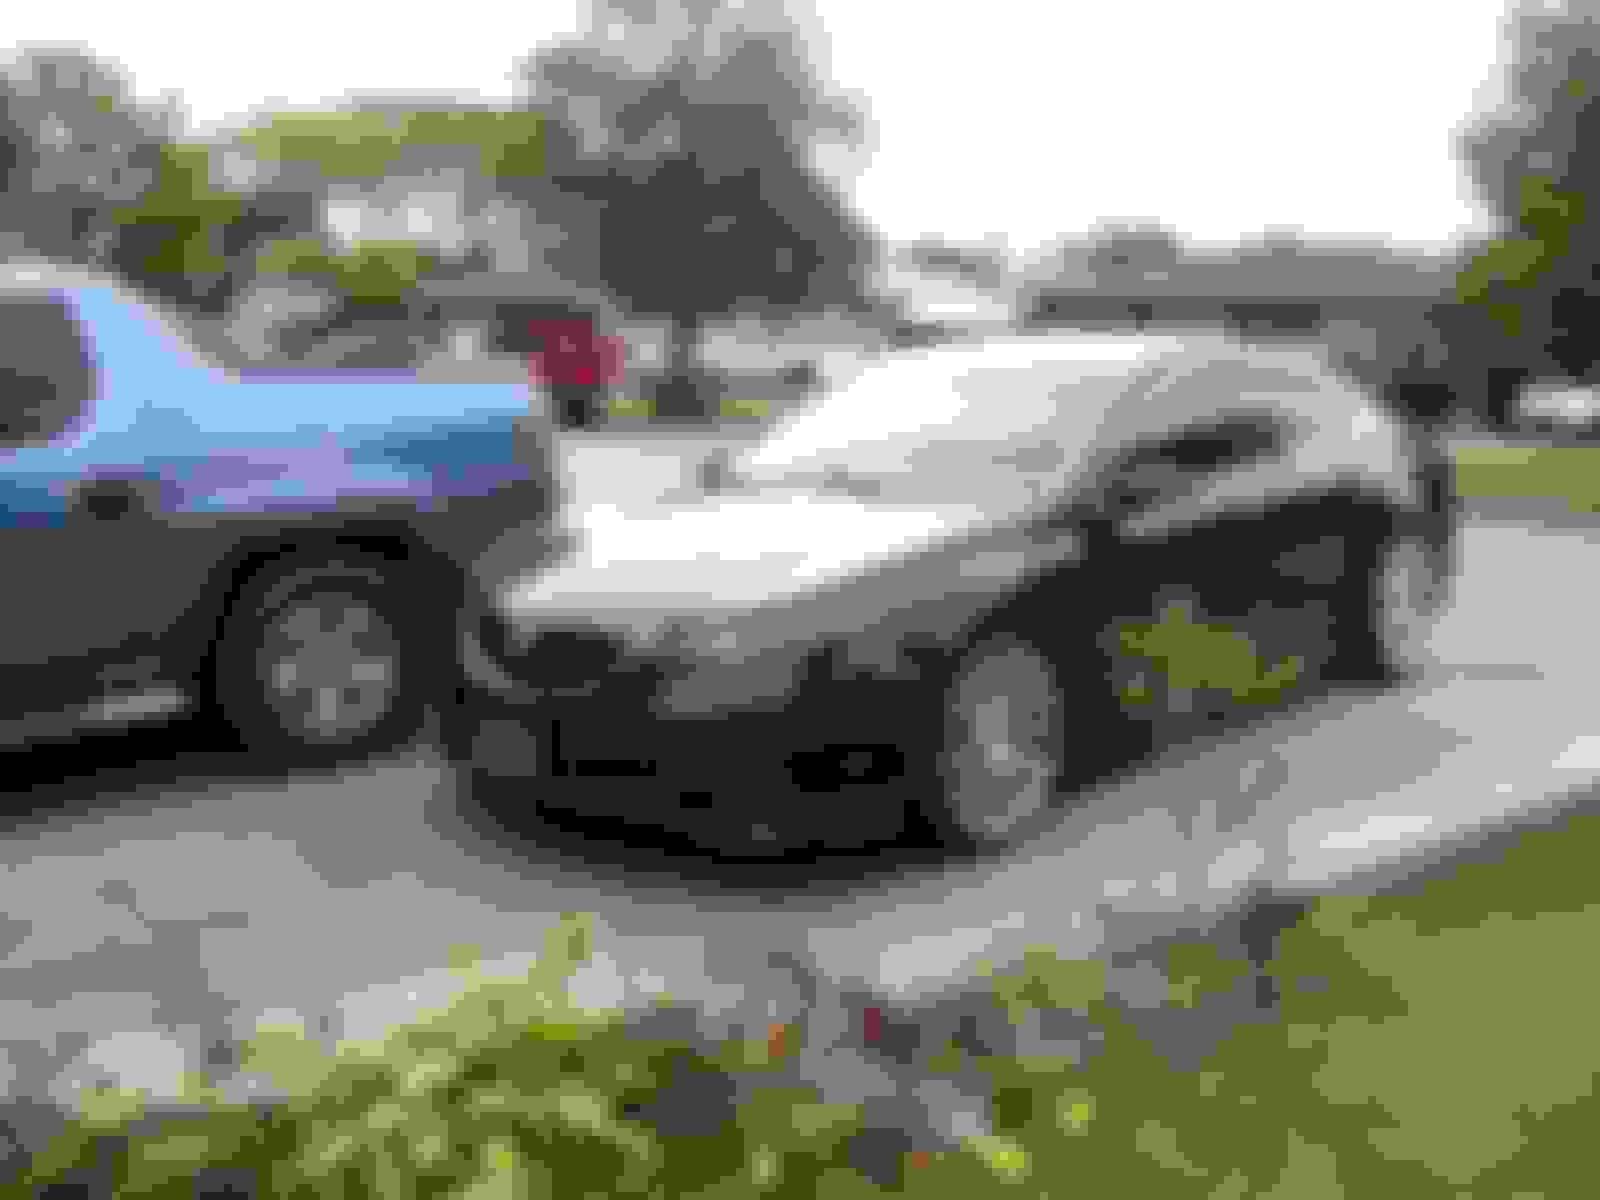
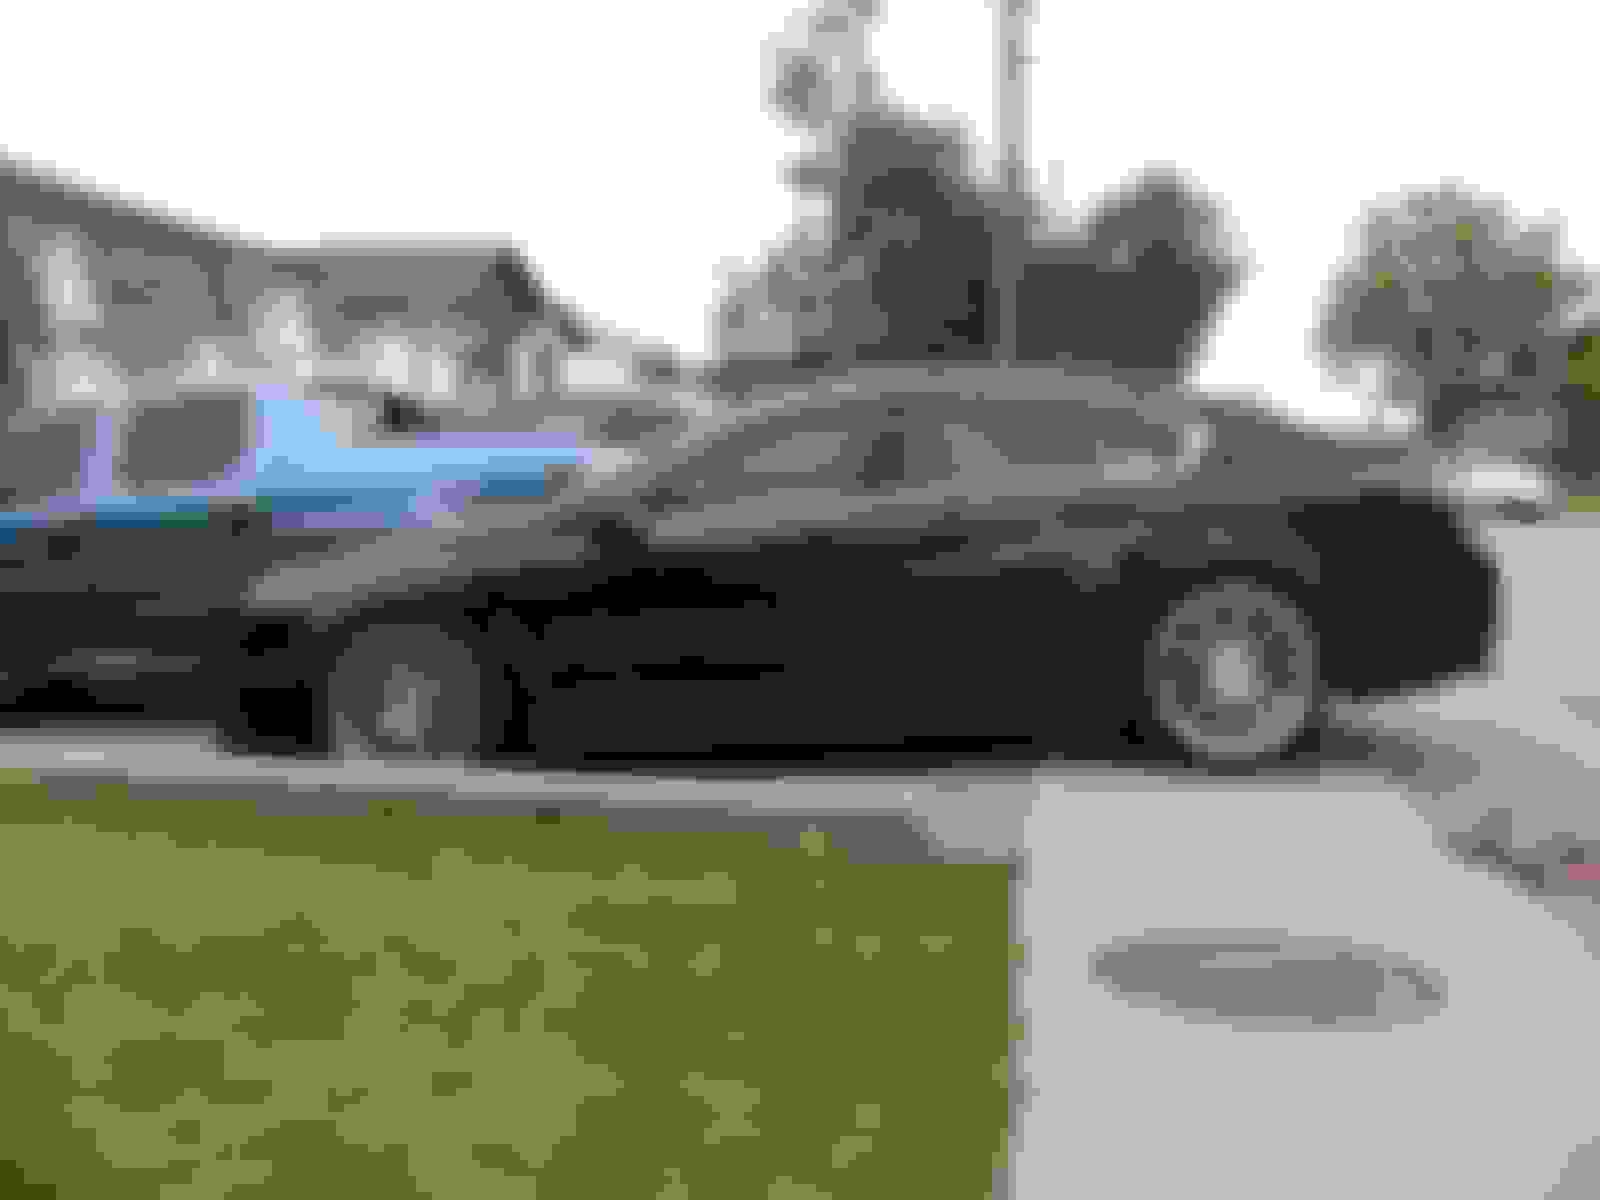
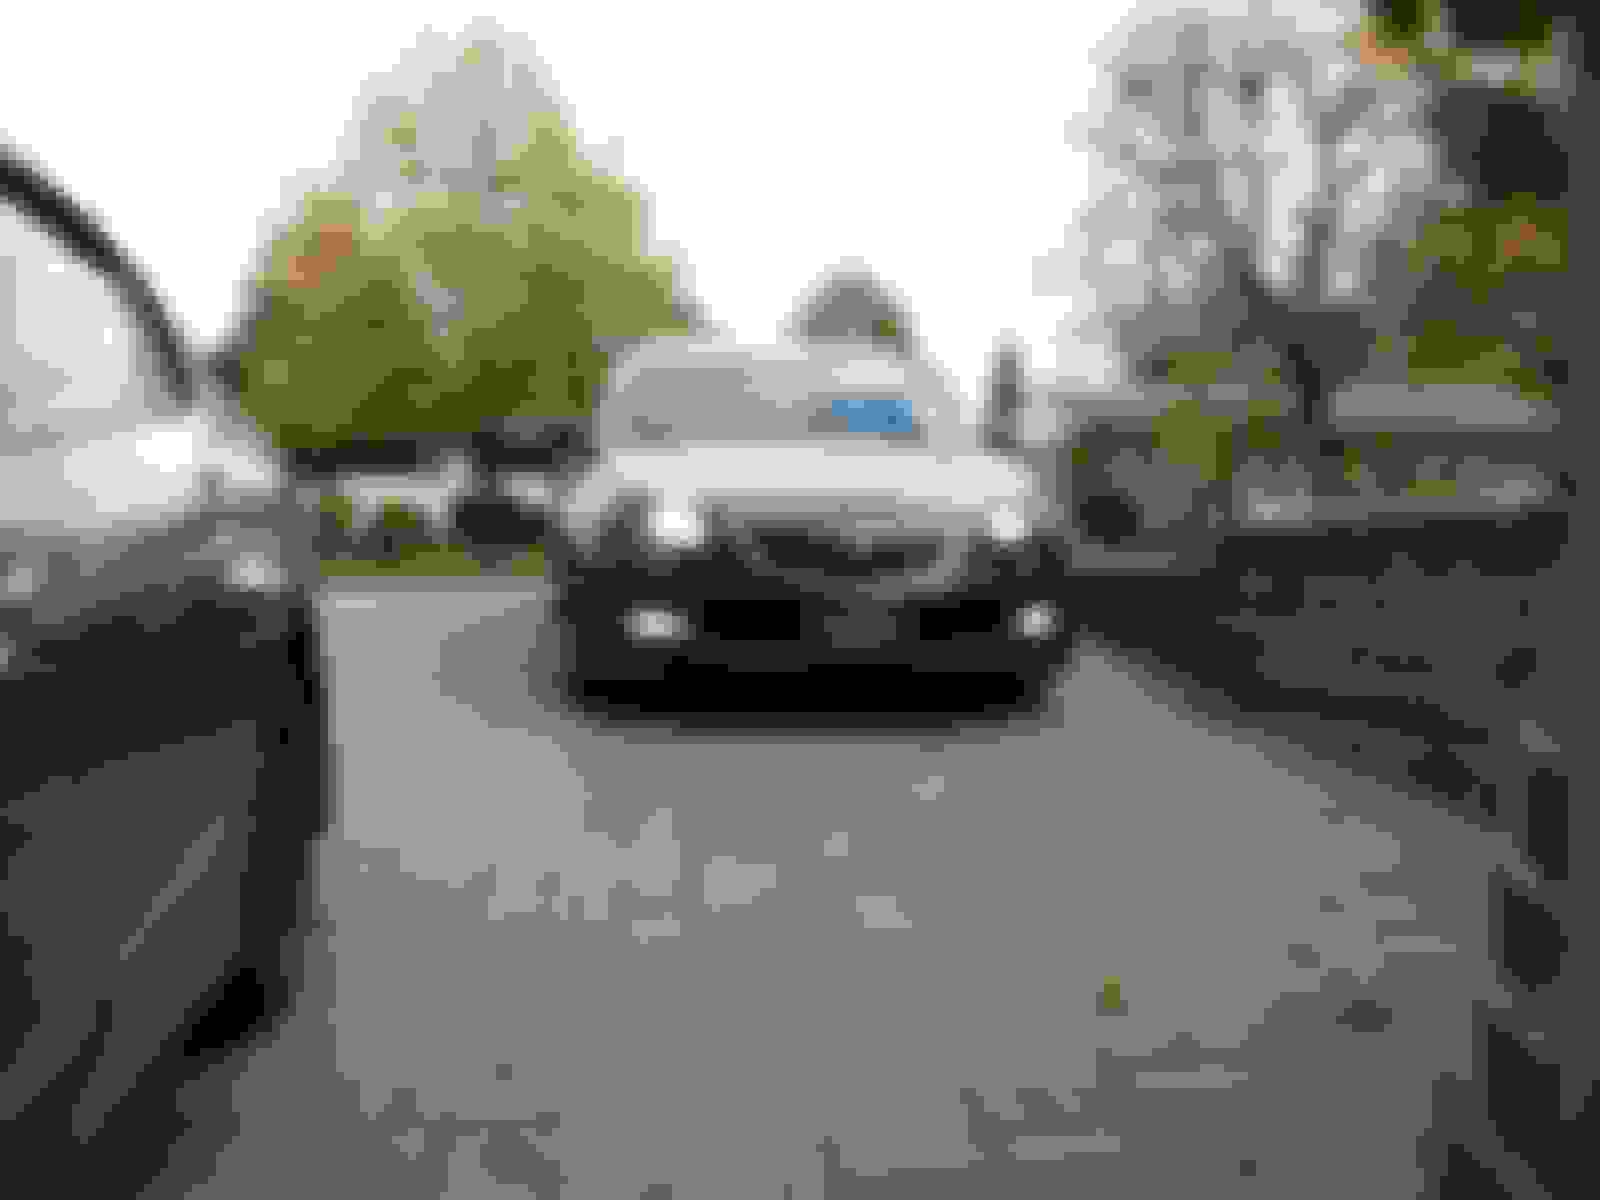
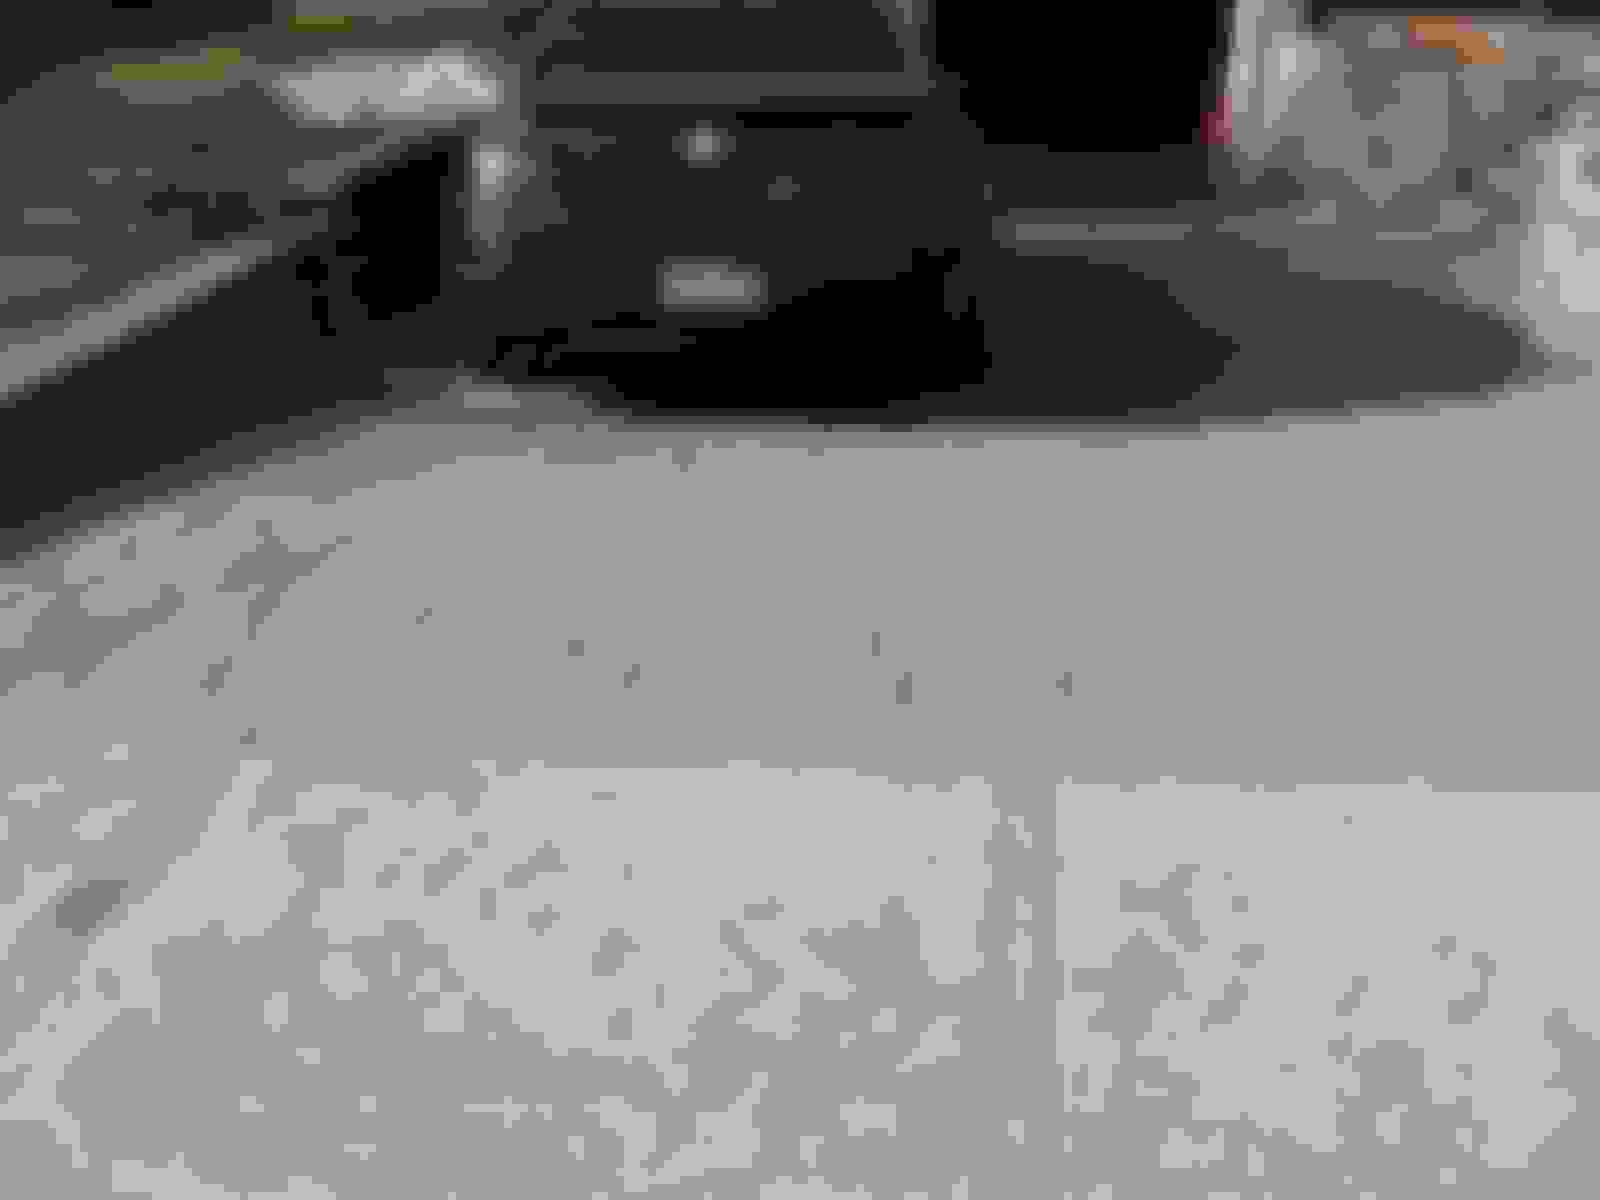
to solve my scraping problem gona have to switch spots with that there bmw.
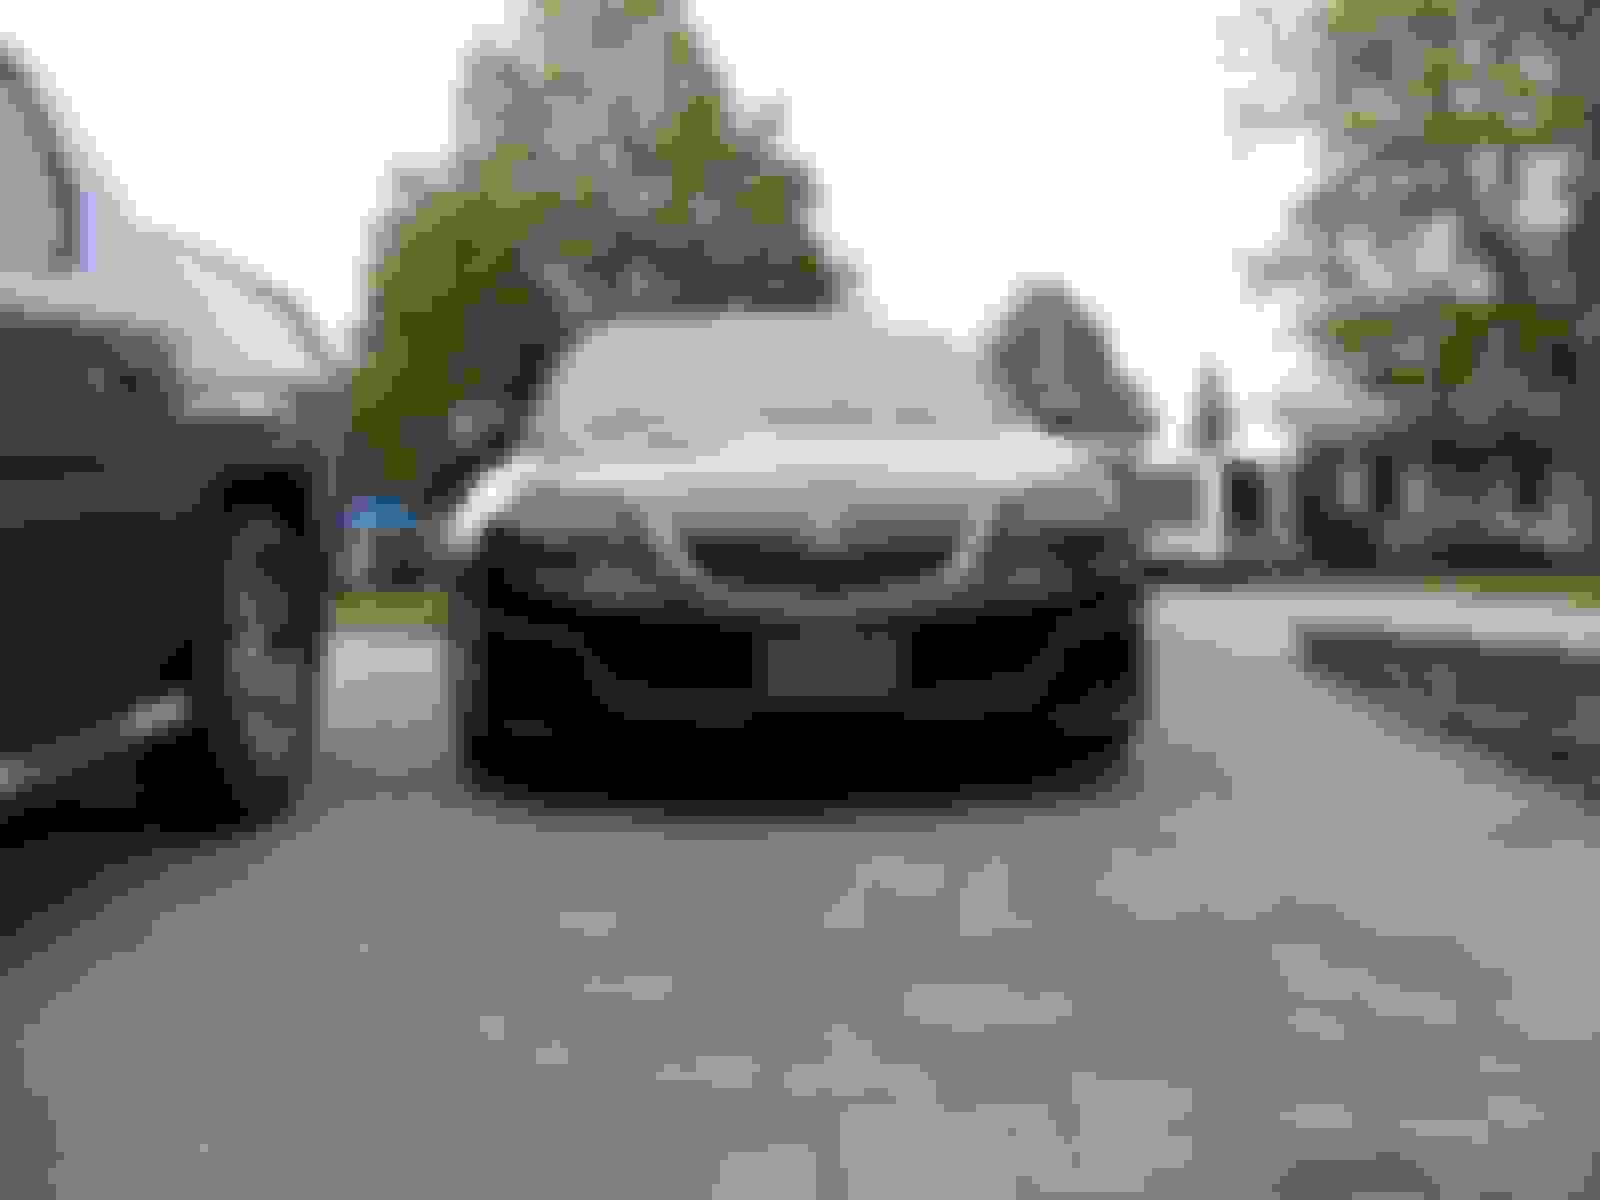
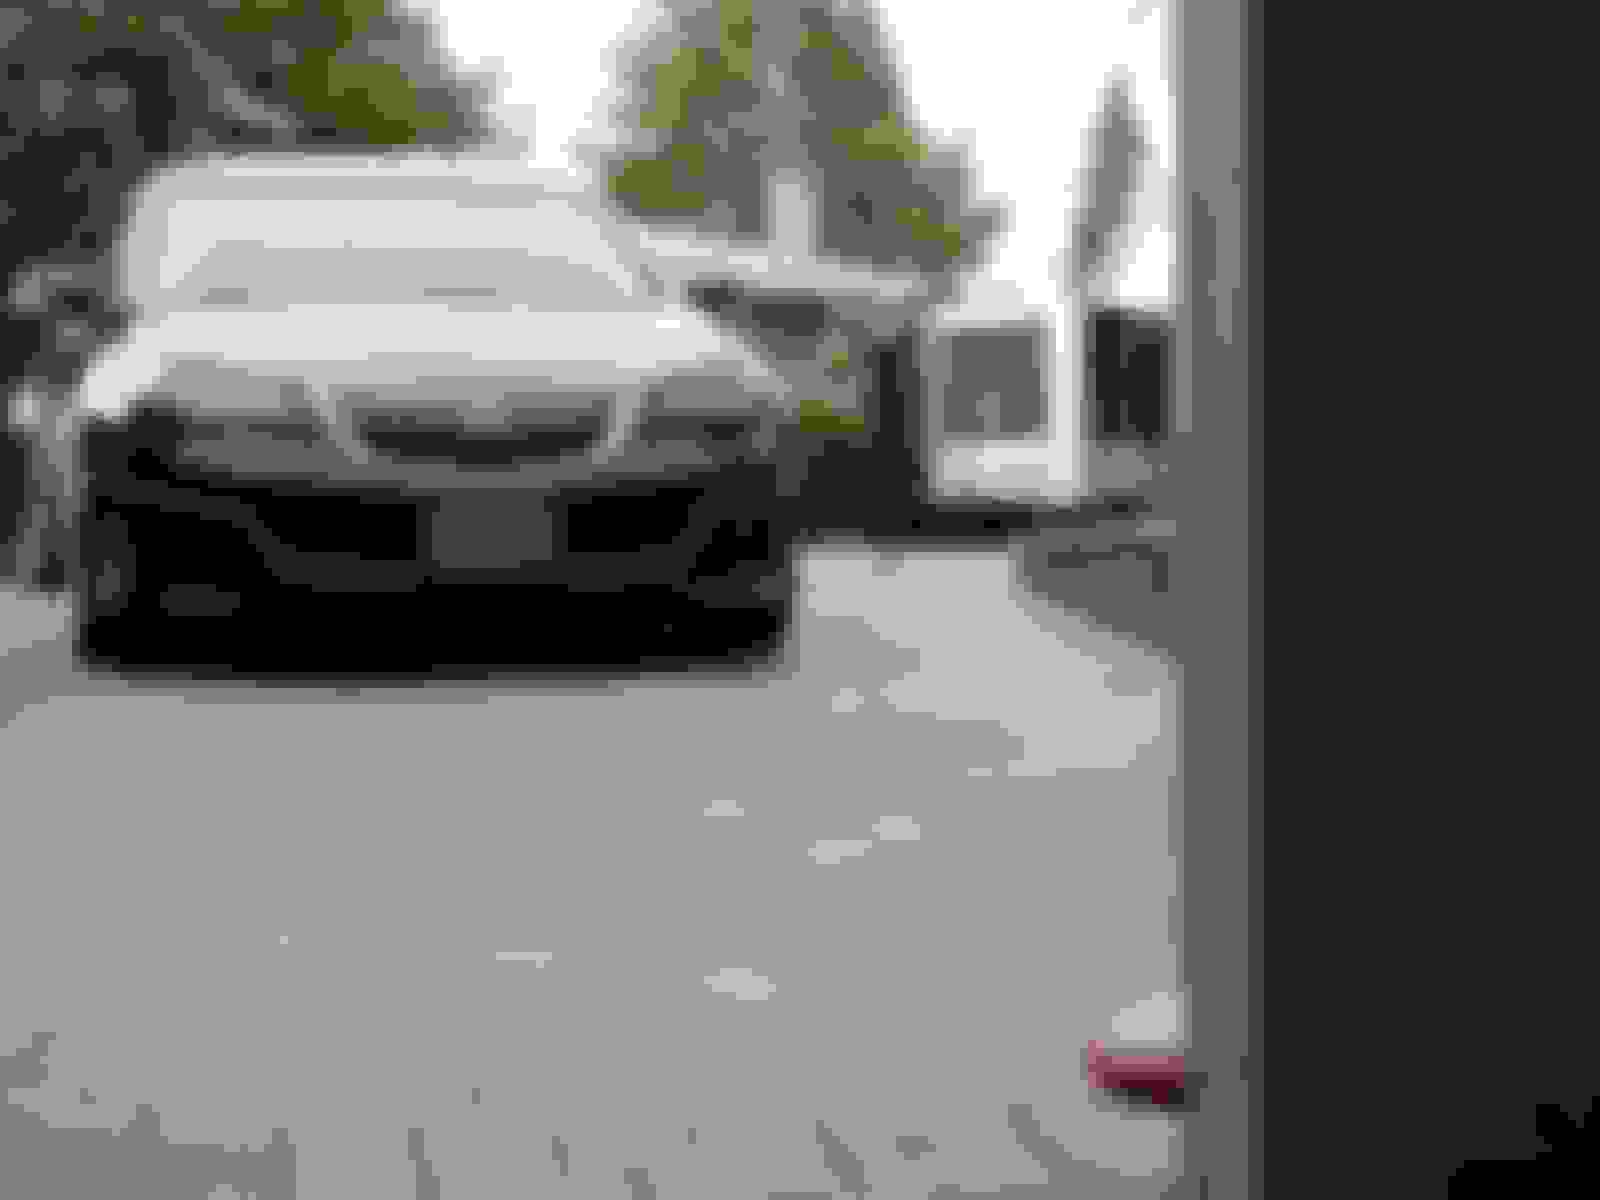
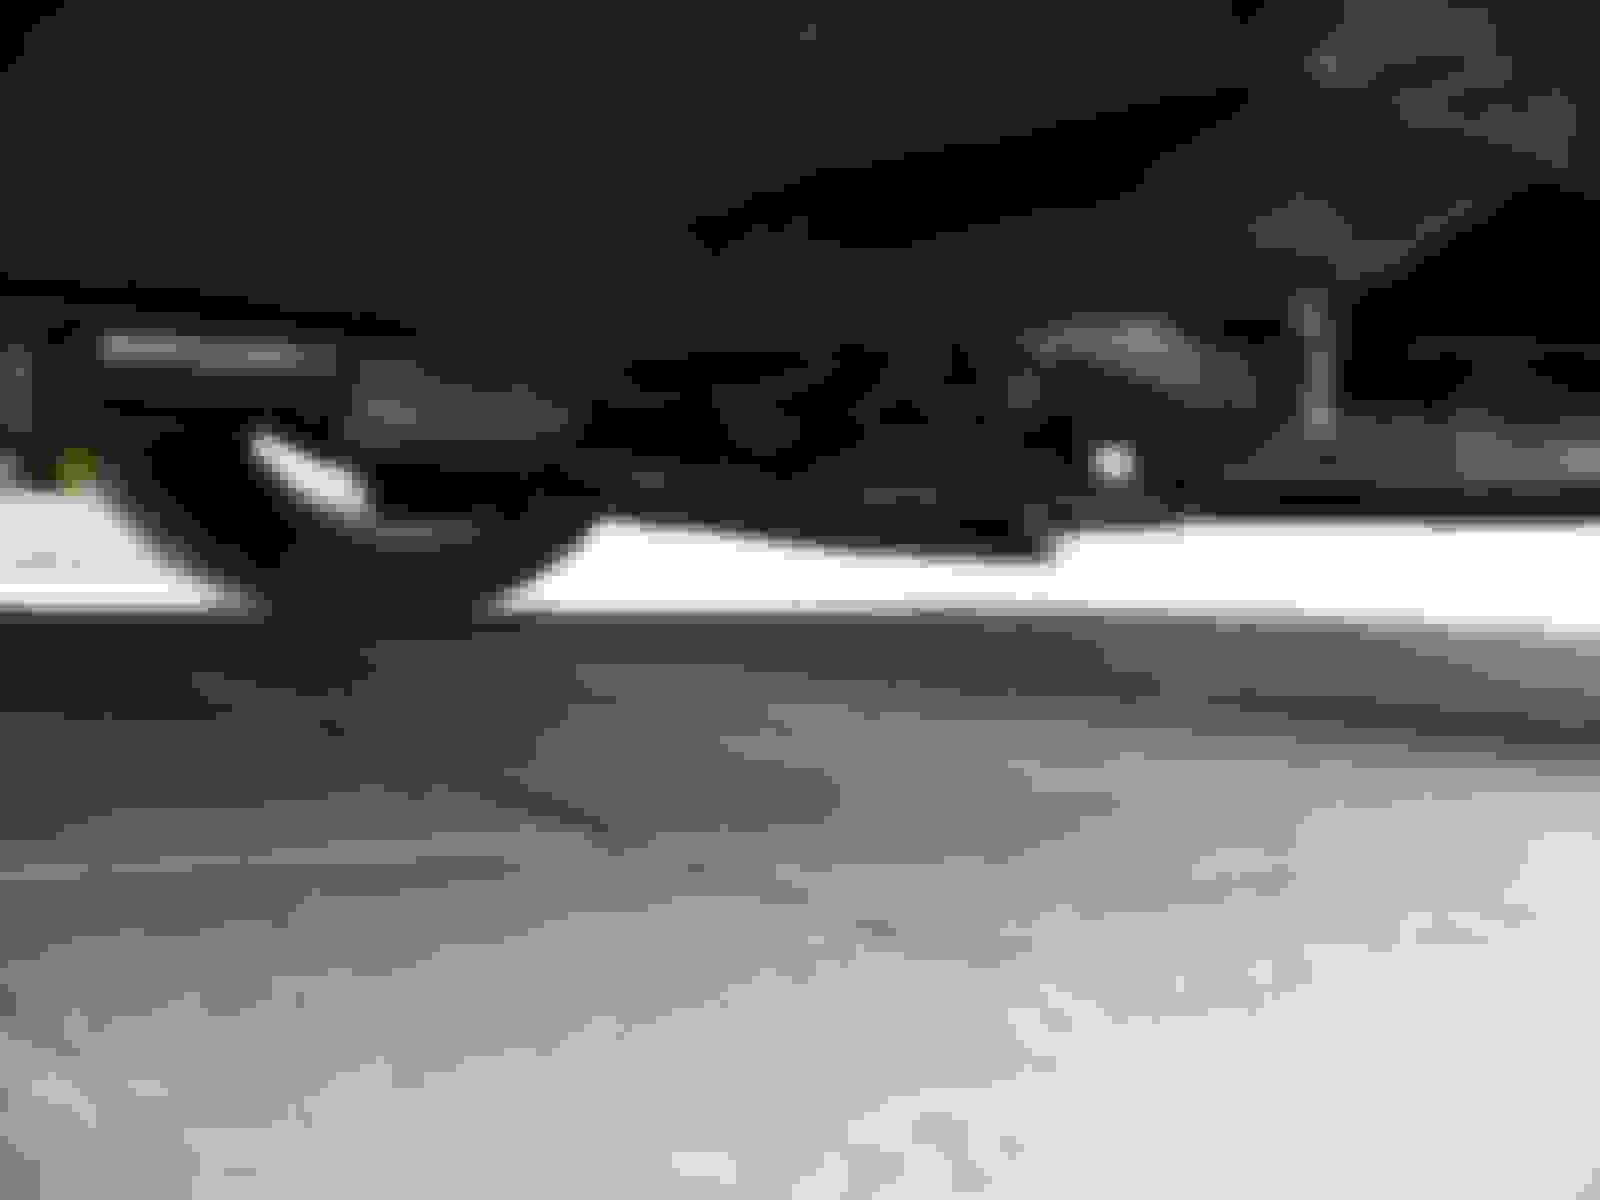
Check out how little clearance there is underneath now.
You can see the two linear scrape marks I left on the sidewalk lol
Just a little update so a couple days ago I wanted to see what the car could do and I got it up to about 6000rpm in 2nd gear and then shifted into 3rd. Right as I shifted I heard a pop noise coming from the general area of the hfpcs/jpipe. Ever since then it sounded different kind of like there was a leak. So I took it back to my mechanic this morning and sure enough the bolts that connected the egr pipe to one of the precats had come loose. They said that they used the self locking bolts/nuts that it came with but sometimes there are problems with them. Anyways they put in new bolts and nuts and its back to normal now.


 09-18-2017, 10:20 AM