Repairing Light Dents/Damage - Decent Results Inside
 10-15-2013, 01:57 PM
#1
Work best on Dark Colored cars, obviously although I've done this method to SSM on our old accord and it was good enough to not be obvious. I know there are a lot of DIY's everywhere but figured this might inspire a few that have some minor annoyances that aren't worth buying new bumper and entire resprays...
Copy Pasted from my thread:
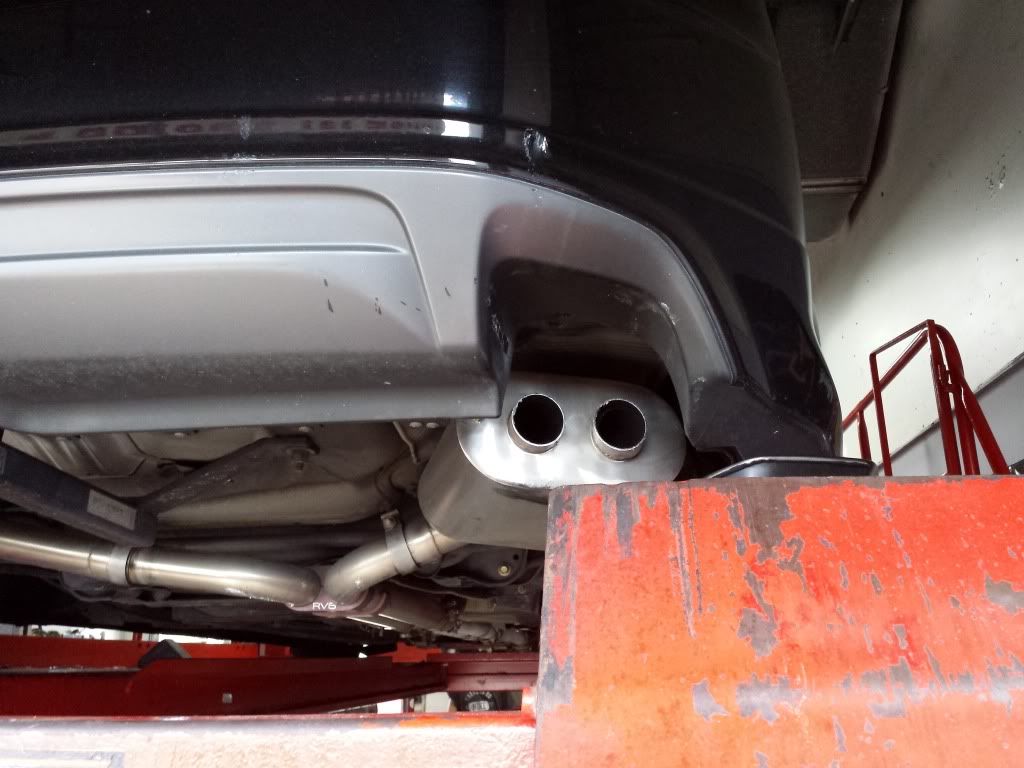
Okay, so a less pretty update but one nonetheless. About 2 years ago I went to jury duty, while parking I swore that the parking bump was further out than the steel beam for the building...guess not. BAM, I hit it and I hit it hard...popped off the side of the bumper and put a huge dent in my rear aspec lip. I've been a strong advocate for just accepting that my car is 10 years old and will have some imperfections but this is something that always bugged me.
I guess putting the new tips on gave me new inspiration to fix it...and now that I look, I am having a hard time finding a decent picture of the before. Subconsciously I must have been avoiding shooting it
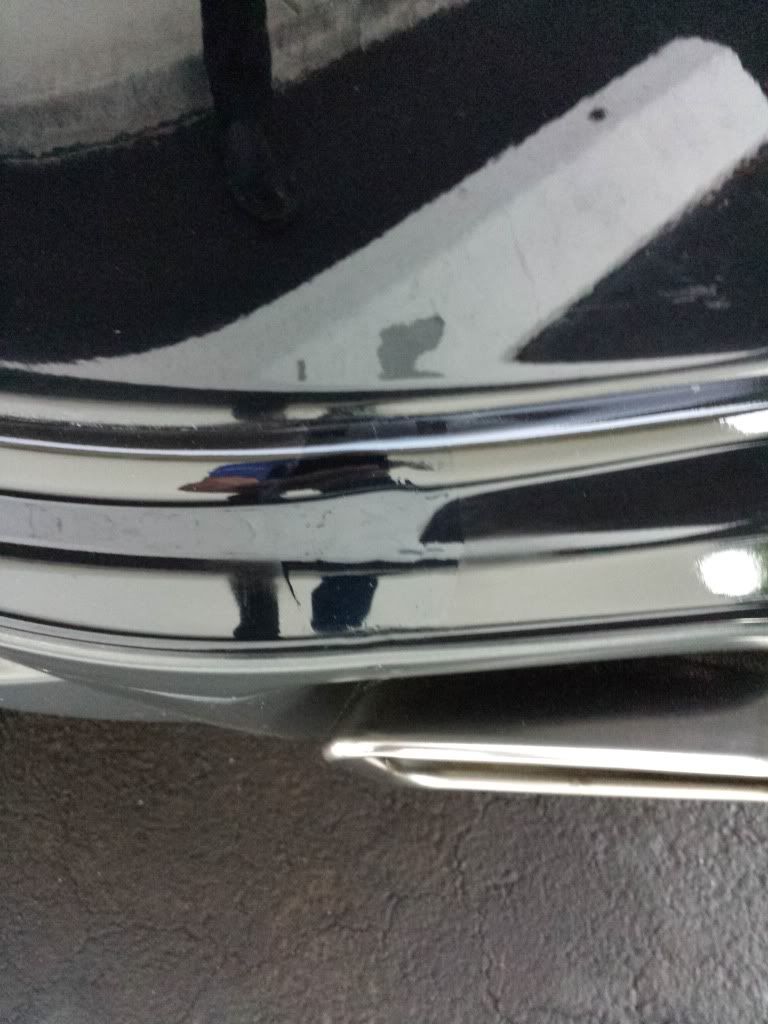
Here is before:
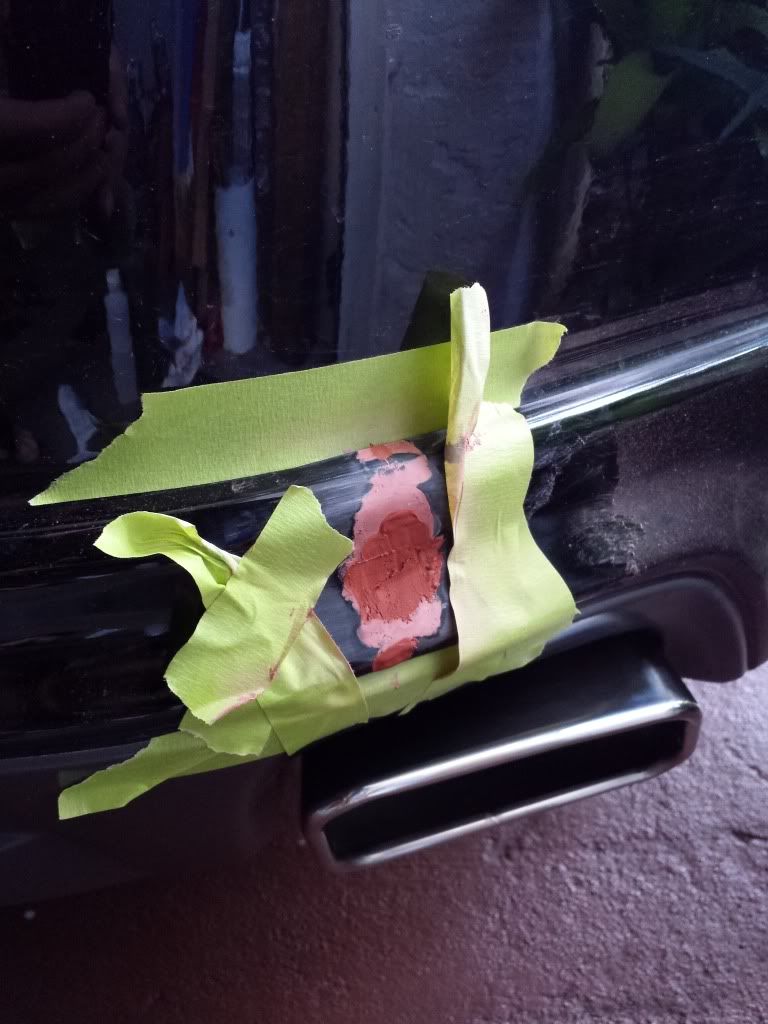
First, tape off what you DON'T want to accidentally sand. Your goal here is to end up with just the barely visible lines of where you put new clear coat on top
I sanded with 400 grit to remove old paint and smooth out the edges of the gouge.
I put in some Bondo Glazing Putty
Sanded it with 600/800 paper
Another coat of Glazing putty to build it up
sanded with 1000 grit
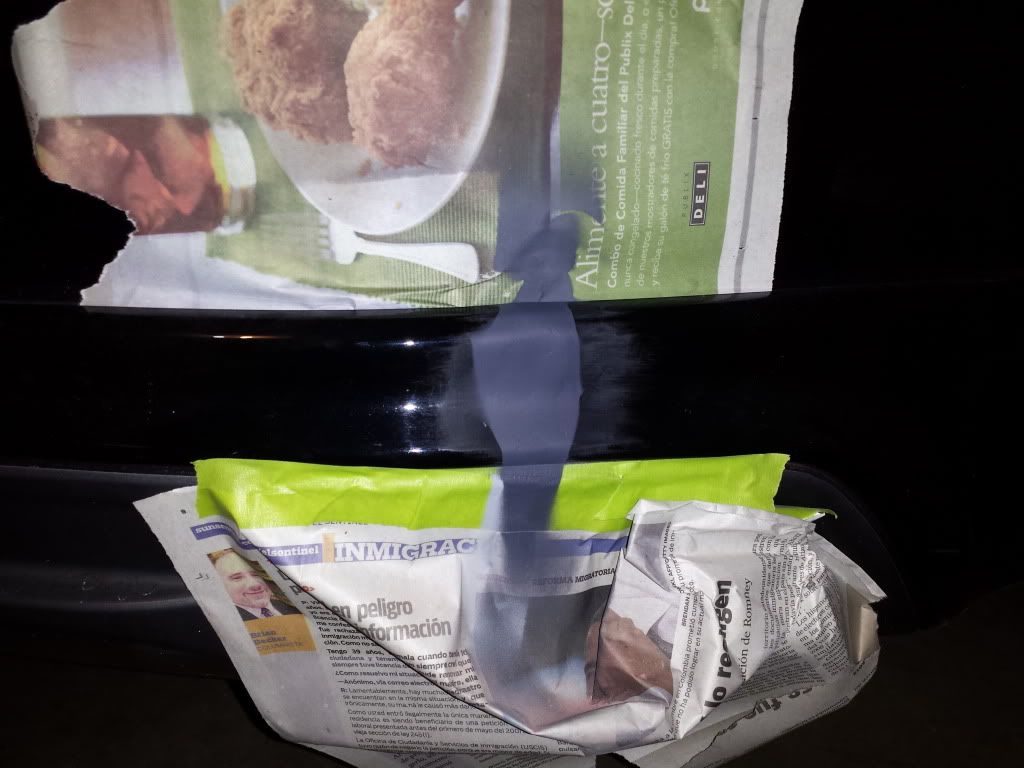
Add newspaper to the tape, back tape...this is where you tape where you don't want to paint, but rather than a sharp line at the edge, you tape using the middle part of the tape and pull back the sharp edge so the paint doesn't make a hard line when you remove it. hard to do it on such a small area but it helped blend a bit.
Prime it...I waited a day to let it dry then sanded with 2000 paper.
I didn't like this one area so I redid another layer of glazing putty
Primer again...then waited a day, sanded with 2000 grit paper.
3 coats of NBP in a can, then 4 of clearcoat.
Wait 2 to 3 days for it to pully cure...
Then hit with 2000 paper again, lightly, you don't want to remove the clear from the hard edges.
Then erase the sand marks with the Porter Cable and orange pad and M105
Then polish with white pad and M205
Pictures:

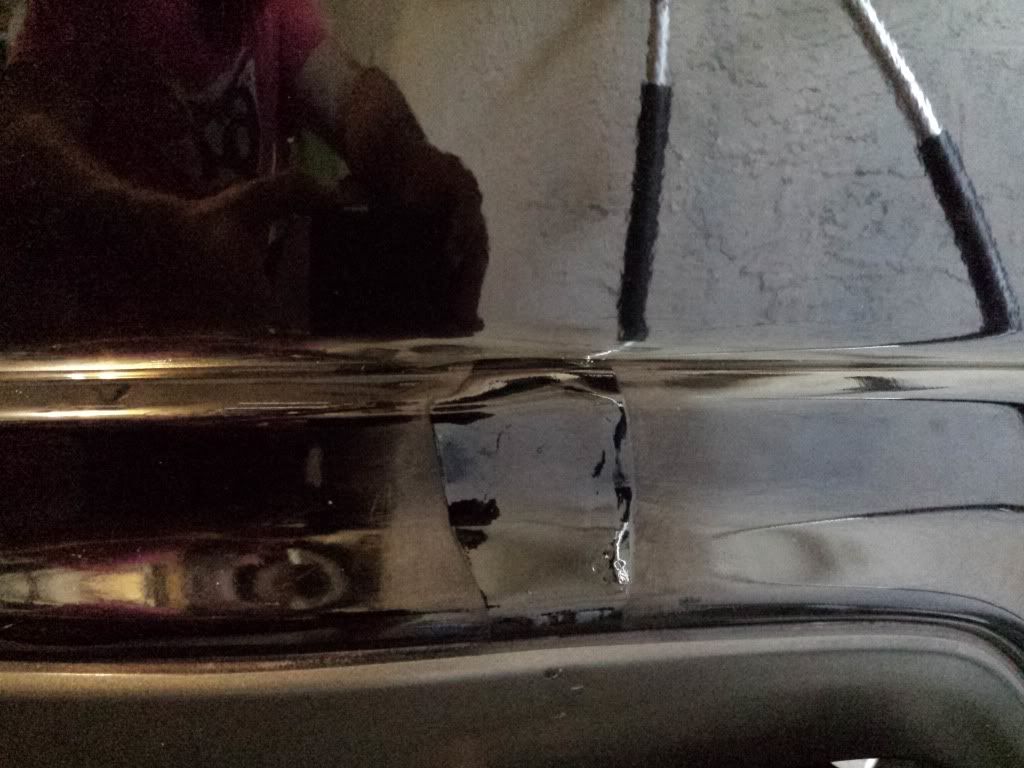
This is before final sand/compound/polish
End result, TADA!
(thanks Nexson Brian for all the lessons)
It's still not 100% perfect, but here's the method used. My main issue is I should have done one more coating of glazing putty to fill it in perfectly. Also, I sanded with the heavy grit paper a little too wide and in trying to eliminate the scratches with the orange pad and 3" PC and M105 I stripped the paint/primer back down on the bottom. I just touched it up with a touch up brush.
It's not perfect, but on a dark color like NBP and maybe even some others, you can hide it well enough to make it so your eye is not drawn to the imperfection so overall, the car still can appear flawless to most.
Copy Pasted from my thread:
Okay, so a less pretty update but one nonetheless. About 2 years ago I went to jury duty, while parking I swore that the parking bump was further out than the steel beam for the building...guess not. BAM, I hit it and I hit it hard...popped off the side of the bumper and put a huge dent in my rear aspec lip. I've been a strong advocate for just accepting that my car is 10 years old and will have some imperfections but this is something that always bugged me.
I guess putting the new tips on gave me new inspiration to fix it...and now that I look, I am having a hard time finding a decent picture of the before. Subconsciously I must have been avoiding shooting it
Here is before:

First, tape off what you DON'T want to accidentally sand. Your goal here is to end up with just the barely visible lines of where you put new clear coat on top
I sanded with 400 grit to remove old paint and smooth out the edges of the gouge.
I put in some Bondo Glazing Putty
Sanded it with 600/800 paper
Another coat of Glazing putty to build it up
sanded with 1000 grit
Add newspaper to the tape, back tape...this is where you tape where you don't want to paint, but rather than a sharp line at the edge, you tape using the middle part of the tape and pull back the sharp edge so the paint doesn't make a hard line when you remove it. hard to do it on such a small area but it helped blend a bit.
Prime it...I waited a day to let it dry then sanded with 2000 paper.
I didn't like this one area so I redid another layer of glazing putty
Primer again...then waited a day, sanded with 2000 grit paper.
3 coats of NBP in a can, then 4 of clearcoat.
Wait 2 to 3 days for it to pully cure...
Then hit with 2000 paper again, lightly, you don't want to remove the clear from the hard edges.
Then erase the sand marks with the Porter Cable and orange pad and M105
Then polish with white pad and M205
Pictures:


This is before final sand/compound/polish

End result, TADA!

(thanks Nexson Brian for all the lessons)
It's still not 100% perfect, but here's the method used. My main issue is I should have done one more coating of glazing putty to fill it in perfectly. Also, I sanded with the heavy grit paper a little too wide and in trying to eliminate the scratches with the orange pad and 3" PC and M105 I stripped the paint/primer back down on the bottom. I just touched it up with a touch up brush.
It's not perfect, but on a dark color like NBP and maybe even some others, you can hide it well enough to make it so your eye is not drawn to the imperfection so overall, the car still can appear flawless to most.

 10-15-2013, 03:20 PM
#4
Yeah
All I heard was 2 clings and bam. I couldn't see because of the 18 wheeler so I move to the left and that is when it hit my front bumper. It damaged the bumper (just scuffs, which I removed with rubbing compound and wax it off) and worse of all, chipped my custom A-Spec right in the corner where it was cut in order to fit the fog light housing.
I was

Thread
Thread Starter
Forum
Replies
Last Post
cycdaniel
1G TSX Performance Parts & Modifications
8
12-17-2019 10:58 AM