
DIY Heating Pad Swap


Thread Starter
Instructor
Joined: Nov 2012
Posts: 212
Likes: 44
DIY Heating Pad Swap
Spent 2.5 hours swapping these bastards and taking pics. Sorry for the lack of completed pics as my iPhone died towards the end, but I am sure anyone can reverse engineer 
Tools needed:
14mm Socket and ratchet with a 6" extension
14mm wrench (ratchet wrench is faster)
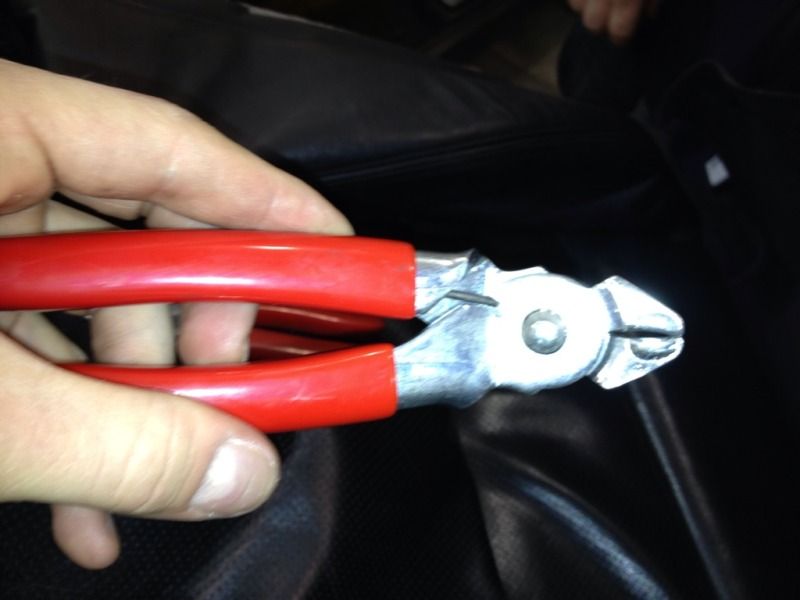
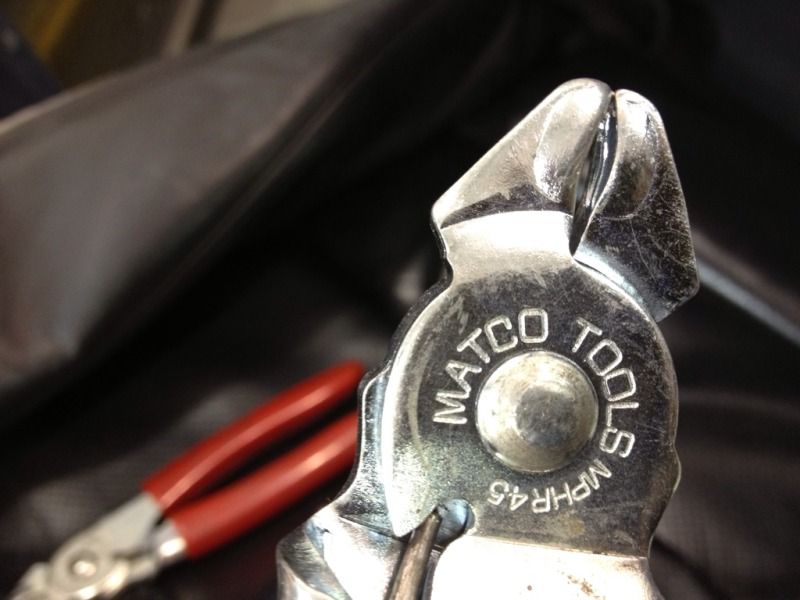
Side cutters (long handle is nice)
Drill with Philips bit, or a Philips screw driver
Small prybar
large needle nose plyers
Small pocket screwdriver
Hog Ring Clamper
Hog Rings
Panel Popper
Super Glue
Zip Ties
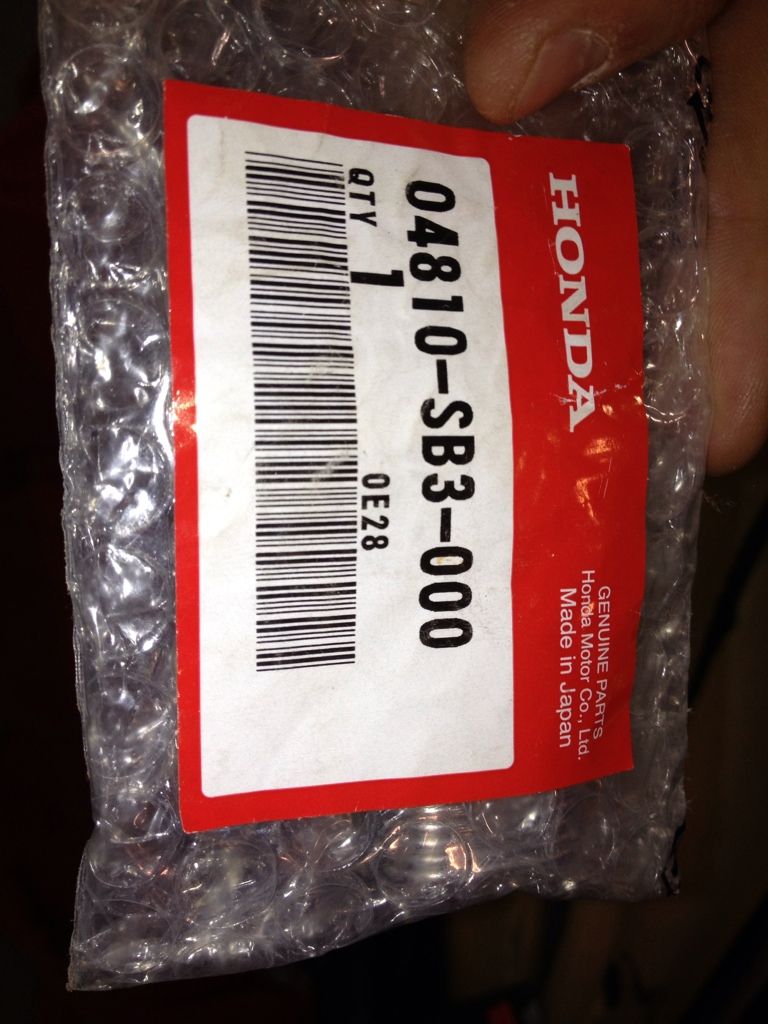
New Pads
Back Story: Three of my three heating pads went out in my TL within three weeks of owning it (Ironic I know). I ordered all new for approx 275.00 at the dealership. Here we go with a step-by-step. Forgive any errors as I still cannot figure out how to edit a post on a thread.
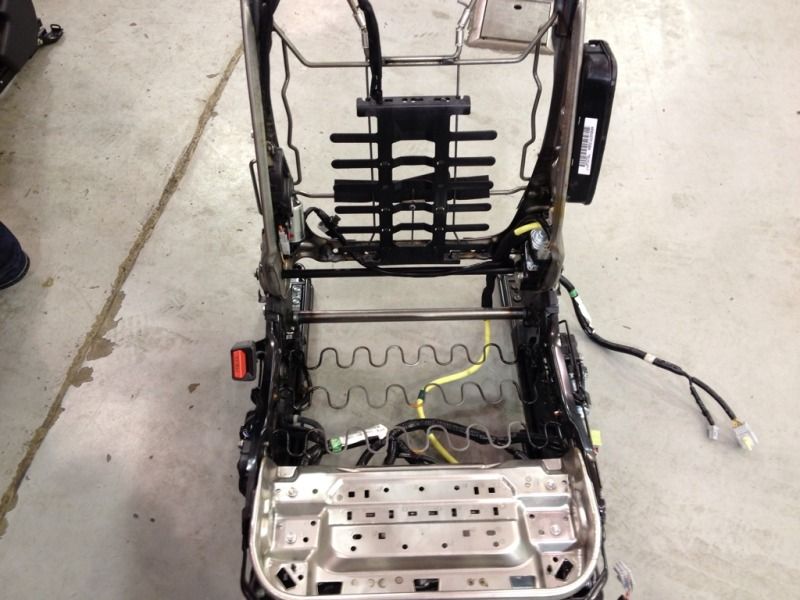
Okay Lets get that Passenger seat out.
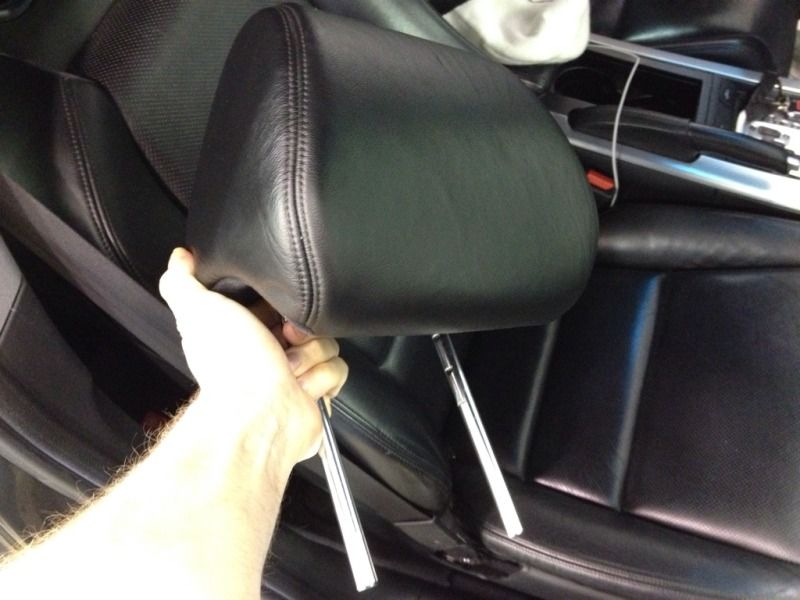
Lean the seat back and remove the headrest.
Then tilt the seat all the way forward.
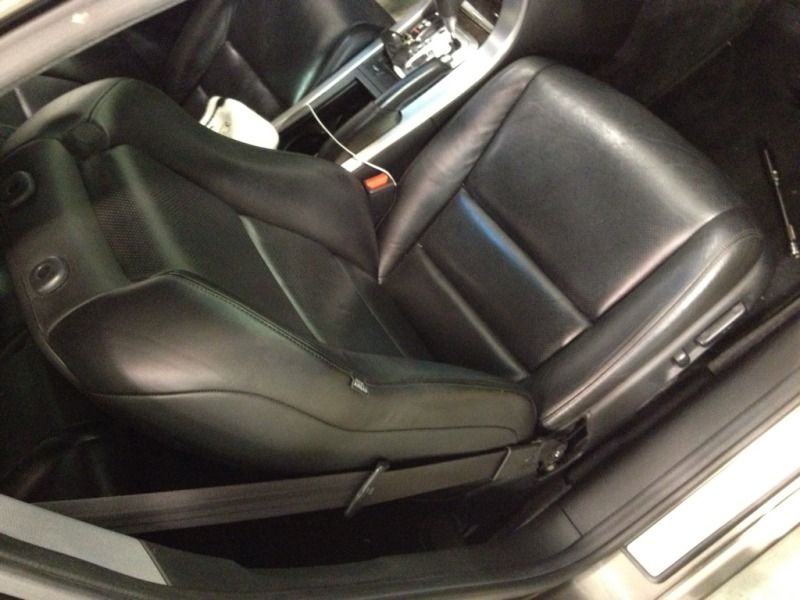
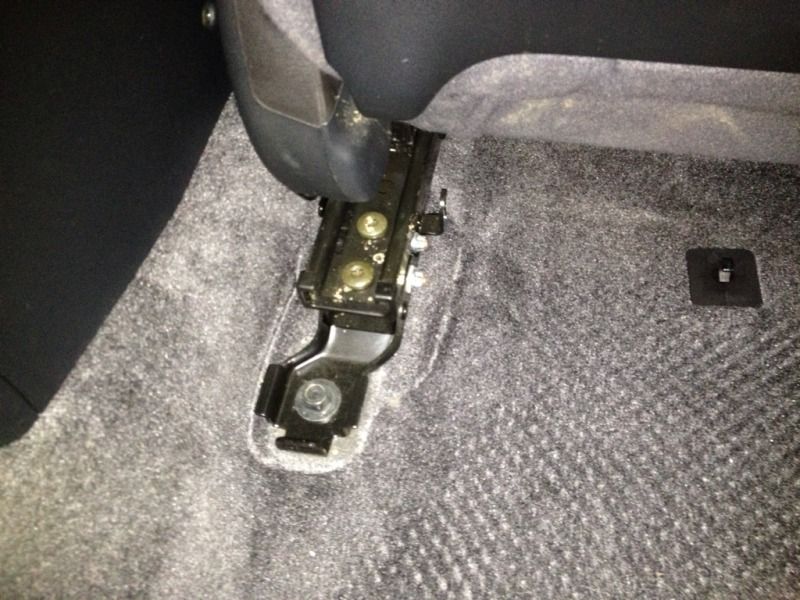
Remove all of the seat bolts
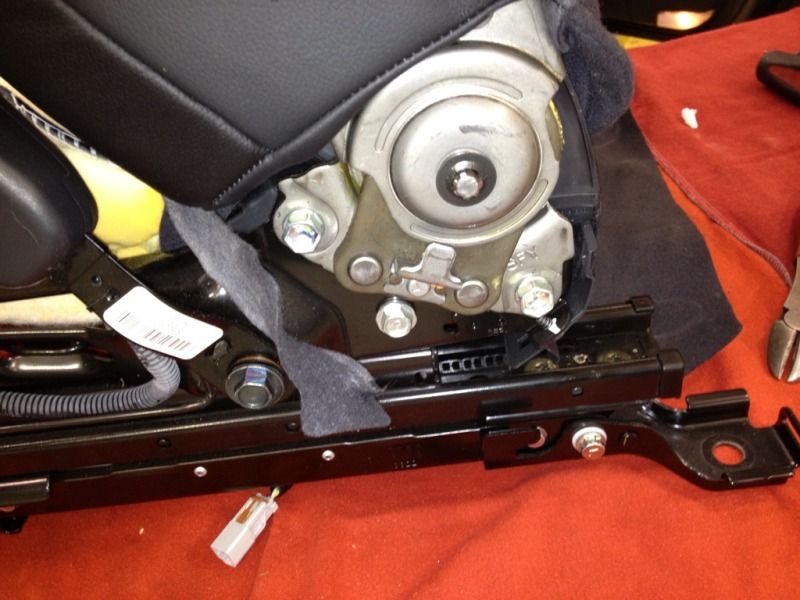
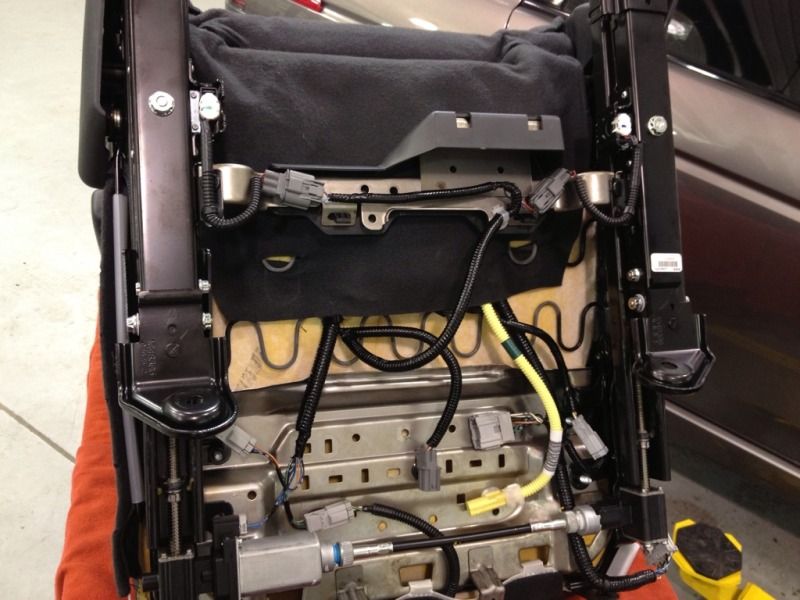
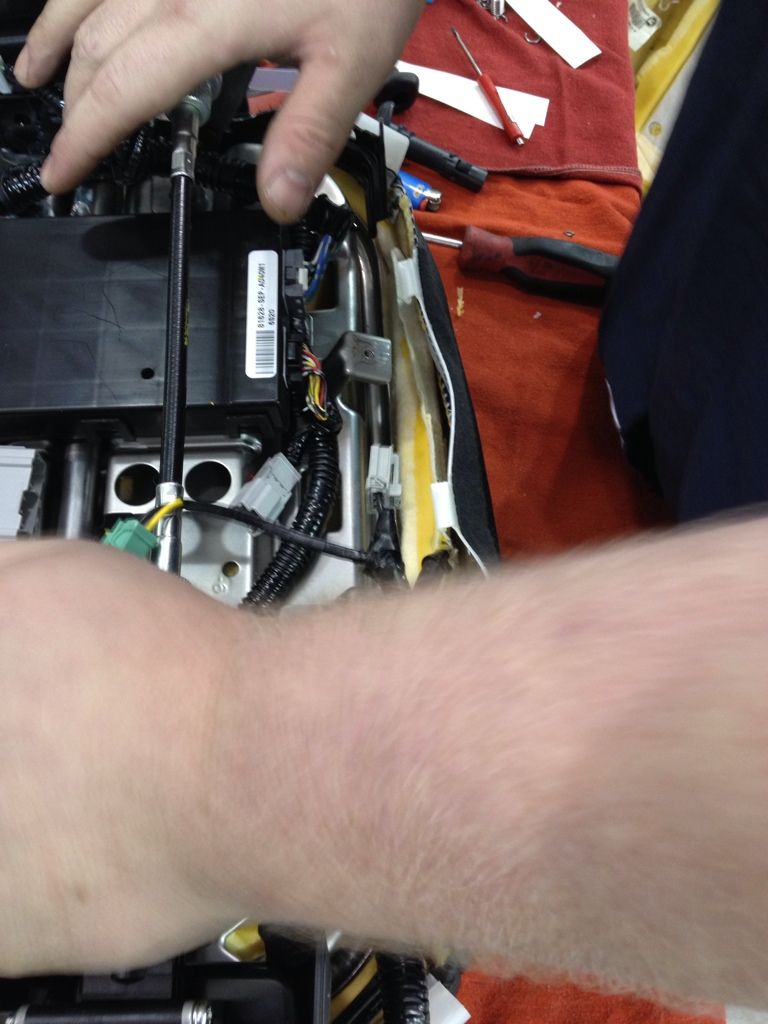
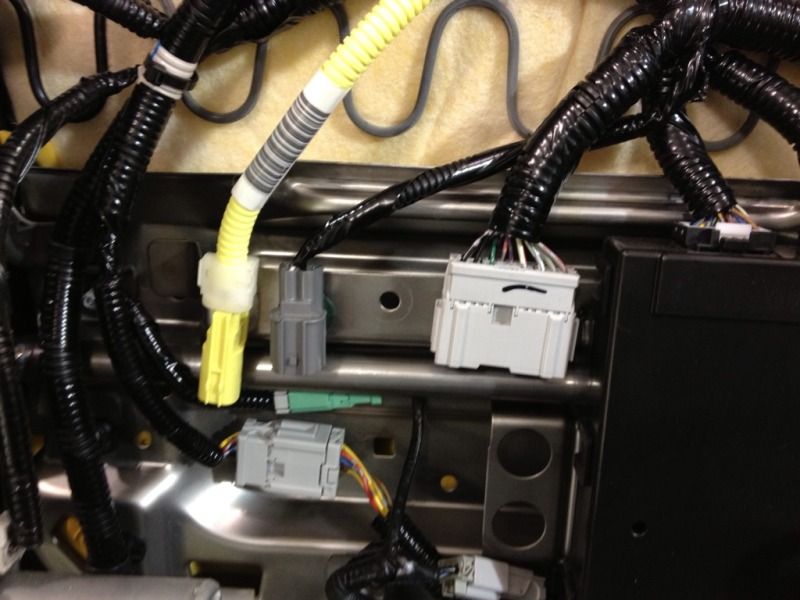
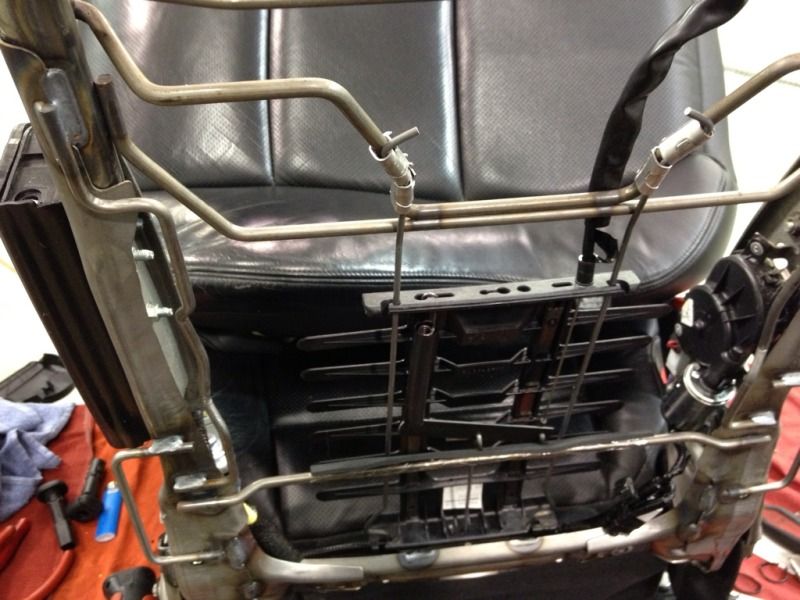
Tile the seat back and unplug the THREE plugs on the underside:
Using a 14mm wrench remove the seat belt bolt. The plastic doesn't need to be removed for this.
Don't freak out at this next part. Pull the bottom part of the back panel out. You can go slow, fast, gentile or rough, the clip retainers on the actual seat back will break. This is a result of the clip being stronger then the seat back. Just superglue the little pieces back on. They hold great with gorilla glue. Once you pull back, just slide the seat back up and off.
Okay, next up we need to get some things out of the way so we can remove that bottom cushion.
Flip the seat over and unhook all of the fabric retainers for the seat. NOTE: There are HOG Rings one ONE side of the seat holding the cover on. Cut them.
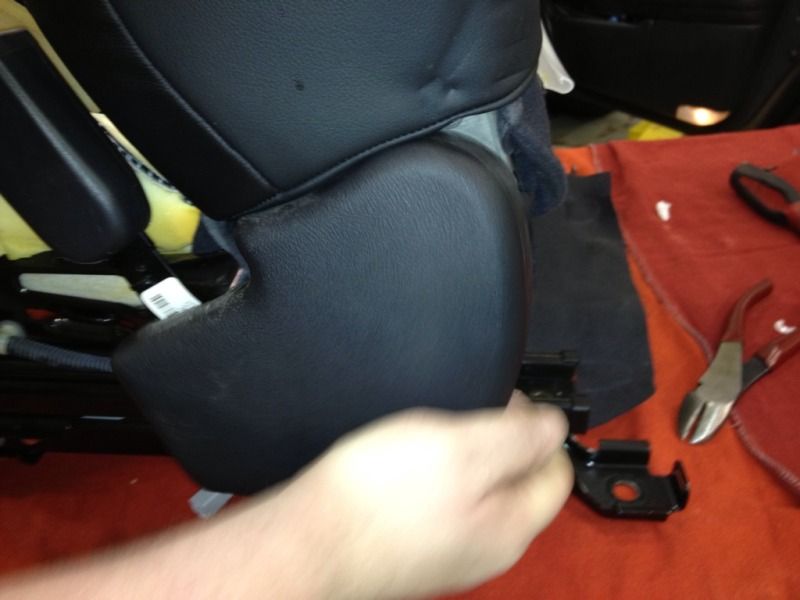
You will need to remove three Philips screws for the trim around the front and side of the seat.

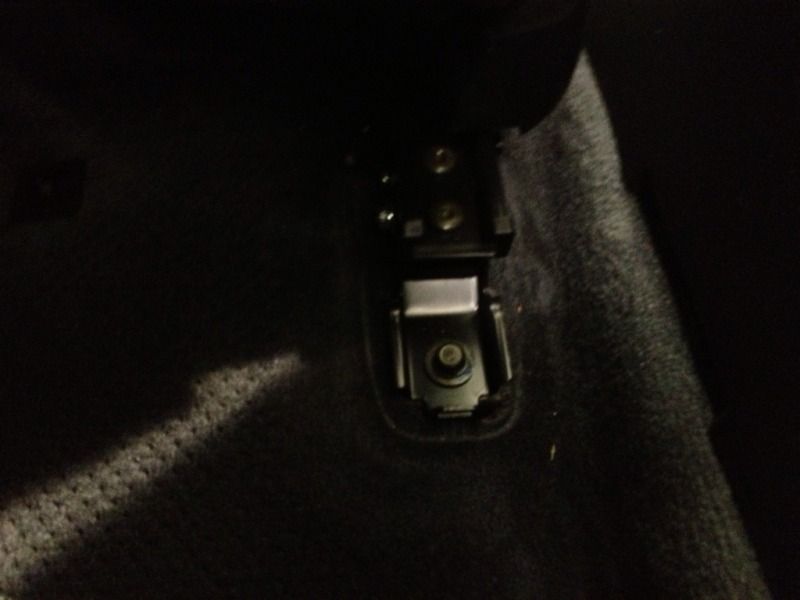
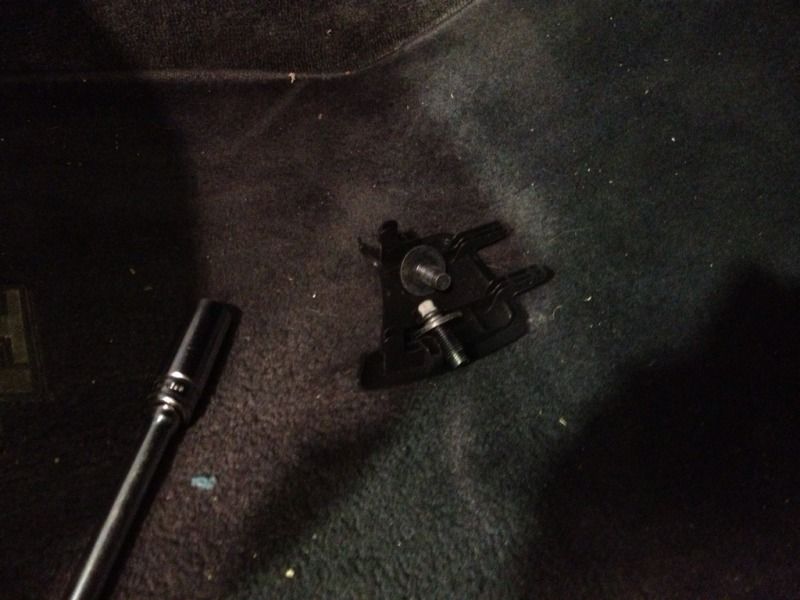
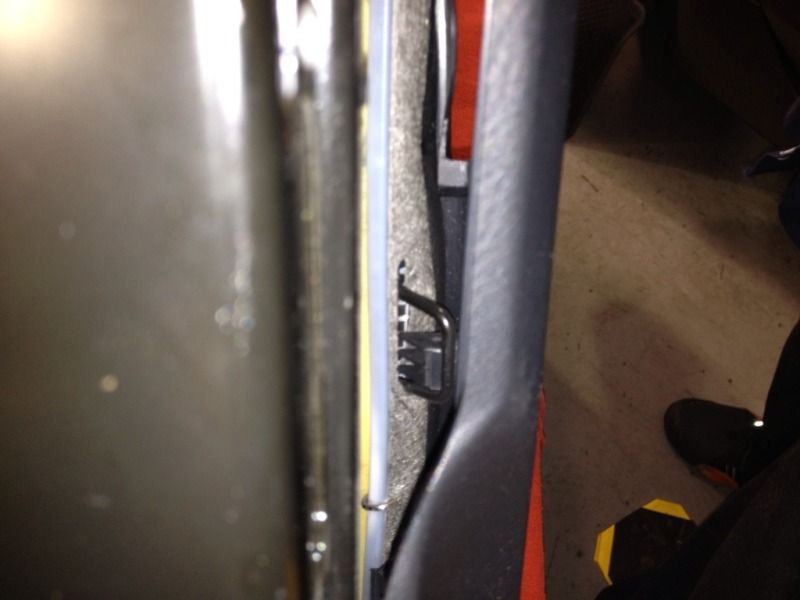
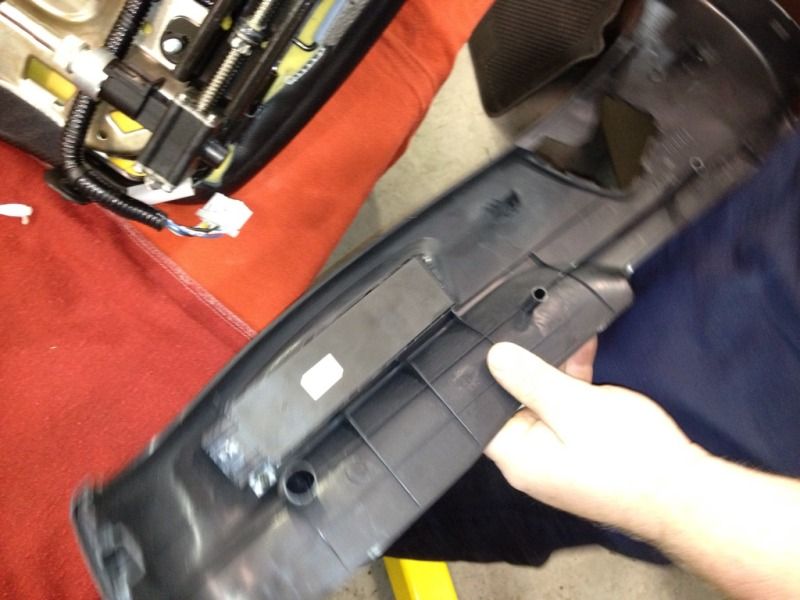
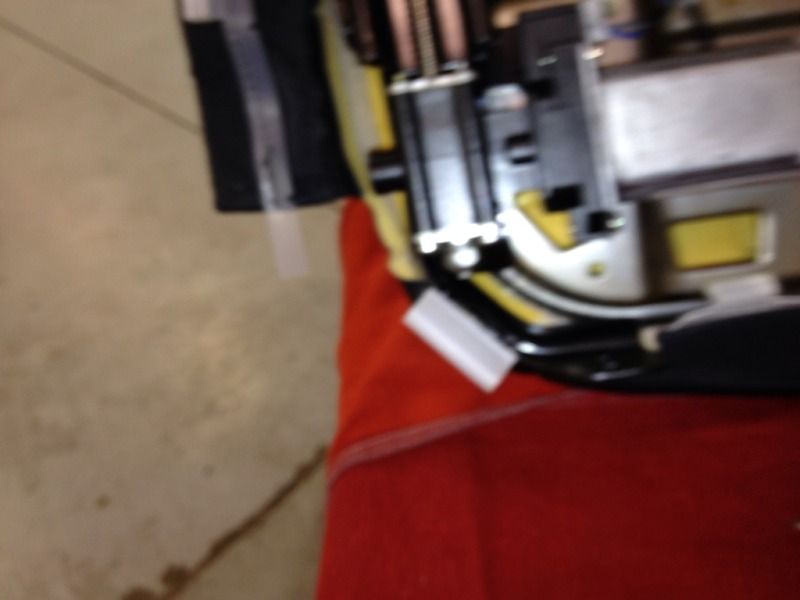
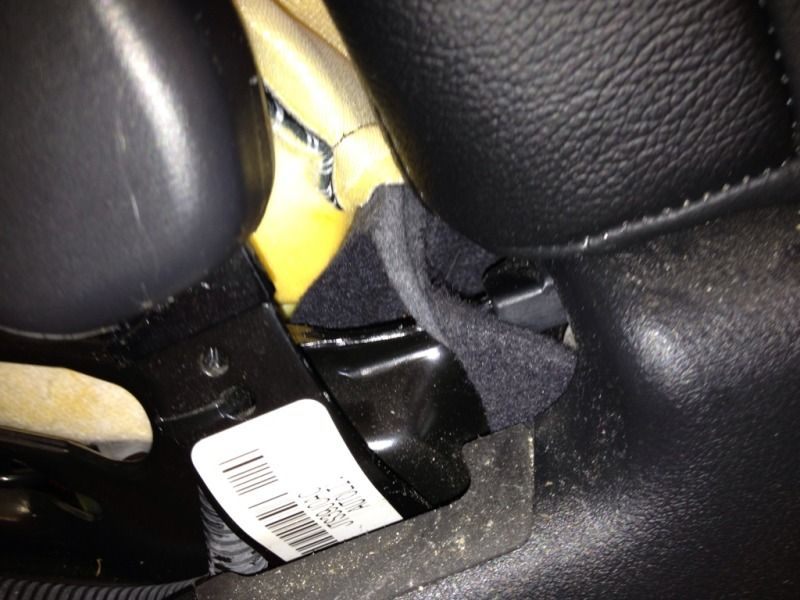
NOTE: AFTER you take the screws out and remove the front plastic piece off DO NOT GO YANKING ON THE SIDE PIECE!! You will brake the piece or a couple clips that hold it on. Make sure to take a long tool and PUSH it out...then pull. Clp shown below:
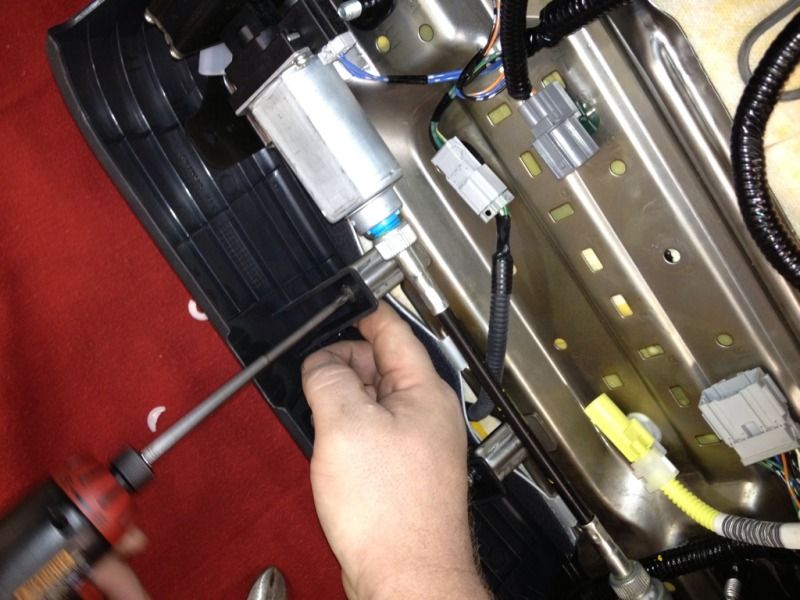
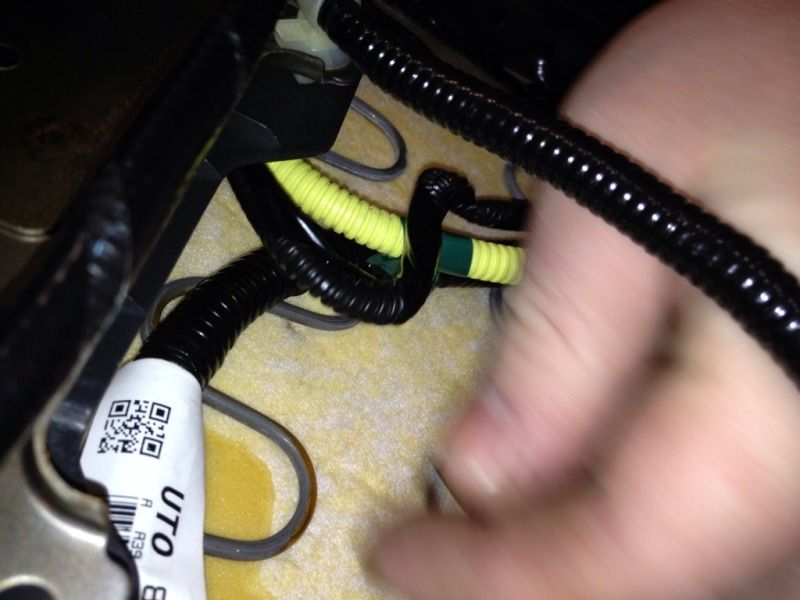
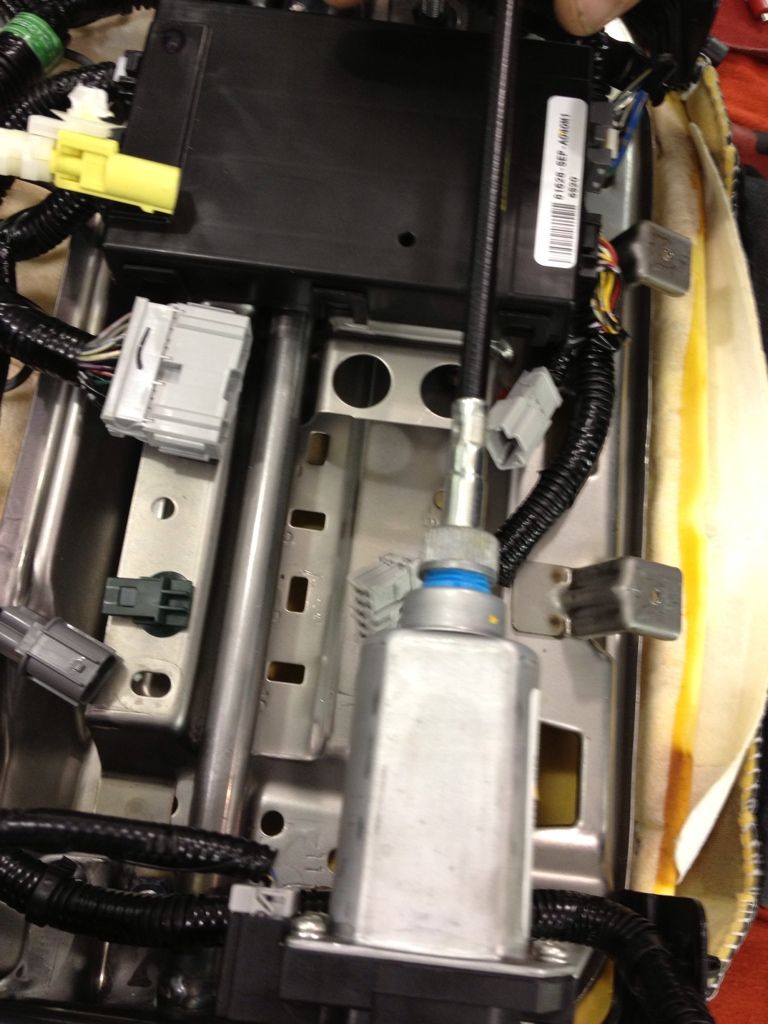
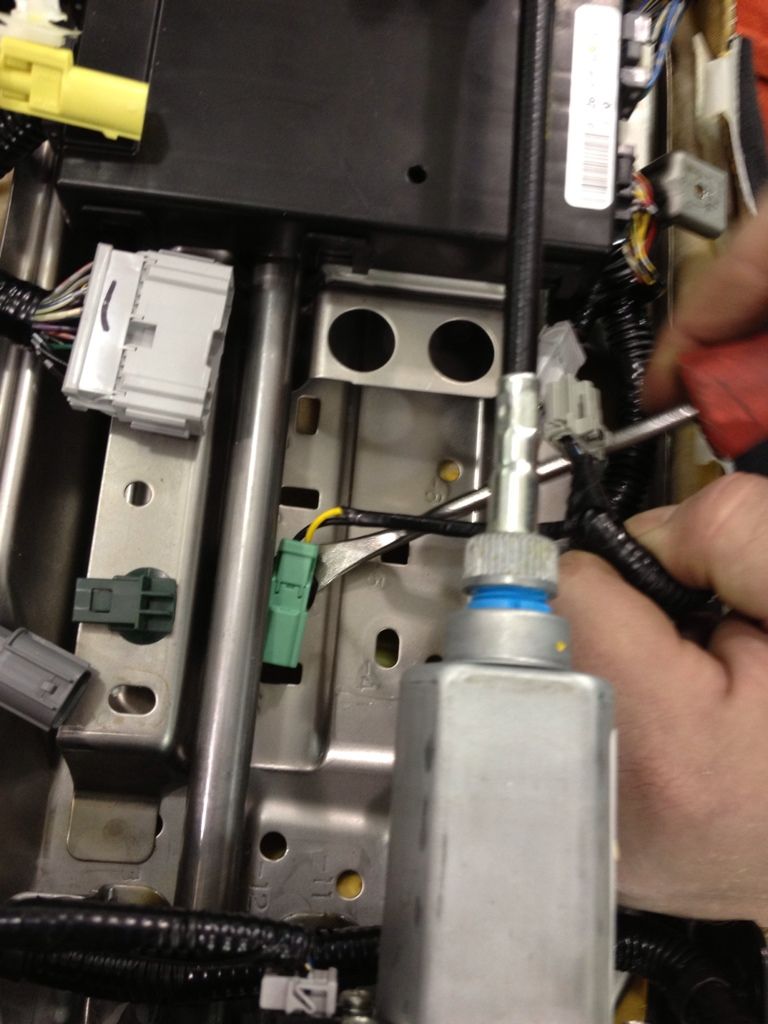
Look at the following pics and unhook the connectors that are tied to the seat bottom.

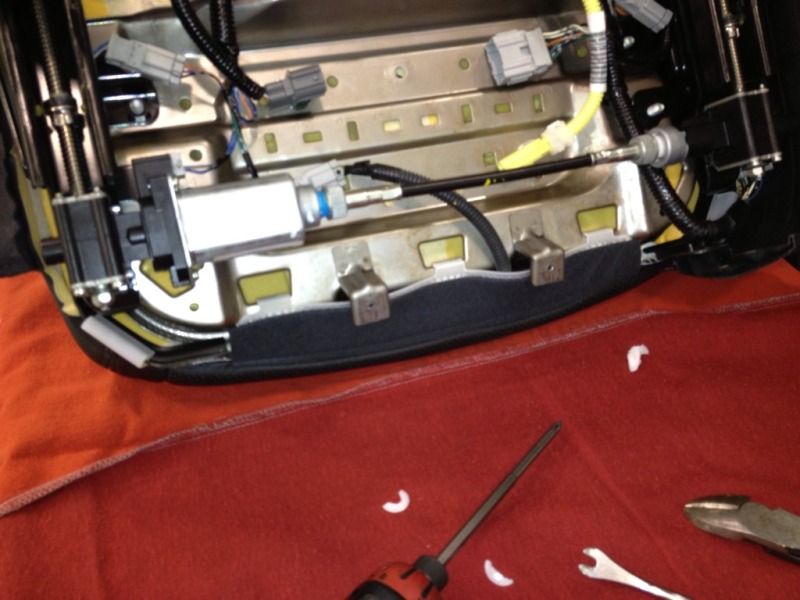

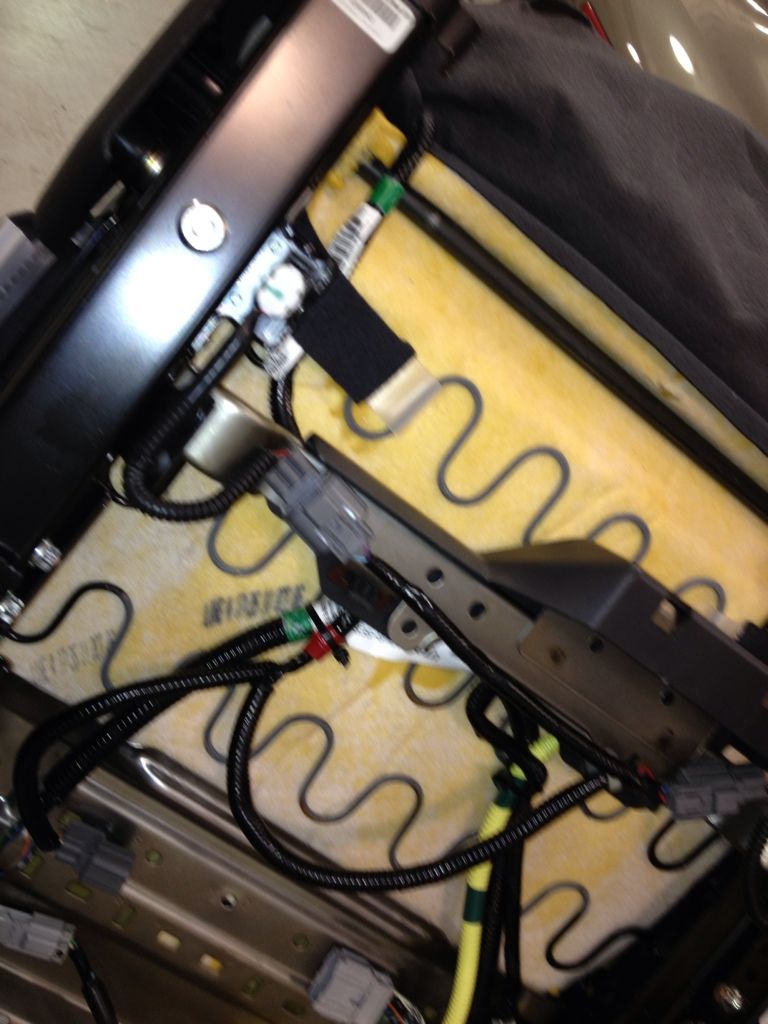

After you remove all of the plastic and unhook all of the wires and material flip the seat back over:
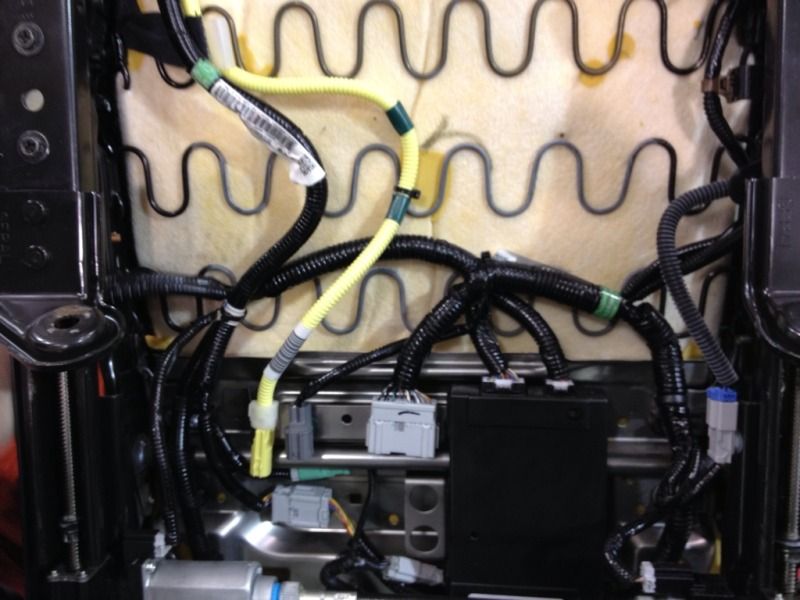
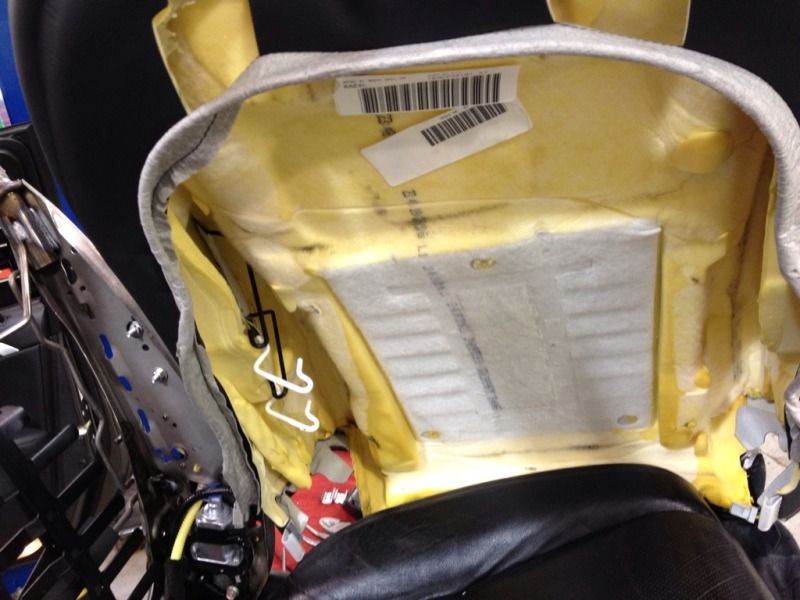
Then you will want to work the wires out from the underside out of the back and up through the fabric holes designed to cover them.
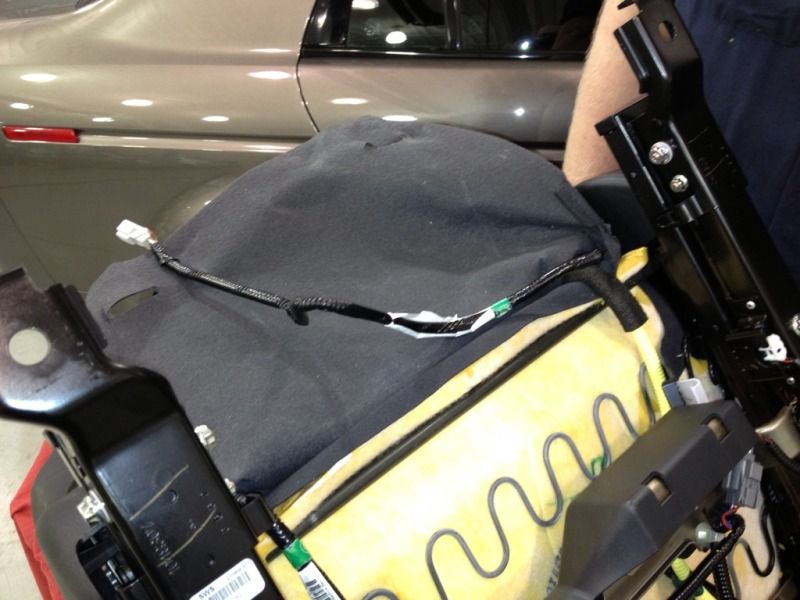
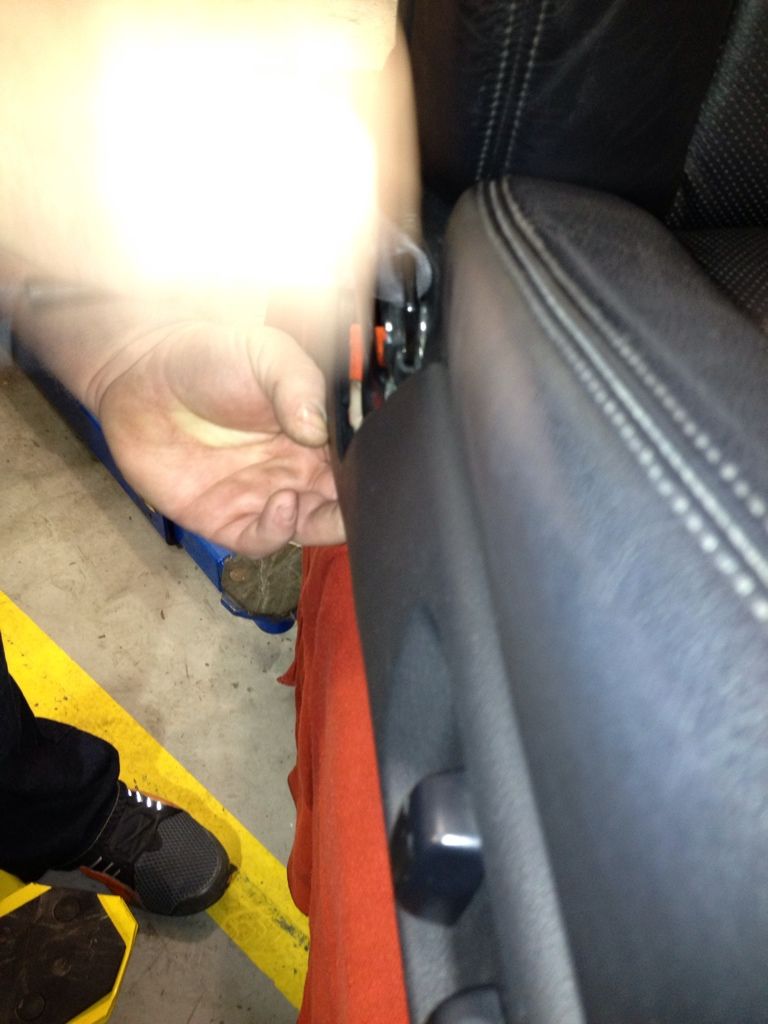
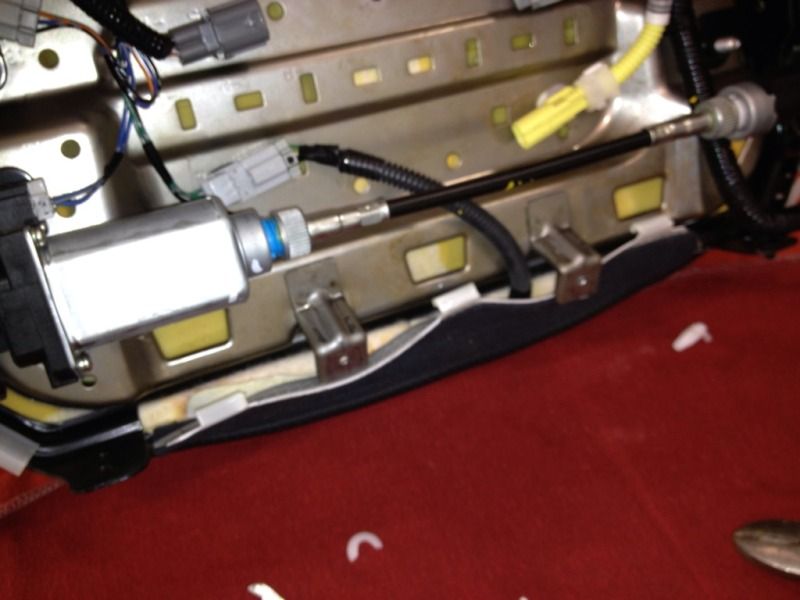
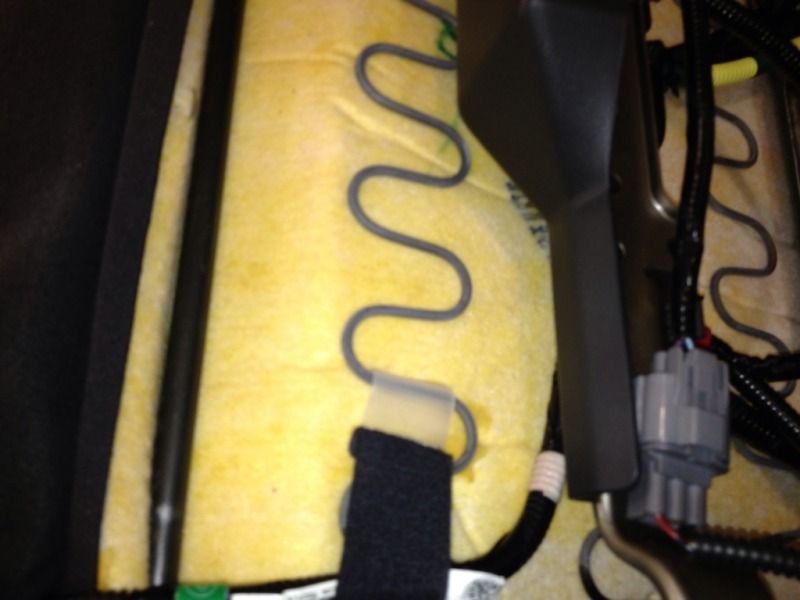
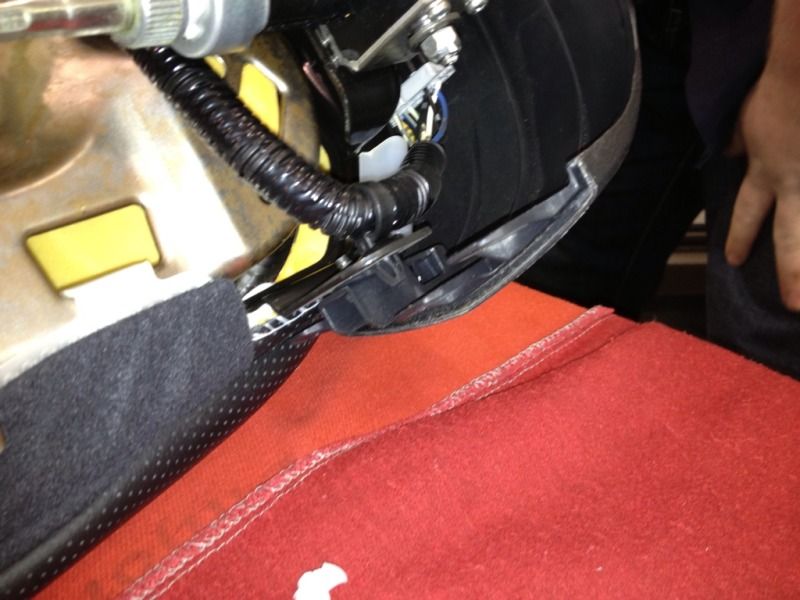
You will need to remove the inside plastic cover (by the seat belt) in order to unhook a piece of felt holding the seat bottom in. You will find the gray straps (fist pic below) held to the seat bottom with a hog ring.
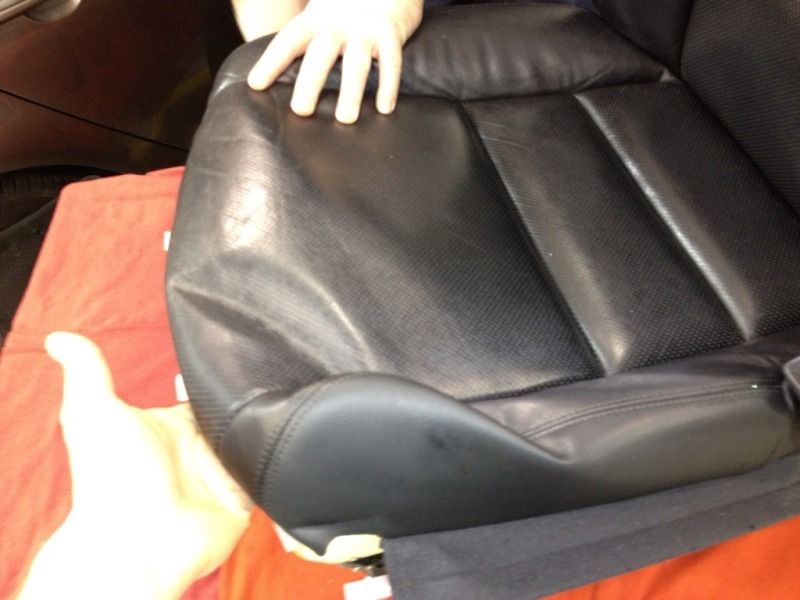
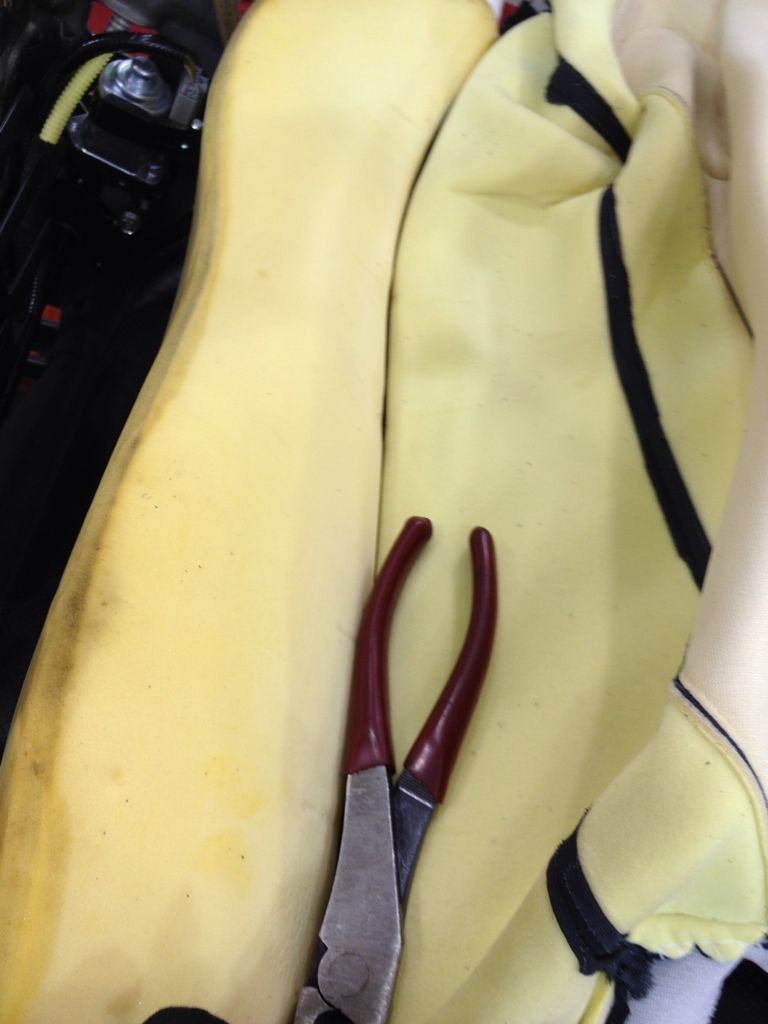
Now lets get this skin off!
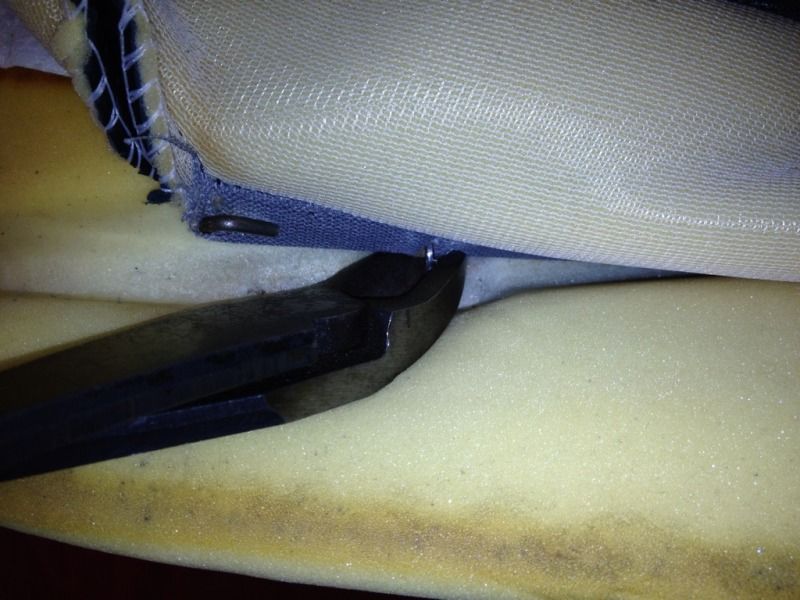
After you pull the seat bottom free of the frame you can start working the sides off.
Get those side cutters because you will encounter those hog rings sooner then you think.
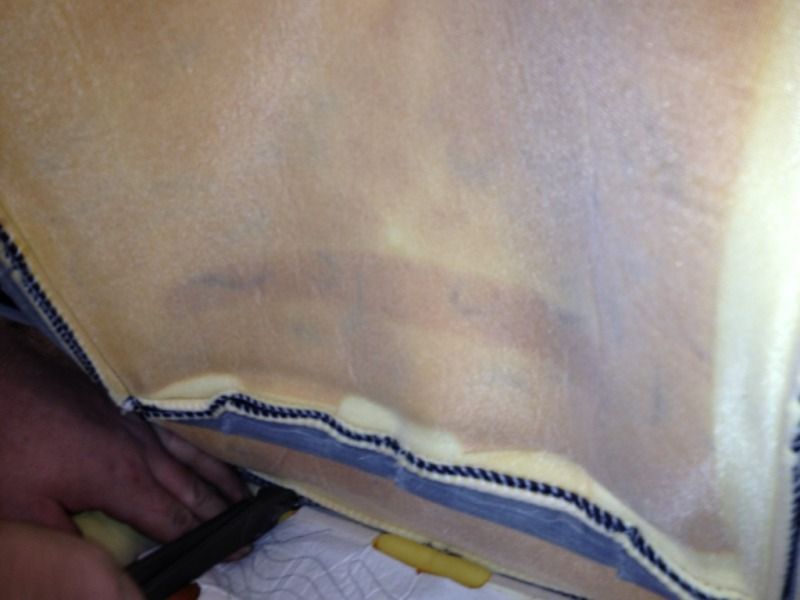
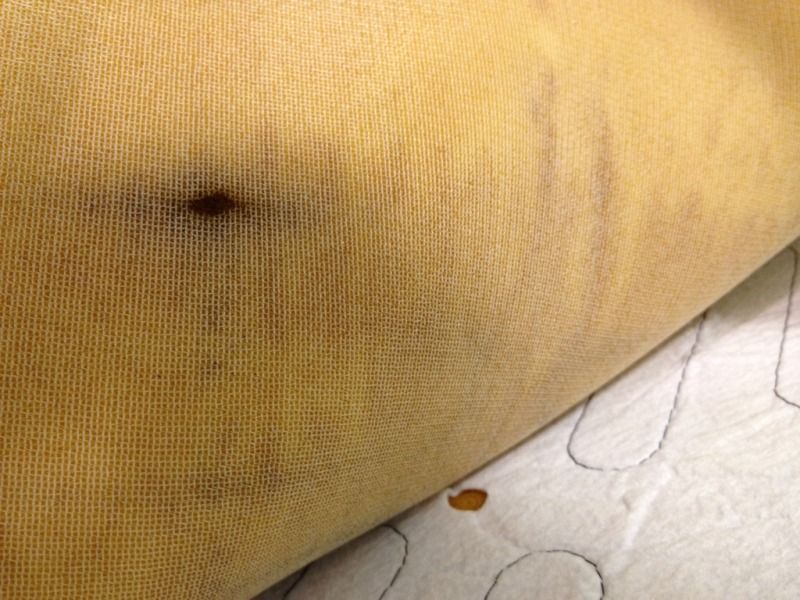
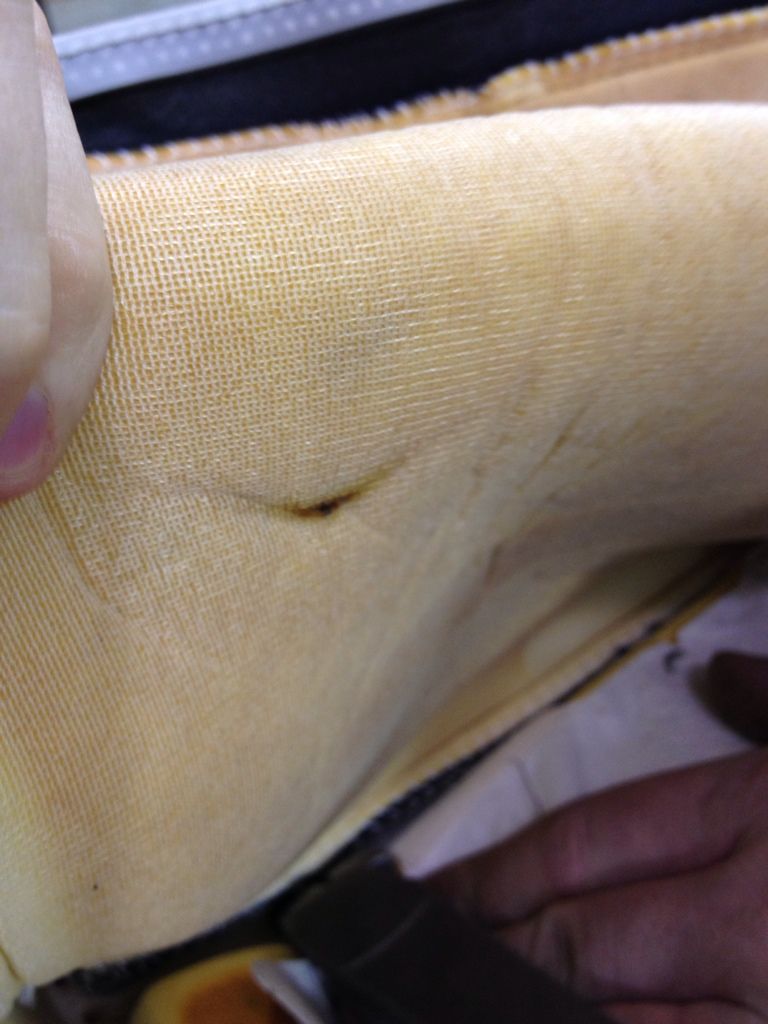
Once you cut them all and pull the skin free make sure you get ALL of the debris out of there. By now you should have found your problem area. Min was here:
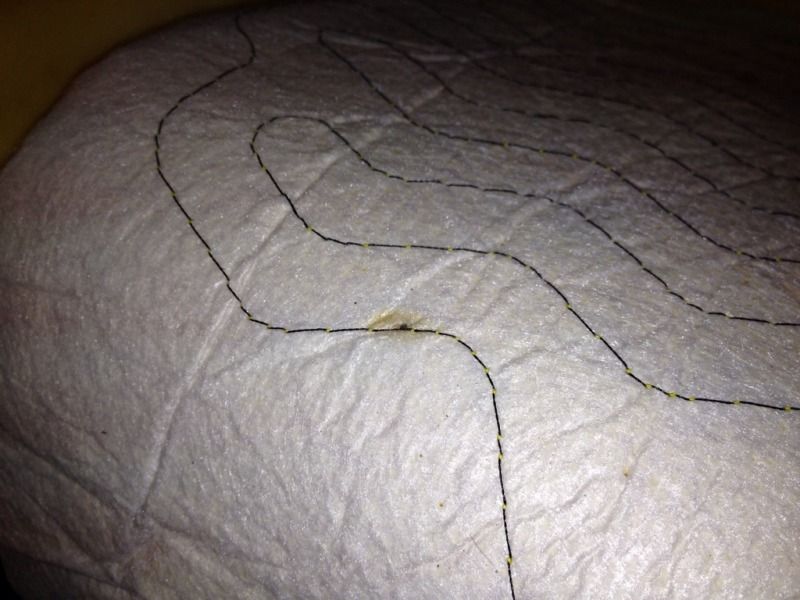

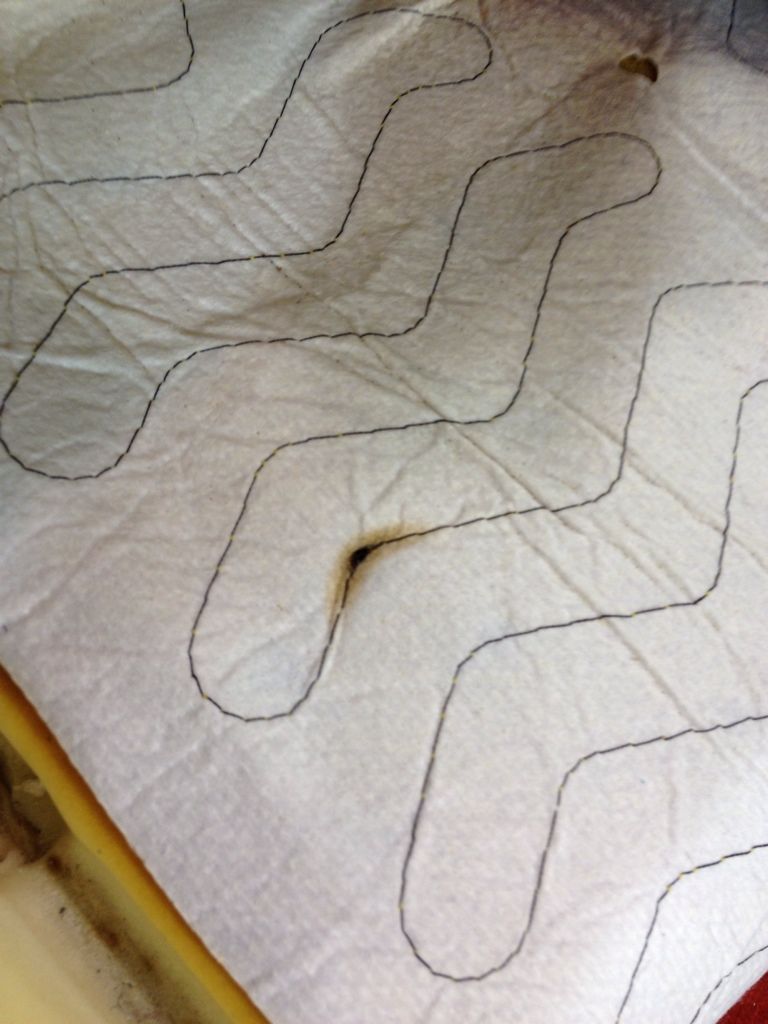
Next peel that old heat pad off like an old post-it note:
Looks like that little burn went deeeeeep:
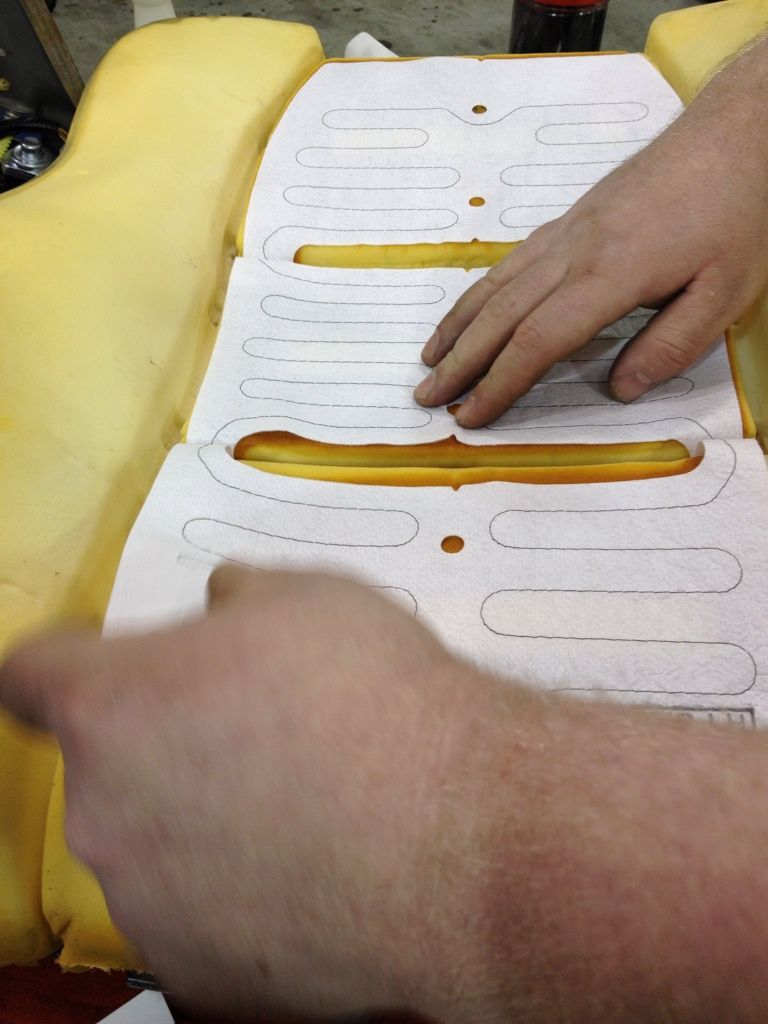
Old vs New:
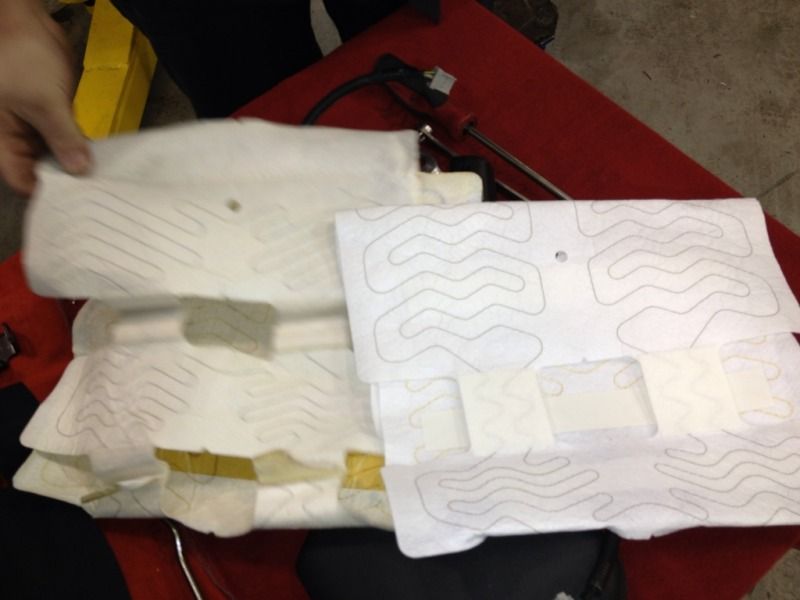
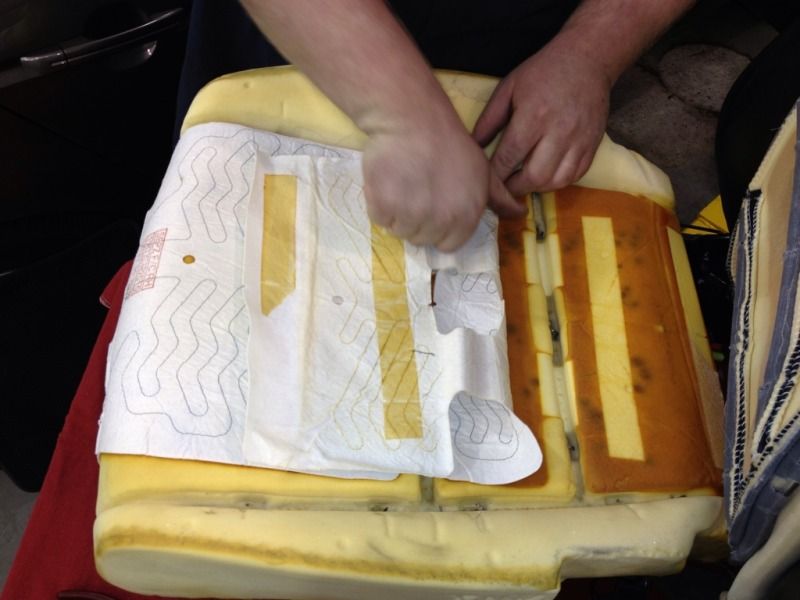
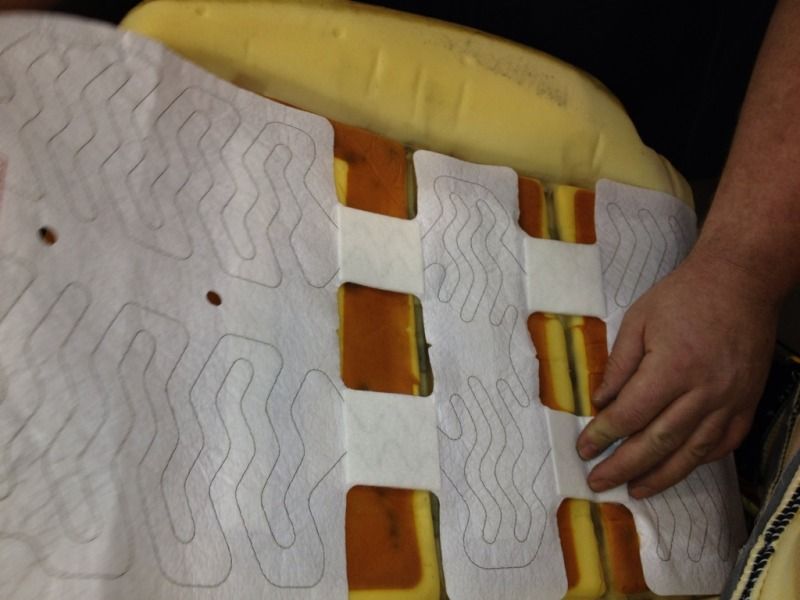
Peel the self adhesive strips off of the pad (Starting with the part closest to the seat back, but not all of the strips at once) and begin to reapply the new pad.
Finally get your hog ring clamps, your rings and reverse the steps I just posted:
Next up The Driver Seat, Back and Bottom
Follow the same steps for removing the seat however make sure the steering wheel is all the way up and you watch the backs of the tracks as they can potentially cause some damage.
We will be starting with the seat back first on this one then working to the bottom.
Pull the back off the same way ........get your superglue ready
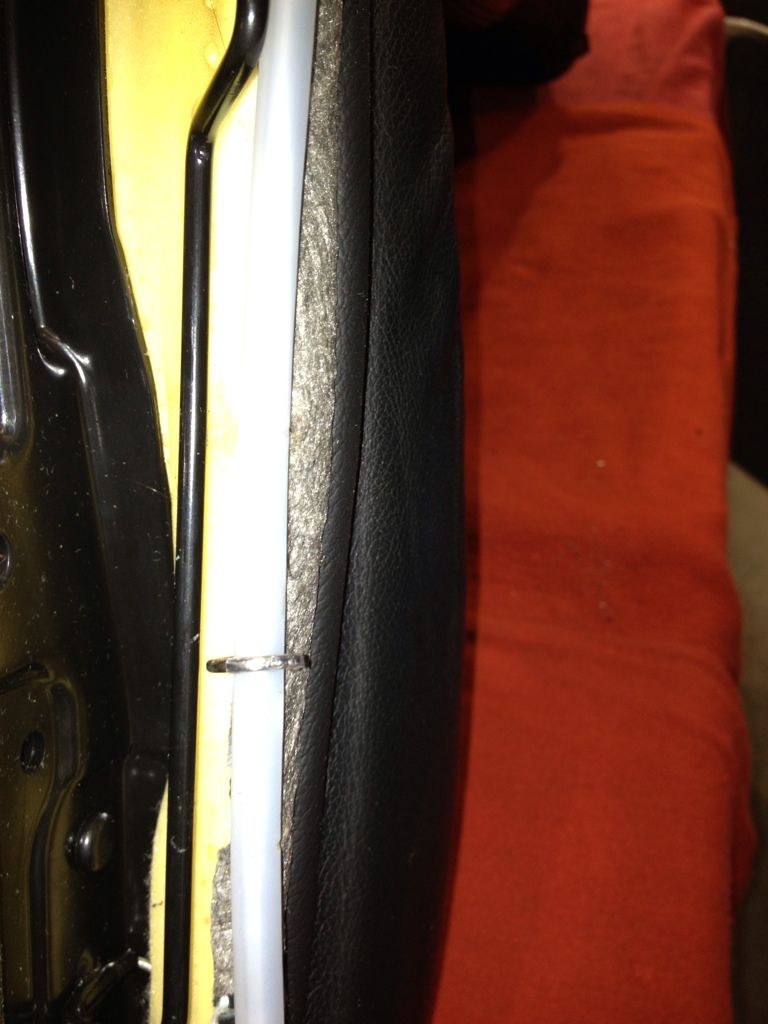
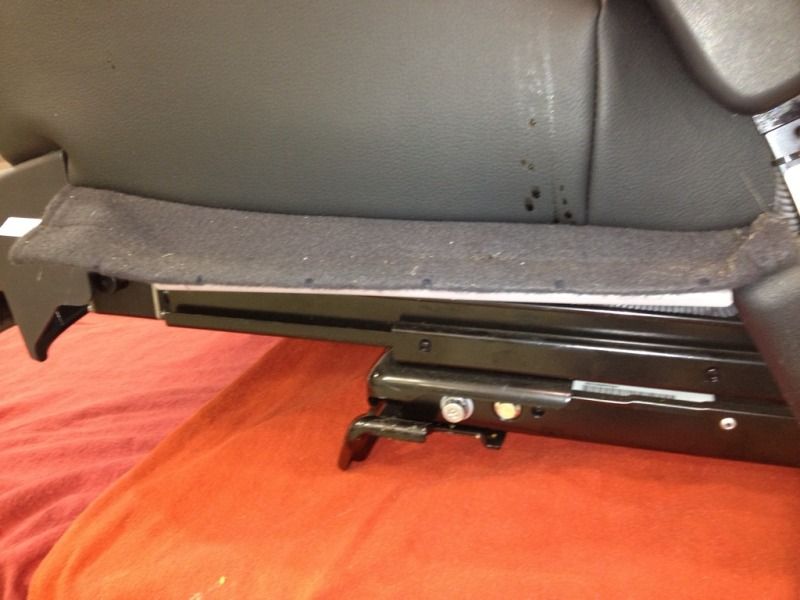
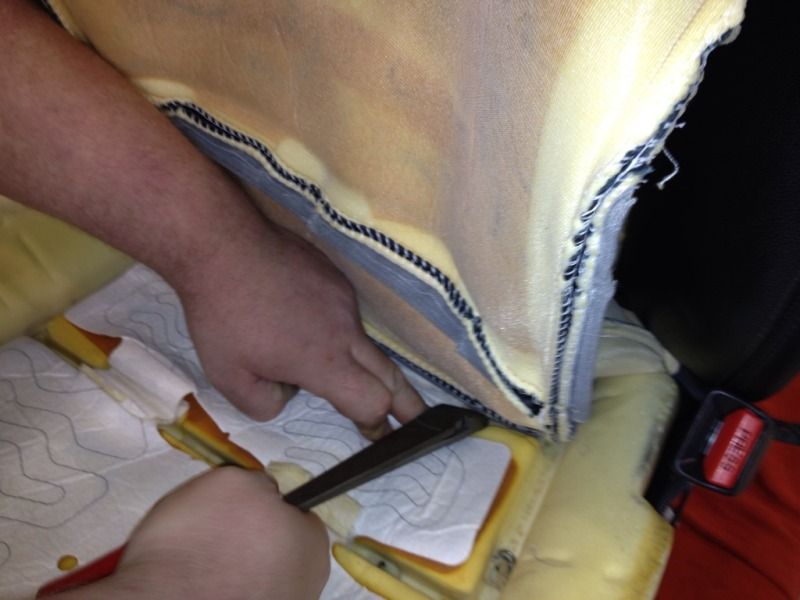
Grab your side cutters. The skin is heald to the seat frame with hog rings. you will find a couple pieces of fabric/pleather that wrap up from the bottom and also connect to the seat fram, cut them all off. This pic is of the seat front face down. you can see the bottom wrapping fabric of the front skin at the top of the pic there:
Same as the Passenger seat, flip that thing over and unhook what is going to be pulled out. :
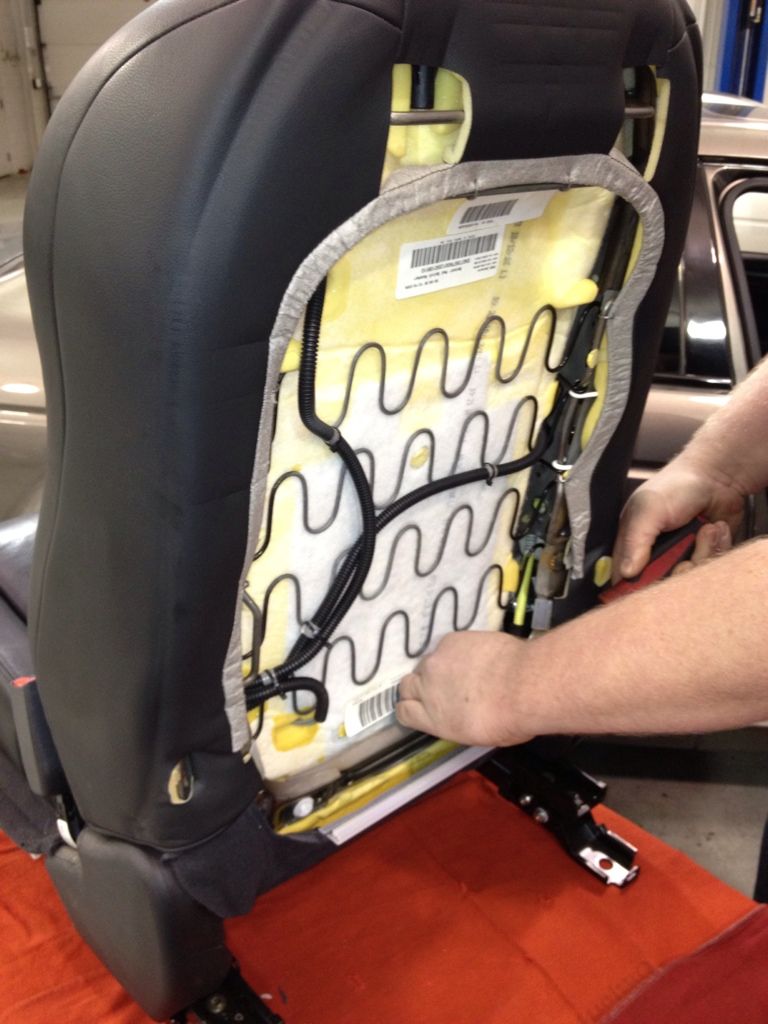
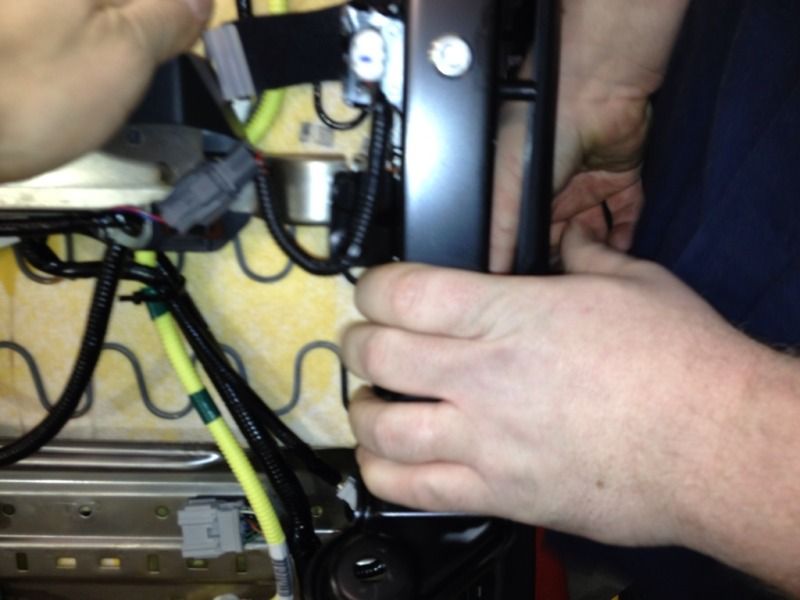
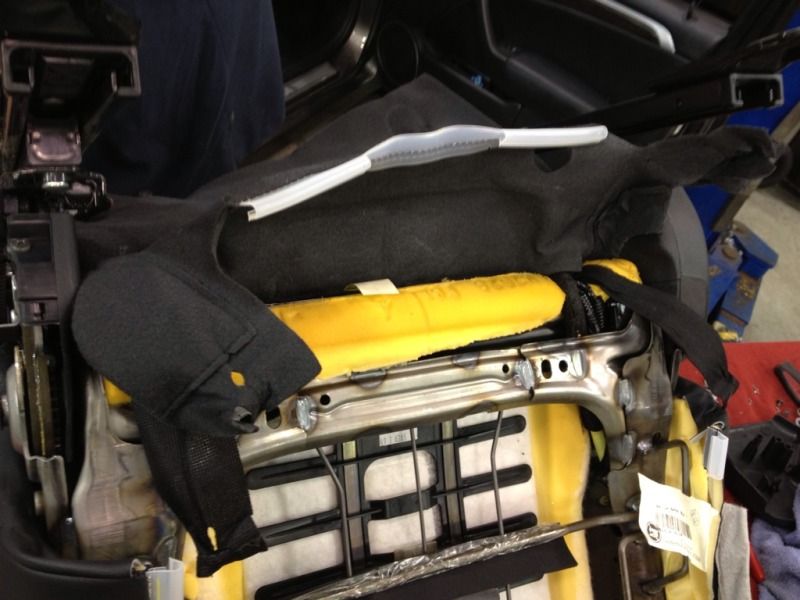
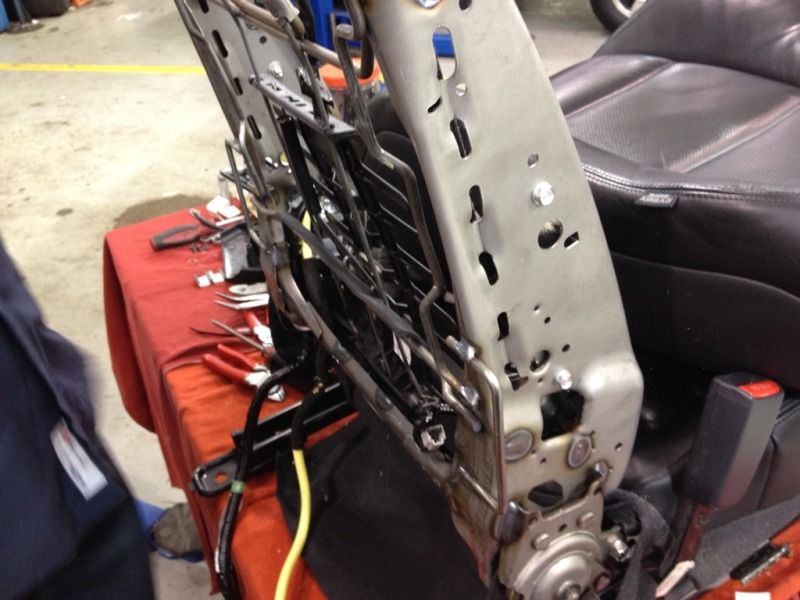
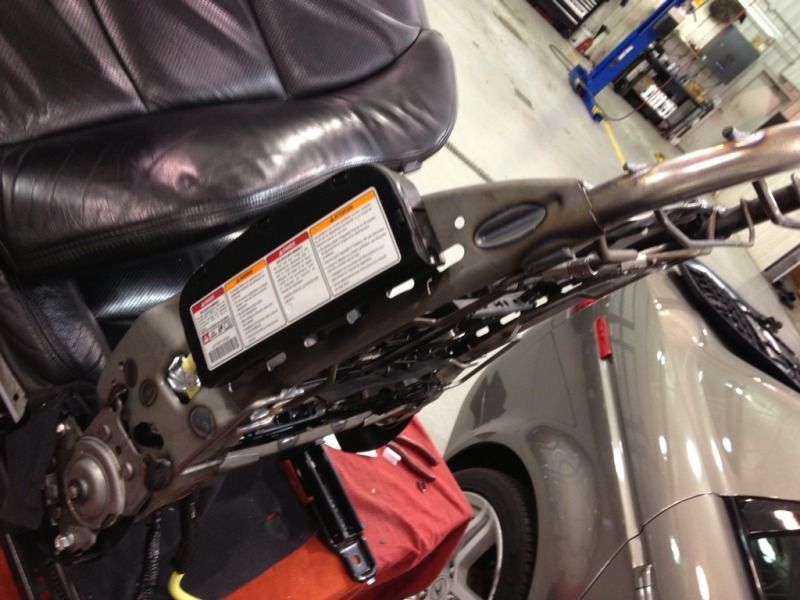
Now you will need to work careful around that airbag. the seat back retainer brackets are stiff bastards. I used a small prybar and large needle nose. Once you get them off the seat chassis the seat back will come right off (you can see the white and black retaining brackets on the left side of the foam that wrap around the airbag):
Same hog ring removing process as the passenger side bottom (except there are A LOT more rings), remove the skin:
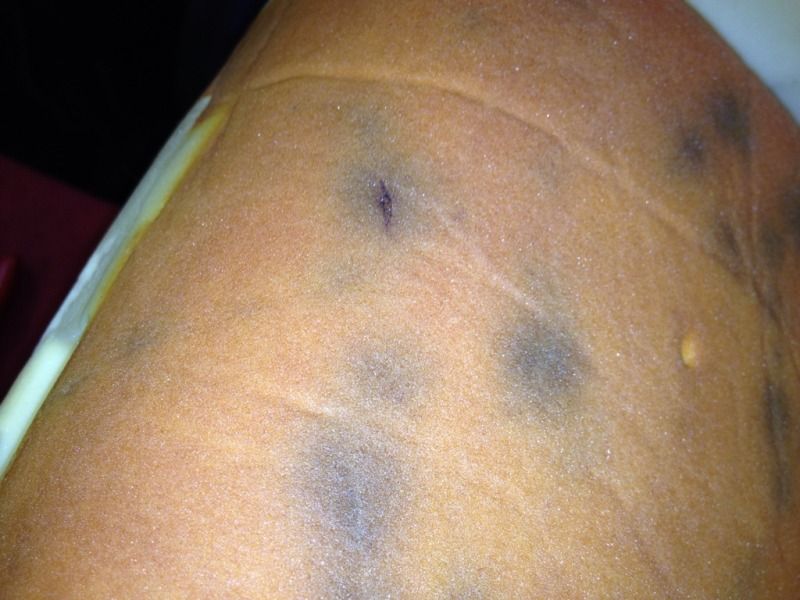
Here's your sign:

This one looked to lmost cook through the leather:
Just like the passer side, put on the new pad:
Leave the top off until you get the bottom off.
Same process as Passenger side with the exception of the seat belt bolt. The seat belt is attached to the car.
Here is my bottom pad:
I hope this helps those out there who are afraid to tare into these seats. Not too bad at all.
Jesse
Tools needed:
14mm Socket and ratchet with a 6" extension
14mm wrench (ratchet wrench is faster)
Side cutters (long handle is nice)
Drill with Philips bit, or a Philips screw driver
Small prybar
large needle nose plyers
Small pocket screwdriver
Hog Ring Clamper
Hog Rings
Panel Popper
Super Glue
Zip Ties
New Pads
Back Story: Three of my three heating pads went out in my TL within three weeks of owning it (Ironic I know). I ordered all new for approx 275.00 at the dealership. Here we go with a step-by-step. Forgive any errors as I still cannot figure out how to edit a post on a thread.
Okay Lets get that Passenger seat out.
Lean the seat back and remove the headrest.
Then tilt the seat all the way forward.
Remove all of the seat bolts
Tile the seat back and unplug the THREE plugs on the underside:
Using a 14mm wrench remove the seat belt bolt. The plastic doesn't need to be removed for this.
Don't freak out at this next part. Pull the bottom part of the back panel out. You can go slow, fast, gentile or rough, the clip retainers on the actual seat back will break. This is a result of the clip being stronger then the seat back. Just superglue the little pieces back on. They hold great with gorilla glue. Once you pull back, just slide the seat back up and off.
Okay, next up we need to get some things out of the way so we can remove that bottom cushion.
Flip the seat over and unhook all of the fabric retainers for the seat. NOTE: There are HOG Rings one ONE side of the seat holding the cover on. Cut them.
You will need to remove three Philips screws for the trim around the front and side of the seat.
NOTE: AFTER you take the screws out and remove the front plastic piece off DO NOT GO YANKING ON THE SIDE PIECE!! You will brake the piece or a couple clips that hold it on. Make sure to take a long tool and PUSH it out...then pull. Clp shown below:
Look at the following pics and unhook the connectors that are tied to the seat bottom.
After you remove all of the plastic and unhook all of the wires and material flip the seat back over:
Then you will want to work the wires out from the underside out of the back and up through the fabric holes designed to cover them.
You will need to remove the inside plastic cover (by the seat belt) in order to unhook a piece of felt holding the seat bottom in. You will find the gray straps (fist pic below) held to the seat bottom with a hog ring.
Now lets get this skin off!
After you pull the seat bottom free of the frame you can start working the sides off.
Get those side cutters because you will encounter those hog rings sooner then you think.
Once you cut them all and pull the skin free make sure you get ALL of the debris out of there. By now you should have found your problem area. Min was here:
Next peel that old heat pad off like an old post-it note:
Looks like that little burn went deeeeeep:
Old vs New:
Peel the self adhesive strips off of the pad (Starting with the part closest to the seat back, but not all of the strips at once) and begin to reapply the new pad.
Finally get your hog ring clamps, your rings and reverse the steps I just posted:
Next up The Driver Seat, Back and Bottom
Follow the same steps for removing the seat however make sure the steering wheel is all the way up and you watch the backs of the tracks as they can potentially cause some damage.
We will be starting with the seat back first on this one then working to the bottom.
Pull the back off the same way
........get your superglue ready Grab your side cutters. The skin is heald to the seat frame with hog rings. you will find a couple pieces of fabric/pleather that wrap up from the bottom and also connect to the seat fram, cut them all off. This pic is of the seat front face down. you can see the bottom wrapping fabric of the front skin at the top of the pic there:
Same as the Passenger seat, flip that thing over and unhook what is going to be pulled out. :
Now you will need to work careful around that airbag. the seat back retainer brackets are stiff bastards. I used a small prybar and large needle nose. Once you get them off the seat chassis the seat back will come right off (you can see the white and black retaining brackets on the left side of the foam that wrap around the airbag):
Same hog ring removing process as the passenger side bottom (except there are A LOT more rings), remove the skin:
Here's your sign:
This one looked to lmost cook through the leather:
Just like the passer side, put on the new pad:
Leave the top off until you get the bottom off.
Same process as Passenger side with the exception of the seat belt bolt. The seat belt is attached to the car.
Here is my bottom pad:
I hope this helps those out there who are afraid to tare into these seats. Not too bad at all.
Jesse


3G TL/2G MDX Owner
iTrader: (1)
Joined: Oct 2006
Posts: 5,375
Likes: 979
From: The west side of the Potomac River
you could have saved yourself some time and left the cushions attached to the seat frame?
also...one step you forgot to mention, you should disconnect the battery as well, so you don't risk having the side airbag blow up in your face (just in case...never know).
nice write up but i have a bit of a hard time following a lot of the pictures. my brother and i have done this to the seat heater in an accord.
Thread Starter
Instructor
Joined: Nov 2012
Posts: 212
Likes: 44
Thanks for the tips. I figured once the power was disconnected from the bags we would be safe, but there is always that possibility. That and I was lazy and didn't want to have to reprogram everything :/
I honestly tried to keep the foam on at first but getting to the hog rings for removal was more trouble then just pulling the foam off. I also knew I had to reclamp new of rings on and those handles were shorter. Again for a couple extra steps it was with the removal IMO. I plan to reskin these things soon and may follow your methods next time. They seem to save time.
I honestly tried to keep the foam on at first but getting to the hog rings for removal was more trouble then just pulling the foam off. I also knew I had to reclamp new of rings on and those handles were shorter. Again for a couple extra steps it was with the removal IMO. I plan to reskin these things soon and may follow your methods next time. They seem to save time.
Thread Starter
Instructor
Joined: Nov 2012
Posts: 212
Likes: 44
Trending Topics
3G TL/2G MDX Owner
iTrader: (1)
Joined: Oct 2006
Posts: 5,375
Likes: 979
From: The west side of the Potomac River

the ones in my TL are fine. so far the ones in the MDX work too. granted i dont' really have passengers in my cars all that often esp the TL.
we have an 03 accord, and the driver's side went dead after about 5-6 yrs.
i would guess if you don't "plop" yourself into the seat and you aren't super heavy the heating elements won't get as stressed.
don't know about the RSX. i would think all the honda/acura seats use those stupid hog rings. now i have a whole packet of those rings and pliers...to use when...the next time i need to go taking a seat apart.

nice DIY but when disconnecting the seat belt from the seat, you do NOT need to use a 14mm wrench to undo that bolt. you can simply press in the metal tab that sticks out(above the 14mm bolt) and the seat belt will come loose. I thought the bolt had to be removed too until I consulted the service manual and it mentioned pressing in the tab
AZ Community Team


Joined: Nov 2004
Posts: 19,092
Likes: 4,758
From: Maryland
Nice writeup, i did this in 2012 for my driver's seat heater element pad. As has been said, not a fun job and time consuming. I struggled with regular pliers and used a friend's hogring pliers and they make a big difference.

6th Gear
Joined: Jan 2014
Posts: 6
Likes: 0
Where was this post 2 weeks ago when i tried to fix....
Regardless, I got to the part where there were hog rings on the seat cushion and did not go any further. Question for you is, how easy was it replacing the hog rings after you had removed them?
Regardless, I got to the part where there were hog rings on the seat cushion and did not go any further. Question for you is, how easy was it replacing the hog rings after you had removed them?
Great writeup, I have been wondering how much of a pain it is to replace these... I think my drivers side seat heater is going bad because it takes a lot longer to heat up than the pass side. Can someone else estimate how long it takes for theirs to get pretty hot? I let my car warm up for about 15 min when its cold with the seat heater on high but when I get in it still isnt very hot. After about another 10 min its heated up though
Thread Starter
Instructor
Joined: Nov 2012
Posts: 212
Likes: 44
The hog rings came in a bag from the dealership. There is a hog ring tool that makes the job quick and easy.

Thread
Thread Starter
Forum
Replies
Last Post
rp_guy
Member Cars for Sale
9
Jul 16, 2017 07:33 AM
detailersdomain
Wash & Wax
3
Oct 9, 2015 10:13 PM