Wasn’t Born An A-Spec, Just Destine To Be One. Trendzero’s Progress (Winter Update)
#81
Winter 2011 update
So I had a few winter projects for the TL this year and already have some in the queue for spring. My winter projects included:
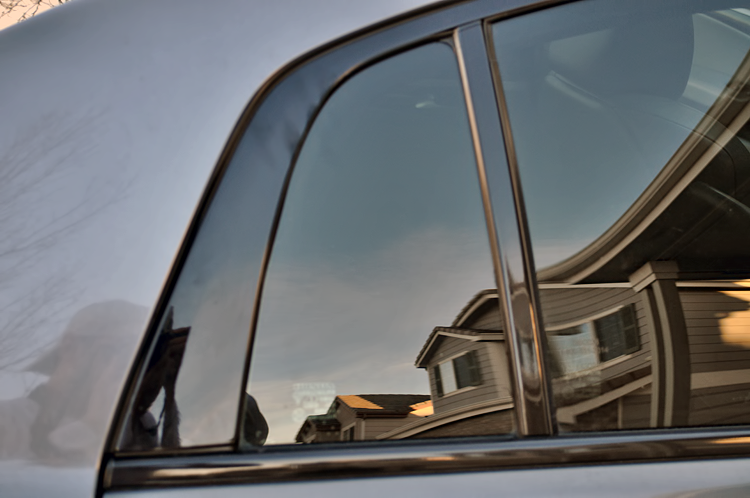
· Re-tinting the rear quarter panels so the tint is now covering the entire window instead of the portion the tinter said he “couldn’t”/“wouldn’t” get to.
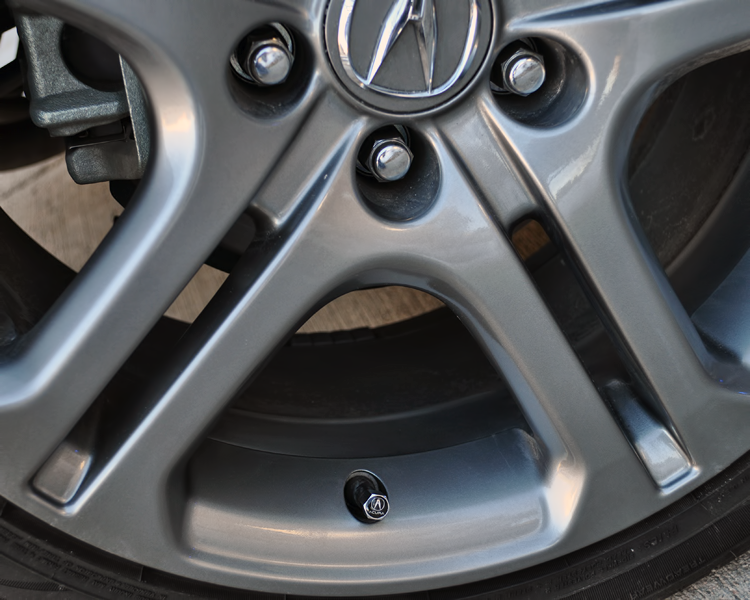
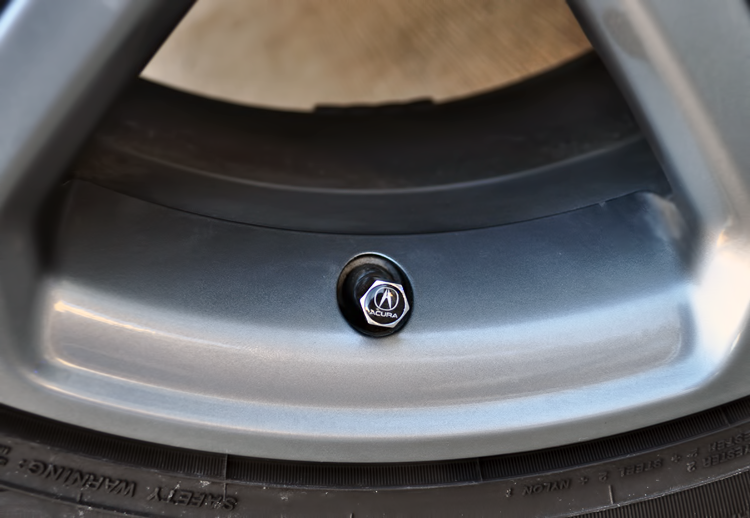
· Installing my new Acura logo valve stem caps. Not a big mod but a mod nonetheless.
· Installation of my LED blue interior under cabin lights for front of the cabin and under the rear seats. Since I had previously converted all my interior lights to Blue LEDs this mod completed the blue LED interior look I was trying to achieve. I have used wired kits on my prior cars but did not want to splice into the wiring on this car so I opted for a wireless kit and am very pleased with the results
I thought I could live with the tints the other way but I couldn’t and I am so glad I got them fixed because it looks a million times better from the outside looking in! Sorry for the poor cell phone pic... car was dirty so didn’t feel like putting much effort into the shot.
Here are a couple of shots of my new valve stems. Nothing special but does add an extra little detail to the TL.
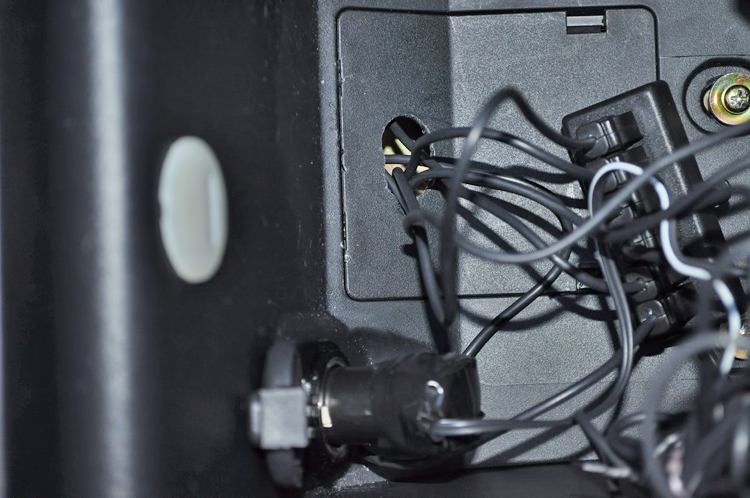
As I mentioned above, I had no desire to tamper with the wiring on this car so I decided to purchase this wireless kit from ebay for only $35 dollars: http://cgi.ebay.com/ebaymotors/ws/eBayISAPI.dll?ViewItem&item=380287379746&viewitem= &sspagename=STRK%3AMEWAX%3AIT the kit is powered by a 12V power outlet in the car. I did not want any wires to be exposed anywhere so to achieve this I ran all the wires under the center consol and came up though the bottom storage compartment in the consol. I did this to access the 12V power outlet located in the lower storage compartment. I noticed there was a little hatch in the bottom of the lower storage compartment so I opened it up and was able to run all wires through this area successfully. To put the hatch back on I did have to drill a hole in it to run the wires but there is a rubber mat to cover it all up if I ever remove the kit in the future. I had to unscrew the two screws in the bottom of the storage compartment to be able to lift the consol up enough to run the wires.
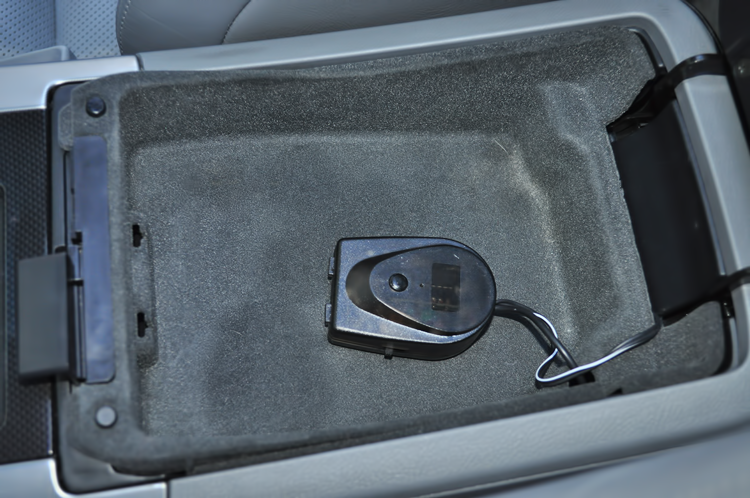
The lights are controlled by either a remote or a module connected to the wires. You can leave the LEDs plugged into the 12V outlet at all times because the module has its own on/off switch. I put the module in the upper part of the consol storage compartment for easy access.
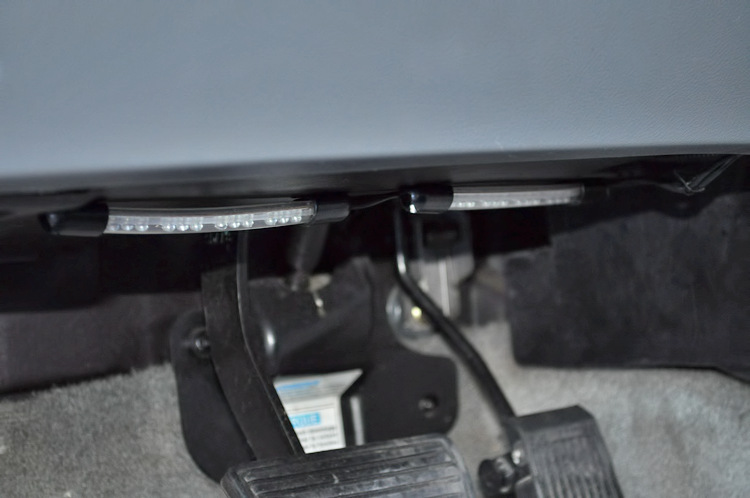
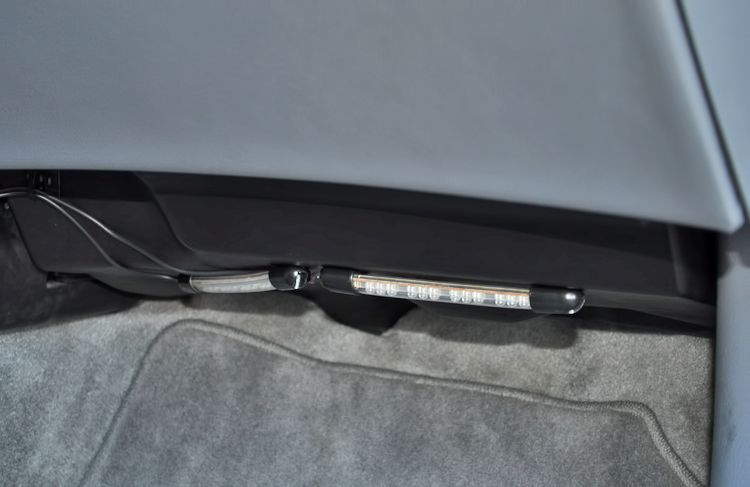
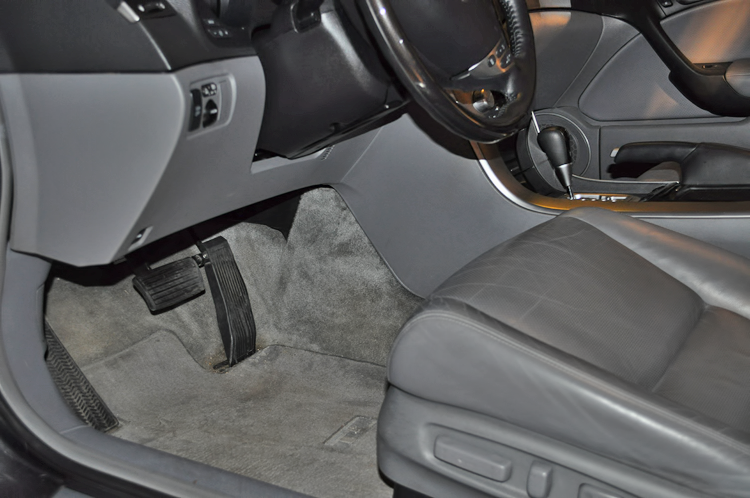
Here are two pics of two sets of LED’s mounted under the drivers and passengers feet. I screwed them into the plastic covers located below the steering wheel and glove box.
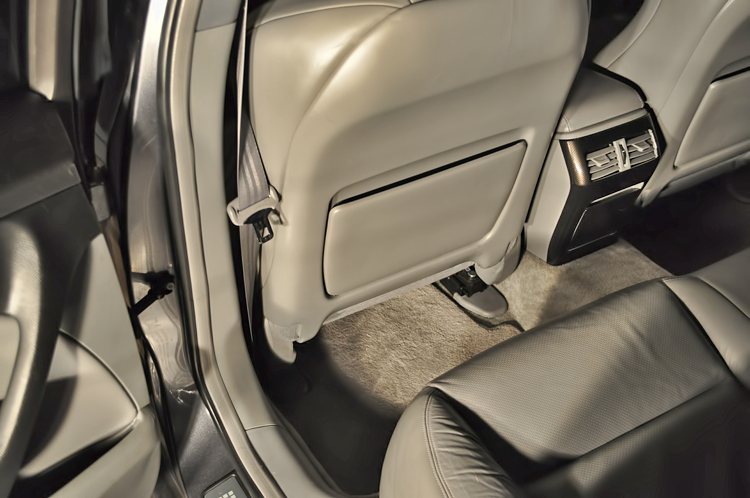
The rears I attached to the seat bottoms by running zip ties through the screw holes in the LED strips and then through small slits I made in the fabric cover of the seat bottoms.
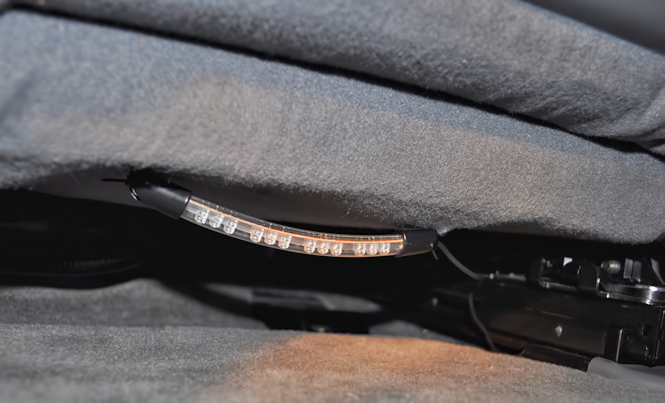
Here are a couple pics of the interior and as you can see… no wires.
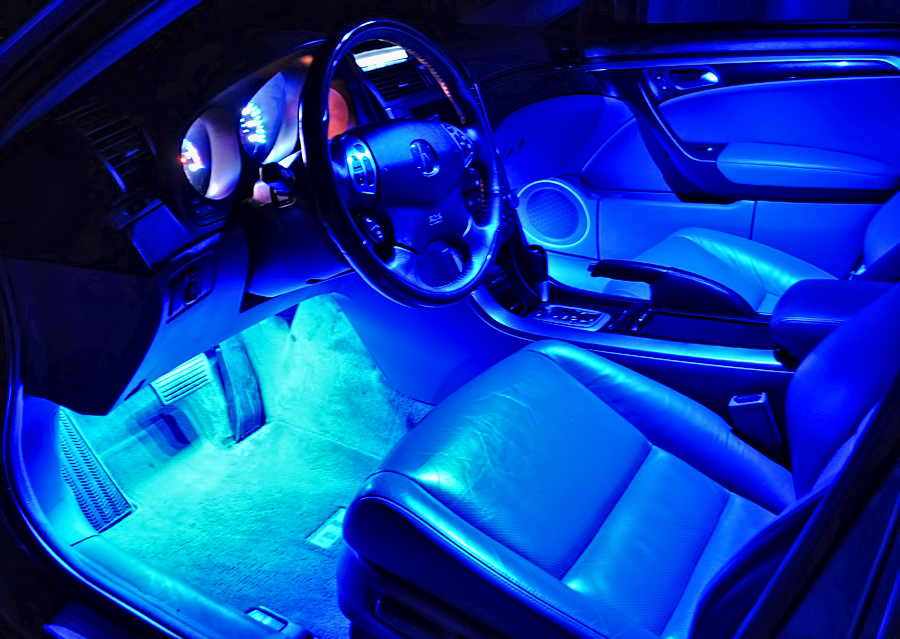
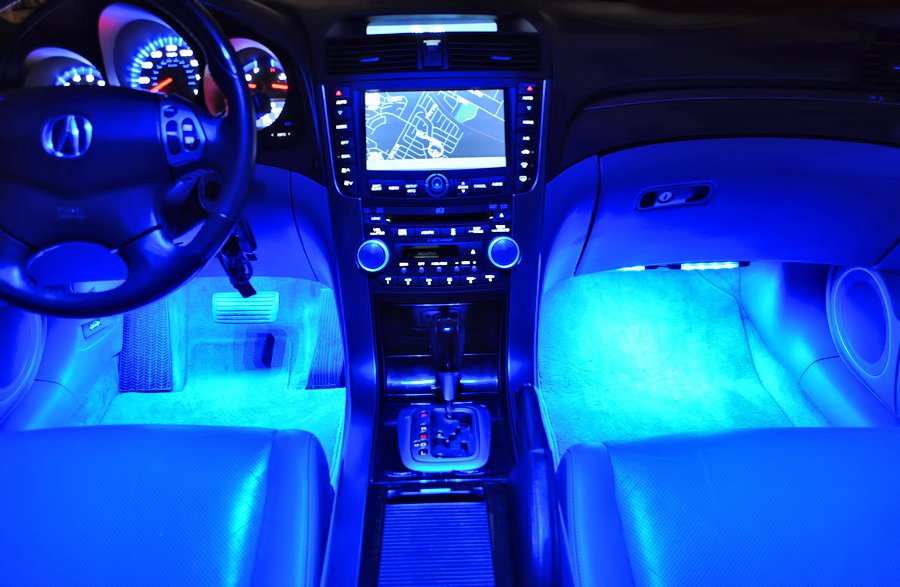
And here is the final result. Very pleased, moderately easy to do and best of all didn’t I have to mess with the factory wiring.
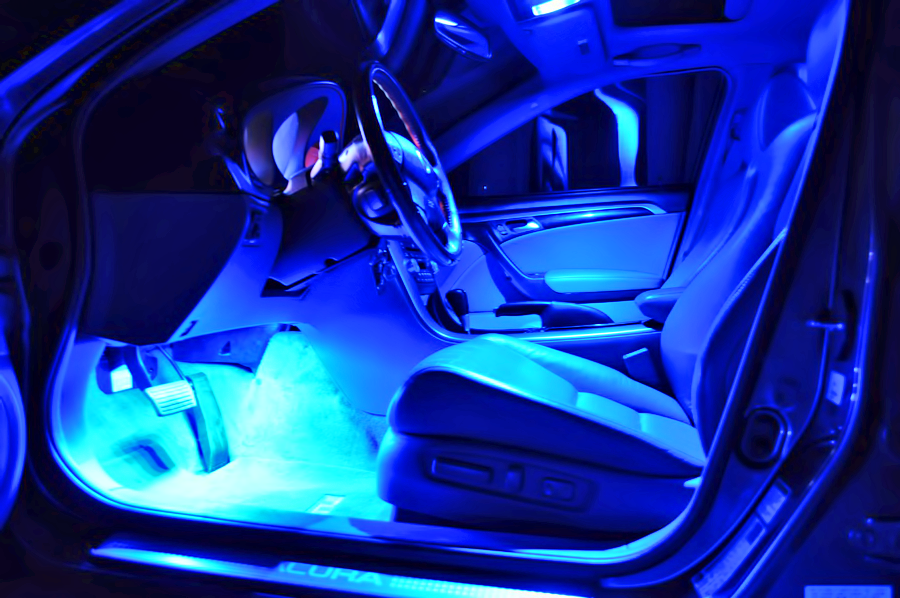
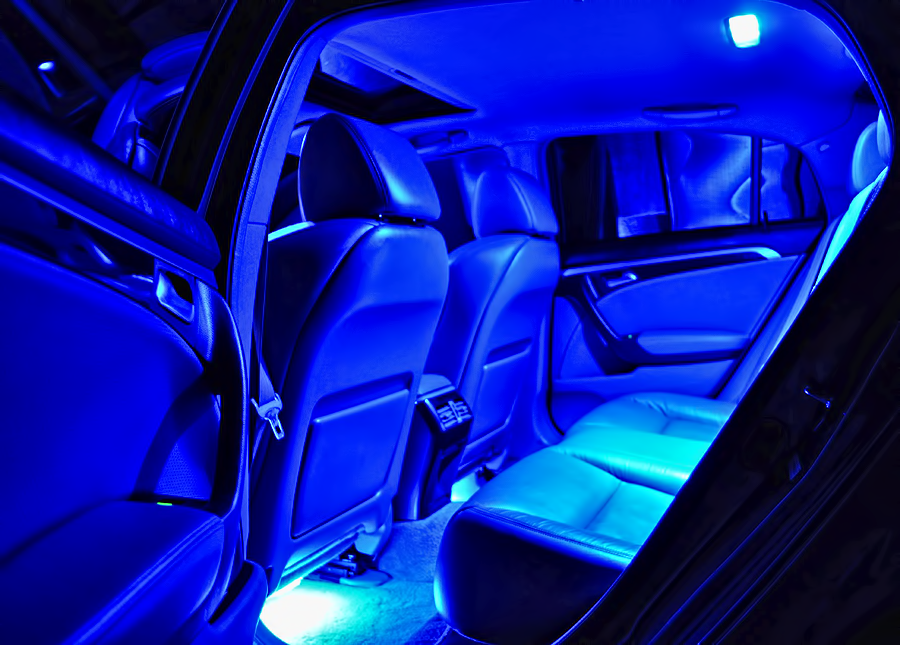
W/O Blue LED dome lights
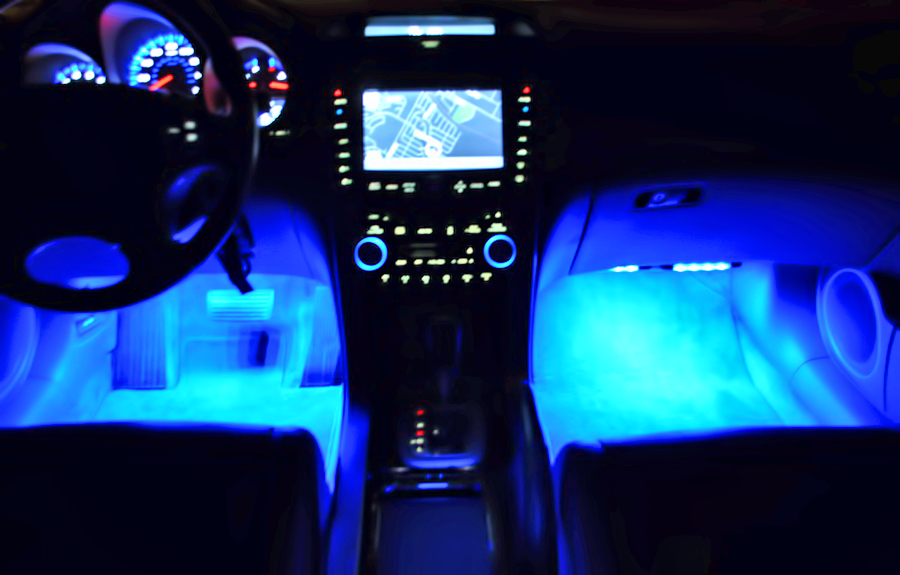
With dome lights on
As much as I hate teasers here is what I have coming up. This is what is sitting in my garage currently.
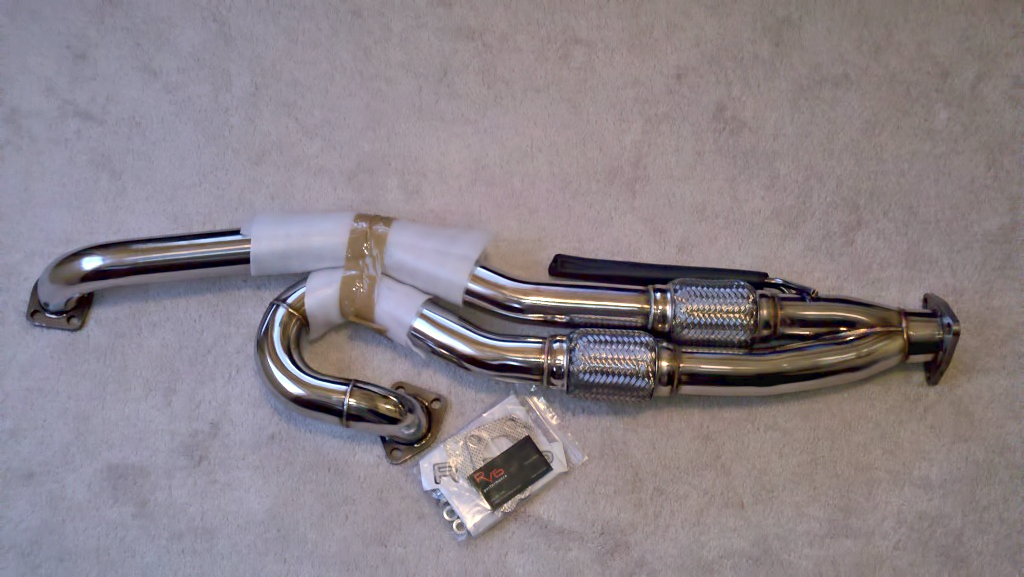
I am waiting to install it until I get the matching RV6 exhaust to do at the same time. I am also working on a CF roof project but need a few more materials and warmer weather to finish it.
Thanks for checking out my updates.
· Re-tinting the rear quarter panels so the tint is now covering the entire window instead of the portion the tinter said he “couldn’t”/“wouldn’t” get to.
· Installing my new Acura logo valve stem caps. Not a big mod but a mod nonetheless.
· Installation of my LED blue interior under cabin lights for front of the cabin and under the rear seats. Since I had previously converted all my interior lights to Blue LEDs this mod completed the blue LED interior look I was trying to achieve. I have used wired kits on my prior cars but did not want to splice into the wiring on this car so I opted for a wireless kit and am very pleased with the results

I thought I could live with the tints the other way but I couldn’t and I am so glad I got them fixed because it looks a million times better from the outside looking in! Sorry for the poor cell phone pic... car was dirty so didn’t feel like putting much effort into the shot.

Here are a couple of shots of my new valve stems. Nothing special but does add an extra little detail to the TL.


As I mentioned above, I had no desire to tamper with the wiring on this car so I decided to purchase this wireless kit from ebay for only $35 dollars: http://cgi.ebay.com/ebaymotors/ws/eBayISAPI.dll?ViewItem&item=380287379746&viewitem= &sspagename=STRK%3AMEWAX%3AIT the kit is powered by a 12V power outlet in the car. I did not want any wires to be exposed anywhere so to achieve this I ran all the wires under the center consol and came up though the bottom storage compartment in the consol. I did this to access the 12V power outlet located in the lower storage compartment. I noticed there was a little hatch in the bottom of the lower storage compartment so I opened it up and was able to run all wires through this area successfully. To put the hatch back on I did have to drill a hole in it to run the wires but there is a rubber mat to cover it all up if I ever remove the kit in the future. I had to unscrew the two screws in the bottom of the storage compartment to be able to lift the consol up enough to run the wires.

The lights are controlled by either a remote or a module connected to the wires. You can leave the LEDs plugged into the 12V outlet at all times because the module has its own on/off switch. I put the module in the upper part of the consol storage compartment for easy access.

Here are two pics of two sets of LED’s mounted under the drivers and passengers feet. I screwed them into the plastic covers located below the steering wheel and glove box.


The rears I attached to the seat bottoms by running zip ties through the screw holes in the LED strips and then through small slits I made in the fabric cover of the seat bottoms.

Here are a couple pics of the interior and as you can see… no wires.


And here is the final result. Very pleased, moderately easy to do and best of all didn’t I have to mess with the factory wiring.


W/O Blue LED dome lights

With dome lights on

As much as I hate teasers here is what I have coming up. This is what is sitting in my garage currently.

I am waiting to install it until I get the matching RV6 exhaust to do at the same time. I am also working on a CF roof project but need a few more materials and warmer weather to finish it.
Thanks for checking out my updates.
#91
Nice additions Scott, even though they're small, they make a difference. I'm installing my h techs and rear camber kit tomorrow...can't wait for that! Let me know if you're down for a photo shoot at some point...
Looking forward to your upcoming mods too man.
Looking forward to your upcoming mods too man.

#93
Just finished installing my RV6 V3 J-pipe, don't have any photos but so far i'm happy.
We'll see after a get some miles on it and the ECU adjusts if I notice any power difference.
Cheers
We'll see after a get some miles on it and the ECU adjusts if I notice any power difference.
Cheers
#96
very cool. i like that interior lighting.
so you put 2 lights on the drivers front, 2 on passenger front, and 1 on each side of the rear seats?
any tips for routing the wires easily under the console?
so you put 2 lights on the drivers front, 2 on passenger front, and 1 on each side of the rear seats?
any tips for routing the wires easily under the console?
#99
It def. makes the car breath easier!
No, I thought I might, but he cut out the appropriate size and used his rubber tools to wiggle the tint back there and flatten it out. It was just finding the tinter with the right skill set to to it.
Thanks and the setup you mentioned is correct. For the routing, there are two screws in the lower compartment of the console and once you unscrew them the entire console lifts up easy. It was really a piece of cake
Yes I enjoy it mucho!!! And it does do seven different colors and light patterns. They are sending me a free replacement LED tube because I sent them interior pics with each color lit up If you get it I be happy to help with the install, took about an hour.


 If you get it I be happy to help with the install, took about an hour.
#101
So the TL and I took a road trip for work last week and here are a few pics from the trip. Car is filthy and the pics are from my cell but BEAUTIFUL country, the pics do not do it justice.
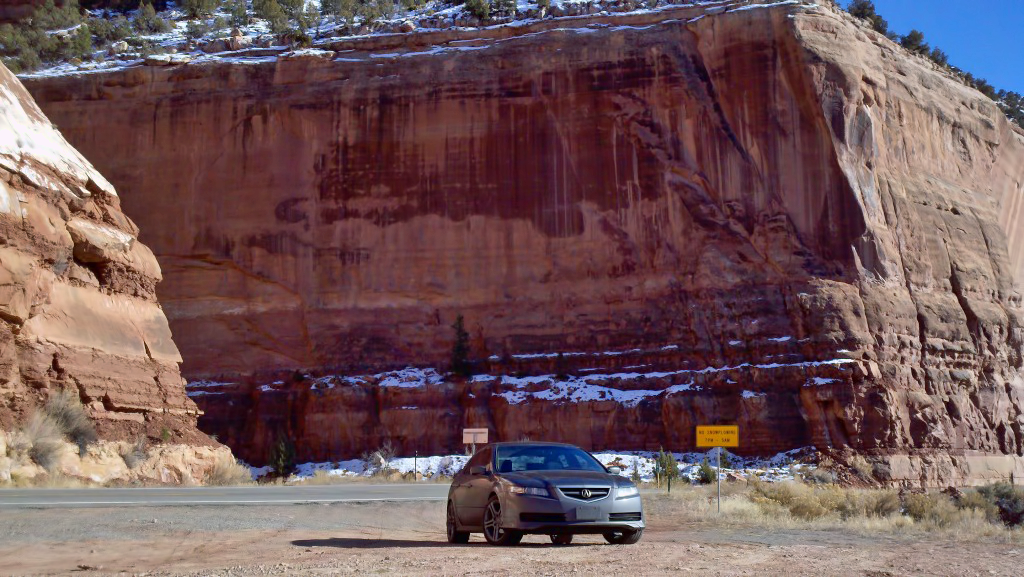
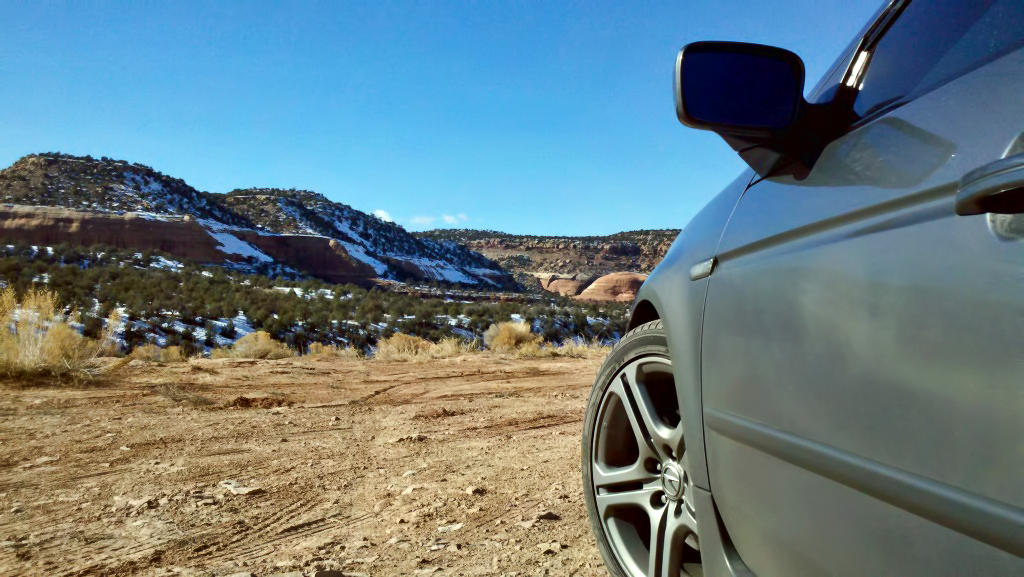
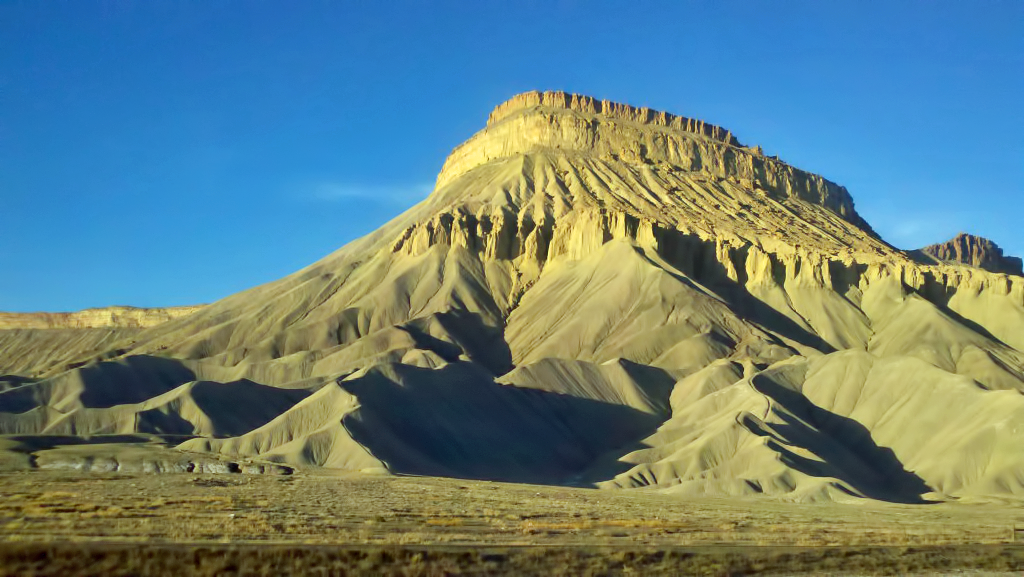
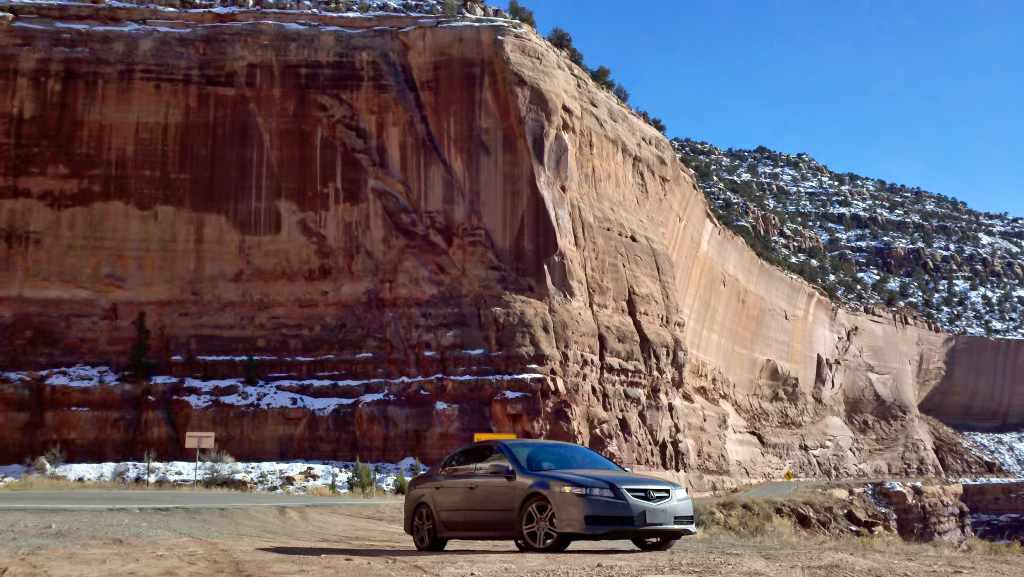
I decided to take the TL instead of the company rental because of the XM radio and the Navi...made for a more relaxing trip despite the miles.
Installing my exhaust in two weeks too then my exhaust mods will be complete


I decided to take the TL instead of the company rental because of the XM radio and the Navi...made for a more relaxing trip despite the miles.
Installing my exhaust in two weeks too then my exhaust mods will be complete

#102
Great pics! Looks like a really pretty road trip. And I don't blame you for taking the TL. I'd much rather drive my own car for a few hours than a stripped-down Dodge Avenger or something. The TL is an awesome awesome long-distance highway cruiser.
#103
Thanks and you are right, the TL is a great road trip car! I have to say though for the mountains I do enjoy the wifes MDX too. The ride quality on that vehicle is smoother than any car i've been in.
#105
Wow this is definitely one of my favorite TLs on AZ. I like how you keep with the stock theme, yet it's so unique. Great job!
I'll be checking out those leds from ebay too
Also, what kind of business are you in to be able to afford all this? and the road trips? Not to be creepy, but just wondering
I'll be checking out those leds from ebay too

Also, what kind of business are you in to be able to afford all this? and the road trips? Not to be creepy, but just wondering
#106
^^^Thanks for the comments! I am a principal consultant and the trip was for work. Luckily, we have some very beautiful areas here in Colorado so sometimes it doesn't feel like work I usually take my DSLR with me but forgot it on this particular trip.
 I usually take my DSLR with me but forgot it on this particular trip.
#108
I had to visit a school district in Paradox, CO.... bet you never heard of it Zach???? It is about 40 mins form Moab right on the Utah border. It's about 2 hours southwest of Grand Junction.
It was a 7 hour drive but went through the canyon pictured above, which is hwy 141 "Gateway Canyon". Probably the most beautiful stretch of highway I've ever been on. Interesting fact about that canyon, the founder and CEO of the discovery channel built a 5 star resort out there complete with a multi-million dollar car museum. CLICK HERE. Never would expect that out in the middle of NOWHERE.
It was a 7 hour drive but went through the canyon pictured above, which is hwy 141 "Gateway Canyon". Probably the most beautiful stretch of highway I've ever been on. Interesting fact about that canyon, the founder and CEO of the discovery channel built a 5 star resort out there complete with a multi-million dollar car museum. CLICK HERE. Never would expect that out in the middle of NOWHERE.
#109
Lil update.
Got my exhaust on a few weeks ago by a company who has done exhausts on all my prior cars.
This is a custom setup, done by an amazing exhaust place called Xhaust Pipes, with Magnaflow cans, 2.25" dual stainless and 4.25" rounded angled stainless tips. $600.00 Installed with lifetime warranty on the labor and materials, can't beat it.
Great sound and partnered with the V3 RV6 J-pipe, makes some good gains.
Here are a few pics I shot with my phone.
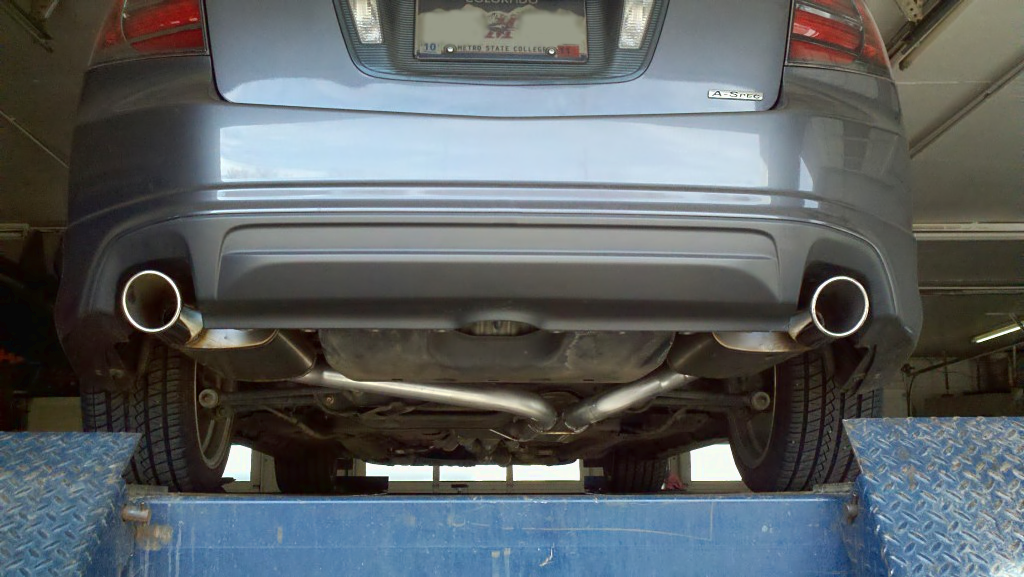
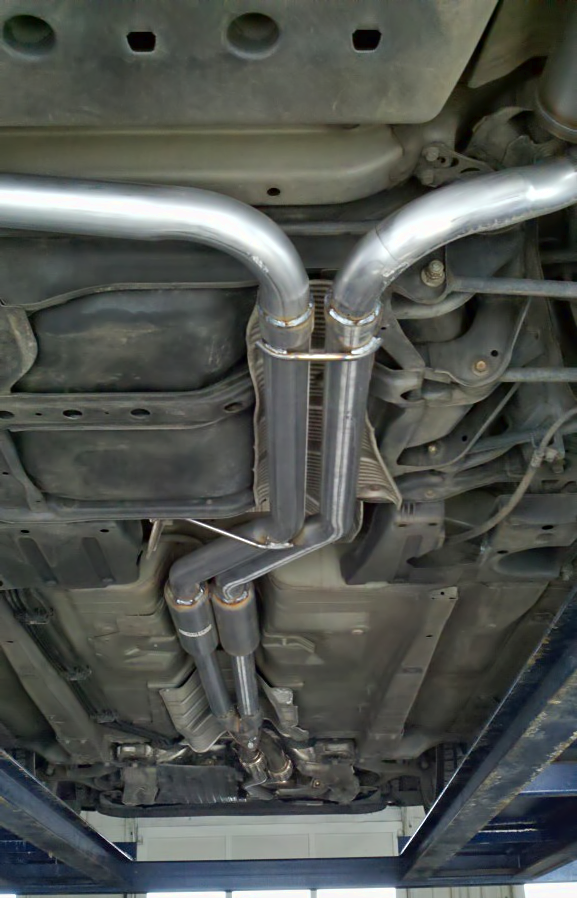
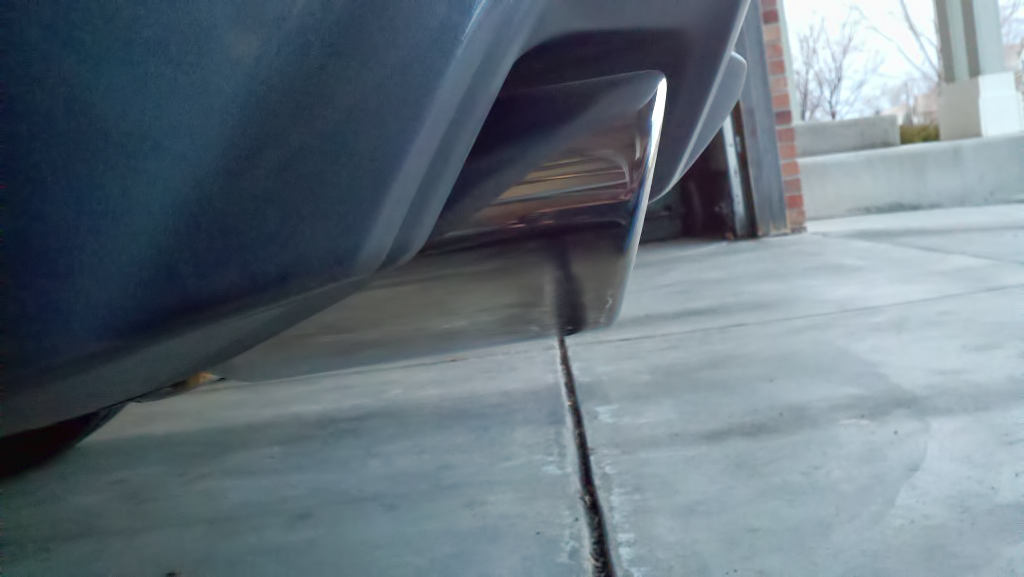
Got my exhaust on a few weeks ago by a company who has done exhausts on all my prior cars.
This is a custom setup, done by an amazing exhaust place called Xhaust Pipes, with Magnaflow cans, 2.25" dual stainless and 4.25" rounded angled stainless tips. $600.00 Installed with lifetime warranty on the labor and materials, can't beat it.

Great sound and partnered with the V3 RV6 J-pipe, makes some good gains.
Here are a few pics I shot with my phone.


#116
Absolutely stunning work done to your TL. I envy your modifications, but hate you in the sense that my future savings are soon to be gone with the wind. Bookmarked for later reference. Two questions if possible, where did you purchase the CF steering wheel and do you have the seller of the wireless LEDs you bought? The listing above is no longer available.
Thanks so much! I'm honestly jealous of everything you have done!
Thanks so much! I'm honestly jealous of everything you have done!


