New Aesthetic Additions To My Type S
 12-29-2008, 05:53 PM
#1
Team Owner
Thread Starter
iTrader: (2)
Join Date: Jan 2008
Location: Kansas City, MO (Overland Park, KS)
Posts: 36,545
Received 6,470 Likes
on
5,162 Posts
New Aesthetic Additions To My Type S
Guys, here are some little things that I asked for for the holidays. I went for aesthetics, not performance. Plus, I feel as though they are small extras that make the car look better. Sorry about some of the pictures and the car being dirty. It's difficult to keep clean in the winter. I thought I did a good job, but once I took the pictures, I realized I missed a couple of places!
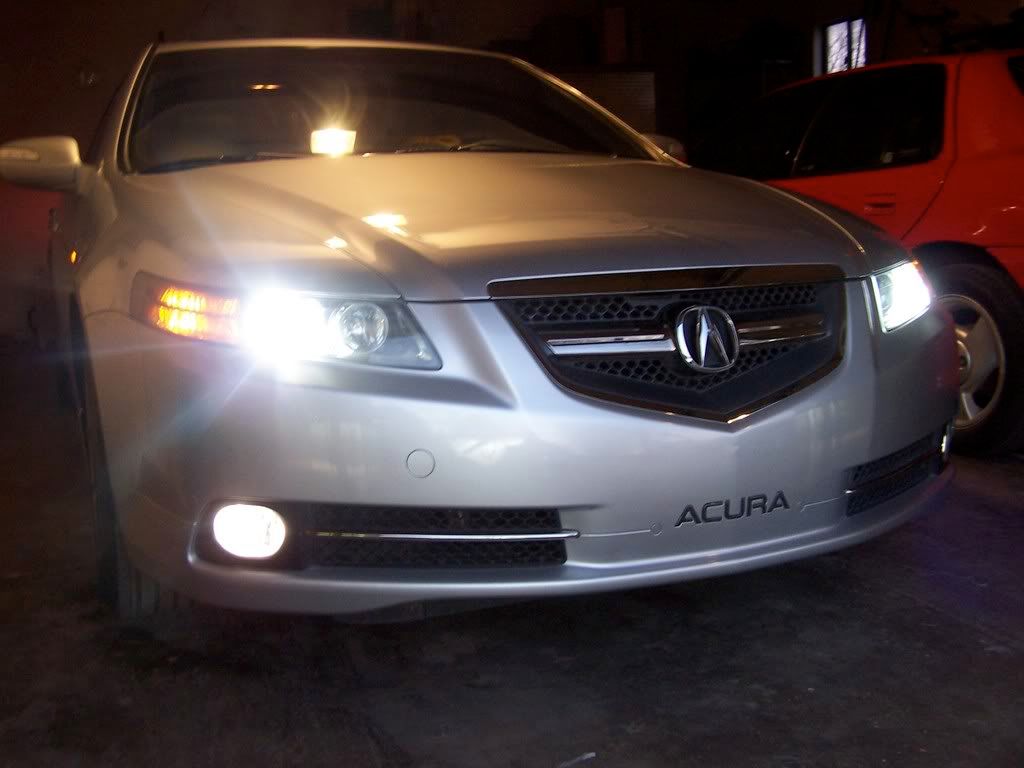
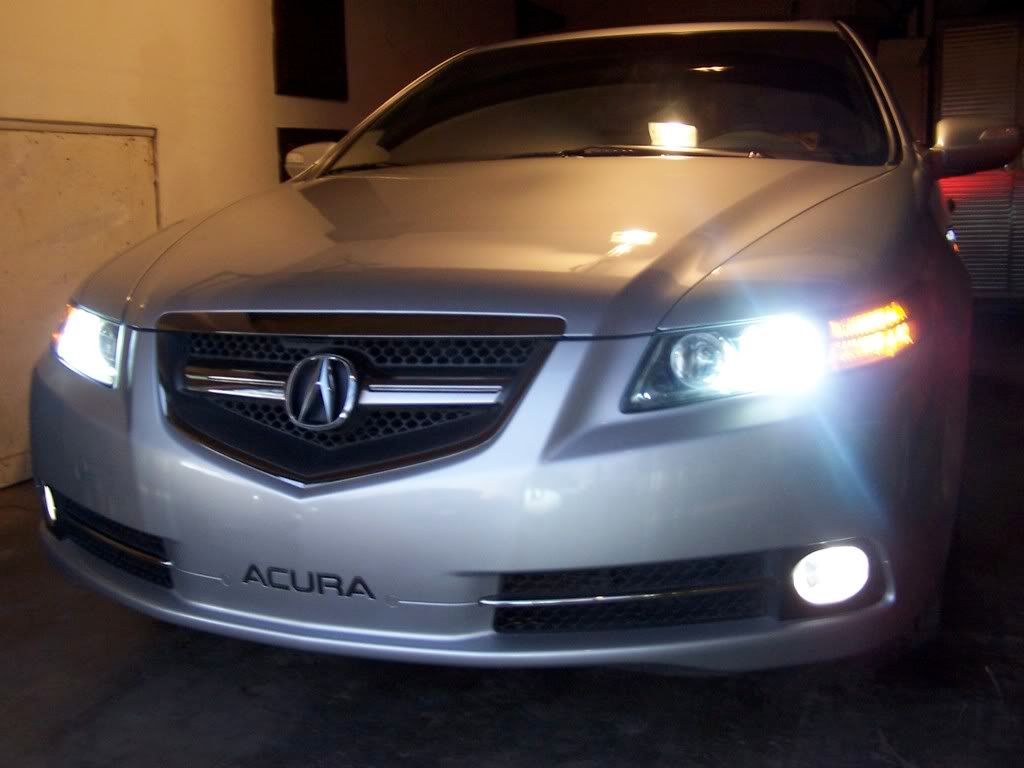
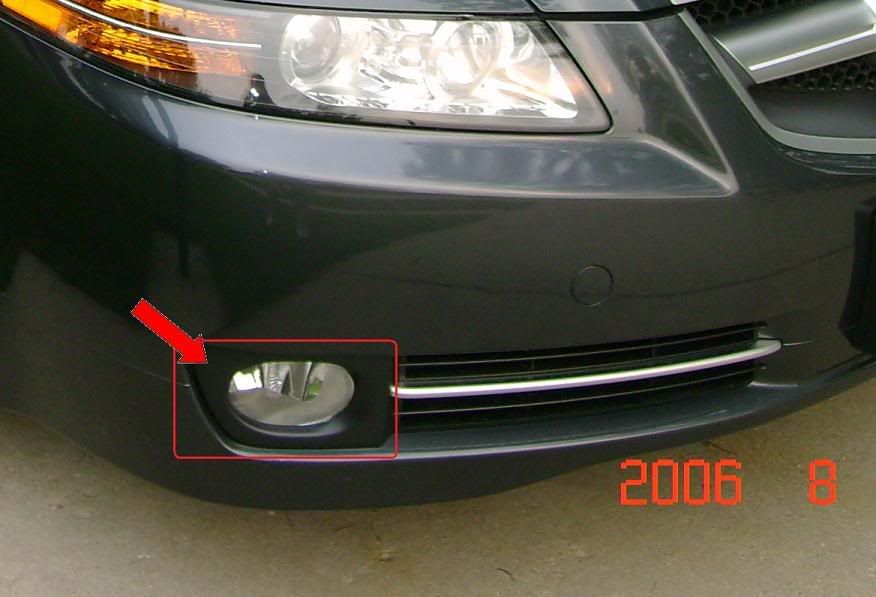
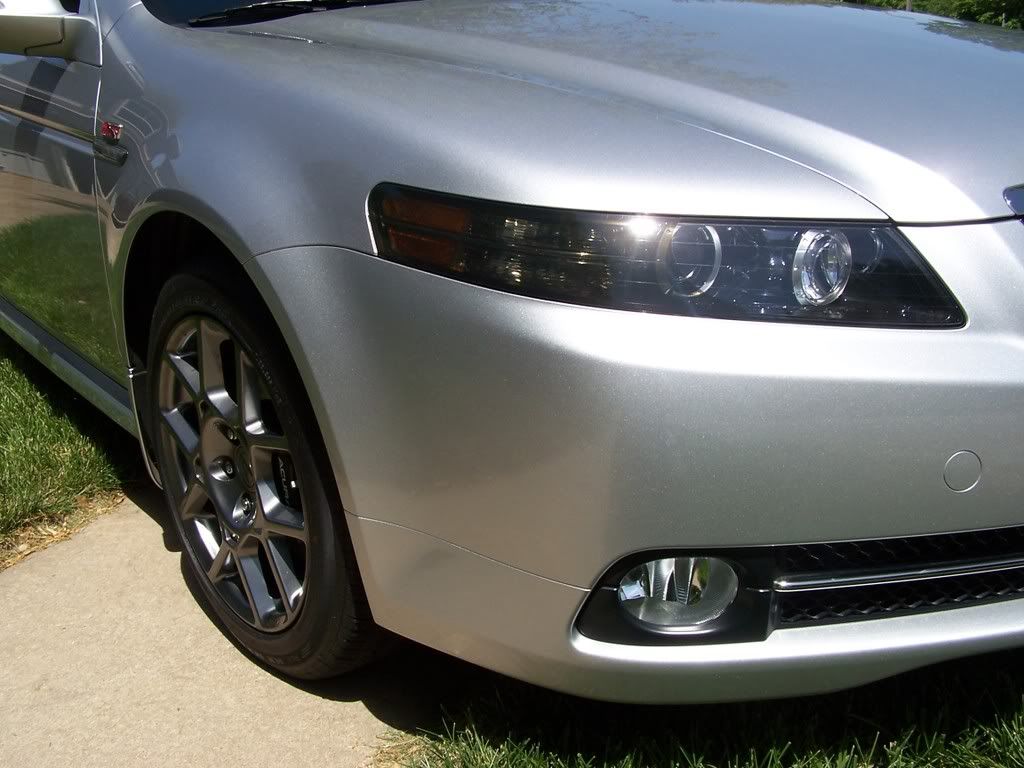
First, I got foglight bulbs (thanks to Bearcat). These are 7000k, 55watt bulbs. Thanks to Buda for installing for me.
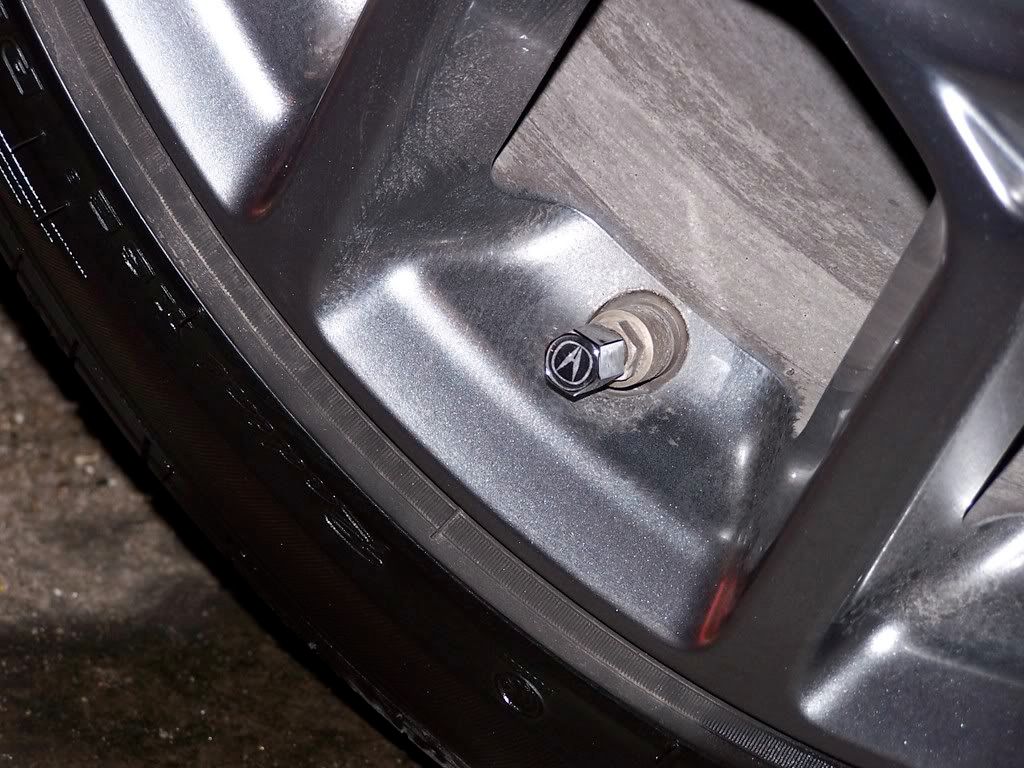
Next, I got ACURA logo'd valve stem caps. It's a small addition, but good looking.
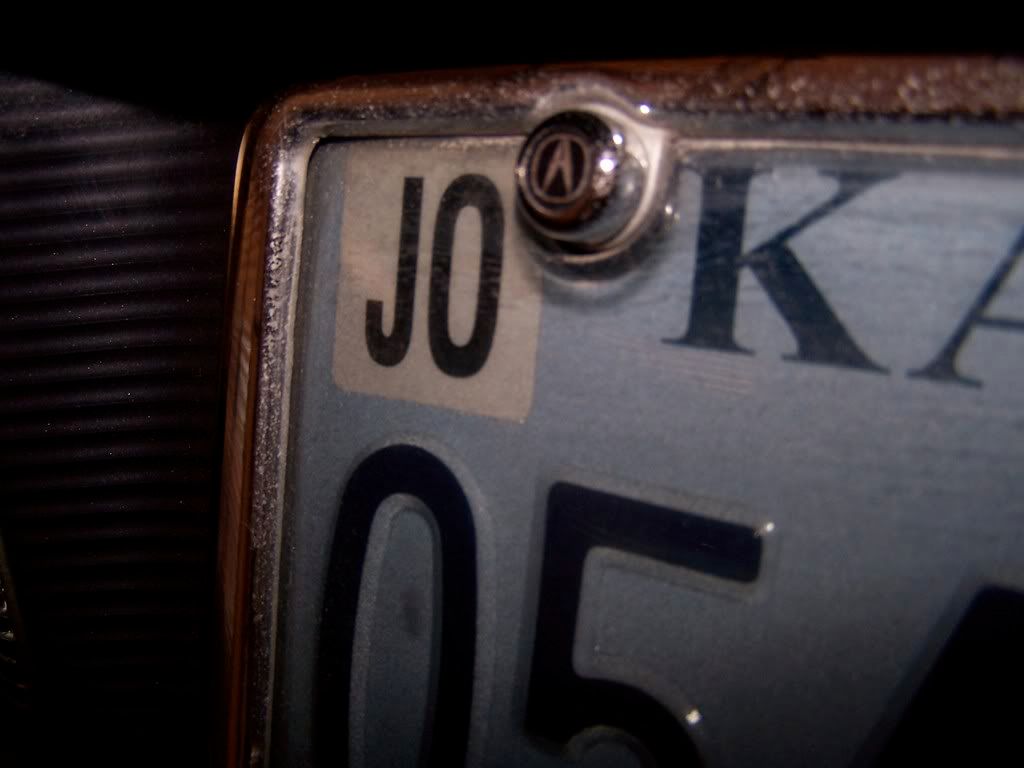
Following with the "logo'd" theme, I also got ACURA logo'd license plate screw caps. I thought they would look cheesy, but they actually don't look too bad.

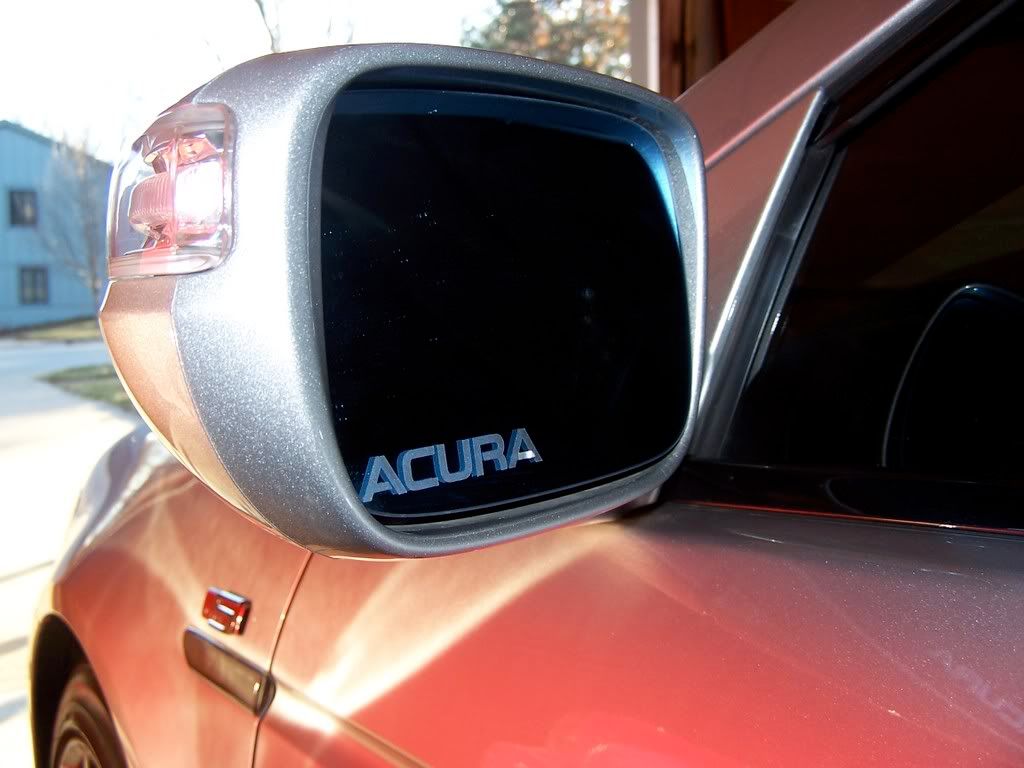
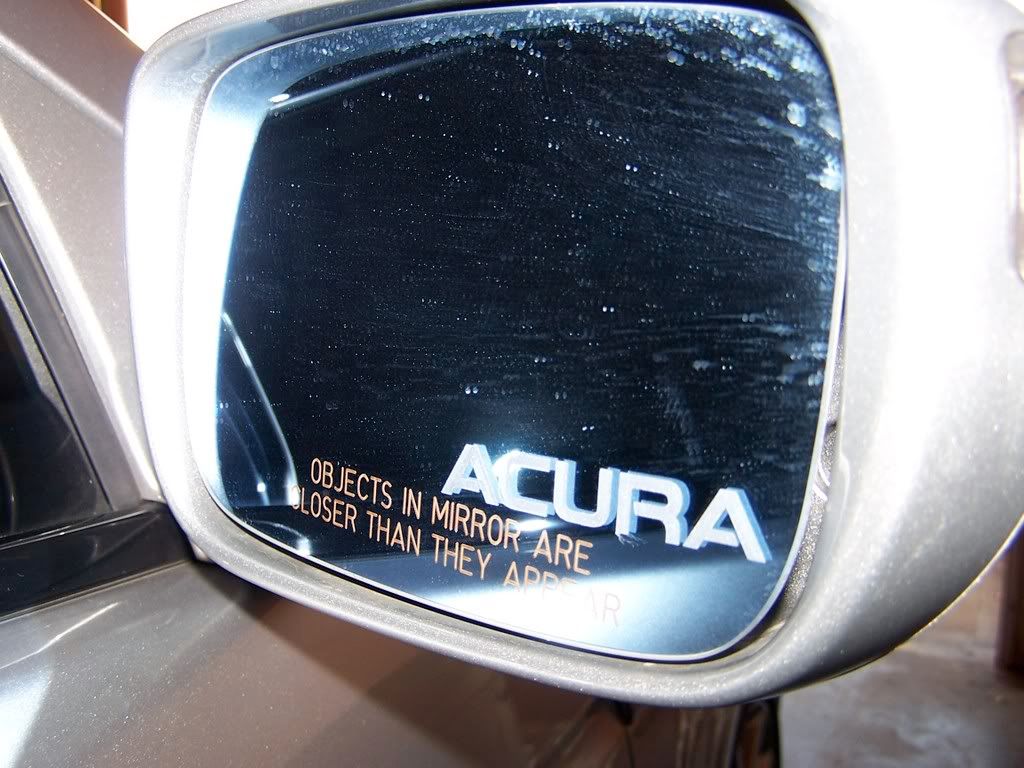
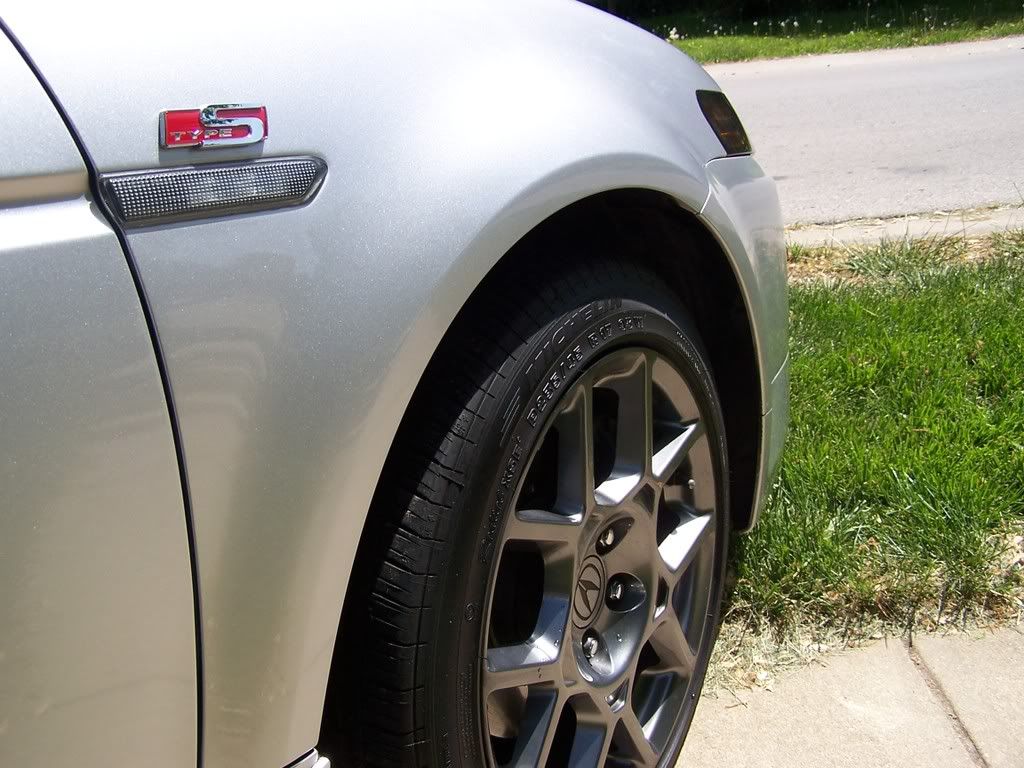
Next, thanks to another Acurazine member, I was able to find the ACURA logo for the side mirrors.
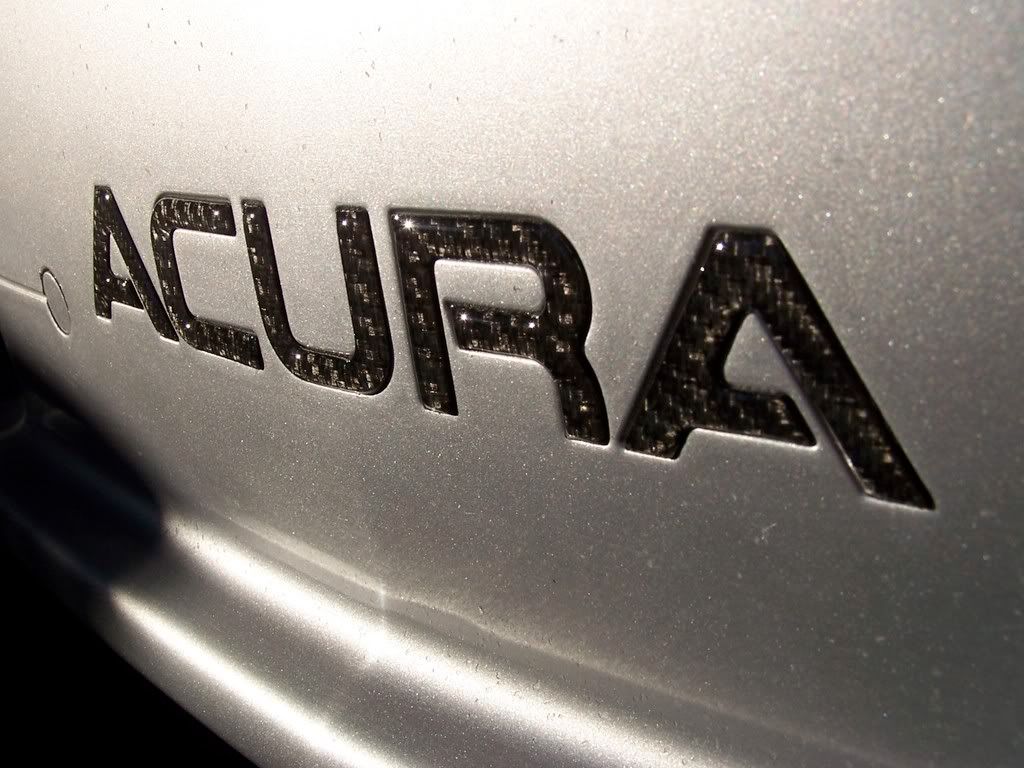
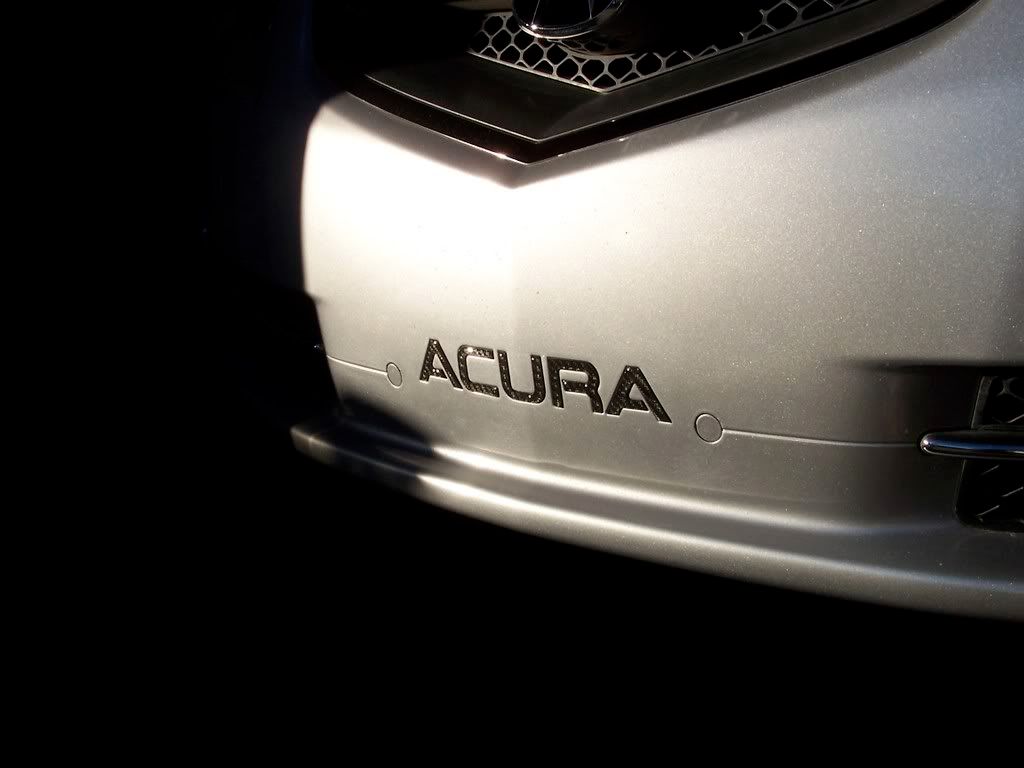
Plus, I just received today the Carbon Fiber ACURA logo for the nose of the car. These came from VeneerzStore.com
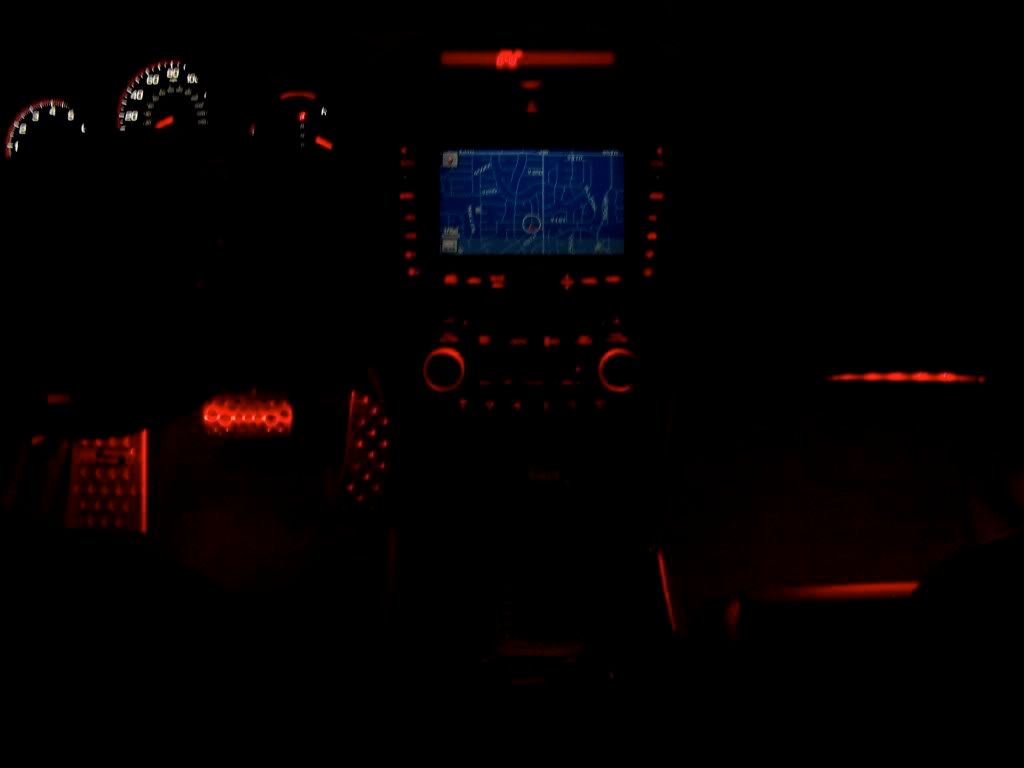
Finally, around Thanksgiving, I also got my interior lighted (thanks to Rockyfeller). I got red LED lights for the underneath front and back of the Type S. The LED's shine RED in the footwells of both the front and the back of the car. Sorry I don't have a better picture, but here's a shot of the front seats.
First, I got foglight bulbs (thanks to Bearcat). These are 7000k, 55watt bulbs. Thanks to Buda for installing for me.
Next, I got ACURA logo'd valve stem caps. It's a small addition, but good looking.
Following with the "logo'd" theme, I also got ACURA logo'd license plate screw caps. I thought they would look cheesy, but they actually don't look too bad.
Next, thanks to another Acurazine member, I was able to find the ACURA logo for the side mirrors.
Plus, I just received today the Carbon Fiber ACURA logo for the nose of the car. These came from VeneerzStore.com
Finally, around Thanksgiving, I also got my interior lighted (thanks to Rockyfeller). I got red LED lights for the underneath front and back of the Type S. The LED's shine RED in the footwells of both the front and the back of the car. Sorry I don't have a better picture, but here's a shot of the front seats.


Trending Topics
12-30-2008, 12:27 AM
#10
AZ Community Team

Join Date: May 2007
Location: N35�03'16.75", W 080�51'0.9"
Posts: 32,488
Received 7,770 Likes
on
4,341 Posts
Nice.
I like the front CF insert and the interior lighting best.
The plate bracket screws/bolts are subtle, so they fit in nicely. And you know I like the look of the valve caps.
I like the front CF insert and the interior lighting best.
The plate bracket screws/bolts are subtle, so they fit in nicely. And you know I like the look of the valve caps.

 12-30-2008, 09:32 AM
#17
Team Owner
Thread Starter
iTrader: (2)
Join Date: Jan 2008
Location: Kansas City, MO (Overland Park, KS)
Posts: 36,545
Received 6,470 Likes
on
5,162 Posts
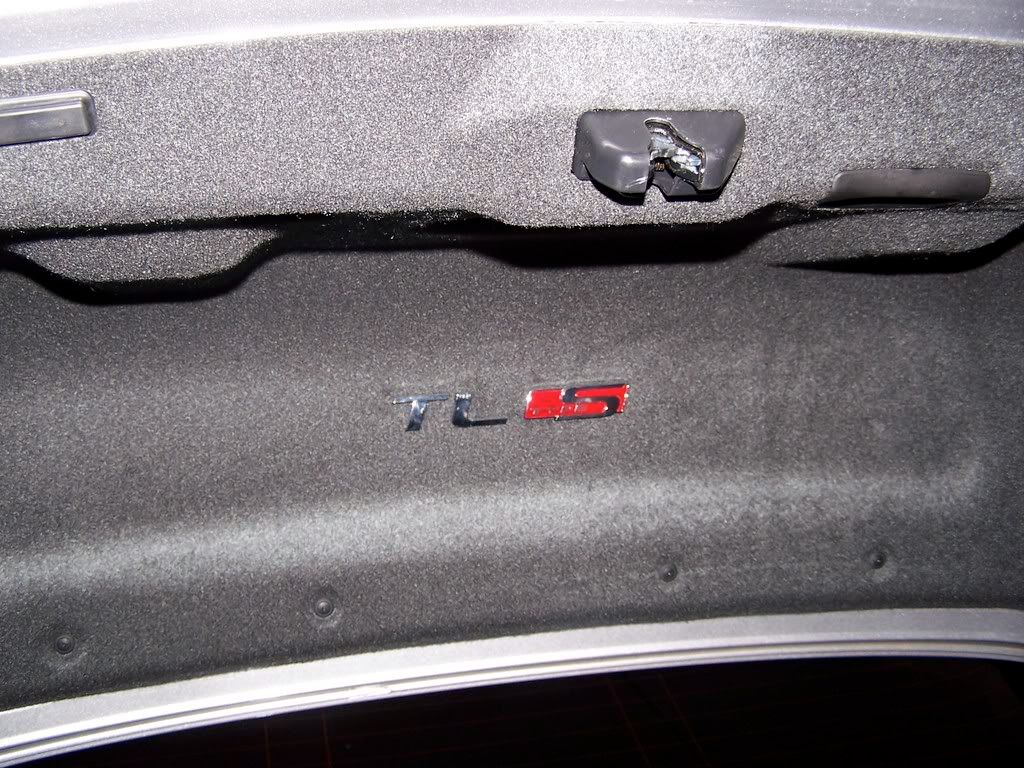
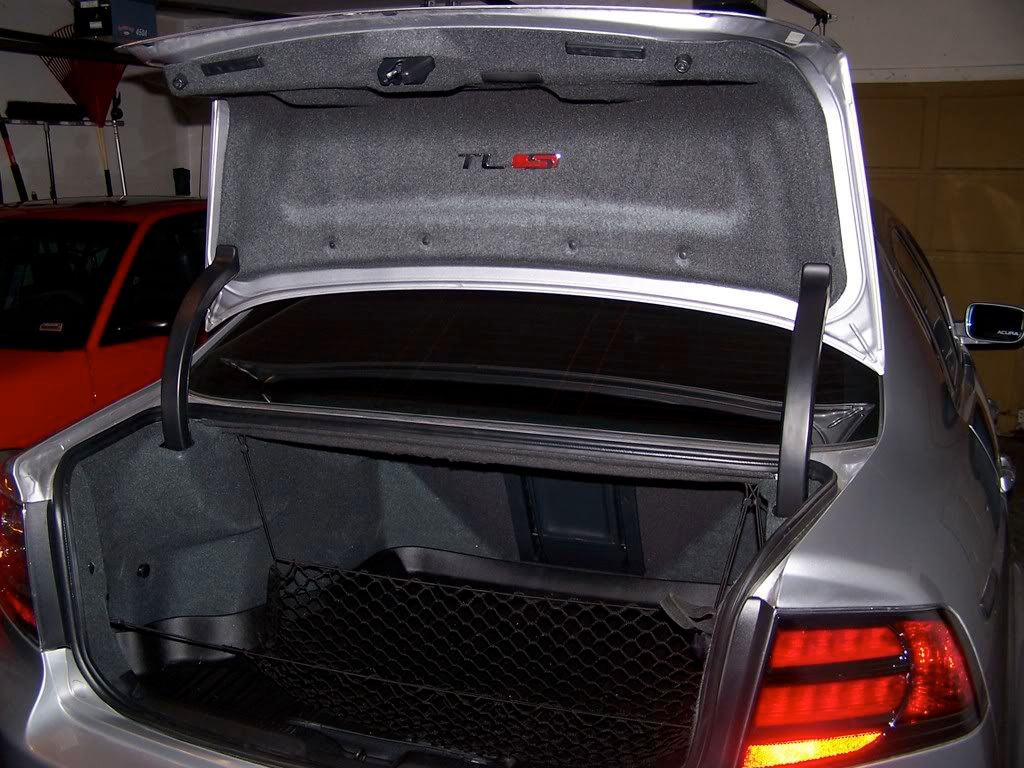
By the way, here's a little something extra I did inside the trunk. Since you get the "TL" and the "Type S" badging together when you purchase it, I had extra "TL" badging lying around. So I put some sticky side velcro on the back and put it on the liner of the trunk.
 12-30-2008, 03:29 PM
#19
Team Owner
Thread Starter
iTrader: (2)
Join Date: Jan 2008
Location: Kansas City, MO (Overland Park, KS)
Posts: 36,545
Received 6,470 Likes
on
5,162 Posts
I might do that-might as well....thanks.
12-30-2008, 03:49 PM
#20
KBPftmfw
Mods look good. 
The fender badges aren't for me, but props to you for doing something different. I think I would have opted for them to be below the side marker as opposed to having them above. Just my
The fender badges aren't for me, but props to you for doing something different. I think I would have opted for them to be below the side marker as opposed to having them above. Just my
12-30-2008, 08:19 PM
#21
Team Owner
Thread Starter
iTrader: (2)
Join Date: Jan 2008
Location: Kansas City, MO (Overland Park, KS)
Posts: 36,545
Received 6,470 Likes
on
5,162 Posts
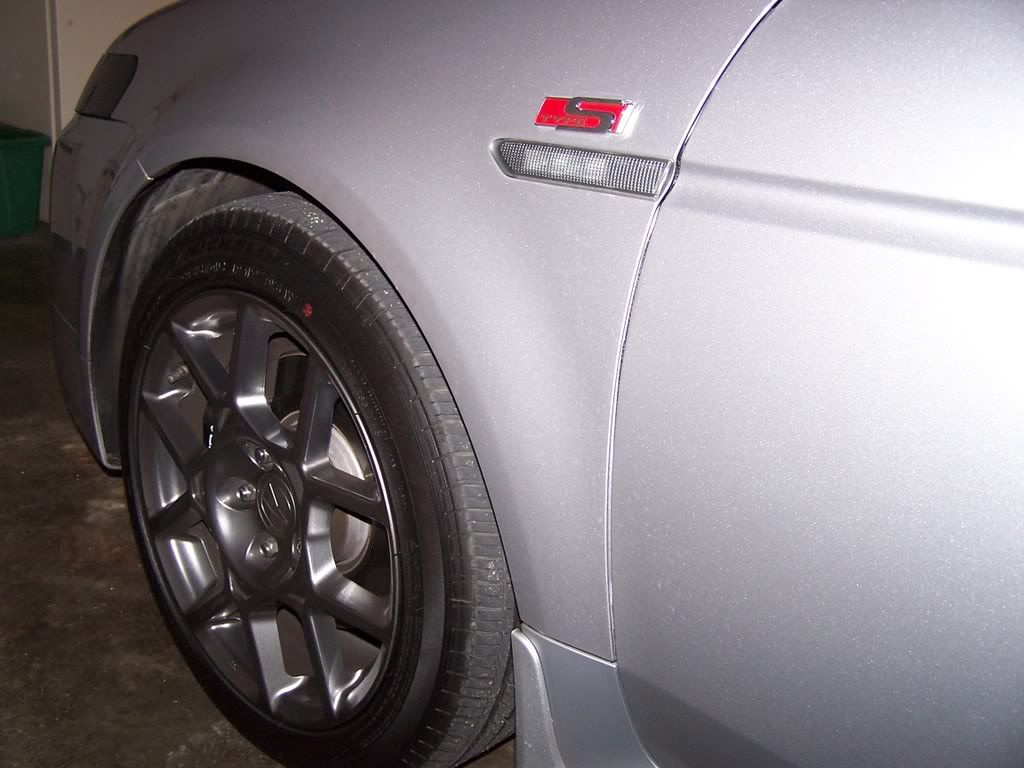
Hey, thanks for your input RangecRush. I put them above because believe it or not, Ferrari was the inspiration for this badge mod. That's why I put them above the side marker. They would look good on your KBP !!
12-31-2008, 05:47 PM
#22
Team Owner
Thread Starter
iTrader: (2)
Join Date: Jan 2008
Location: Kansas City, MO (Overland Park, KS)
Posts: 36,545
Received 6,470 Likes
on
5,162 Posts
Bearcat told me that metal valve stem caps would interfere with the TPMS. These are definitely not metal caps, so I think I'm OK. They seem like a nice logo'd addition though for $10.00
01-03-2009, 11:33 AM
#23
Pro
Join Date: Mar 2007
Location: Western Chicago Suburbs
Age: 40
Posts: 541
Likes: 0
Received 0 Likes
on
0 Posts
 The CF looks great on your color, I'm thinking of doing the opposite, Silver on my CGP.
 01-03-2009, 07:01 PM
#26
Team Owner
Thread Starter
iTrader: (2)
Join Date: Jan 2008
Location: Kansas City, MO (Overland Park, KS)
Posts: 36,545
Received 6,470 Likes
on
5,162 Posts
 01-03-2009, 09:59 PM
#28
Team Owner
Thread Starter
iTrader: (2)
Join Date: Jan 2008
Location: Kansas City, MO (Overland Park, KS)
Posts: 36,545
Received 6,470 Likes
on
5,162 Posts
Absolutely love this one - for the past year and a half I've debated about taking off the front plate and dealing with the pain of getting pulled over for it... This will make it worth it The CF looks great on your color, I'm thinking of doing the opposite, Silver on my CGP.
The CF looks great on your color, I'm thinking of doing the opposite, Silver on my CGP.
01-03-2009, 10:21 PM
#29
Team Owner
Thread Starter
iTrader: (2)
Join Date: Jan 2008
Location: Kansas City, MO (Overland Park, KS)
Posts: 36,545
Received 6,470 Likes
on
5,162 Posts
 01-04-2009, 03:36 AM
#32

Looks great Steve!
Bat™
Bat™
01-04-2009, 10:56 AM
#33
Team Owner
Thread Starter
iTrader: (2)
Join Date: Jan 2008
Location: Kansas City, MO (Overland Park, KS)
Posts: 36,545
Received 6,470 Likes
on
5,162 Posts
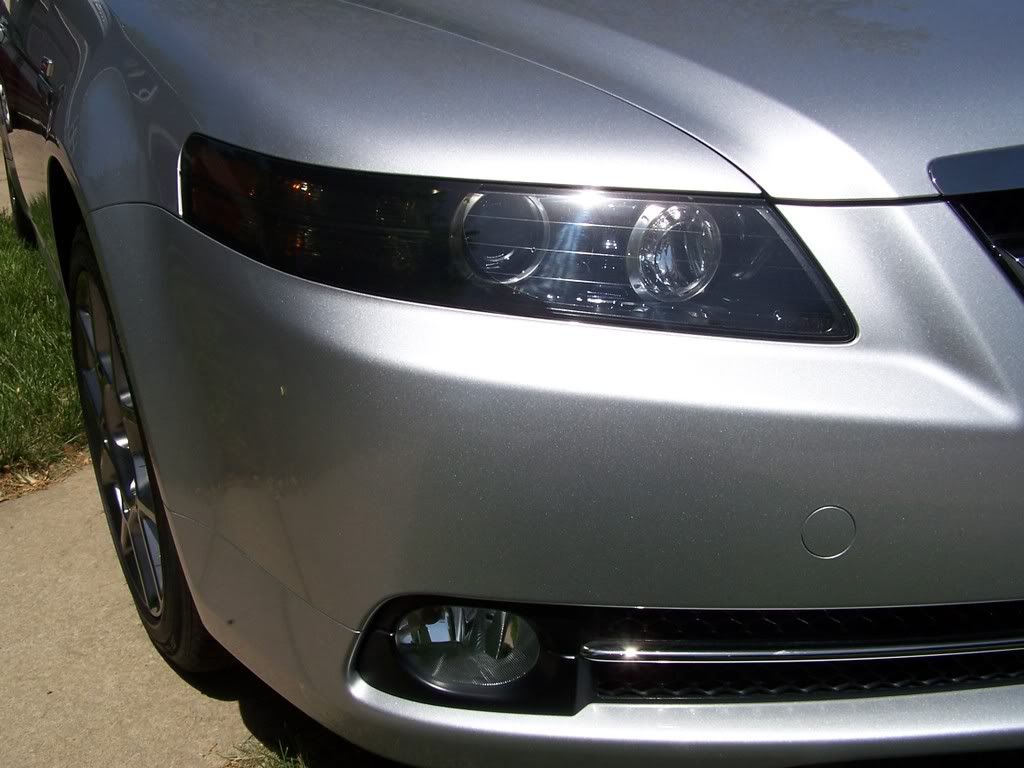
And thanks to BlueBat too! I'm still lovin' my 6/10 half tints on the headlights.
01-04-2009, 05:20 PM
#34
Pro
Join Date: Mar 2007
Location: Western Chicago Suburbs
Age: 40
Posts: 541
Likes: 0
Received 0 Likes
on
0 Posts
in the Real Silver Carbon Fiber color. I'll probably wait till it's a tad bit warmer out (maybe March or so, likely when I'm next due for my quarterly clay/polish/seal). Question on the overlays, how difficult were they to put over the side markers? Do you have any bubbles or anything? I've wanted the side markers for a while now - I tried to do the fog lights once and I couldn't get them on there without a crease or bubble of some sort and took them off & gave up
 01-04-2009, 05:27 PM
#36
Team Owner
Thread Starter
iTrader: (2)
Join Date: Jan 2008
Location: Kansas City, MO (Overland Park, KS)
Posts: 36,545
Received 6,470 Likes
on
5,162 Posts
Steve, they aren't difficult at all. I did my headlights so they would match the 20% tinted windows. But it's the same for your side markers too.
All you do is get the makers wet with soap and water. Then wet the tint too and put the tint on top of the marker. Then start cleaning off excess water with a straight edge. I also used a hairdryer on my headlights because you have to insure they match the curve of the headlight (or the marker-in your case) without any bubbles or creasing. I just kept using my straight edge (credit card or driver's license) as I applied hot air from the hair dryer. If it gets messed up, you can just put more soap and water on it and re-do whatever is wrong. That way, there are no bubbles or creases. It really is very simple and actually fun to do. Consider doing your lights AND your side markers. Check them out at www.bluebatmobile.net
All you do is get the makers wet with soap and water. Then wet the tint too and put the tint on top of the marker. Then start cleaning off excess water with a straight edge. I also used a hairdryer on my headlights because you have to insure they match the curve of the headlight (or the marker-in your case) without any bubbles or creasing. I just kept using my straight edge (credit card or driver's license) as I applied hot air from the hair dryer. If it gets messed up, you can just put more soap and water on it and re-do whatever is wrong. That way, there are no bubbles or creases. It really is very simple and actually fun to do. Consider doing your lights AND your side markers. Check them out at www.bluebatmobile.net
01-05-2009, 06:00 PM
#38
Pro
Join Date: Mar 2007
Location: Western Chicago Suburbs
Age: 40
Posts: 541
Likes: 0
Received 0 Likes
on
0 Posts
Steve, they aren't difficult at all. I did my headlights so they would match the 20% tinted windows. But it's the same for your side markers too.
All you do is get the makers wet with soap and water. Then wet the tint too and put the tint on top of the marker. Then start cleaning off excess water with a straight edge. I also used a hairdryer on my headlights because you have to insure they match the curve of the headlight (or the marker-in your case) without any bubbles or creasing. I just kept using my straight edge (credit card or driver's license) as I applied hot air from the hair dryer. If it gets messed up, you can just put more soap and water on it and re-do whatever is wrong. That way, there are no bubbles or creases. It really is very simple and actually fun to do. Consider doing your lights AND your side markers. Check them out at www.bluebatmobile.net
All you do is get the makers wet with soap and water. Then wet the tint too and put the tint on top of the marker. Then start cleaning off excess water with a straight edge. I also used a hairdryer on my headlights because you have to insure they match the curve of the headlight (or the marker-in your case) without any bubbles or creasing. I just kept using my straight edge (credit card or driver's license) as I applied hot air from the hair dryer. If it gets messed up, you can just put more soap and water on it and re-do whatever is wrong. That way, there are no bubbles or creases. It really is very simple and actually fun to do. Consider doing your lights AND your side markers. Check them out at www.bluebatmobile.net
 01-05-2009, 09:28 PM
#39
Team Owner
Thread Starter
iTrader: (2)
Join Date: Jan 2008
Location: Kansas City, MO (Overland Park, KS)
Posts: 36,545
Received 6,470 Likes
on
5,162 Posts
steve, I know what you mean. I've never done the fogs, but here is a picture of the 1/2 tint 6/10 headlight tints from BlueBatmobile.net. Maybe this will help with your tints.

02-07-2009, 08:53 AM
#40
Road Racer / Solo Addict
I like your attention to detail.. car looks great!