When you click on links to various merchants on this site and make a purchase, this can result in this site earning a commission. Affiliate programs and affiliations include, but are not limited to, the eBay Partner Network.
Recently picked an 08WDP Type-S. It had a report of being side swiped on driver side. Oh well. Better deal for me as car and repaired area look just about perfect. Got it with 145k miles for $5k. Been doing simple routine maintenance so no biggie. I have had it a little over a month and so far I have.....
Cleaned headlights- free
Changed tranny fluid 2x- $70
Changed oil 2x full synthetic-$40
Replaced front pads, had some laying around from so many TLs lol-$free
Replaced APP sensor-$40 pick a part shop off 07
Replaced gas cap with OEM-$6
Cleaned engine bay covers-free
Need new leather for front passenger seat
New tint installed 20%
New battery -$138
Couldn't figure out the f'd up paint though.
Initially thought it was simple orange cut pad, compound, polish and wax.....NOPE!
I wonder how long the car sat in the sun dirty as hell before it was repaired.
researched and came up with having to wet sand
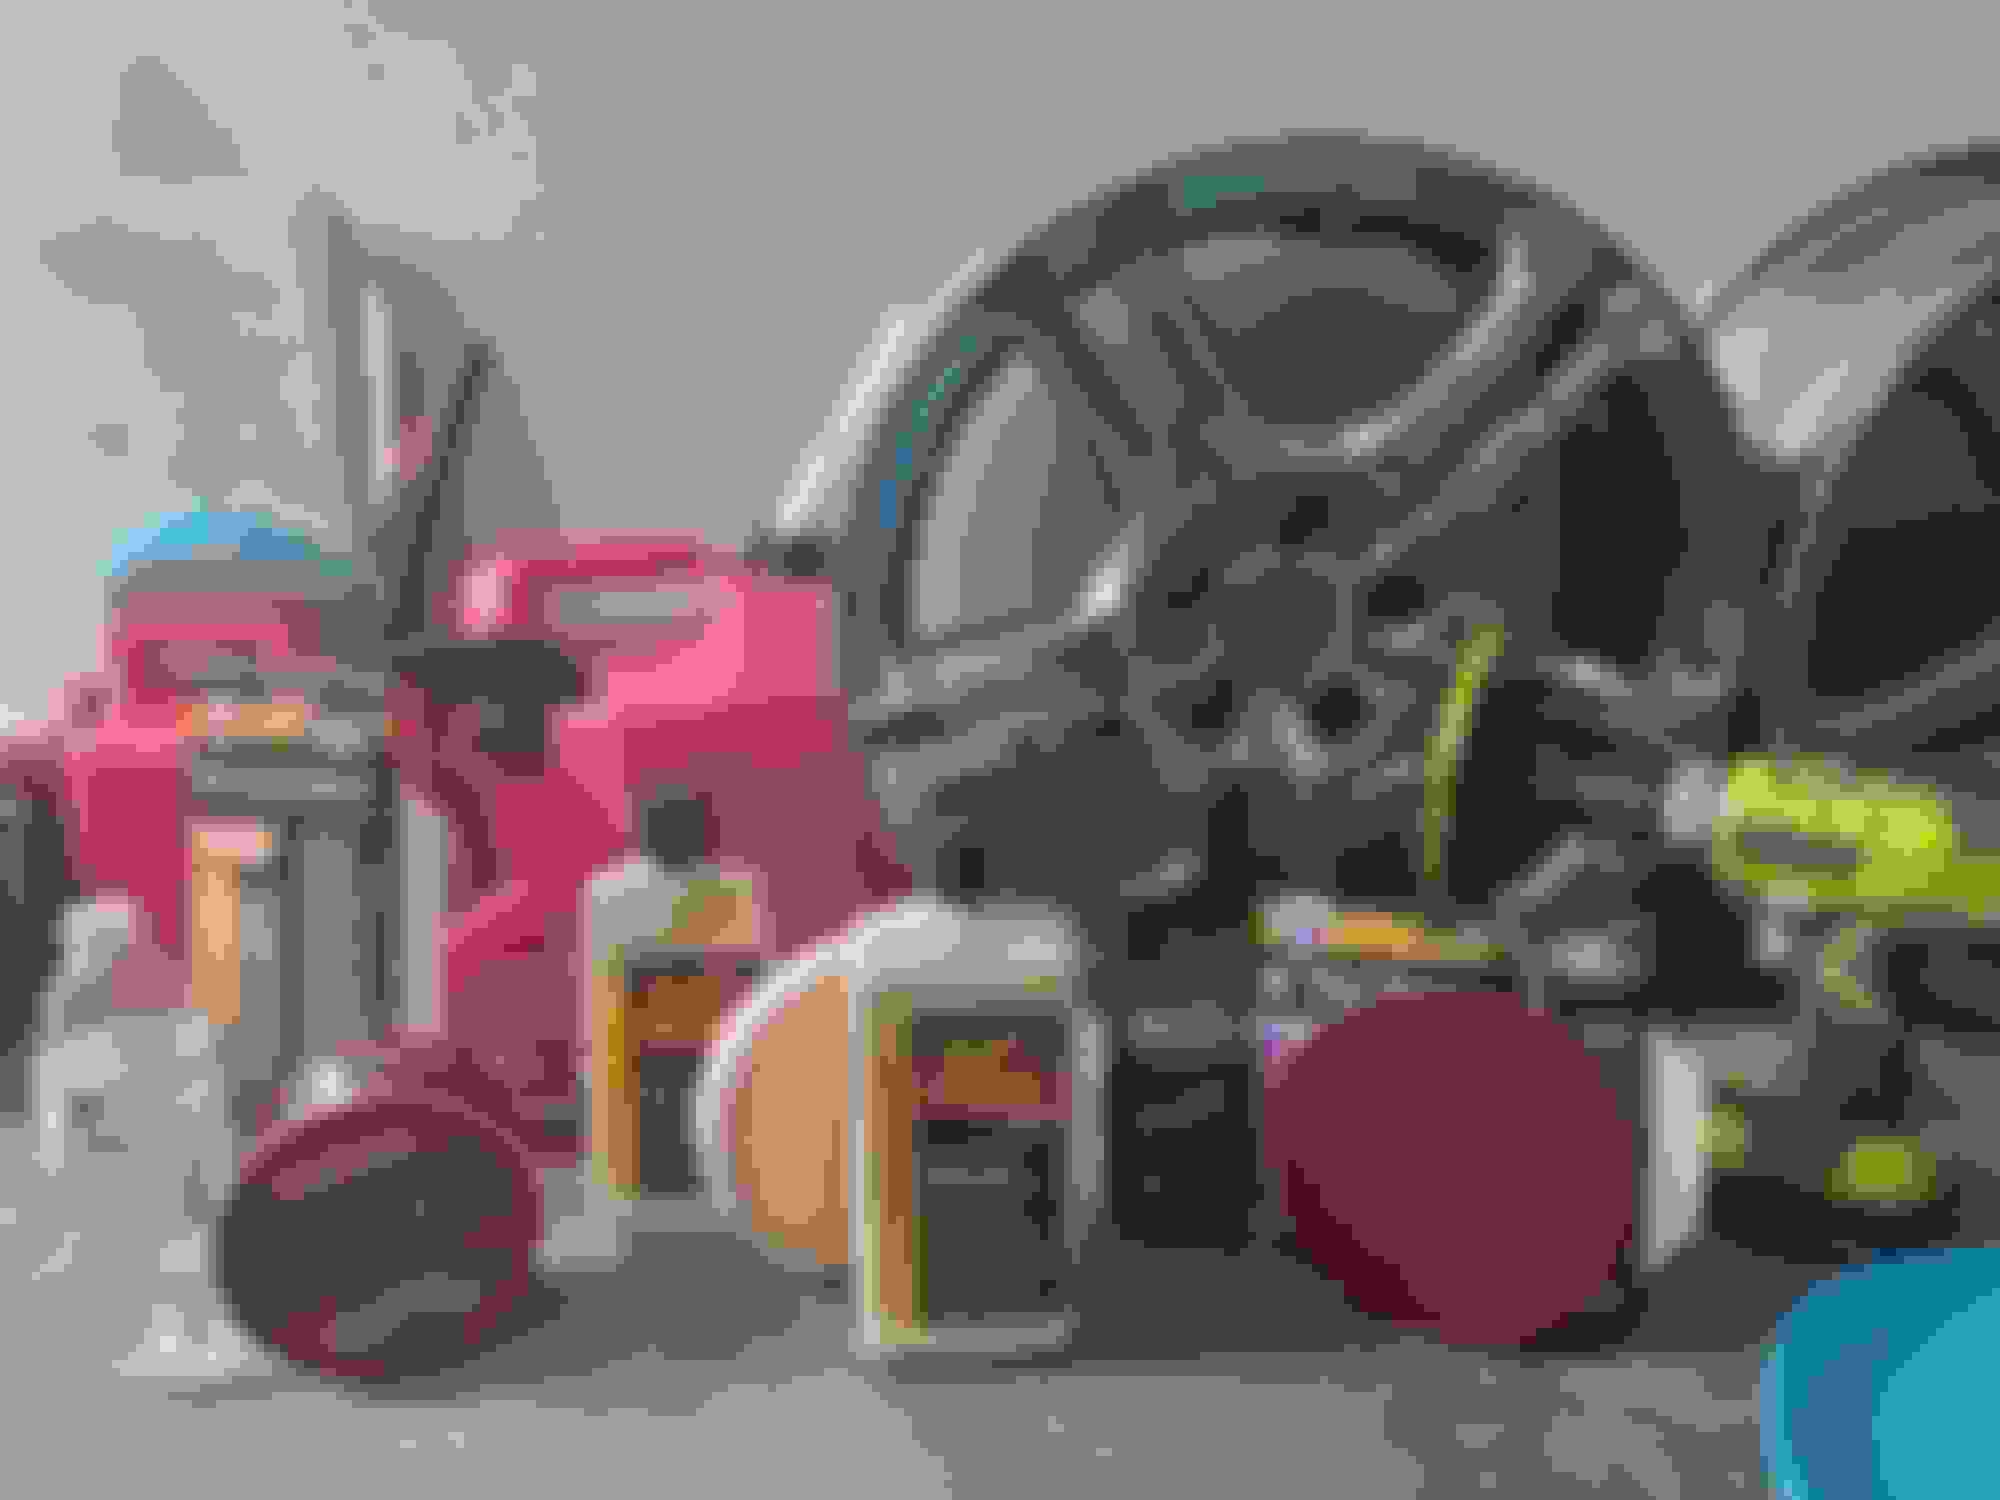
see tools and supplies below. For an amateur I think it came out well
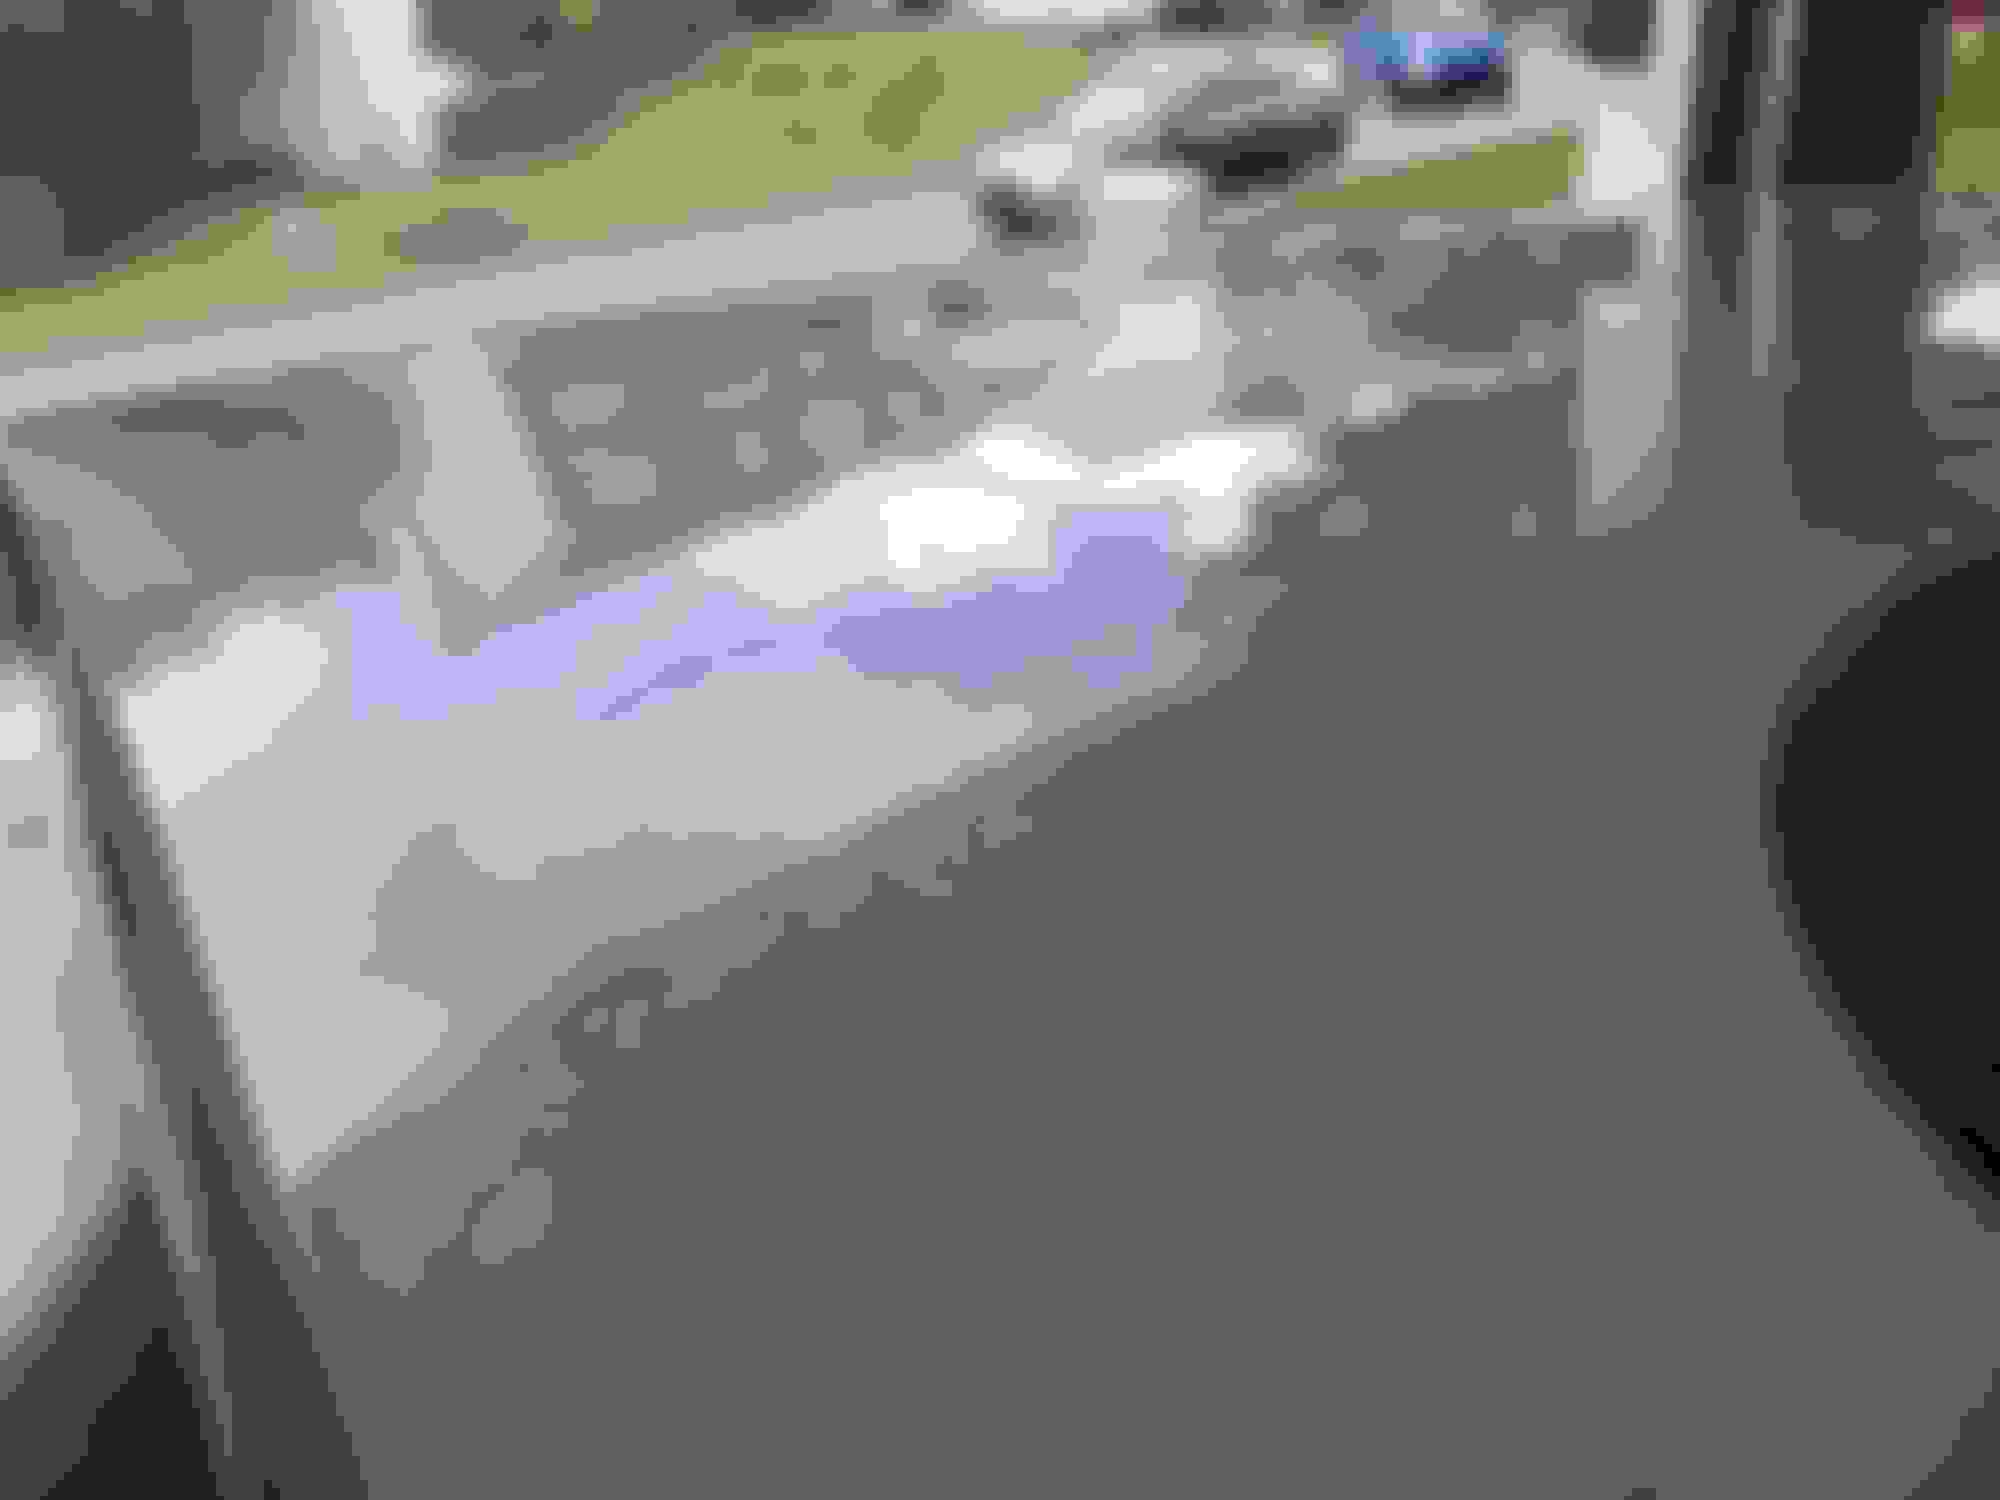
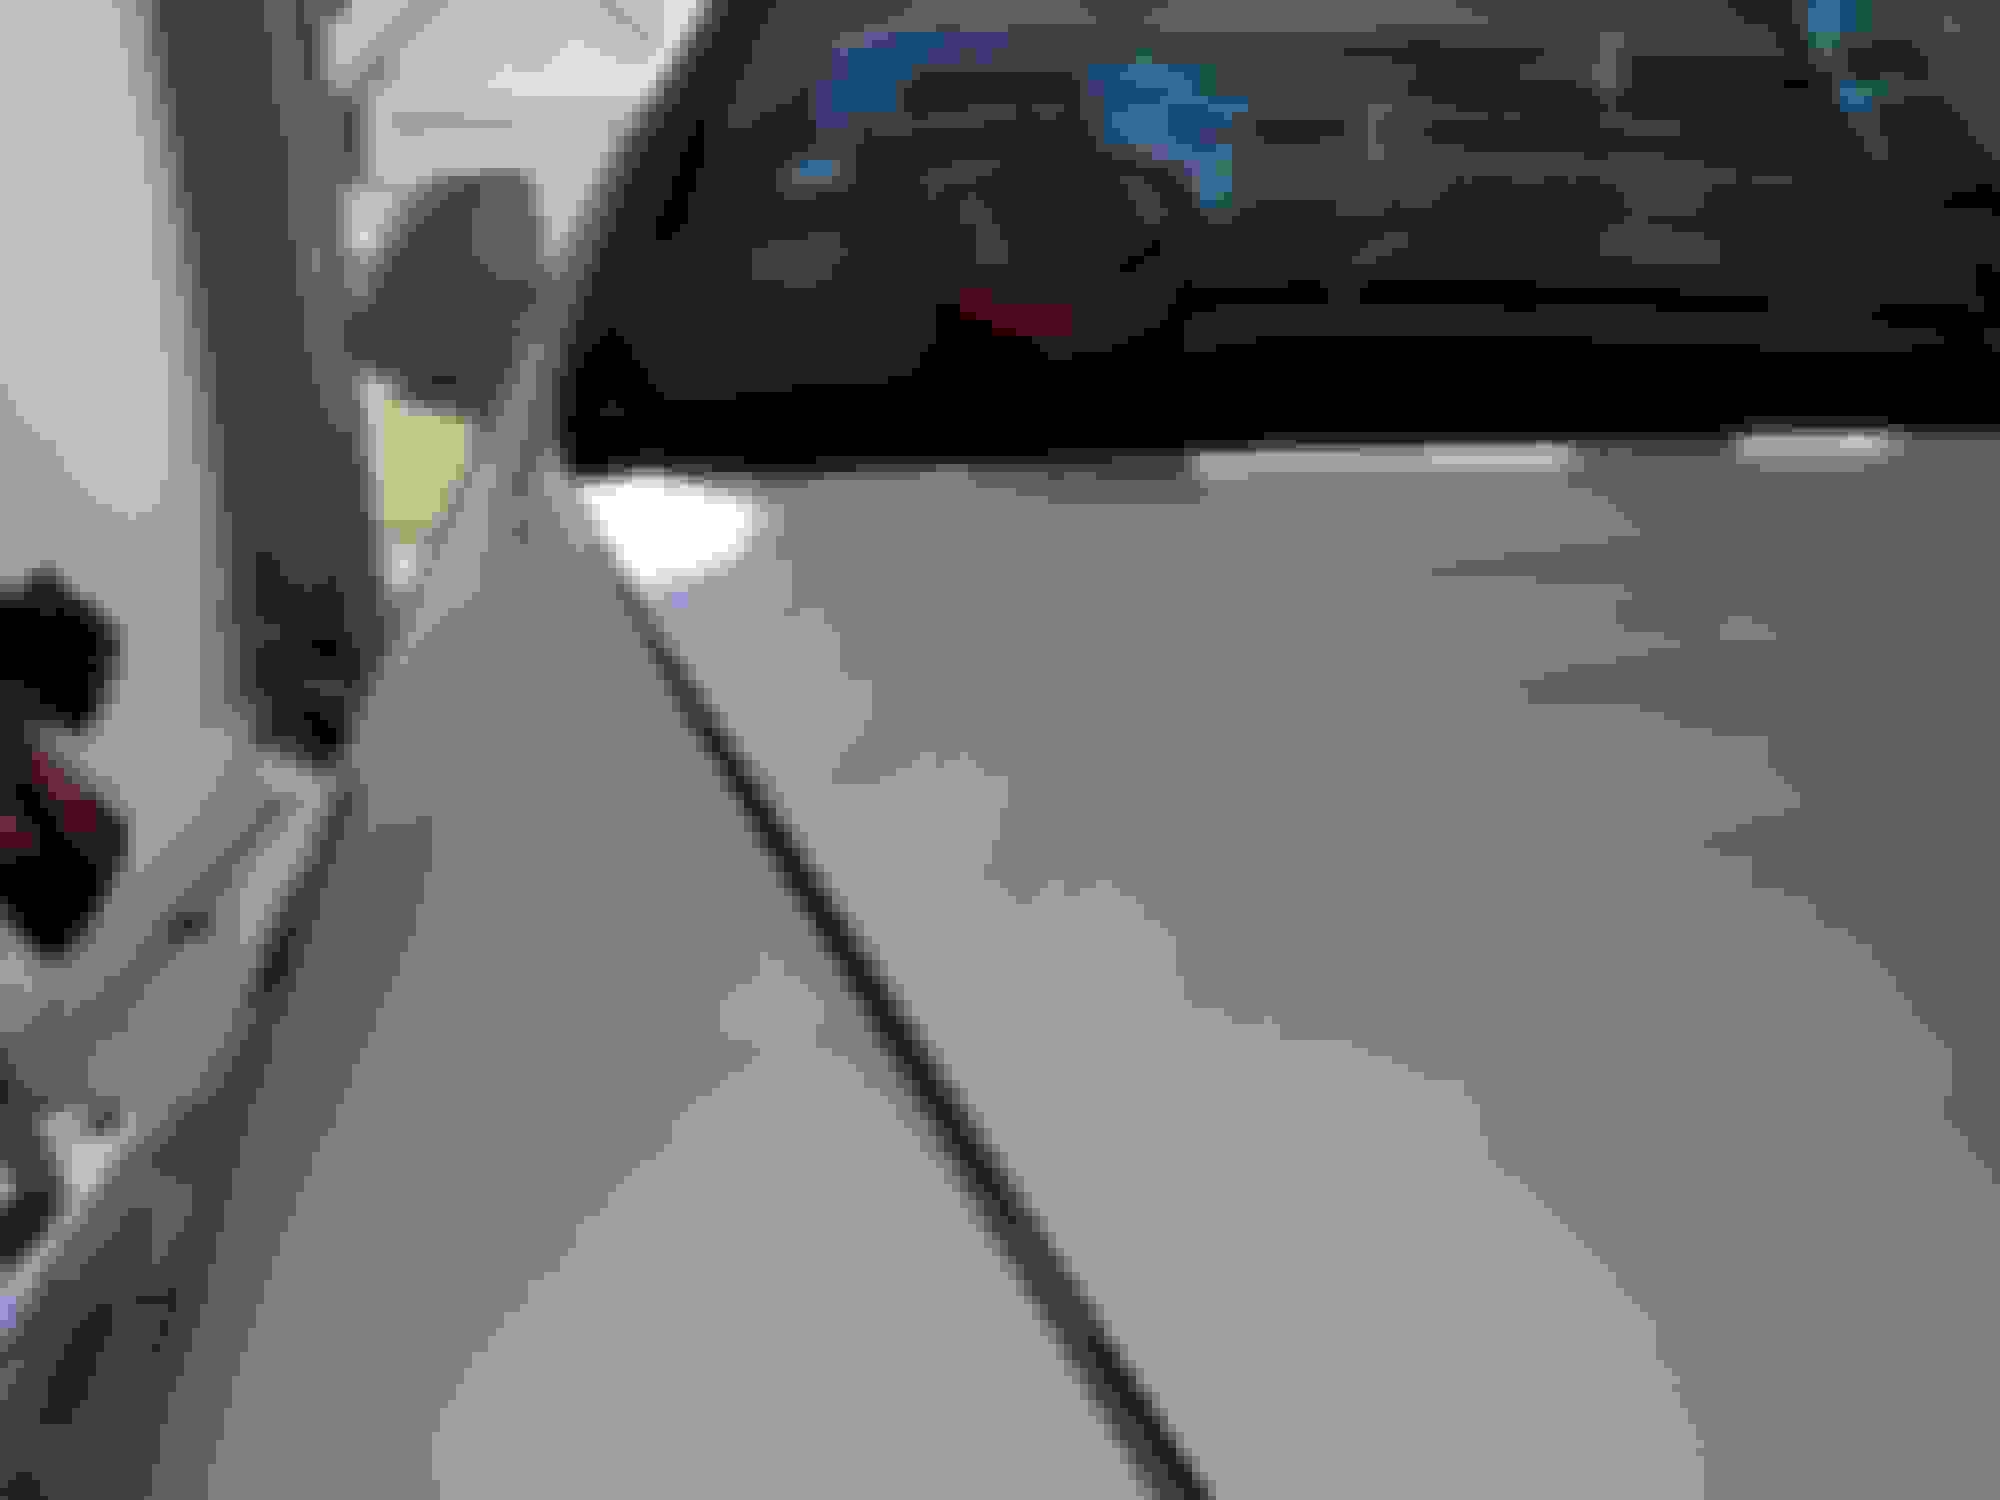
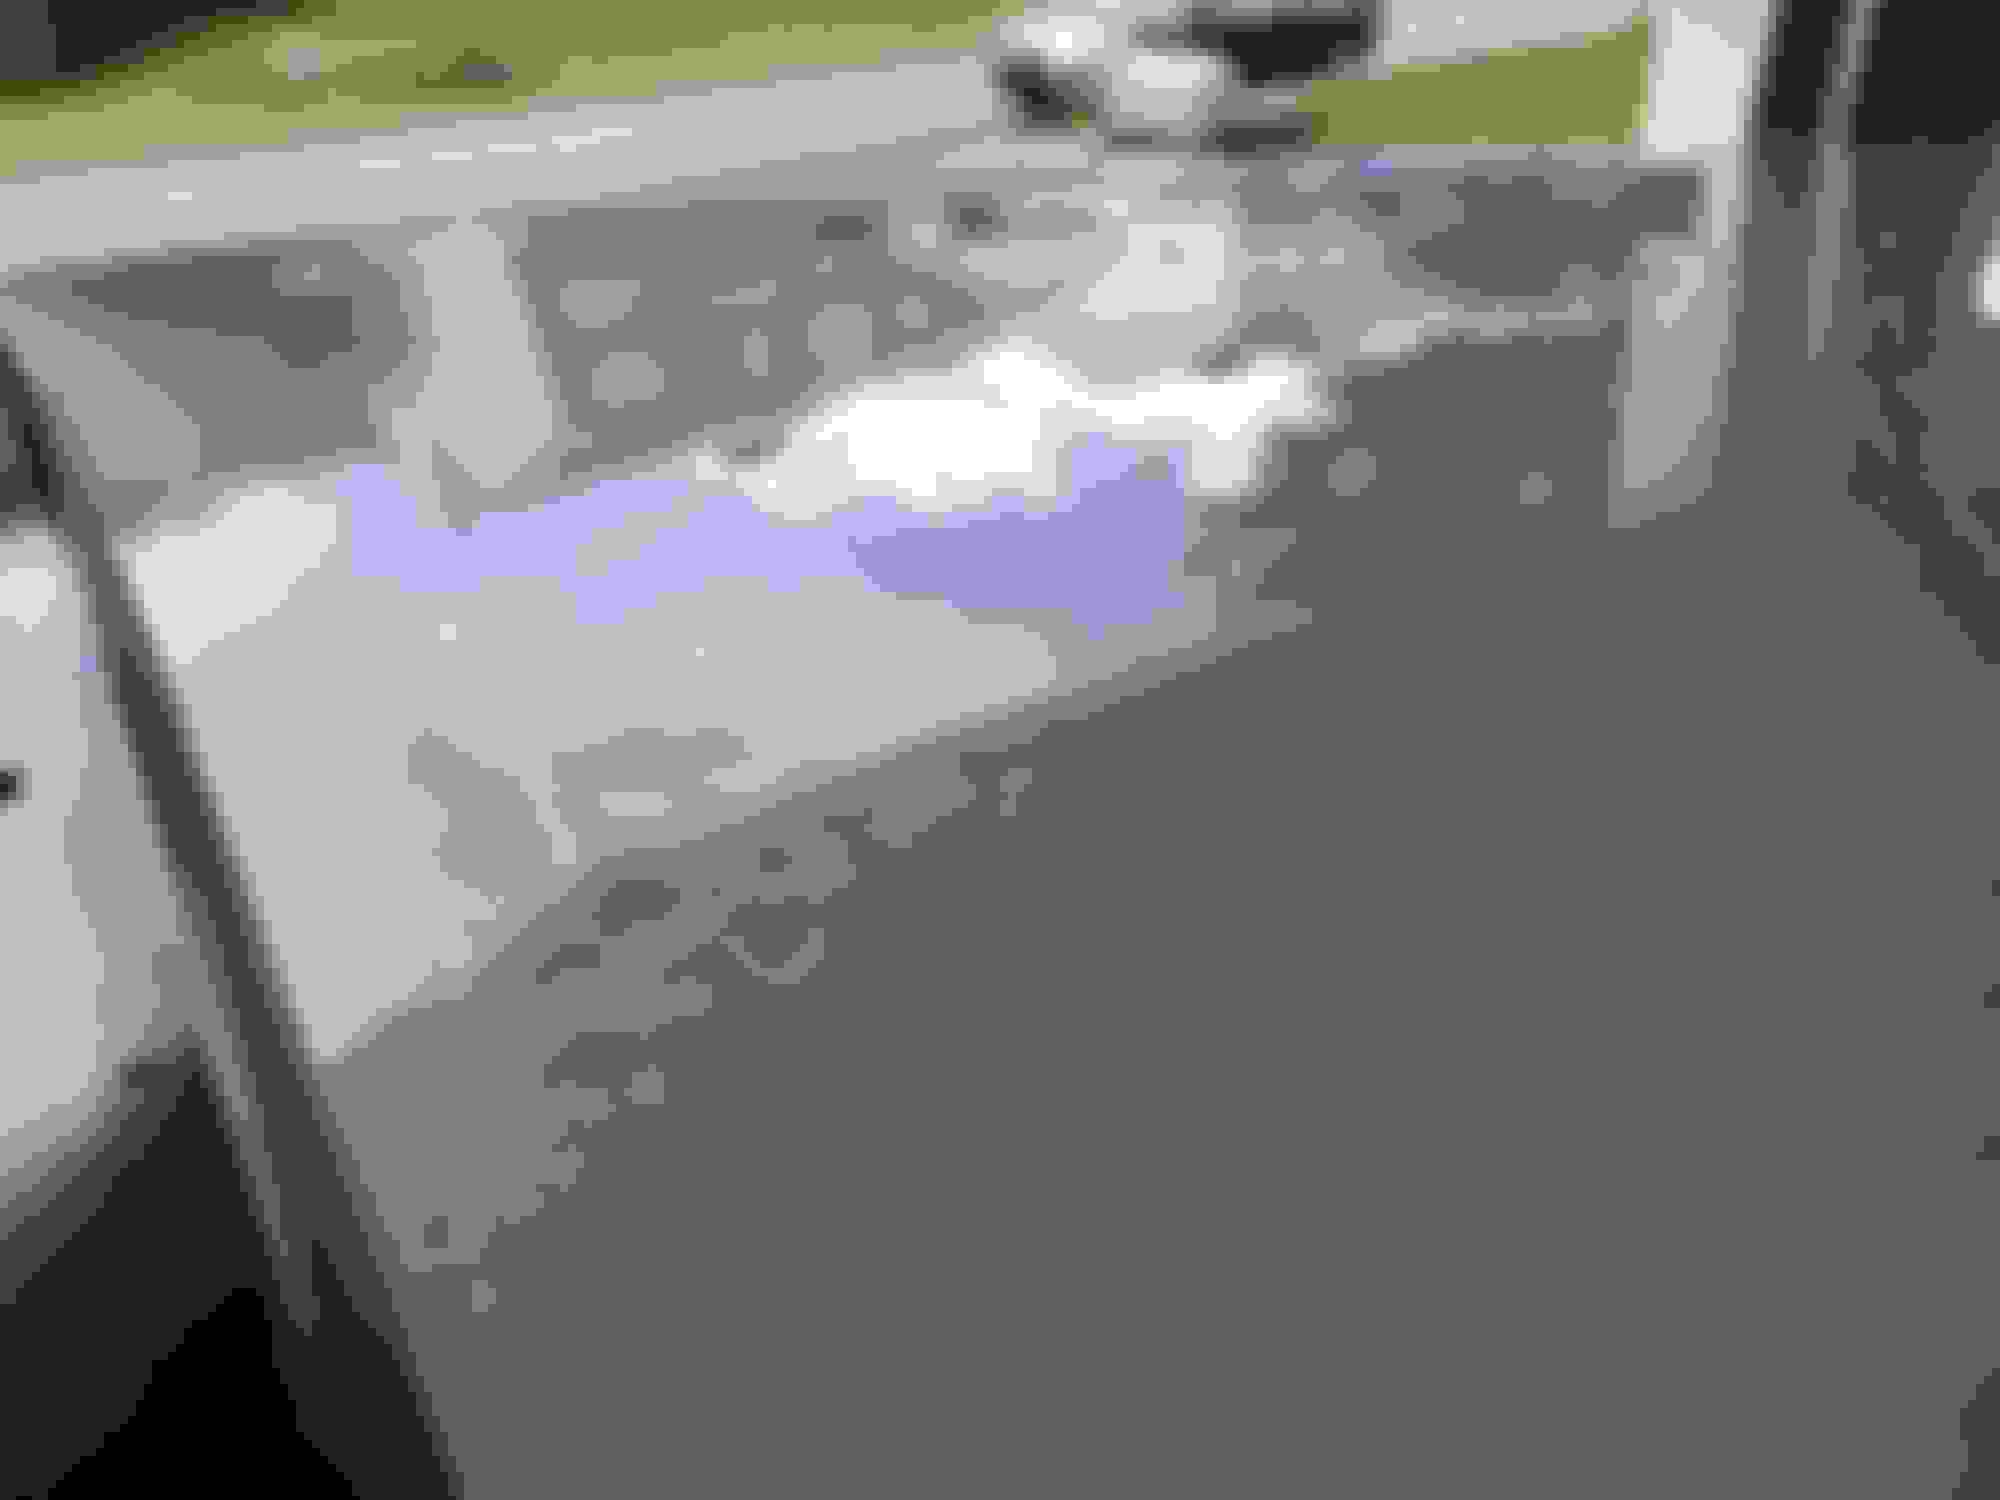
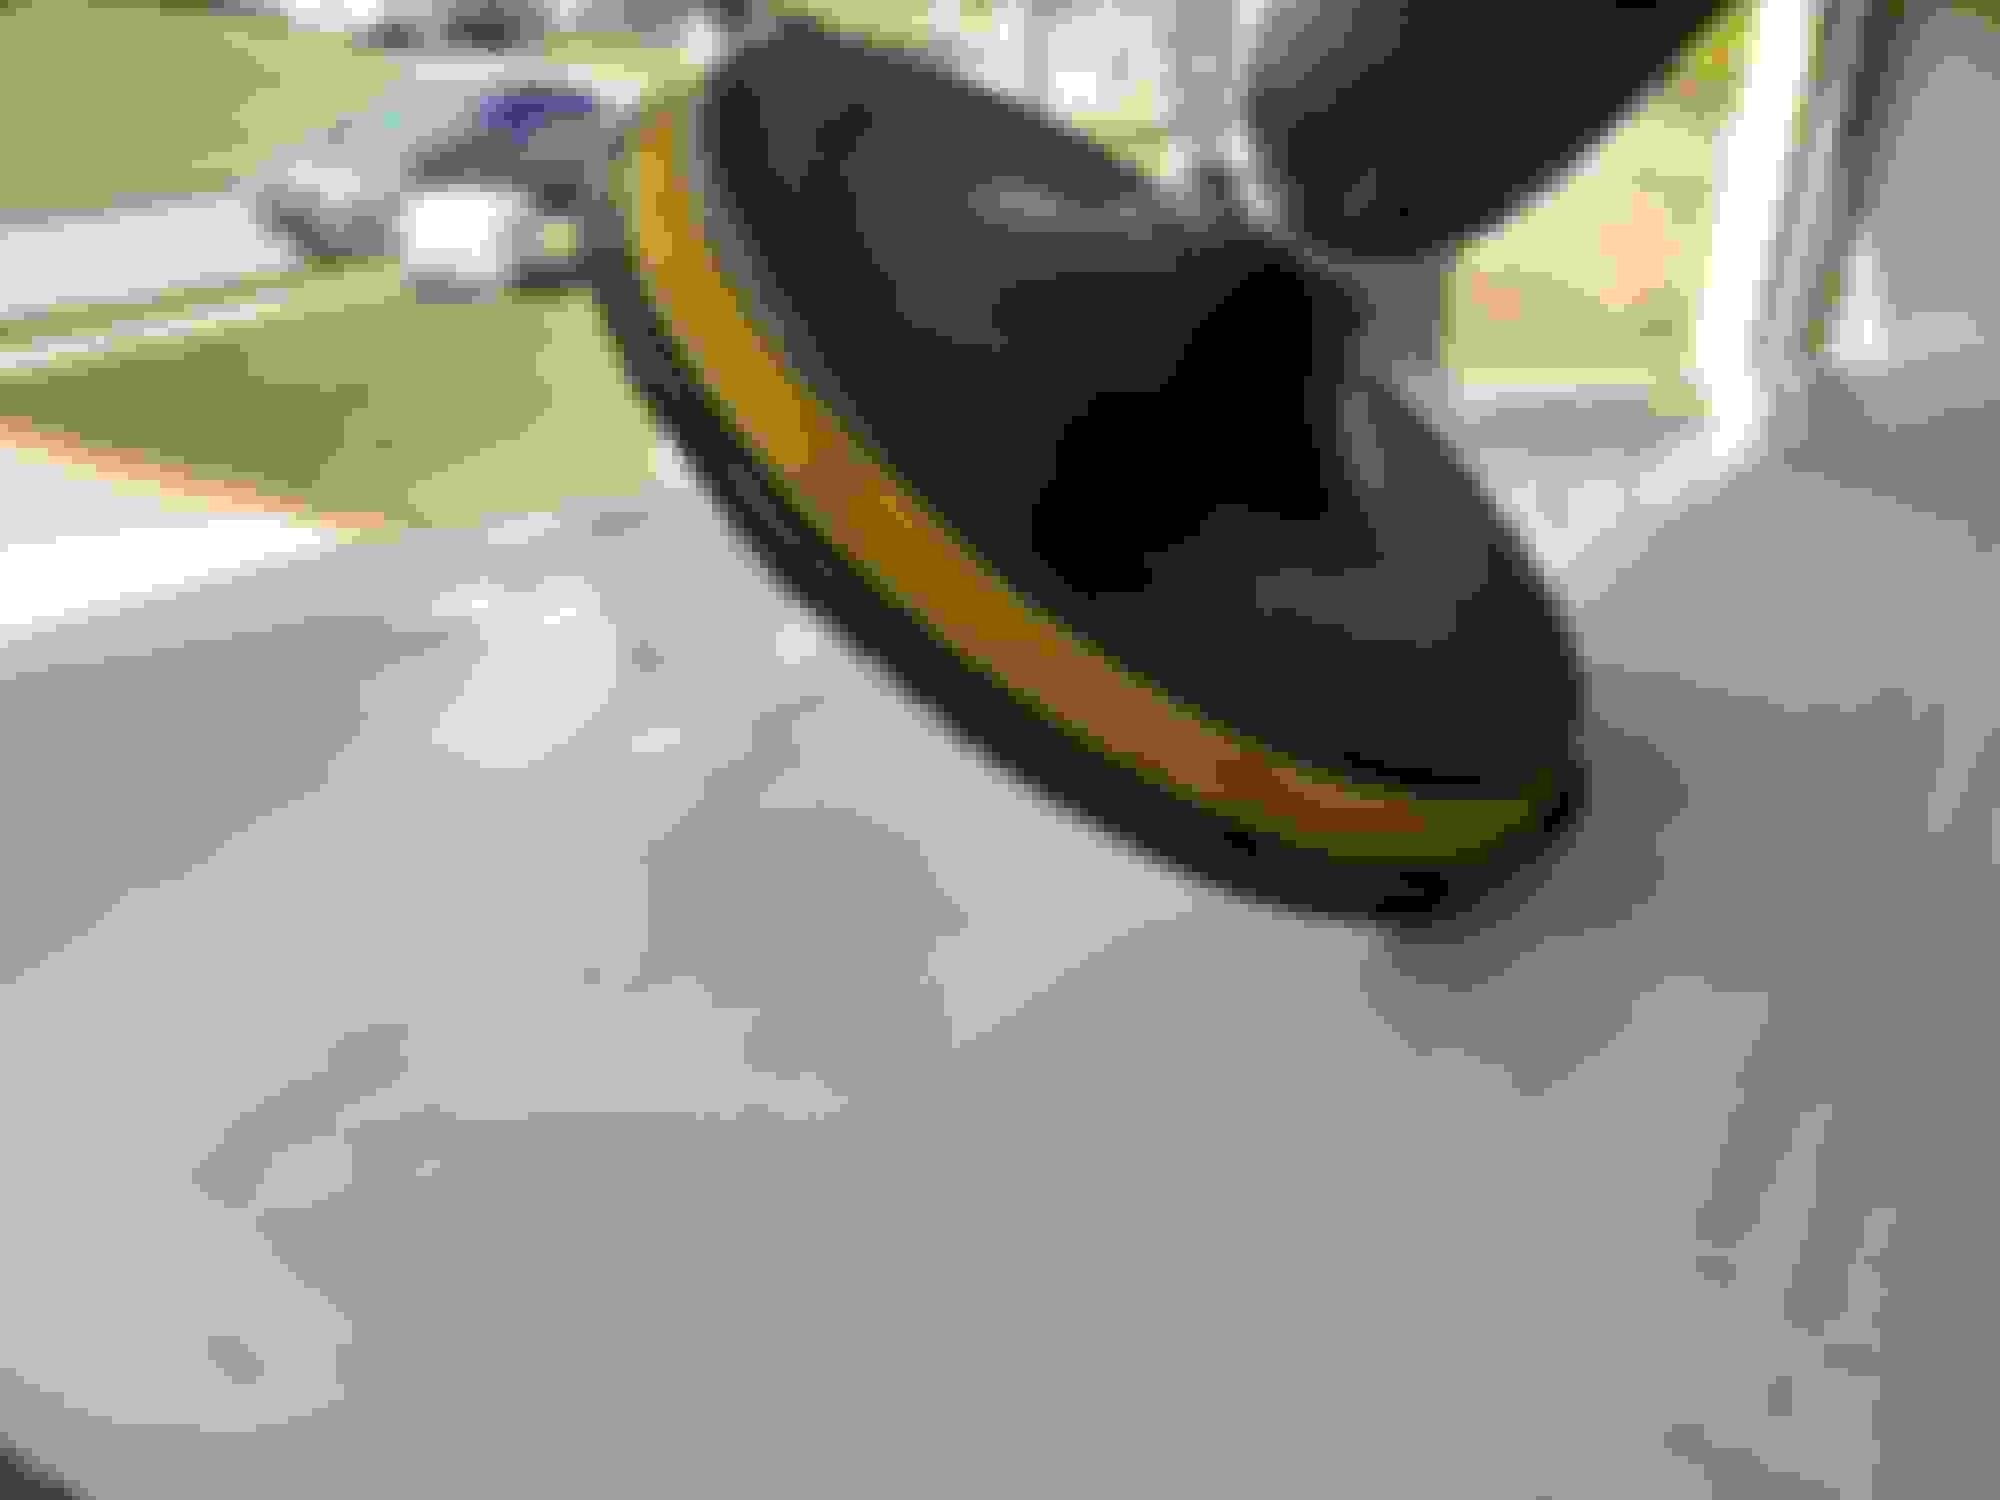
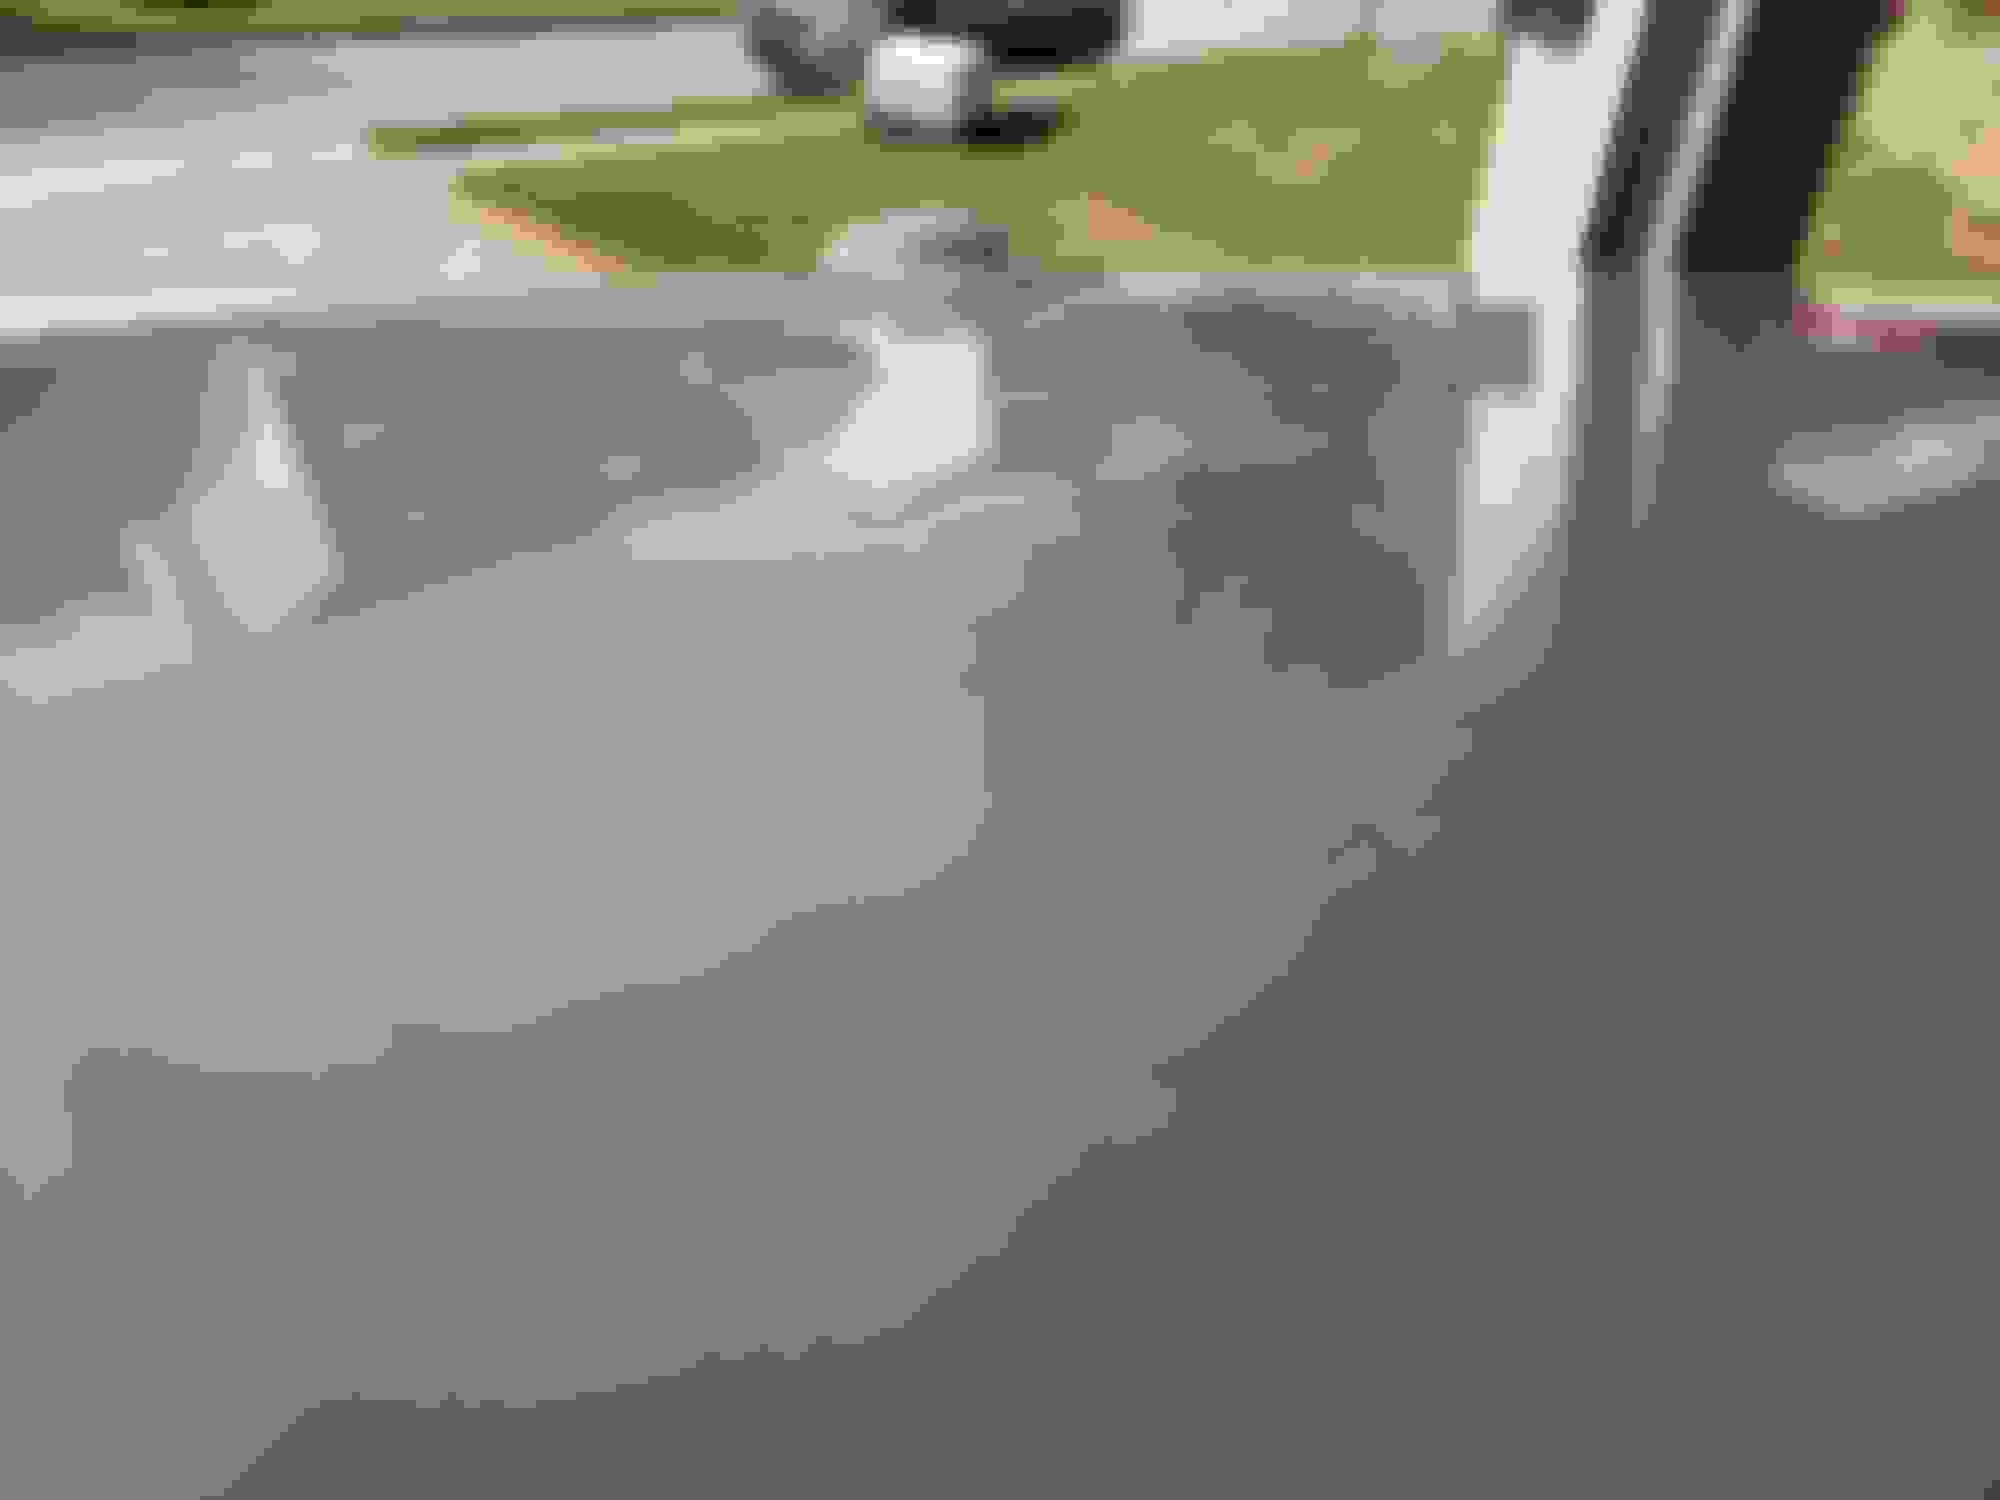
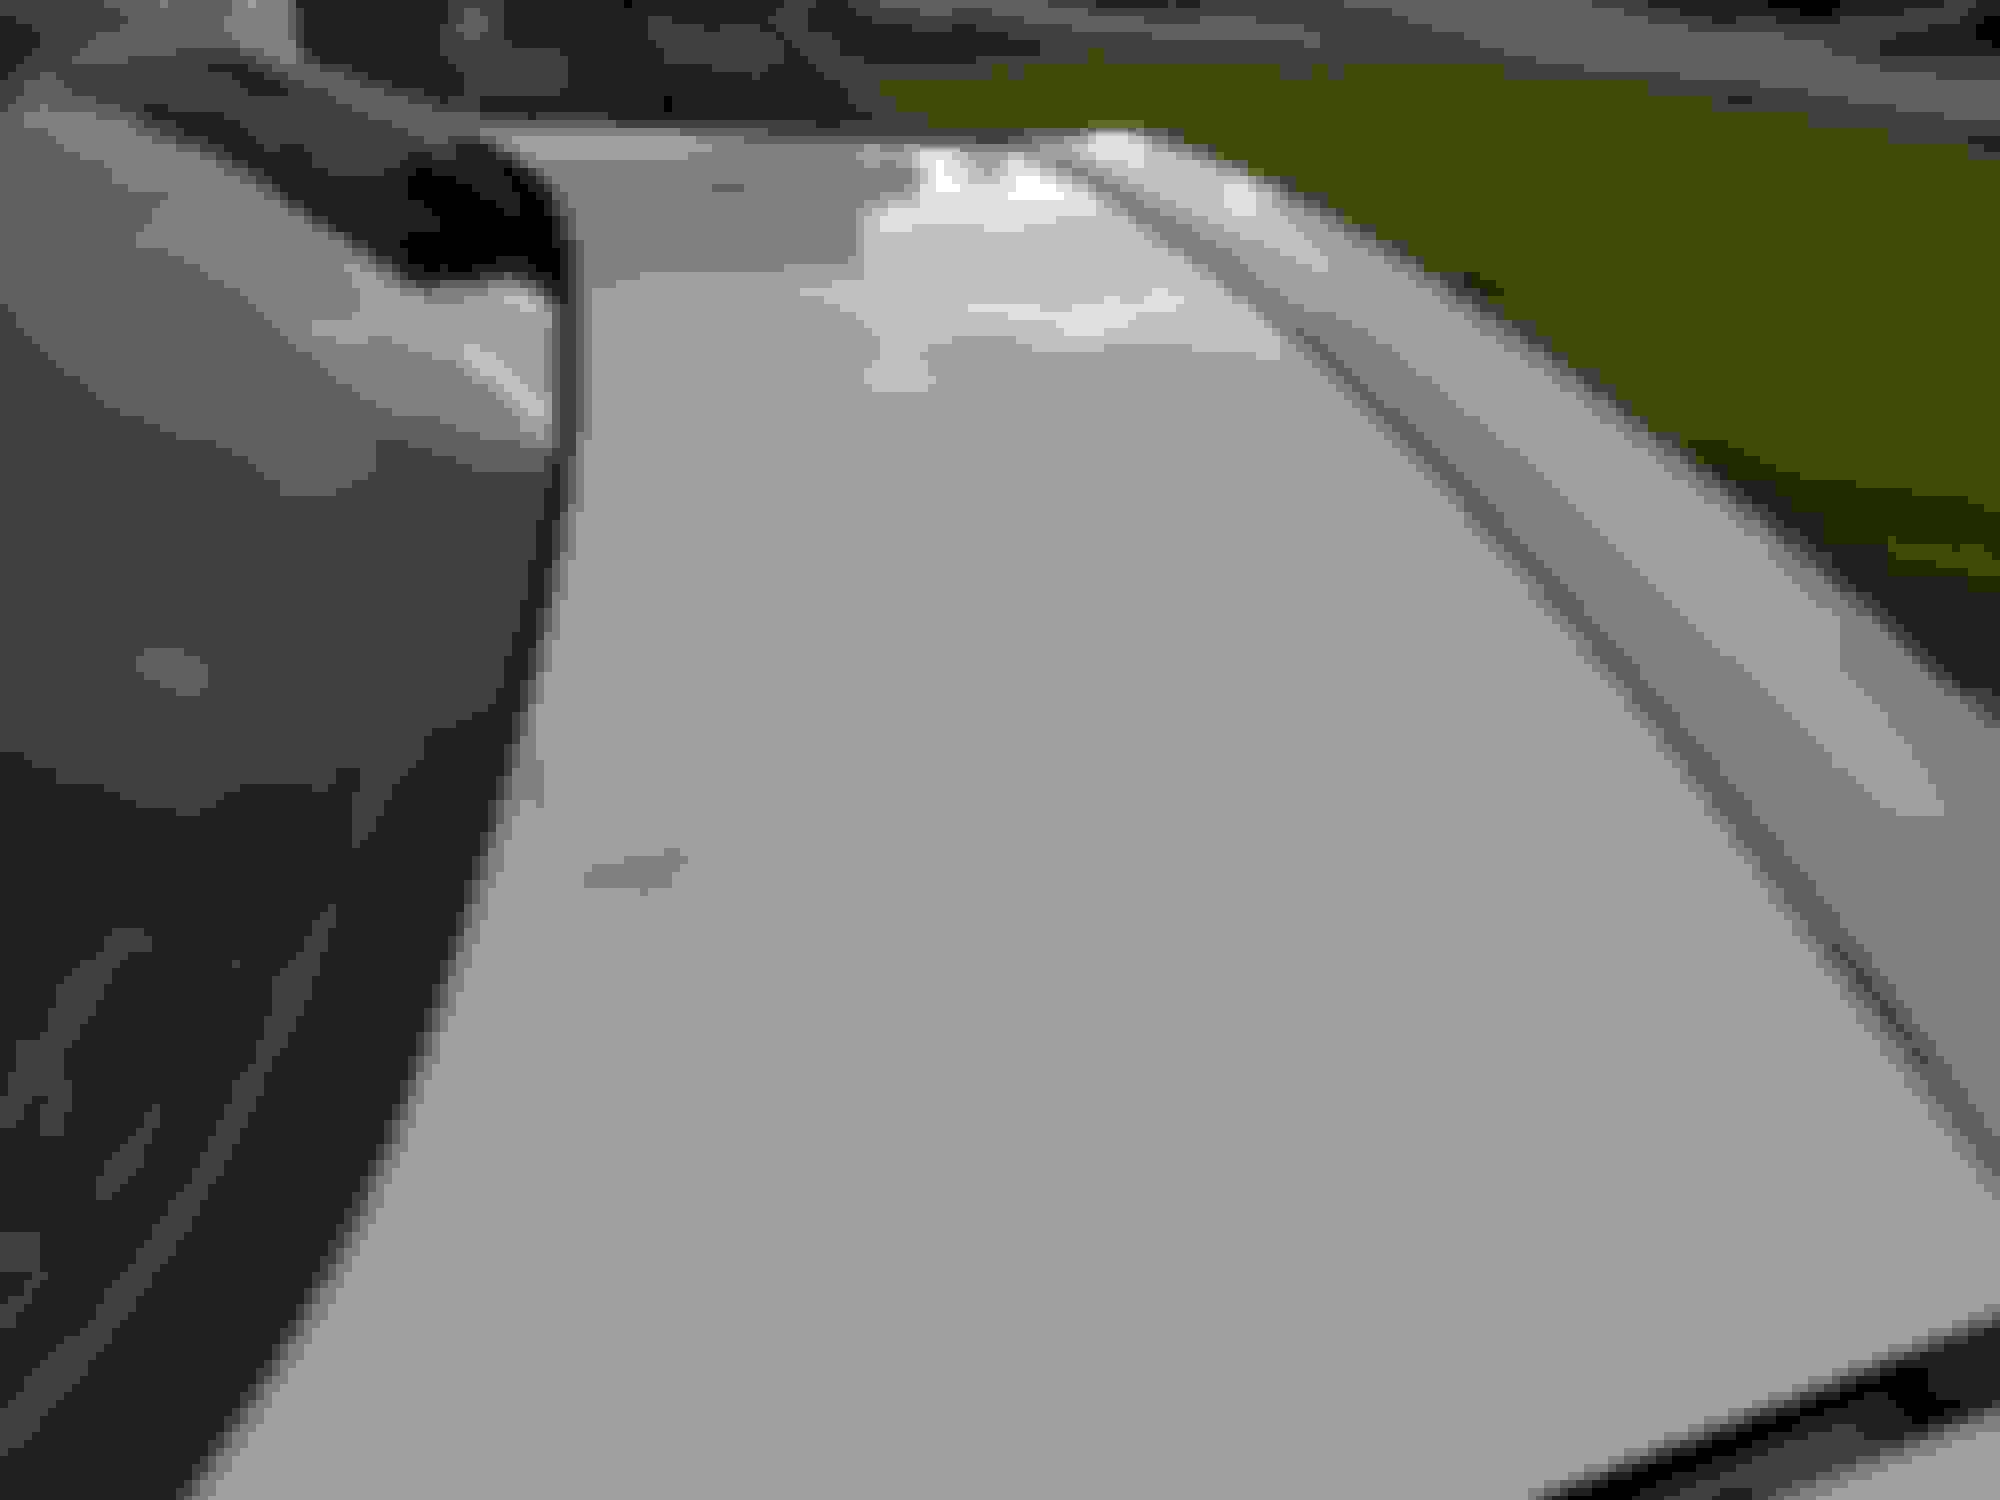
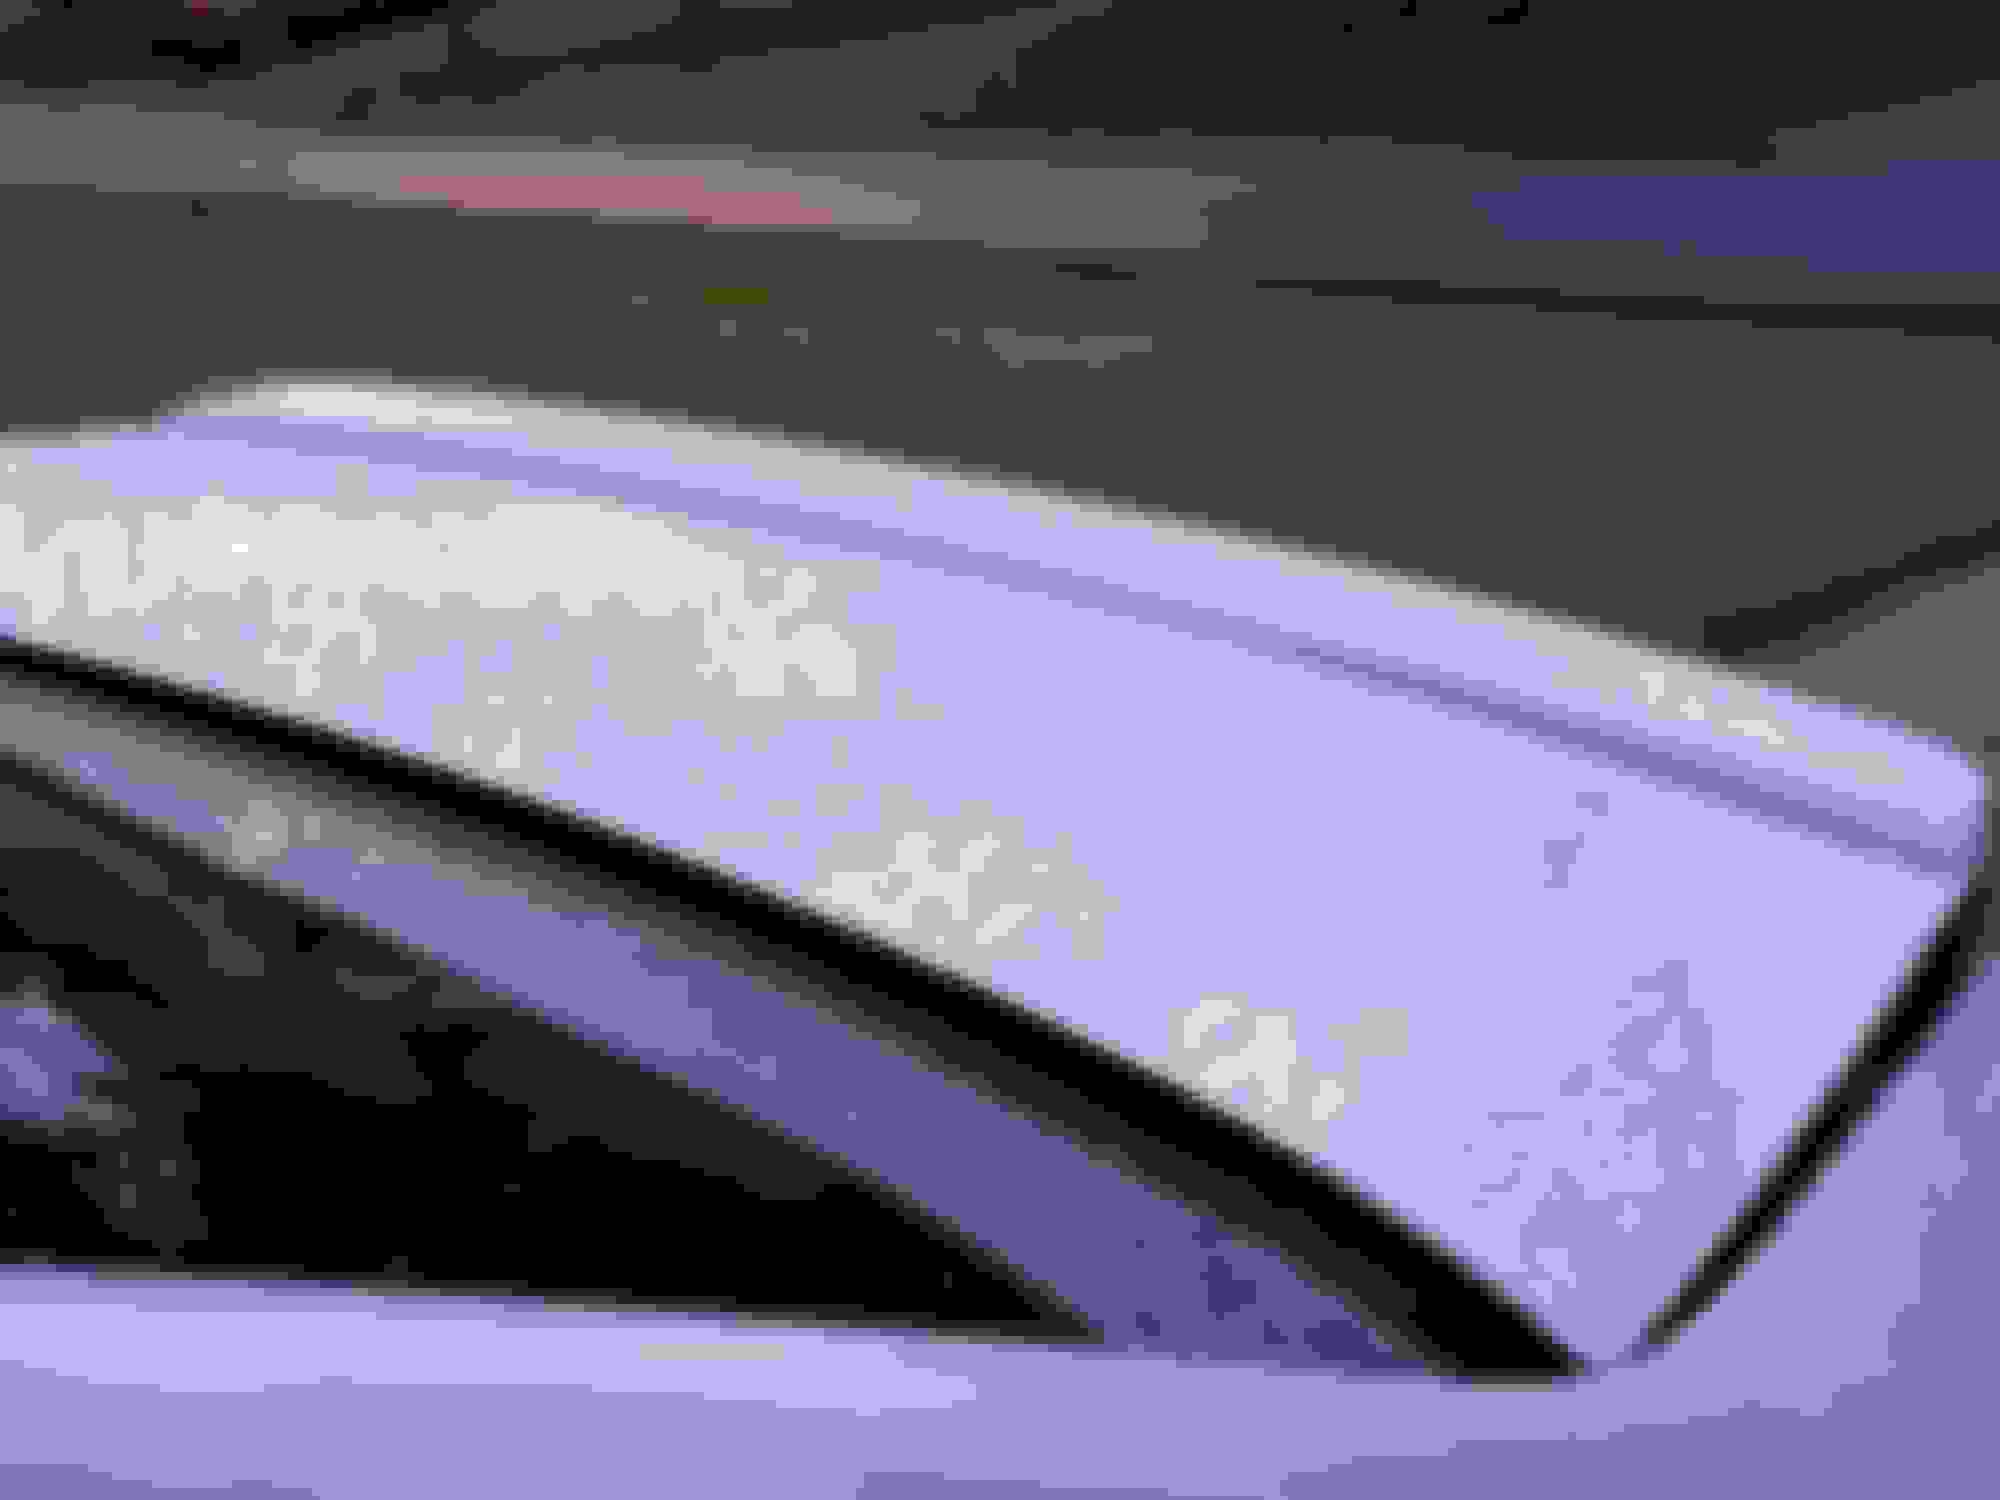
Products Tried to get an angle to show water marks. This is how 100% of the hood, trunk, roof looked. Better images of how bad it is Yuck. Coarse as rice Wet sanding Coming clean Thing of beauty with water beading Depth on trunk Paint has depth again. Hood life lol Amateur job not to terrible Pheeeeew finally no more etchings
That came out great! I'm surprised you could do all of that in 5 hours.
5 hours consisted on the trunk, roof and hood only. Although 100% of the car wasn't covered I still have glass and the top part of the right side doors and rear fender to do. So I still have a ways to go but for what was the obvious when you saw the paint, it has been corrected.
What typically removes water spots? Day old or week old spots just a wash or simple compound will get 'er done. I tried that and it didn't come close to removal. I'm planning on doing detailing again an amping up my skills from what I used to do. Youtube and practice
What step is primary in removing the water spots, or like, 80-90% of them? For me the Primary step all along was wet-sanding because that is for extreme cases which mine qualified for. The mineral deposits had become apart of my clear coat so it needed to be taken down to remove.
Did you combine the water spot removal with the paint correction regiment? Did the 5 hours include wash/clay/wax time too? I had previously clay barred and although I pulled grime it did nothing for the water stains. Essentially ithe process is rolled into one because when you cut the clear you have to then clean it, polish it and wax to protect. Else you leave it exposed to the elements. Water just rolls off my panels now. If you wash your car and rinse and before you can finish completely rinsing, your car has already dried itself (LOL) you have some dirty ass paint.
I think I turned this into an interview, sorry... Just looking to learn! But that car looks 100% better!
Car does look good and kids are my worst critic when I buy these TL's. The let me know it looks real good
Looks great. Diamond Cut #10 is killer stuff. Even works better on removing haze from headlights than the actual overly abrasive products they sell specifically for hazy headlights... go figure.
But I have the same setup. Mcquairs #3 cut and #10 cut, and as of lately I claybar'd mine and used Mcquairs ceramic Hyrbid wax, and topped with Maquairs Gold Carnuba wax.
You might not have needed to wetsand at all. because the #10 cut with a WOOL pad will cut. Especially if you have a machine.. Then switch to #10 with a microfiber pad and it will make a high gloss. Then switch to #3 (4 or 5) cut and a microfiber pad and that will finish it off. Last step wax.
I would only wetsand if you have orange peel or "fish eyed" clear coat.
I attempted about 3 different ways before finally settling on wet sand. The car was THAT bad. Imagine that car baking in the Georgia summer sun for years.

 08-24-2019 | 09:24 PM