When you click on links to various merchants on this site and make a purchase, this can result in this site earning a commission. Affiliate programs and affiliations include, but are not limited to, the eBay Partner Network.
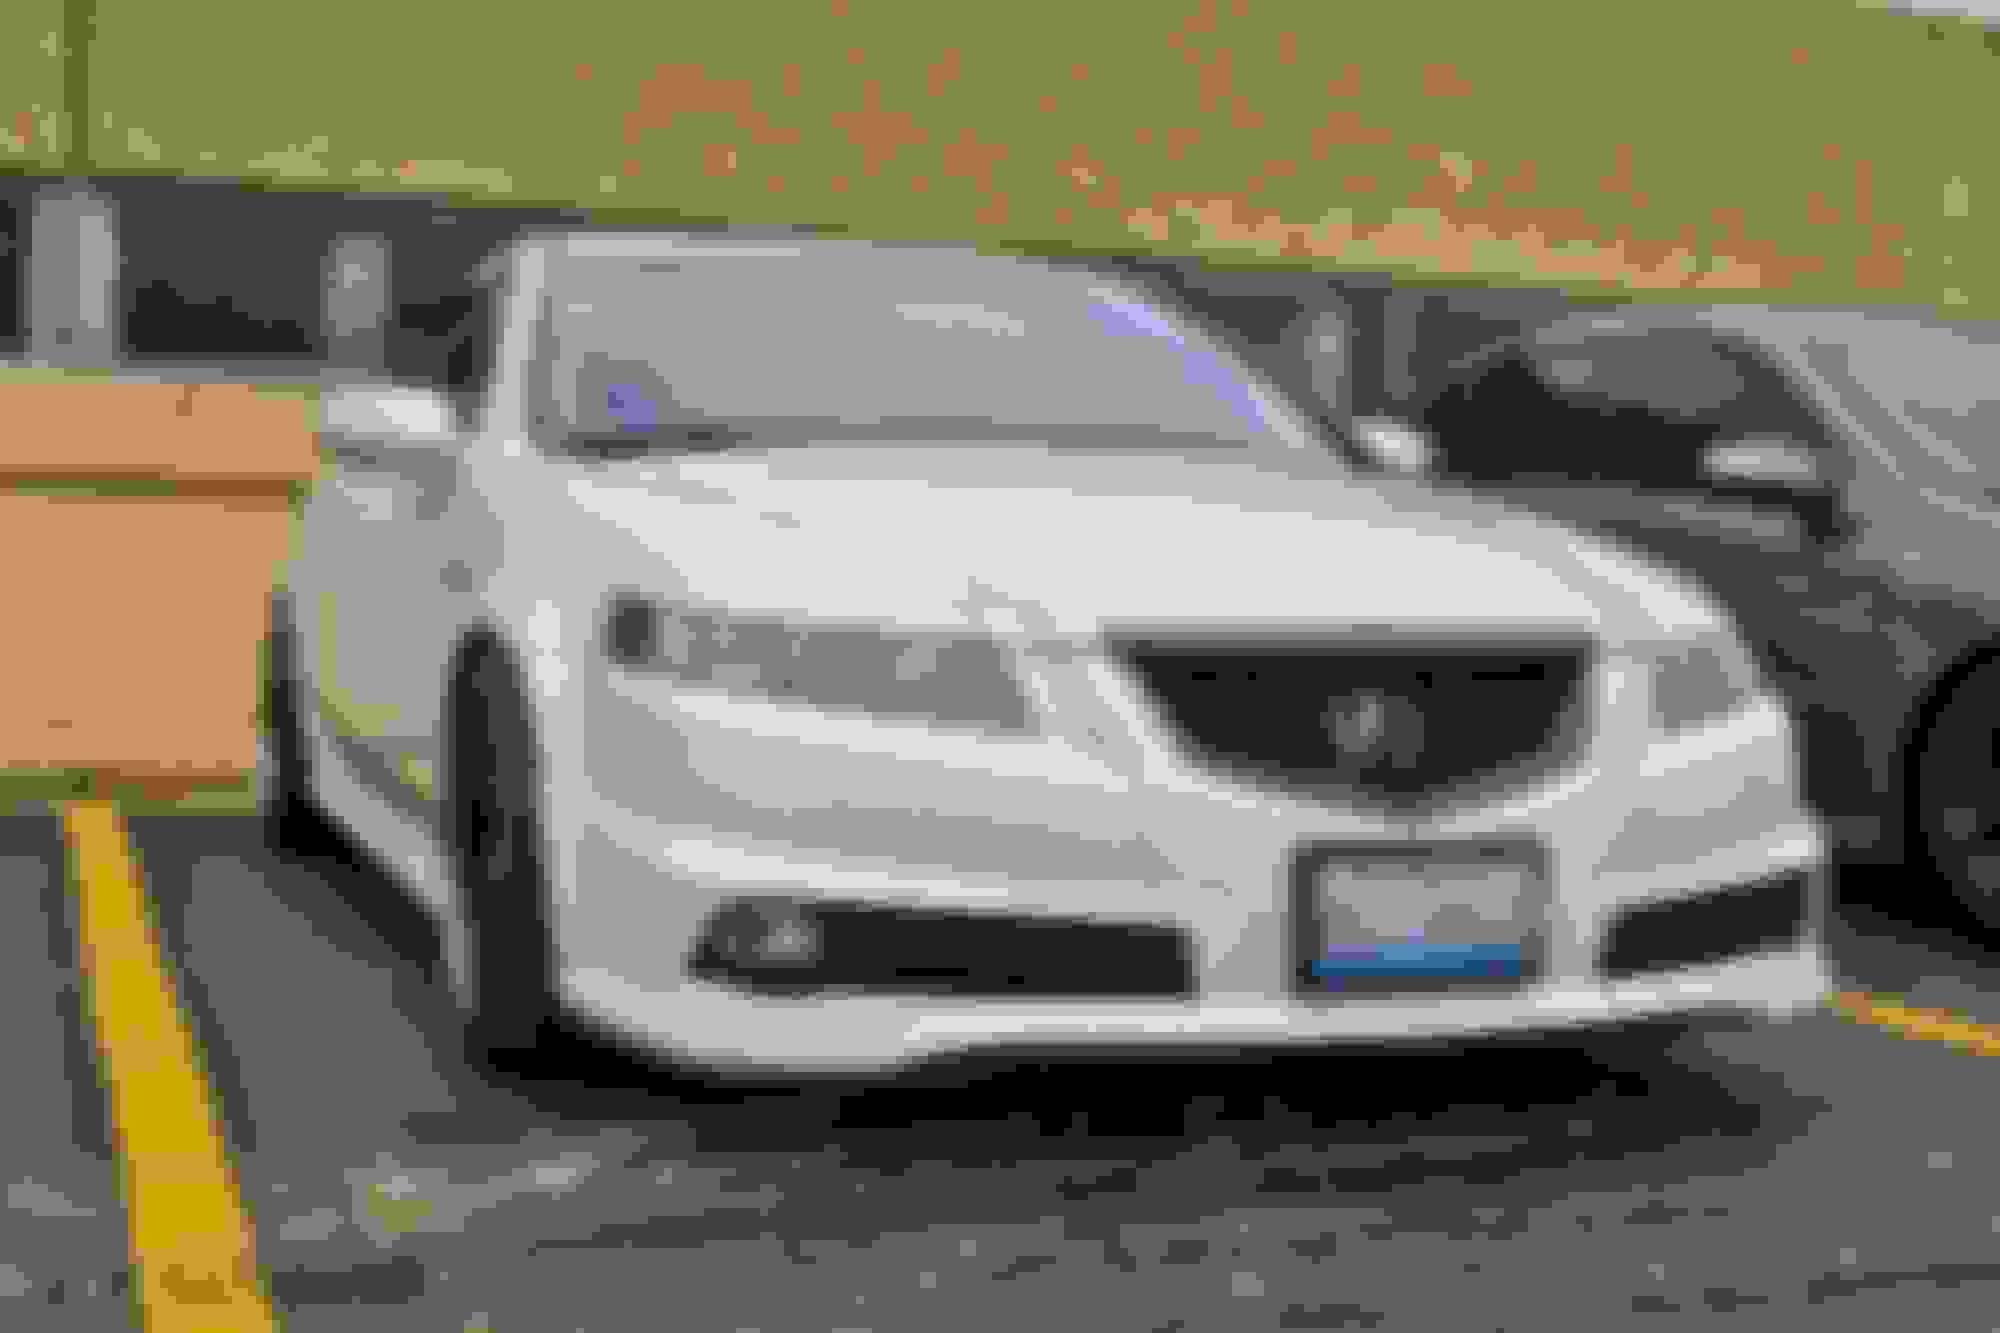
I've gotten a lot of questions about the grille on my car and how I did it so I figured I'll compile all the images I have and make a simple step-by-step instruction guide so others can do the same. This DIY pertains to the 07-08 grill, as the 04-06 have a slightly different shape that make the two incompatible. So putting an 07-08 grille on an 04-06 will not fit correctly and vice versa. This is also an IRREVERSIBLE MOD. Cutting of your bumper is involved, so if for any reason you wish to go back to stock you would need a new bumper. The estimated time for this is approximately 1 to 1.5 hours if you're good with a dremel (took me this long and I was taking my time). You're going to need to remove your front bumper for this, as many of the grille trim screws are not accessible otherwise. This is a DO AT YOUR OWN RISK. I'm simply offering my advice. Remember to always wear eye protection when using your dremel; hot plastic slag hurts.
Materials Needed
1. Dremel w/ cutting blade (I used a metal one, this worked well, although it didn't actually cut the plastic; it kind of melted it) and a sanding attachment
2. Phillips screwdriver
3. Flathead screwdriver
4. Masking tape
5. 3M double sided body tape (I used one inch width)
6. 3M Decal and Emblem adhesive
7. 8mm socket
Let's dive in. First, remove your front bumper. Depending on whether or not you have an A-spec lip could change this process for you. However here is a link to a DIY video:
Once you have your front bumper removed grab your phillips screwdriver and start by removing all visible screws on the backside of the grill. This should release all pieces from the bumper itself except for one; the chrome "V" trim. Now grab your flathead screwdriver and use it to un-pry the clips that hold the "V" trim on. Be careful, as it is easy to shove the screwdriver too far and damage the trim.
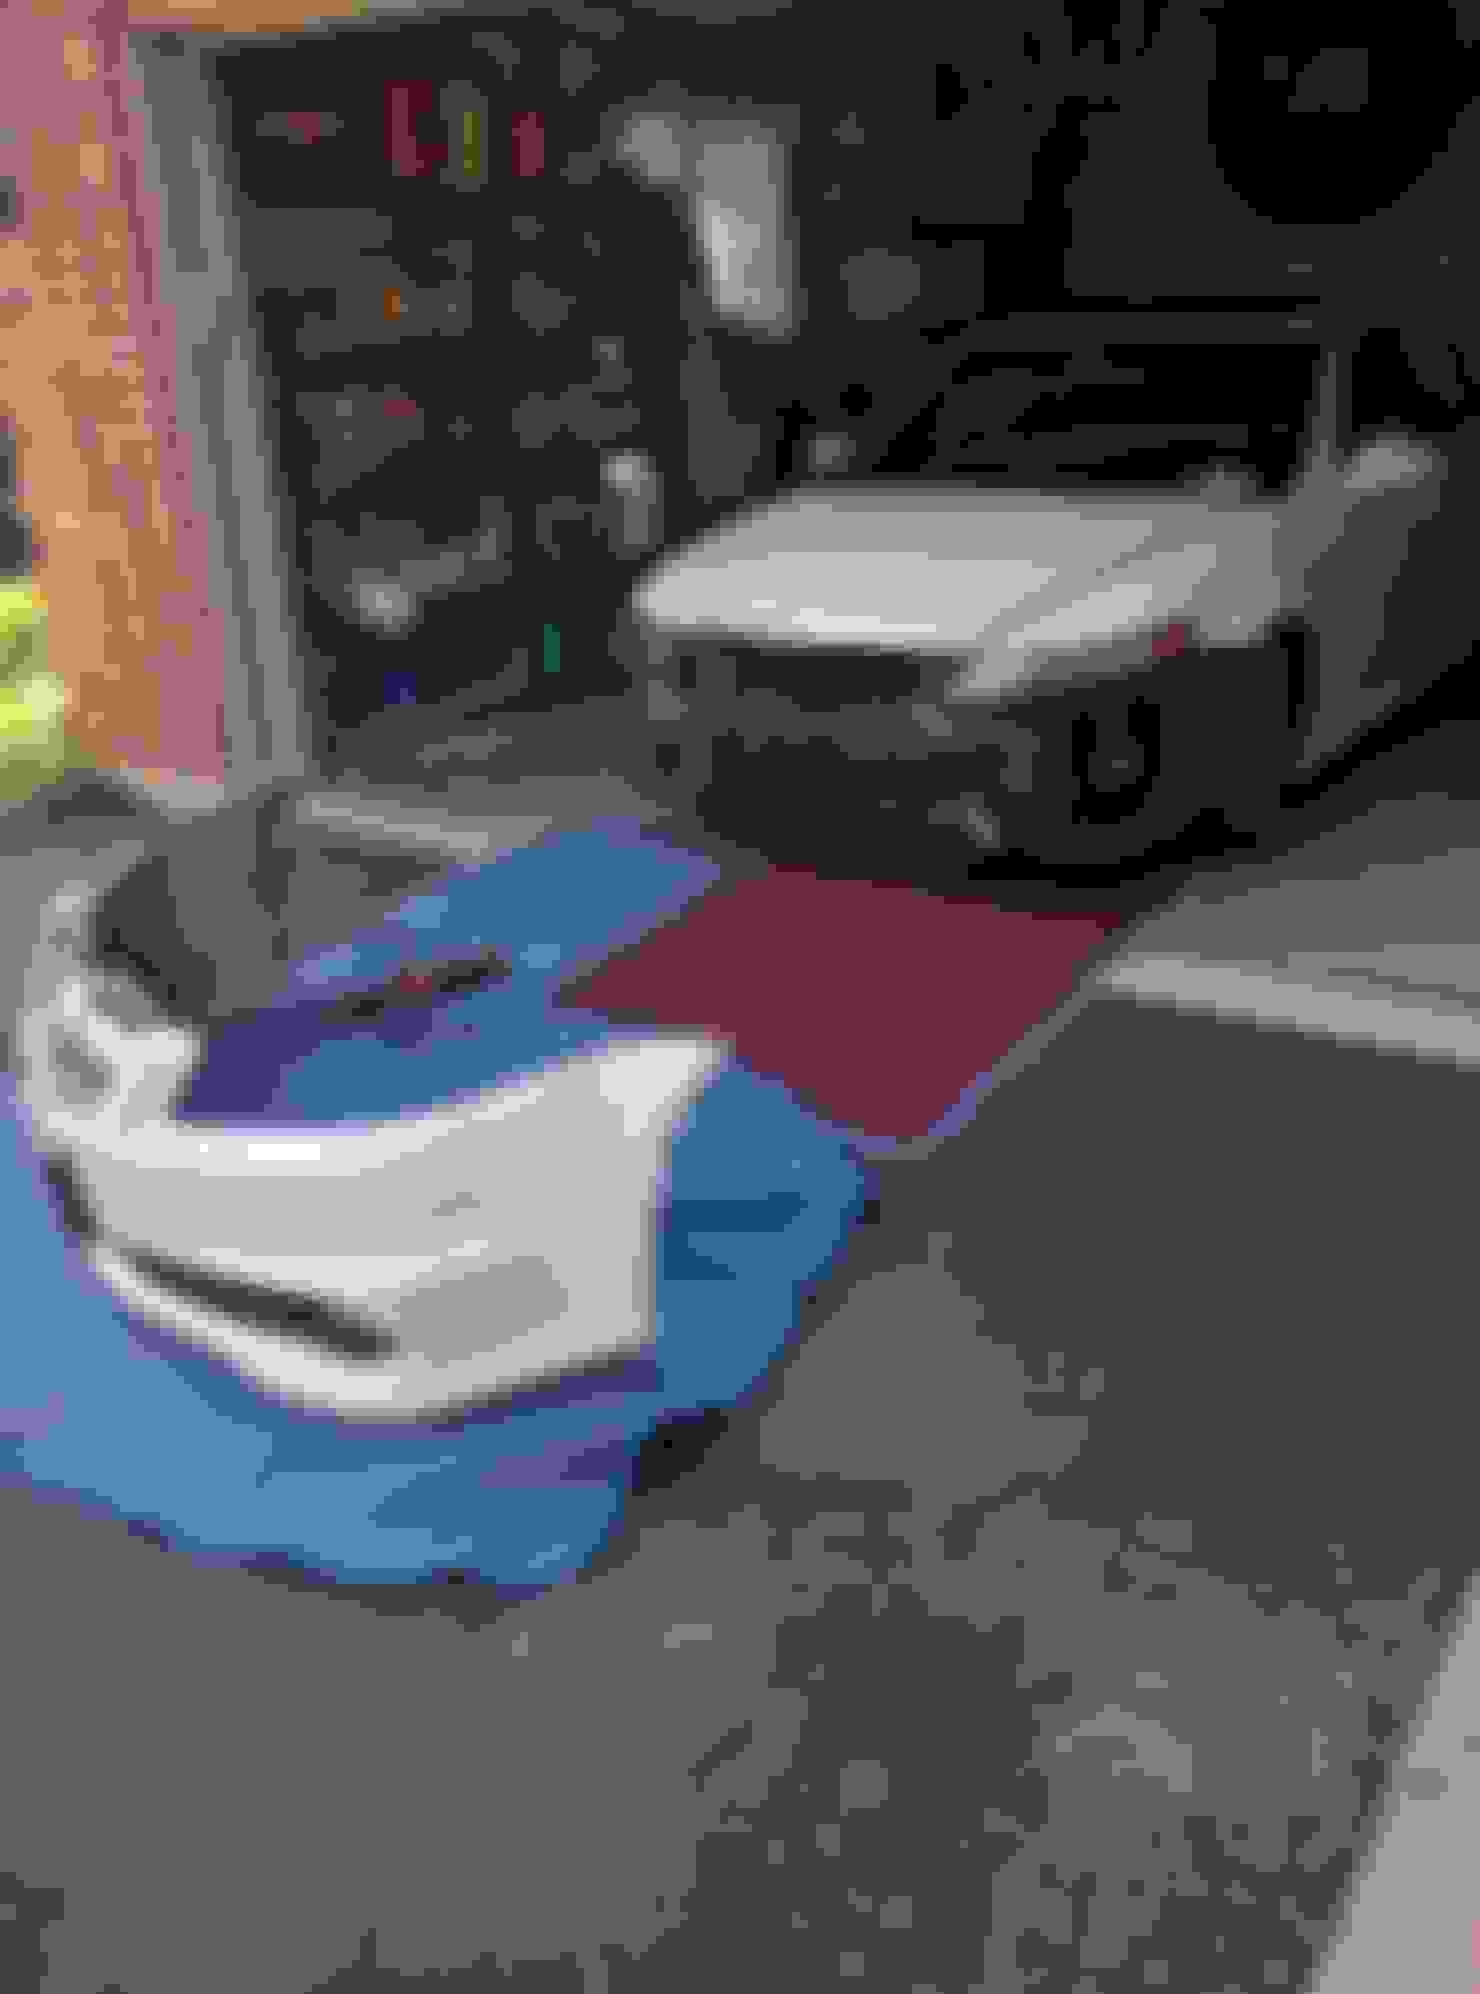
There should be five pieces total removed. The chrome horizontal emblem surround, the emblem podium, the emblem itself, the black plastic mesh and finally the chrome "V" trim. With all the trim removed the bumper should look like this:
This is where the masking tape comes into play. I didn't use it but I would definitely recommend it since the dremel sometimes has a tendency to "hop" or "skip" and could easily damage the surrounding paint. Mask off the area around where the "V" trim was to help protect the paint in case of an accident. Now grab your dremel with the cutting wheel and start at the very top and choose a side. You're going to begin cutting on the horizontal surface that is usually covered by the front most engine bay cover. It should look like this:
With steady hands follow the line where the chrome "V" trim met the bumper and cut it using the dremel. The process is the same for the other side. You're gonna want to work from top to bottom instead of left to right or vice versa. So once you have your slit cut on the chosen side, begin on the top of the opposite side and continue cutting on each side until they meet in the middle at the very lowest point of the "V". When you are done cutting it should look like this:
Congratulations! The scariest part is over. But don't take that masking tape off yet. Next, grab your sanding wheel attachment for your dremel and begin slowly taking off the extra material around where you just cut. Make sure you have your grille handy, as you're going to want to test fit it to make sure you have a nice fitment. Continue test fitting the grille and taking off material until you are satisfied with the fitment. It should look like this:
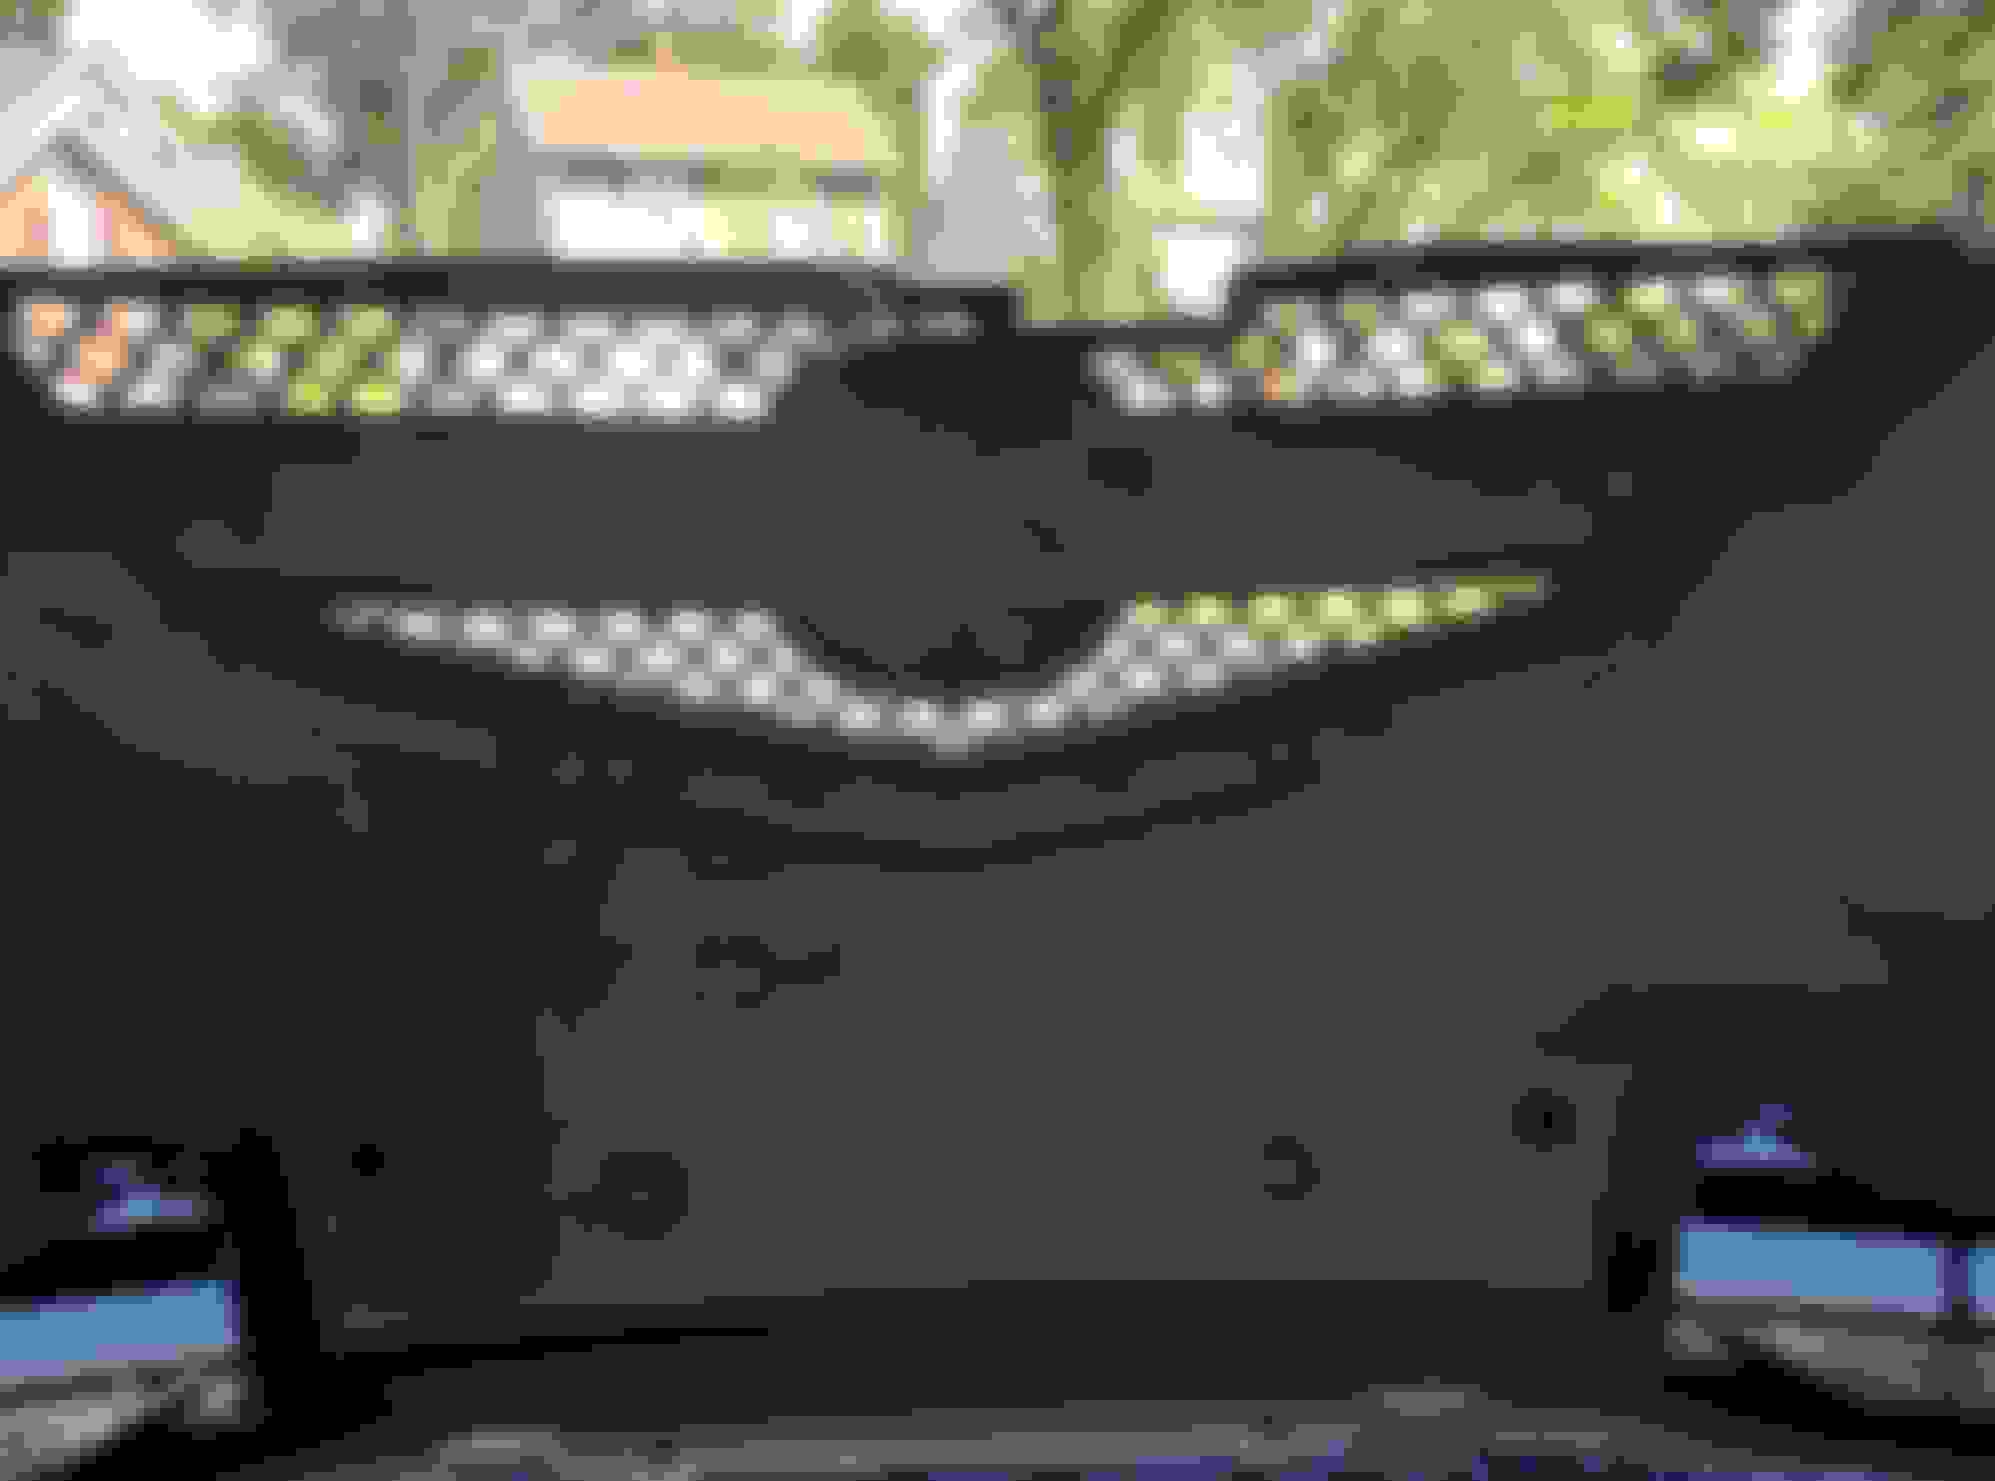
I added my original emblem back on since I didn't like how much empty space was left exposed with new grille. Once you are happy with your fitment and you have no big gaps and it sits flush with the bumper, grab that 3M double sided body tape and apply it to the back side of your new grille (around the area it will come in contact with the bumper). The goal here is to have the grille support itself on the bumper. You can also use the 3M decal and emblem adhesive here; it's a little trickier but is definitely a more permanent solution. My grille also had indents on the topmost horizontal area. These are to be drilled through so that your plastic engine bay rivets will hold it. I omitted this step, however all that is necessary is a 3/8 drill bit and a drill.
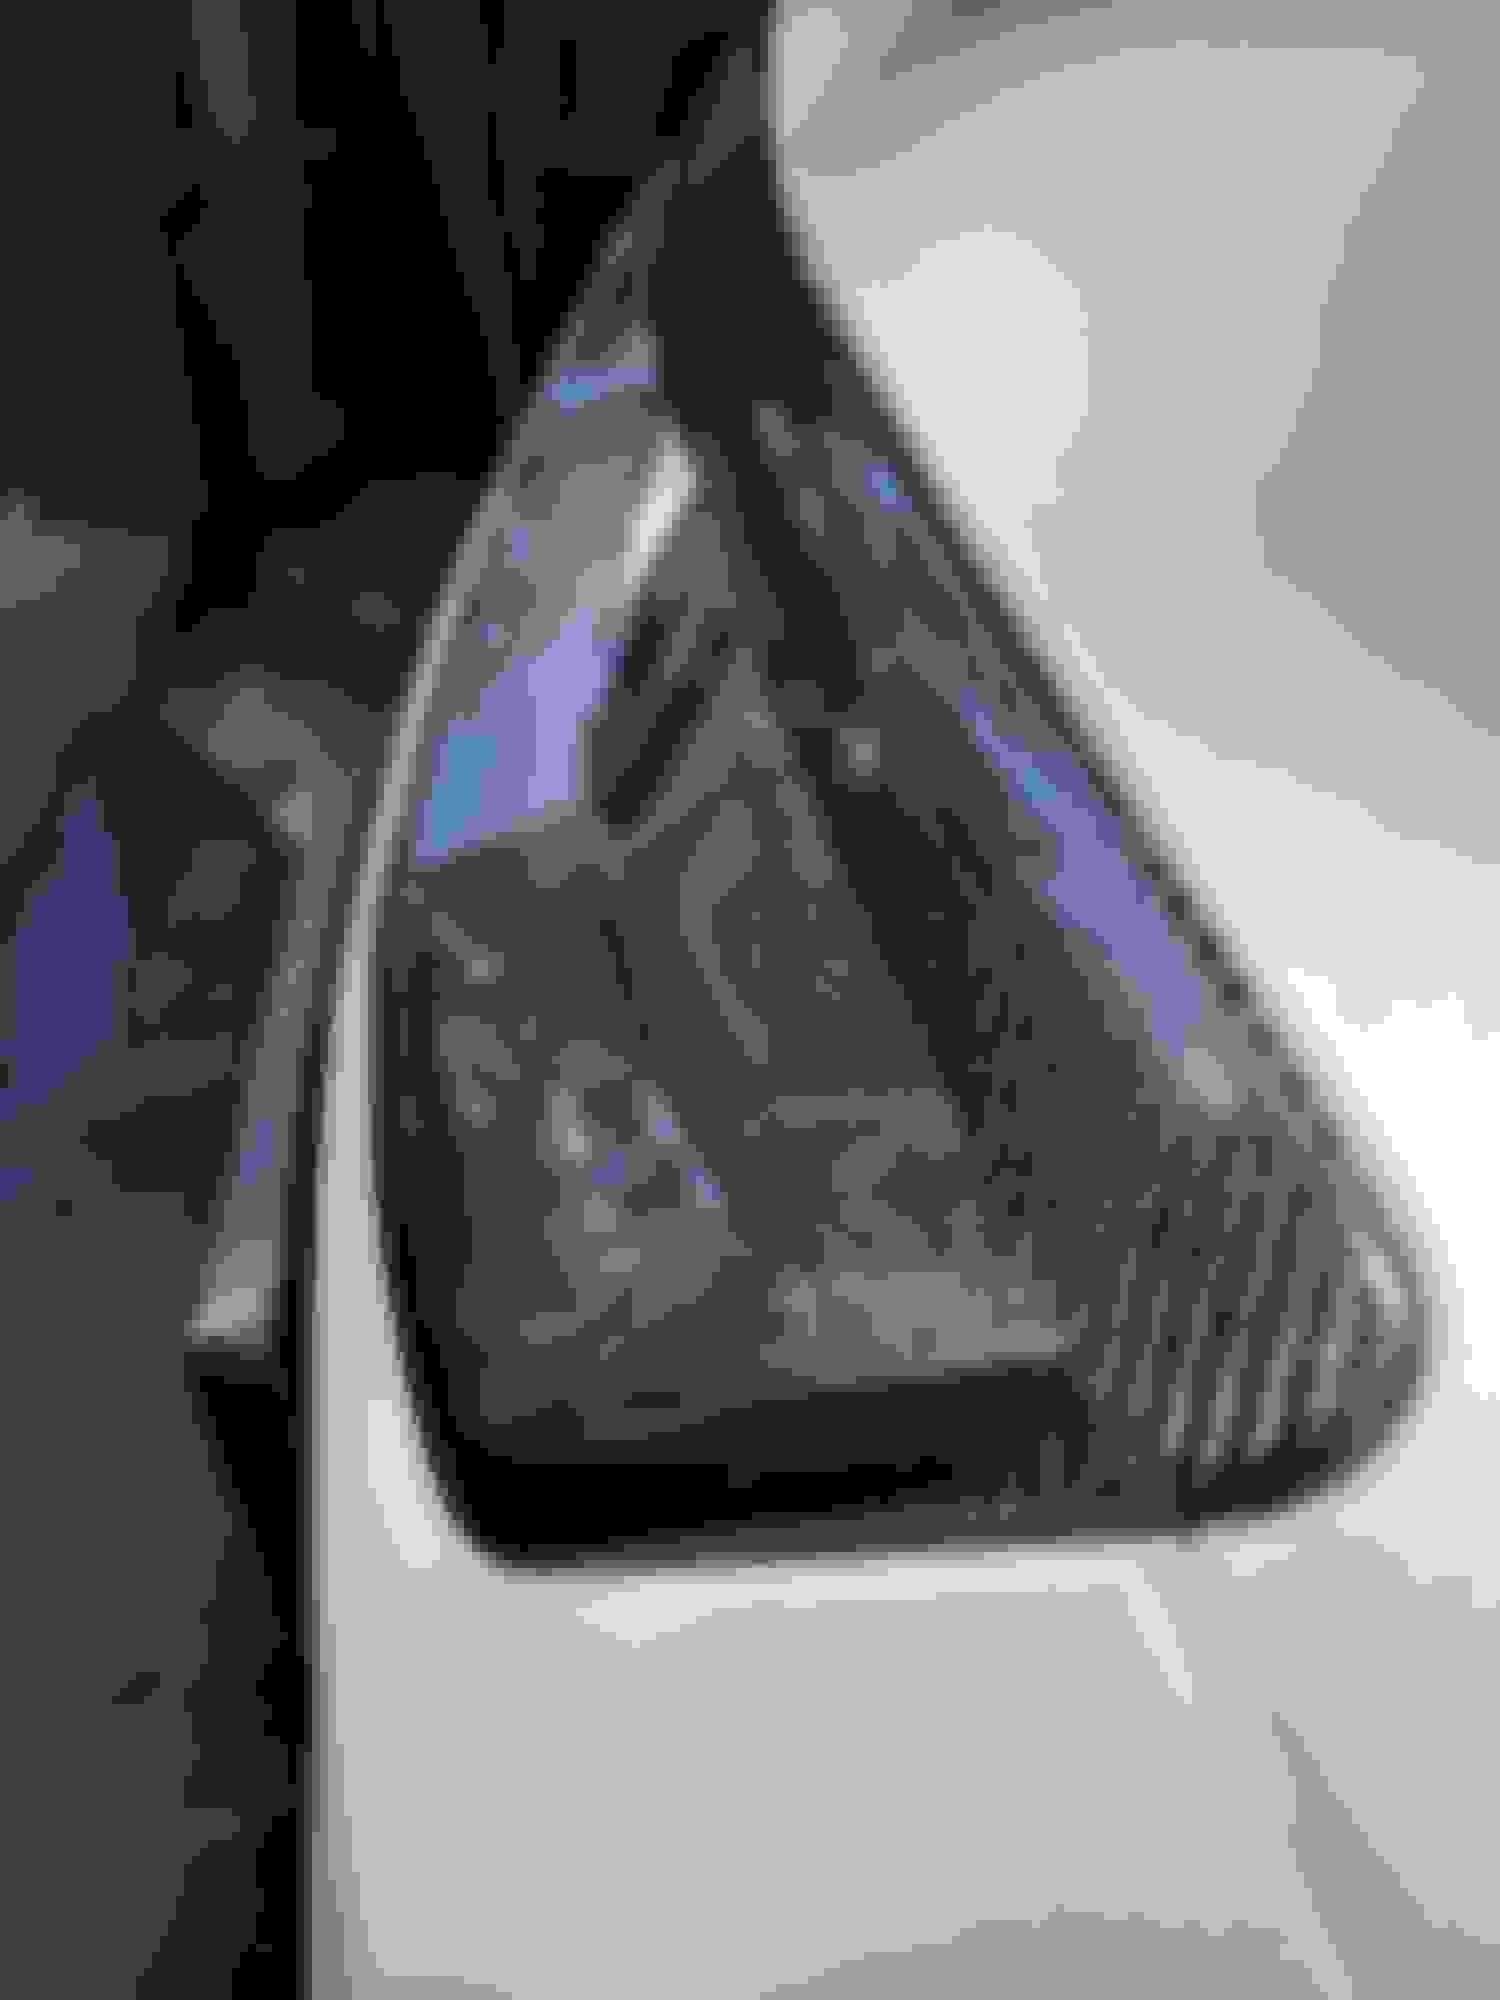
You can now put your bumper back on the car! Make sure you recheck the grille fitment once the bumper goes back on, as it may have flexed and shifted position. If you're satisfied with it then let's move on to the hood trim. Grab that 8mm socket and begin by removing the hood trim, instructions can be found here: https://acurazine.com/forums/third-g...m-pics-764481/ Once you have that removed start test fitting your new hood trim. Due to the manufacturing process of carbon fiber the fitment of the hood trim wasn't exactly to my liking. The bracket that the screw goes into was too large, leaving a sizeable gap between the hood itself and the new hood trim. I got around this by using my dremel and my sanding attachment to remove the brackets until it sat flush. The brackets would no longer hold screws but this is where your 3M decal and emblem adhesive come into play. I put this on what was left of the little brackets and stuck the trim straight to the hood. It's held very well so far and I'm confident in it. This last step really only pertains to the carbon fiber version of the hood trim and grille, since the plastic molds are much more exact.
And that's it! Sit back and admire your shiny new grille!
If anyone has any questions or comments please post them below! I will try to answer all questions.
 05-24-2017, 01:48 PM