
Making your OEM shift knob a heavy weighted shift knob for $10
 01-13-2015, 06:18 PM
#1
Okay, I've had spun resin monsterknobs that sat too low so I didn't feel there was enough leverage for confident shifts.
Ended up with a mishimoto tall and weighted shift knob that inspired confidence and I've loved...but the finish on it has been coming off and it is intended to be grabbed from the side, which I never did. It was kinda small to shift in my palm, but not horrible.
Tried the heavy counter sunk moddiction shift knob that came off my S2000 (sold it with the same mishi I have on the TL) and it was okay, but looked a little boy racer for such a classy interior and also sat just as low as the resin one and got hot in the sun (not really an issue with my sun visor in place).
Threw my original OEM shift knob back on and loved how it looked and how it matched the rest of the interior and especially how it FELT, save for ONE thing. It was so light. I missed the confident thunk of shifting as I'd move that weight. I have the delrin shifter bushings, slave checkvalve delete, ac delco friction modified fluid, comptech short shift kit...the car is a pleasure to drive and shift...so the icing on the cake really is the feel of the shifter.
I got to brainstorming.
I'll preface this by saying that I don't assume responsibility for any damage you do...I found out this is NOT an exact science, but I was able to achieve my goal. I had already dremeled off the bottom clips that were on the shift knob that clip into the shift boot at some point ( can't remember why...I think it was so I could drill out the inside of the boot holder to clear my other shift adapter ). I'd definitely do this on an old original OEM shift knob in case you mess up. Won't feel as badly as destroying a brand new $60 one.
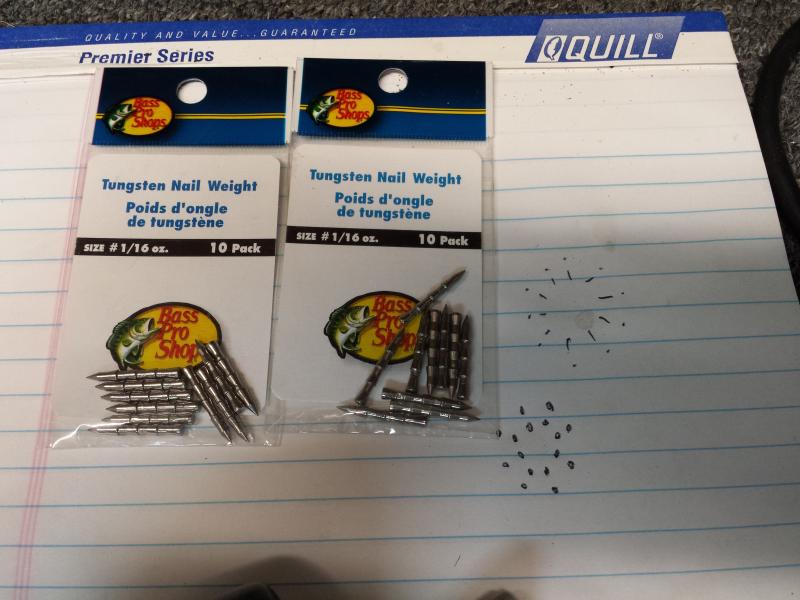
Anyway, I'd say that having the bottom of the shifter dremeled flat is probably a must. I went to the local Bass Pro Shops Outdoor World and looked for finesse weights...original plan was to drill out cylinders to insert these. Glad I didn't...that wouldn't have worked as you have very little material to work with.

Ended up with 2 packs of these for a total of 20. Tungsten...like my wedding ring. Big weight bang for your buck in a little package. The ones I bought had ridges, but that doesn't matter.
Bass Pro Shops Tungsten Nail Weights | Bass Pro Shops
I drew a design, but it didn't matter, with the drill bit walking I put them in wherever I could. In the end I was just hoping all the materal would hold up and not just crack the entire thing and make it useless. The Leather on the outside is probably the saving grace. I started with too small of a bit...but that led to pressure/cracks and being able to kinda see where I put them near the surface of the outside...used a bigger one and bam, it was perfect.
I did see the threaded opening crack here and there and change shape but I crossed my fingers and it screwed right back on nice and tight and best of all. It is HEAVY now.
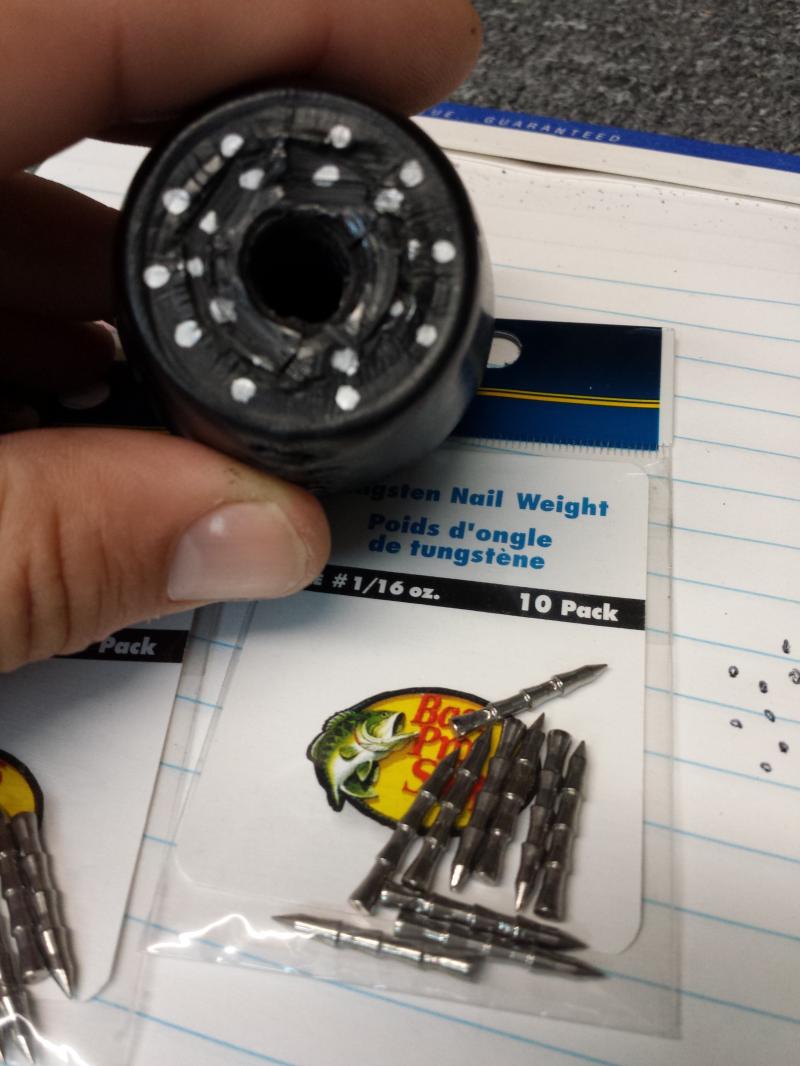
My little pattern that didn't end up mattering...
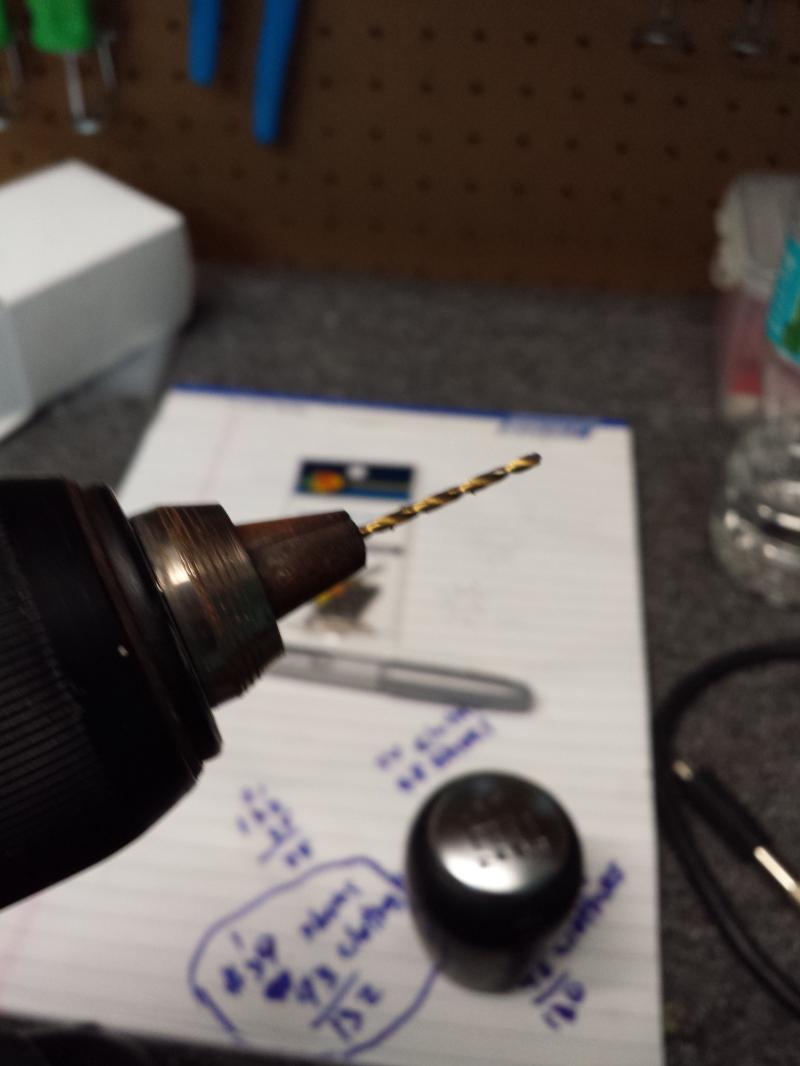
Drill bit, put it far enough in to be deep enough for the nail, but not too deep to go YOLOdrill through the damned thing.
This was it, with all 20 of them in.

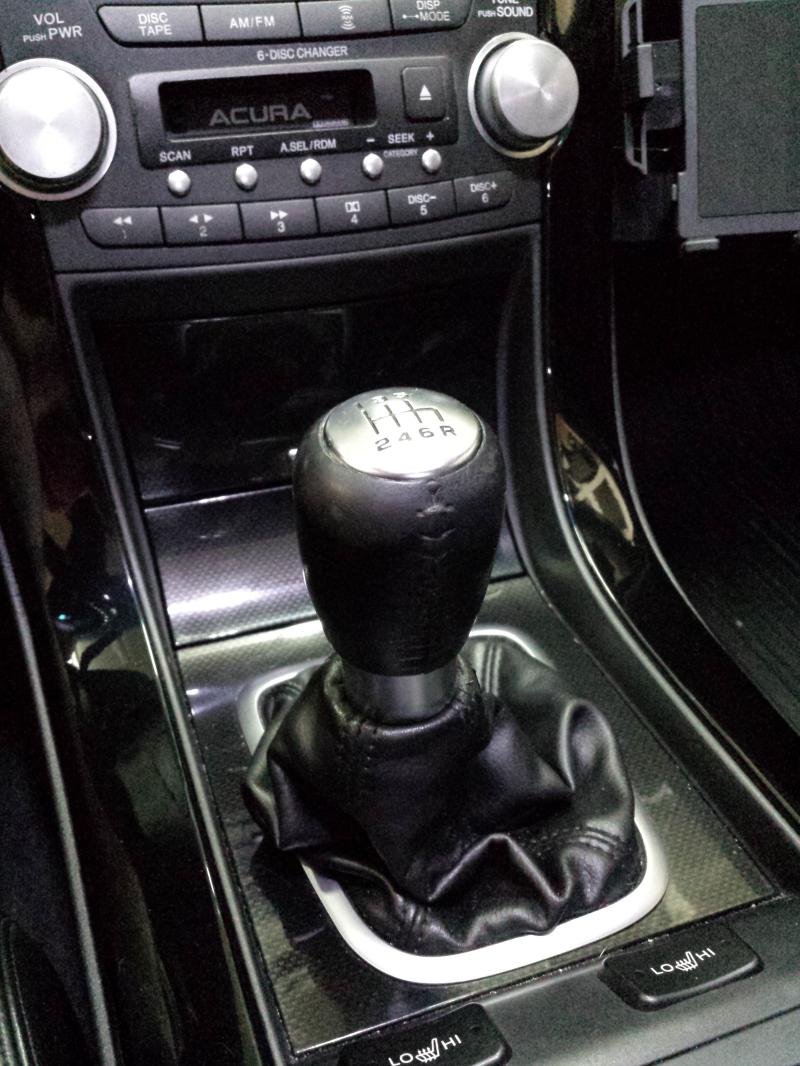
and best of all...you can't see a darn thing!
FINISHED!
I don't have a micro scale but bottom line is I added 20 OZ of weight to the knob AKA 1.25 Pounds AKA 567 Grams
and that's in ADDITION to whatever it weighed to begin with.
For reference, most aftermarket knobs are 400-600 grams at the heaviest.
I'd love if someone could post what the OEM one weighs down to the oz or gram so I'd know what the total weight was. I didn't bother with my bathroom scale as it would just round it to the nearest 1/2 pound.
Take care,
J.
Ended up with a mishimoto tall and weighted shift knob that inspired confidence and I've loved...but the finish on it has been coming off and it is intended to be grabbed from the side, which I never did. It was kinda small to shift in my palm, but not horrible.
Tried the heavy counter sunk moddiction shift knob that came off my S2000 (sold it with the same mishi I have on the TL) and it was okay, but looked a little boy racer for such a classy interior and also sat just as low as the resin one and got hot in the sun (not really an issue with my sun visor in place).
Threw my original OEM shift knob back on and loved how it looked and how it matched the rest of the interior and especially how it FELT, save for ONE thing. It was so light. I missed the confident thunk of shifting as I'd move that weight. I have the delrin shifter bushings, slave checkvalve delete, ac delco friction modified fluid, comptech short shift kit...the car is a pleasure to drive and shift...so the icing on the cake really is the feel of the shifter.
I got to brainstorming.
I'll preface this by saying that I don't assume responsibility for any damage you do...I found out this is NOT an exact science, but I was able to achieve my goal. I had already dremeled off the bottom clips that were on the shift knob that clip into the shift boot at some point ( can't remember why...I think it was so I could drill out the inside of the boot holder to clear my other shift adapter
). I'd definitely do this on an old original OEM shift knob in case you mess up. Won't feel as badly as destroying a brand new $60 one. Anyway, I'd say that having the bottom of the shifter dremeled flat is probably a must. I went to the local Bass Pro Shops Outdoor World and looked for finesse weights...original plan was to drill out cylinders to insert these. Glad I didn't...that wouldn't have worked as you have very little material to work with.

Ended up with 2 packs of these for a total of 20. Tungsten...like my wedding ring. Big weight bang for your buck in a little package. The ones I bought had ridges, but that doesn't matter.
Bass Pro Shops Tungsten Nail Weights | Bass Pro Shops
I drew a design, but it didn't matter, with the drill bit walking I put them in wherever I could. In the end I was just hoping all the materal would hold up and not just crack the entire thing and make it useless. The Leather on the outside is probably the saving grace. I started with too small of a bit...but that led to pressure/cracks and being able to kinda see where I put them near the surface of the outside...used a bigger one and bam, it was perfect.

I did see the threaded opening crack here and there and change shape but I crossed my fingers and it screwed right back on nice and tight and best of all. It is HEAVY now.
My little pattern that didn't end up mattering...

Drill bit, put it far enough in to be deep enough for the nail, but not too deep to go YOLOdrill through the damned thing.

This was it, with all 20 of them in.

and best of all...you can't see a darn thing!
FINISHED!
I don't have a micro scale but bottom line is I added 20 OZ of weight to the knob AKA 1.25 Pounds AKA 567 Grams
and that's in ADDITION to whatever it weighed to begin with.
For reference, most aftermarket knobs are 400-600 grams at the heaviest.
I'd love if someone could post what the OEM one weighs down to the oz or gram so I'd know what the total weight was. I didn't bother with my bathroom scale as it would just round it to the nearest 1/2 pound.

Take care,
J.

The following users liked this post:
EvilVirus (01-15-2015)

The following users liked this post:
rockstar143 (01-13-2015)
01-13-2015, 06:54 PM
#7
Team Owner
Very awesome, J. Out of curiosity, what thickness of drill bit did you use?
I'd weigh my stock shift knob, but I won't have it for about 10 days
If no one does it by then, I will
I'd weigh my stock shift knob, but I won't have it for about 10 days
If no one does it by then, I will
Trending Topics
01-13-2015, 07:53 PM
#8
Race Director
iTrader: (8)
01-13-2015, 08:23 PM
#9
Team Owner
Well sure, if you want to do it the smart way... 
01-14-2015, 07:27 AM
#10
LOL...well, I'd LOVE to help you on that Adam...but it's one of those cheap titanium drill bit sets that doesn't list the actual bit size and has 5 of each one for when they break. I used the smallest one and it bulged and was hard to get the nail in...then used the next one up and it was perfect, snug but also big enough to accommodate the nail.
Thanks for the offer, yeah, if you have a precise one, I'd LOVE to know exactly what it weighs.
Driving impression this morning...night and day. I will likely not be switching back to any other shifter now that I've used this one. It feels awesome and goes into gear with minimal effort using the momentum and the weight. Yay.
The following users liked this post:
rockstar143 (01-14-2015)
01-14-2015, 10:08 AM
#13
Team Owner

 01-14-2015, 10:44 AM
#17
Team Owner
Im sure Justin's dentist can tell you why 
01-14-2015, 04:40 PM
#19

uhm.. anyone go fishing? Do they measure the amount of metal used in the fishing weights by volume or weight? Must be by weight, after all they are weights...
If by weight, then 20 x 1/16th oz = 20/16th ozs = 1.25 OZs not LBS
Since 16 OZ = 1 LB = 453.592 grams
then
1.25OZ = .078125 LBS = 35.436875 grams
Am I missing something here?
If by weight, then 20 x 1/16th oz = 20/16th ozs = 1.25 OZs not LBS
Since 16 OZ = 1 LB = 453.592 grams
then
1.25OZ = .078125 LBS = 35.436875 grams
Am I missing something here?
Last edited by mzilvar; 01-14-2015 at 04:44 PM.
The following users liked this post:
alltrull (01-26-2015)
01-14-2015, 06:18 PM
#20

uhm.. anyone go fishing? Do they measure the amount of metal used in the fishing weights by volume or weight? Must be by weight, after all they are weights...
If by weight, then 20 x 1/16th oz = 20/16th ozs = 1.25 OZs not LBS
Since 16 OZ = 1 LB = 453.592 grams
then
1.25OZ = .078125 LBS = 35.436875 grams
Am I missing something here?
If by weight, then 20 x 1/16th oz = 20/16th ozs = 1.25 OZs not LBS
Since 16 OZ = 1 LB = 453.592 grams
then
1.25OZ = .078125 LBS = 35.436875 grams
Am I missing something here?
A 2 cubic inch cube of tungsten weighs 630 grams. Doesn't look like there is that much tungsten.
Not to take anything away from this mod though. Very innovative way to add some weight!
The following users liked this post:
rockstar143 (01-14-2015)
01-14-2015, 07:17 PM
#22
Race Director
iTrader: (8)
Do they still carry scales at grocery stores to weigh produce?
Take the shift knob there
Take the shift knob there
01-16-2015, 05:51 PM
#26
Race Director
iTrader: (8)
someone get my friend here a math refresher course
 01-18-2015, 04:59 PM
#31
So a gain of less than 30 grams...
Placebo effect bit me in the ass. Sorry folks...
There might be a more dense/heavier metal that'd make this more viable.
I'm back to the mishimoto...I love it.
2 tie wraps and a garden hose washer hold it up.
Placebo effect bit me in the ass. Sorry folks...
There might be a more dense/heavier metal that'd make this more viable.
I'm back to the mishimoto...I love it.
2 tie wraps and a garden hose washer hold it up.
01-18-2015, 05:19 PM
#32
The densest metal is osmium, it's 4g/cm3 denser than tungsten, so not much more of a win. That, combined with its toxicity and high cost, ($800 per ounce) doesn't make it of much use.
To digress, we've all heard of Osram, the company that makes bulbs. The name comes from Osmium and Wolfram (now known as Tungsten) - materials used for filaments years ago.
Cue NBC's "The more you know..."
01-18-2015, 05:22 PM
#33
Hey...I love knowing stuff like that!
Thanks, man!
Well...I guess this idea is shit then...there's really no way to fit too much more material without messing things up, given that I only gained a few grams. I'd say this thread is a fail. I'm sorry. I really feel like a boob.
Thanks, man!
Well...I guess this idea is shit then...there's really no way to fit too much more material without messing things up, given that I only gained a few grams. I'd say this thread is a fail. I'm sorry. I really feel like a boob.
01-19-2015, 11:22 AM
#34
06 WDP/Ebony MT NAV ASPEC
If you had some larger diameter tungsten rod it might be more successful. Maybe 1/4 or 3/8. As big as you could still leaving material for support. Then epoxy the rods in place for strength.
 01-22-2015, 08:42 AM
#36
Senior Moderator
I dont have pics, but in the past i hollowed out a few shift knobs, poured in a little epoxy,inserted a thin plastic tube (slightly larger than the shaft of the shift lever)in the center, poured sand 3/4 the way up then topped off with epoxy (filling the plastic tube as well). After it was set up i drilled out the center just large enough to allow the shift knob to thread itself over the shaft. Another option is to do something similar with washers (will have to drill out the center to make the hole larger) stack as many as you can fit in the shift knob and pour epoxy in and around them to hold them in place. drill out the center and thread it on.
The following users liked this post:
rockstar143 (01-22-2015)
 01-22-2015, 10:27 AM
#40
Cool...got any pics of a link to that Mishimoto? The silver paint is flaking off of mine and I'm looking to either take it all off and paint it again or an aftermarket one. Only half decent one I found is a Skunk2 one.