When you click on links to various merchants on this site and make a purchase, this can result in this site earning a commission. Affiliate programs and affiliations include, but are not limited to, the eBay Partner Network.
2006 TL here, so a 17 year old car and the headlights were cloudy and affecting my vision at night--I could drive around with the brights on and nobody would notice
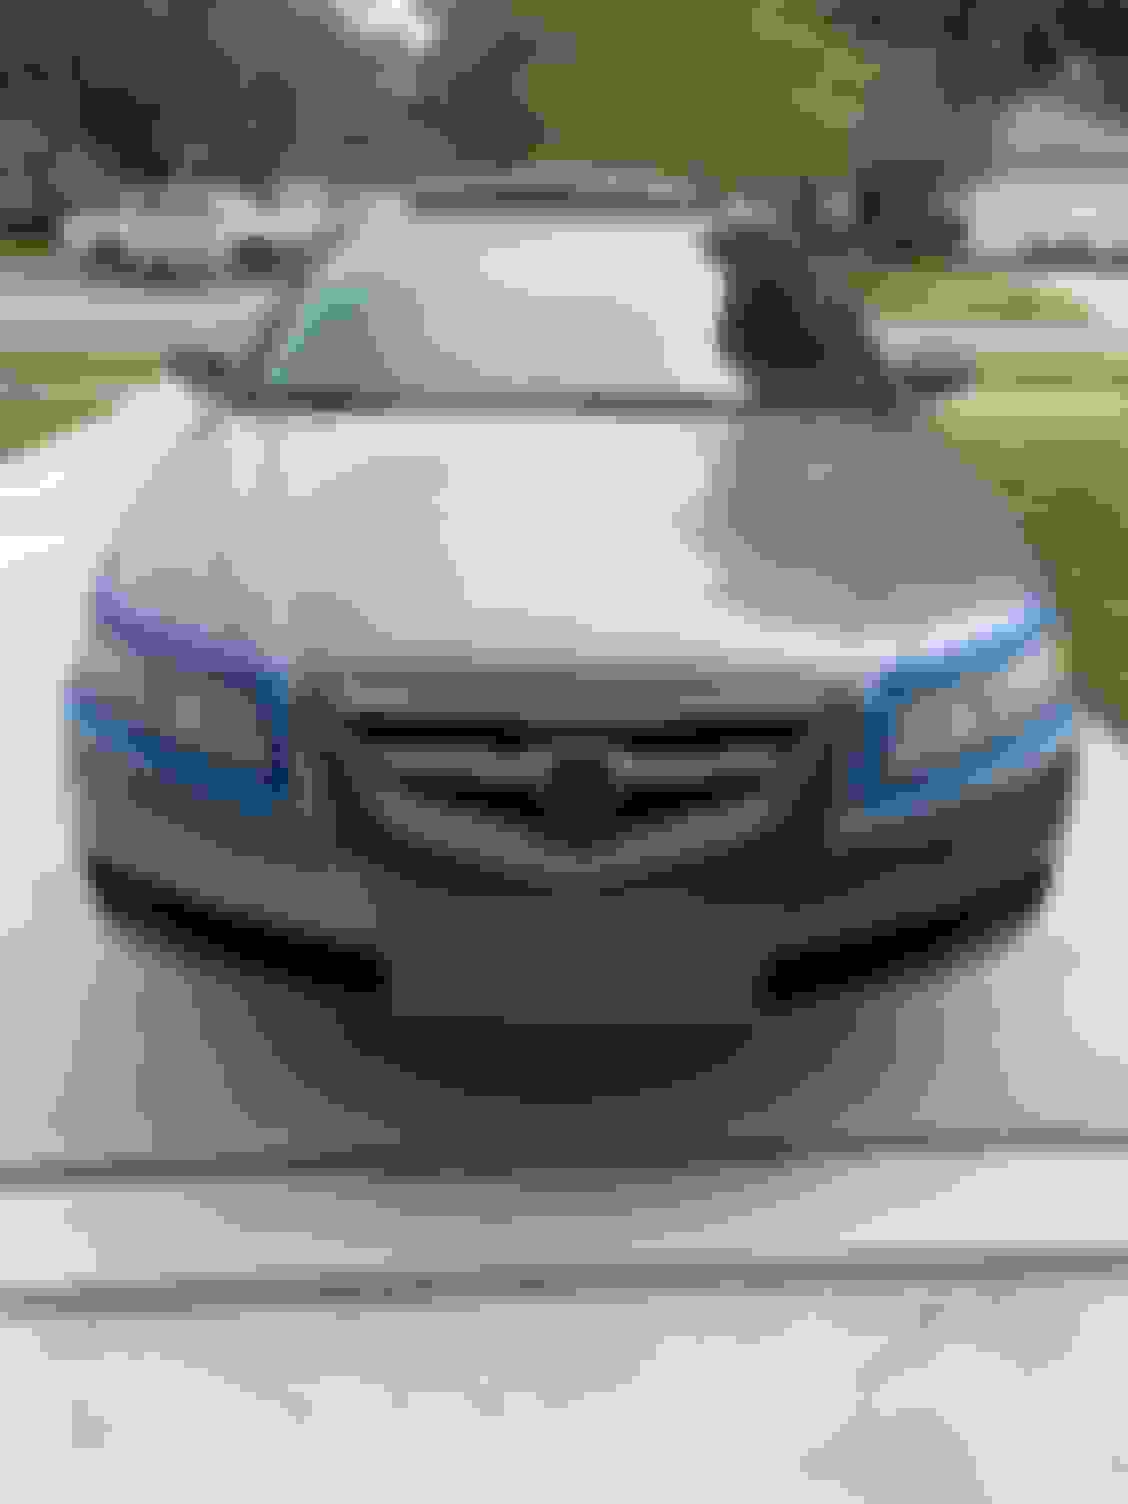
Here's a before picture with masking tape already applied, ready to be buffed:
The headlight restoration kits are basically polishing compound with a buffing wheel. I had some Noxon 7 already on hand and saw some videos of people using metal polish on headlights with good results. I bought some faux wool polishing pads from Amazon for $12. Not pictured below was the variable speed drill I used for most of the polishing, until the battery died so I used the corded drill as a backup and carefully regulated the speed with the trigger:
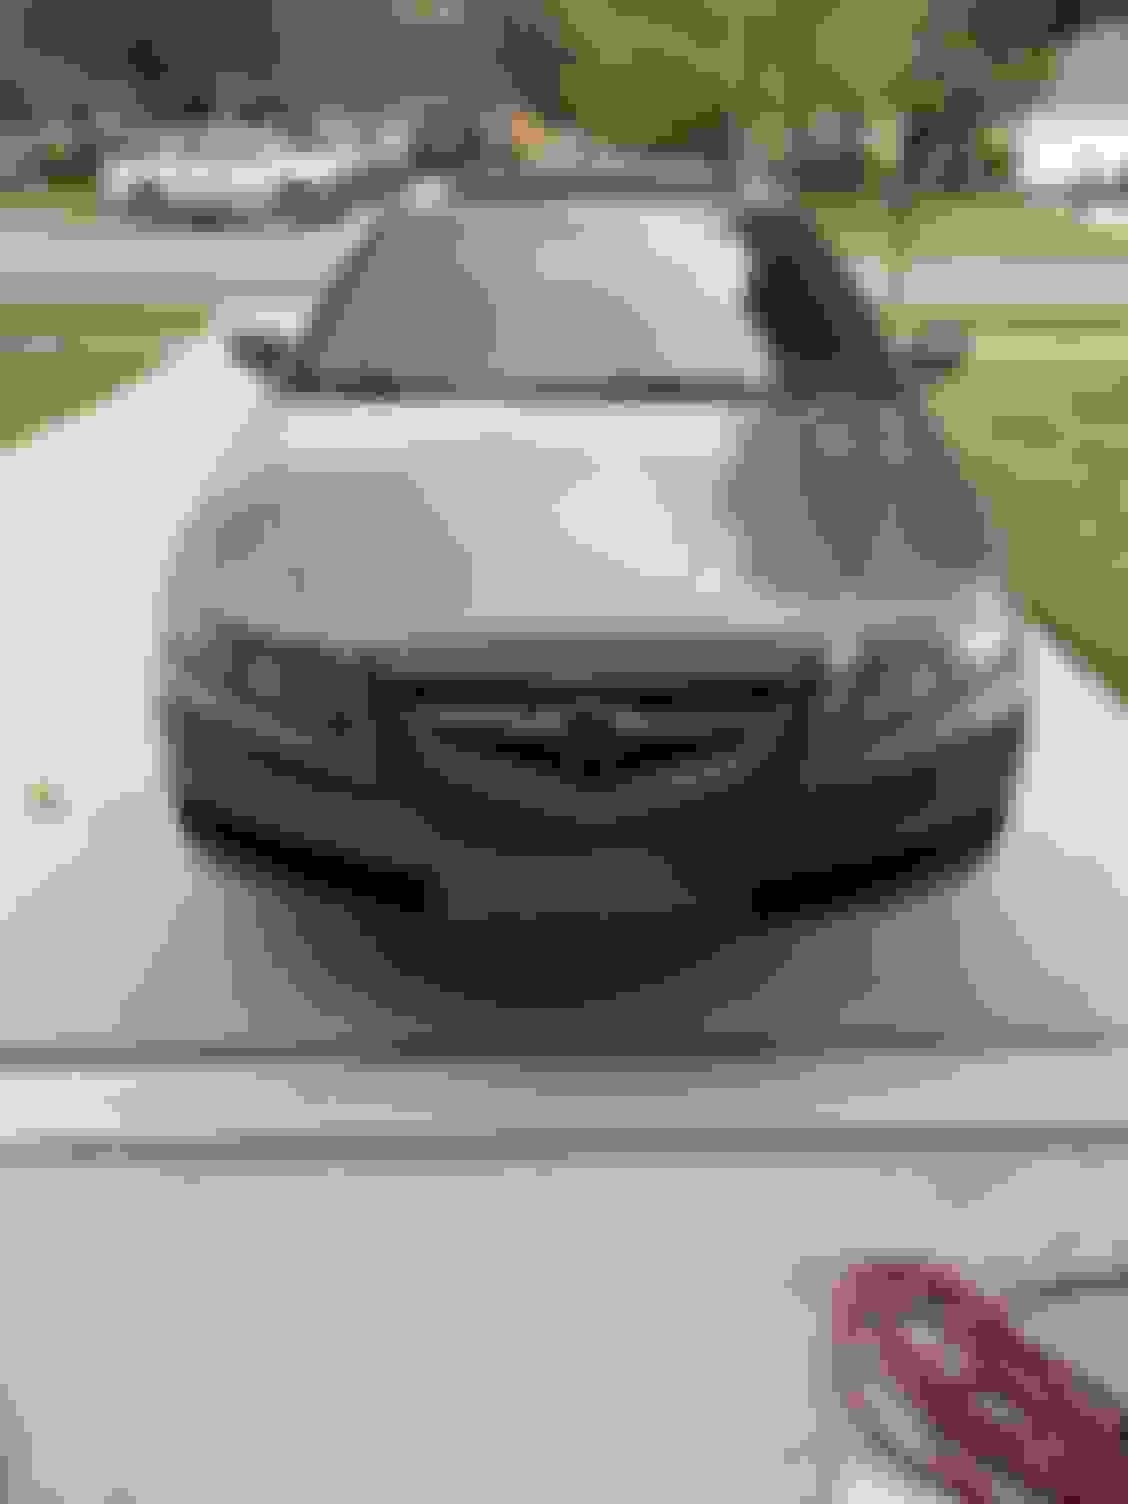
The passenger light was done with 2 passes, but the driver's side took 5 or 6, I lost count on it. The driver's side looks a bit cloudy in this picture but it's just the lighting, they actually have the same clearness. 2 hours and 15 minutes later (I took my time and took a couple of breaks):
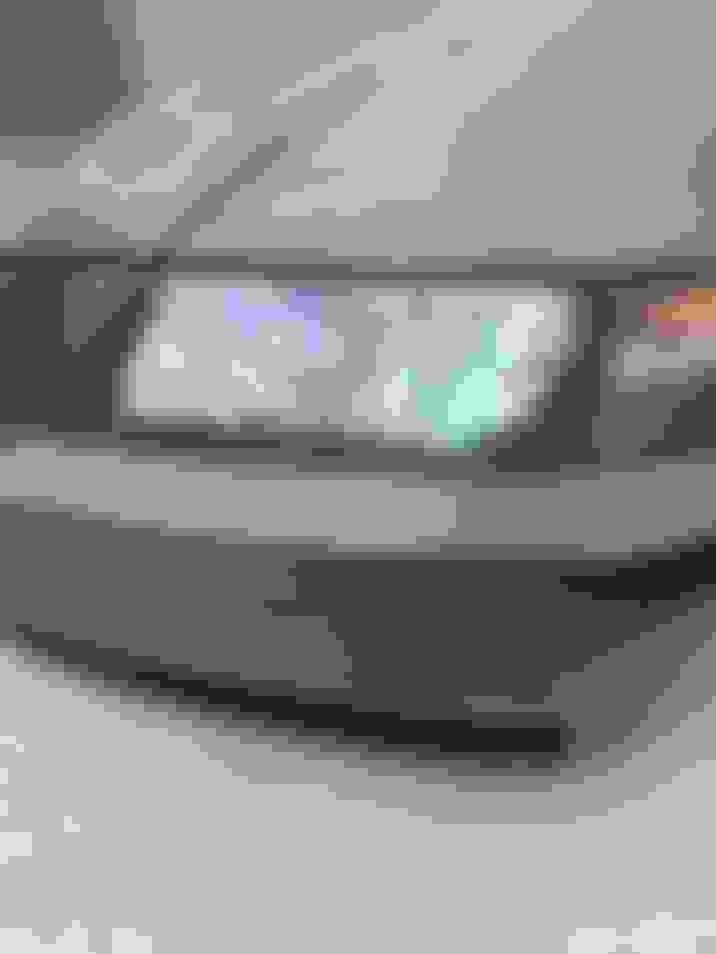
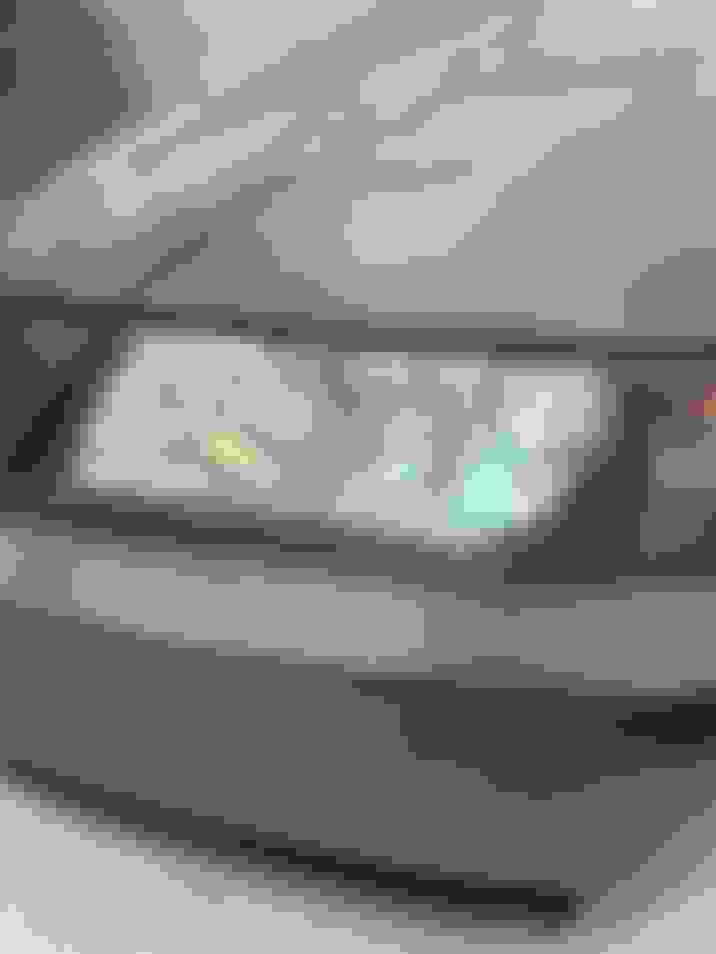
After polishing you MUST protect the headlights with a clear coat/UV spray or put a protective film on them; otherwise you'll be polishing them again in a few months. Polishing removes any UV coating or clear coat that was on them from the factory so they'll cloud up again quickly. There are several brands of clear headlight film on the market, I chose Lamin-X. They weren't cut perfectly from the factory, I still had to do some trimming once they were on the car but the kit comes with a box cutter. It only took me 45 minutes to put the film on. The headlights actually got CLEARER when putting the headlight film on, I had no idea it would do this but I'm not complaining. It's hard to tell from the pictures but here are the headlights with the film on:
Hopefully this will last for a long time, I hate cloudy headlights. Next up are Philips XV2 bulbs, which I was going to do tomorrow but it's supposed to be raining all day. I want to be able to SEE AT NIGHT!!
I need to polish mine, as well. In fact, I need to polish the entire car. Especially before it starts getting hot this Spring/Summer.
Mine is in sore need of polishing, oh and the black trim around the windows needs painting. The joys of owning a 17 year old car lol
Originally Posted by Brock's Acura TL AT 2004
KD, great write up! I'v had the kit for 2 months and will follow your steps when it warms up and quits raining. Cheers
It ended up not raining too much today and I got the Philips XV2 in, much brighter than stock! Even with the stock bulbs the headlight buffing improved visibility alot.
Now I'm getting the itch to put some switchback LEDs in my fog light location (for a '06 TL the fog lights are where the DRLs are in later years). That way I can run the fogs at about the same color temp as the Philips XV2 but if it's raining or foggy I can switch them to yellow for visibility
From my recent experience, a rag and toothpaste is all you need. 10-15min/light and it looks great. I even buffed one with a polisher and it didn�t really make a difference. Do clear coat or put PPF on it or else it will get cloudy again.
Originally Posted by KorbenDallas
Now I'm getting the itch to put some switchback LEDs in my fog light location (for a '06 TL the fog lights are where the DRLs are in later years). That way I can run the fogs at about the same color temp as the Philips XV2 but if it's raining or foggy I can switch them to yellow for visibility
Arent switchbacks for turn signals? Unless you plan to wire it to connect the DRLs with the turn signals. I have switchbacks off of Amazon as my turn signals-you need them to have the resistor, or they hyperflash.
From my recent experience, a rag and toothpaste is all you need. 10-15min/light and it looks great. I even buffed one with a polisher and it didn�t really make a difference. Do clear coat or put PPF on it or else it will get cloudy again.
No, toothpaste doesn't work for every headlight. It depends on how bad the damage is, a quick Google search will return results that back this up. It worked on yours but that would not have worked on mine, as I said in the original post my passenger side light only needed 2 passes but the driver's side was worse and needed 5-6.
Originally Posted by PgLgGrg
Arent switchbacks for turn signals? Unless you plan to wire it to connect the DRLs with the turn signals. I have switchbacks off of Amazon as my turn signals-you need them to have the resistor, or they hyperflash.
2006 TLs don't have DRLs, they have fog lights in that location. They make switchbacks for fog lights / headlights now which are cool, and I just ordered a set. Not sure if I'll need a cam decoder or not for these, the ones I bought say a decoder is only needed for sensitive vehicles. I plan to try them out without one and order a decoder if I need to. Very excited!
Mine is in sore need of polishing, oh and the black trim around the windows needs painting. The joys of owning a 17 year old car lol
It ended up not raining too much today and I got the Philips XV2 in, much brighter than stock! Even with the stock bulbs the headlight buffing improved visibility alot.
Now I'm getting the itch to put some switchback LEDs in my fog light location (for a '06 TL the fog lights are where the DRLs are in later years). That way I can run the fogs at about the same color temp as the Philips XV2 but if it's raining or foggy I can switch them to yellow for visibility
When replacing the bulbs, did you opt to remove the bumper or go through the fender liners?
A few of notes, I wasn't able to see the torx screw so removal and reinstallation had to be done blind. I wasted some time trying to locate the screw with rubber gloves on, I ended up taking them off for it because I couldn't feel the screw head with gloves on. I also had some time lost by not knowing how to orient the bulb in the socket, and also how to orient the silver ballast (I think it's the ballast). It's in the video I posted. I did the passenger side first because there's more room. On the driver's side, I wasted some time trying to get the plastic bulb cover out through the fender well, there's no way it was coming out that way on my car even though the video says it can come out that way. So I removed the battery and got it out in 30 seconds through the engine bay. I removed the screw on the driver's side through the fender well though, perhaps it could be done through the engine bay with the battery removed I don't know.
It's not a terribly difficult job, and it wasn't as aggravating as I've read it could be. I'm used to working on vehicles blind so I didn't find that to be a big problem.
Honestly, just drop the bumper and save yourself the headache
💯
Nothing to be gained by blindly contorting into the fender well except dirt and grease smeared on a bulb that really doesn't like to have anything on it.
It's not as bad as you two are making it seem lol Like I said earlier I didn't find it to be that big of a problem. It would have taken me just as long to remove the bumper and reinstall it, and next time I can do it much faster than removing the entire bumper. Seriously, going through the fender well isn't that big of a deal. And no, I didn't get any dirt or grease on them, I'm not a moron.
Today I replaced my halogen fog light bulbs with the Auxbeam three color switchback LED bulbs, and I can say I finally have the lighting the way I wanted it! Cutoff line is perfect and the LEDs are bright but not overly bright, my 17 year old car is now on par with the modern vehicle lighting output. It's awesome to be able to switch to 3000k lighting, these are going to work great in the Florida rain. No hyperflash with these bulbs on my car, either. I'm completely satisfied with my '06 TL's headlights now
Last edited by KorbenDallas; 03-23-2023 at 08:26 PM.
Originally Posted by KorbenDallas;[url=tel:16877585
16877585[/url]]It's not as bad as you two are making it seem lol Like I said earlier I didn't find it to be that big of a problem. It would have taken me just as long to remove the bumper and reinstall it, and next time I can do it much faster than removing the entire bumper. Seriously, going through the fender well isn't that big of a deal. And no, I didn't get any dirt or grease on them, I'm not a moron.
Today I replaced my halogen fog light bulbs with the Auxbeam three color switchback LED bulbs, and I can say I finally have the lighting the way I wanted it! Cutoff line is perfect and the LEDs are bright but not overly bright, my 17 year old car is now on par with the modern vehicle lighting output. It's awesome to be able to switch to 3000k lighting, these are going to work great in the Florida rain. No hyperflash with these bulbs on my car, either. I'm completely satisfied with my '06 TL's headlights now
The Philips XV2 have a color temperature of 4800k, and the fog light switchback LEDs have 6000k, 3000k, and 4300k. I took three pictures, you can also look at the ground to get an idea of the color temperature change but it's more dramatic in person:
As you can see they don't match perfectly, but it's not a show car and at night the colors blend together from a distance anyway. If someone wanted to have matching LEDs they should go with 6000k HID xenon bulbs and 6000k LEDs. And one more thing, the fogginess in the headlights is on the INSIDE of the headlight lens, NOT the outside. The outside was polished clear. I'm happy with how everything turned out!

 03-17-2023, 03:30 PM