When you click on links to various merchants on this site and make a purchase, this can result in this site earning a commission. Affiliate programs and affiliations include, but are not limited to, the eBay Partner Network.
DIY: Hidden dash cam or radar detector power wire idea
Because of recent "close one" that would be hard to prove that it wasn't my fault, I decided to get some cheap dash cam. Just enough to prove my point. Who knows, might be useful one day. I went with "Blueskysea B1W" as it's under $50, has decent quality for a price, and has no screen what makes it really small. The only problem is that I couldn't stand the power wire hanging down and going to power outlet. Wrapping it around the edge looks poor, and hiding the cord under A pillar panels, then behind glovebox, etc. seemed like a little to much work.
So what if there is already a perfect wire close by that it easy to tap into?
I was thinking about the mirror, but then I remembered about the HFL.
Disclaimer: pinout comes from 07-08 service manual, different years might be different, always check the manual and then test with mutlimeter before making connections.
You will need to remove the roof console. Try HFL removal threads, but basically you pull on the part with buttons and light down, and then there are 4 screws to take the rest.
Looks like, depending on what you are looking for, you can wire it through ignition switch (will operate just like power outlets, on pin #16) or always on (pin #15).
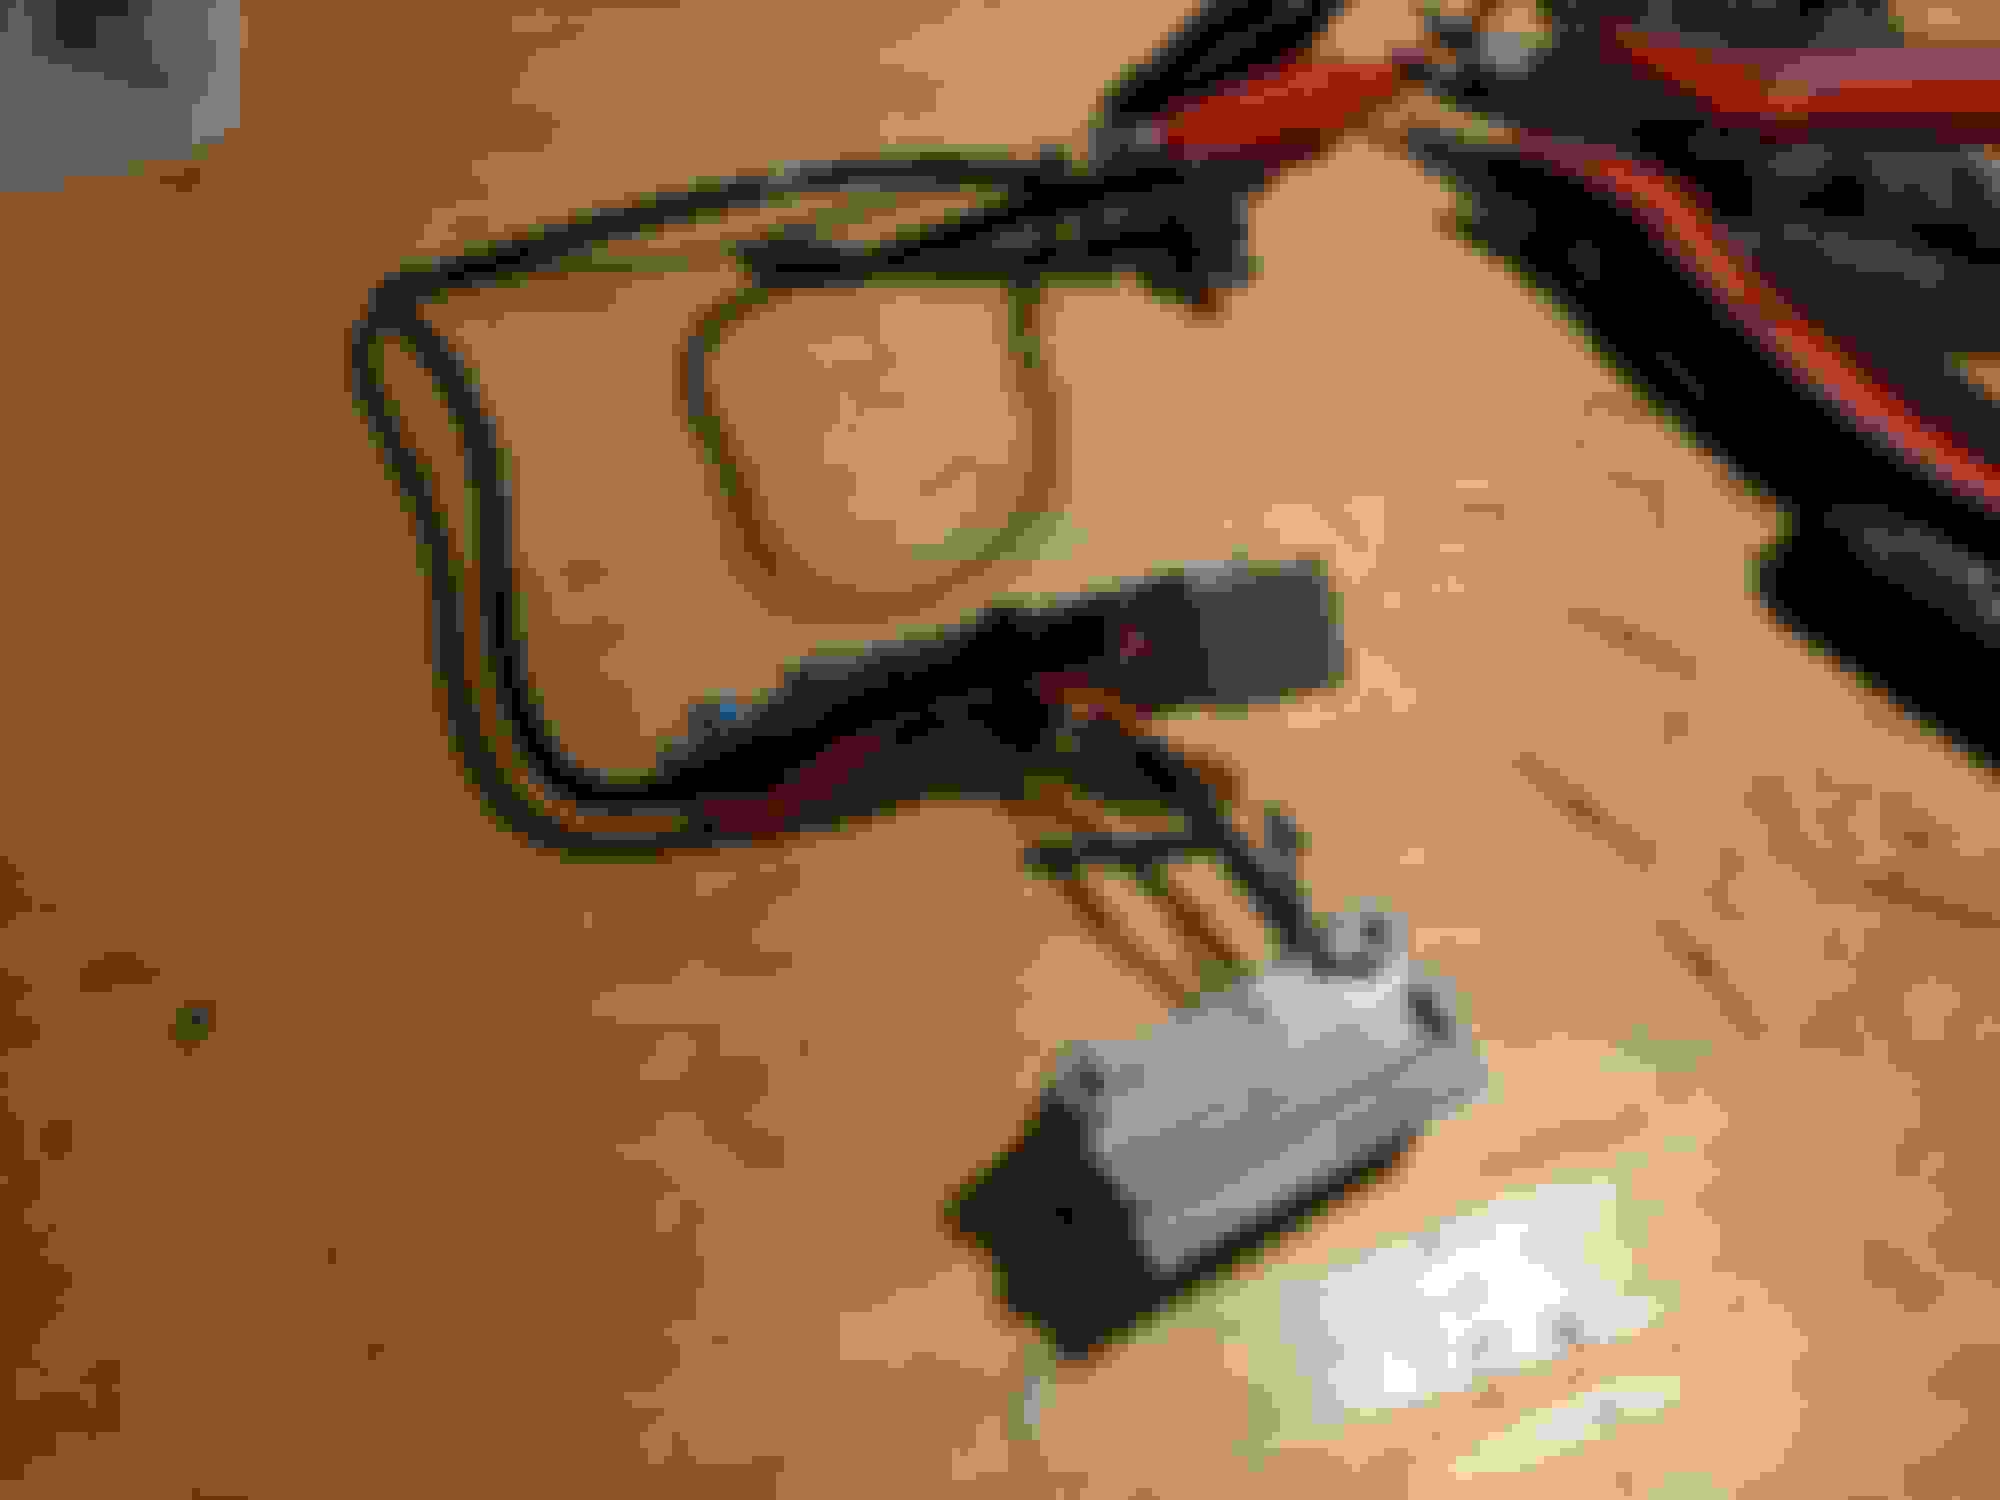
My HFL is dead anyways, so I took it off completely, and removed the connector:
Now, according to the service manual pages, I need to wire ground wire to pin #1, and power wire to pin #16. I connected temporary wires, and went to car to make sure that it works right. Just make sure that other pins can't connect between each other, as it might be fatal for some other components. When I confirmed that I have 12V with key on, and nothing with key off, I removed all other pins, and put some glue around remaining three to hold them in place (mostly when connecting the plug, as it might push them out). I decided to leave pin #15, as I might need always-power pin in the future.
Now it's time to open up the charger that came with camera, and wire it directly. Also good idea to shorten the usb wire a little bit:
One more test and it's time to put it back together. That how it looks with camera connected:
It would also be possible to tap into mirror wires, but I decided to go this way as I had broken HFL that I could salvage the connector from. That wire is fused with 7.5A fuse, so everything should be good.
That would be about it. Any questions or concerns, please ask.
It's the one with capacitor, so it turns off right after the power is gone. Quality is good enough. Hard to read license plates if car is not close, but you can clearly see what's going on on the road. I just need to test it out at night.
Nice writeup!. I definitely though about doing this mod awhile back, but I'm not too keen on electronic work. I thought it wasnt that bad installing a dash cam and wiring it around the pillar, sneaking the wires around and finally ending it up charging it in the center console. Just a little time consuming if you want it 100% hidden.
I see you have a toll pass. I kept mine more stealthy by covering up with electrical tape. It still work 100% and I havn't had any problems with tolls. Since its black, its alot less noticeable inside and outside. Just though I would chime in so you can keep the stealthy look going
I too just used the method of tucking the wire behind the headliner and running it down the A-pillar, wired a SPST switch in between leading to the cubby under the storage compartment, then wiring it to the fuse box constant ON source (power seat) with an "add-a-fuse".
That way it allows me to record 24/7, especially useful when street parking.
The switch is so I can turn it off when I get in the garage safe and sound.
Nice writeup!. I definitely though about doing this mod awhile back, but I'm not too keen on electronic work. I thought it wasnt that bad installing a dash cam and wiring it around the pillar, sneaking the wires around and finally ending it up charging it in the center console. Just a little time consuming if you want it 100% hidden.
I see you have a toll pass. I kept mine more stealthy by covering up with electrical tape. It still work 100% and I havn't had any problems with tolls. Since its black, its alot less noticeable inside and outside. Just though I would chime in so you can keep the stealthy look going
why not just take it and spray paint it black then
Nice job, however there is easier way I plugged the cam into dash bulb wire circuit. I even managed to put there small power supply transforming 12v into 3v.
Nice job, however there is easier way I plugged the cam into dash bulb wire circuit. I even managed to put there small power supply transforming 12v into 3v.
Well... Don't want to argue, but isn't most stuff running at 5V, because it's the USB standard? I understand that internally, it can be reduced to whatever the processor is using, but not much stuff require 3V at the input.
Well... Don't want to argue, but isn't most stuff running at 5V, because it's the USB standard? I understand that internally, it can be reduced to whatever the processor is using, but not much stuff require 3V at the input.
You might be right. But it does not matter 3 oraz 5 - the point is it is not 12v 😀
Old thread I know but does anyone know if this is the same wiring diagram for the 4G TL tech package? I am on a project now where I have the Garmin 47 cam with a dongar tech cable. Normally, It plugs into the back on the rear view mirror and creates a splitter for both to receive power only when car is on.
I noticed however in the dome map light area, there are 3 plugs for power. One seems to have constant power and I would like that for parking mode. Garmin sells a wire that protects against battery drain and is for this parking mode. I want to use the dongar cable so I don�t splice wires and plug the parking mode cable into the dongar cable. But I need to match the two wires to the corresponding wires in the dongar cable which in turn plug into the car. So I need to know which color wires are battery, acc for the Acura connector/wires. Any help is appreciated
Definitely tired when I wrote this lol I basically need to know the colors for ACC and 12v always on power and which connector it is in the overhead dome light for a 4G TL technology.
If you don't have the service manual,, best to just get a multimeter and probe the pins yourself to test! Then you know definitively which ones.
Ok I was able to get a service manual. I am trying to find the section, has literally thousands of pages here in a pdf. The only thing I can find in the area is this about the home link. But there are three connectors up there so I�m just not sure. I did also find the HFL diagram but I am not sure if that located there as it was saying these move locations sometimes. Any help is appreciated
@altair47 Added you in here just in case you can help.
Last edited by Christopher Michael; 10-20-2023 at 04:14 PM.


 04-18-2018, 04:36 PM