
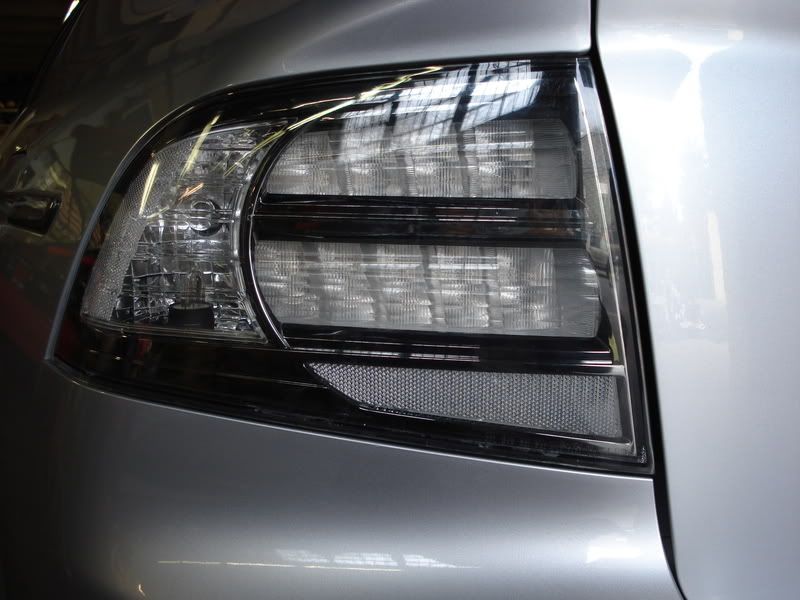
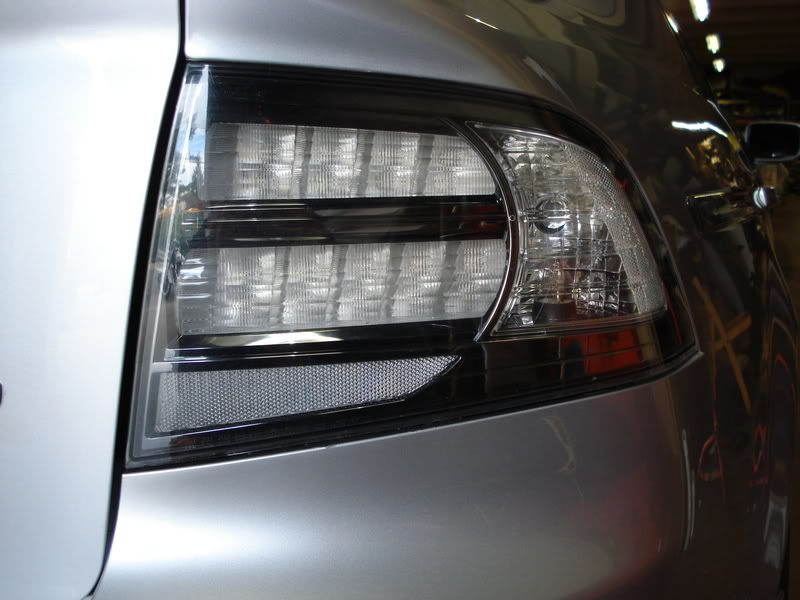
Clear Tail Lights

 01-13-2008 | 11:57 AM
#49
~Da Nocturnal Cheetah~
Joined: Aug 2006
Posts: 6,798
Likes: 4
From: Germantown, MD
Originally Posted by Tripnbeats
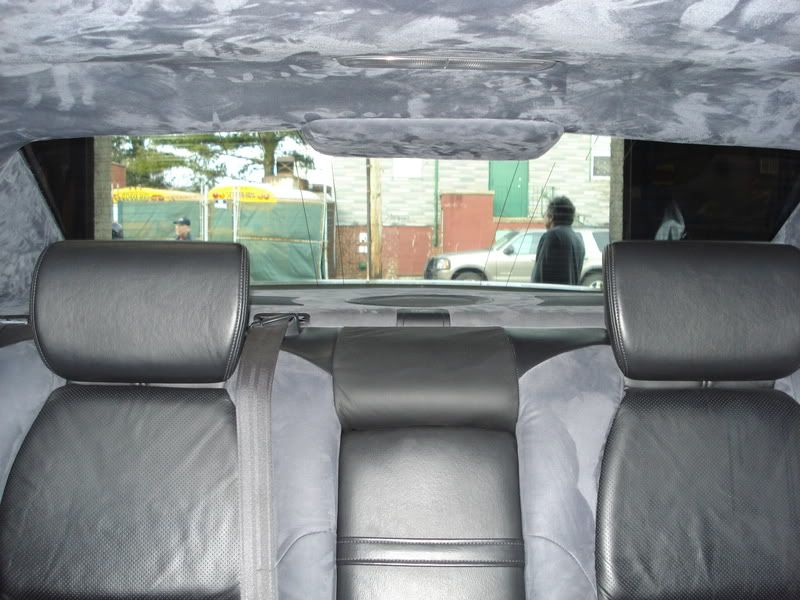
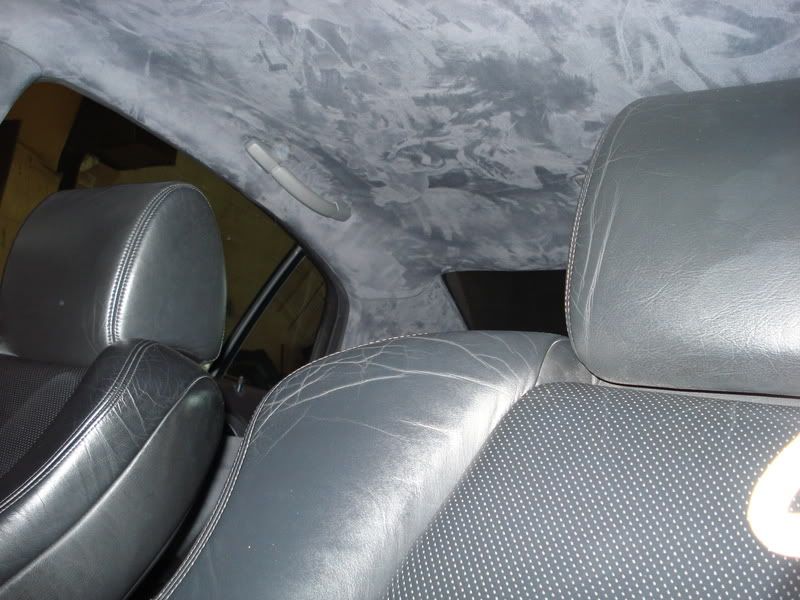
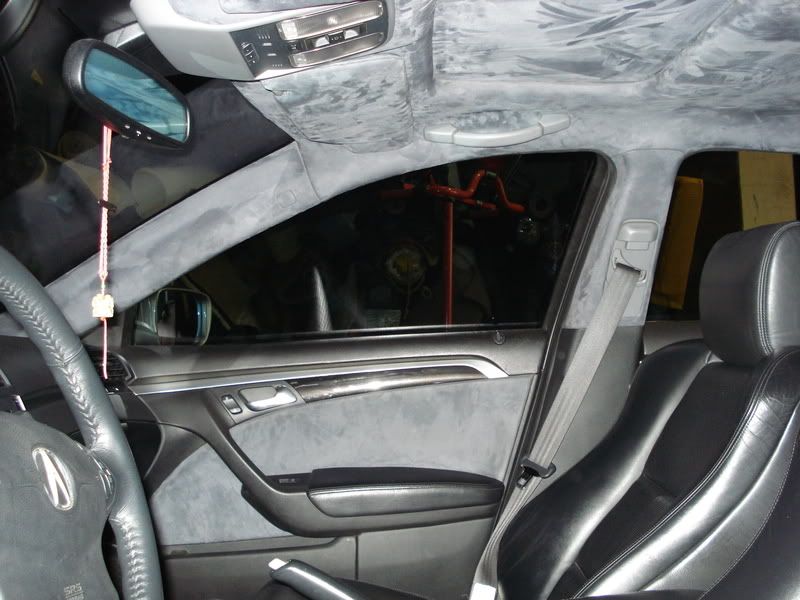
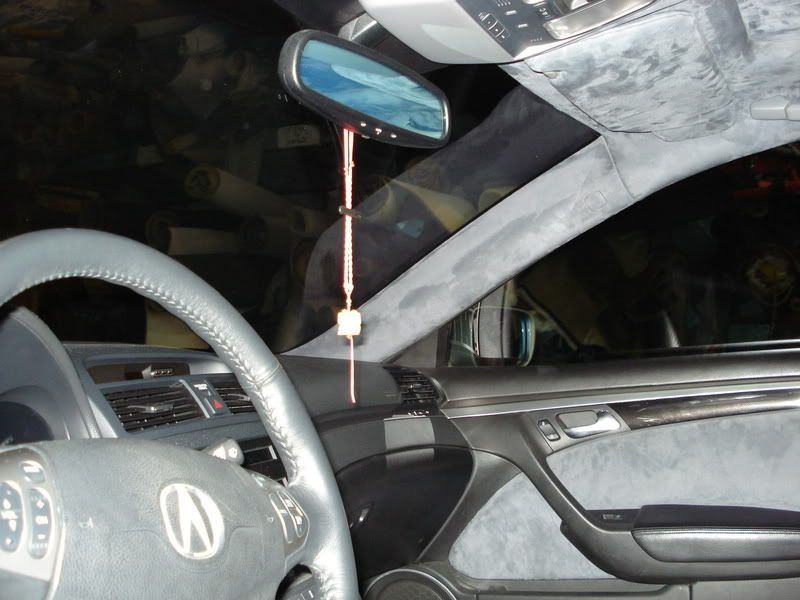
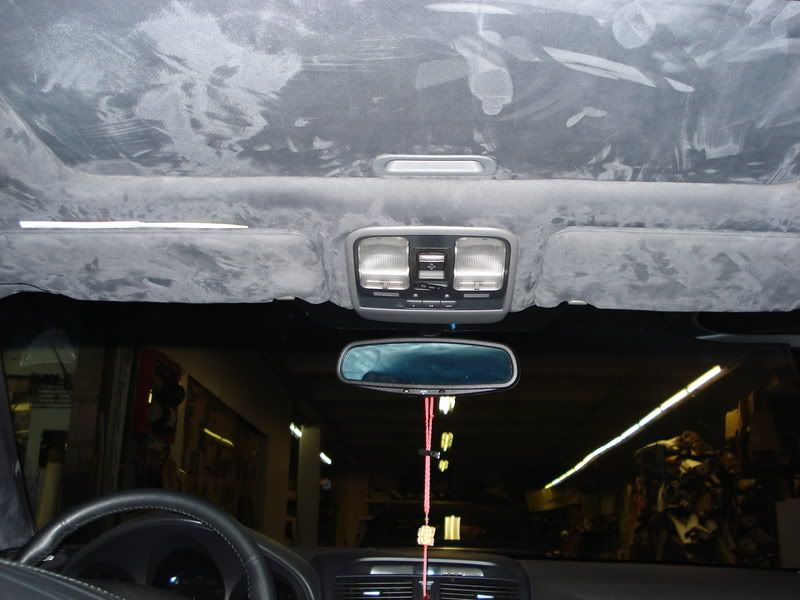
yea everything is suede. Im getting the front seats done next week the holiday season threw everything out of wack.

PS: Your car is all SSM like mine is all NBP!
 01-13-2008 | 05:34 PM
#52
Thread Starter
Quiet, Rika Neenja!
Joined: Dec 2007
Posts: 620
Likes: 8
From: Tampa
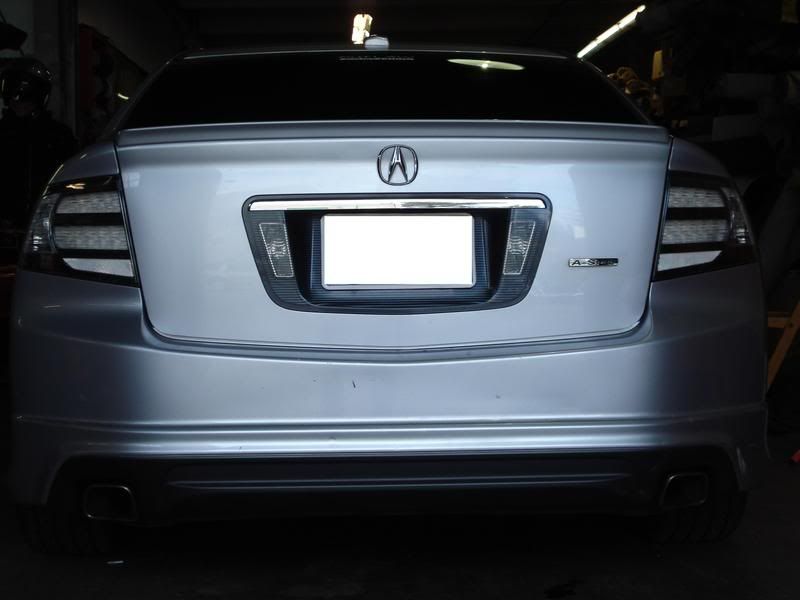
Hey, has anyone ever tried painting the rear center piece (with the license plate and reverse lights) to match the car? I'm debating making a reverse light in the tail light and painting that piece to match the car...
01-13-2008 | 06:20 PM
#54
tripnbeats, where did u get the interior work done?
Im getting some custom seat upholstery @ AutoMat on Long Island. one of the east coast's BIGGEST interior specialist... getting my price quotes next week..
Im getting some custom seat upholstery @ AutoMat on Long Island. one of the east coast's BIGGEST interior specialist... getting my price quotes next week..
01-13-2008 | 07:18 PM
#55
Thread Starter
Quiet, Rika Neenja!
Joined: Dec 2007
Posts: 620
Likes: 8
From: Tampa
Originally Posted by Tripnbeats
I was going to do that but my body guy said that the plastic would be ruined under the paint and it wouldnt come out nice. plus theres strobes in my reverse lights
01-13-2008 | 07:20 PM
#56

Safety Car
Joined: Oct 2001
Posts: 4,563
Likes: 2
From: USA
he didnt mean it like going back to clear he meant it as that specific plastic isnt meant to mesh well with the paint. maybe the chemical reaction....I dunno I use spies n hecker paint on my car maybe it makes a difference...maybe not
01-14-2008 | 08:15 AM
#58
Originally Posted by Tripnbeats
I was going to do that but my body guy said that the plastic would be ruined under the paint and it wouldnt come out nice. plus theres strobes in my reverse lights
You can easily paint the plastic framing. The material is no different than that used in the headlights, which many have painted. Jut a little roughing up, followed by primer, then paint.
I'm not sure how good it would look colormatched though...
01-14-2008 | 08:26 AM
#59
Safety Car
Joined: Oct 2001
Posts: 4,563
Likes: 2
From: USA
no the plastic used on the headlights and the plastic used on that are totally different. every bit of plastic on the car has different compounds used when molded. Ive already looked into it...because I was skeptical myself. any piece of plastic u peel off the car has abbreviations for the chemicals they used to make it.
01-14-2008 | 08:41 AM
#60
Originally Posted by Tripnbeats
no the plastic used on the headlights and the plastic used on that are totally different. every bit of plastic on the car has different compounds used when molded. Ive already looked into it...because I was skeptical myself. any piece of plastic u peel off the car has abbreviations for the chemicals they used to make it.
I have no doubt it could be painted, in fact, I could have swore there was a guy here who painted them WDP last year...
01-14-2008 | 08:58 AM
#61
~Da Nocturnal Cheetah~
Joined: Aug 2006
Posts: 6,798
Likes: 4
From: Germantown, MD
Originally Posted by SRT-11
Hey, has anyone ever tried painting the rear center piece (with the license plate and reverse lights) to match the car? I'm debating making a reverse light in the tail light and painting that piece to match the car...
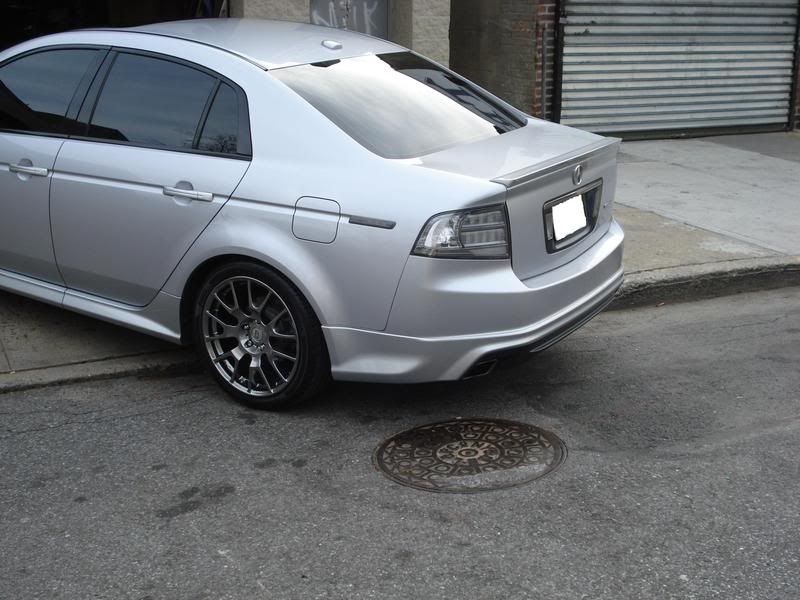
The SSM has a nice flow with this as well.
 01-14-2008 | 09:03 AM
#62
Safety Car
Joined: Oct 2001
Posts: 4,563
Likes: 2
From: USA
yes ur right kennedy the chromed portion of the reverse lights is the same as the chromed portion on the inside of the headlight but the actual "fascia" of the rear bezel is not the same remember its not one piece its multiple pieces put together. theres at least 3 different types of plastic making that one mold
01-14-2008 | 09:33 AM
#66
~Da Nocturnal Cheetah~
Joined: Aug 2006
Posts: 6,798
Likes: 4
From: Germantown, MD
Originally Posted by chill_dog
ACCRUATEin painted his license plate area and hasn't had any problems with it. It can be painted.

 01-14-2008 | 10:00 AM
#69
~Da Nocturnal Cheetah~
Joined: Aug 2006
Posts: 6,798
Likes: 4
From: Germantown, MD
Originally Posted by chill_dog
^^^Do a search, noob! There are plenty of pics of his car posted here.
EDIT: I forgot, you are a little advanced in age...maybe you need some assistance...
EDIT: I forgot, you are a little advanced in age...maybe you need some assistance...

Hahaha...where you been hiding man?
01-14-2008 | 10:06 AM
#70
Oderint dum metuant.
Joined: Mar 2005
Posts: 12,496
Likes: 534
From: Lake Wylie
On vacation for a couple of weeks.
As for painting the center section, I've contemplated it, along with removing the trim...maybe one day. This might be one of those things that looks better on certain colors as opposed to others.
As for painting the center section, I've contemplated it, along with removing the trim...maybe one day. This might be one of those things that looks better on certain colors as opposed to others.
01-14-2008 | 10:14 AM
#71
~Da Nocturnal Cheetah~
Joined: Aug 2006
Posts: 6,798
Likes: 4
From: Germantown, MD
Originally Posted by chill_dog
On vacation for a couple of weeks.
As for painting the center section, I've contemplated it, along with removing the trim...maybe one day. This might be one of those things that looks better on certain colors as opposed to others.
As for painting the center section, I've contemplated it, along with removing the trim...maybe one day. This might be one of those things that looks better on certain colors as opposed to others.
 01-15-2008 | 12:16 PM
#76
Oderint dum metuant.
Joined: Mar 2005
Posts: 12,496
Likes: 534
From: Lake Wylie
Tripnbeats - What did you do to take into consideration the thickness of the cutting wheel when mating up the parts? Cut one with more trim or gap the two parts with something/epoxy a few spots to hold/then fill in the rest of the gap?
01-15-2008 | 12:35 PM
#77
A J35A8 EG civic is in
Joined: Dec 2006
Posts: 1,334
Likes: 58
From: Jersey
I used the Plastic epoxy tube from Home Depot. Its made for plastic and sets in 7 minutes.
Hey tripnbeats, since you also did these already, do you think its necessary to use epoxy? If you were to just seal it with sealant and then put the two screws in, I think it would hold perfectly.
Hey tripnbeats, since you also did these already, do you think its necessary to use epoxy? If you were to just seal it with sealant and then put the two screws in, I think it would hold perfectly.
01-15-2008 | 12:42 PM
#79
Safety Car
Joined: Oct 2001
Posts: 4,563
Likes: 2
From: USA
ahhhhh lol thats a secret....but ill give it away.... what happens is this..... the inside gunmetal chrome piece has 2 screws in it from behind if u look you'll see it one is in the signal reflector one is under the LED board. if you cut correctly which i recommend practicing on the red ones first to see where u cut theres a line that shows the division of the lens n the plastic parts on the inside..... you have to cut a lil in over that line towards the lens. now when u piece it all back together make sure everything is clipped in correctly and that its all wiped clean put it back in the lens and when your ready to put the back part back on make sure u got the 2 screws handy and screw them down tightly at that point the gap appears and you cant separate the pieces anymore i plastic welded and then siliconed the shit out of them. the day after the silicon was dry.... I went to the craziest hand car wash around my house and had no condensation problems. hope that helps wish i had pics but i guess next set i do Ill have to take pics. i dont like epoxy on certain things because on smooth surfaces it doesnt catch that well
01-15-2008 | 12:49 PM
#80
Safety Car
Joined: Oct 2001
Posts: 4,563
Likes: 2
From: USA
oh shit one more thing.....when u take them apart dont try to pull the inside piece from the sharp corner pull up and flex the pieces gently from the edge that the trunk closes on if they dont come up easily or semi-easily.... check the corners theres tabs that have to be cut off. lil by lil you'll see how it all comes apart each lens took about 3-5 hours to do because im a perfectionist with things...if it woulda come out like shit with the slightest spec of dust or plastic it would been in the trash.