When you click on links to various merchants on this site and make a purchase, this can result in this site earning a commission. Affiliate programs and affiliations include, but are not limited to, the eBay Partner Network.
Does anyone have the service manual for removing the A pillar on the RLX? Looking to run wires behind it. Hopefully it doesn't require hitting it with a mallet to break one of the clips like the Gen4 TL, and replacing said clip.
If no one has the service manual, I may post a new thread for a wish list of things and I will get a 24 hour subscription and download everything I need along with everyone else's like I did for the Gen4 TL a few years back.
What kind of wires and how big of a gauge do you plan on running? I was able to tuck GPS and mic wires when I install GROM VL2 in my RLX (probably 10-12 gauge wires) in A pillar with just my fingers. Having pry tool does help a bit. I don't think you'll need to take A pillar apart unless your wires are really thick.
Not thick. A USB wire, another thin wire for dash cam, and VLine 2. I wanted to route into the bottom of the A pillar (windshield side), and run down inside the dash (door side of the A pillar), hidden along with the interior driver's side fuse box under the dash.
You should be able to route all those wires without removal of A pillar. Use a pry tool to tuck wires into place.
So no issue tucking the wires at the base of the A pillar? Most A pillar garnishes I've removed have hooks or anchors at the bottom that seat into dash edge, so the wires can't easily tuck into the base without removal. You may be right, as I looked up 84151-TY2-A02ZC and the diagram appears to show there aren't any hooks or anchors at the base (unlike my 2012 TL's 84151-TK4-A02ZA which has one anchor).
Updating this thread for reference if/when others look for RLX A-pillar removal/installation instructions. Modmins, please move to a more appropriate section of the Gen 3 RLX forums if needed.
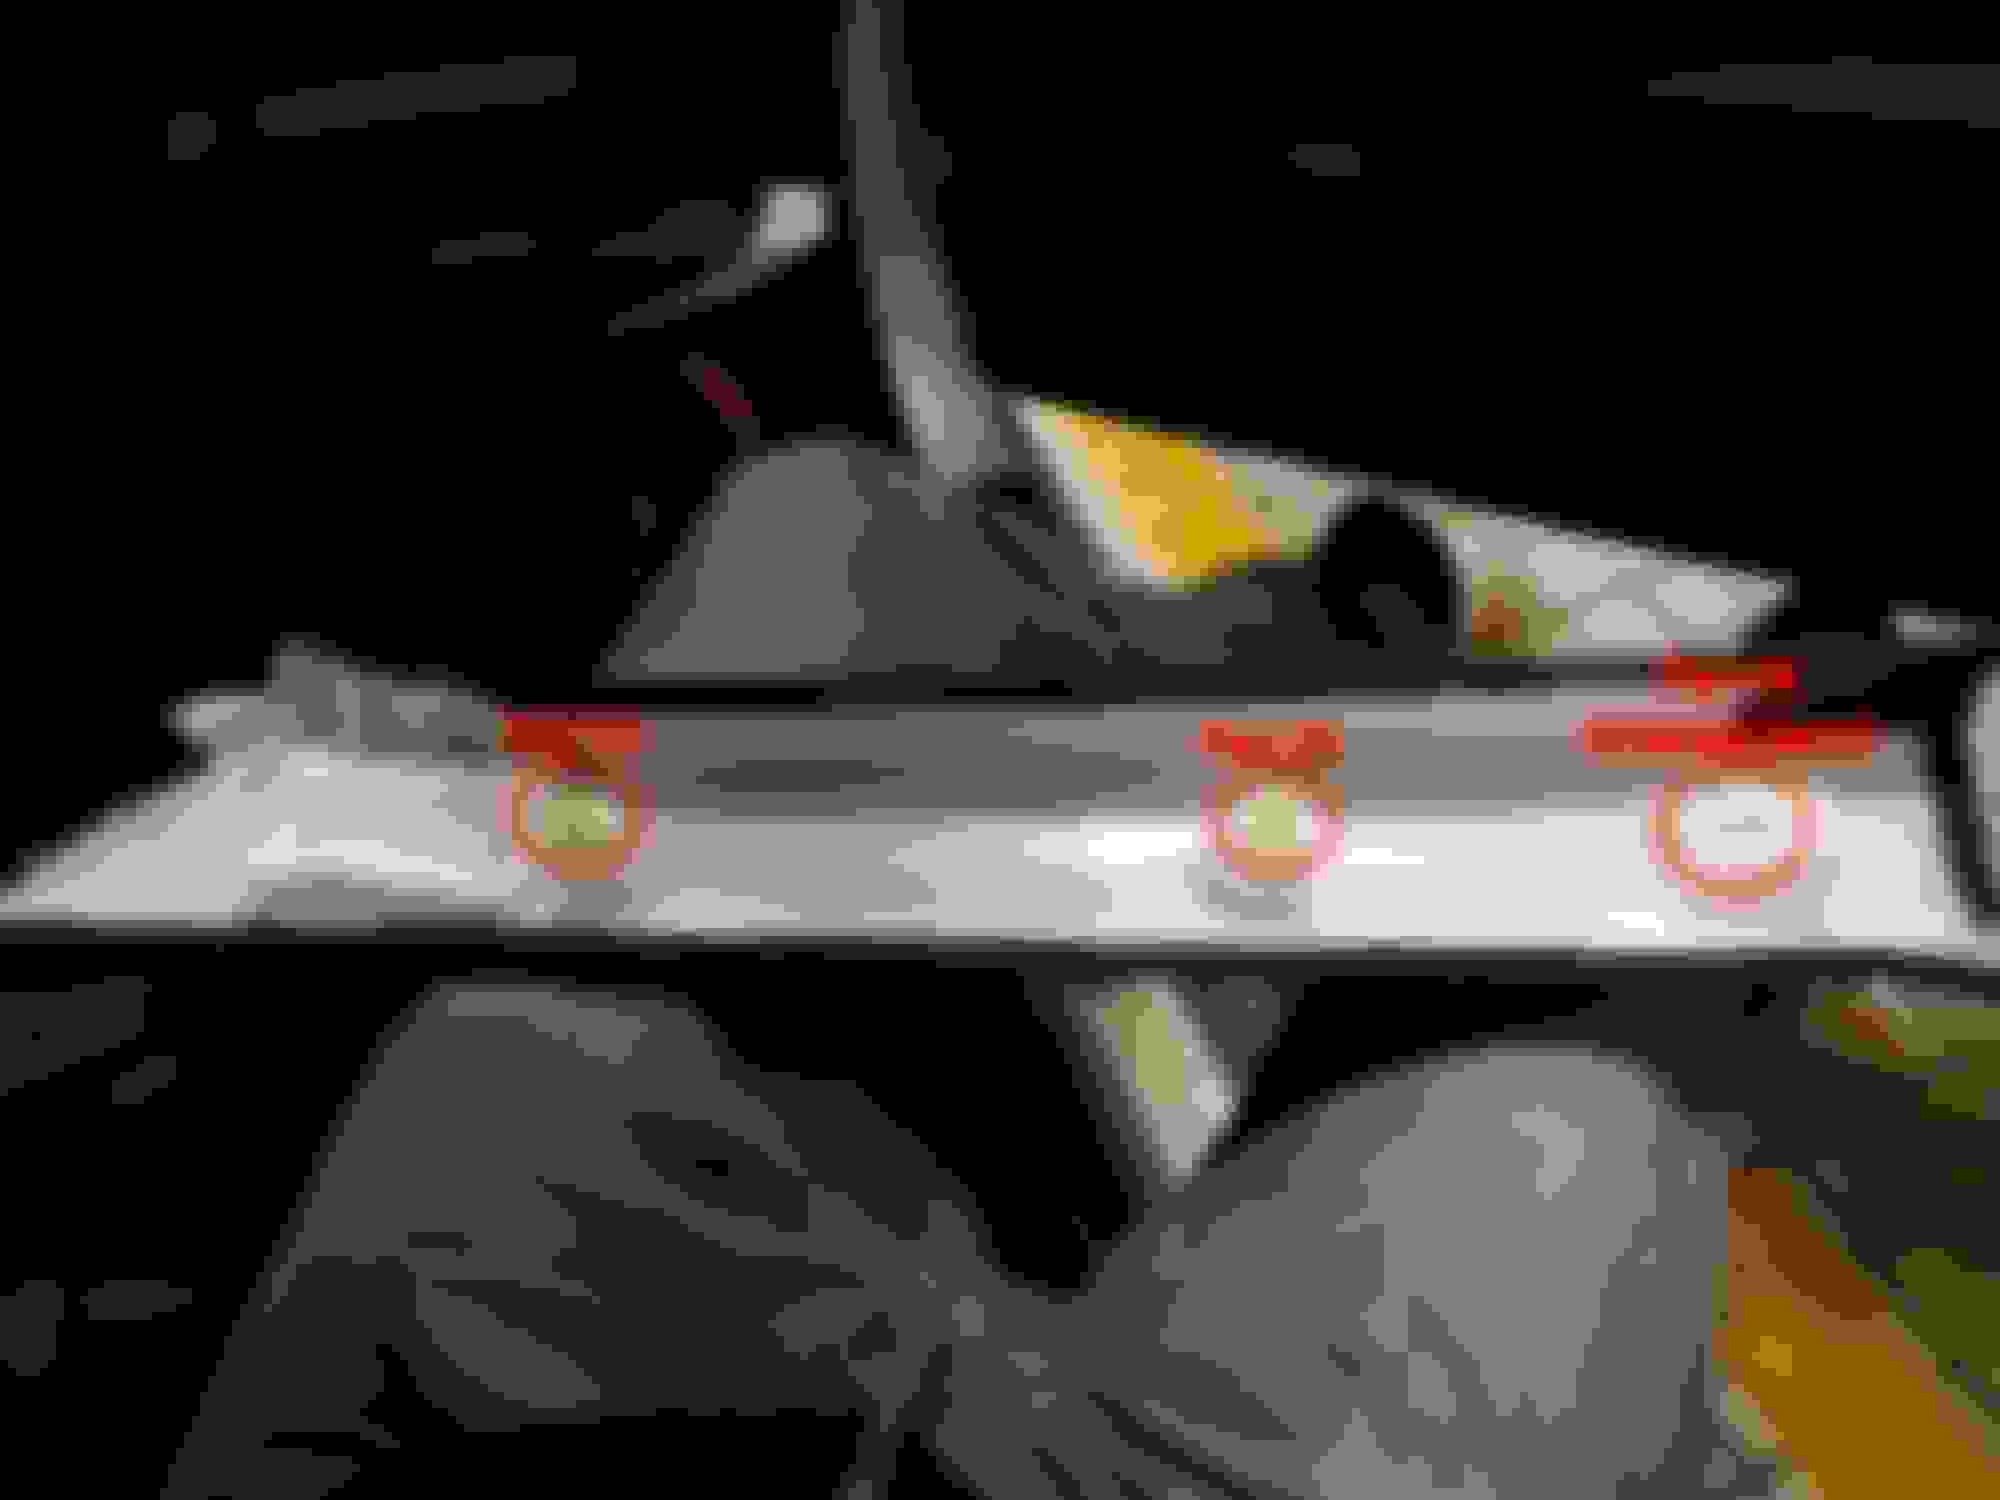
While trying to tuck my wires into the base of the A pillar, I realized I run the risk of bending/pinching the wires that isn't good for the wires. So I looked up parts and videos, and determined that the A-pillar clips on the RLX is exactly the same as the Gen 10 Honda Accord, including the count and locations. So the video instruction I found is 100% applicable in terms of procedure and locations go. (Other Acura models seem to have just 2 instead of 3 clips, but I didn't look deeper into the part numbers to ensure exact same type/process.)
The time and effort it takes to remove and reinstall the A-pillar garnish is much shorter than tucking and risking bending wires, especially small gauge wires. Removal took less than a minute, and installation even faster. Benefits of doing this is that you can zip tie your wires to the factory wire bundle, thus reducing risk of rattle noises and dealing with the tucking problem again if your windshield needs to be replaced.
Comparison of Acura RLX and Honda Accord part numbers.
Thanks for posting video of A pillar removal. I may remove my passenger side A pillar to zip-ties the GPS and Mic cables together to make sure they don't get pinched.
I accidentally posted two same pictures by mistake, and I couldn't edit it before 15 minute timeout. I've reached out to admins to see if they will let me update it. In the meantime, here is what picture #2 is supposed to be.
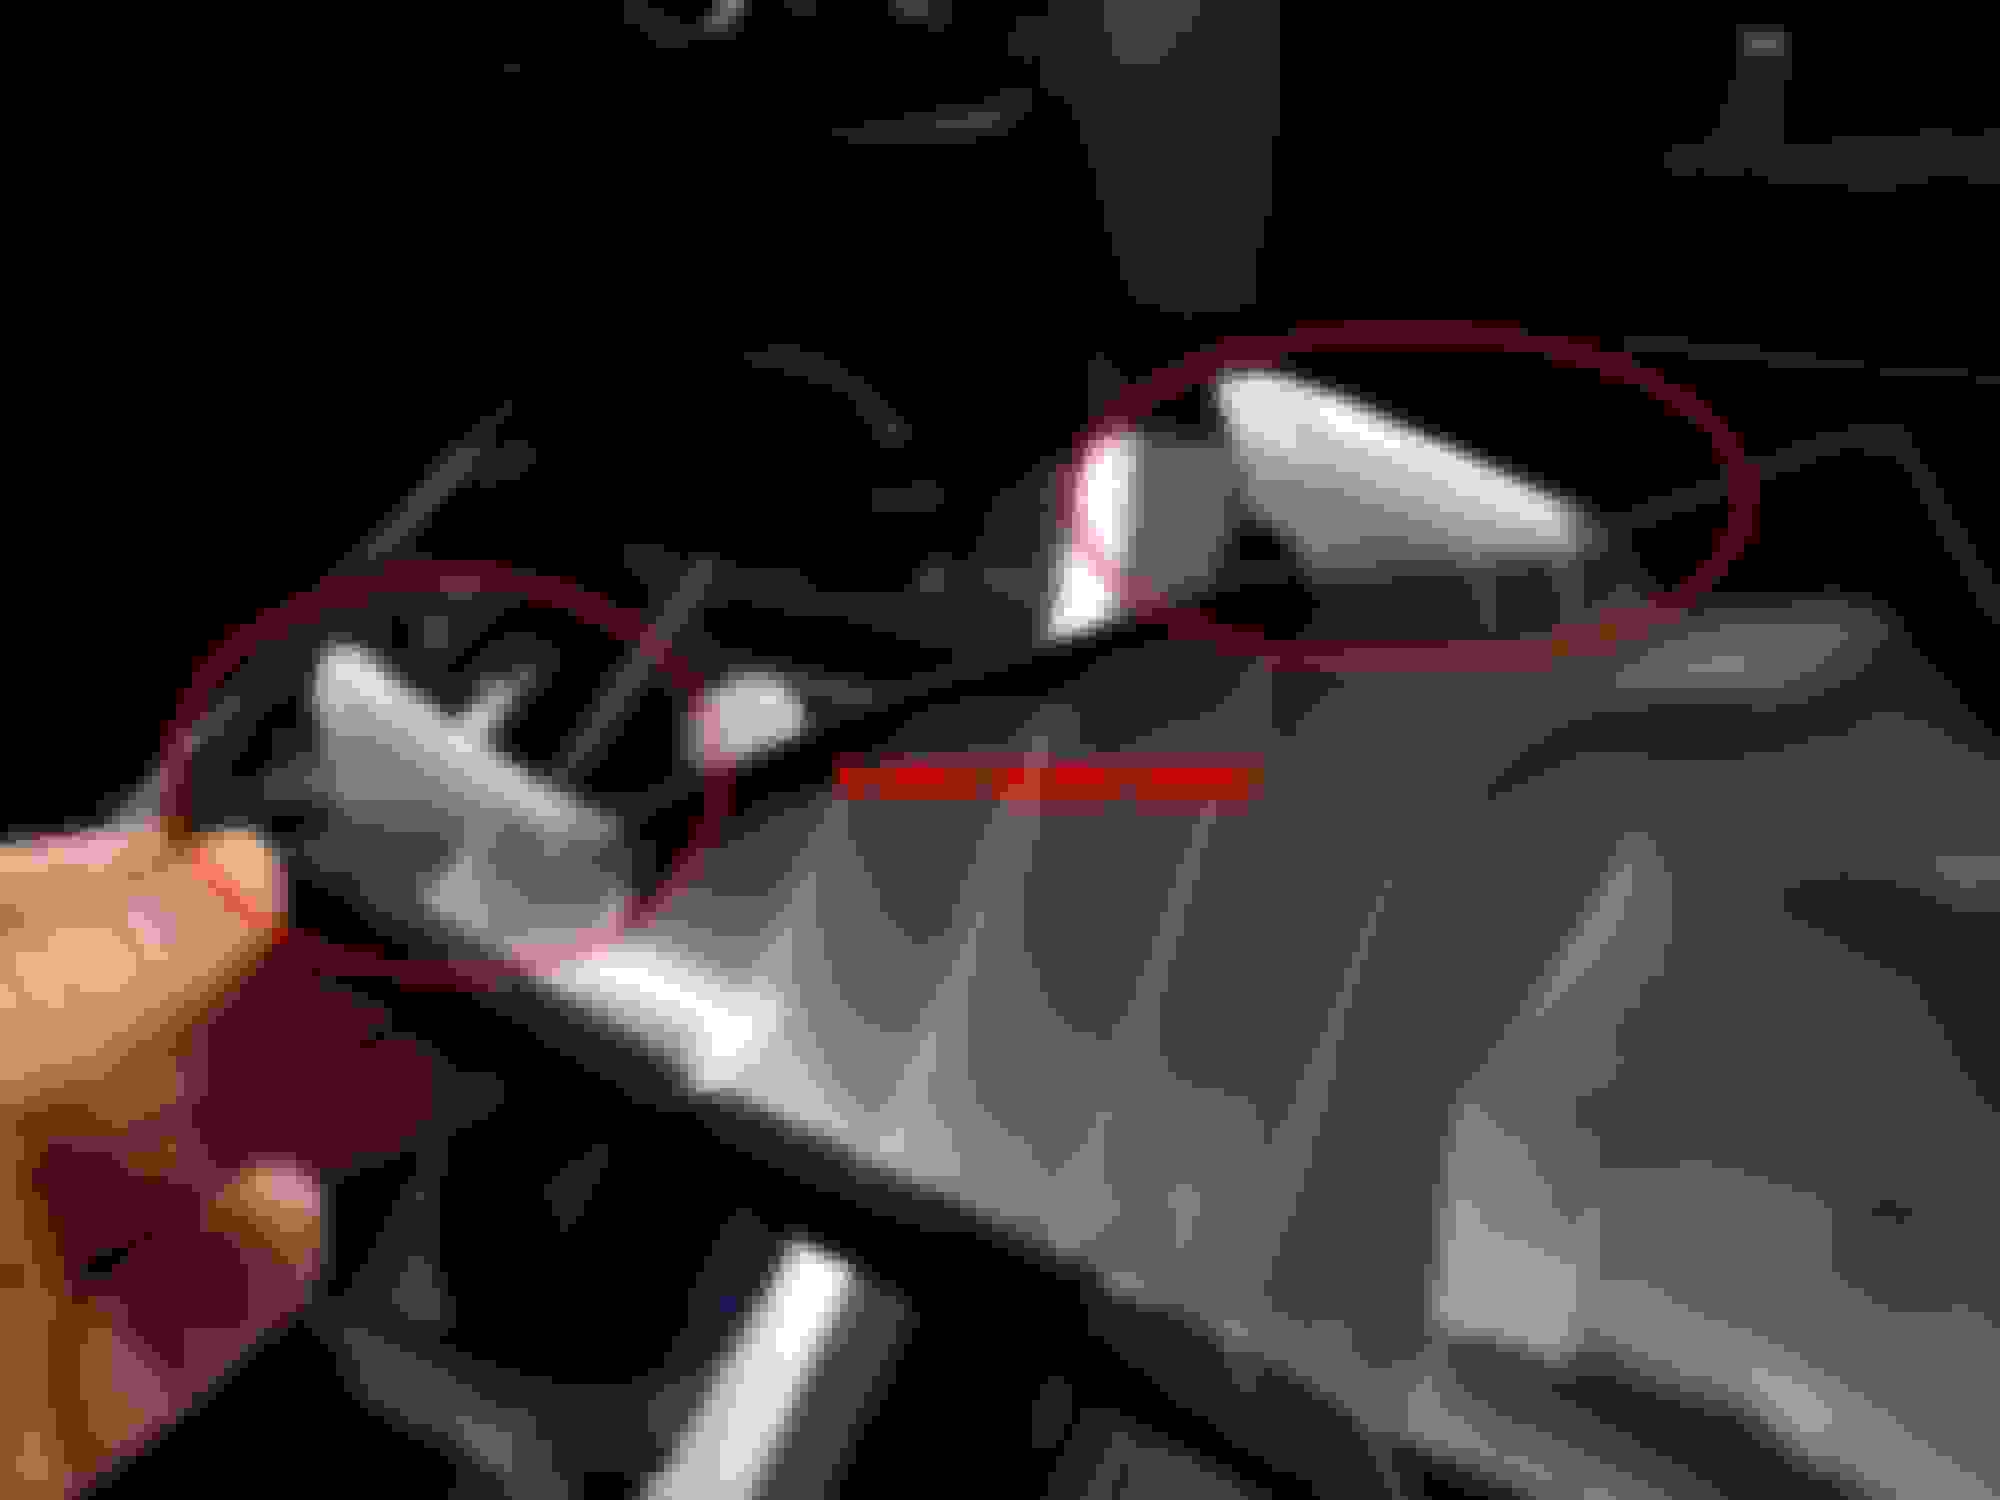
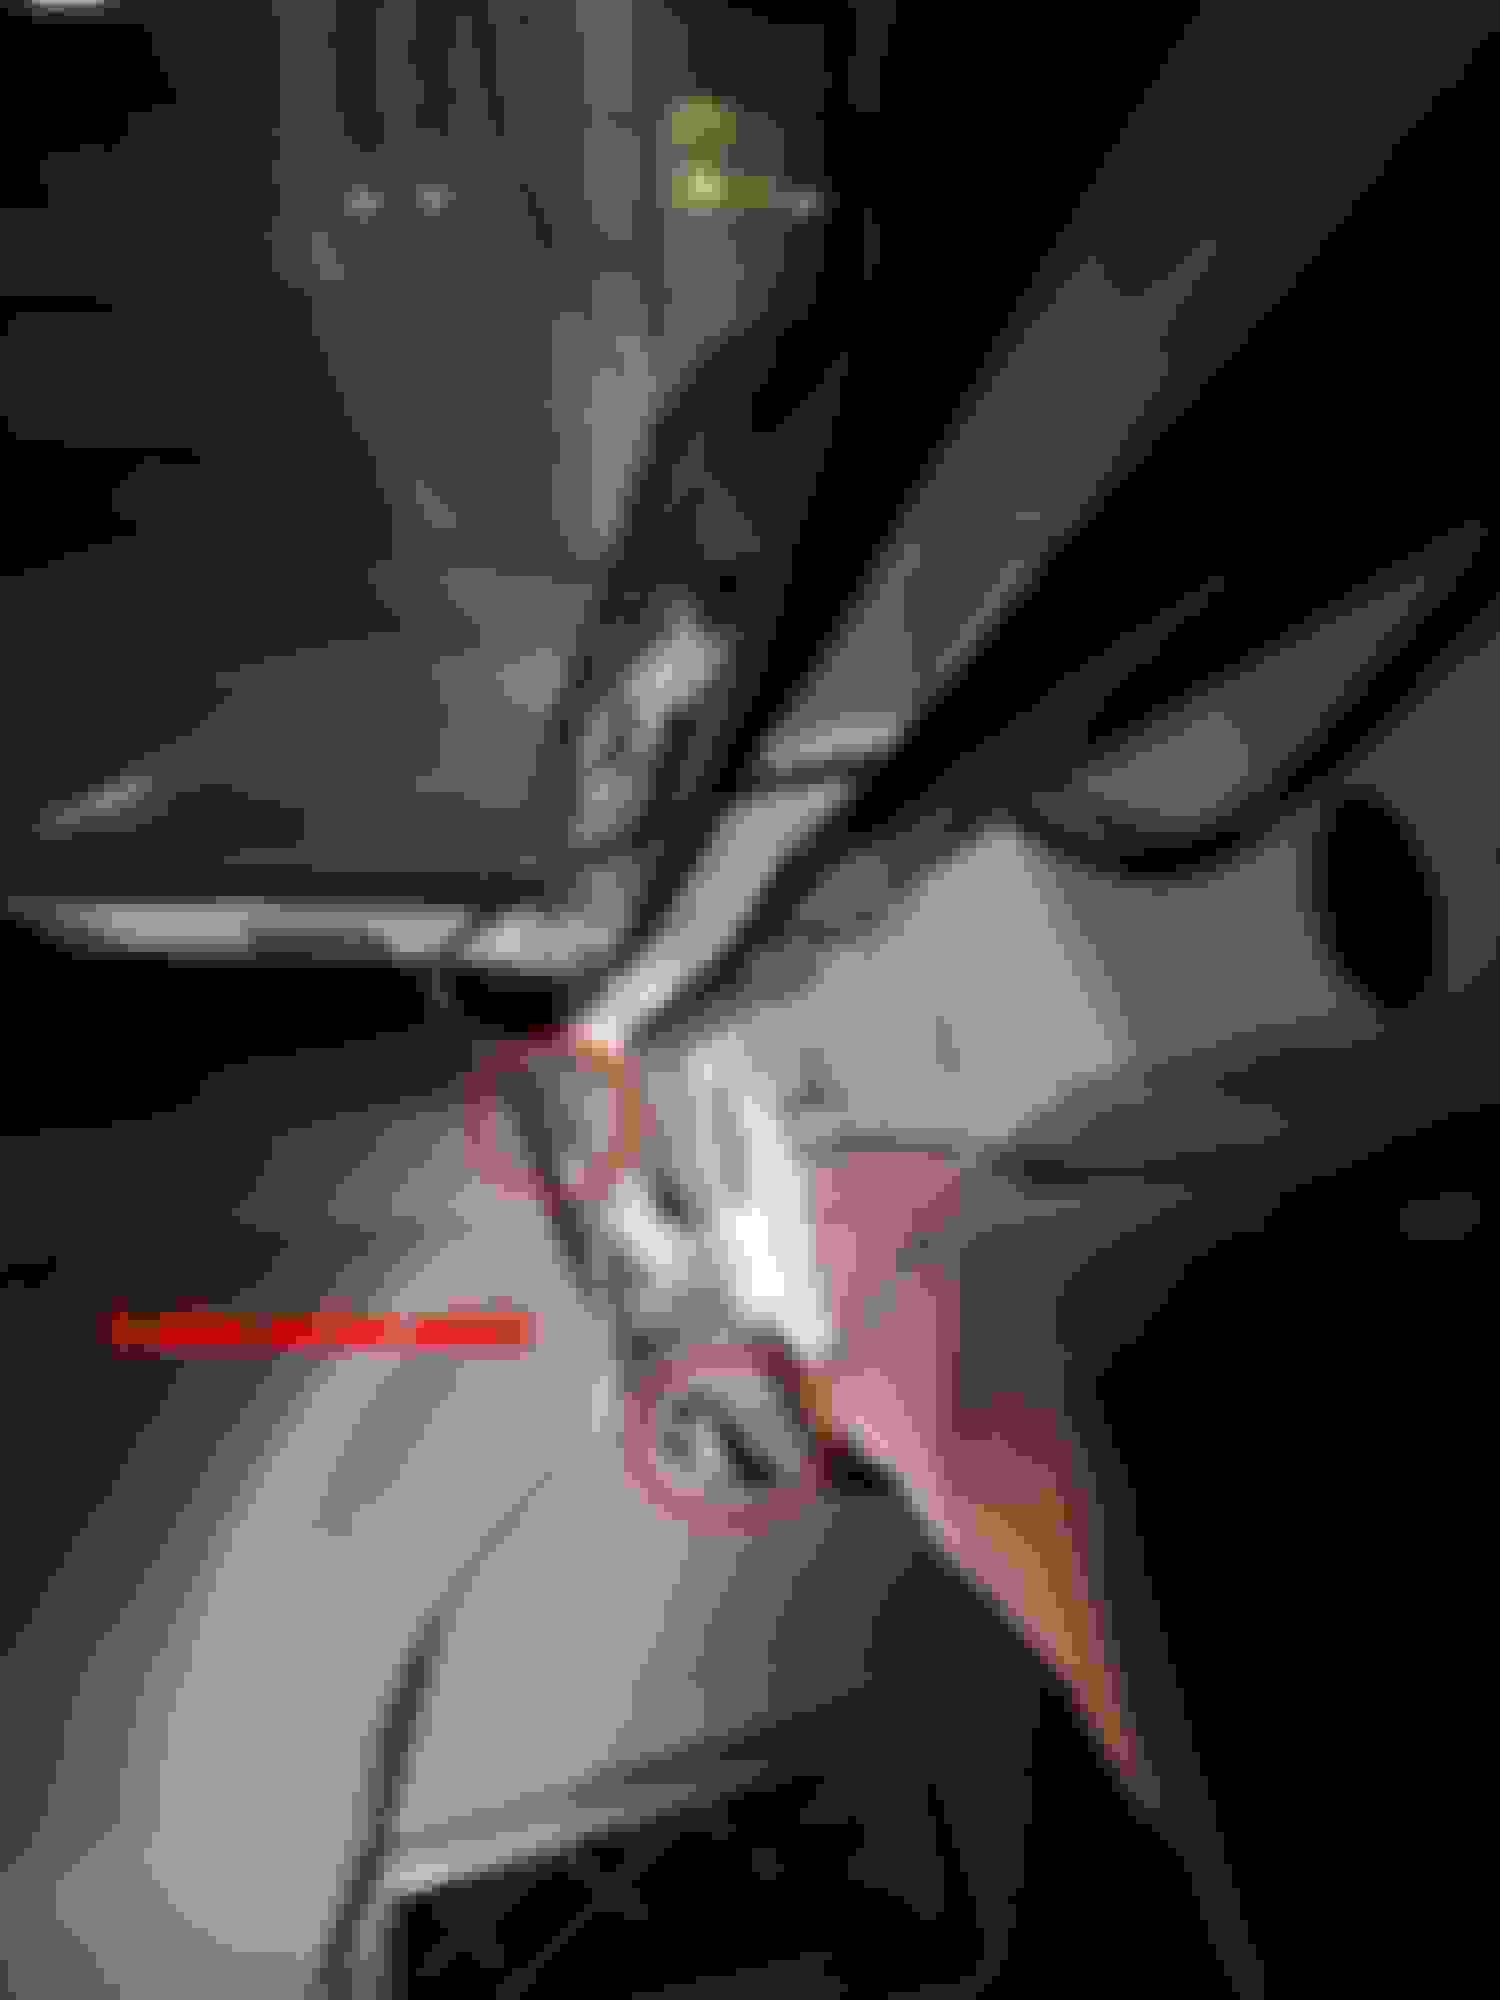
Took off my passenger side A pillar to zip-ties the GPS and Mic cables nicely together for OEM fit and finish. My install is now as good as any pro could have done it. Thanks for the how-to video and pictures 👍
Took off my passenger side A pillar to zip-ties the GPS and Mic cables nicely together for OEM fit and finish. My install is now as good as any pro could have done it. Thanks for the how-to video and pictures 👍
Haha my OCD likes it too. With the way I had the wires tucked, the curtain airbag could have rip the cables apart when they deploy. Now I feel much better they're zip-ties neatly away.
Haha my OCD likes it too. With the way I had the wires tucked, the curtain airbag could have rip the cables apart when they deploy. Now I feel much better they're zip-ties neatly away.
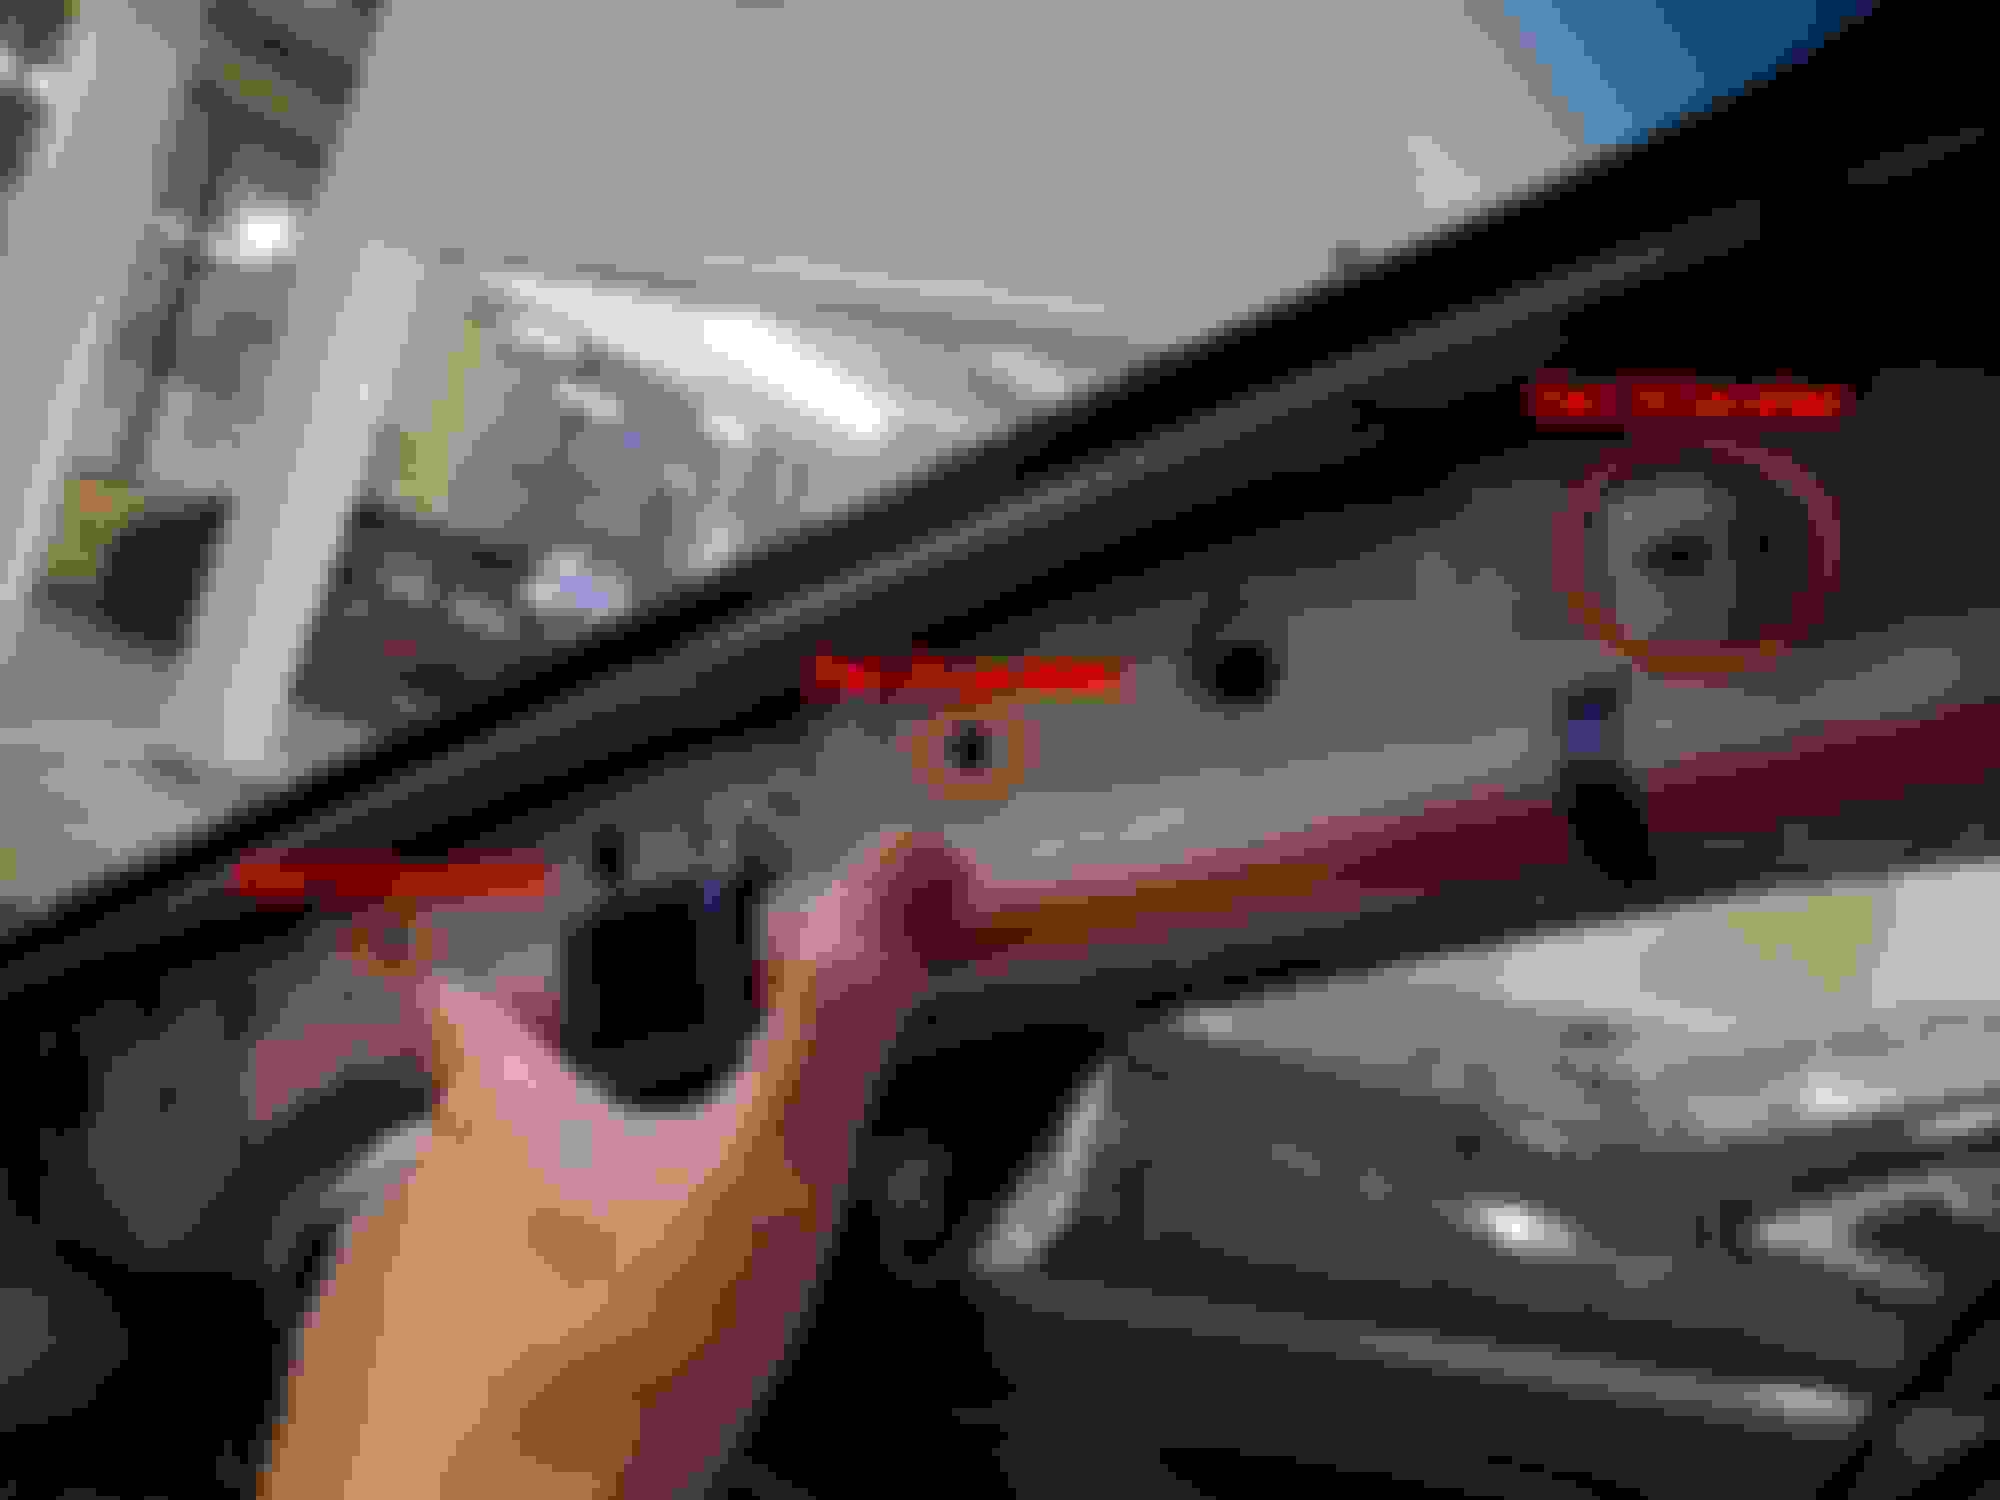
When you said the airbag could have rip the cables apart, did you originally traverse the wire across the A-pillar from the windshield to the door sides at the top, then tucked the wires down the A-pillar on the door side instead of the windshield side? That is why I originally asked about the anchors of the A-pillar. Below picture was my original plan and how I imagined you ran yours when you told me I can just tuck the wires. It was at the base where I had a hard time tucking for traversal that made me research parts and videos for the A-pillar removal.
If what I suspect is correct, then I'm super glad you remediated that. If the wires did not rip apart, then there is the risk of reduced performance of airbag deployment and/or the GPS antennae module and microphone could've been projectiles inside the cabin. That is why I cringe when I watch DIY videos of front and rear dashcam installations where they traverse across airbags everywhere.
Yes and yes. I original tuck the wires on door side instead of windshield side. Didn't feel good about that. Glad you posted the how-to video to remove A-pillar. Super easy to remove and a quick fix.

 01-22-2021, 02:01 AM