Ok... I have a question for the DIY Peeps
 12-27-2013, 01:41 PM
#1

Ok... I have a question for the DIY Peeps
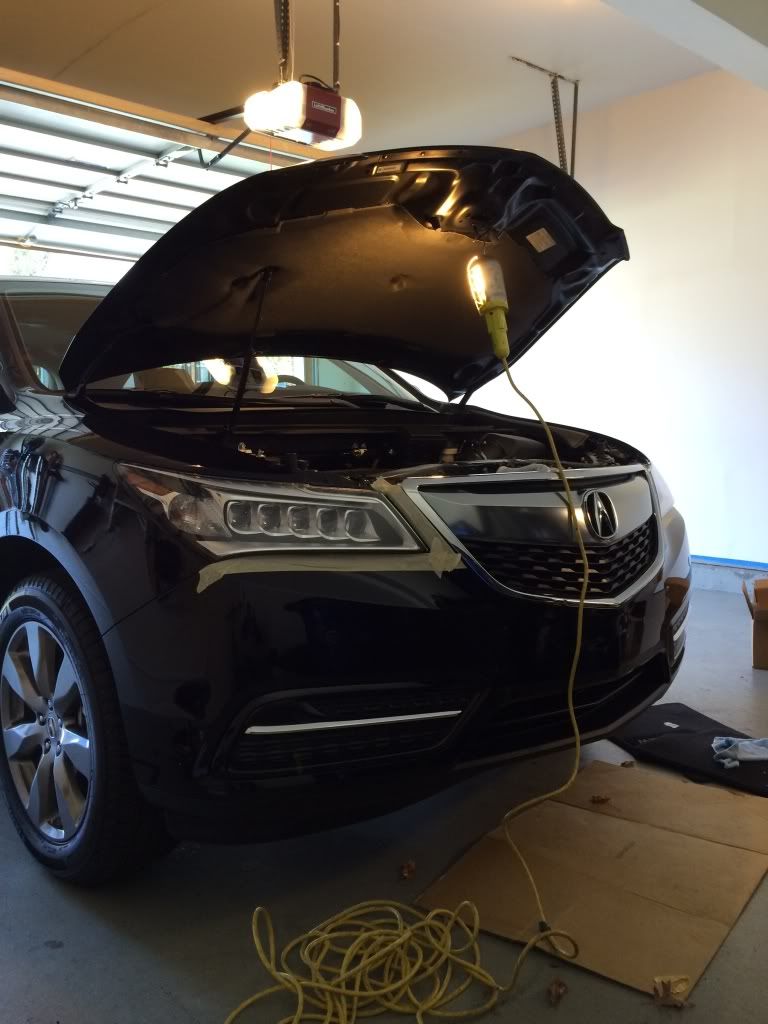
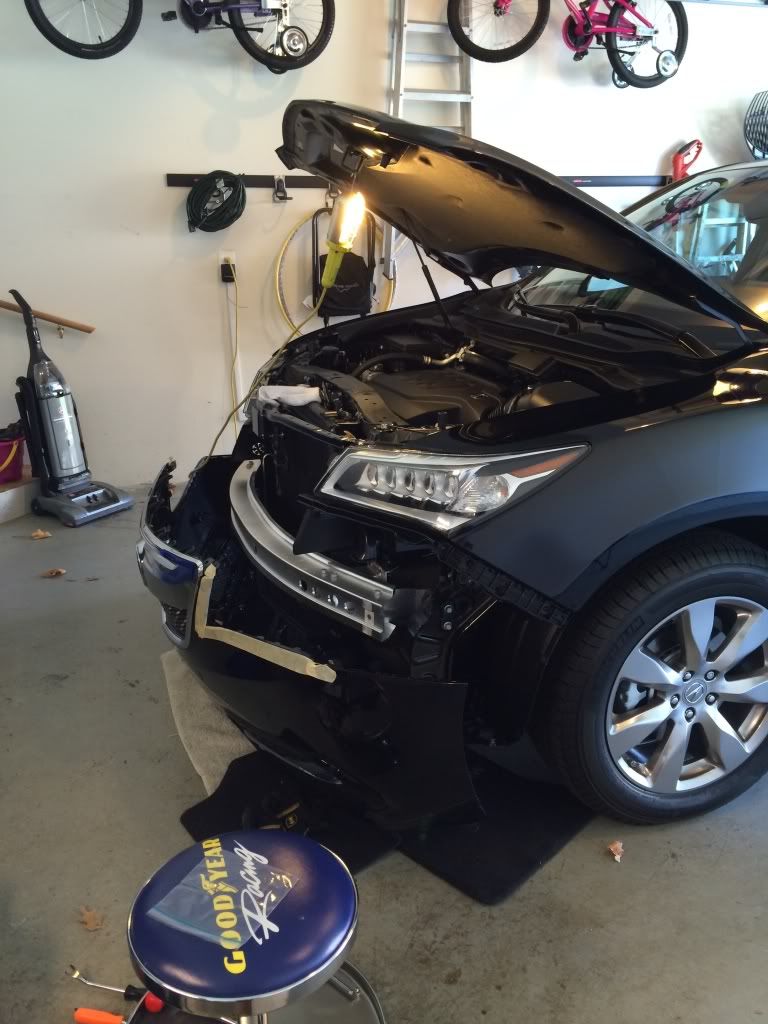
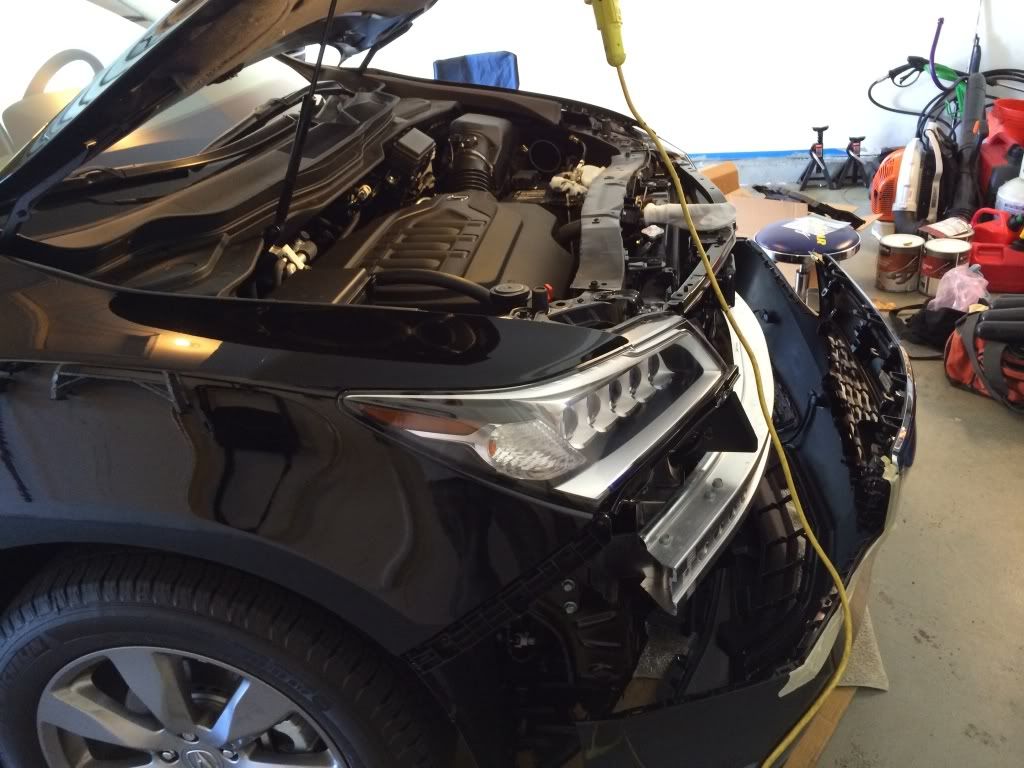
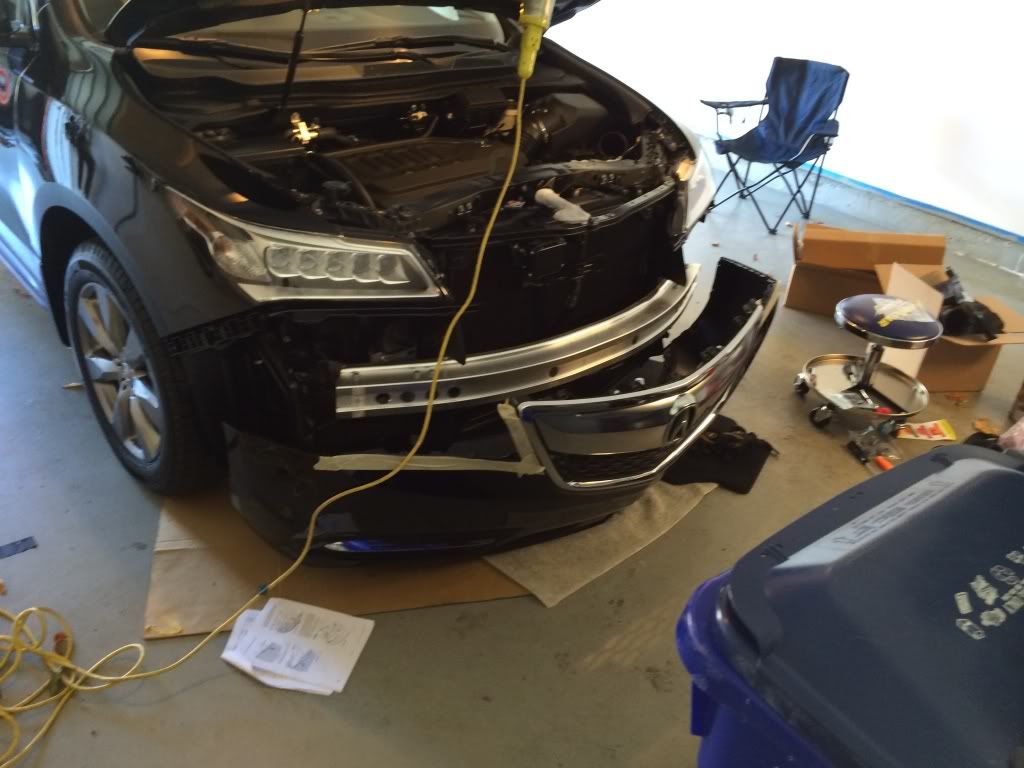
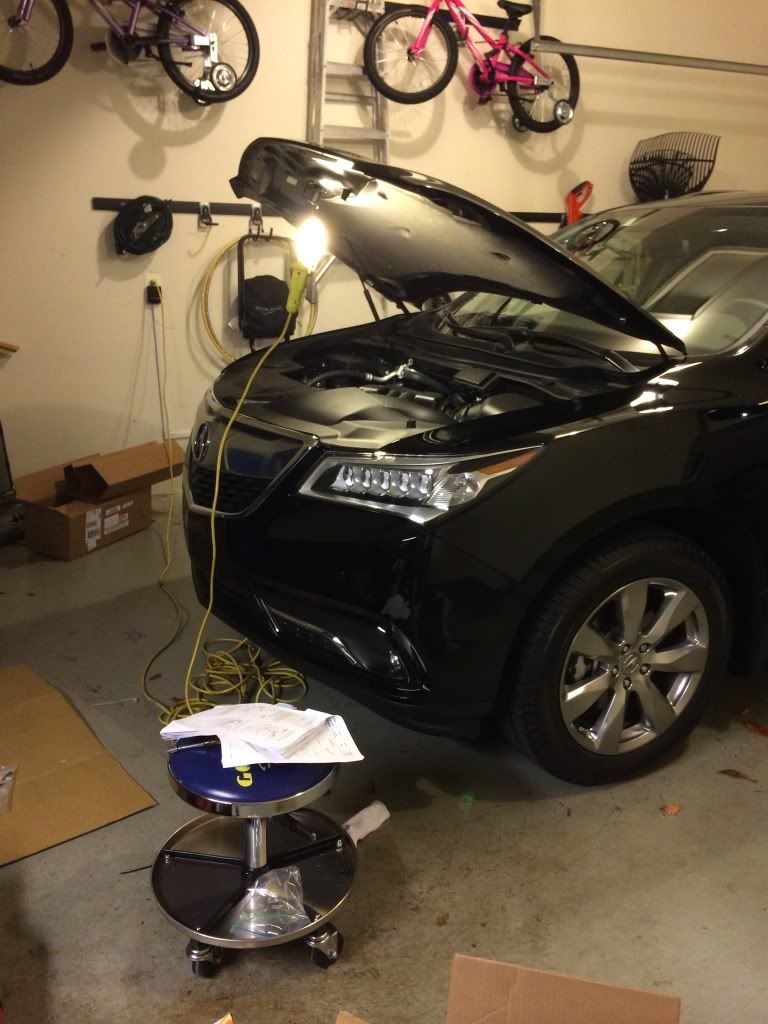
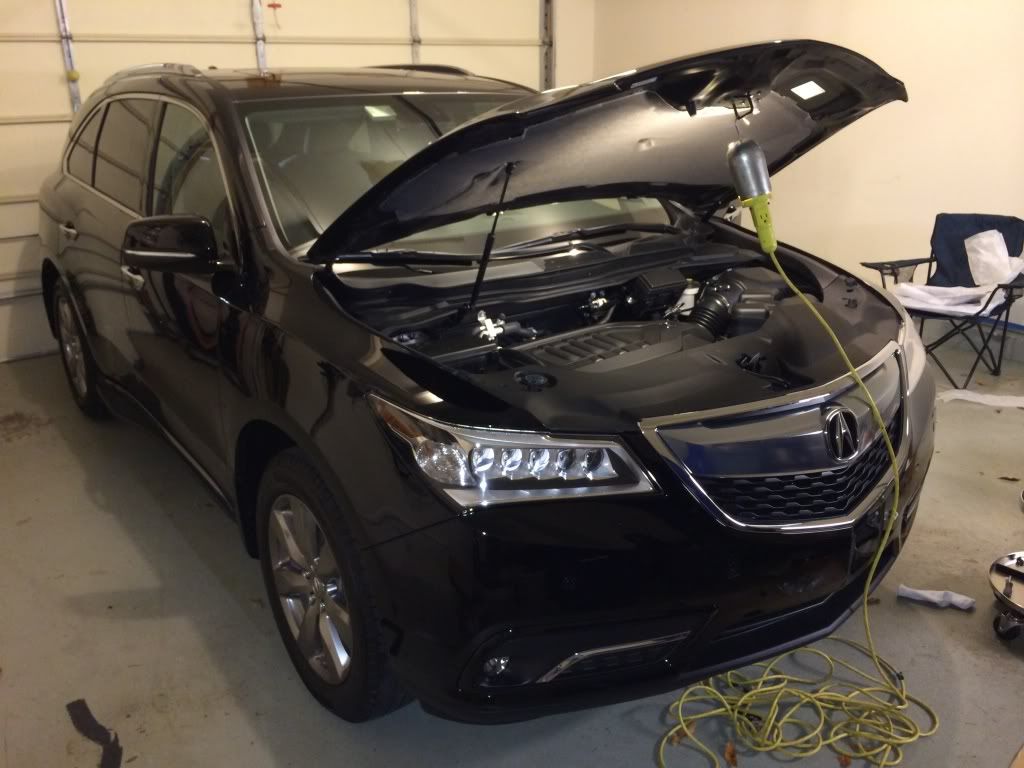
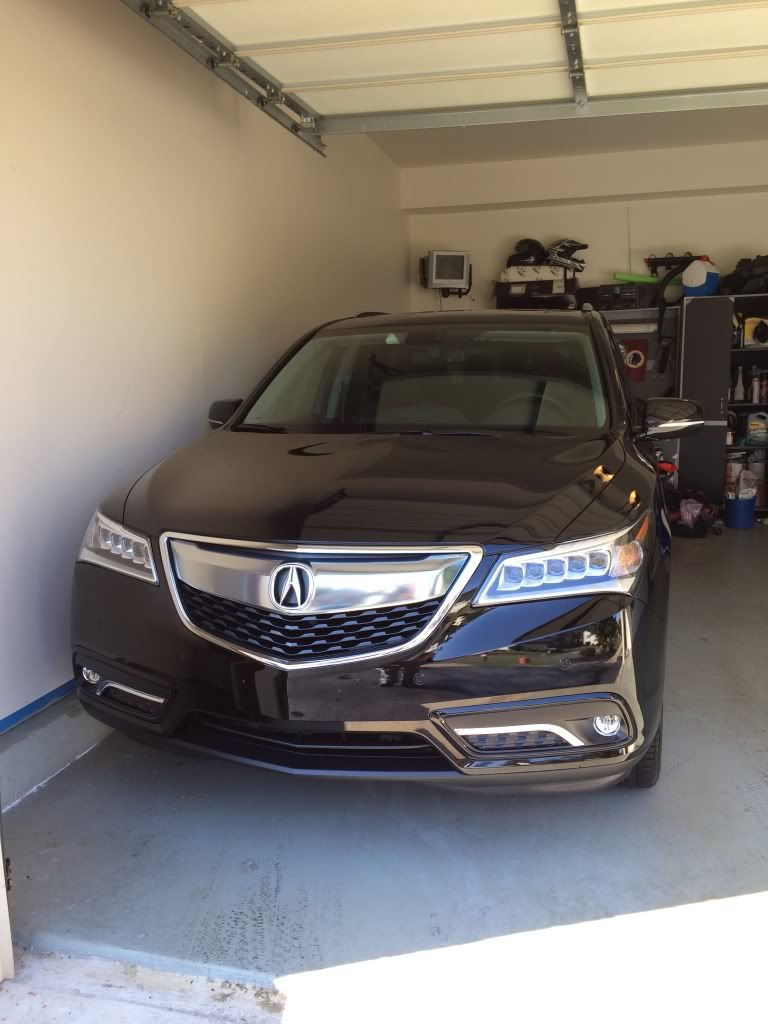
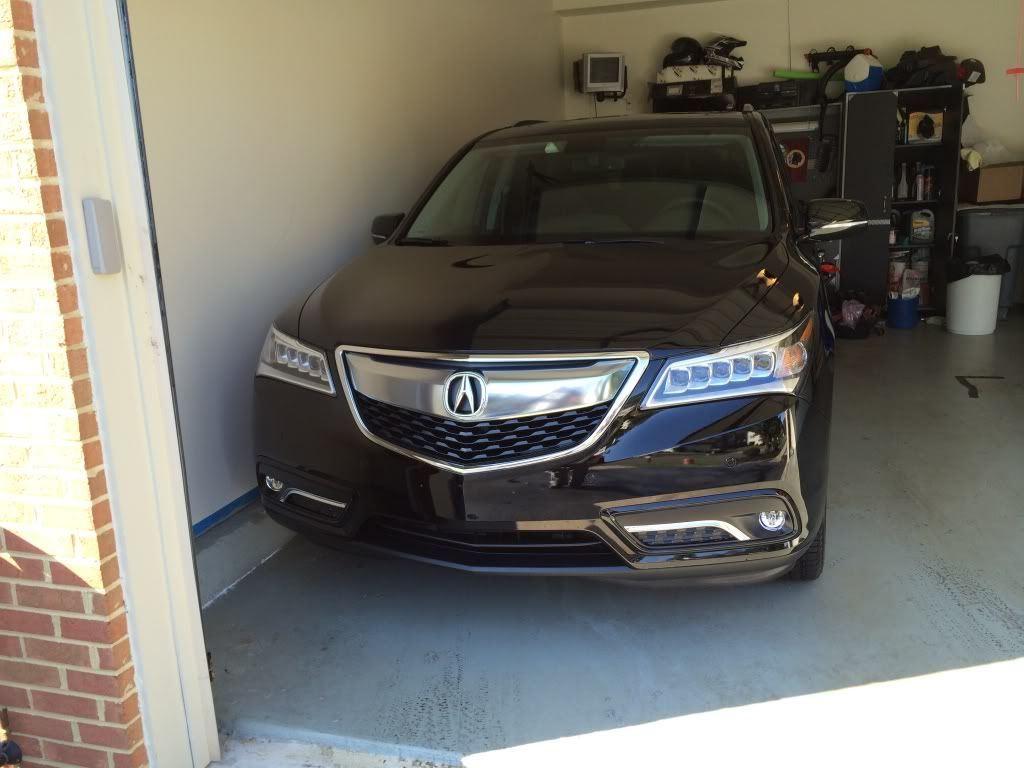
Who out there endured the 17 page fog light installation like myself? Were you exhausted @ the end? How long did it take you?
[URL=http://s813.photobucket.com/user/sebynum/media/null_zpsf1aee092.jpg.html]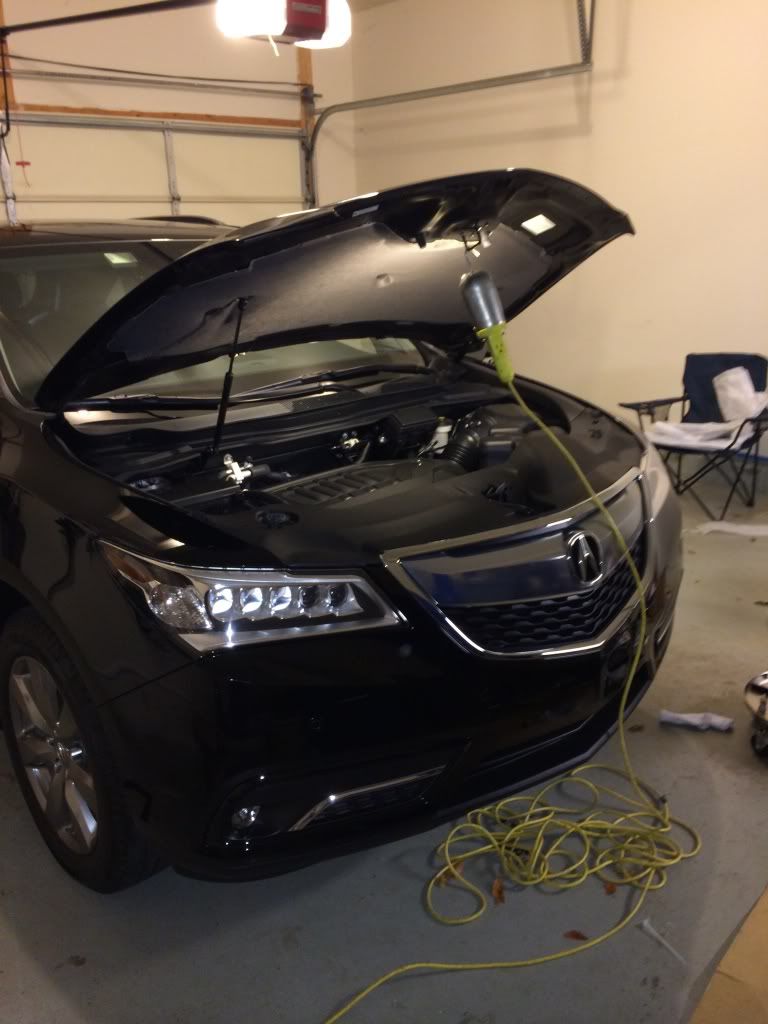 [/
[/ URL]
URL]


[URL=http://s813.photobucket.com/user/sebynum/media/null_zpsf1aee092.jpg.html]
[/ URL]
URL]


The following users liked this post:
drksyd (12-28-2013)
12-27-2013, 02:06 PM
#2

^^ Kudos for your patience and great job!! Looks great but no way I would be able to do it myself....I am jealous! 
 12-27-2013, 07:08 PM
#5
12-27-2013, 08:50 PM
#6


Trending Topics
12-28-2013, 07:37 PM
#11
12-31-2013, 04:11 PM
#14
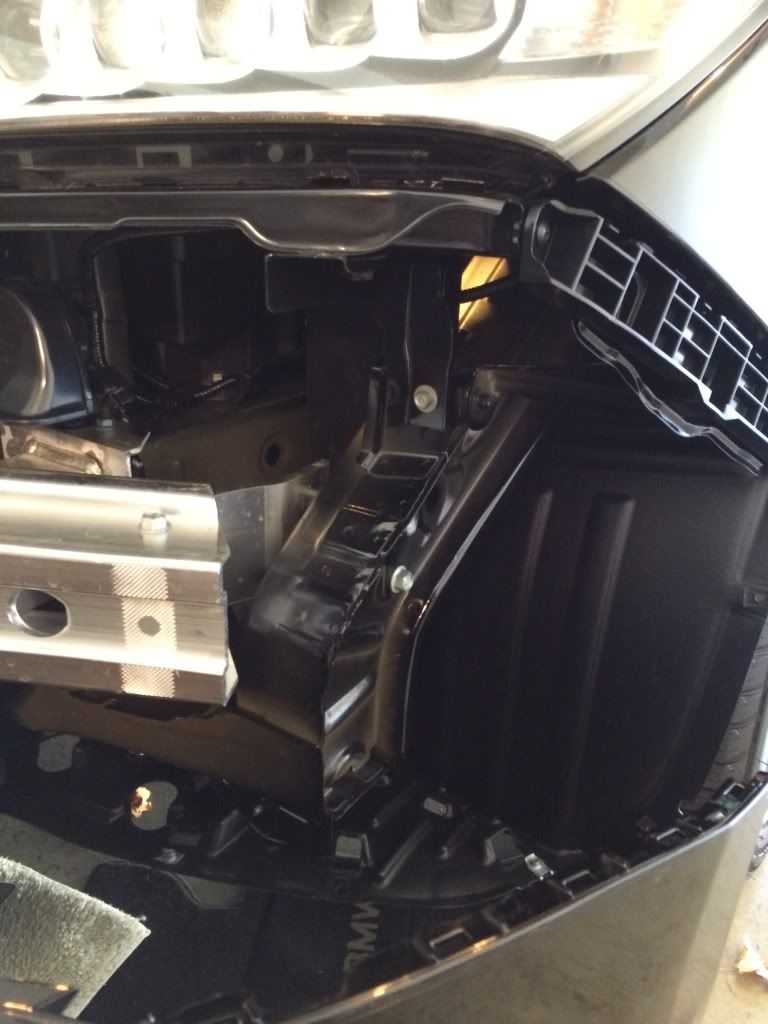
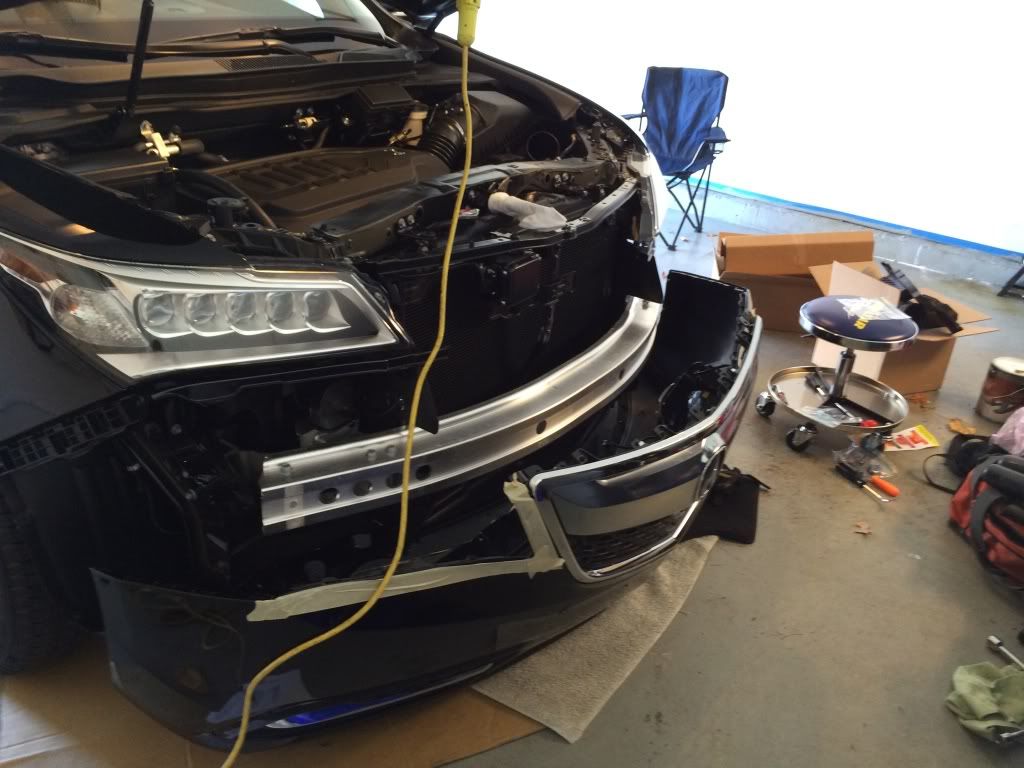
Just finished the install, took me 3 hours. It's fairly easy actually, just wasn't fun for me as the sun hits our garage in the morning. I went by the instructions and put the ground as instructed. That and dressing up that cable assembly added a little time. I was a bit concerned as they weren't turning on, then discovered the high lights were on.
Did you adjust the aiming of the fog lights sbynum?
Did you adjust the aiming of the fog lights sbynum?
12-31-2013, 07:22 PM
#15
Just finished the install, took me 3 hours. It's fairly easy actually, just wasn't fun for me as the sun hits our garage in the morning. I went by the instructions and put the ground as instructed. That and dressing up that cable assembly added a little time. I was a bit concerned as they weren't turning on, then discovered the high lights were on.
Did you adjust the aiming of the fog lights sbynum?
Did you adjust the aiming of the fog lights sbynum?

Thread
Thread Starter
Forum
Replies
Last Post
navtool.com
5G TLX Audio, Bluetooth, Electronics & Navigation
31
11-16-2015 08:30 PM
SUPRMN84
3G TL Audio, Bluetooth, Electronics & Navigation
5
10-07-2015 09:46 PM
navtool.com
1G RDX Audio, Bluetooth, Electronics & Navigation
1
09-25-2015 05:15 PM