When you click on links to various merchants on this site and make a purchase, this can result in this site earning a commission. Affiliate programs and affiliations include, but are not limited to, the eBay Partner Network.
First and foremost, yes I am the same kmankd from other sites you may have visited. I am a full time electrician and weekend wrencher. Started off with buying an eg and basically restoring it and even got it bar'd. Moved on to a DB8 and it was short lived... Poor Eleanor (gone in 60 seconds). Anyhow, I told myself I wasn't going to build cars anymore due to the heartache of time, effort, sweat, and tears into my cars but... can't seem to get away from it!!! Especially with all that I am doing with my TSX. Felt the need to log my work and get help or help others in regards to builds. This will strictly be an all looks build with the exception to a few performance parts; meaning no motor upgrades, no intakes, etc. I will mostly focus on technology upgrades and the hardest thing on this build thread with be upgrading brakes in the future. With that said, HELLO ACURAZINE!
Welcome! Post pictures of your past builds ... And looking forward to see where the tsx leads you!
Thanks a lot! Here are a few pics of the toys. My favorite color is black. The wife loves white. So happens I wrecked the DB8 lol. No longer have the bikes due to kids. After the DB8, wife now drives a BLACK highlander... shouldn't have sent me to go car shopping lol. Anyhow, the civic is just in the garage... collecting dust as I slowly install power windows/locks and get it ready for sale.
First thing I did when I brought the car home was to give it a good wash and 4 step wax. As you can see from the lighting of the pics, it wasn't easy waxing it lol.
Welcome! Wow, such a clean CU2 after that wax. What's your first mod? Coilovers perhaps?
Thanks! grueling work though. I tried out the turtle wax jet black wax. Basically you are waxing the car 4 times due to applying each item once then removing it with microfiber cloth. My first mod is to replace all the lighting in the car. Wish I have the money for coilovers but can't justify it to the Mrs. because to her it's still a "new car" lol. Some pics below
Originally Posted by xtcnrice
Welcome!
Thank you!
Exledusa LEDs... Pricey, but they are definitely worth it! I got the 5000K
Next up... See that wire hanging at the mirror? It's my dash cam power wire that goes into the 12v outlet. Bugs me that theres a freakin cord hanging there. Time to remove that eyesore but continue to keep power for the cam. But how???
You can maybe try running the wire along the headliner and down the pillar for starters. However after this point, I'm not too sure. Tuck it further back so that it's sorta hidden and maybe under the carpet, then back up to the 12v source? This is why I don't like 12v dash cam setups.
I've been thinking about getting a Blackvue dashcam as that could be run while the car is off, and it doesn't require the 12v source as it can go to the fusebox instead, which would make hiding the wire a lot easier. However, they aren't cheap
Good luck, sorry for the crappy answer. Hopefully tucking under the headliner and pillar is enough of a start for you to start getting creative. There are some videos on youtube showing dash cam "installs", which include hiding of the wire(s).
Hey thanks for the suggestion. I did think about running it that way but it's a pain running down the A pillars since it is a pain to remove. It also makes my center console ugly by having that stupid plug taking up the 12v outlet lol. I thought of another way to power the camera without running all that mess. Since our rear view mirrors already have power, why not tap power from there? Then you can run wires down the same path as the wire for the mirror and be good as gold. You do need a 12v converter though. I tried running the wires straight power from mirror to camera and it burned my old dash cam lol. I been meaning to replace the old one anyways and was glad it died. Picked up a nice 1080P HD one for 75 bucks off amazon. Really like it. Anyhow, buy an EDOTECH 12v converter, make sure to buy the one that says mini usb as those are the more common power plugs for dash cams. I had a usb power converter and tried that but it makes the dash cam think that I am plugging into a computer everytime I start the car. So I bought the mini usb power one and it works. What I did was remove the roof console (4 screws, 2 black in sunglasses holder and the other 2 is in the map light - 1 in each). Next I fish the power wire in the same tubing as the power mirrors and after you fish it through, solder the black wire with the mirror's black ground and the red wire with the mirrors tan wire. The rest of the wires and the little edotech power box sits in the roof. Just zip tie it to the current wires up there to prevent vibration noise.
Finished working on the navi today. Let me tell you, there is absolutely NO SPACE behind the info screen what so ever! Also replaced the air bag... Yes! I am rebadging the vehicle. I love the chrome Honda grille so that will be next!
Thanks! I live in HB. We all should meet up and swap ideas some time!
Originally Posted by iCrap
which navi unit is that?
I got the N81 ACRD. P81/F81/N81 are all the same unit with different backgrounds. Not a fan of skulls or spiders so I got the N81 version. The unit itself is plug and play, but there's a lot of modding to do for it to sit properly in our vehicle.
what is the interface for vid in? composite or hdmi?
Composite for sure, and I think it even has hdmi. It took me too long to get it to fit in there so I will not take it out to double check lol. However, the P81 pictures shows an hdmi port. They are all the same unit anyway so I am going to go with it having an hdmi port as well. Another note, if you do go with hdmi, I would suggest a 90 degree bend plug because there just isnt room back there to plug anything in directly. I even had to get creative with the entire harness tucking.
Thanks! Been awhile since I had some time to do anything... Worked on my new headlights last night. Put on some Lamin-X protectors onto them. Also picked up some Morimoto LED fogs and added protection to those. It was tough having to decide whether to go clear or yellow covers for the fogs lol. Anyhow, just working on making a headlight harness so that I don't have to hack anything. In the meantime, I am 90% complete on the debadging mod. Just need to put the H center caps on when I rotate my tires. Will also install the mud guards.
Personally, it costed me $0. My wife bought it for me for my 30th bday. Her cousin was visiting UK and she got them to get it for me. Not sure how much they got it for but nengun sells it for about $1100 before all the shipping and duty fees.
Added some door edge guards.. My eldest tends to get too excited going in the fast car so she opens the door rather swiftly. Very simple install, I didn't even have to scrape the rubber sealant as suggested in the manual. about 5 mins per door. less if you're not meticulous about it being even to the T.
Hello! Sorry I have been lagging on posting anything. Been busy with my day job. Been promoted to project manager so more hours, shitty pay lol. Also been busy with my online store. RatchetRacing.com if you're curious. I still haven't installed the headlights. Busy building a harness for it along with a few other custom things I wanted to do with it. A lot has changed since I last posted. See below =)
Added window visors. Not Mugen tho =( they were discontinued so I went with some aftermarket ones. These one came with the clips.
Installed the OEM spoiler. I didn't drill the holes onto the trunk though. I felt it would be a waste to drill the holes being that this spoiler isn't going to fly off the trunk.
Added a protectant film to the windshield. Basically a giant screen protector. Didn't want another crack windshield from big rigs.
Frankenstein my pressure washer. No more hand drying the car. Spotless rinse from here on out!
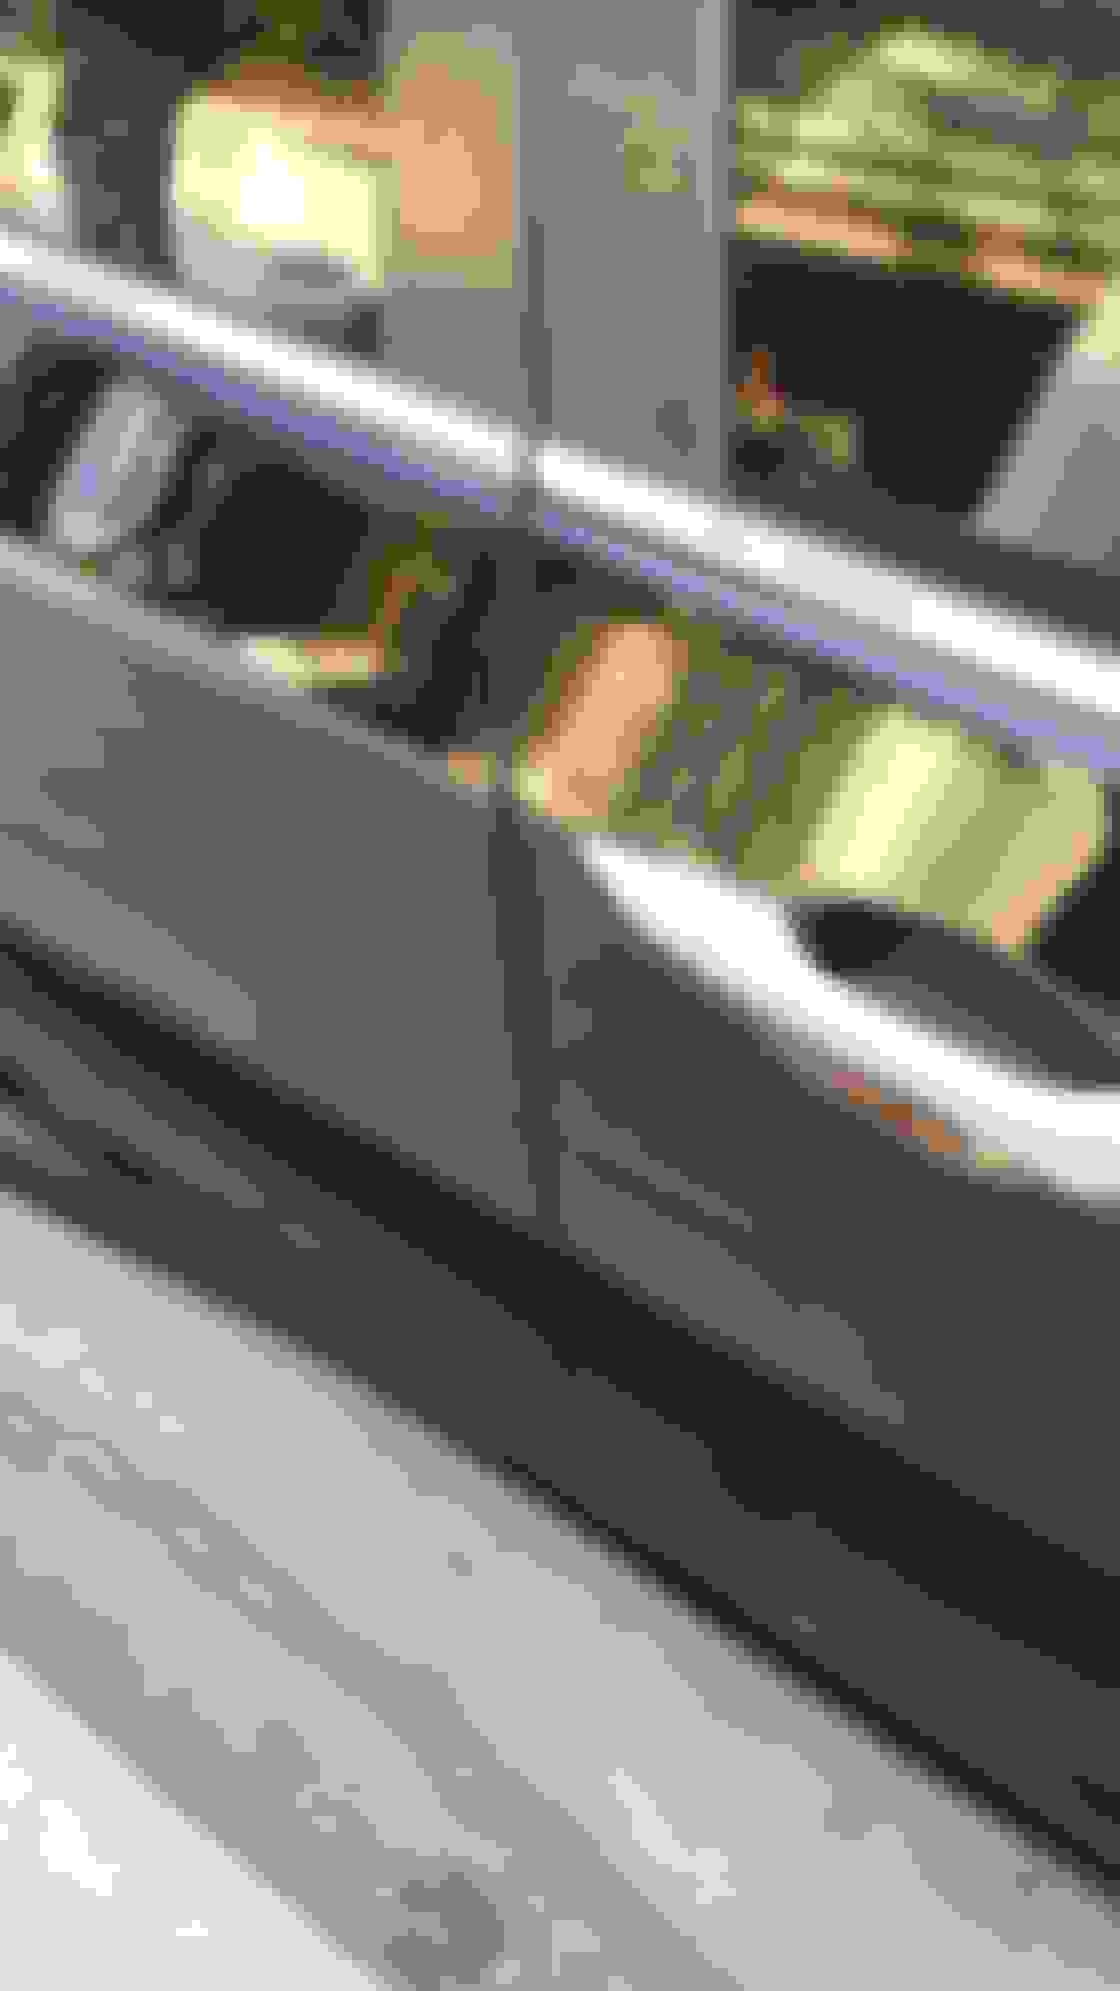
Replaced OEM wheels with TL Type S wheels. Loving the carbon look and even more happy with how the Honda centercaps match
Here's a teaser. Bench testing the headlights. Got all the connectors and currently building my harness. Hoping to install these by the end of the month assuming I don't get swamped with work.
Any chance of doing a write up for the headlight wiring or perhaps selling harnesses?
There's a good possibility my shop will be selling the harnesses in the near future. There is just a few things we are working on smoothing out first. There will also be an option of whether or not you want the intersection lights working or just using it as city/blinkers, etc. I can fill in with details later.
There's a good possibility my shop will be selling the harnesses in the near future. There is just a few things we are working on smoothing out first. There will also be an option of whether or not you want the intersection lights working or just using it as city/blinkers, etc. I can fill in with details later.
Headlights are in let me know about the harness....these things are nice.
Quick update. Haven't been able to work on my car much, work has been so crazy for me, whatever free time I have left is split among the wife and kids. I did have a couple hours last week but spent it changing out HID for the wife's Highlander. She had some DDM bixenon. They were ok, except for the fact that they burned out and the guy at DDM didnt want to swap them because supposedly it was working fine. I have videos to prove it shuts off every 5 mins!!!. Anyways, went with Morimoto 55W HIDs. LOVE THEM. Great quality too.
Originally Posted by ZmaRob
Awesome keep us posted I'm sure I'm not the only one that wants these headlights
Will do. I am about halfway done with the harness. The hard part is having time which I will try to focus more on.
Originally Posted by Pete_tls90
Wow hurts me to see that db8 in that condition . Your tsx is looking better and better
Yeah, I miss that unicorn of mine, but I am so happy to have the tsx lol. Love the sound system, updated electronics, and not having to worry about if my alarm is on and clutch is locked lol.
Originally Posted by xtcnrice
<p>Awesome! Can't wait to see these lights on. I'd love to hear more about your harnesses, too.</p>
Hoping to put them on this month. We will see. I also am eyeing on getting into auto x? Saw a meet happening in Oct in Costa Mesa. Anyone going?
Originally Posted by chuonthis
Car looks good
I'm local too we should meet up in HB I'd like to check out the harness.
Thanks. Car will probably be ready this month so maybe I will be able to meet. We should get a car meet going haha.
Originally Posted by TS-e-X
Those headlights look amazing!
Not really. I don't think they look so well sitting on the table lmao jk.
Originally Posted by alexbenz
how much are those headlights?
any pics of the fog lights?
Lol, last question how does the pressure washer work? you still wash the car with soap and water?
My wife got me the headlights. I am assuming they run about $800-1k?
The fog lights I haven't even hooked up yet. They are the Morimoto LEDs.
As for the pressure washer, you still use it the same way. Instead of hooking up the hose to the pressure washer, you hook it up to the filers. The filter then exits into the pressure washer. I use a foam cannon with meguires soap.
Originally Posted by 2012wagon
Car looks great.
Only thing that bothers me about the visor is the fact it doesn't go over the 1/4 windows in the rear door...
If you guys meet up, let me know, I will stop on by
Thanks! Yeah I wish it went all the way down to cover the remaining chrome piece. I though about wrapping that section but its kind of too much work for just a small piece lol.
I was under the impression that the JDM headlights don't come with any DRL LED.
Correct me if I am wrong.
Thanks! Check out my pic with the headlight. the strip in the middle is led which doesn't draw enough power when on drl that's why it is causing the error to show up on my gauge.
Wow this is great. If I had the funds for the headlights, I'd definitely be interested in your harness Keep up the good work!
Thank you sir. So far the harness is getting really expensive, I mean, you can shave about $100 or so just by hacking it and save more by going with cheaper relays, but I'm trying really hard to get everything to be plug n play and of great quality so that there won't be any problems in the future. I think the only connectors I have to hack will be the turn signals, I haven't pulled off my headlights yet to see what those turn signal connectors look like but I will in due time. Currently working on a photo shoot for my site. Will post up more pics soon when I'm done with that. I also put on a rear window visor today. Pics coming tomorrow I hope
Sorry for the delay. Been caught up with photoshoots and other businesses. Working on a couple of builds at the moment so haven't been focused with my car too much. I did install a rear window visor. Matched paint. was fairly easy to install so there won't be a diy on that lol. Anyhow, a few pics for your enjoyment:
 04-08-2015, 08:01 PM


 What's your first mod? Coilovers perhaps?


 Keep up the good work!