
DIY Paint DRL Bulb Yellow
 09-26-2012, 06:37 PM
#1
ROTAREDOM
Thread Starter
DIY Paint DRL Bulb Yellow
WARNING: You MUST be 21 or OLDER to attempt this DIY. Attempt at your own risk.
So these are your ingredients. I've included close up pics so none of you get confused.
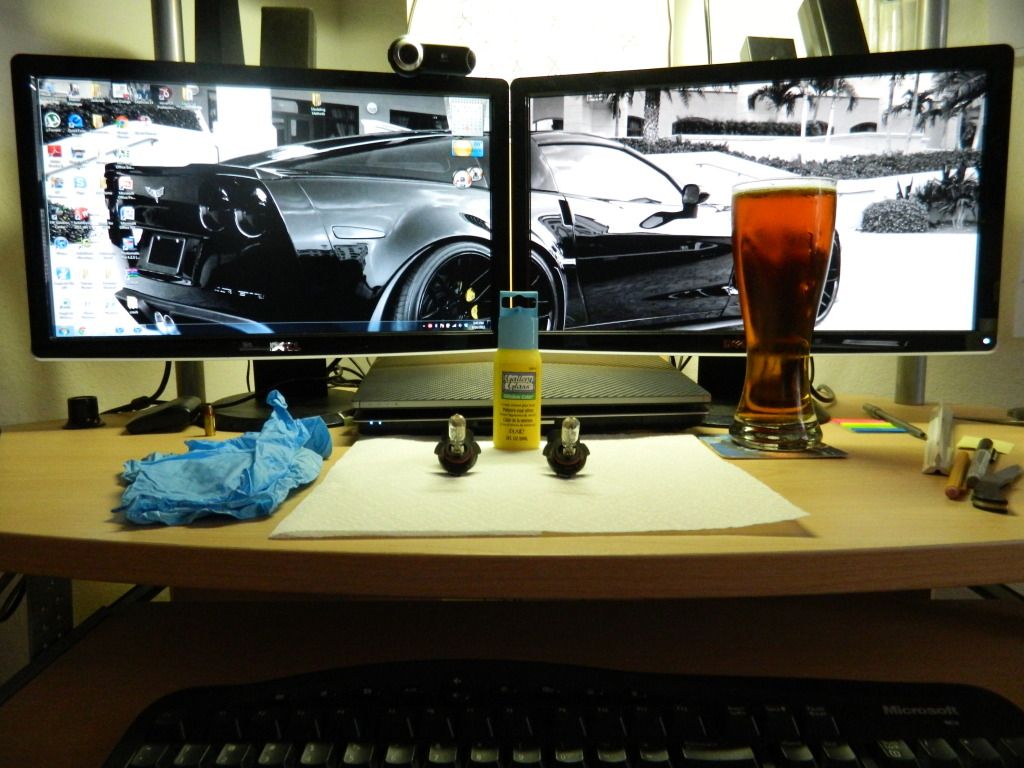
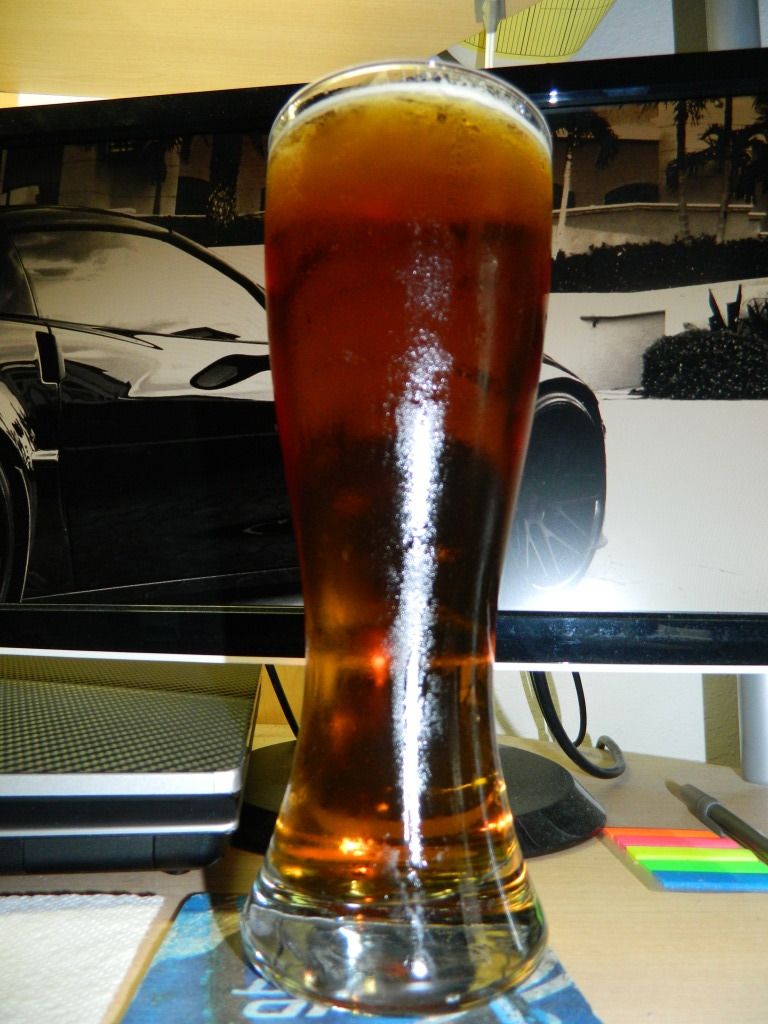
Firstly fill up your tall glass with beer. ( I prefer yuengling, but beer type is optional)
Yellow Glass Paint ( I bought mine from eBay for 3.75)

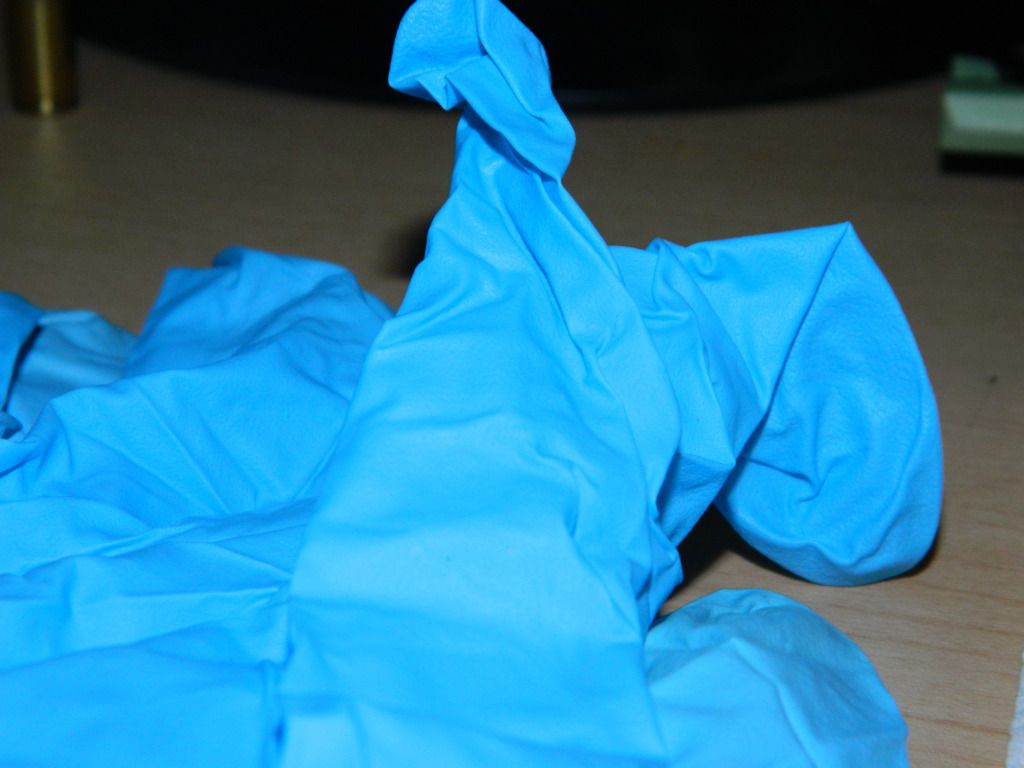
Nitrile Gloves ( that way no oil from your hands get on the bulb)
And of course your DRL Bulb
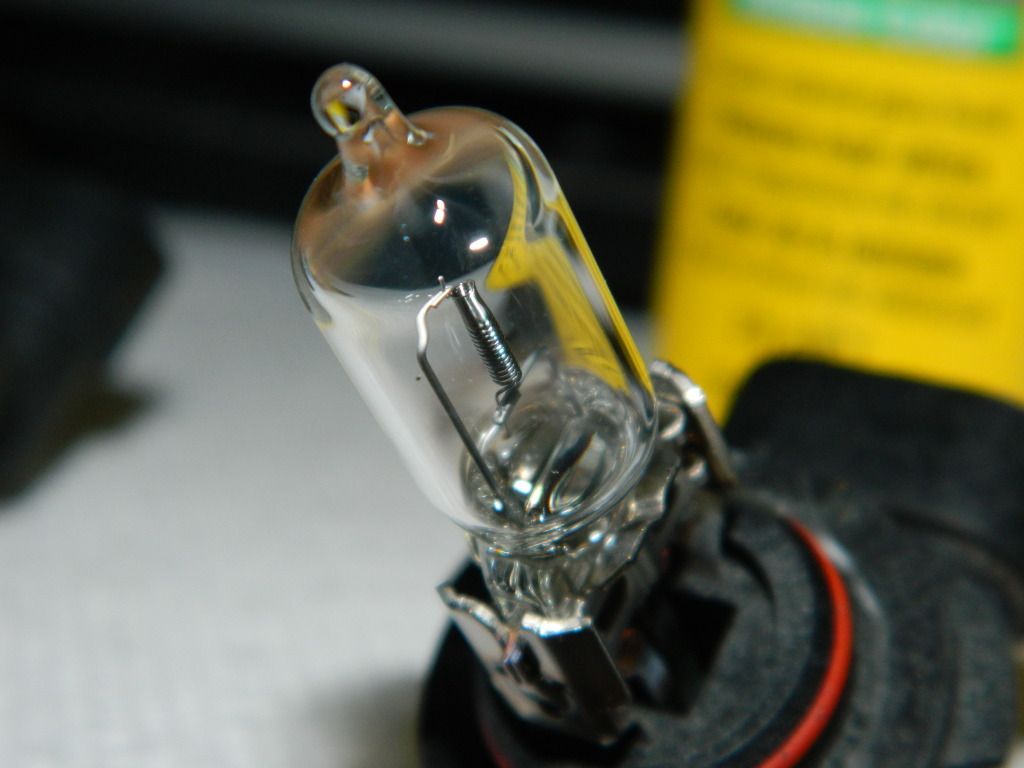
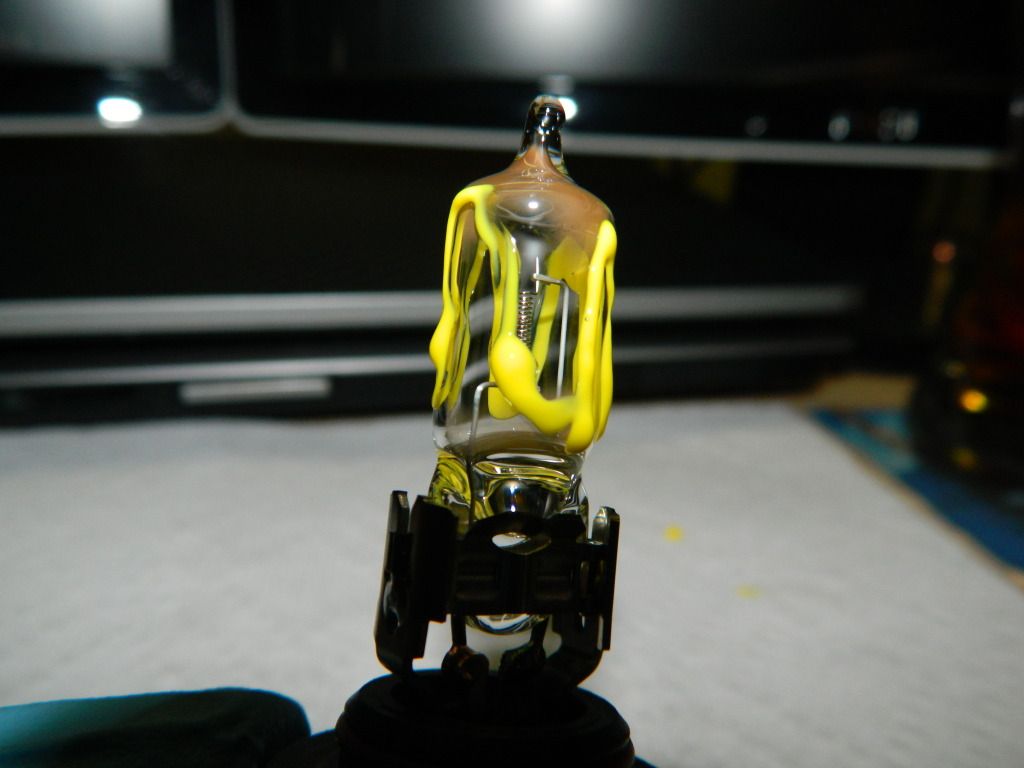
First make a sinusoidal wave of paint across the bulb like this. It's ok if it's a little chuncky, you're gunna spread it around.
Now use the tip of your paint thingy to spread the yellow paint evenly across the bulb. I left the tip unpainted because I thought it would be better for the functionality of the high beams. I don't really have any reasoning other than I felt like it would be better.
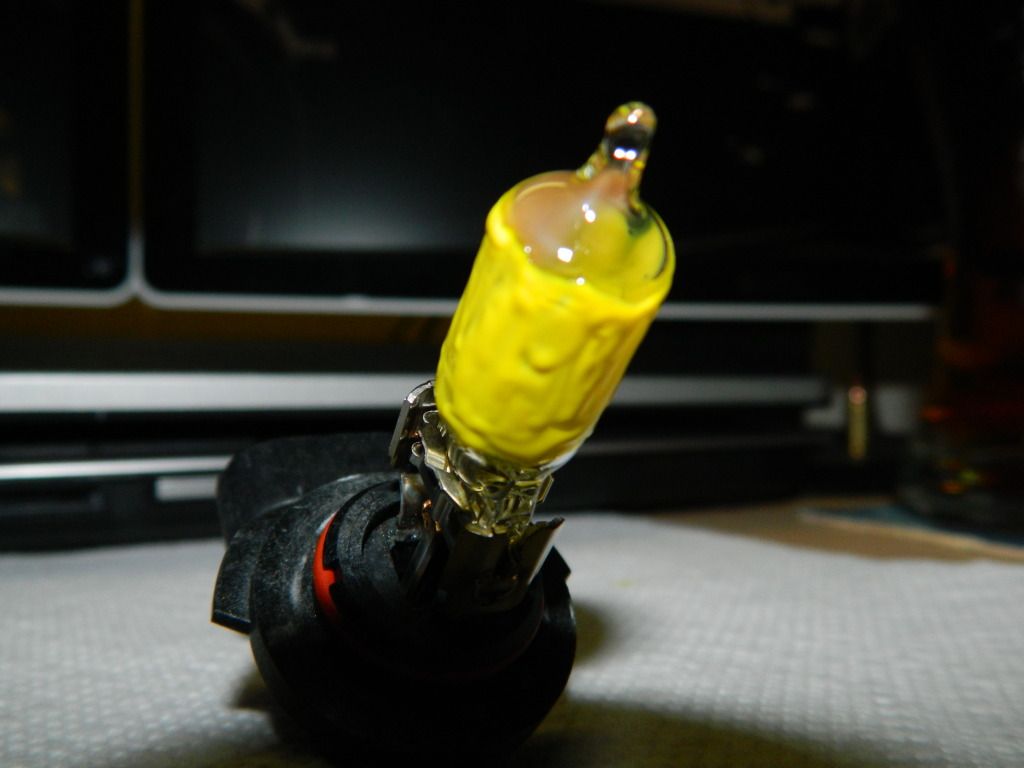
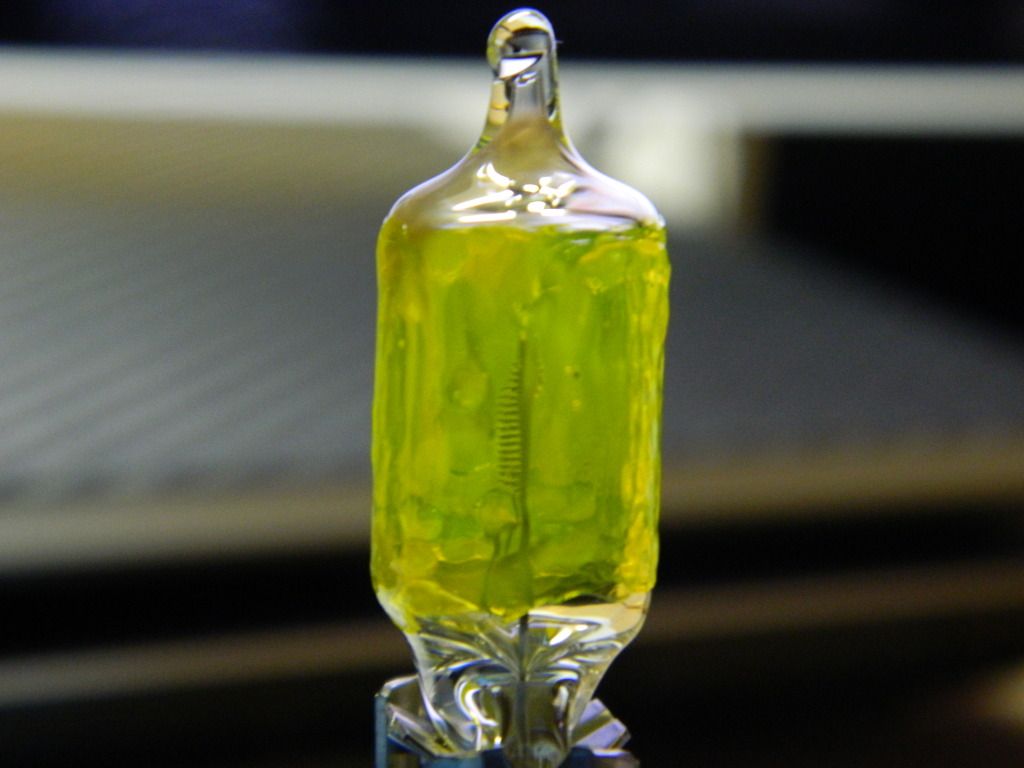
Now do the same thing to the other bulb and let them dry, don't worry if you can see that it's not perfectly smooth. No one will ever notice. Once it's dry it'll look like yellow plastic on your bulb. Like this....
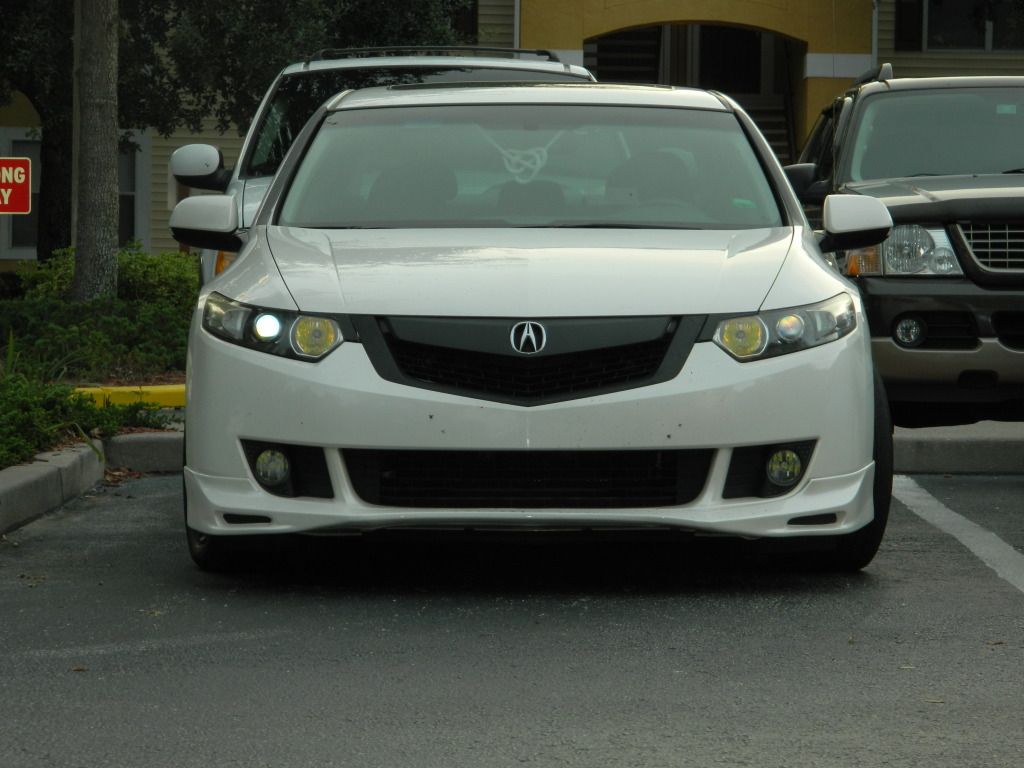
Now go install it in your car. I took some pictures( Im no mcfagboy so bear with me) It was nearing dusk and the love bugs are splattered all over the front too.
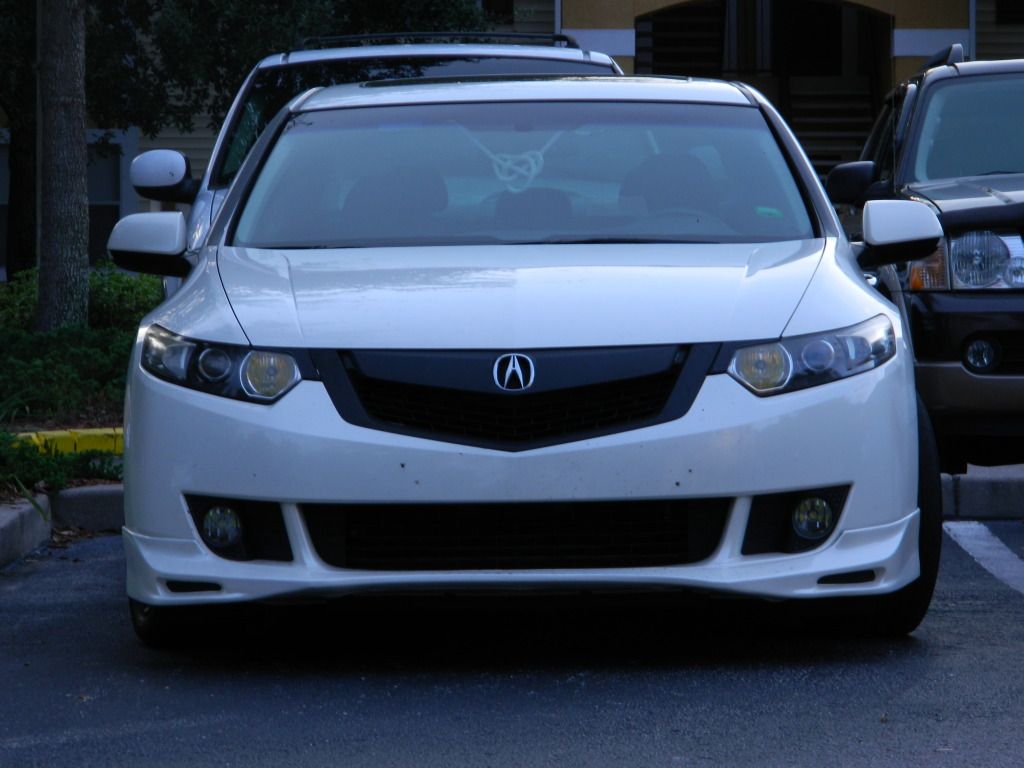
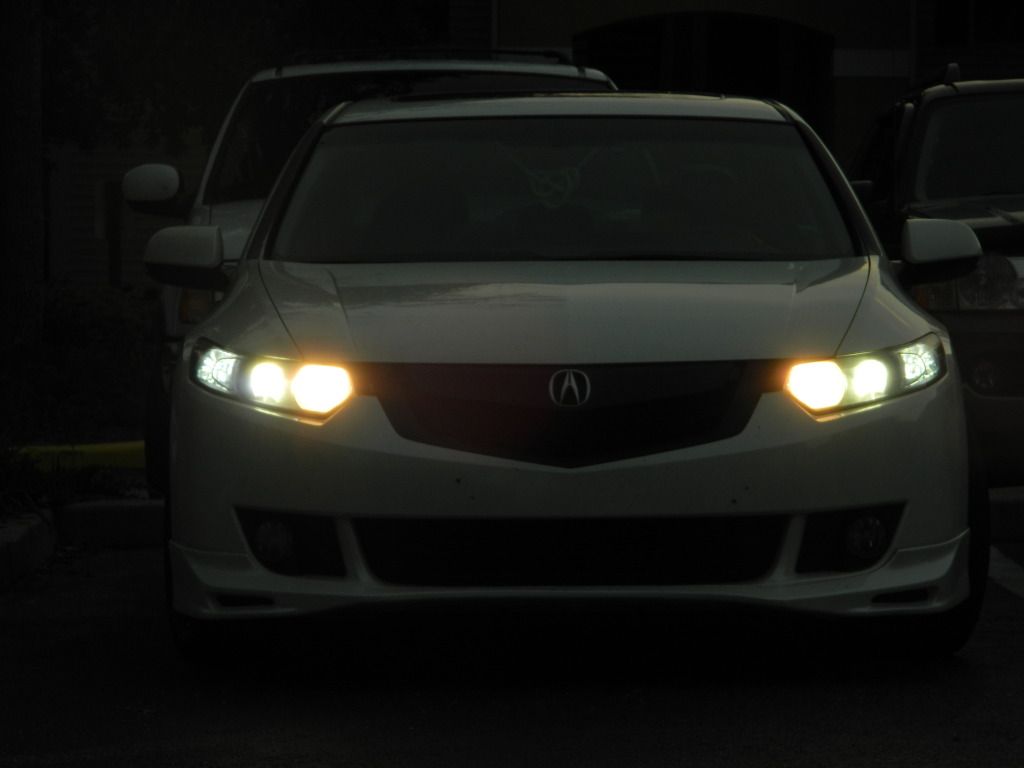
And this is a picture with the HIGHS on.
Overall time to do this: 45min
Difficulty of DIY (out of ten) : 2
JDM Factor (out of 5) : 3
Last comments: I spent $3.75 to do this project. Some said just buy yellow DRL bulbs for $20+ shipping, but this was way easy and I suggest it to anyone. I want to note also that I have my DRL fuse pulled so they are no longer running. This is for appearance only. The High beams still work and are perfectly functional with the yellow paint. I tested the paint with a piece of plastic and held the plastic against a light bulb I had in the room. After about 5min of direct heat the paint only adhered to the plastic even more than before (before it was a little easier to peel off with finger nail) If I were to give an engineering opinion I would think that even if you use your DRL on a daily basis this bulb paint would be perfectly fine. HOWEVER, I have not tested this and suggest you pull the fuse and just go for the "look" of yellow DRL.
ENJOY
So these are your ingredients. I've included close up pics so none of you get confused.
Firstly fill up your tall glass with beer. ( I prefer yuengling, but beer type is optional)
Yellow Glass Paint ( I bought mine from eBay for 3.75)
Nitrile Gloves ( that way no oil from your hands get on the bulb)
And of course your DRL Bulb
First make a sinusoidal wave of paint across the bulb like this. It's ok if it's a little chuncky, you're gunna spread it around.
Now use the tip of your paint thingy to spread the yellow paint evenly across the bulb. I left the tip unpainted because I thought it would be better for the functionality of the high beams. I don't really have any reasoning other than I felt like it would be better.
Now do the same thing to the other bulb and let them dry, don't worry if you can see that it's not perfectly smooth. No one will ever notice. Once it's dry it'll look like yellow plastic on your bulb. Like this....
Now go install it in your car. I took some pictures( Im no mcfagboy so bear with me) It was nearing dusk and the love bugs are splattered all over the front too.
And this is a picture with the HIGHS on.
Overall time to do this: 45min
Difficulty of DIY (out of ten) : 2
JDM Factor (out of 5) : 3
Last comments: I spent $3.75 to do this project. Some said just buy yellow DRL bulbs for $20+ shipping, but this was way easy and I suggest it to anyone. I want to note also that I have my DRL fuse pulled so they are no longer running. This is for appearance only. The High beams still work and are perfectly functional with the yellow paint. I tested the paint with a piece of plastic and held the plastic against a light bulb I had in the room. After about 5min of direct heat the paint only adhered to the plastic even more than before (before it was a little easier to peel off with finger nail) If I were to give an engineering opinion I would think that even if you use your DRL on a daily basis this bulb paint would be perfectly fine. HOWEVER, I have not tested this and suggest you pull the fuse and just go for the "look" of yellow DRL.
ENJOY
 09-26-2012, 07:06 PM
#2
Everyday I'm rofling
Only $3.75, so the beer was free??? I need to come over some time.
09-26-2012, 07:49 PM
#4
ROTAREDOM
Thread Starter
The following users liked this post:
ssjoeboe9 (09-26-2012)
Trending Topics
09-27-2012, 01:38 AM
#8
Burning Brakes
Copy cat... And yellow DRLs are only $9!!!
http://www.ebay.com/itm/9005-DT-3000...&forceRpt=true
Yours looked way better than mine but I ended up picking up green DRLs off ebay anyways lol (got my drl function back ahahah).
http://www.ebay.com/itm/9005-DT-3000...&forceRpt=true
Yours looked way better than mine but I ended up picking up green DRLs off ebay anyways lol (got my drl function back ahahah).
09-27-2012, 10:40 AM
#9
ROTAREDOM
Thread Starter
Copy cat... And yellow DRLs are only $9!!!
http://www.ebay.com/itm/9005-DT-3000...&forceRpt=true
Yours looked way better than mine but I ended up picking up green DRLs off ebay anyways lol (got my drl function back ahahah).
http://www.ebay.com/itm/9005-DT-3000...&forceRpt=true
Yours looked way better than mine but I ended up picking up green DRLs off ebay anyways lol (got my drl function back ahahah).
 I only saw like $15+ ones on eBay. But I thought if I got the cheap bulbs the highs wouldn't work as well as oem. Turned out good, I like it.
09-27-2012, 02:57 PM
I only saw like $15+ ones on eBay. But I thought if I got the cheap bulbs the highs wouldn't work as well as oem. Turned out good, I like it.
09-27-2012, 02:57 PM
#11
ROTAREDOM
Thread Starter
Can anyone tell me how to keep the headlight cloudyness away? Or is it inevitable? Everything I do doesn't work.
09-27-2012, 03:13 PM
#12
Sounds like the guy with his '06 Jetta who painted his sidemarkers. Got odd "bulb out" messages that took VW a long time to diagnose. IIRC, he ended up having to replace his entire wiring harness because the paint dripped into the holder and shorted it out.
09-27-2012, 03:33 PM
#13
I found the original post on VWVortex. Read it and weep.
The following users liked this post:
BaoZZeR (09-27-2012)
09-27-2012, 06:05 PM
#15
ROTAREDOM
Thread Starter
Good work Ceb, saving some people a lot of trouble.
09-27-2012, 06:42 PM
#16
The inside cloudiness is inevitable during cold weather but it is worse once you open up the housings.Check to make sure that you properly put the seals back right (and didn't punch any extra holes.
The road rash can be prevented with something like Lamin-X but that is - technically - illegal.
09-27-2012, 08:00 PM
#17
ROTAREDOM
Thread Starter
It's def the outside ceb... When u put water on it, it looks much better but as soon as it evaporates the green/yellow cloudiness comes back. I have the rotary headlight restoration thing but it seemed to only temporarily help

Thread
Thread Starter
Forum
Replies
Last Post
rp_guy
Member Cars for Sale
9
07-16-2017 07:33 AM
LogicWavelength
3G TL Photograph Gallery
33
11-01-2015 09:38 AM
detailersdomain
Wash & Wax
3
10-09-2015 10:13 PM