Build 2.0 - Niebur3's 2012 Acura TSX SE Demo Car SQ Build Log - Dynaudio/Sinfoni
 01-06-2015, 08:20 PM
#1
Burning Brakes
Thread Starter

Build 2.0 - Niebur3's 2012 Acura TSX SE Demo Car SQ Build Log - Dynaudio/Sinfoni
Here is a link my my entire build log over at DIY Mobile Audio: (Build 2.0) Niebur3's 2012 Acura TSX SE *DEMO CAR* SQ Build Log - Dynaudio/Sinfoni - Car Audio | DiyMobileAudio.com | Car Stereo Forum
The build is completed!
I never intended the build to take as long as it did, but there were many factors that contributed to the lengthy build and changes throughout (Life, equipment issues, and the ability to become a dealer again for (IMHO) the best amplifiers on the planet......SINFONI!!!!!)
Equipment List
Source
Factory Head Unit
iPod and Bluetooth control via the factory head unit
Speakers
Tweeters - Sinfoni Maestoso T25T
Midrange - Dynaudio MW152
Midbass - Dynaudio Esotar2 650
Subwoofer - Dynaudio Esotar2 1200
Amplifiers
Tweeters/Midrange - Sinfoni Presto Ad-Lib.
Midbass - Sinfoni Presto Ad-Lib.
Subwoofer - Sinfoni Grave
Processor
Alpine PXA-H800 Processor
Alpine RUX-C800 Controller
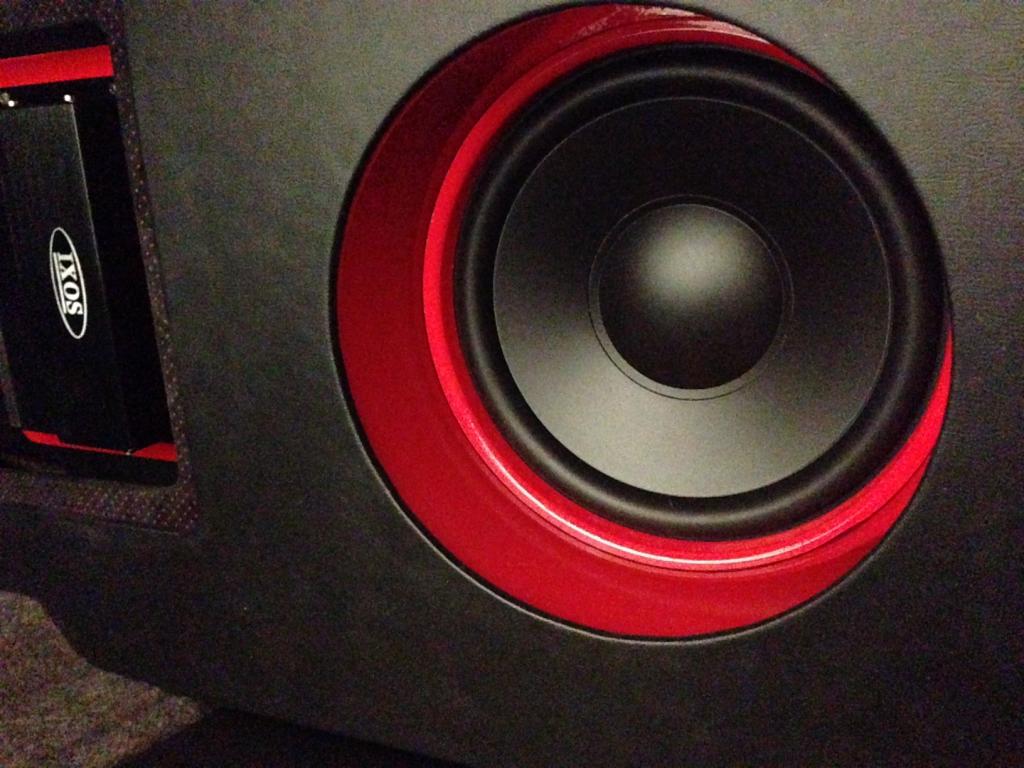
Capacitor
IXOS CA670 5-Farad
Feel Free to ask questions or comment on my equipment list.
RUX-C800
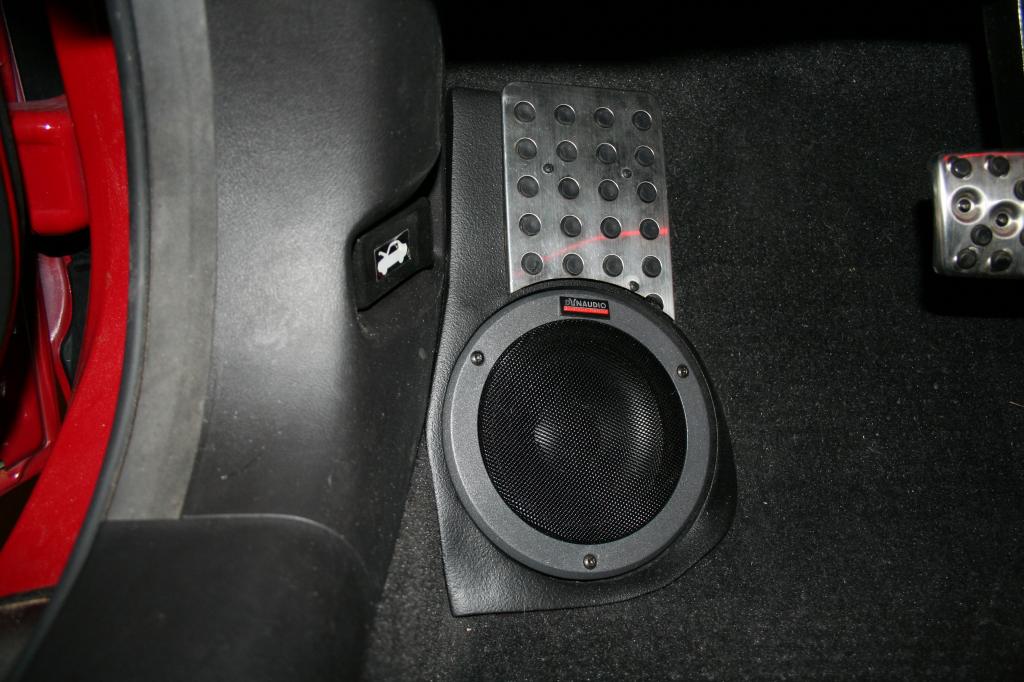
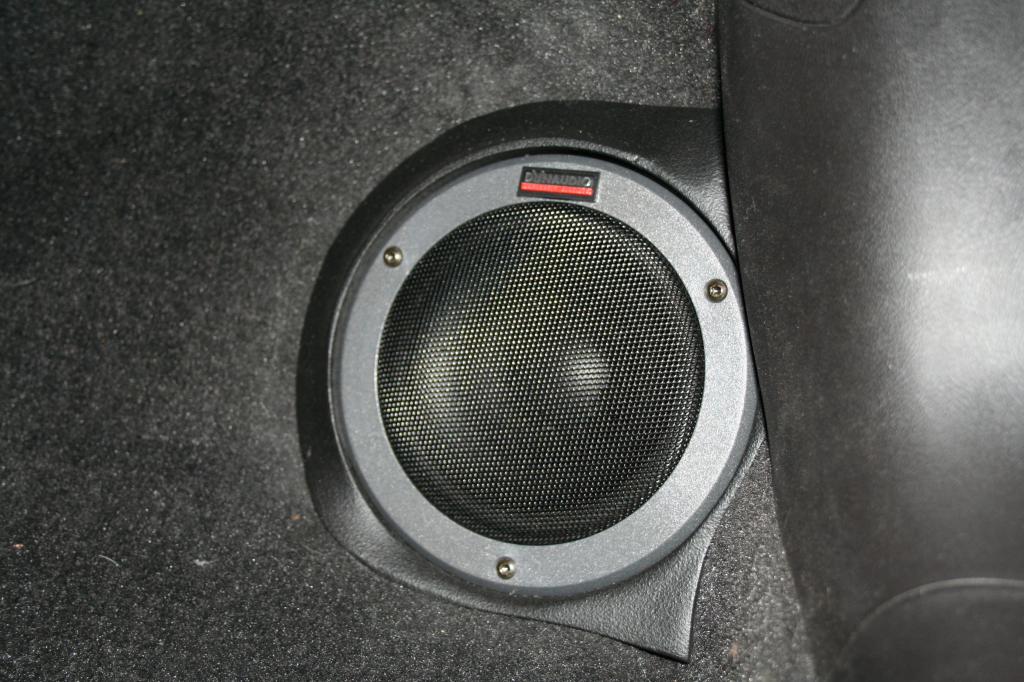
Kicks
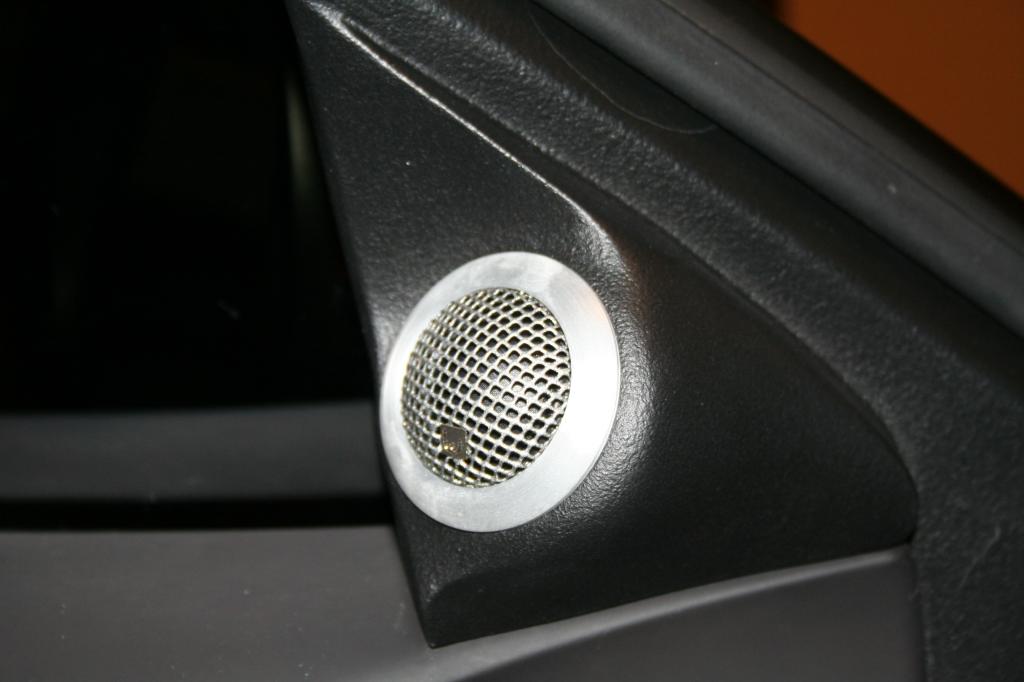
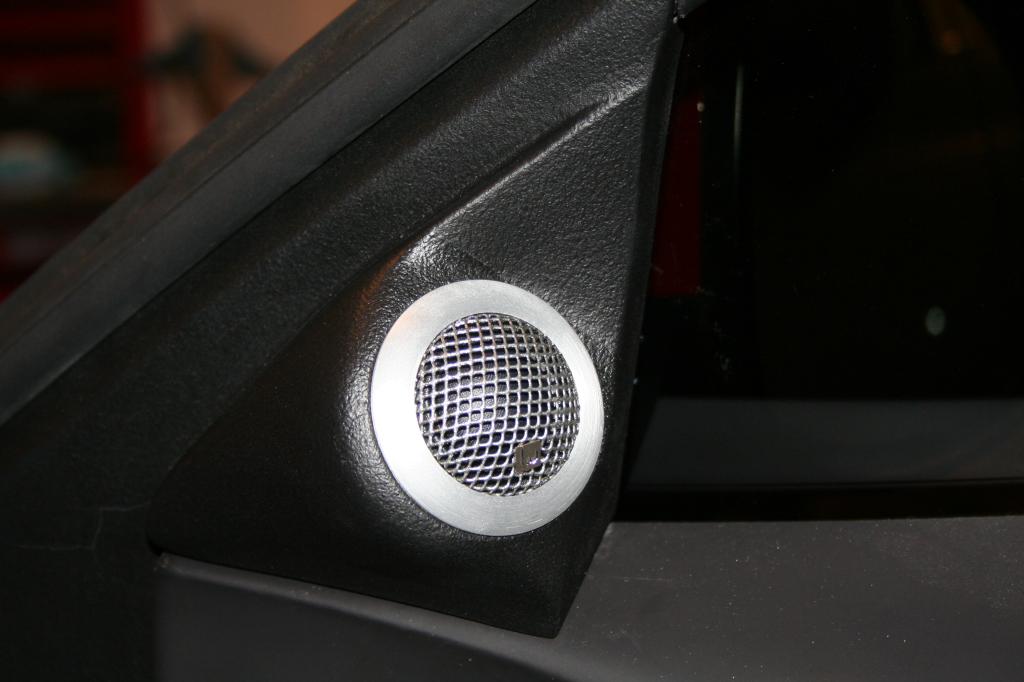
Sails
Doors
No pics because they look 100% factory
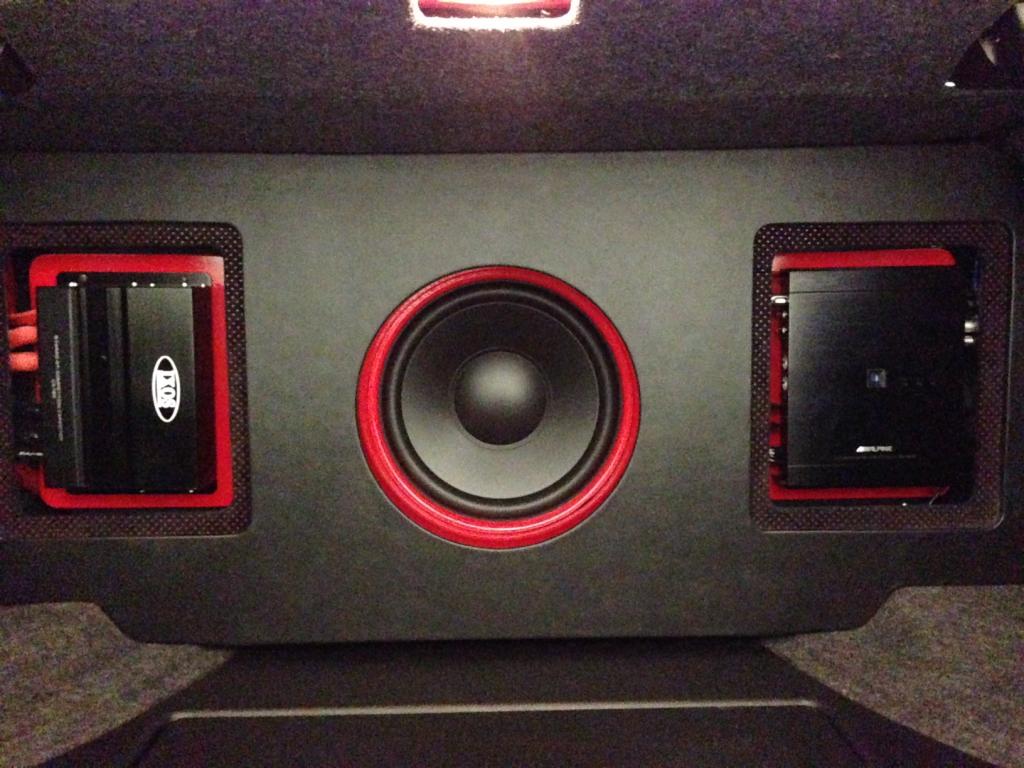
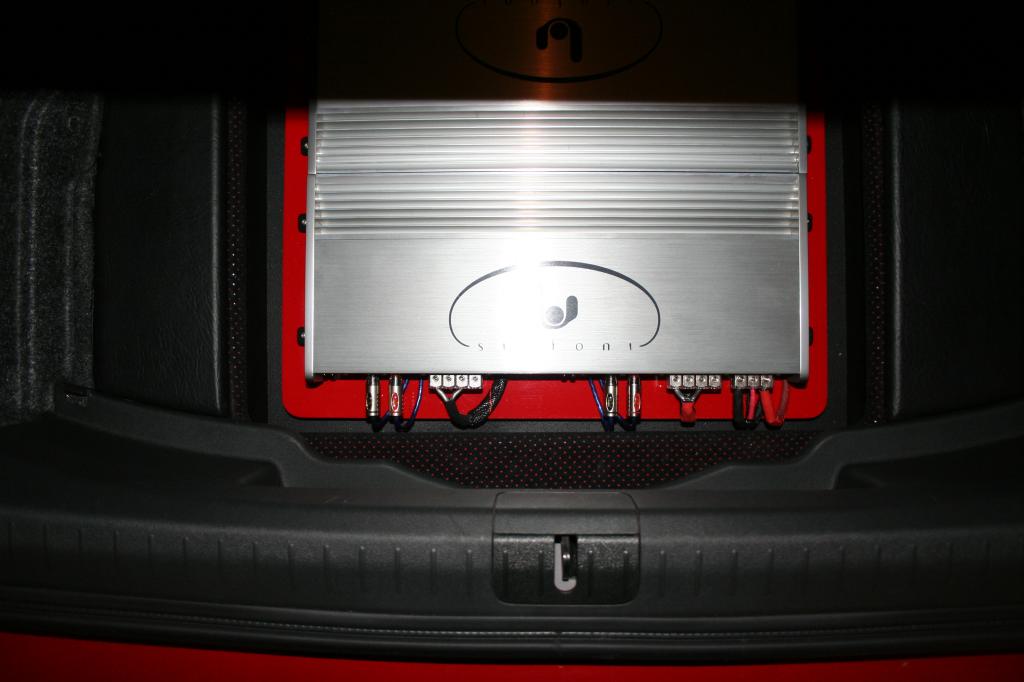
Behind the Back Seat
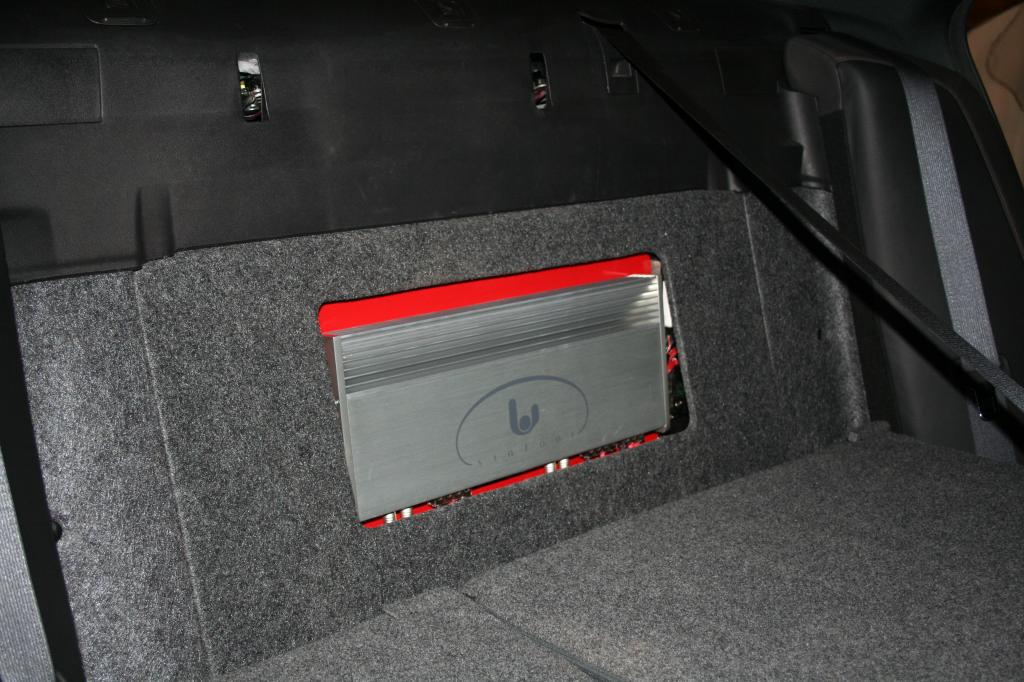
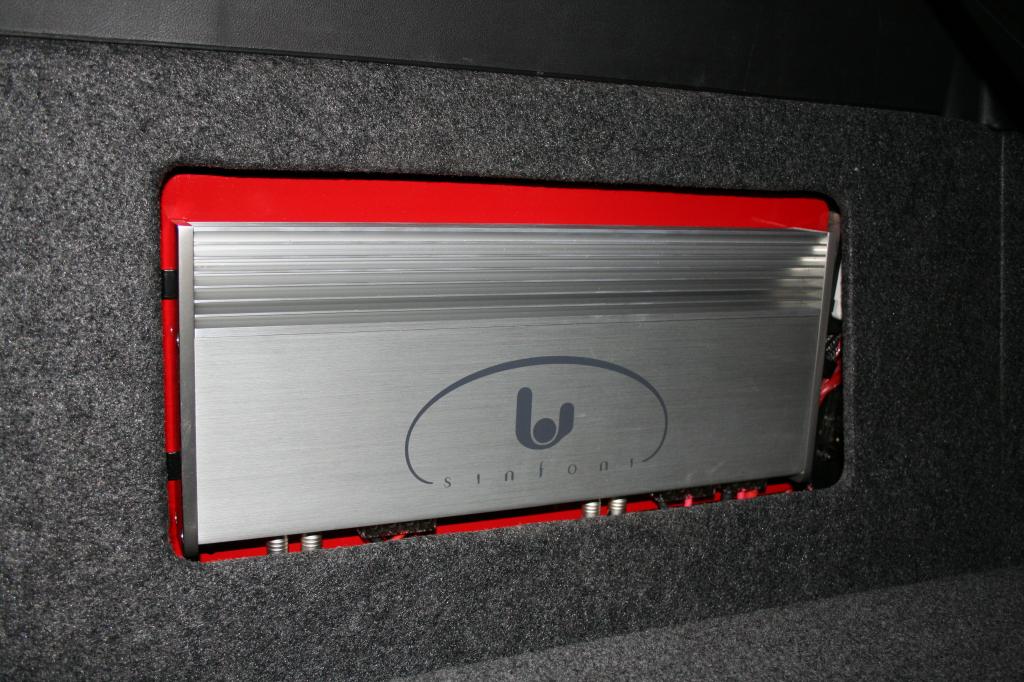
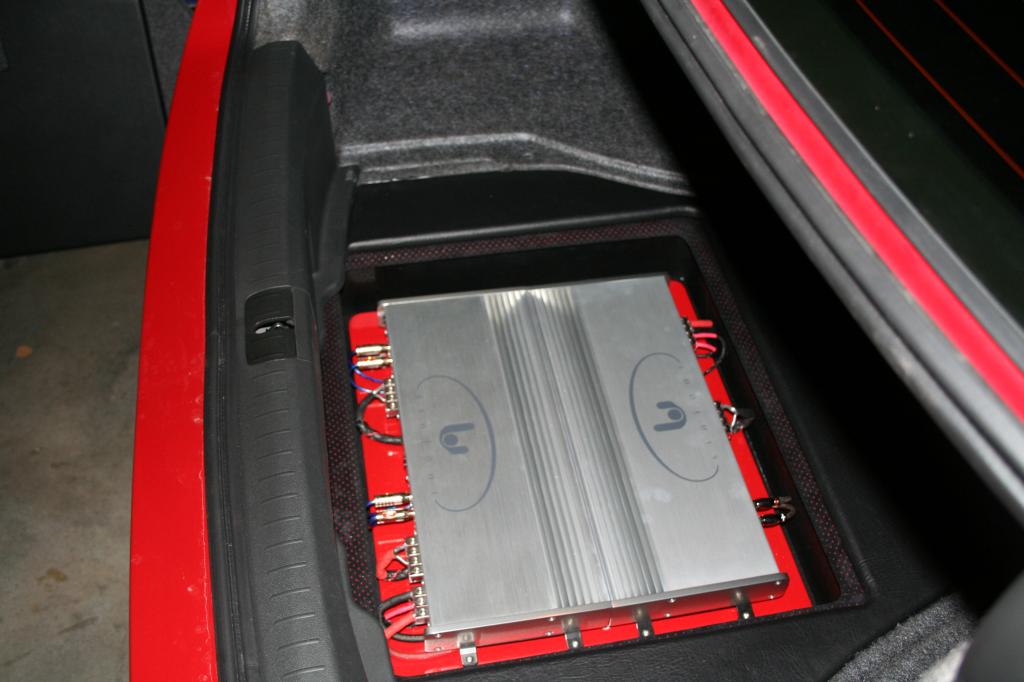
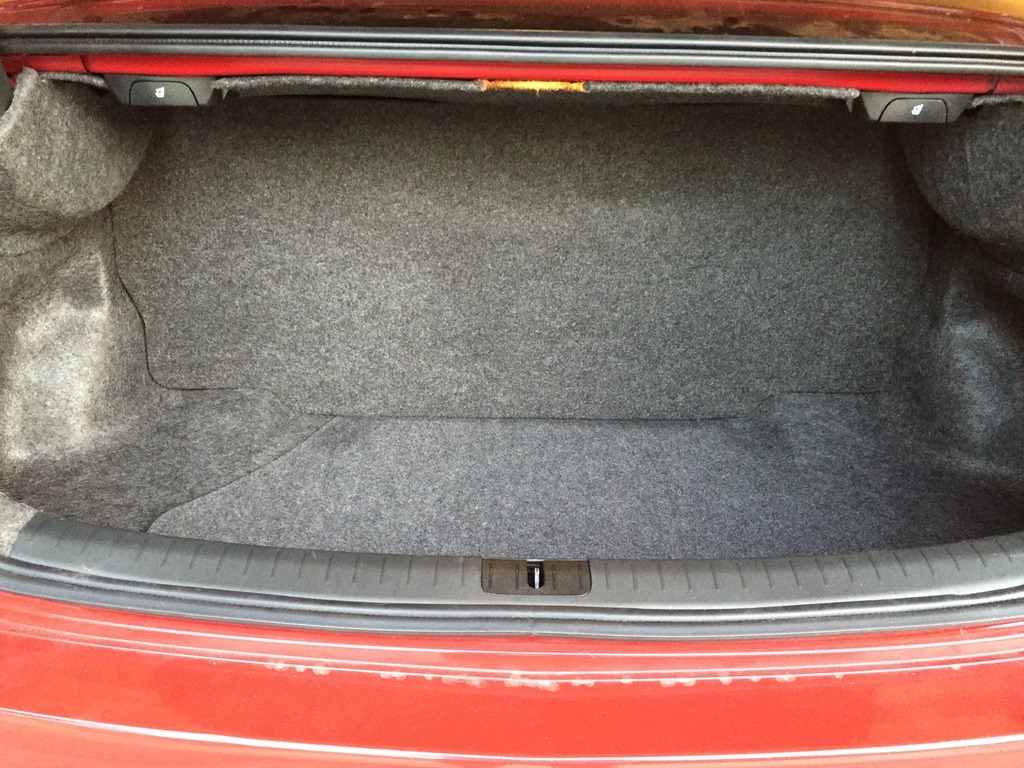
Trunk
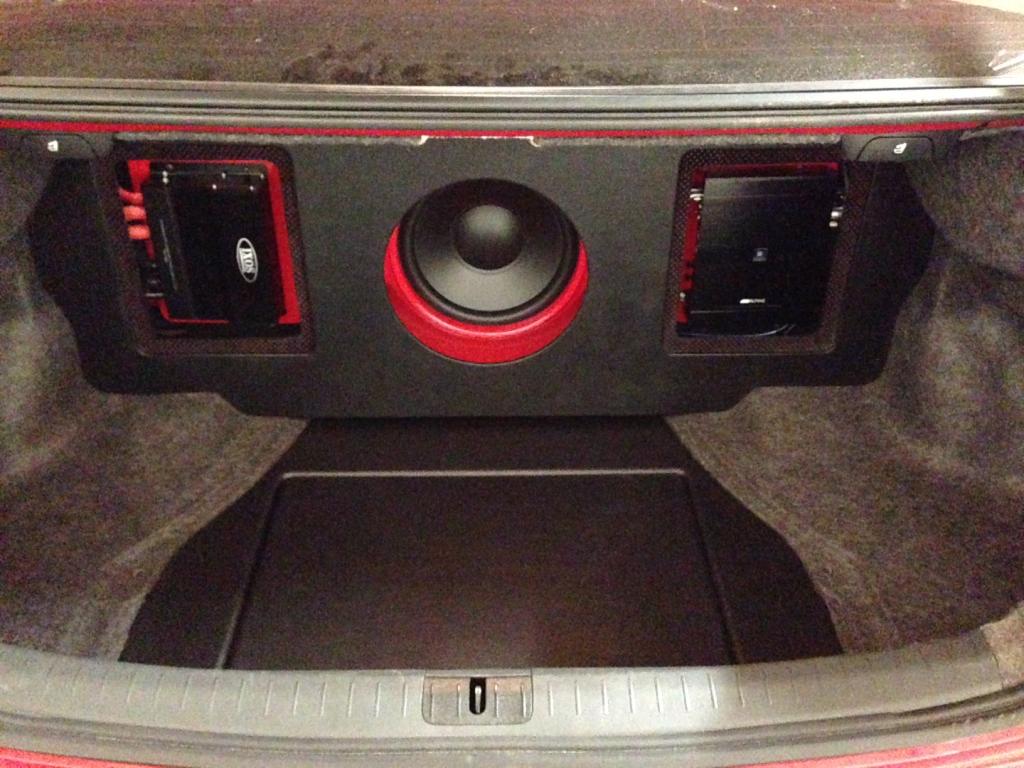
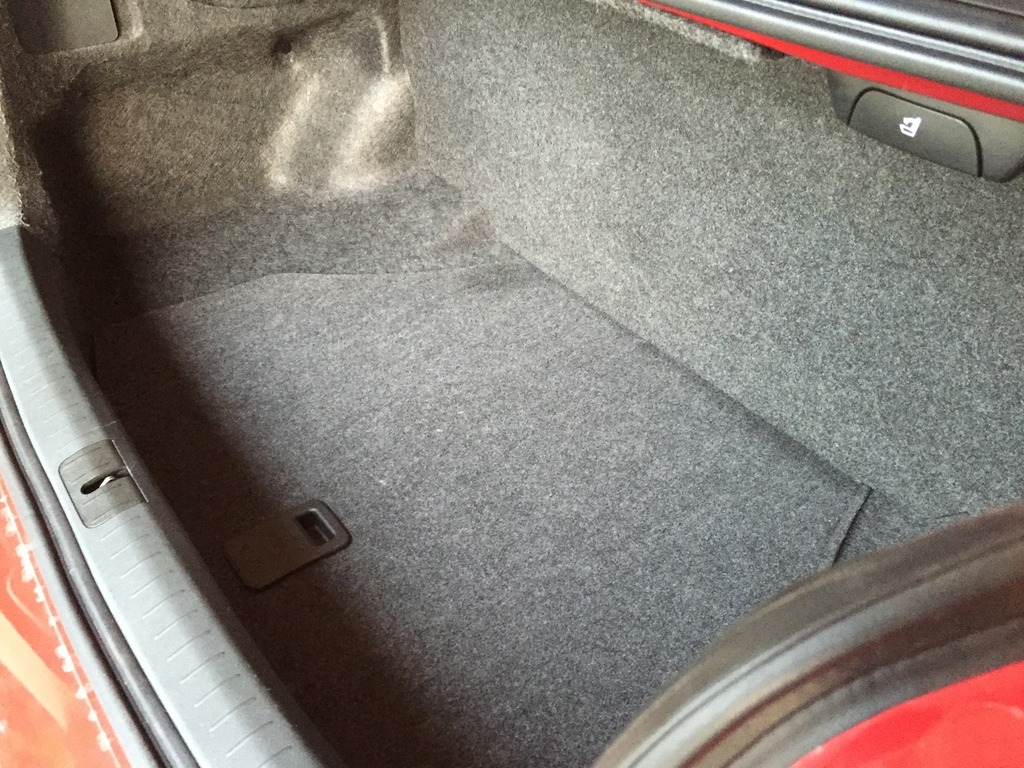
From the side of the trunk
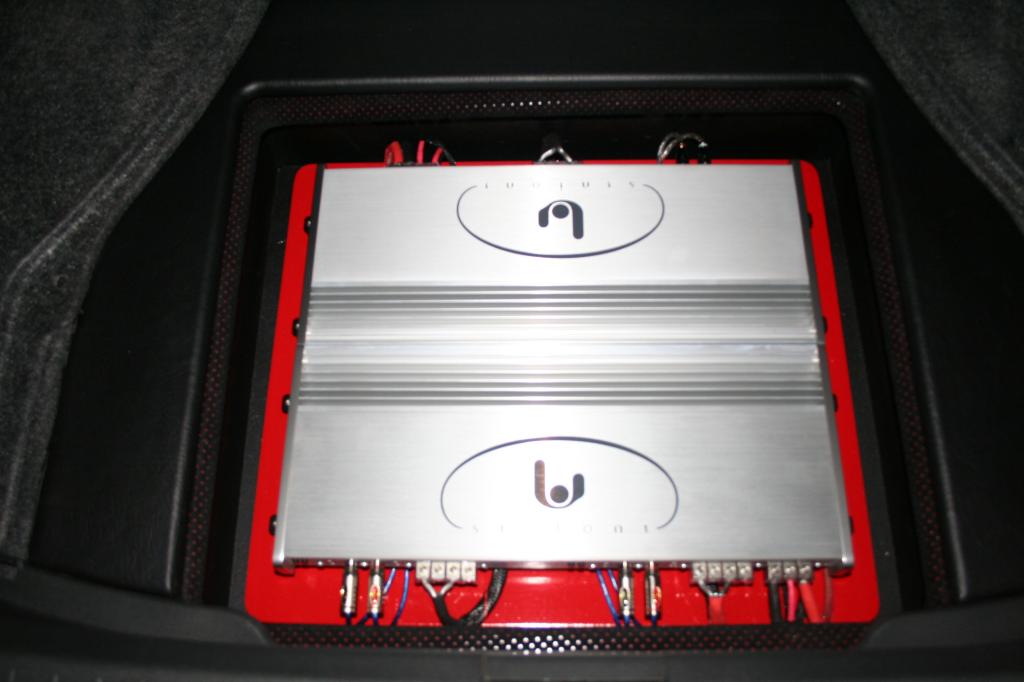
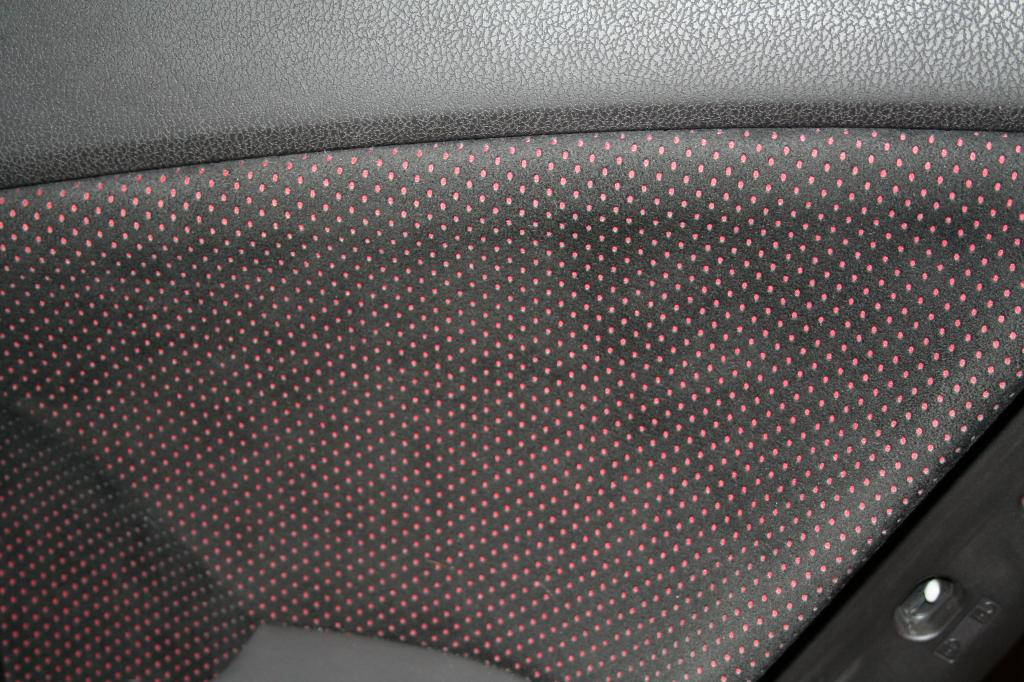
Trim that matches the door panel
That's it. See the build log link for behind the scenes.
The build is completed!
I never intended the build to take as long as it did, but there were many factors that contributed to the lengthy build and changes throughout (Life, equipment issues, and the ability to become a dealer again for (IMHO) the best amplifiers on the planet......SINFONI!!!!!)
Equipment List
Source
Factory Head Unit
iPod and Bluetooth control via the factory head unit
Speakers
Tweeters - Sinfoni Maestoso T25T
Midrange - Dynaudio MW152
Midbass - Dynaudio Esotar2 650
Subwoofer - Dynaudio Esotar2 1200
Amplifiers
Tweeters/Midrange - Sinfoni Presto Ad-Lib.
Midbass - Sinfoni Presto Ad-Lib.
Subwoofer - Sinfoni Grave
Processor
Alpine PXA-H800 Processor
Alpine RUX-C800 Controller
Capacitor
IXOS CA670 5-Farad
Feel Free to ask questions or comment on my equipment list.
RUX-C800
Kicks
Sails
Doors
No pics because they look 100% factory
Behind the Back Seat
Trunk
From the side of the trunk
Trim that matches the door panel
That's it. See the build log link for behind the scenes.
Last edited by niebur3; 01-06-2015 at 08:24 PM.

The following 4 users liked this post by niebur3:
BlackNsexy2010 (01-07-2015),
justnspace (01-15-2015),
Kody Tsering (08-30-2016),
rockstar143 (08-28-2016)
 01-15-2015, 11:06 AM
#5

Great build bro. looks so clean
I see in some pics you have the sub reverse mounted and some its firing forward. Which did you end up with?
Also, i cant tell from the pics how you ran your cabling.
was it power in the middle, RCAS on the left, and speaker wiring on the right?
I see in some pics you have the sub reverse mounted and some its firing forward. Which did you end up with?
Also, i cant tell from the pics how you ran your cabling.
was it power in the middle, RCAS on the left, and speaker wiring on the right?
01-15-2015, 06:35 PM
#7
Burning Brakes
Thread Starter
Great build bro. looks so clean
I see in some pics you have the sub reverse mounted and some its firing forward. Which did you end up with?
Also, i cant tell from the pics how you ran your cabling.
was it power in the middle, RCAS on the left, and speaker wiring on the right?
I see in some pics you have the sub reverse mounted and some its firing forward. Which did you end up with?
Also, i cant tell from the pics how you ran your cabling.
was it power in the middle, RCAS on the left, and speaker wiring on the right?
Thanks. Ankle. It is doing okay. Not great, but not too terrible. Thanks for asking.
Trending Topics
08-06-2016, 08:34 PM
#8
Burning Brakes
Thread Starter
Well guys, I made a pretty major change for me. Those who know my know I have run the Dynaudio Esotar2 1200 in my cars for several years now. I decided on making a change......3 AudioFrog GB10's!!!!
Before......

After......
All buttoned up!
Start removing the covers!
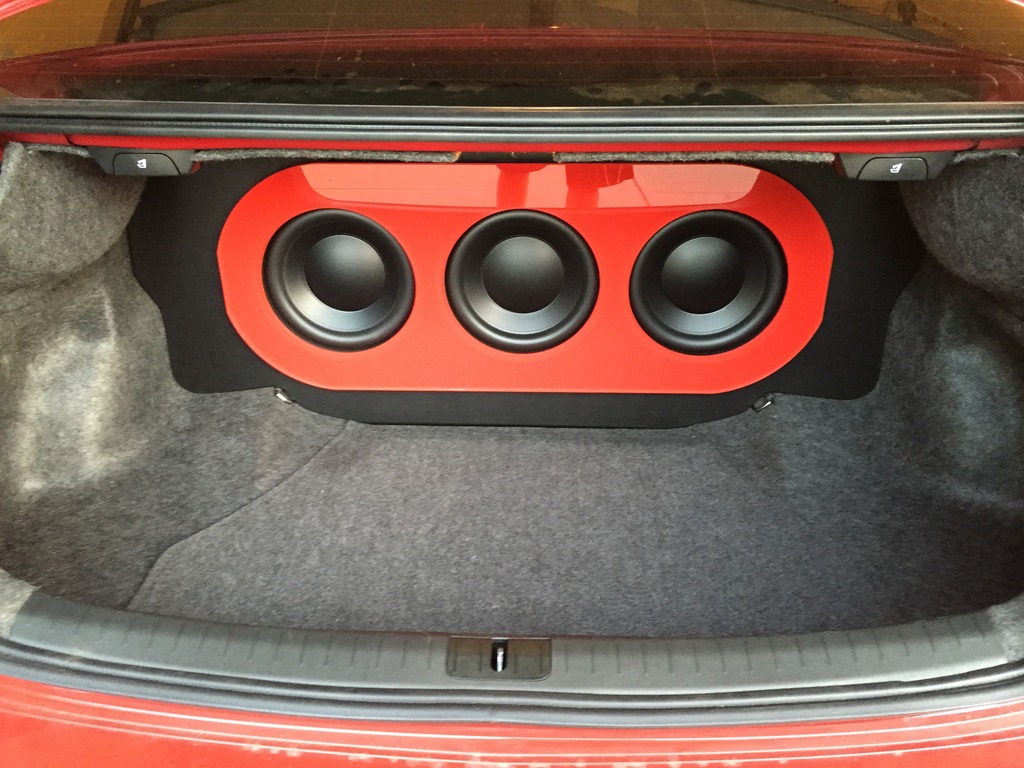
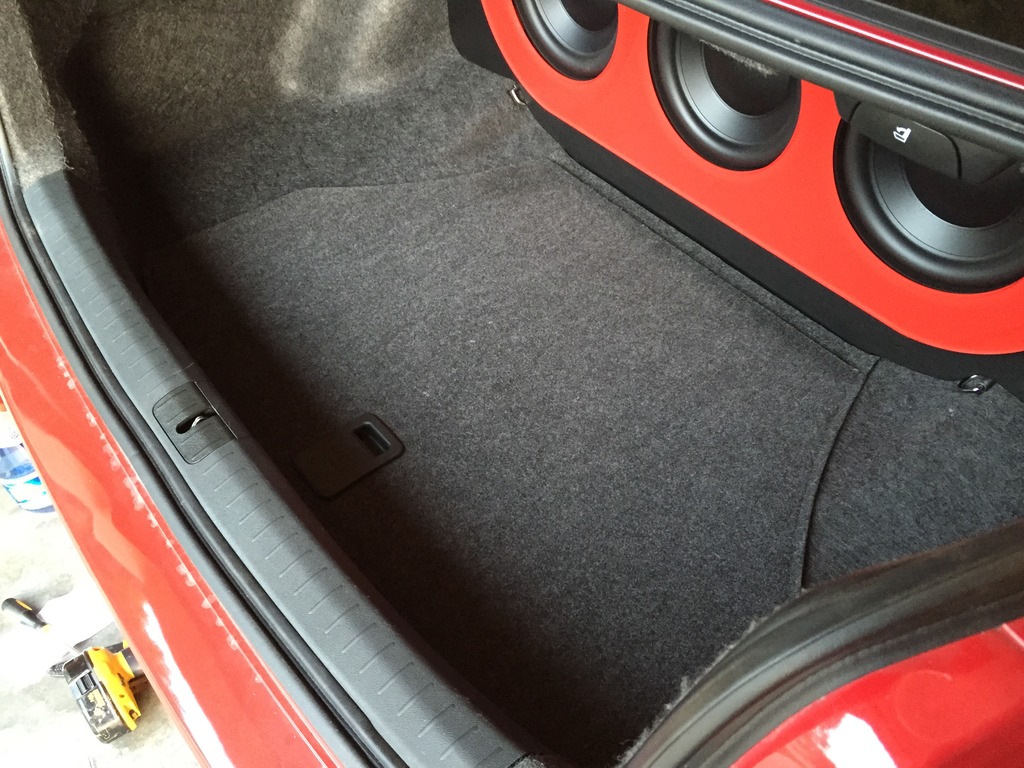
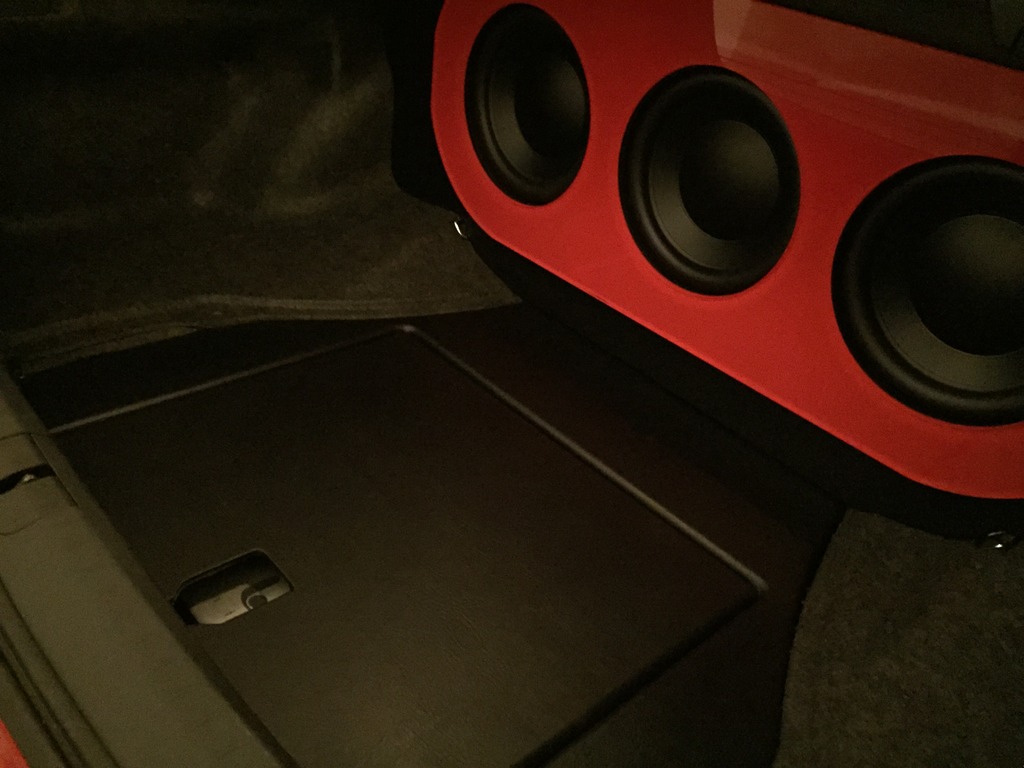
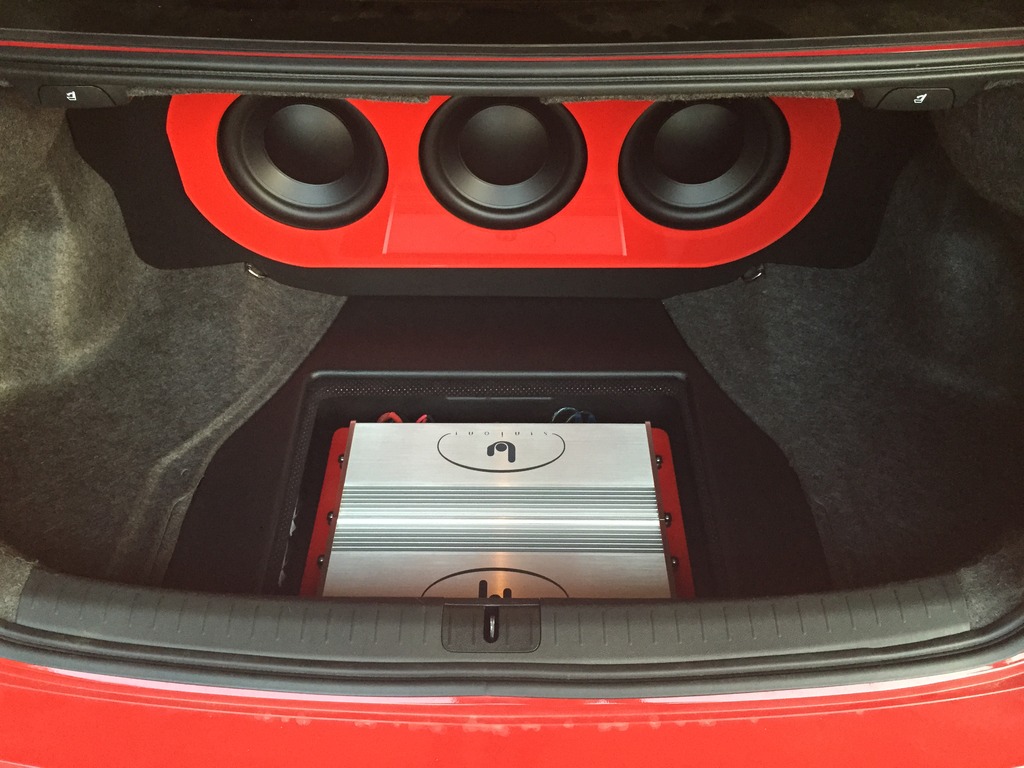

That's it. How do they sound??? Absolutely awesome. I love it. Great sound quality and lots of impact. They dig real deep too. Couldn't be happier.
Before......
After......
All buttoned up!
Start removing the covers!
That's it. How do they sound??? Absolutely awesome. I love it. Great sound quality and lots of impact. They dig real deep too. Couldn't be happier.
08-06-2016, 08:36 PM
#9
Burning Brakes
Thread Starter
A few more updates since this thread was posted......
My wife was less than thrilled about floor mounted speakers and the grills were getting kicked by everyone that entered my car, even though I warned them.
Also, as this is my demo car and the kicks showed off something interesting and different, I could see some people getting the wrong idea (that this was needed for the car to sound good).
So, I decided to go back to a 2-way.
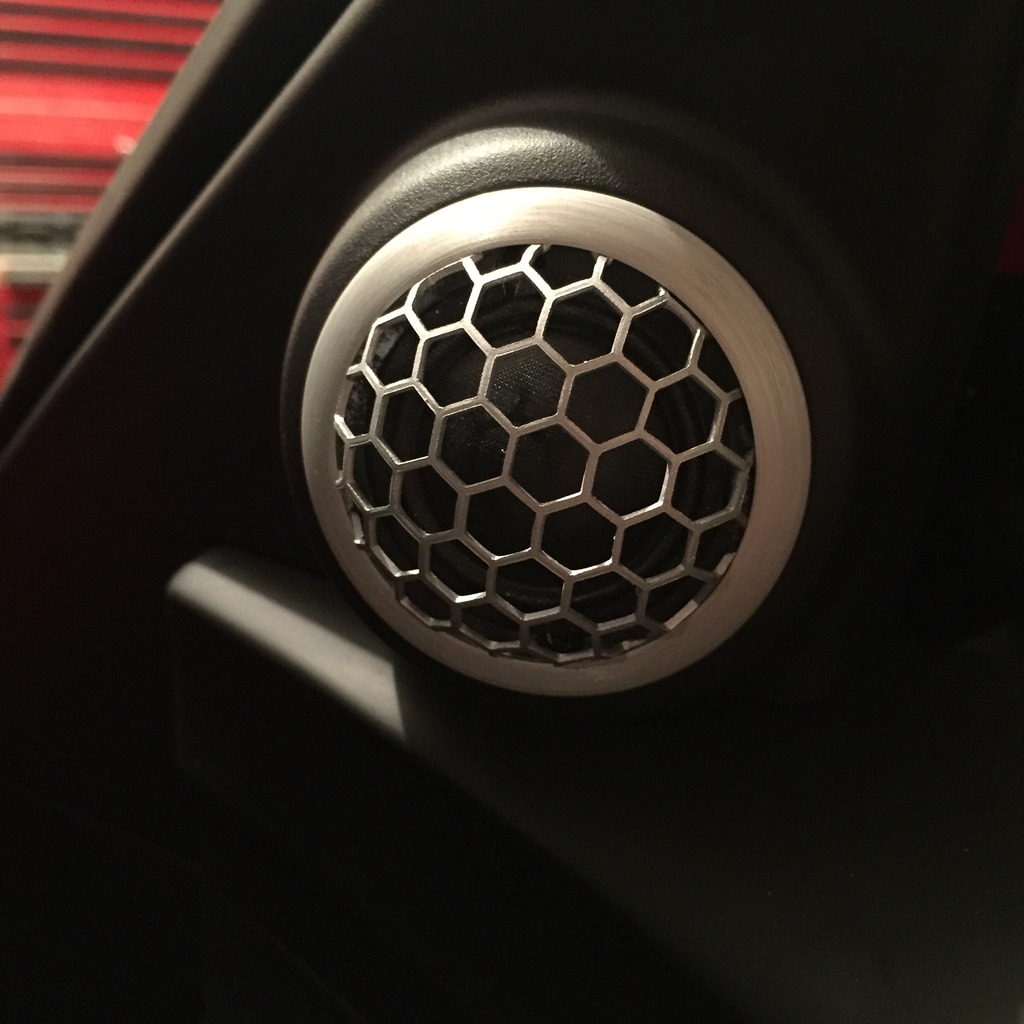
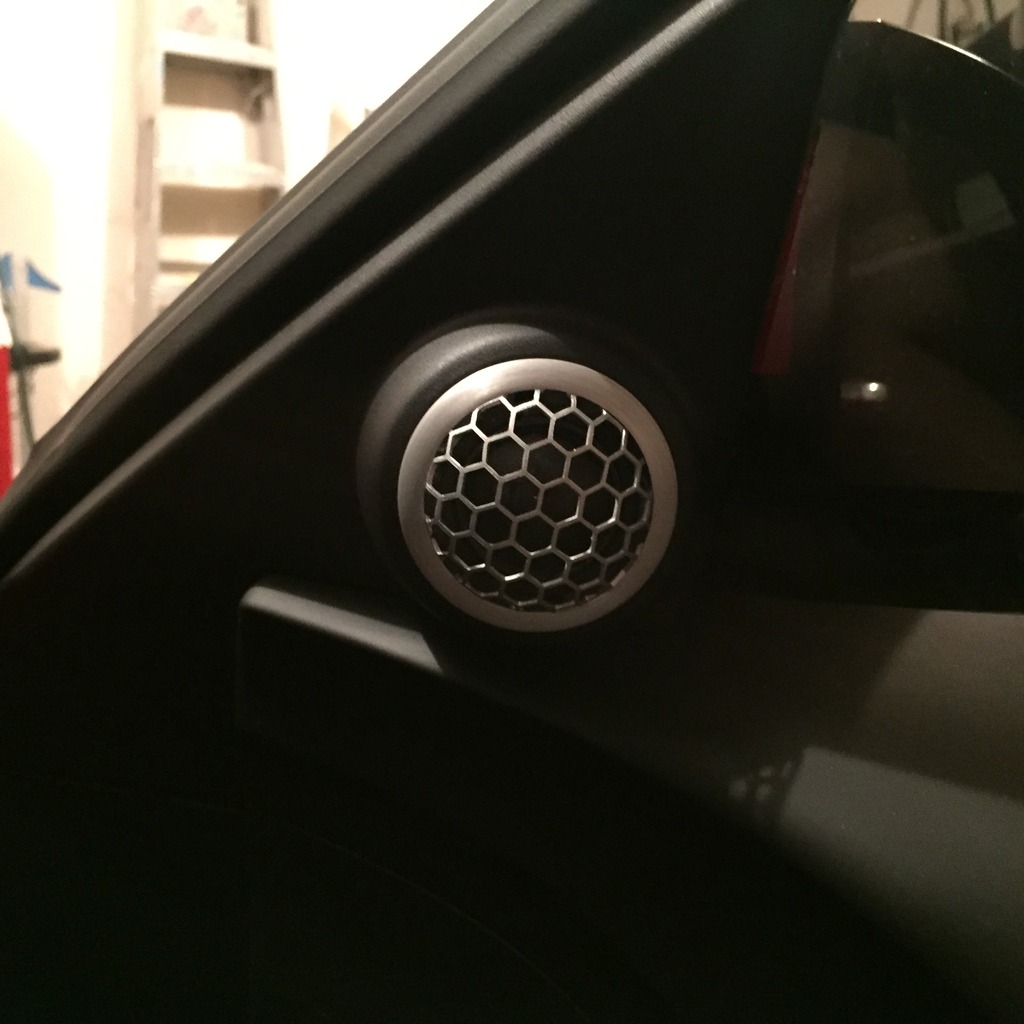
First of all was the tweeters. I bought new said panels, and after testing, I found the Sinfoni Tempo 10 tweeters sound really good off-axis. When I popped the factory grill off, they fit almost perfectly.
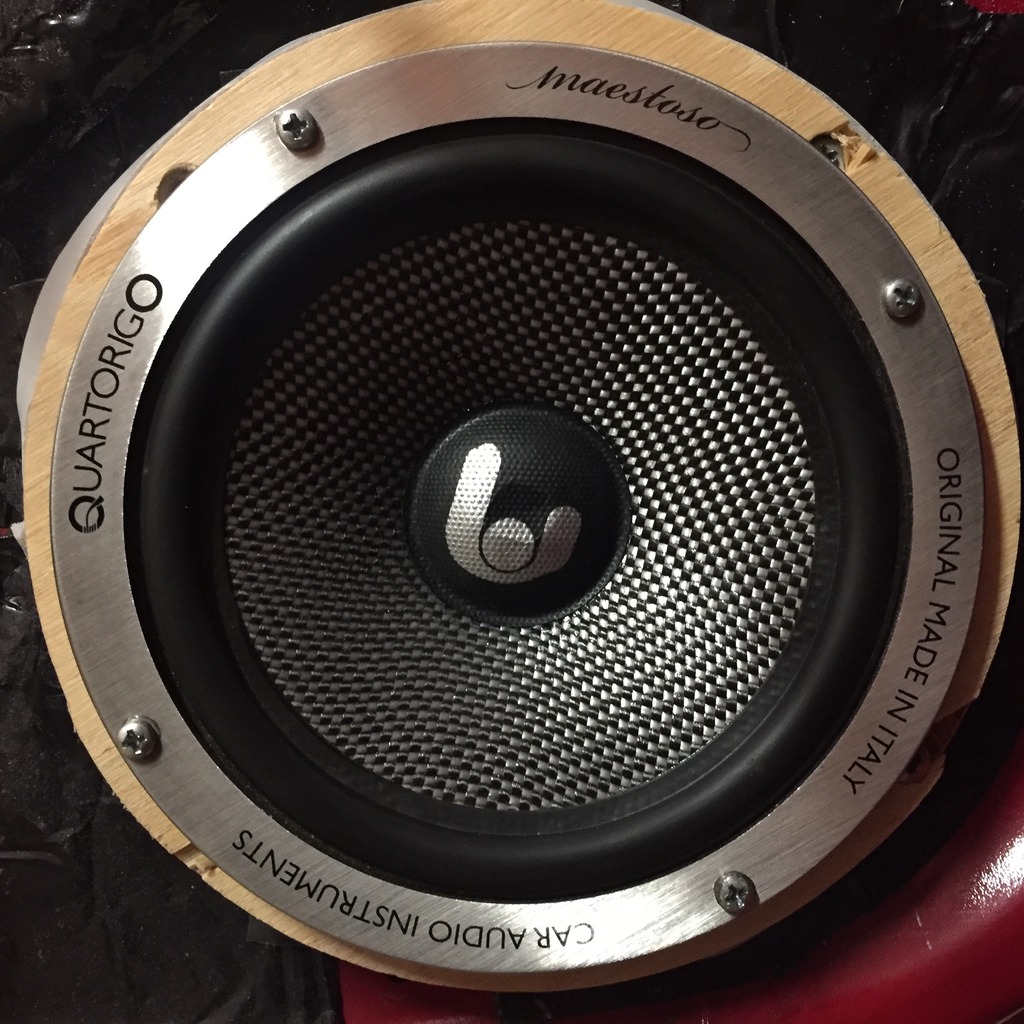
I then received a pair of the new Sinfoni Tempo 65's for the doors.
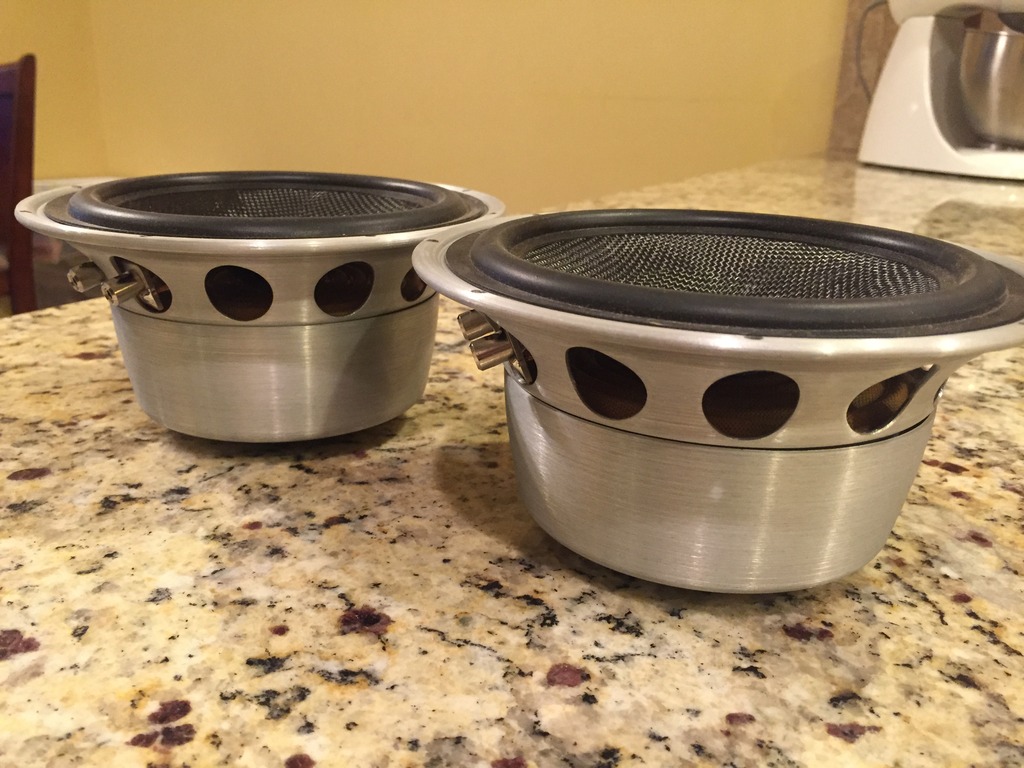
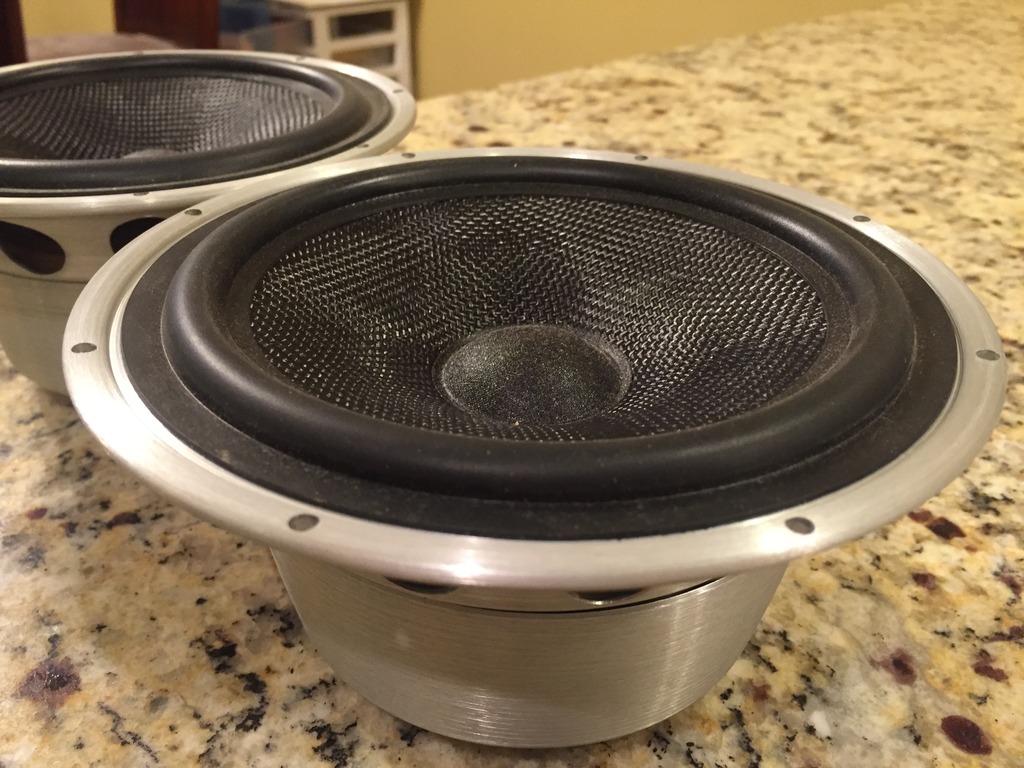
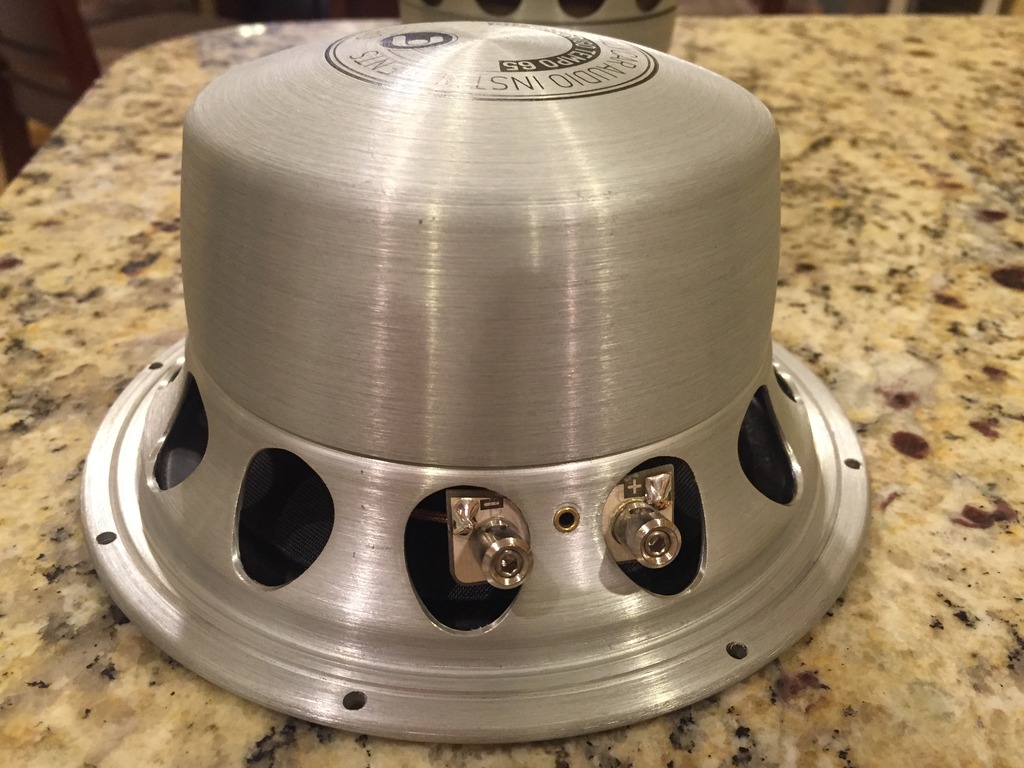
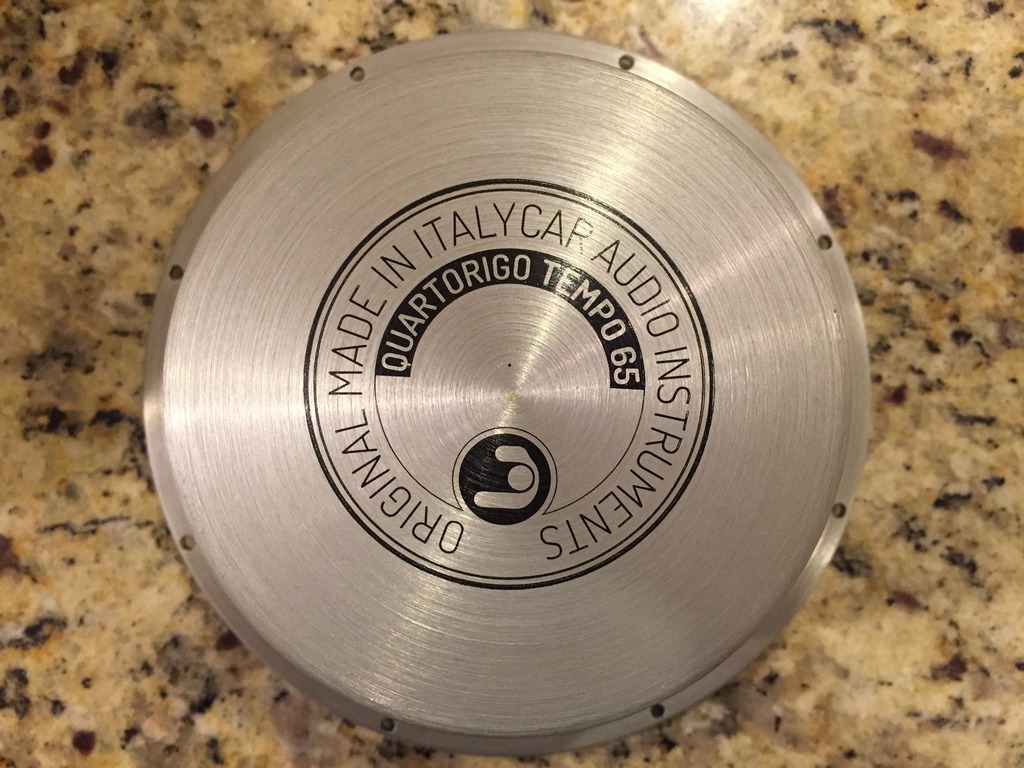
However, I ran into the issue that has plagued me ever since I bought this car, extremely shallow door locations. The Sinfoni Tempo 65's were just a tad too deep. Although they improved on the Sinfoni Maestoso T165W speakers they replaced, the Maestoso were contoured just enough to clear the window. So, Emilios sourced me the very last pair of Maestoso T165W's that were made and they now are at home in my doors.
(Pictured are a set I test fitted before receiving the new ones....they were from another dealer off their demo board and for some reason, dust caps are just meant to be pushed in )
)
I also found that the factory head unit was introducing some very odd noises into my system. For instance, if someone sat in the passenger front seat and it cause the airbag circuit to engage, then I would hear a transformer like sound through my speakers. This was something constant from day 1 with this car and no matter how the RCA's were run, this issue would never go away. I also had a fair amount of noise floor with the factory head unit. So, after finally giving up on the factory head unit, I decided to install a Pioneer P99 as purely the source. I also installed a PS8 (with upgraded Op Amps) as my processor.
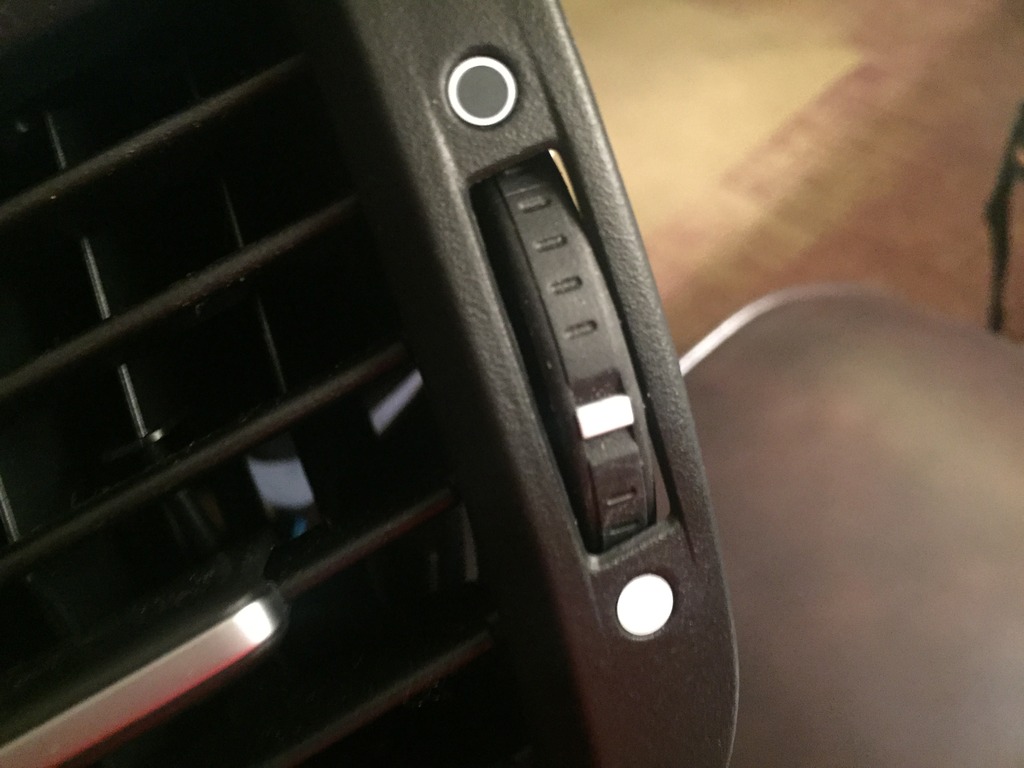
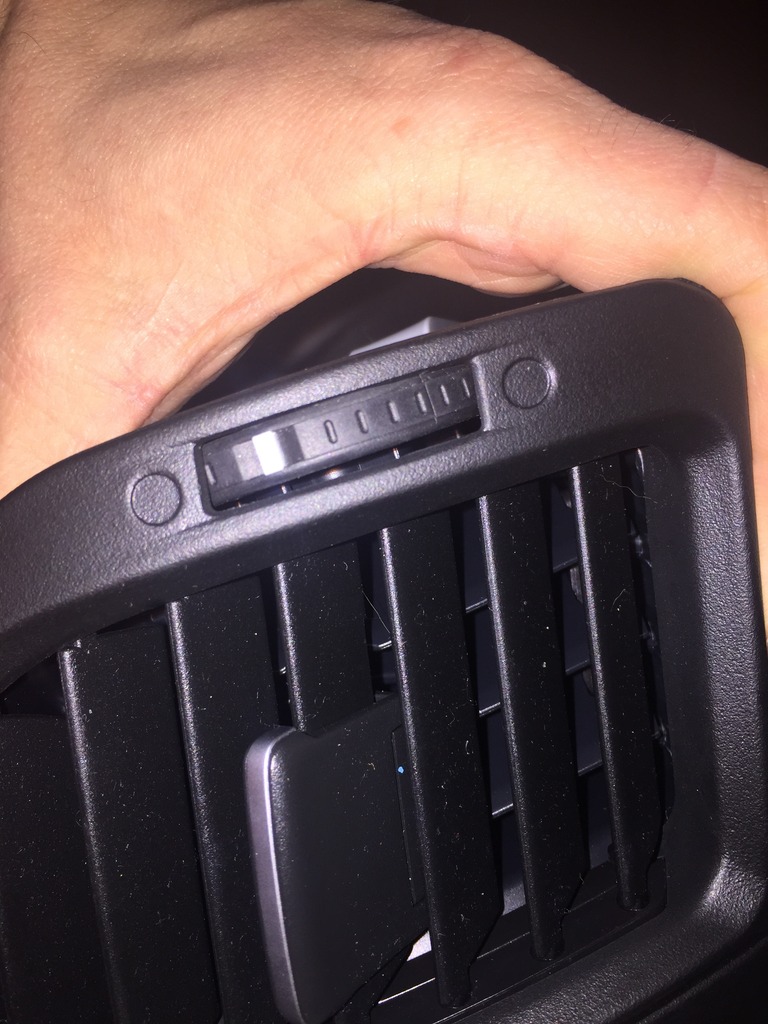
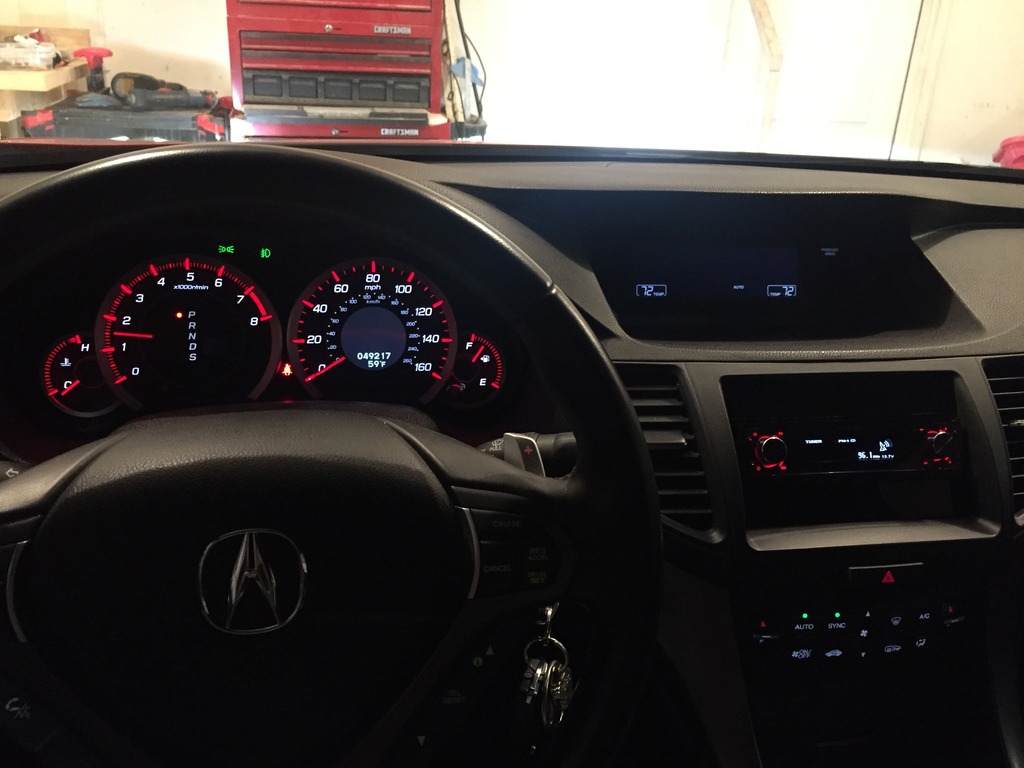
The factory radio has the air vents intergraded into it and they have a slight indent for the vent "open" and "closed" circles. I found that these were just stickers. The CARAV dash kit I ordered (from the Ukraine) had the indentions molded into the plastic for this, something the Metra kit didn't have. It also has the factory indented lines that separate the head unit area from the vents, just like the factory head unit. I was able to use a small razor blade and pry off the "open" and "closed" stickers and transplant them to the CARAV dash kit to look more factory.
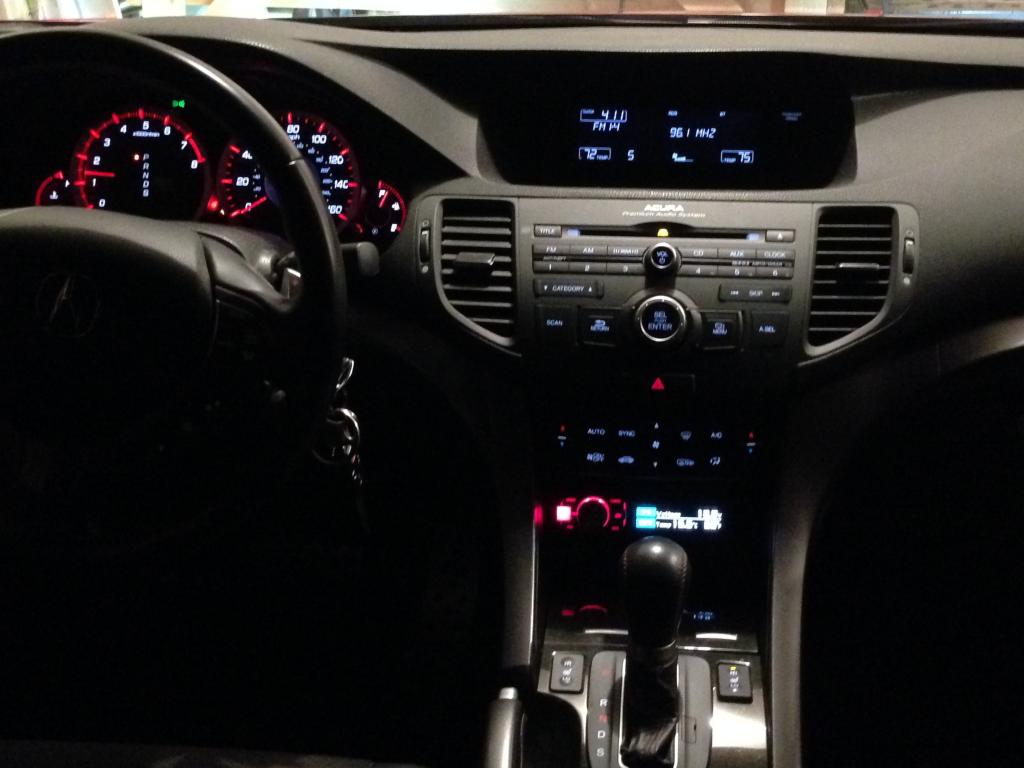
Here are the white circles (open and closed) on the factory head unit:
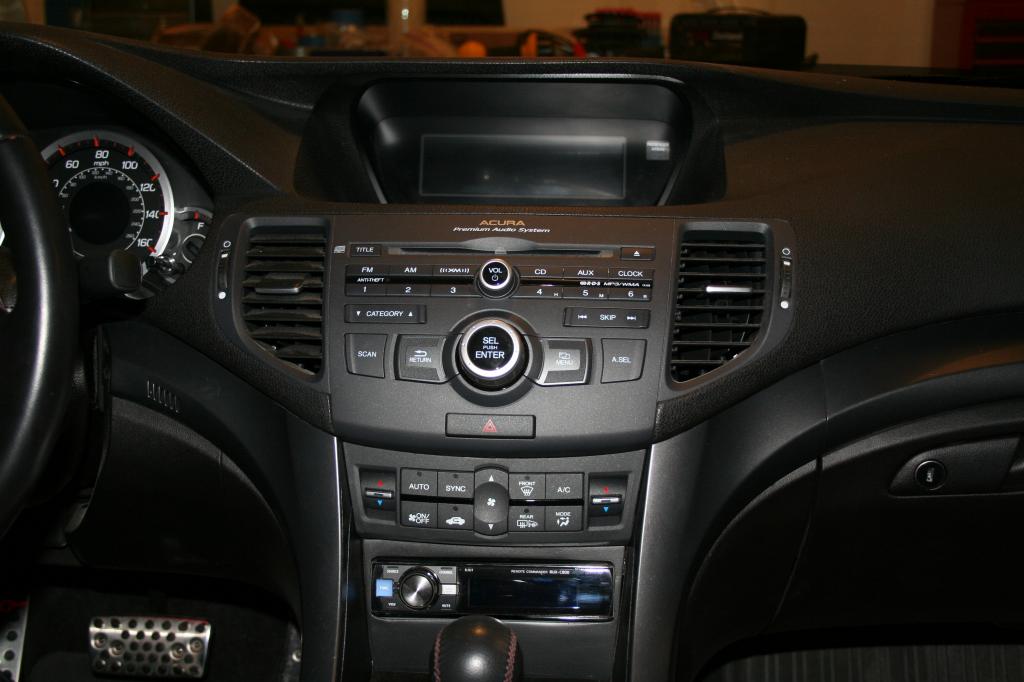
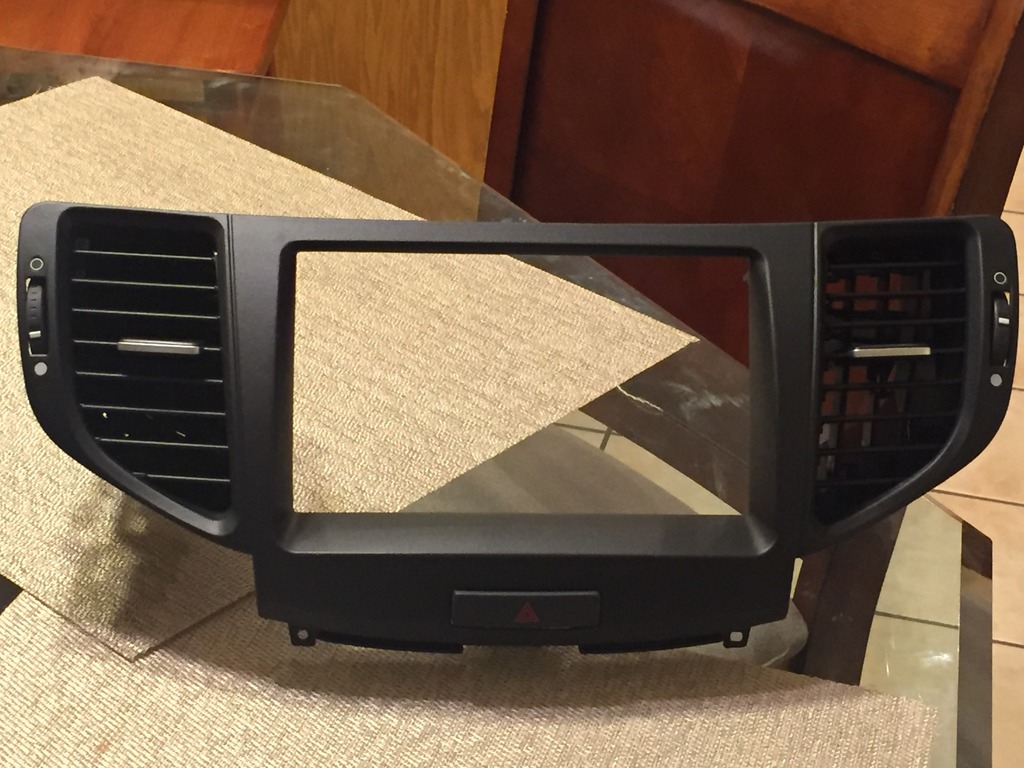
Here are the indentions in the plastic on the CARAV kit:
Here is the kit all ready for the P99
I then cut a piece of plexi to fill in the dap around the P99 and painted the backside black. Here is the finished result:
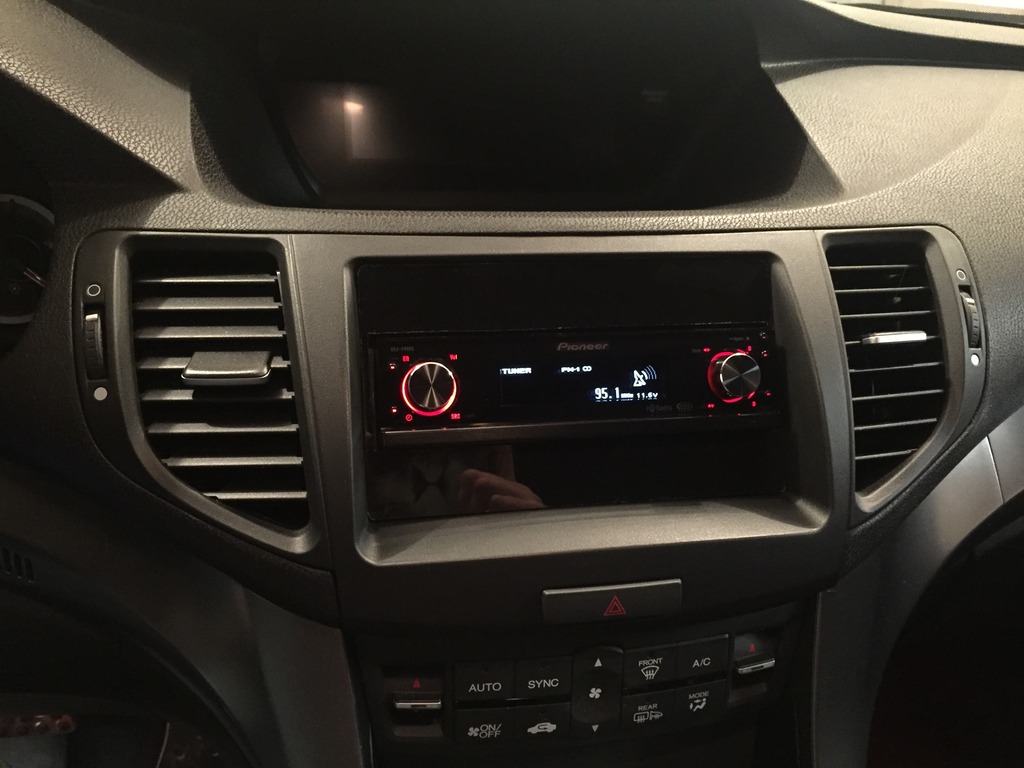
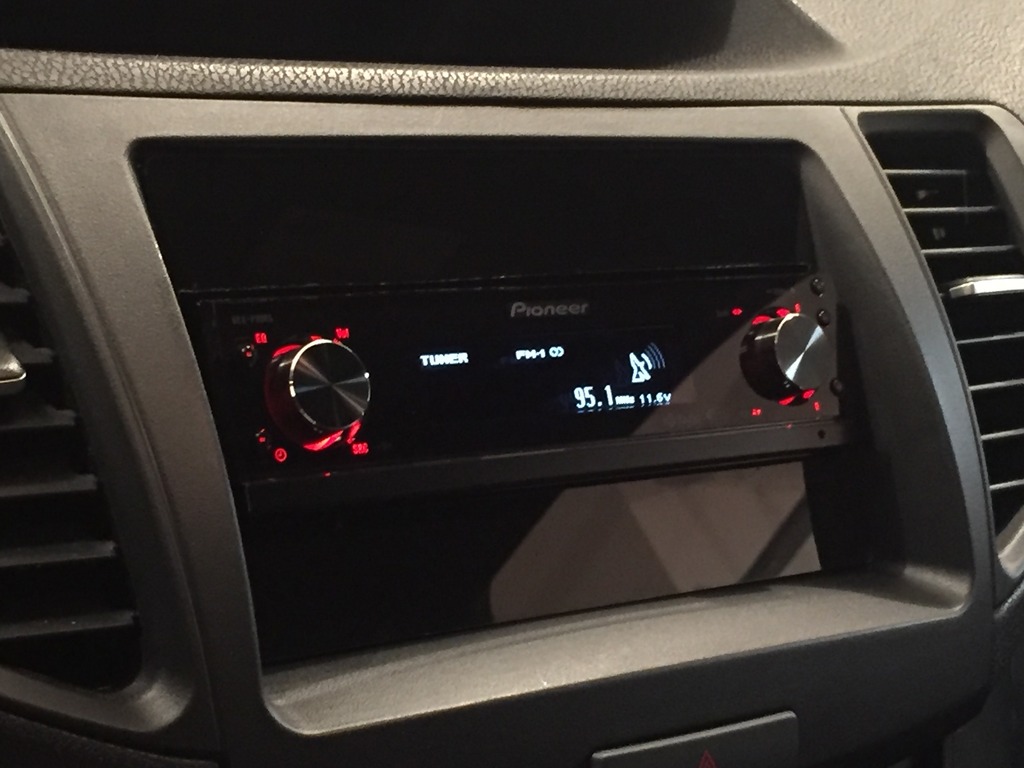
The P99 seems to match the dash lights perfectly!!!!
More to come......
My wife was less than thrilled about floor mounted speakers and the grills were getting kicked by everyone that entered my car, even though I warned them.
Also, as this is my demo car and the kicks showed off something interesting and different, I could see some people getting the wrong idea (that this was needed for the car to sound good).
So, I decided to go back to a 2-way.
First of all was the tweeters. I bought new said panels, and after testing, I found the Sinfoni Tempo 10 tweeters sound really good off-axis. When I popped the factory grill off, they fit almost perfectly.
I then received a pair of the new Sinfoni Tempo 65's for the doors.
However, I ran into the issue that has plagued me ever since I bought this car, extremely shallow door locations. The Sinfoni Tempo 65's were just a tad too deep. Although they improved on the Sinfoni Maestoso T165W speakers they replaced, the Maestoso were contoured just enough to clear the window. So, Emilios sourced me the very last pair of Maestoso T165W's that were made and they now are at home in my doors.
(Pictured are a set I test fitted before receiving the new ones....they were from another dealer off their demo board and for some reason, dust caps are just meant to be pushed in
)I also found that the factory head unit was introducing some very odd noises into my system. For instance, if someone sat in the passenger front seat and it cause the airbag circuit to engage, then I would hear a transformer like sound through my speakers. This was something constant from day 1 with this car and no matter how the RCA's were run, this issue would never go away. I also had a fair amount of noise floor with the factory head unit. So, after finally giving up on the factory head unit, I decided to install a Pioneer P99 as purely the source. I also installed a PS8 (with upgraded Op Amps) as my processor.
The factory radio has the air vents intergraded into it and they have a slight indent for the vent "open" and "closed" circles. I found that these were just stickers. The CARAV dash kit I ordered (from the Ukraine) had the indentions molded into the plastic for this, something the Metra kit didn't have. It also has the factory indented lines that separate the head unit area from the vents, just like the factory head unit. I was able to use a small razor blade and pry off the "open" and "closed" stickers and transplant them to the CARAV dash kit to look more factory.
Here are the white circles (open and closed) on the factory head unit:
Here are the indentions in the plastic on the CARAV kit:
Here is the kit all ready for the P99
I then cut a piece of plexi to fill in the dap around the P99 and painted the backside black. Here is the finished result:
The P99 seems to match the dash lights perfectly!!!!
More to come......
08-06-2016, 08:36 PM
#10
Burning Brakes
Thread Starter
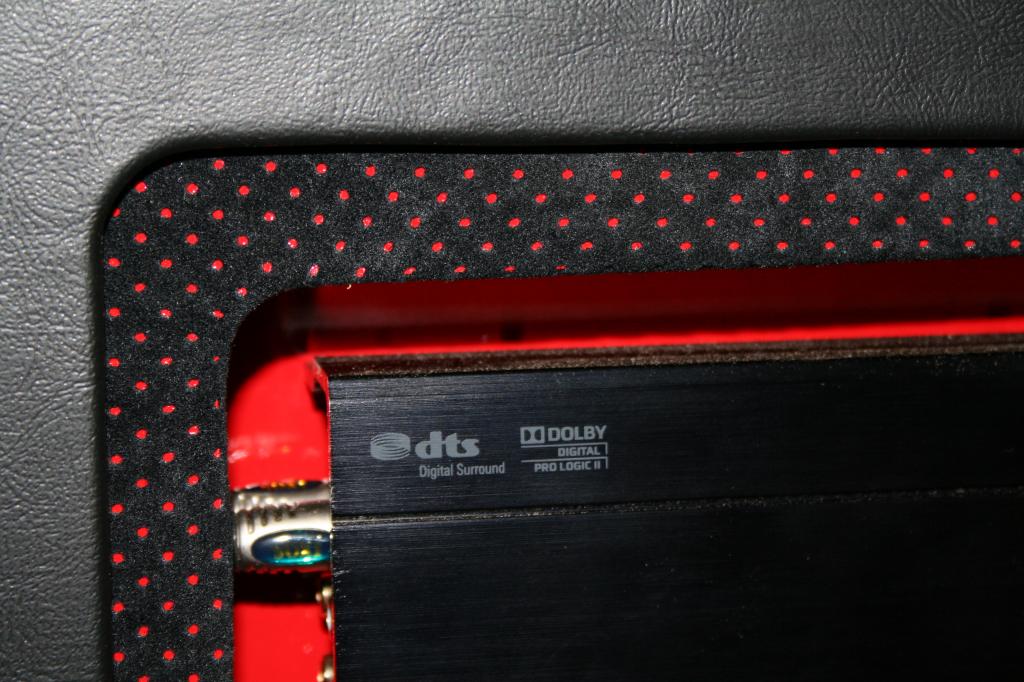
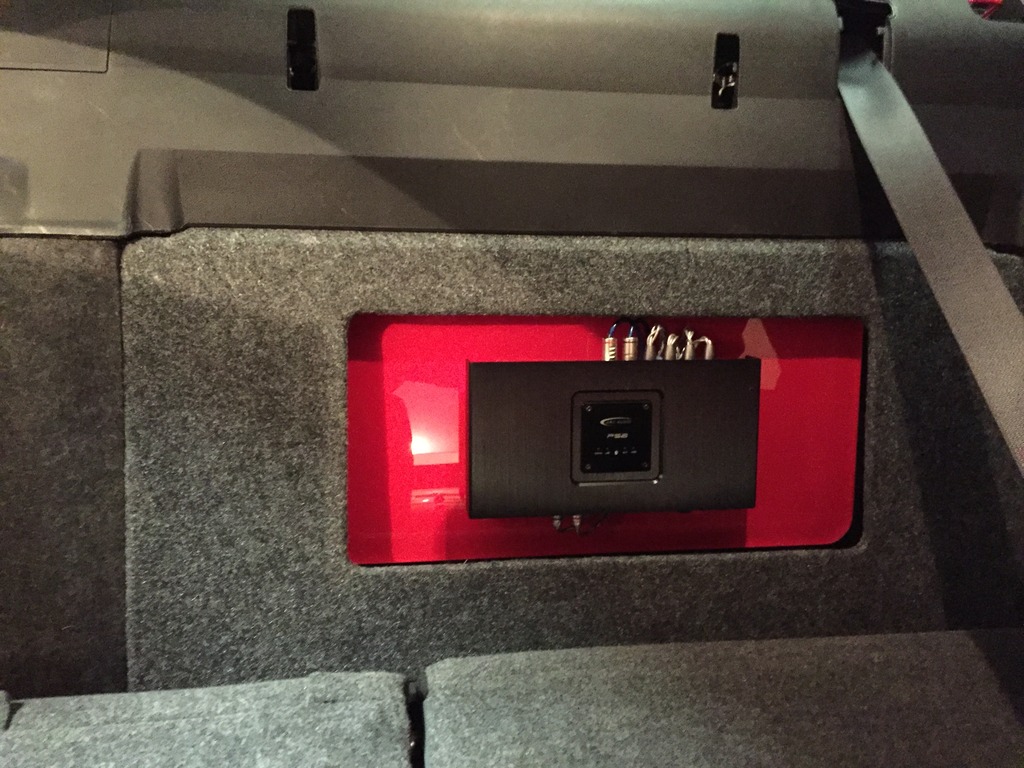
Like I said, I went with a PS8 as my processor and it was mounted where the 3rd Sinfoni amp had been, behind my back seat. I used the same look there as the trunk has for the amps.
I also had quite a bit of vibrations in my rear package shelf when the 3-10's hit. I decided to finally tackle fixing this. The rear package shelf had been throughly deadened, but the problem seems to be the shelf rattling against the metal, so I applied a thick piece of mass loaded vinyl/closed cell foam to decouple it.
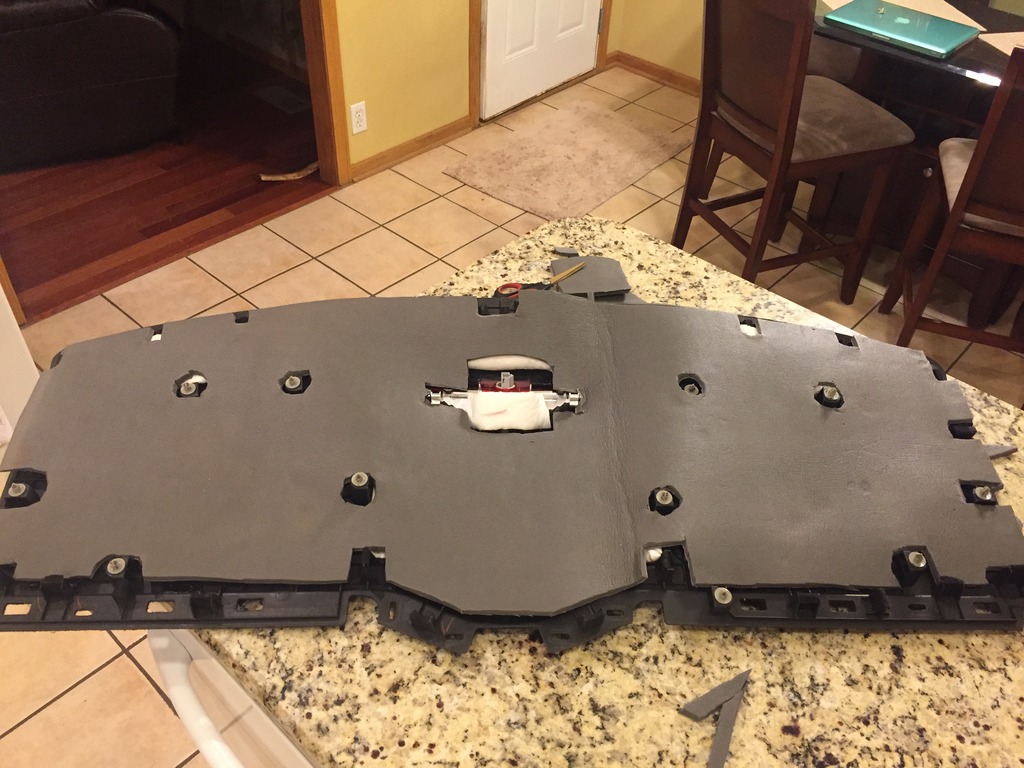
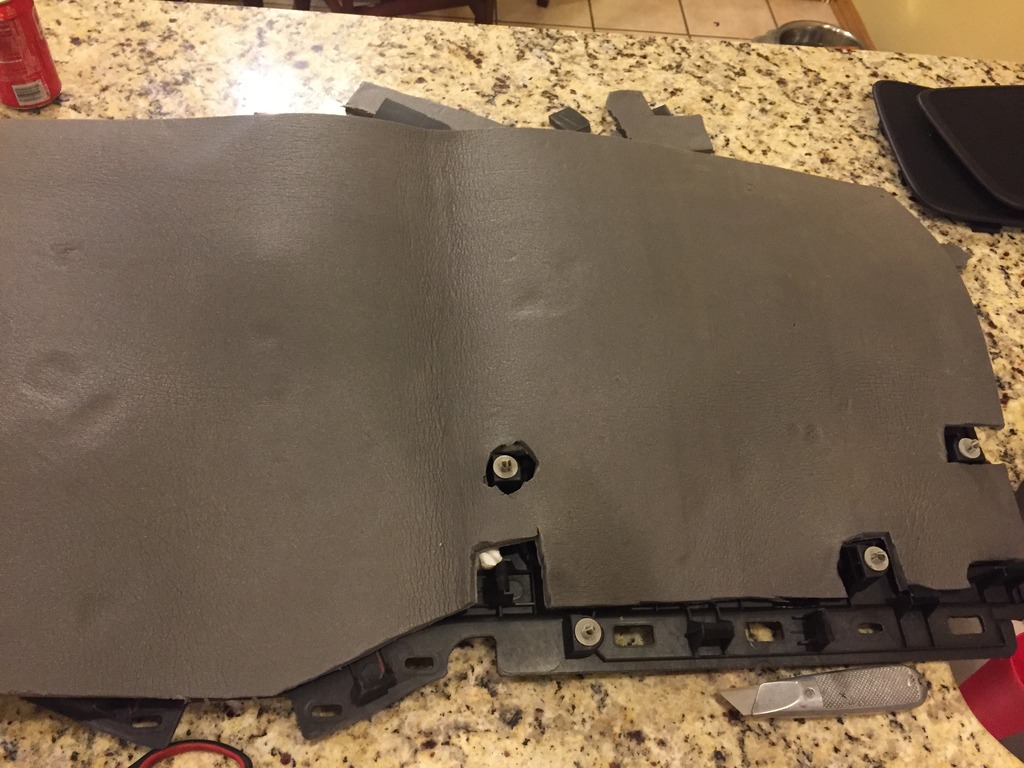
This absolutely did the trick. Zero Rattles in the rear deck now
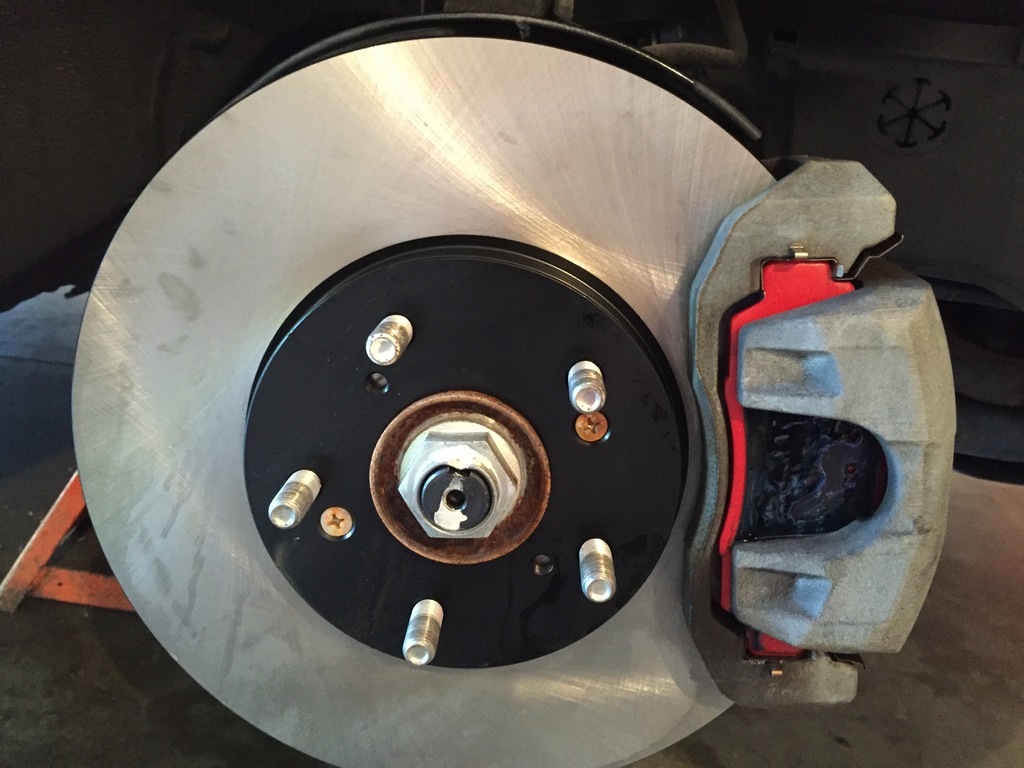
Most recently, the car needed some new brakes.....
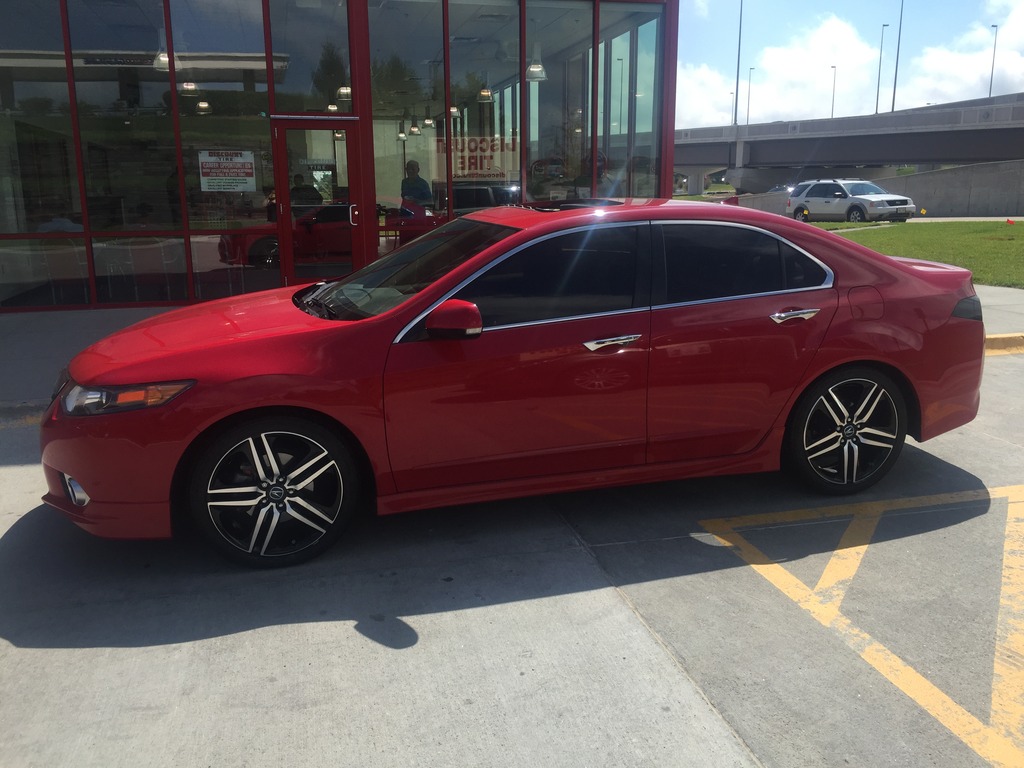
And I bought some new wheels/tires.....
I have more changes planned as we all do, so more to come soon!!!
I also had quite a bit of vibrations in my rear package shelf when the 3-10's hit. I decided to finally tackle fixing this. The rear package shelf had been throughly deadened, but the problem seems to be the shelf rattling against the metal, so I applied a thick piece of mass loaded vinyl/closed cell foam to decouple it.
This absolutely did the trick. Zero Rattles in the rear deck now
Most recently, the car needed some new brakes.....
And I bought some new wheels/tires.....
I have more changes planned as we all do, so more to come soon!!!
The following users liked this post:
Kody Tsering (08-30-2016)
08-06-2016, 08:37 PM
#11
Burning Brakes
Thread Starter
I would also like to take a moment to comment about the Sinfoni 2-way setup now that I have a couple months on them. Honestly, this is my favorite 2-way to date. Every day they impress me more and more. As a long time Dynaudio fan (and I still am), I didn't think I'd find a speaker that I liked better. And it is a real testament to these that they do this in factory locations with no custom work involved. They are easy to tune and very detailed but without any harshness. I really enjoy their sound. I know the tune/install makes or breaks any set of speakers, but these with a good tune seem to come alive. The midbass has great impact (I have mine down to 80hz, although I've also have them at 63hz with zero problems) and they can get stupid loud without losing their composure. I love these speakers!!!!
08-07-2016, 04:51 PM
#12
Yikes that's real sexy. Having nice comps gives you so much more flexibility when tuning a system. If you are the sort of listener that likes the sound stage pulled "up front" then being able to bring down your x-over point to say 63 hz is a bonus. I run old Boston pros (6.5LF's) for that very reason as they are a proven commodity for me. After all the systems I've done I'm just looking for mid bass drivers to perform the way their supposed because the sparkle is really in the tweets and how they are blended. You certainly have all the right gear for an exceptional sound. I went with all factory locations as well and sound is very acceptable.
08-08-2016, 04:44 AM
#13
Intermediate
Awesome! I really enjoyed this build log.I have spent the last year researching components and other things.Currently I am overseas till October and I cannot wait to get home and start my build.I do have a few questions for you. The ring terminal you had used to connect the car's main power lead to the battery was that a 4 Gauge ring terminal? Also did you have any issues with the CARAV dash kit? I have had my eyes in that kit because I like the way it looks and some of the small differences that you had noted.Also, I love the tweeter pods those look so cool! Thank you!
08-08-2016, 06:02 PM
#14
Burning Brakes
Thread Starter
Awesome! I really enjoyed this build log.I have spent the last year researching components and other things.Currently I am overseas till October and I cannot wait to get home and start my build.I do have a few questions for you. The ring terminal you had used to connect the car's main power lead to the battery was that a 4 Gauge ring terminal? Also did you have any issues with the CARAV dash kit? I have had my eyes in that kit because I like the way it looks and some of the small differences that you had noted.Also, I love the tweeter pods those look so cool! Thank you!
08-10-2016, 10:42 AM
#15
Everything looks great.. only thing i'm not feeling is the way the middle of your dash looks with the small head unit in the double din enclosure. Seems like too much empty space.. the colours match though 
08-28-2016, 06:20 PM
#16
Burning Brakes
Thread Starter
^^^^^I agree!!!!
More updates already.....
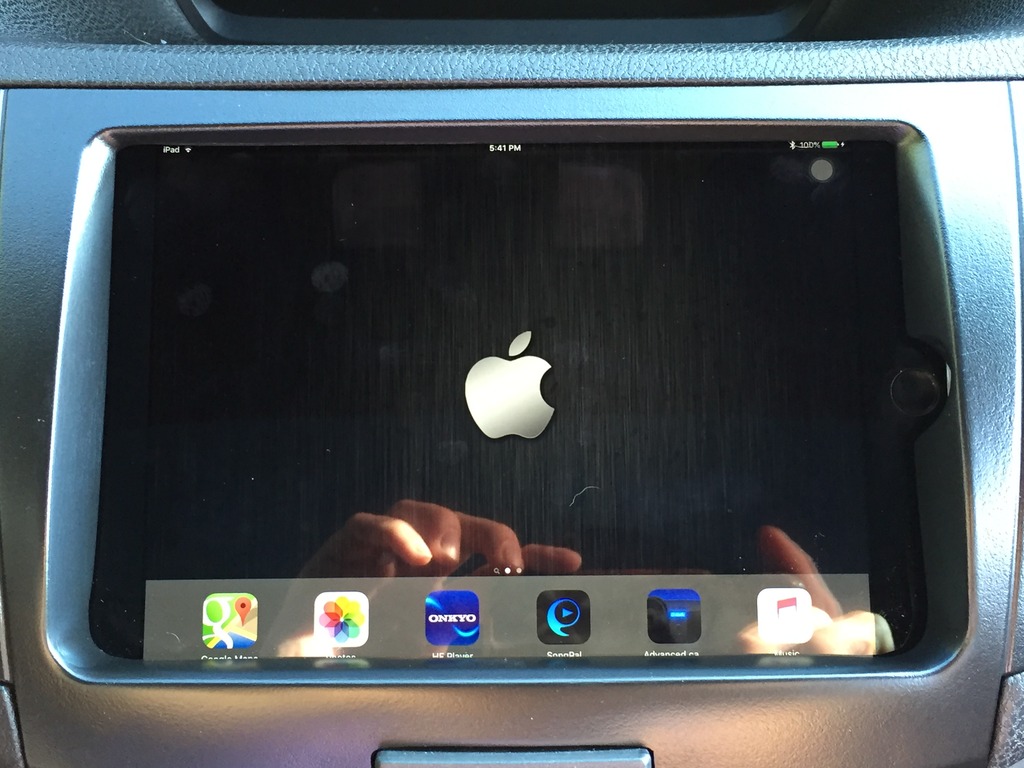
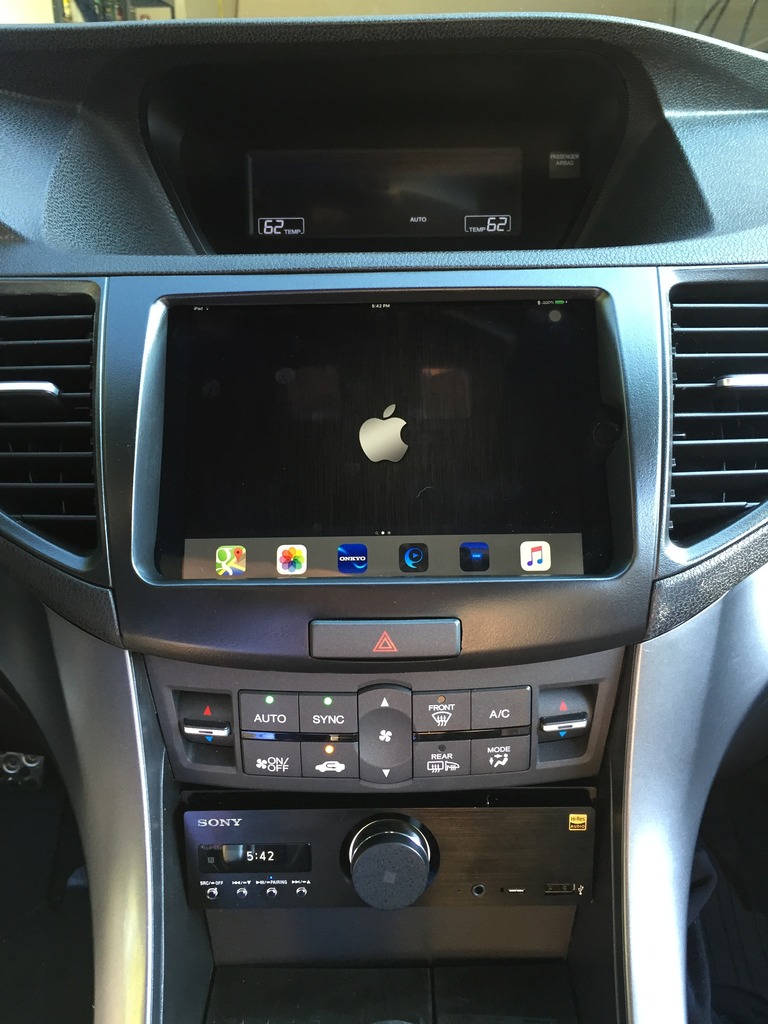
Originally my first thought for this car, 3 years ago, was to install an iPad mini, but that never happened as my measurements showed the fit would be extremely tight. So, I went a different direction and most recently installed a Pioneer DEX-P99RS. This is one of my all time favorite head units.
The thought always stayed in the back of my mind and most recently when the Sony RSX-GS9 came out, it resurfaced. I looking into high resolution audio and the different sources for it and how I can play high resolution files from an iPad and decided this was the route to go. Consequently, through all my internet searching, it seems that Apple my be releasing high resolution files through iTunes very soon.
I didn't take fab pics as most were small, tedious things that took lots of time and patience. I did order an additional CARAV dash kit, bit cut the bottom corners and used a heat gun to open it up more to fit the iPad Mini. The iPad mini fit with literally just 1-2 millimeters to spare. I even had to trim the lip from the top of the dash opening so the top of the iPad would clear and had to carefully cut the top of the hazard button so it would continue to slide in/out while the iPad was resting on it (and this was after changing the angle in which it mounted by heating the mounting posts and bending them, to create a few addition millimeters). I finished by reforming the bottom corners (that were now large gaps because of the cutting/reshaping) and creating a small half circle to reach the home button.
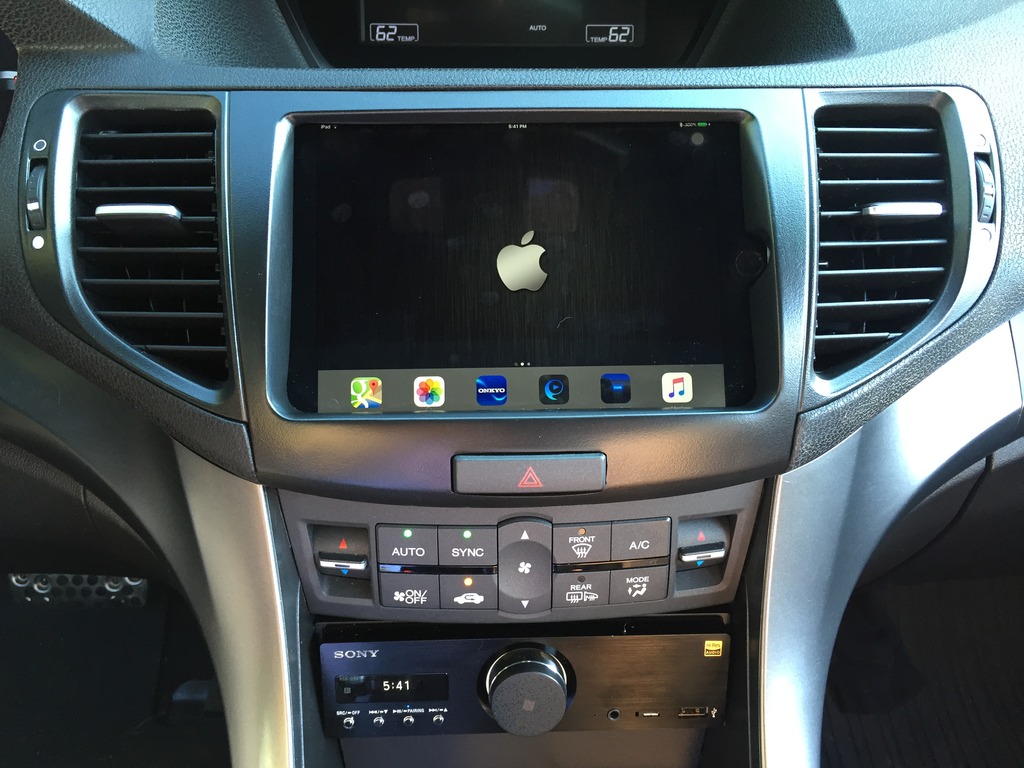
The Sony RSX-GS9 was mounted with the brackets from a NAV version of the car (this pocket in the non-nav version is replaced with the nav/cd drive in the technology package versions). I then fabricated out of metal and plexiglass a small piece to bridge the gap between the RSX and the other pop up cubby/12 volt car charger port. The RSX works perfectly with the steering wheel controls via the Axxess steering wheel module.
Here are the pics:
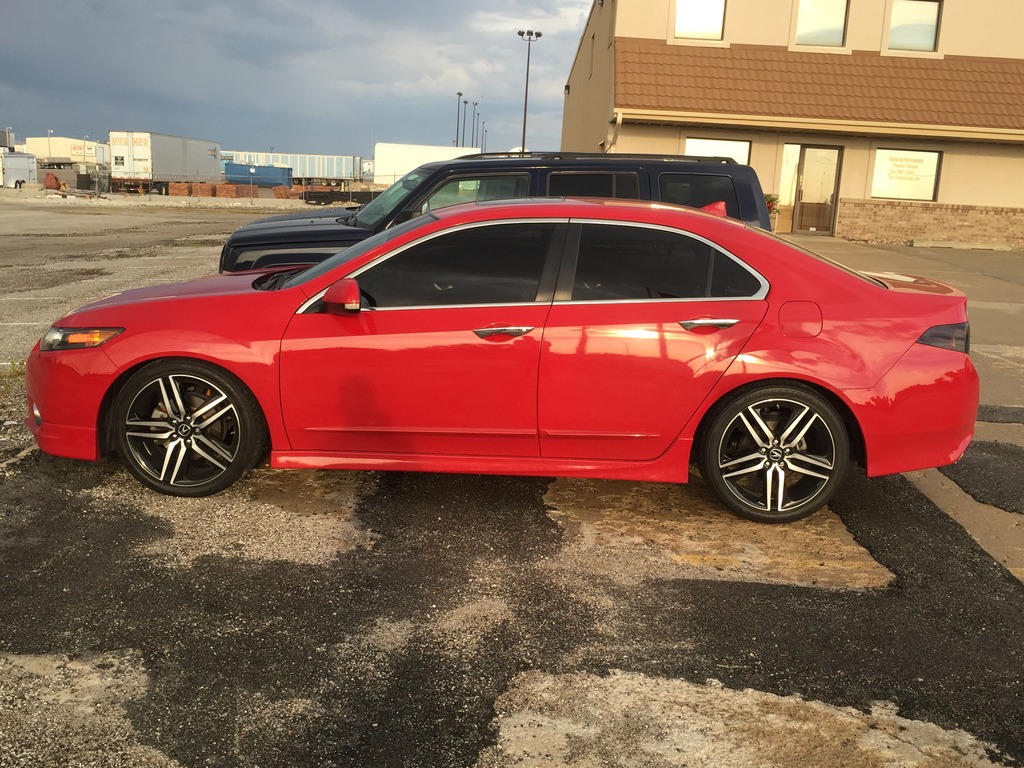
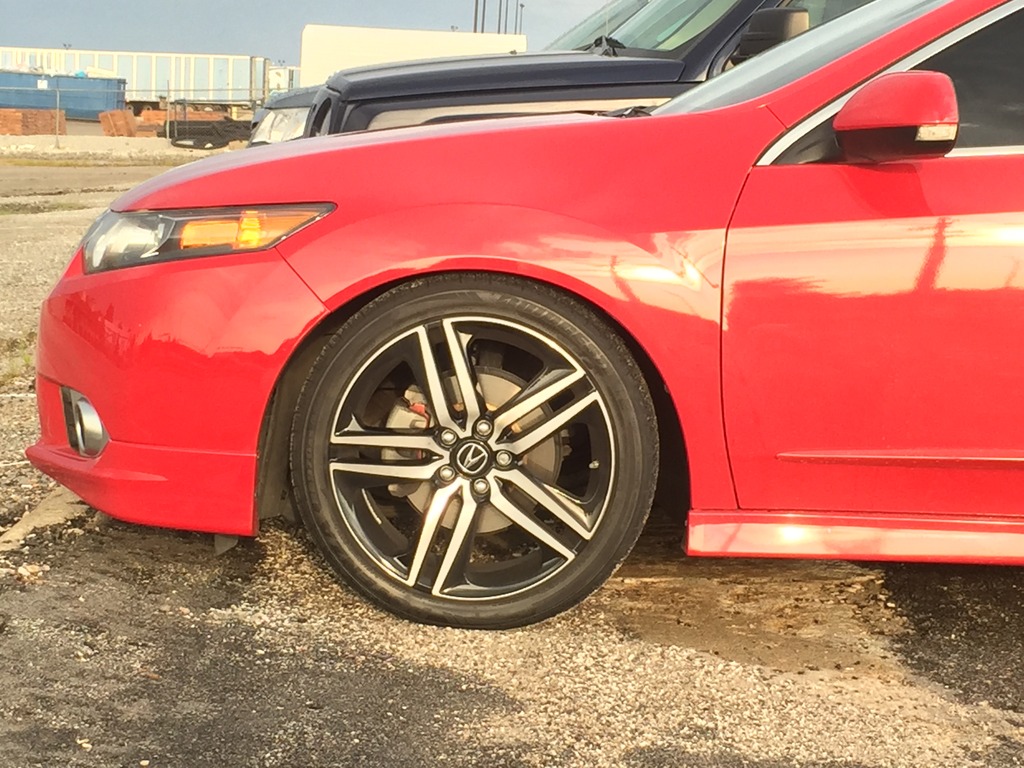
Oh, and I threw on some new wheels and new Koni's:
Oh, and this is what 100+ MPH Downburst winds will do:
Our River Birch
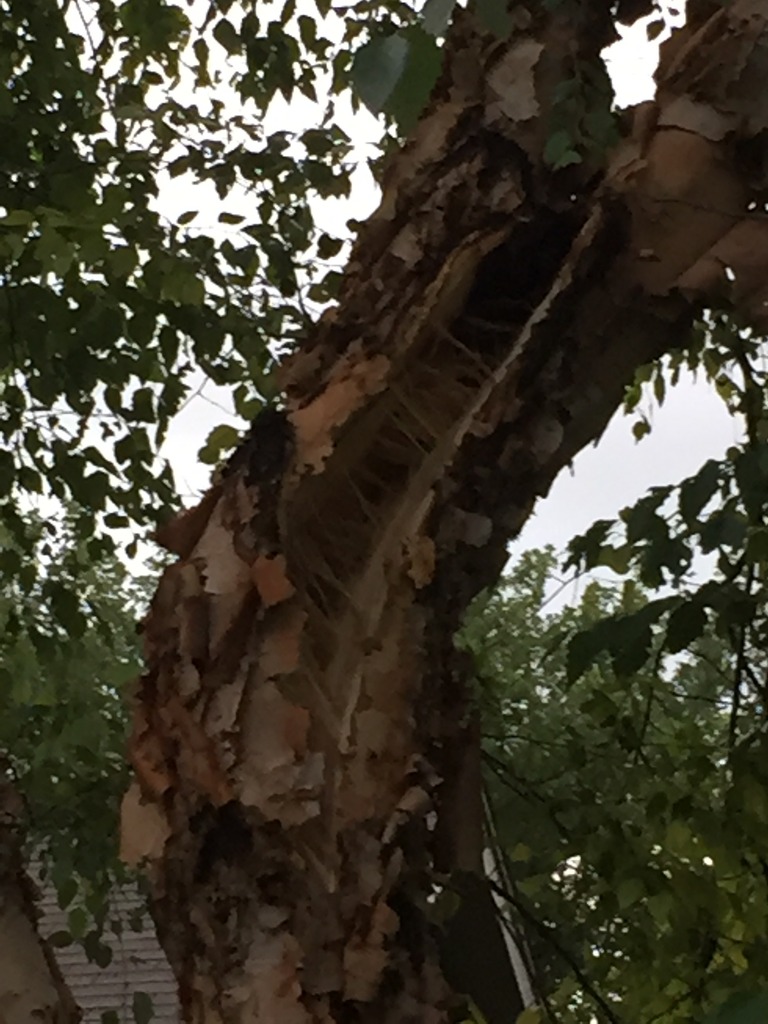
Neighbor's House
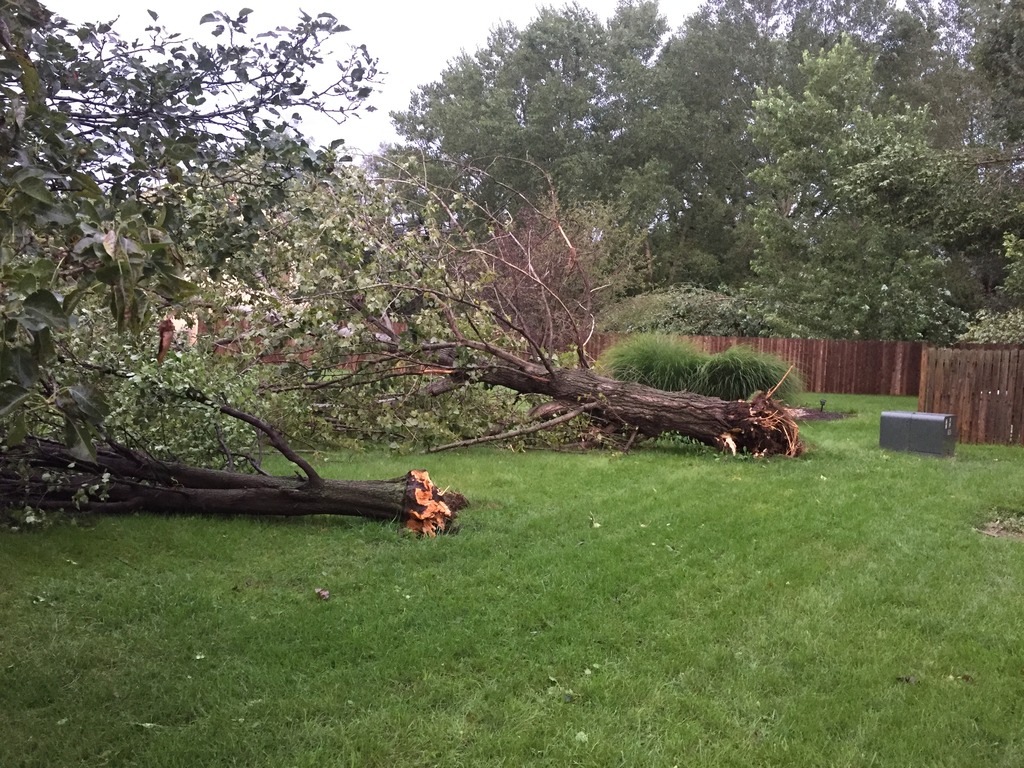
We go off pretty lucky considering our neighbors and the rest of the neighborhood.
More updates already.....
Originally my first thought for this car, 3 years ago, was to install an iPad mini, but that never happened as my measurements showed the fit would be extremely tight. So, I went a different direction and most recently installed a Pioneer DEX-P99RS. This is one of my all time favorite head units.
The thought always stayed in the back of my mind and most recently when the Sony RSX-GS9 came out, it resurfaced. I looking into high resolution audio and the different sources for it and how I can play high resolution files from an iPad and decided this was the route to go. Consequently, through all my internet searching, it seems that Apple my be releasing high resolution files through iTunes very soon.
I didn't take fab pics as most were small, tedious things that took lots of time and patience. I did order an additional CARAV dash kit, bit cut the bottom corners and used a heat gun to open it up more to fit the iPad Mini. The iPad mini fit with literally just 1-2 millimeters to spare. I even had to trim the lip from the top of the dash opening so the top of the iPad would clear and had to carefully cut the top of the hazard button so it would continue to slide in/out while the iPad was resting on it (and this was after changing the angle in which it mounted by heating the mounting posts and bending them, to create a few addition millimeters). I finished by reforming the bottom corners (that were now large gaps because of the cutting/reshaping) and creating a small half circle to reach the home button.
The Sony RSX-GS9 was mounted with the brackets from a NAV version of the car (this pocket in the non-nav version is replaced with the nav/cd drive in the technology package versions). I then fabricated out of metal and plexiglass a small piece to bridge the gap between the RSX and the other pop up cubby/12 volt car charger port. The RSX works perfectly with the steering wheel controls via the Axxess steering wheel module.
Here are the pics:
Oh, and I threw on some new wheels and new Koni's:
Oh, and this is what 100+ MPH Downburst winds will do:
Our River Birch
Neighbor's House
We go off pretty lucky considering our neighbors and the rest of the neighborhood.
08-28-2016, 07:39 PM
#18
Burning Brakes
Thread Starter
Thanks....for anyone that isn't up on these things, the Sony RSX-GS9 is the first High Resolution player for a car. No CD slot, simply high resolution ability and upscaling the crappy non-high res audio. It was built by Sony with some of the best internals of any head unit ever built for a car.
Bluetooth� Car Stereo with MP3 | RSX-GS9 | Sony US
It is the real deal and sounds like it!!!!!
Bluetooth� Car Stereo with MP3 | RSX-GS9 | Sony US
It is the real deal and sounds like it!!!!!
06-28-2019, 12:04 AM
#20

Installed VLEDS 5K corner bulbs today. Way brighter than the factory bulbs. Would definitely recommend! Now just have to save a little more money so I can purchase some OSRAM CBIs and install the Mugen visors.

Thread
Thread Starter
Forum
Replies
Last Post
divac
5G TLX Tires, Wheels & Suspension
16
08-29-2018 10:13 AM
orkoTL
4G TL Problems & Fixes
107
09-28-2017 09:12 AM